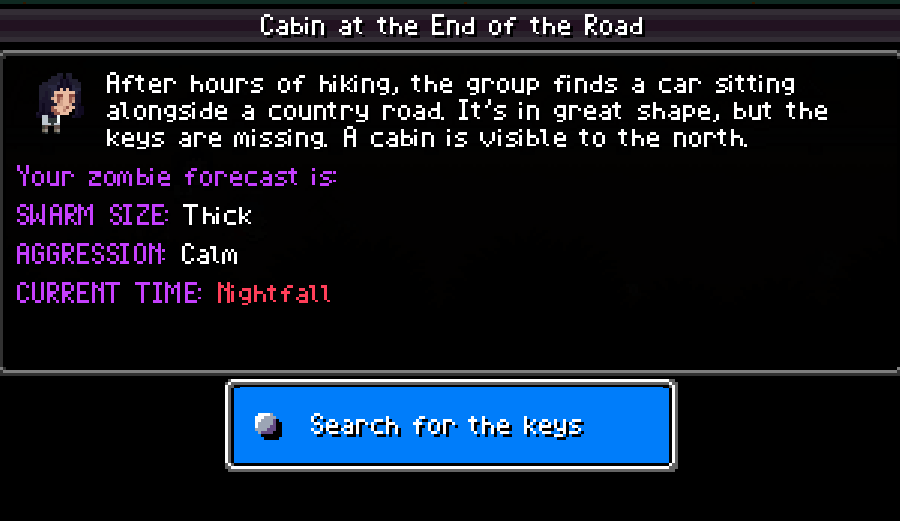
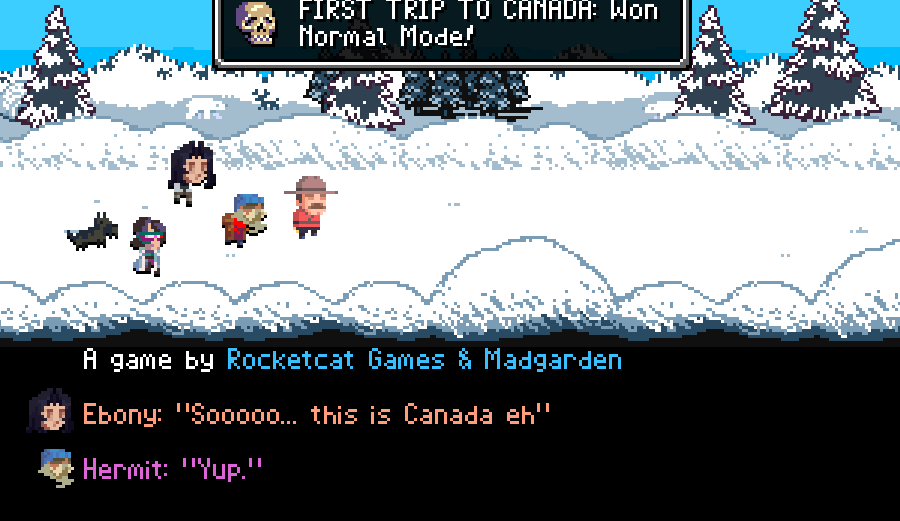
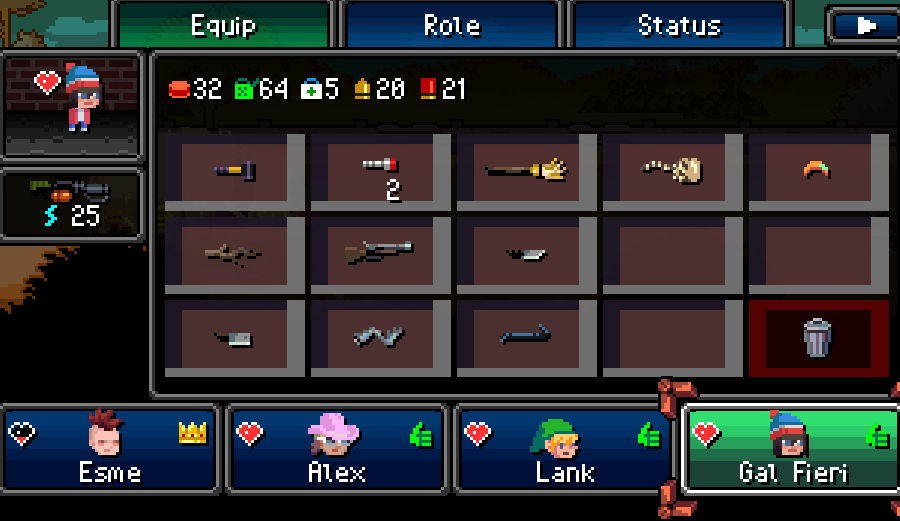
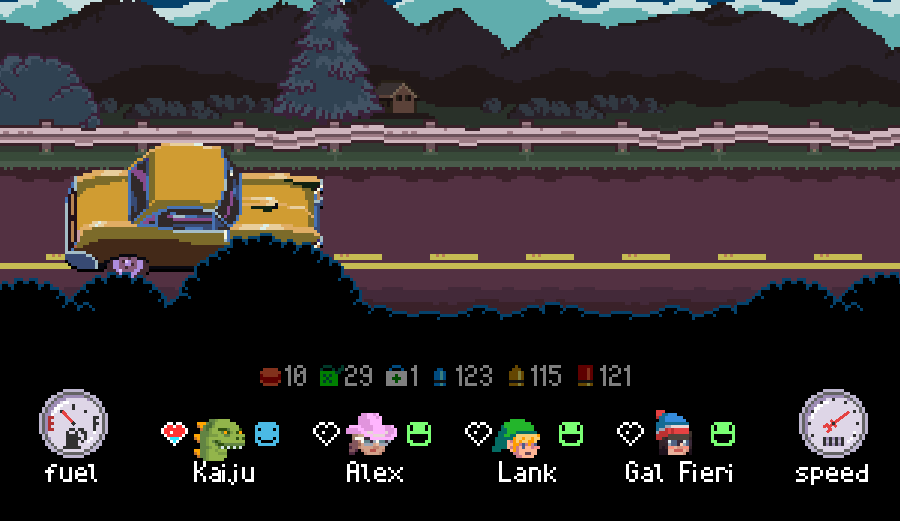
UPDATE 16: LOOKING BACK, ON THE DEATH ROAD: RUN 1
-----
* Tunes: Four Under The Floor *
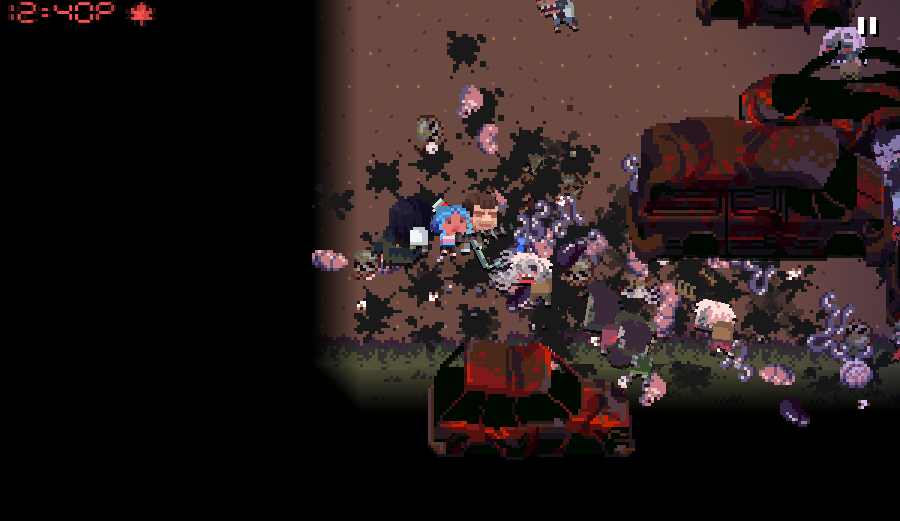
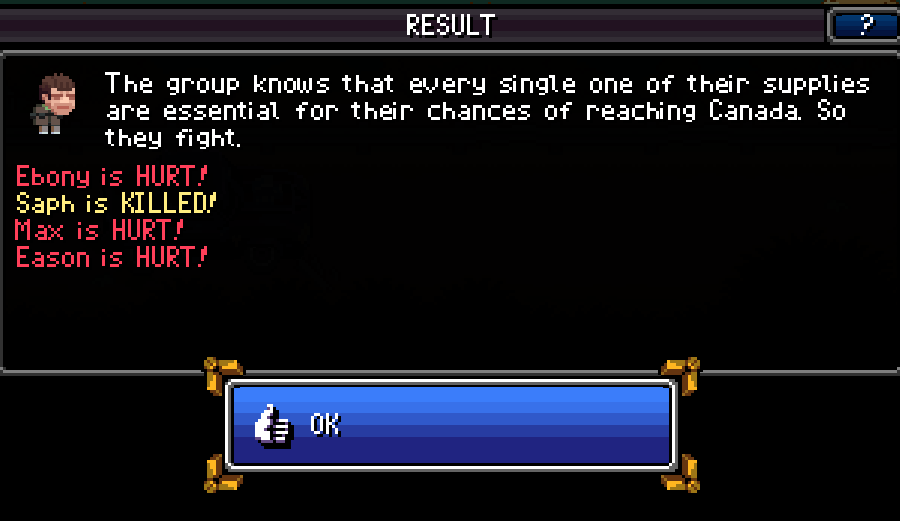
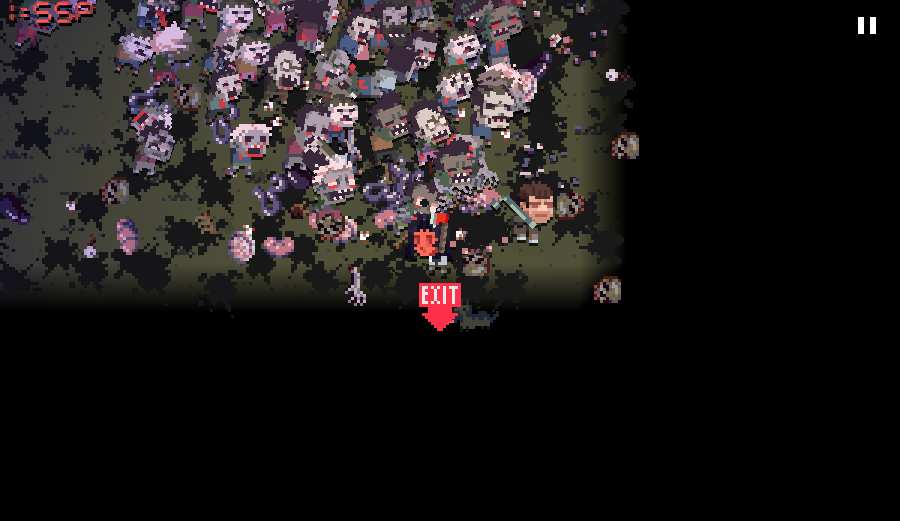
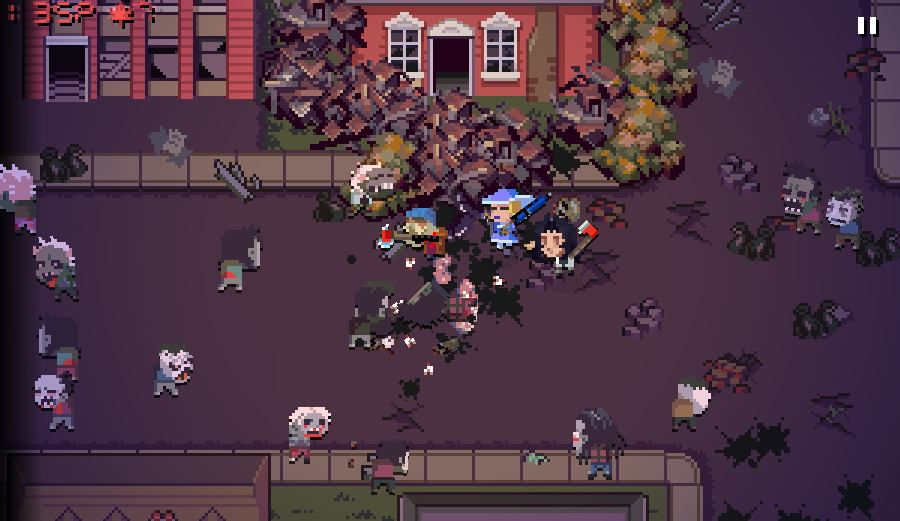
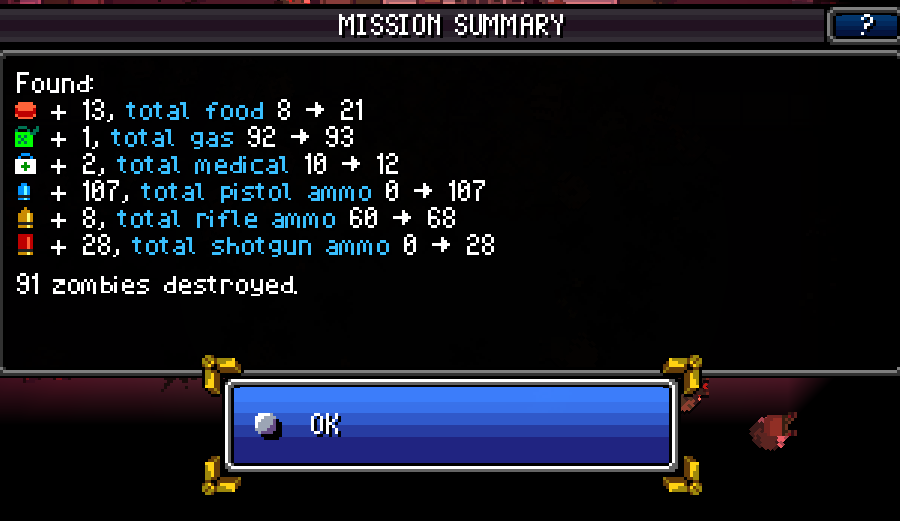
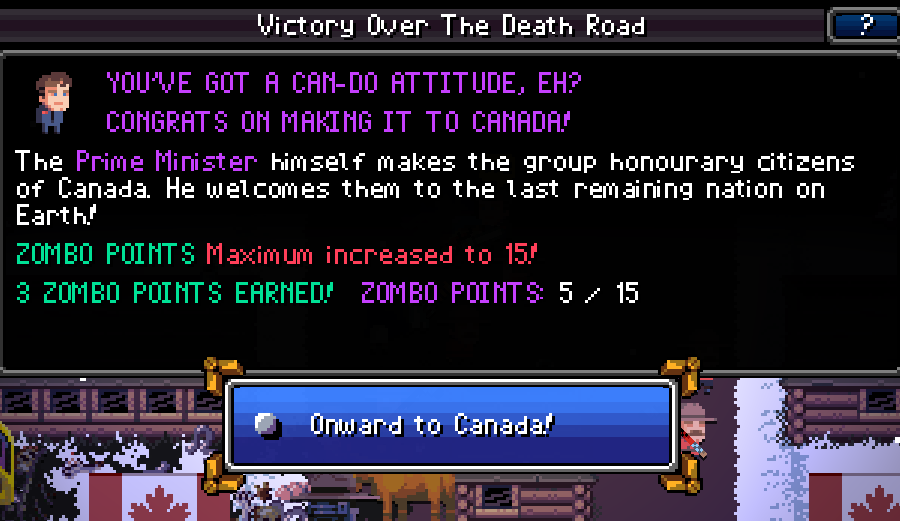
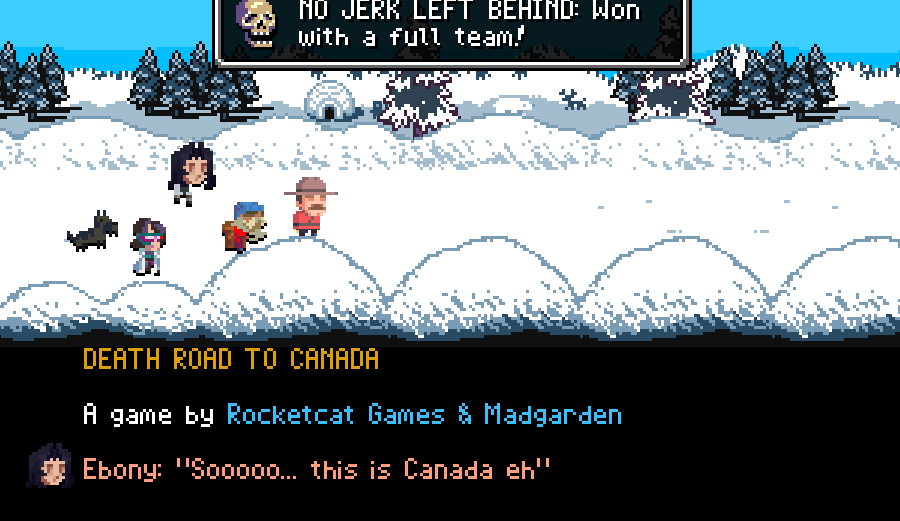
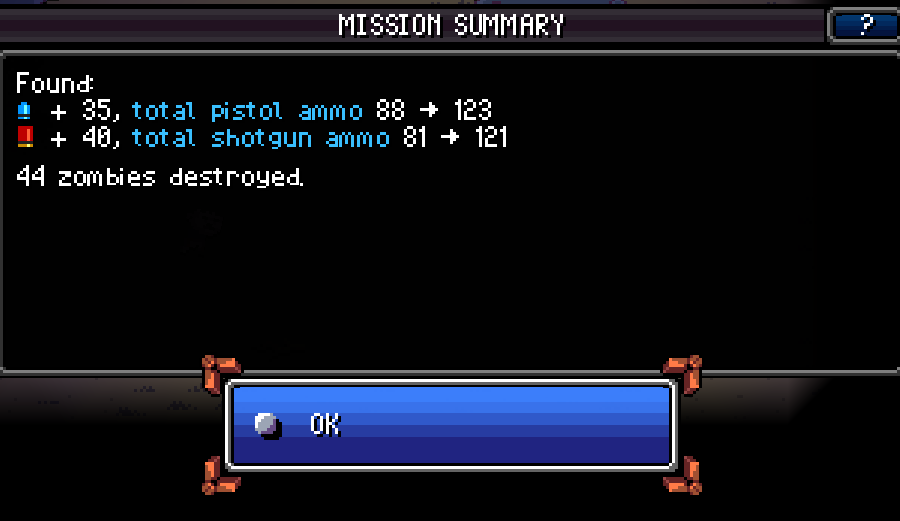
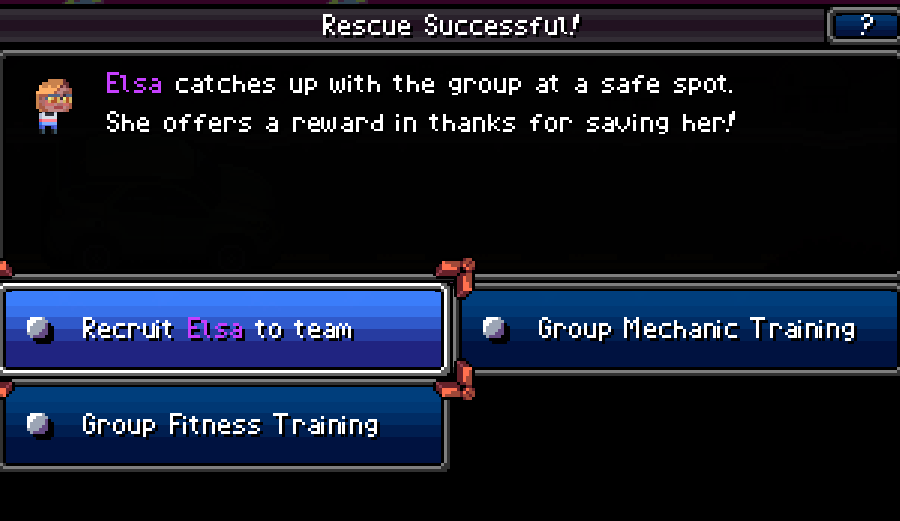
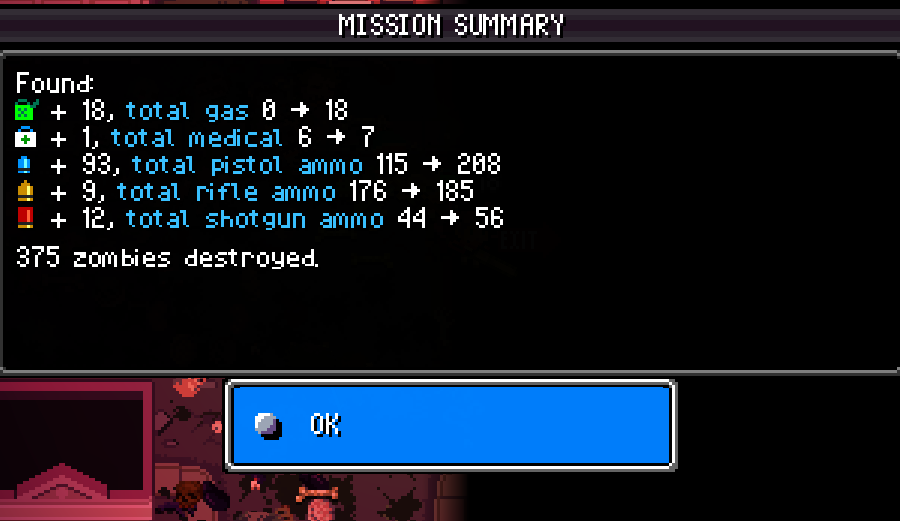
We made it. On the first try! Through a mix of my experience with the game and some spectacular luck, we saw at least Ebony to the end.
RIP Saph.
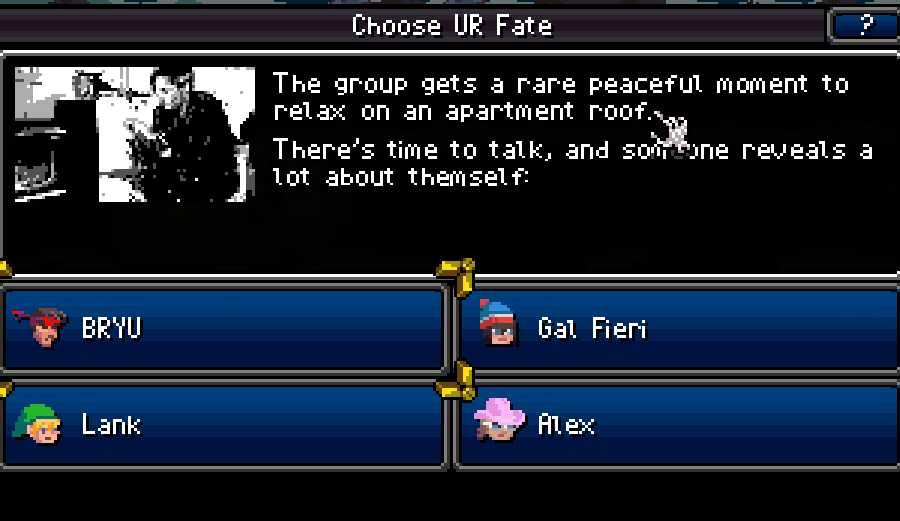
So, this update is gonna be me yapping about mechanics, behind the scenes stuff, and narrative things I didn't have the time to cover.
If you're just wanting the next set of crazy adventures, that'll be the next update.
------------------------------
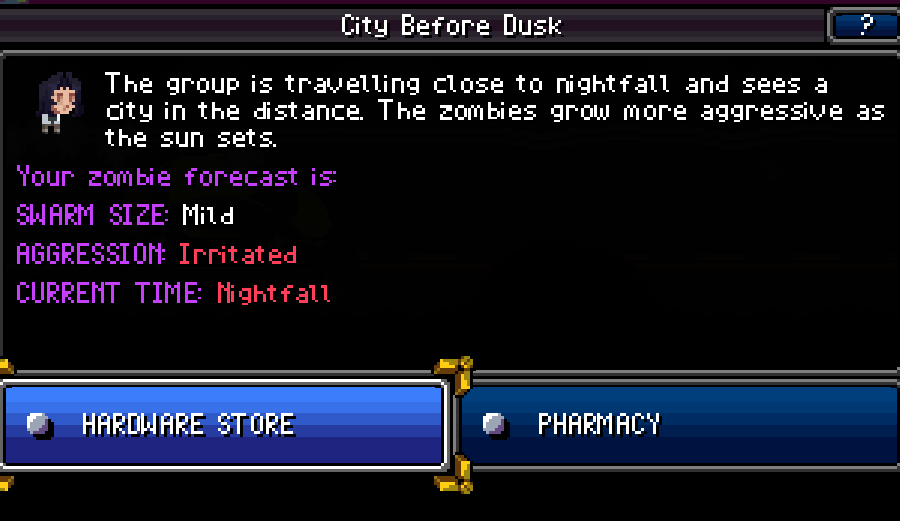
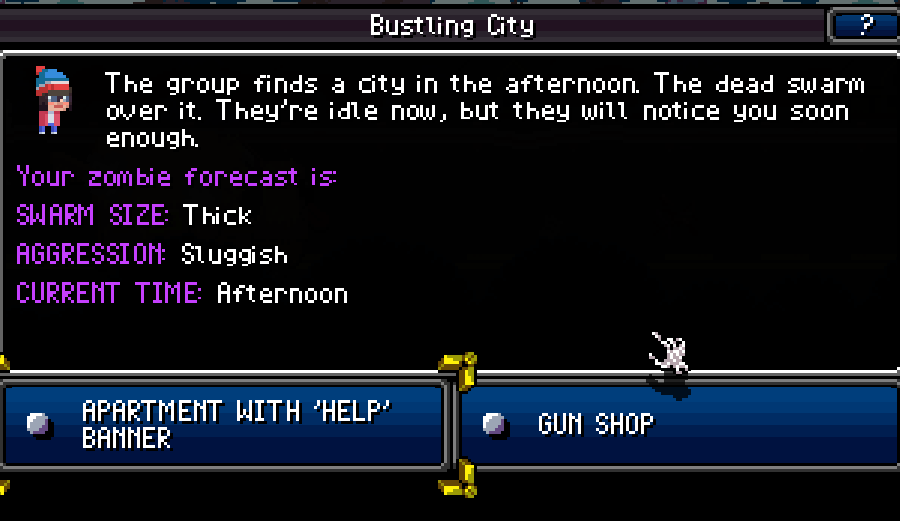
PART 1: LEAVING FLORIDA
------------------------------
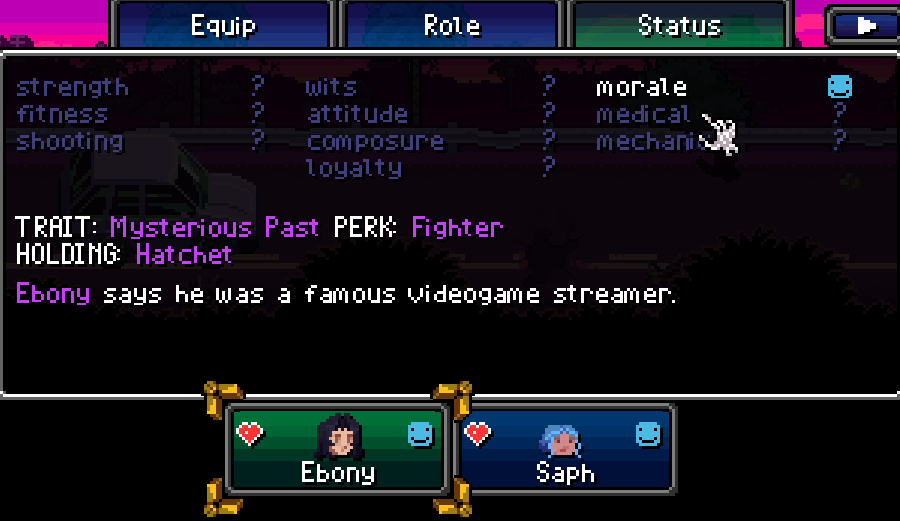
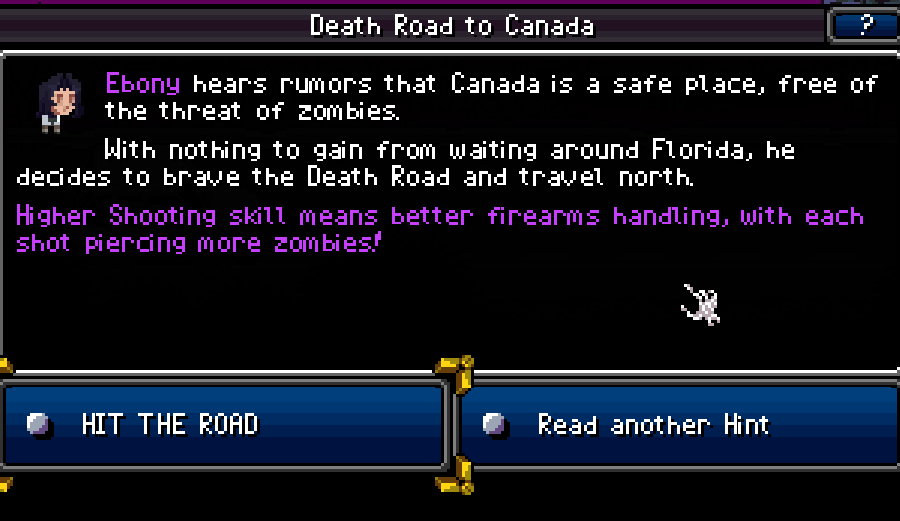
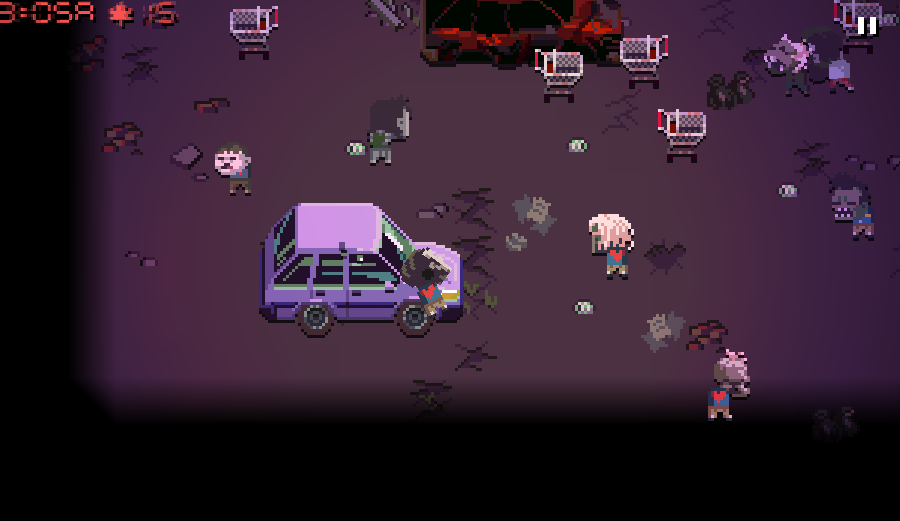
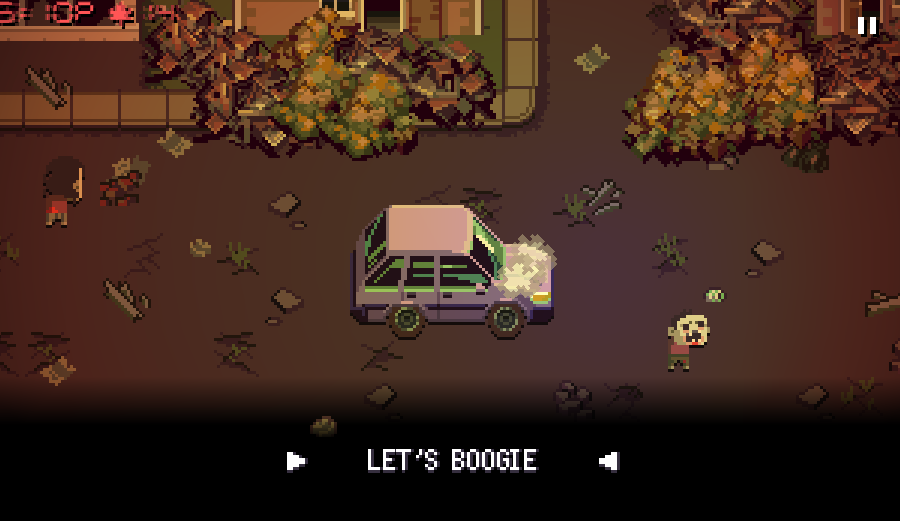
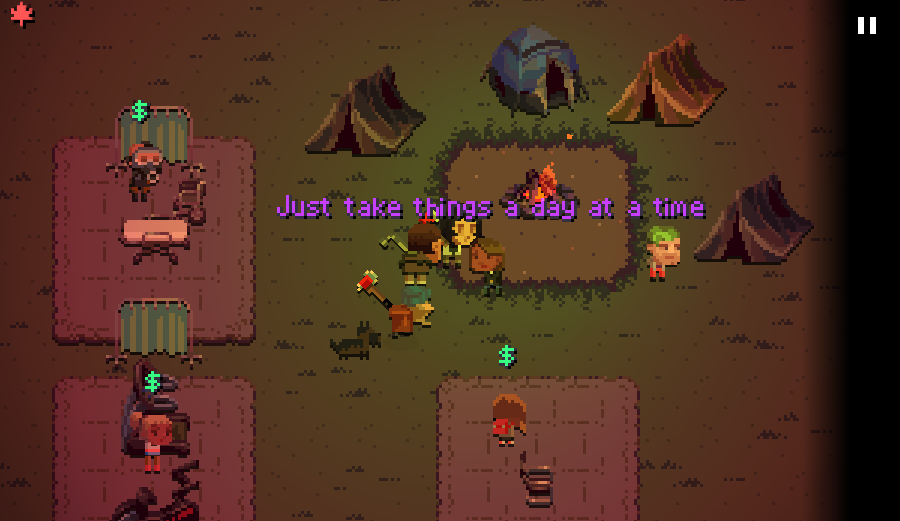
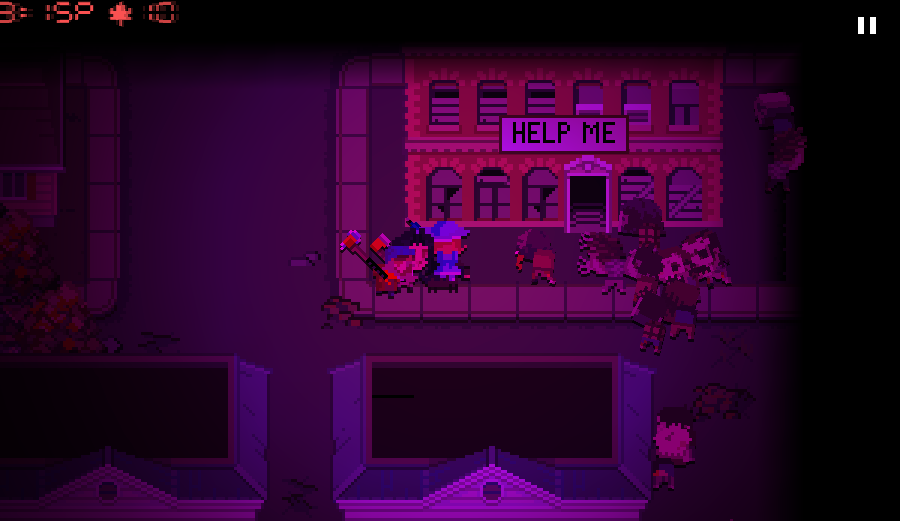
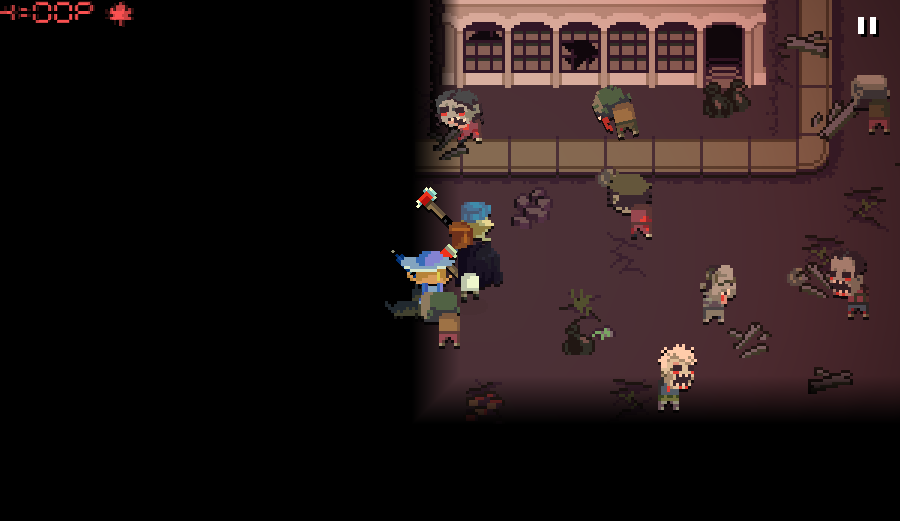
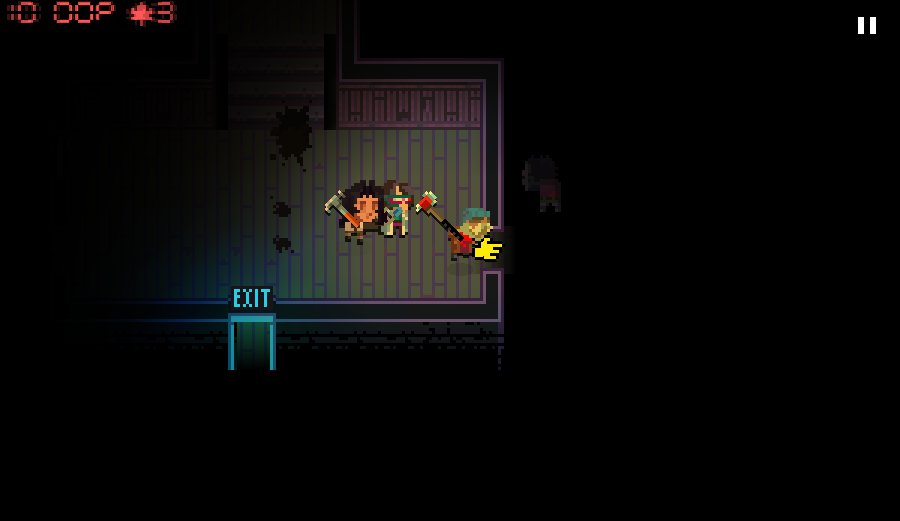
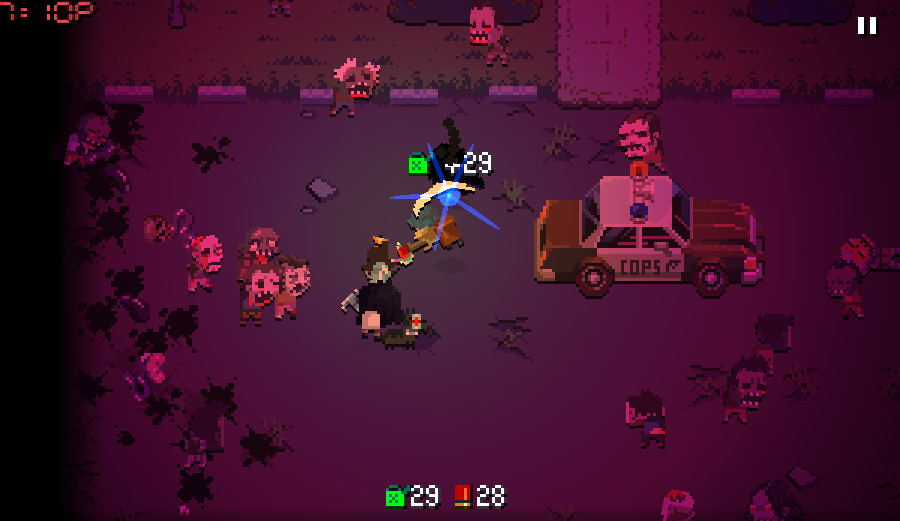
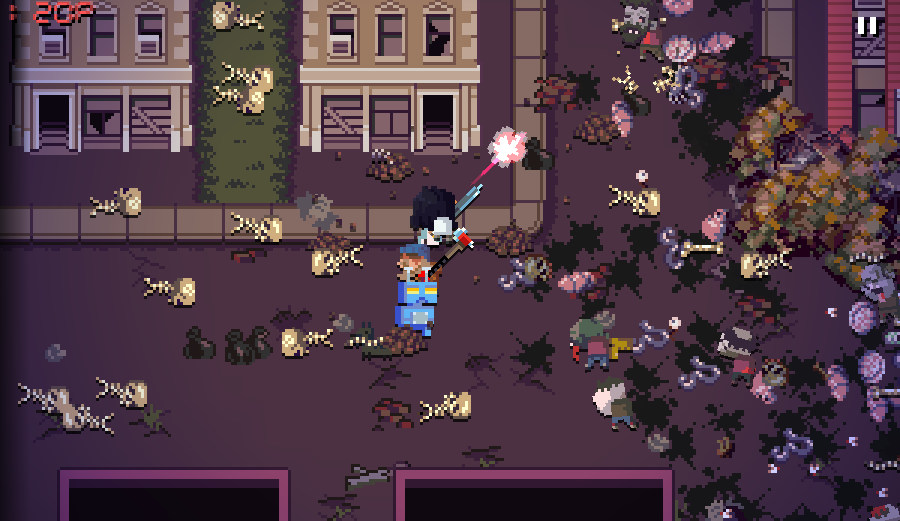
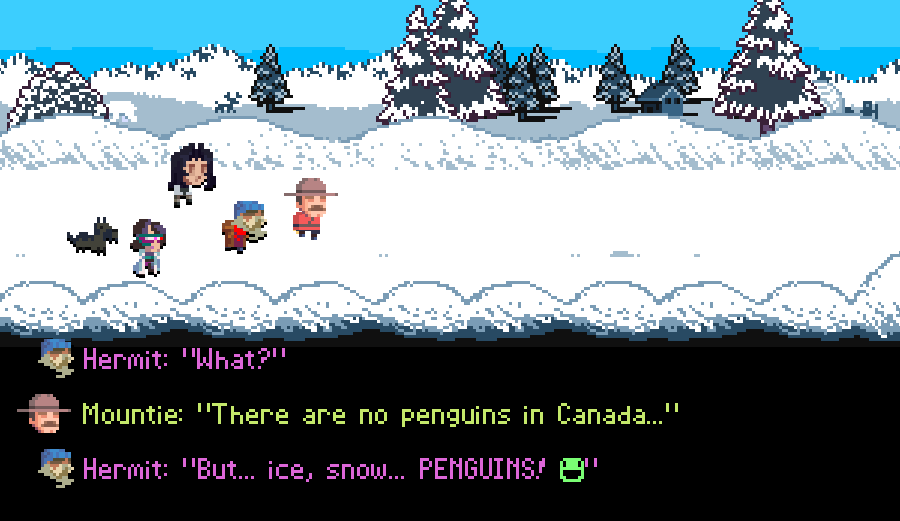
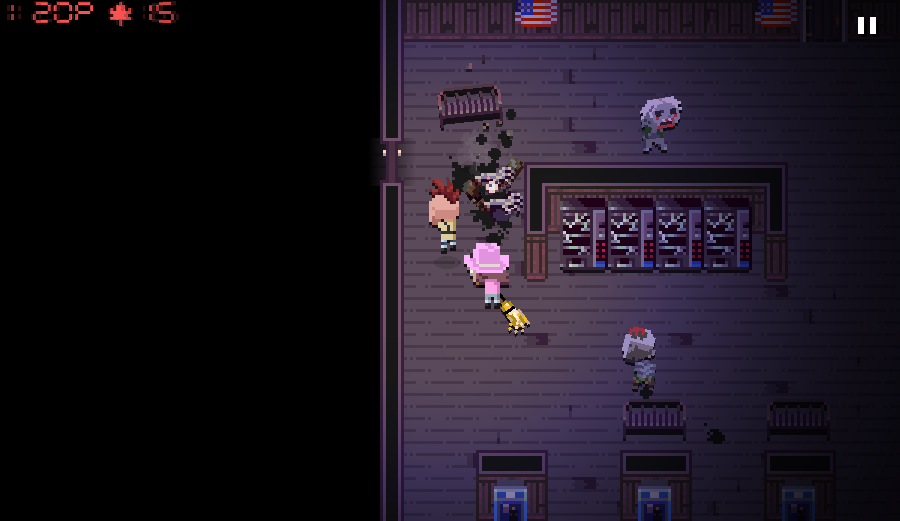
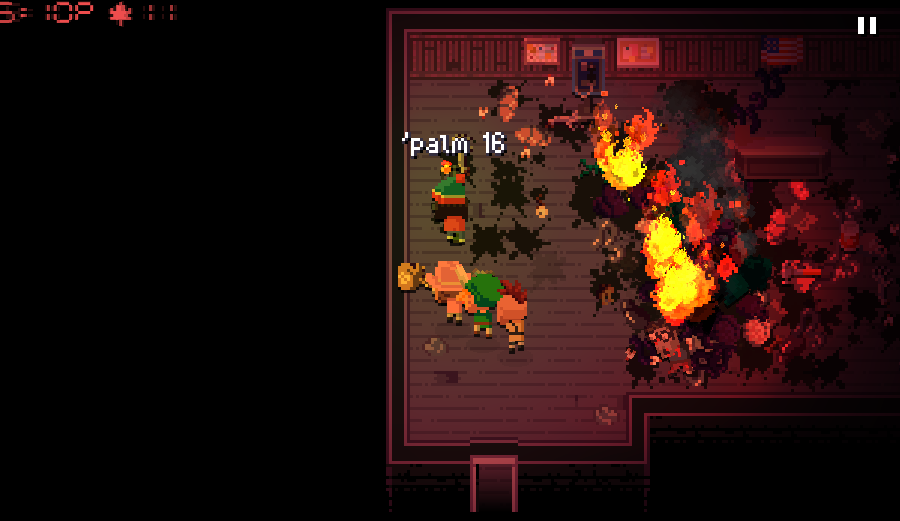
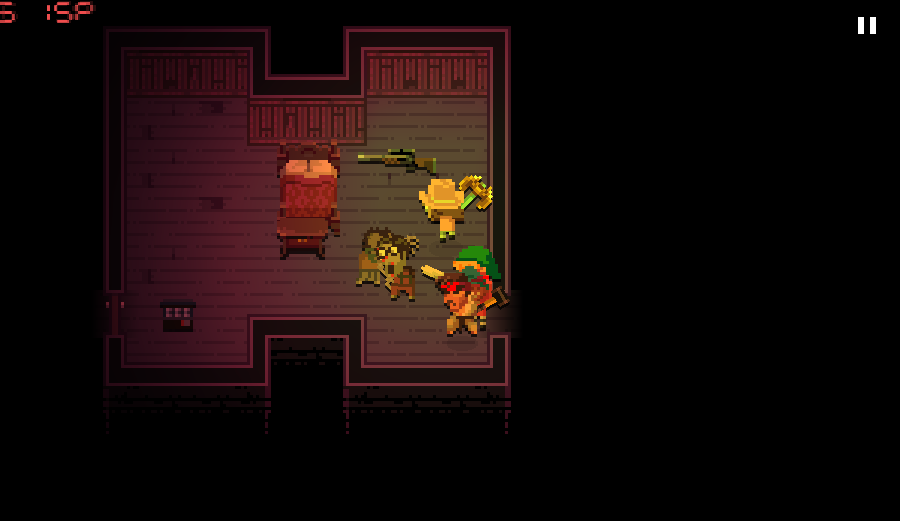
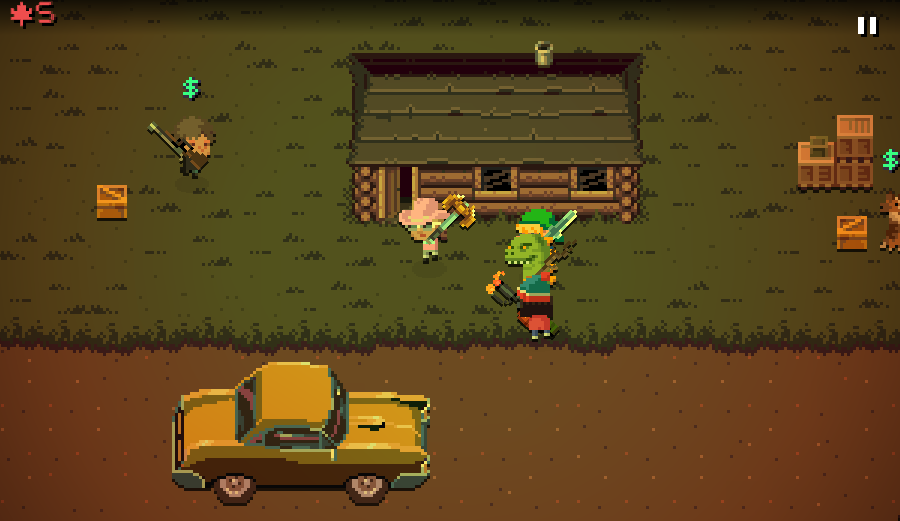
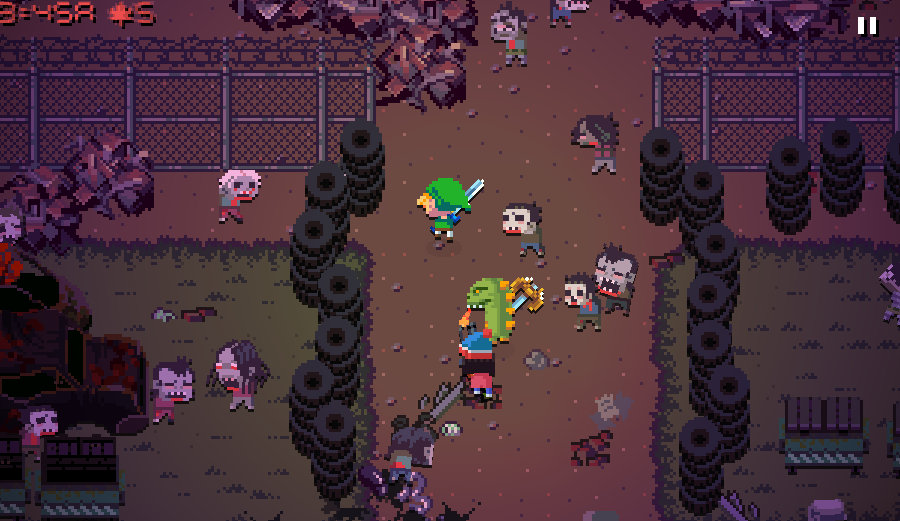
Ebony's a guy, supposedly driving his mom's car and supposedly going to Canada. Nobody really knows but him, he's just that mysterious. He's that guy you feel like you know from somewhere, but you can't really pin down where.
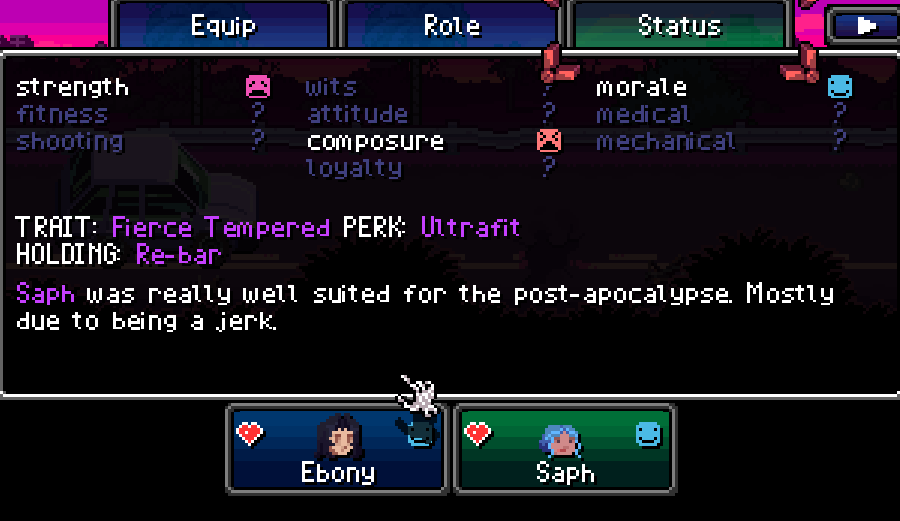
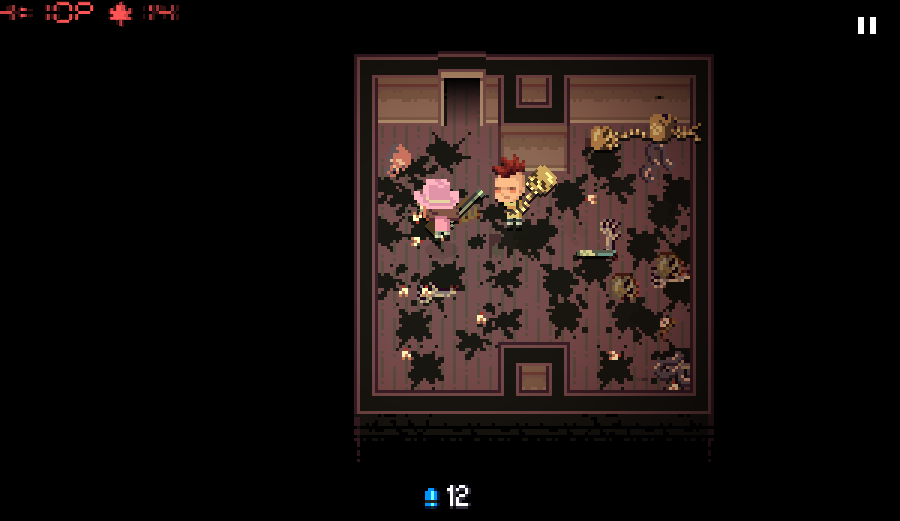
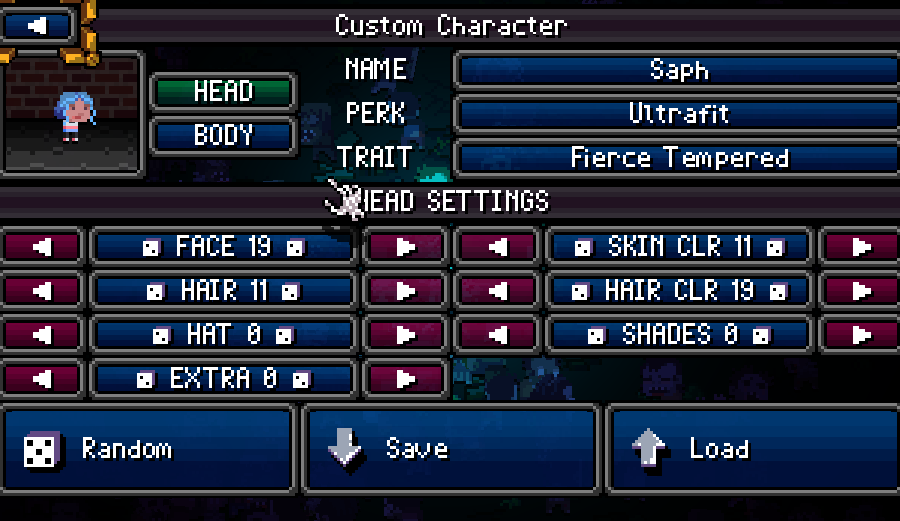
Saph's some gal who just hitched a ride without asking, because anything is better than being stuck in this podunk town now that zombies are a thing. She thinks she's hot stuff and that everyone around her is significantly less cool than she is, and if she does anything, she's going to have to look awesome doing it.
When it came to the flavor text, the game threw me an absolute gift here. Being able to roll with Ebony having this past as a Twinge streamer and Saph being a regular jerk made it very easy for me to come up with the early narrative. I didn't really have much in mind beforehand.
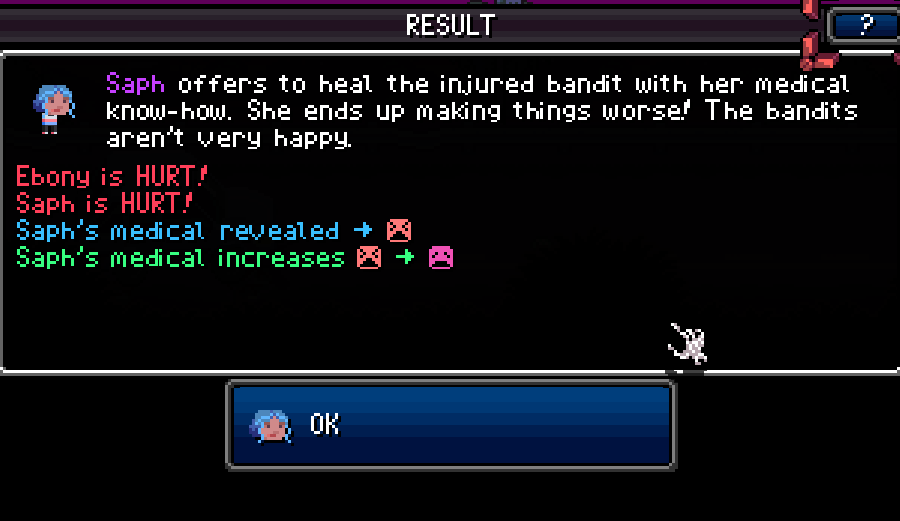
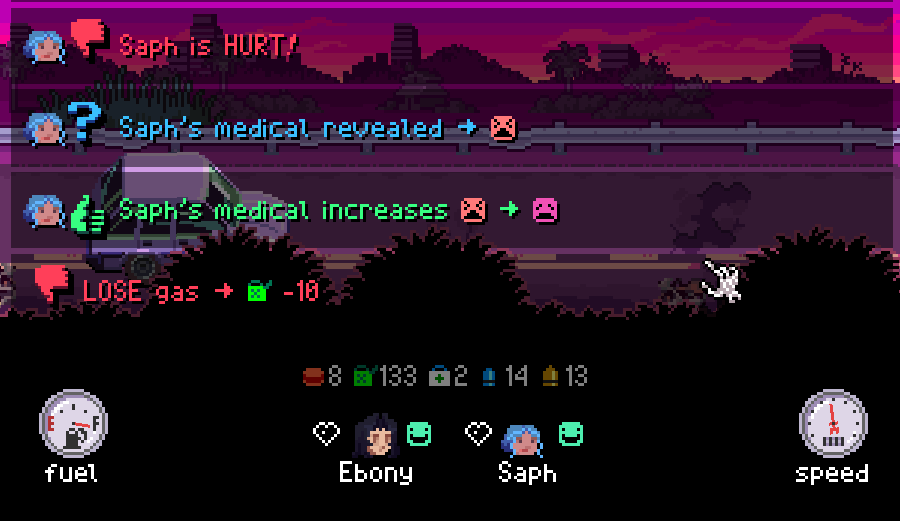
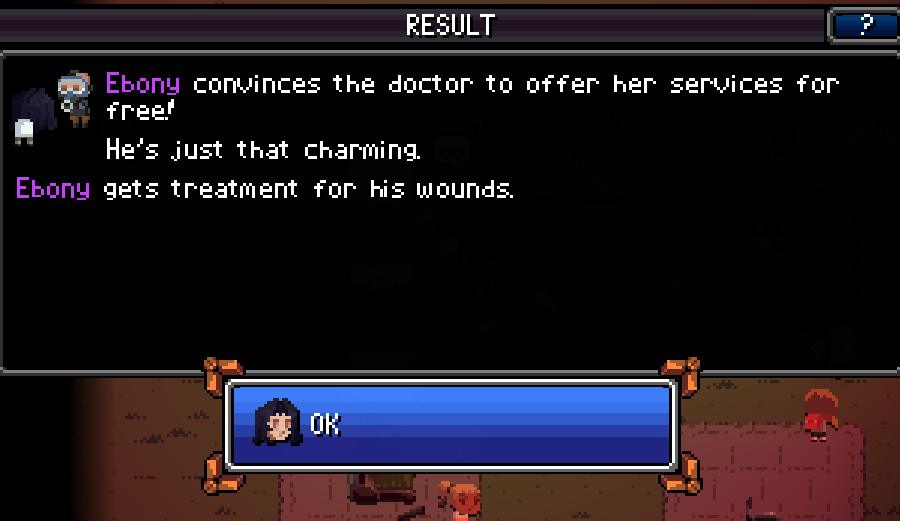
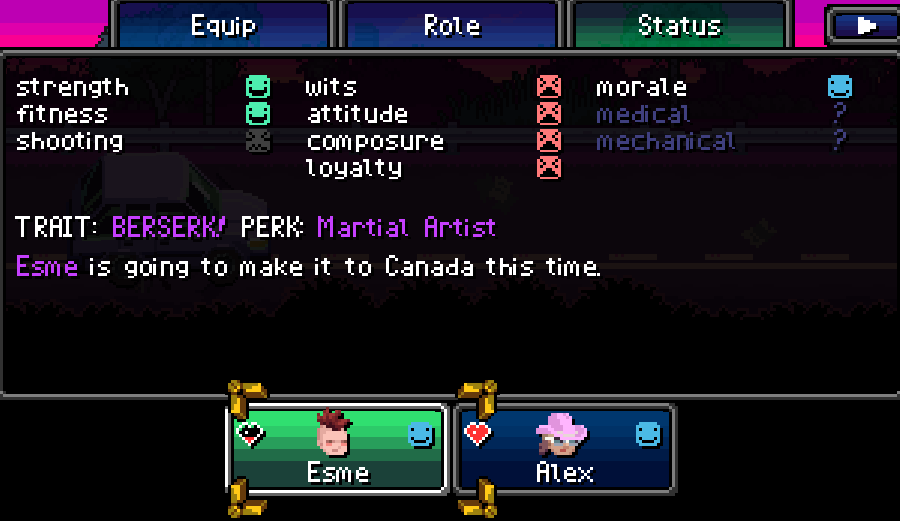
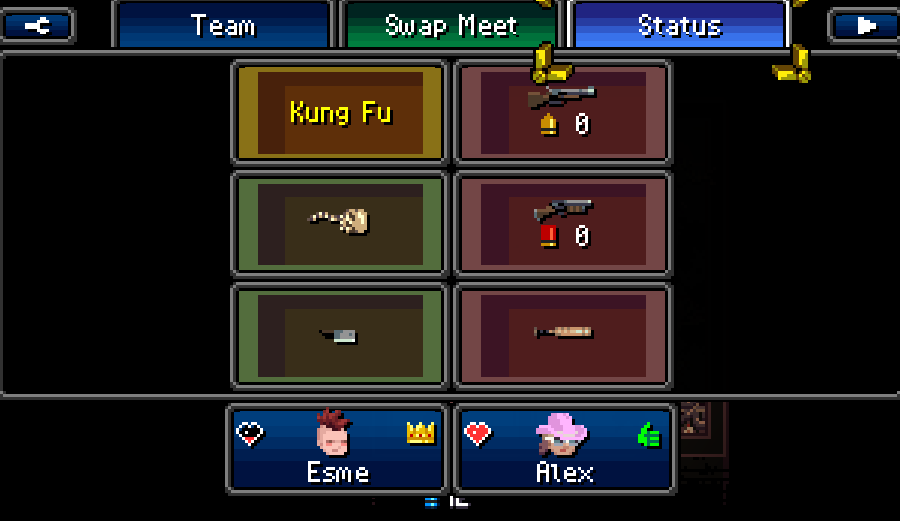
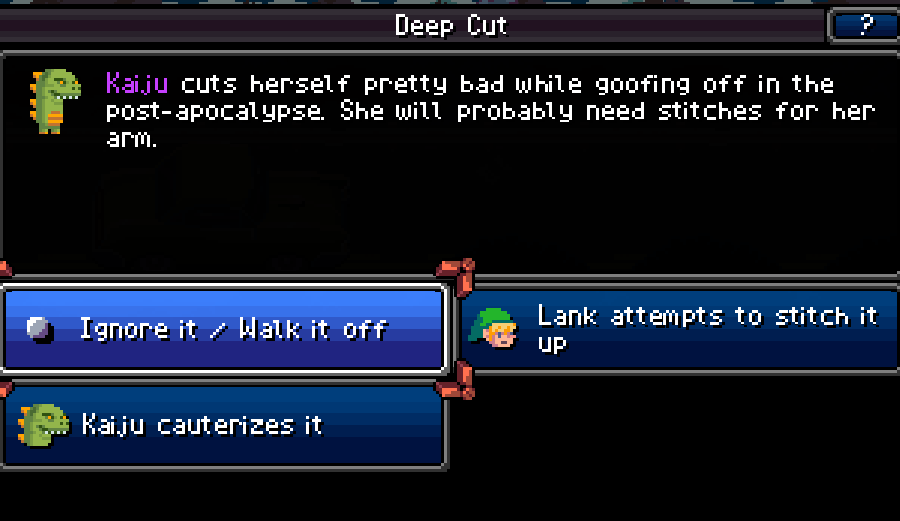
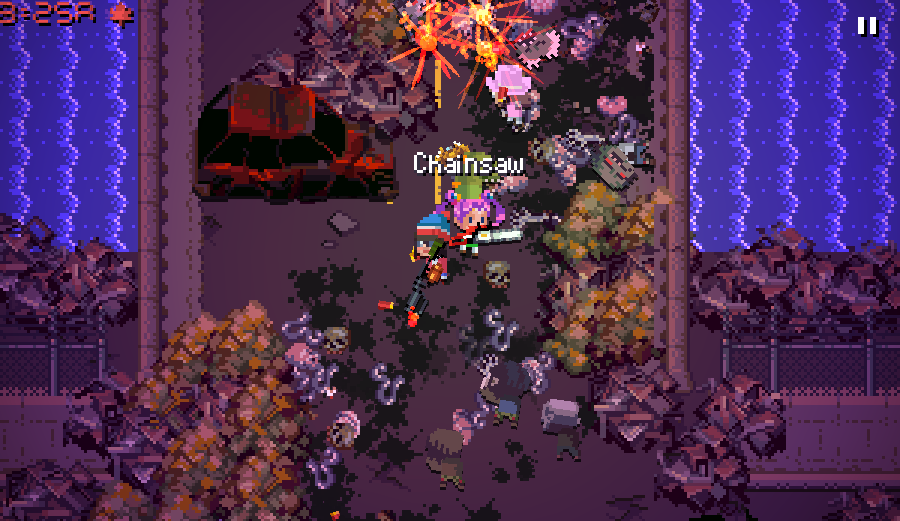
Mechanically, they're both combat oriented characters, and that's a decent party setup to go with from the start. It does however leave you vulnerable to random events that are support skill checks, such as the wounded bandit we see later.
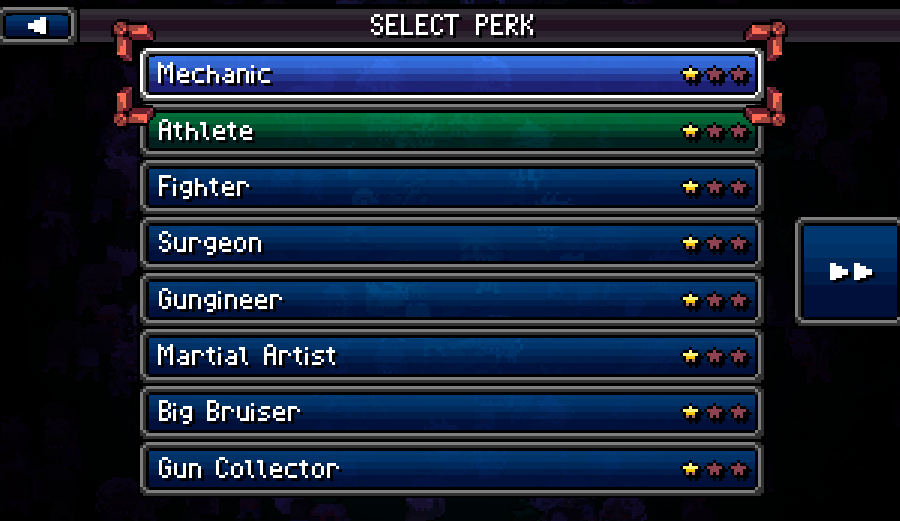
My preferred team is one character all-in on strength and fitness with stuff like Big Bruiser, Berserk, TSTC, and Athletic, and the other character being an absolute skill monkey who loads up Mechanical and Medical.
Early in the game, one particularly strong character can handle all the zombies on their own, and the weaker support character can focus on killing downed zombies.
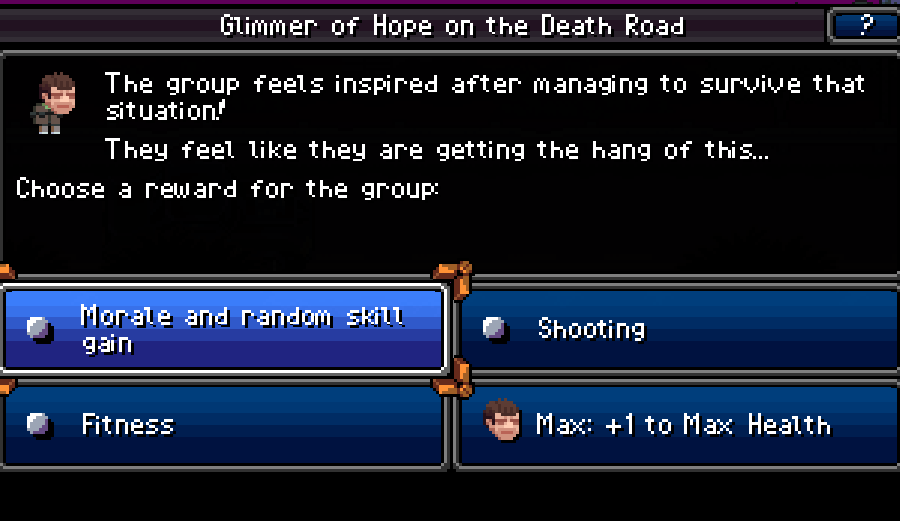
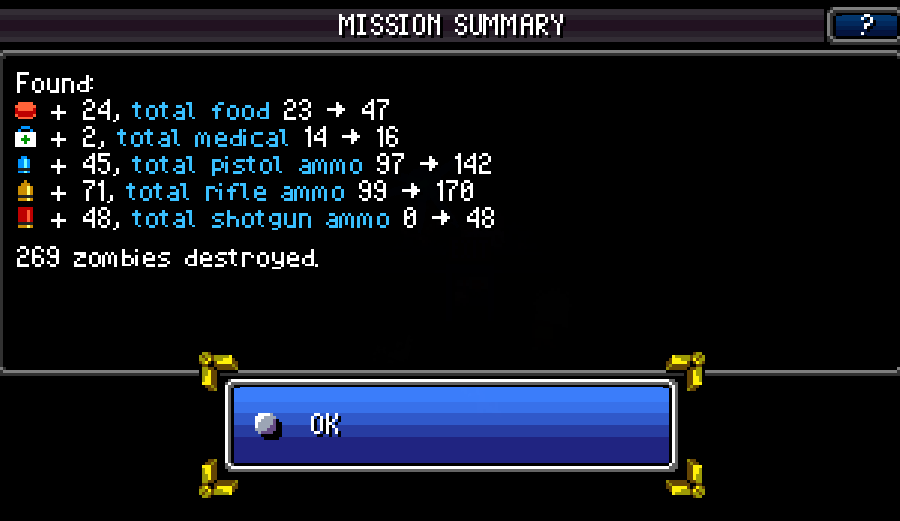
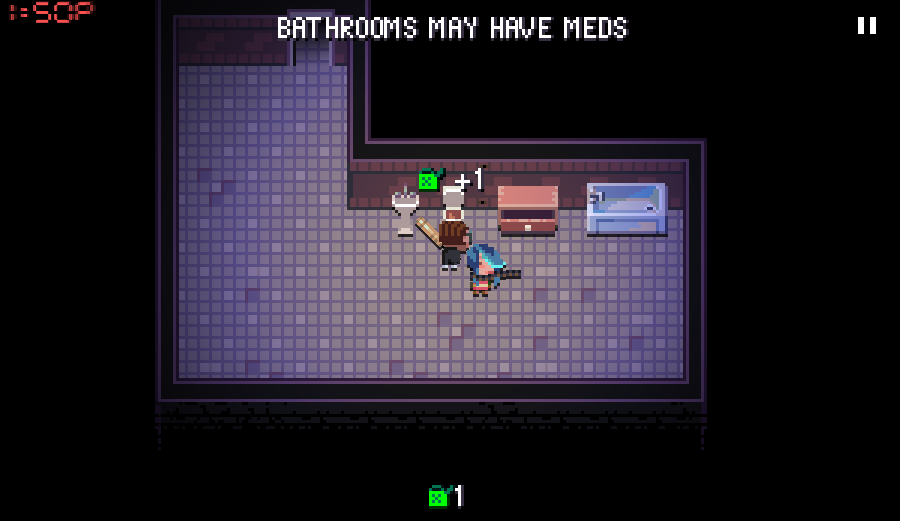
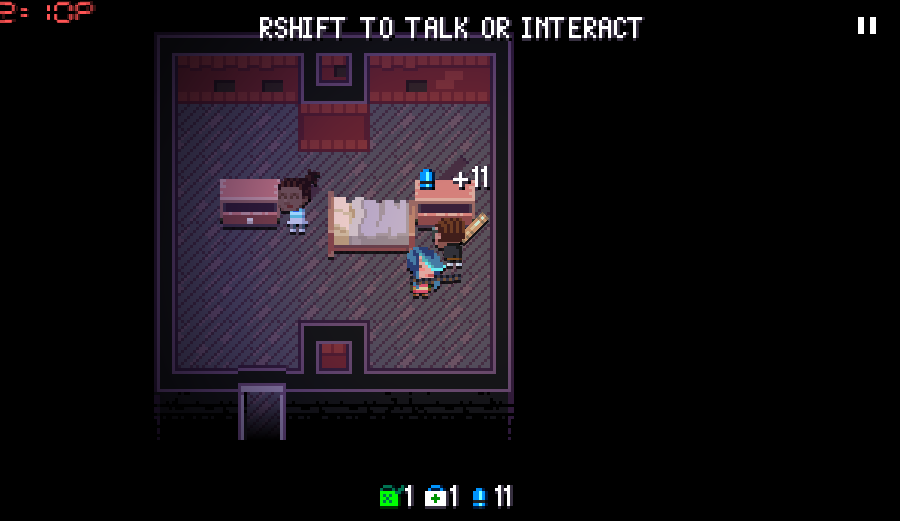
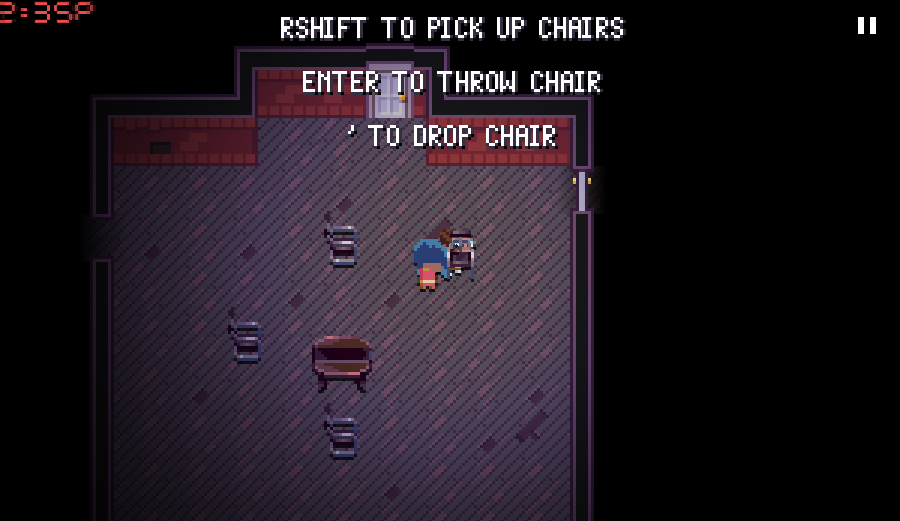
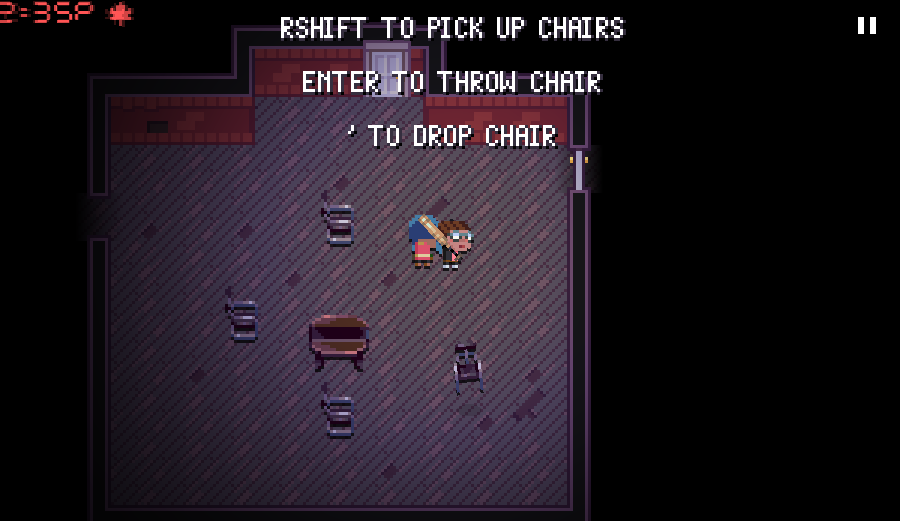
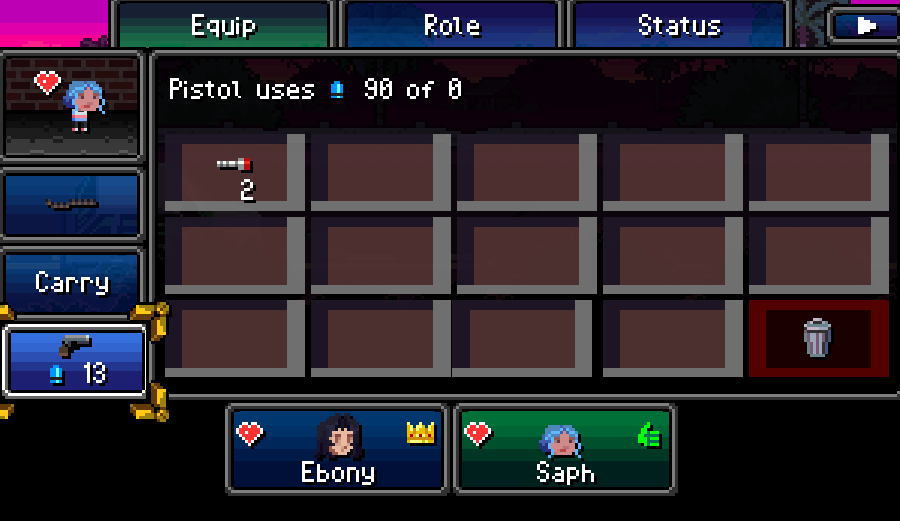
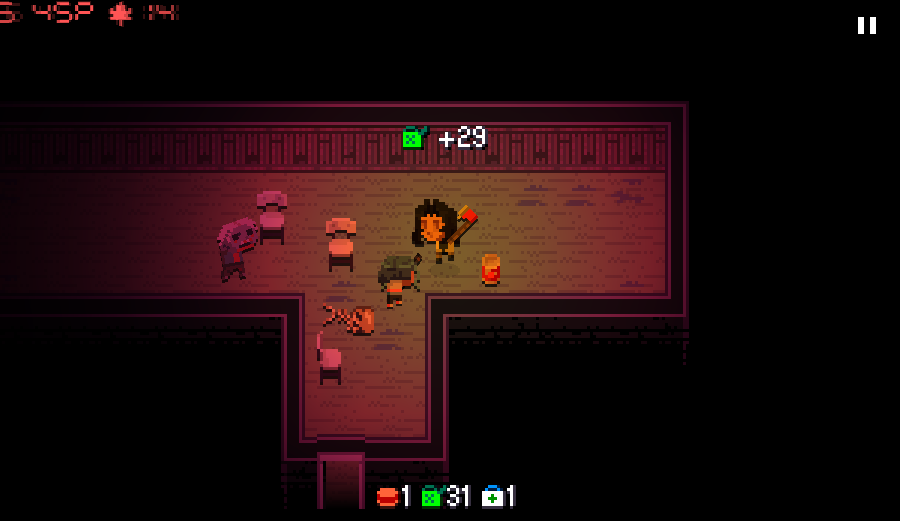
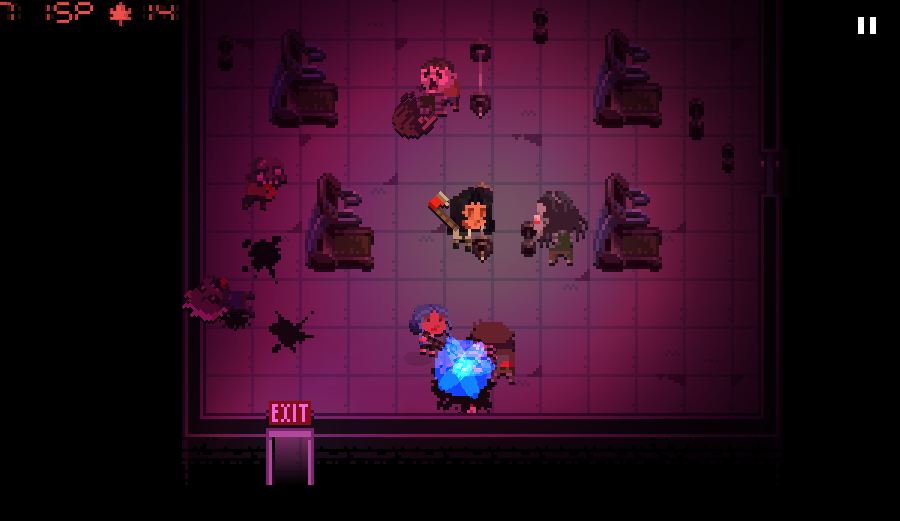
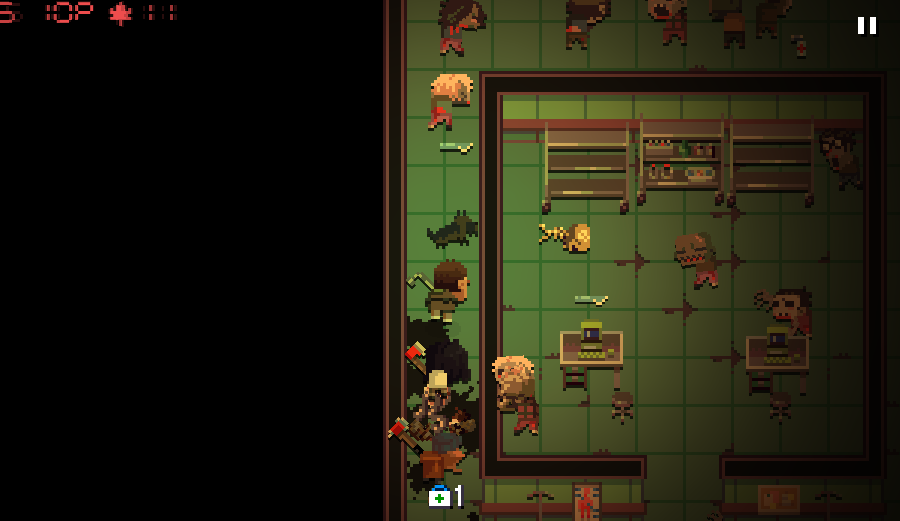
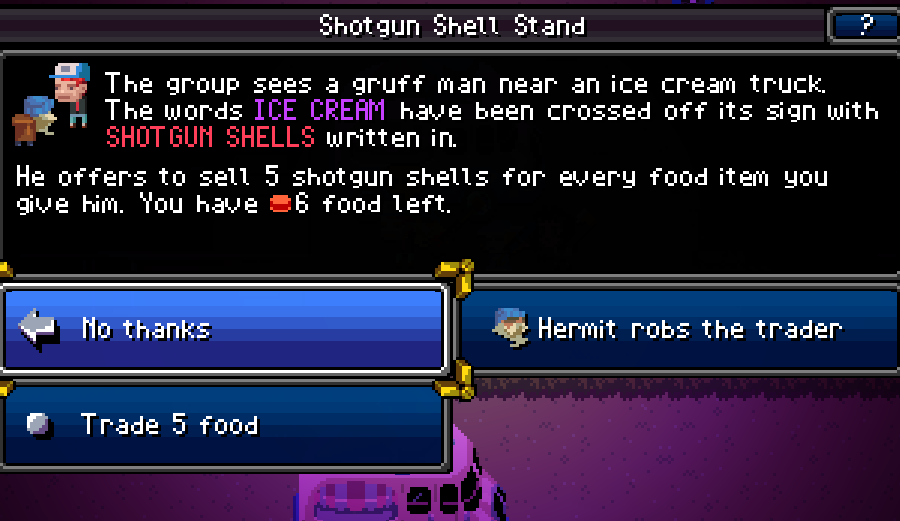
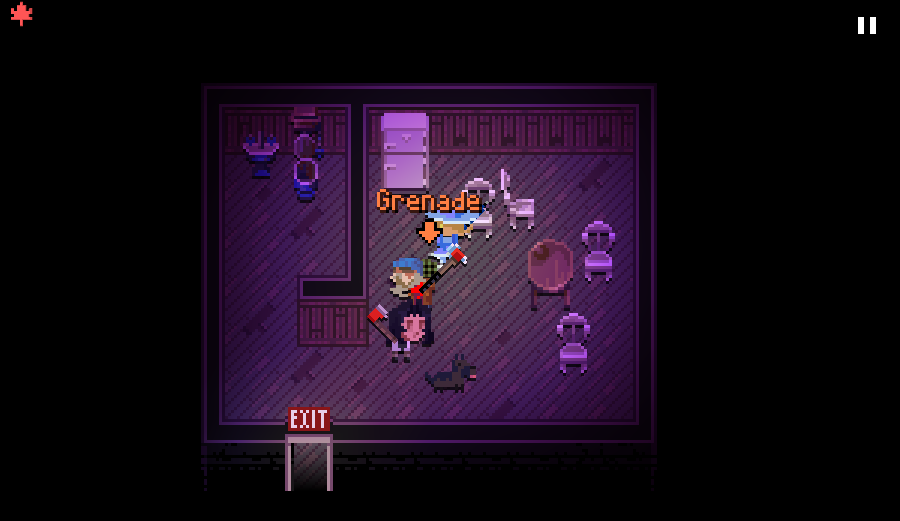
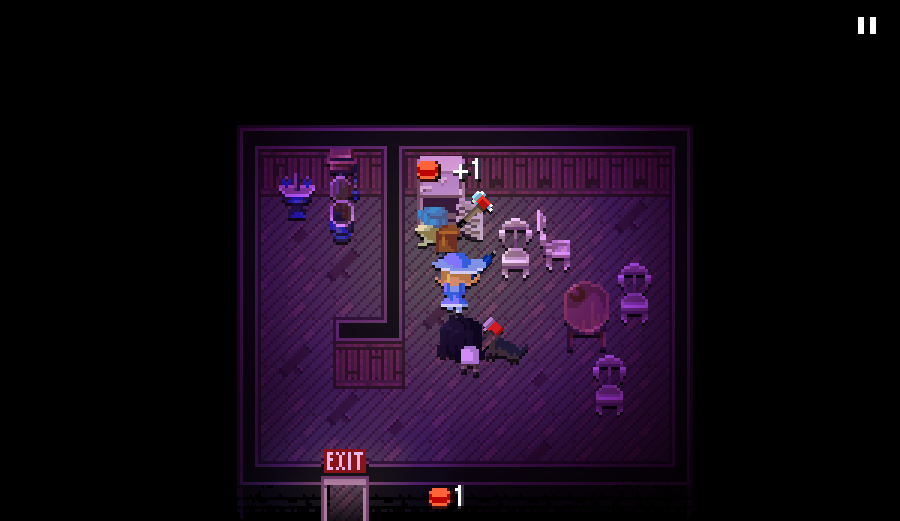
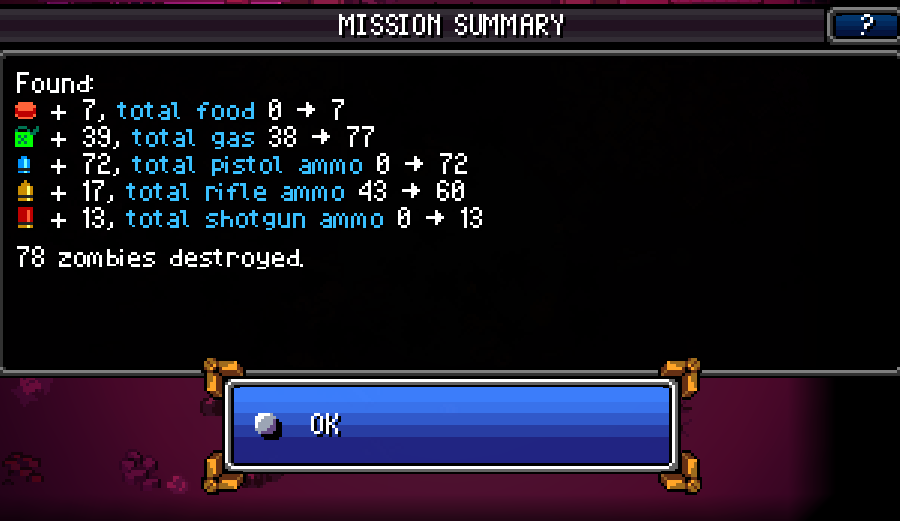
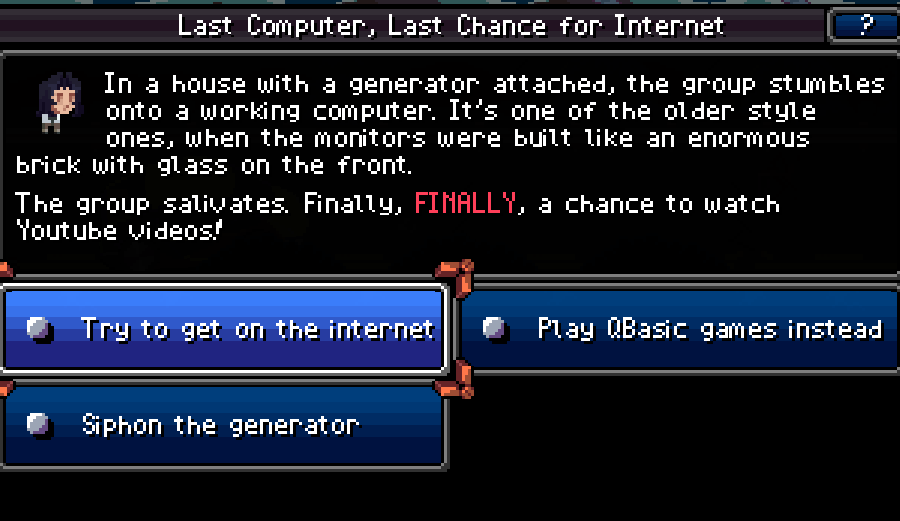
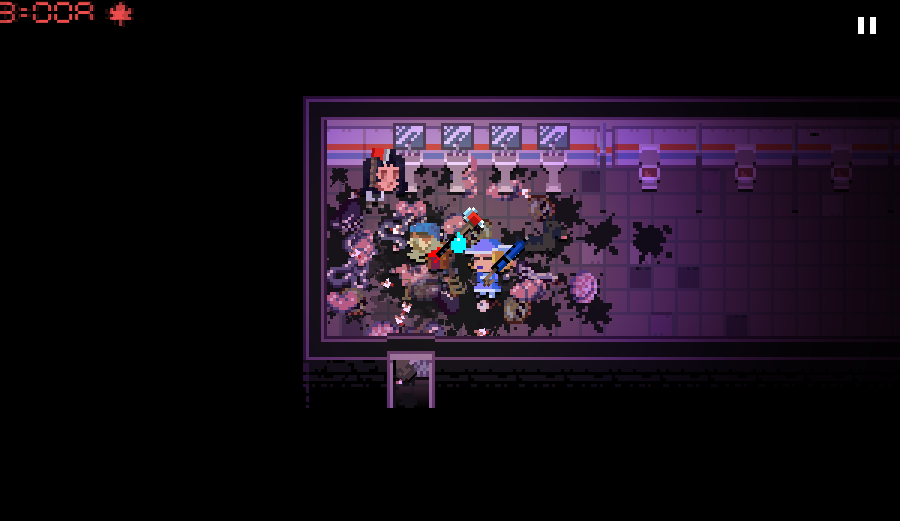
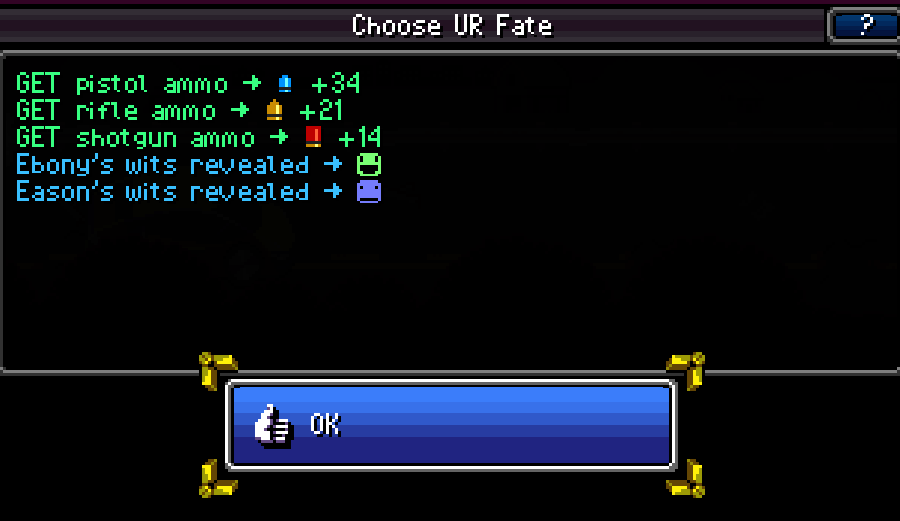
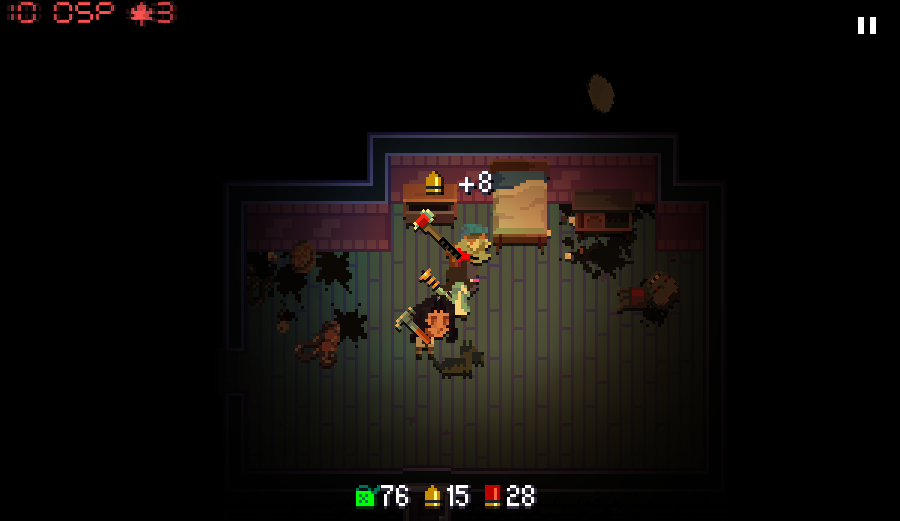
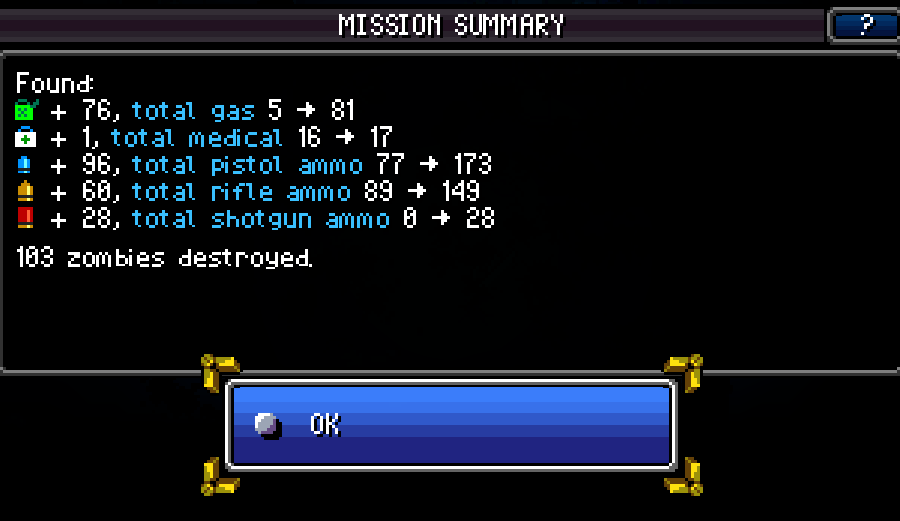
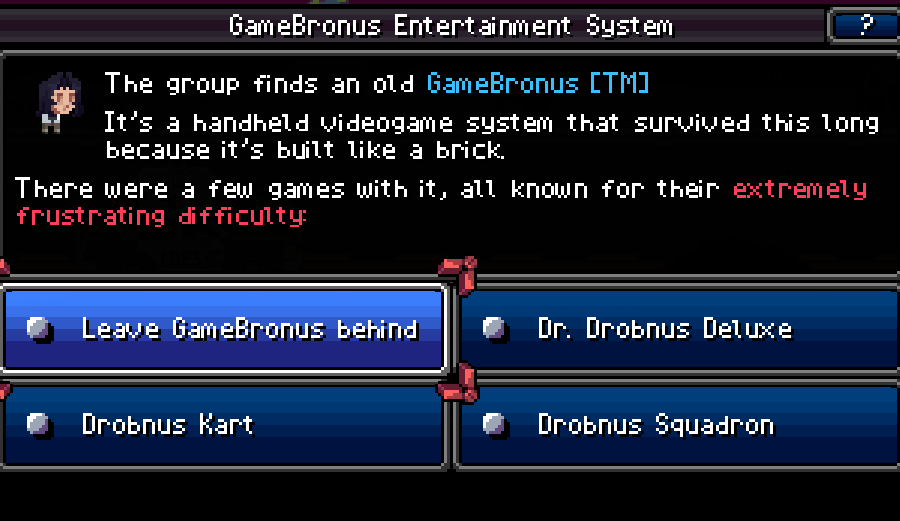
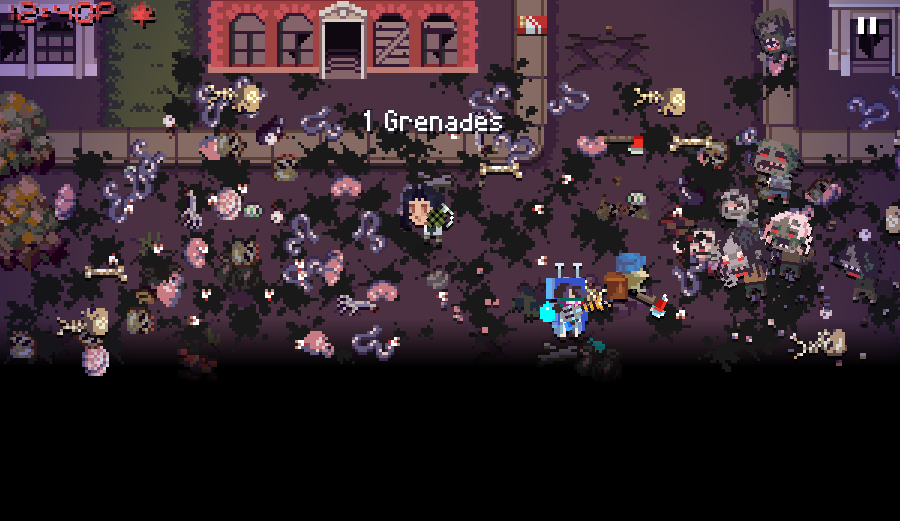
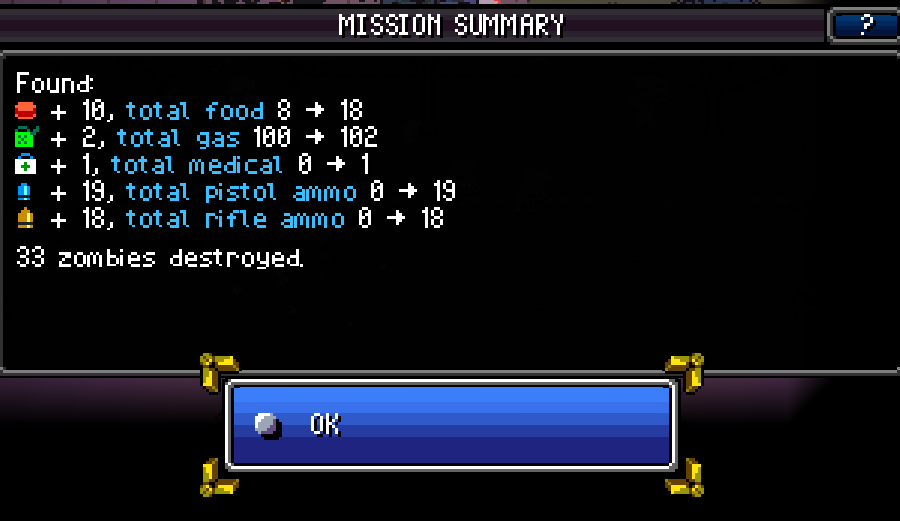
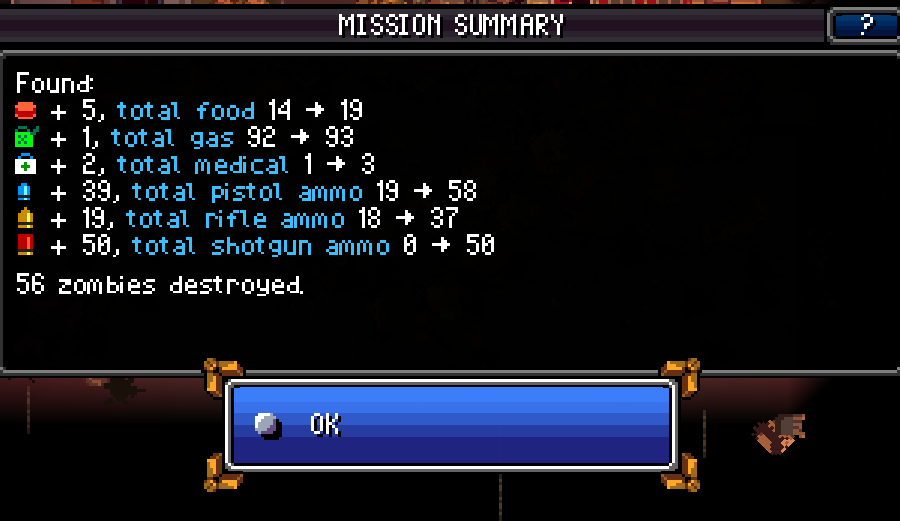
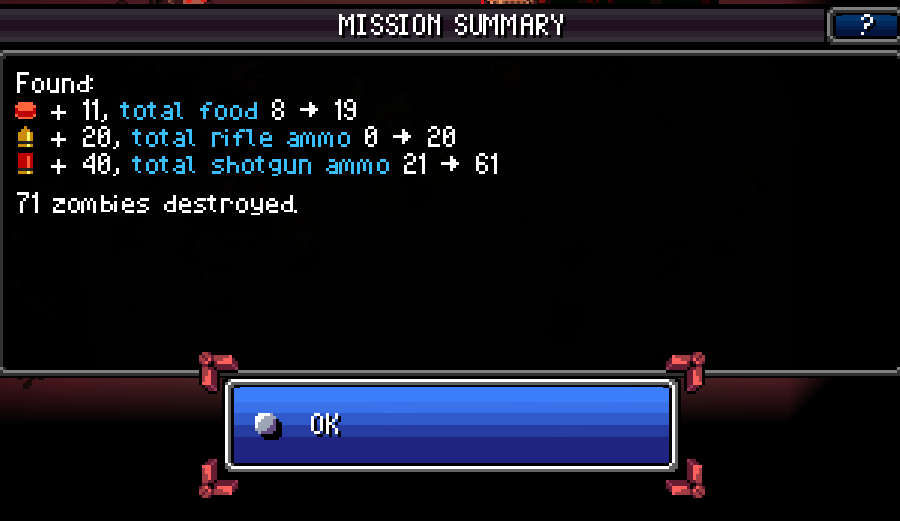
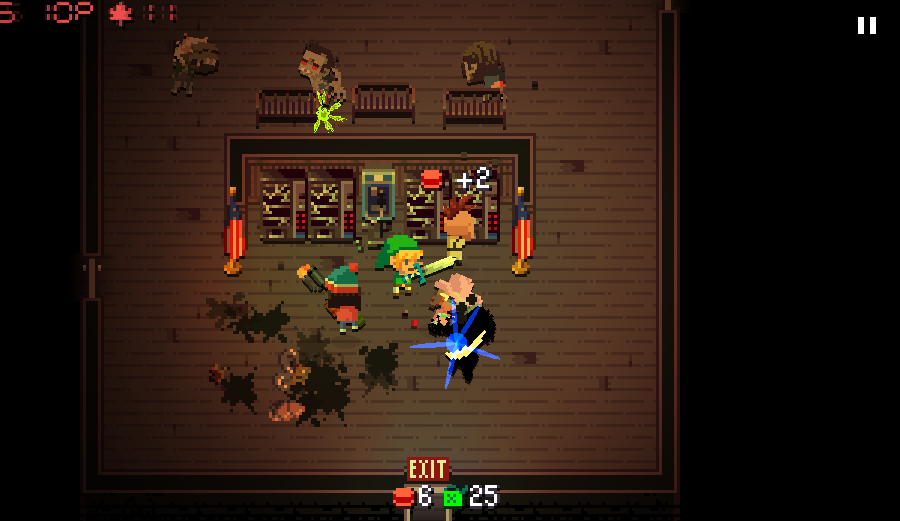
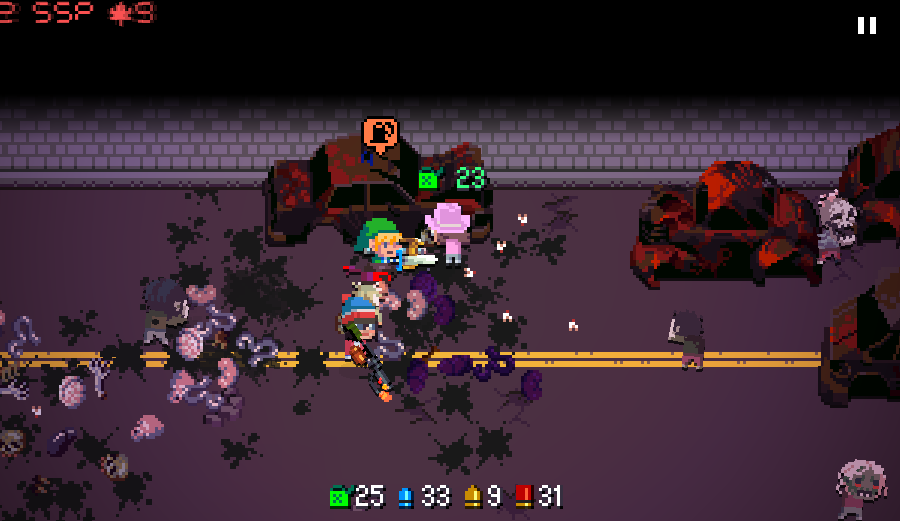
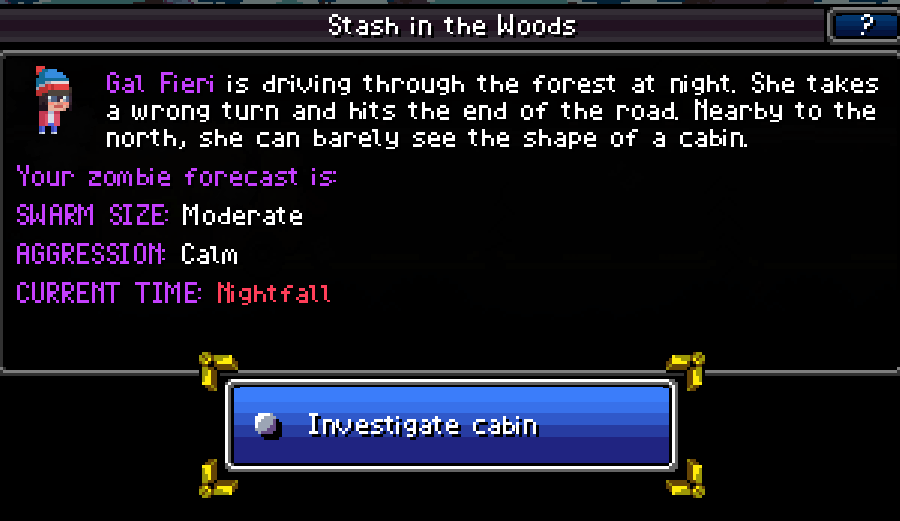
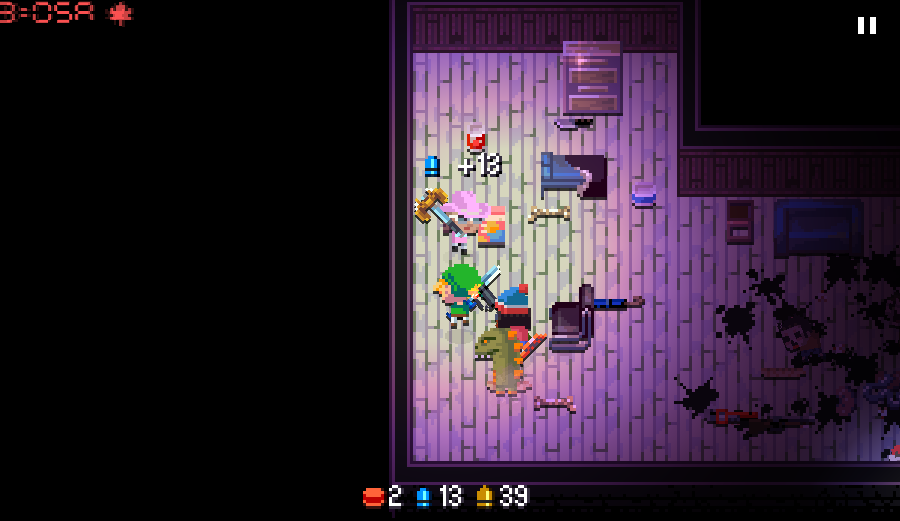
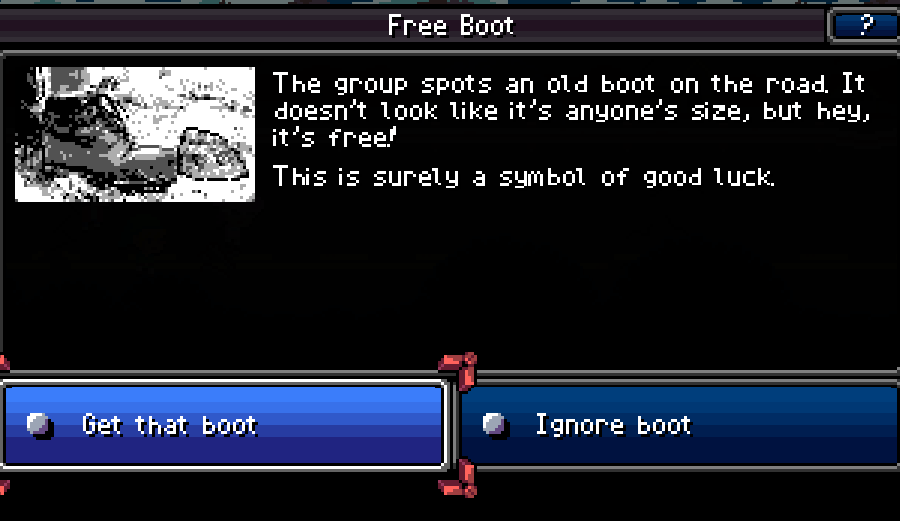
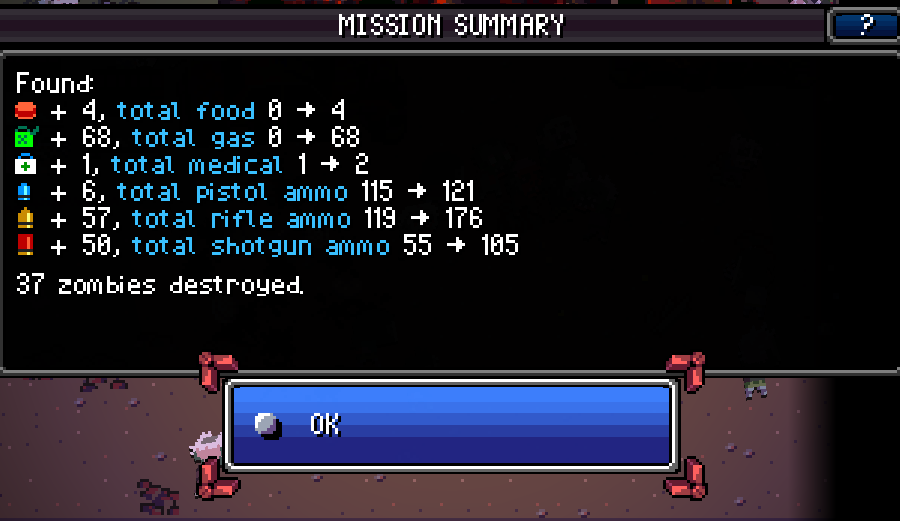
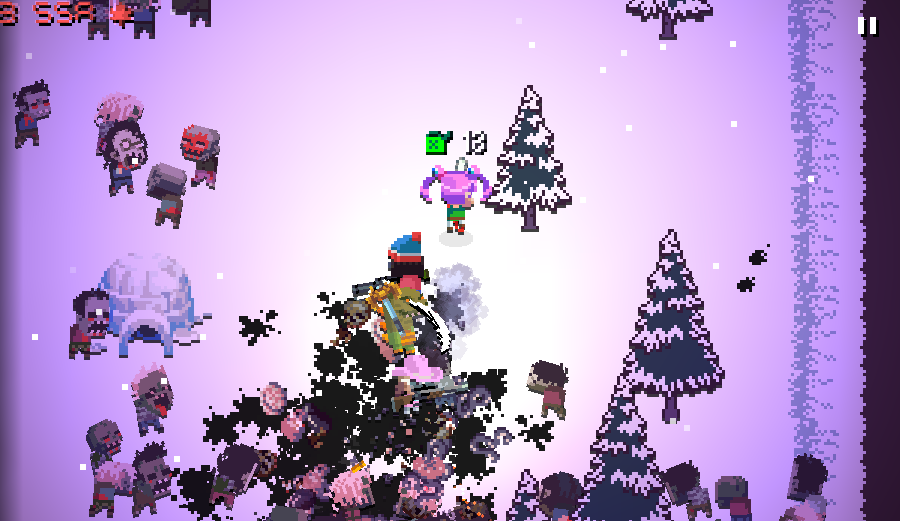
The reason why we've been looting toilets all run is that once you open 100 of them, (or just 50 with a perk,) a special event happens. We'll eventually get to see what it is, so I'll keep it a surprise for now.
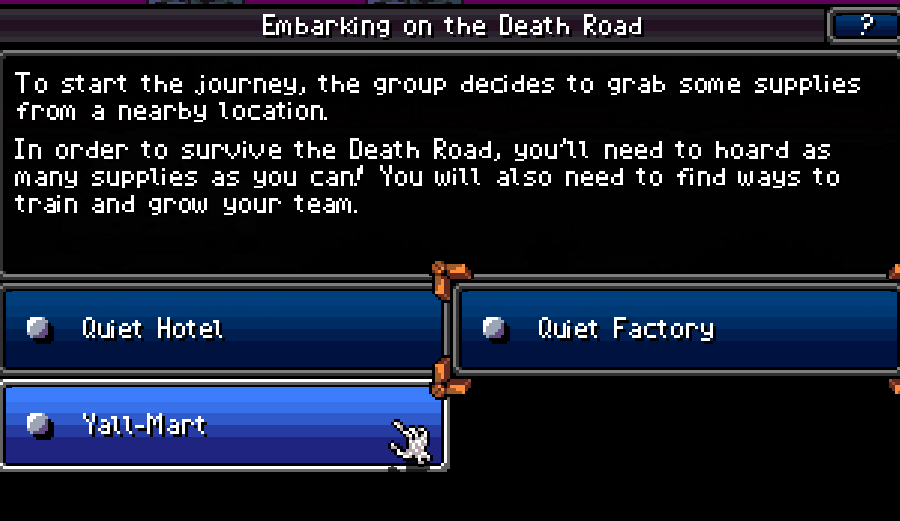
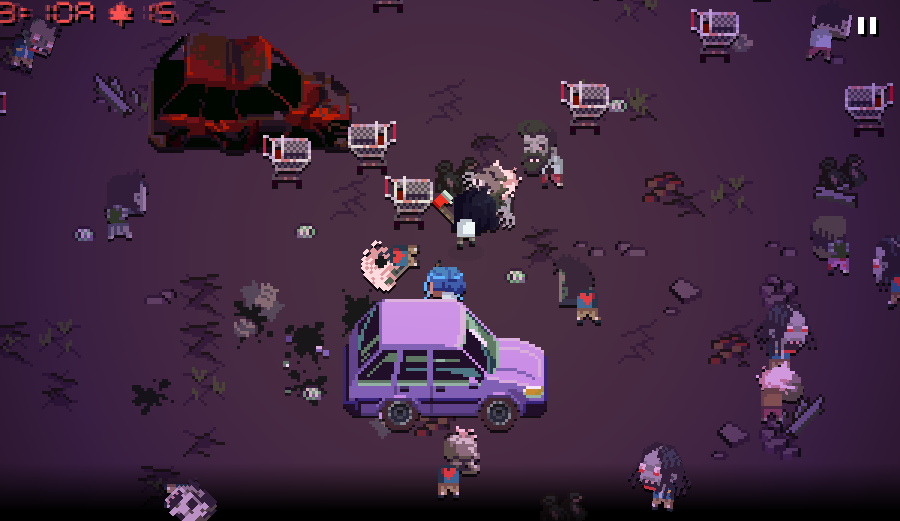
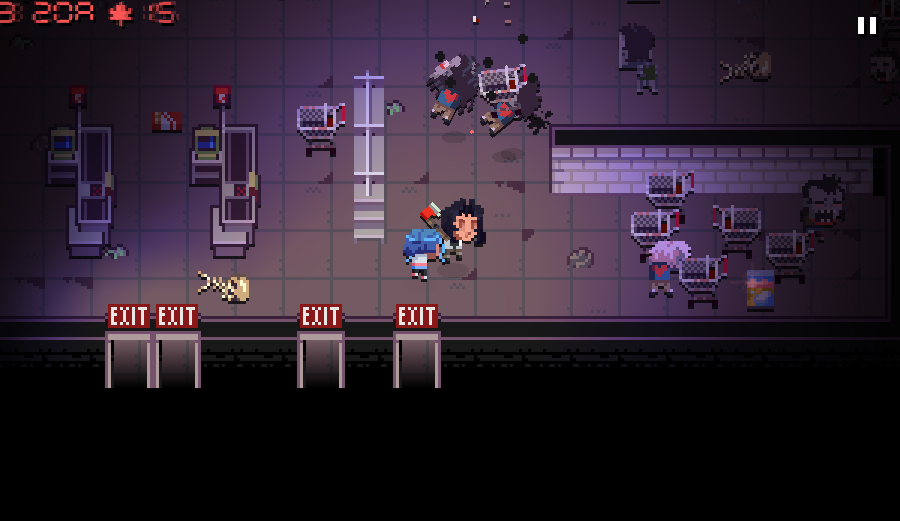
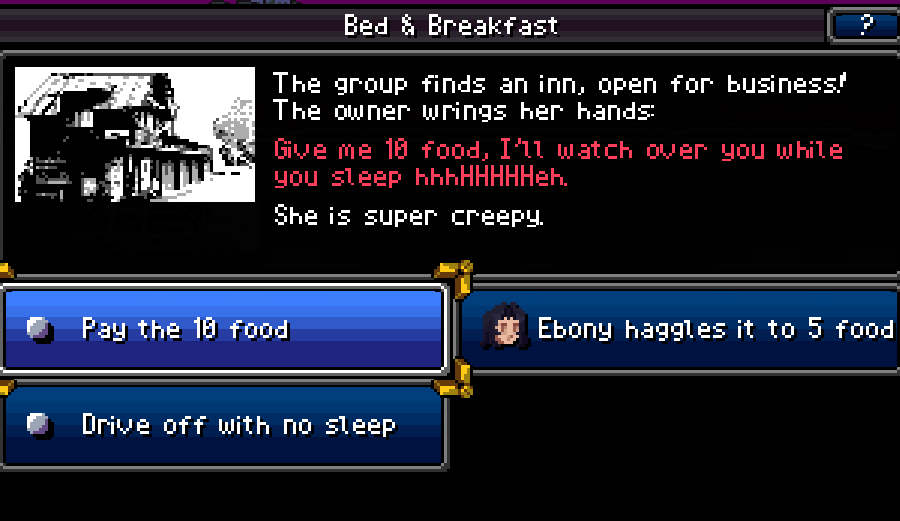
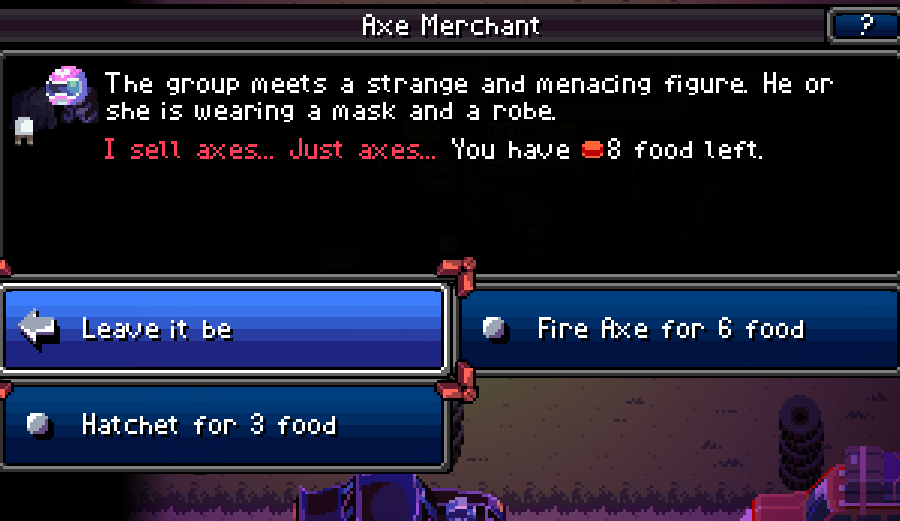
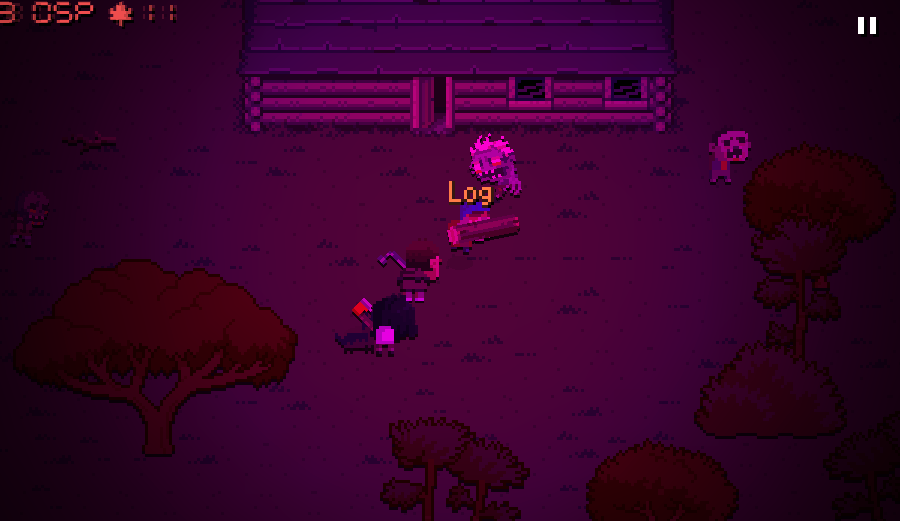
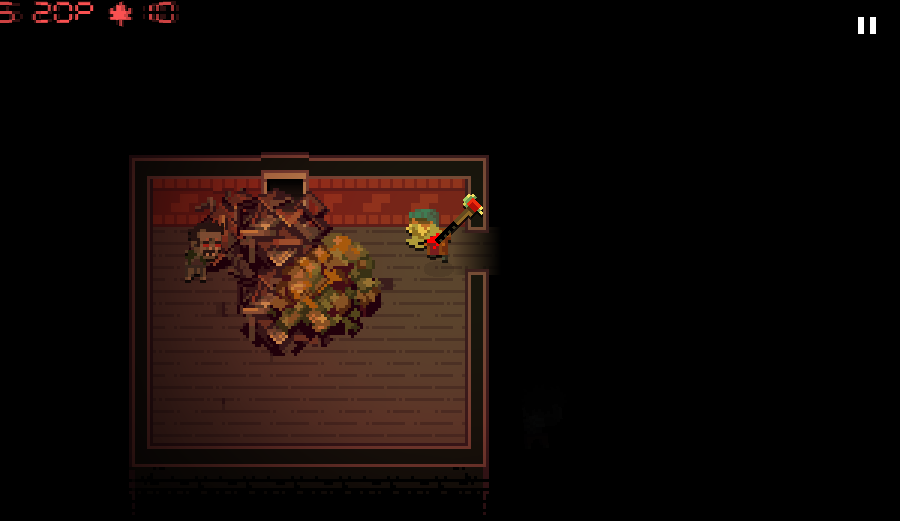
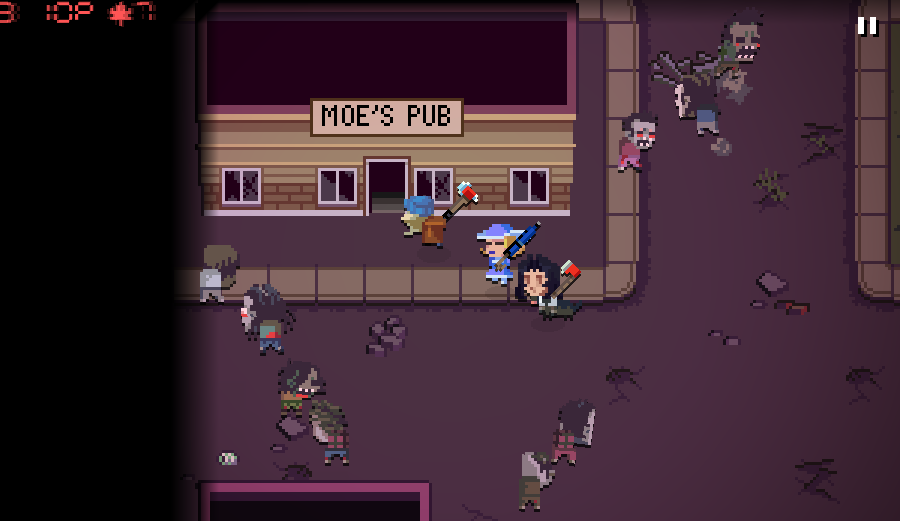
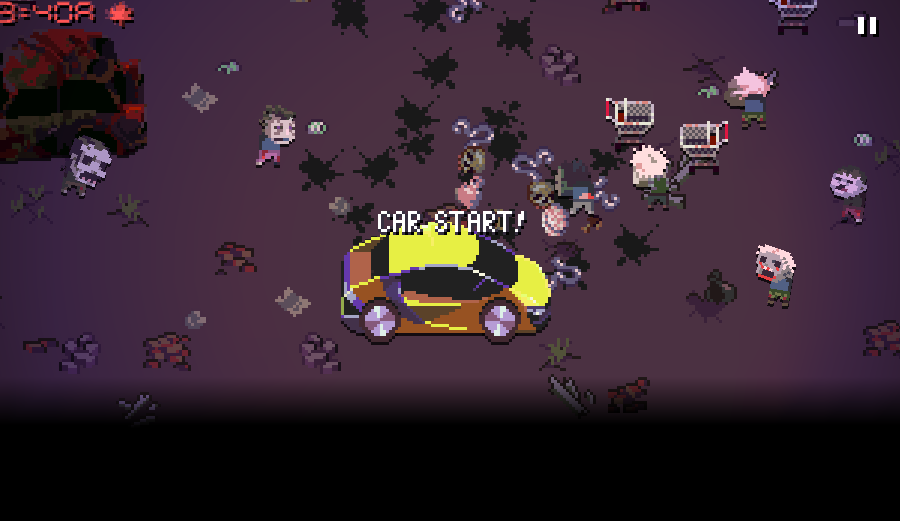
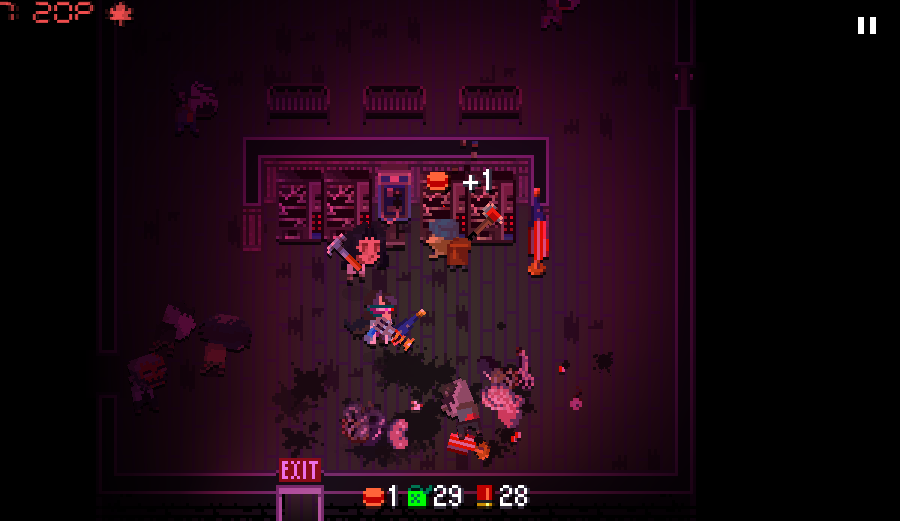
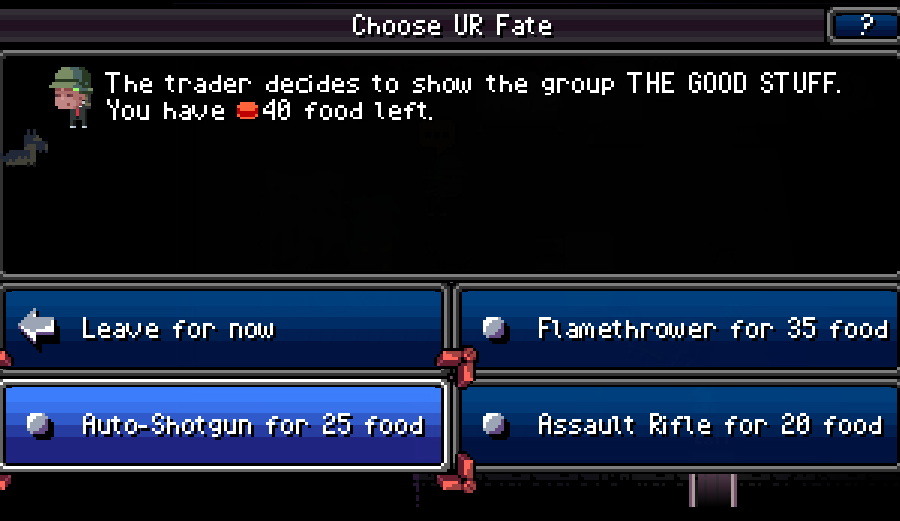
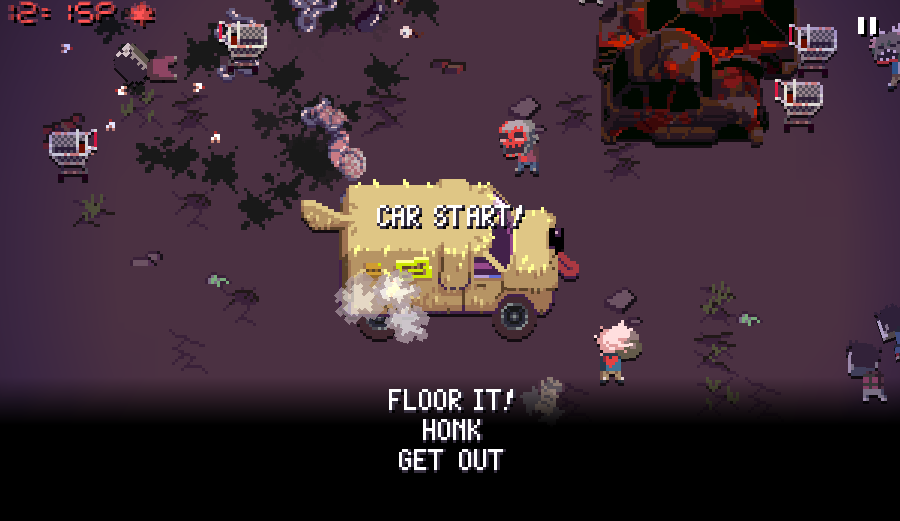
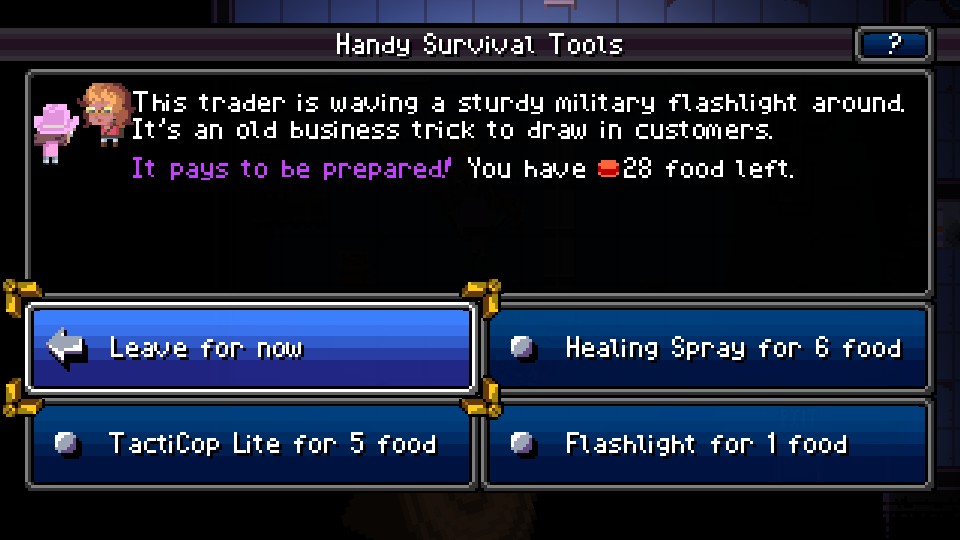
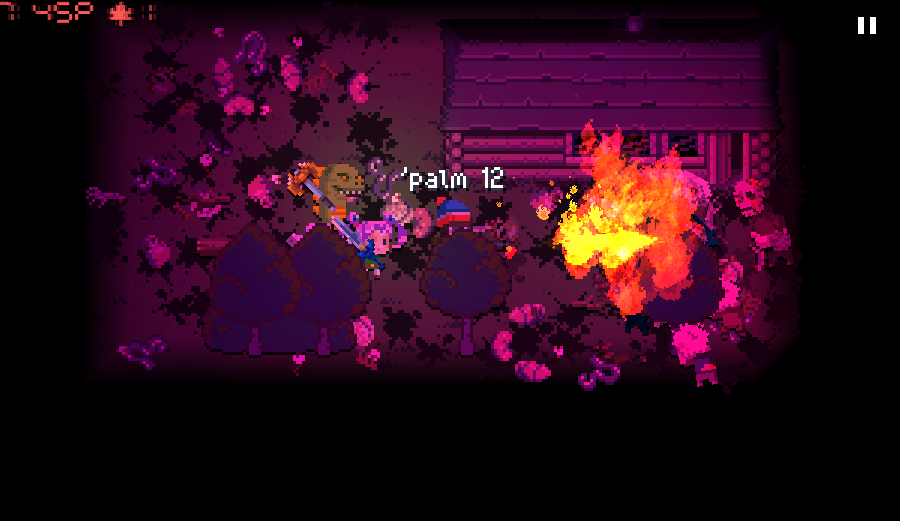
Aside from that, there's not too much more to say about the early game that I didn't already say. Yall-Mart and Rest Stop are the best options to take from the start, and Ebony's hatchet is a very good starter weapon.
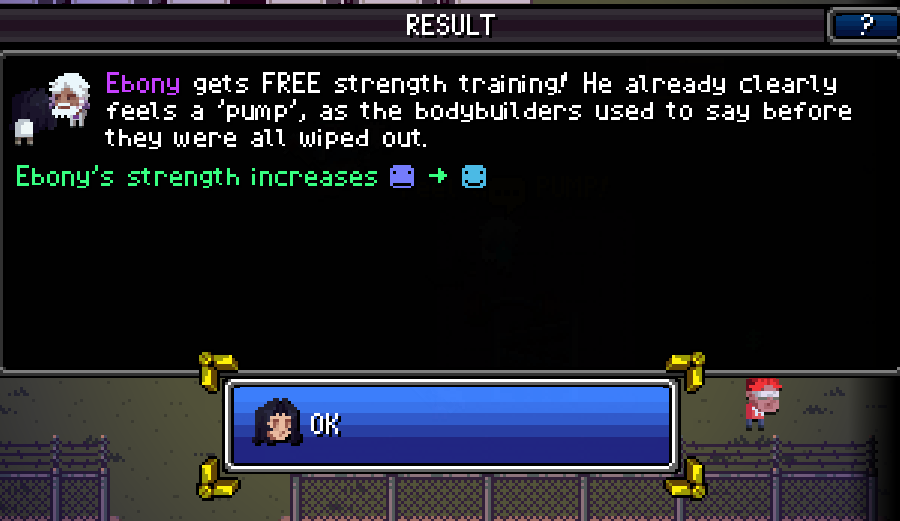
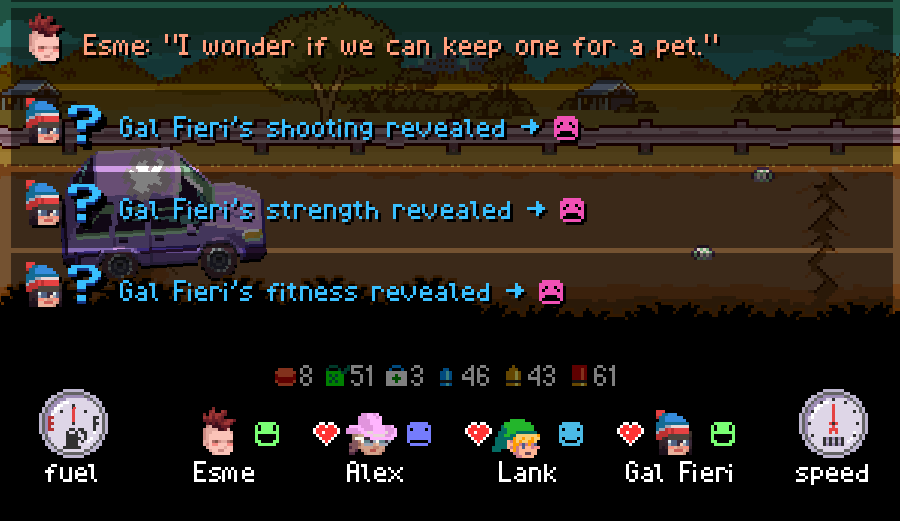
As it so happens thanks to that shooting gain way late in the game revealing it, most of Ebony's Mysterious Past combat points seemed to land into shooting instead of fitness or strength. I used him as a melee unit most of the game, not knowing this.
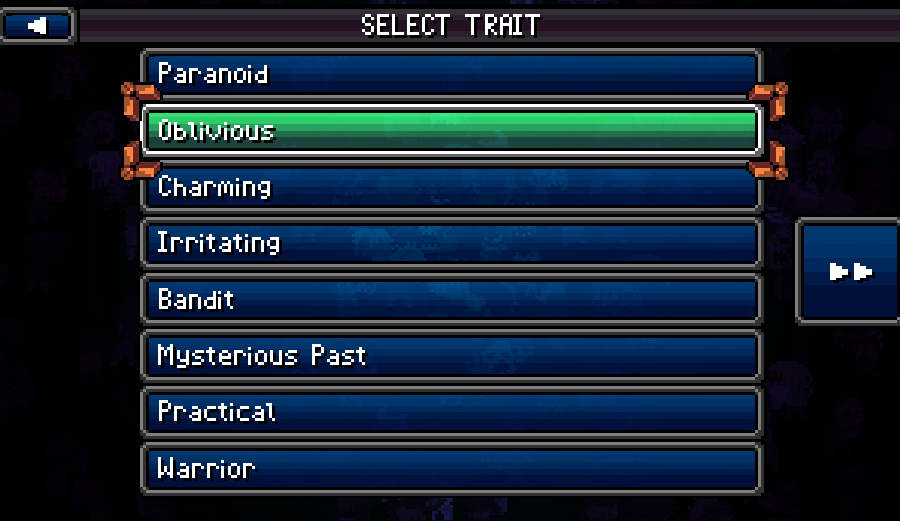
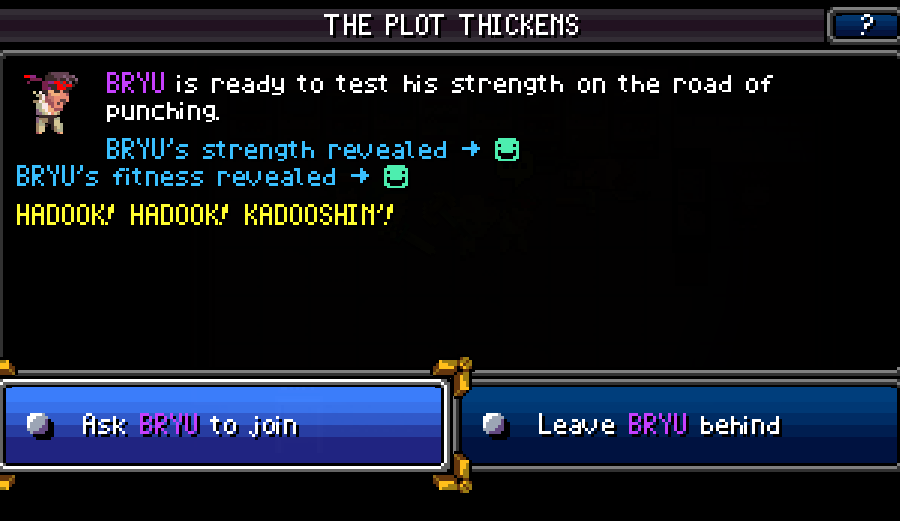
Mysterious Past's random personality also enforces that the character lands in one of the 4 support stat combo subtypes: Paranoid, Charming, Grating/Irritating, or Bandit/Sociopath. Ebony rolled Charming and it worked out in our favor fantastically.
Hidden stats! Yay!
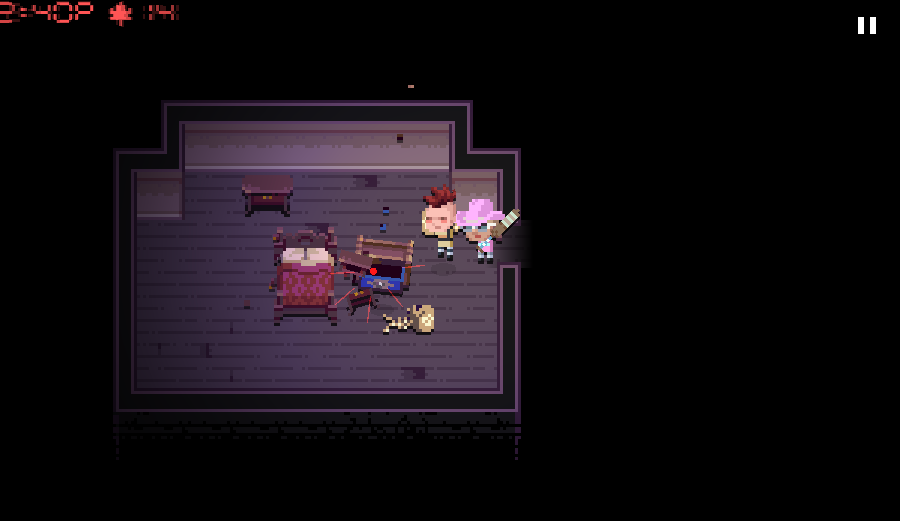
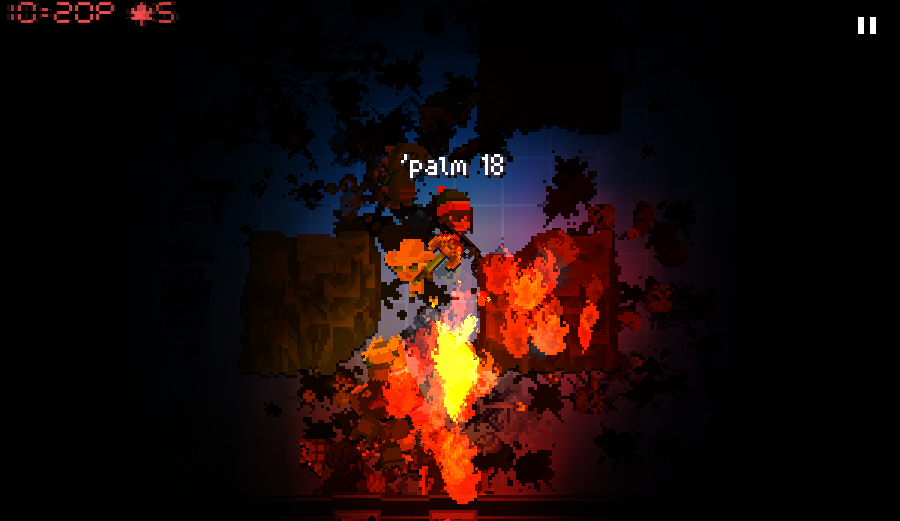
Saph, on the other hand, was sadly short lived. Her downfall started here with this mis-pick on the strength options, which to be fair, I still think is in character for her. In general, her overconfidence foils Ebony's level headed approach to things.
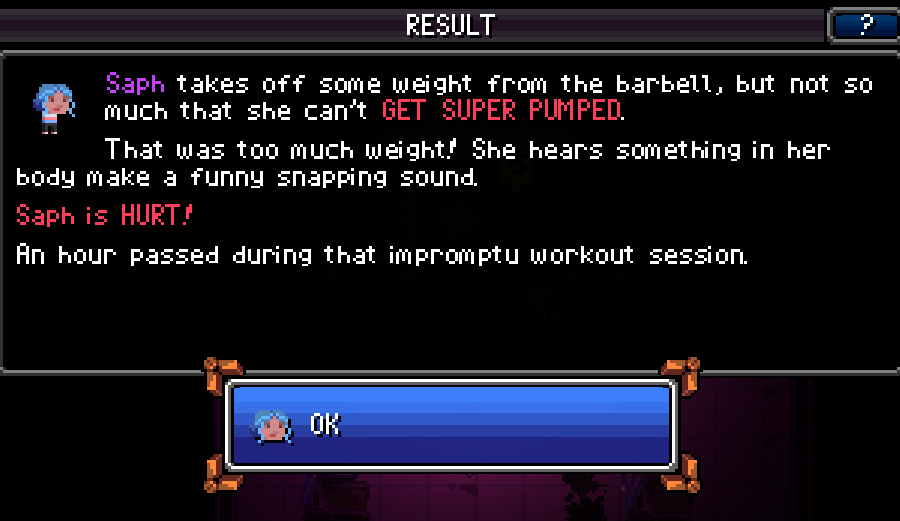
Also in hindsight, Saph had like 0 strength so I don't know why I picked heavy weight. Part of me always just forgets that the light weights are not a trap option.
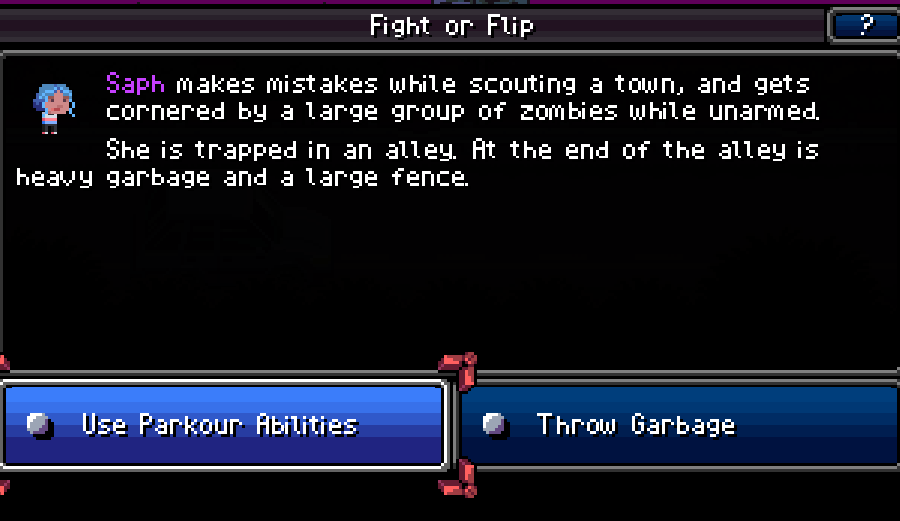
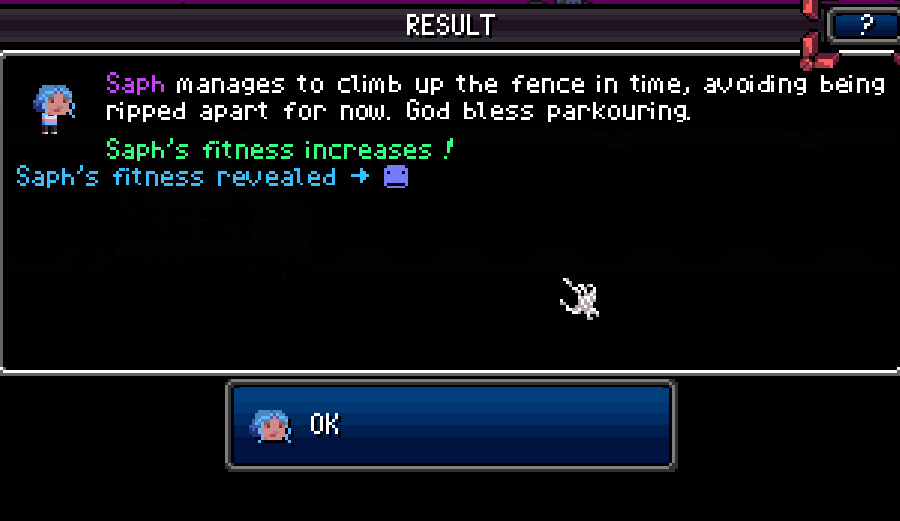
She would have grown into a strong melee character, especially getting this early fitness increase. The other option in this scenario is a strength check and increase, with your only hint to that being that it's "heavy" trash.
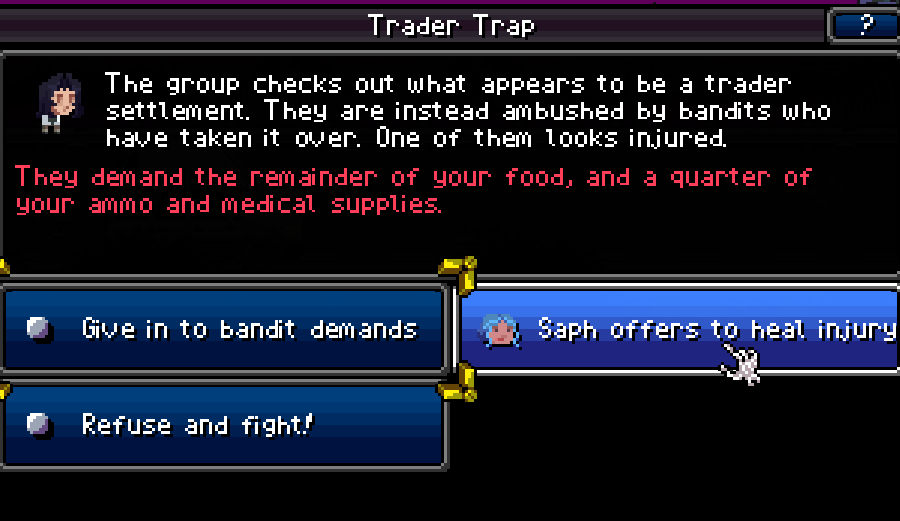
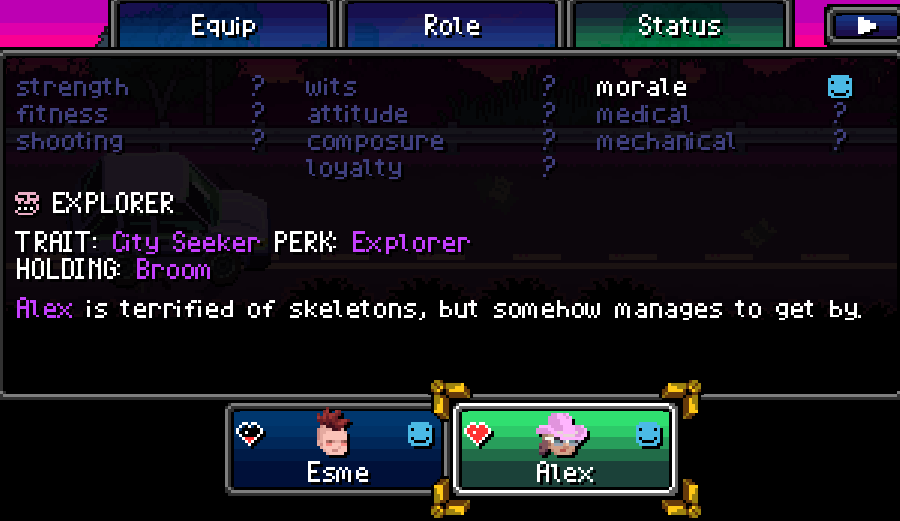
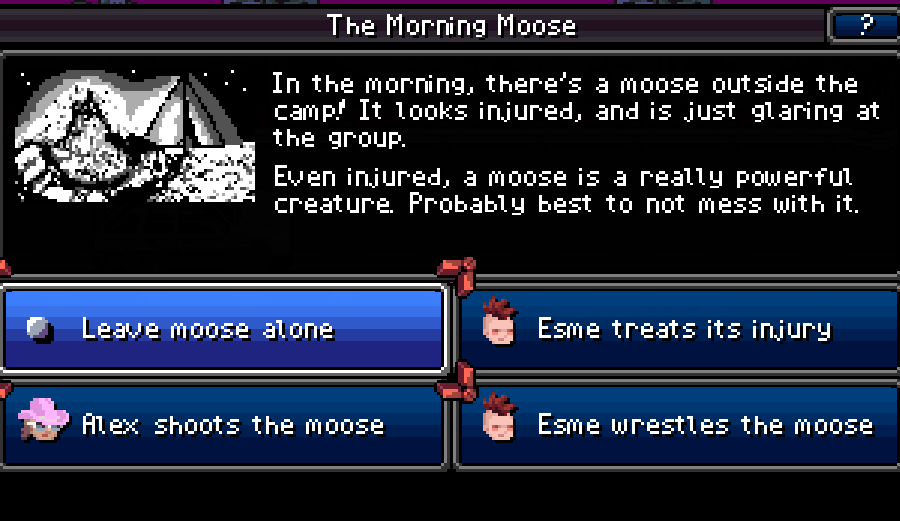
This event has some possibly good outcomes, but if you don't have a Paranoid character (high Wits, low Attitude combo) or a decent amount of Medical, you're not getting any of it.
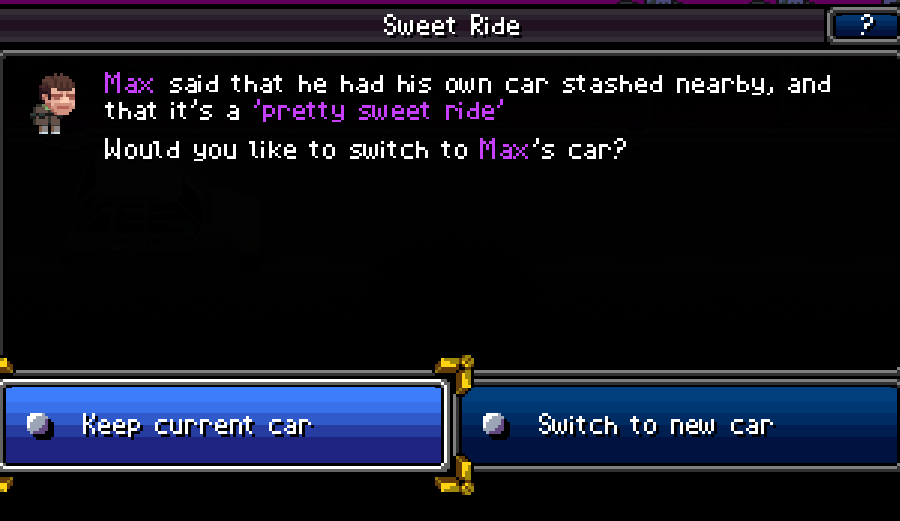
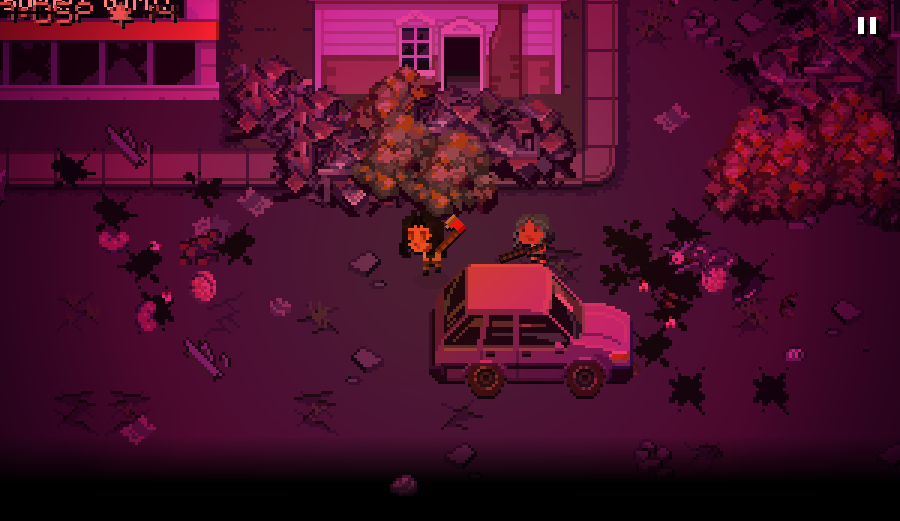
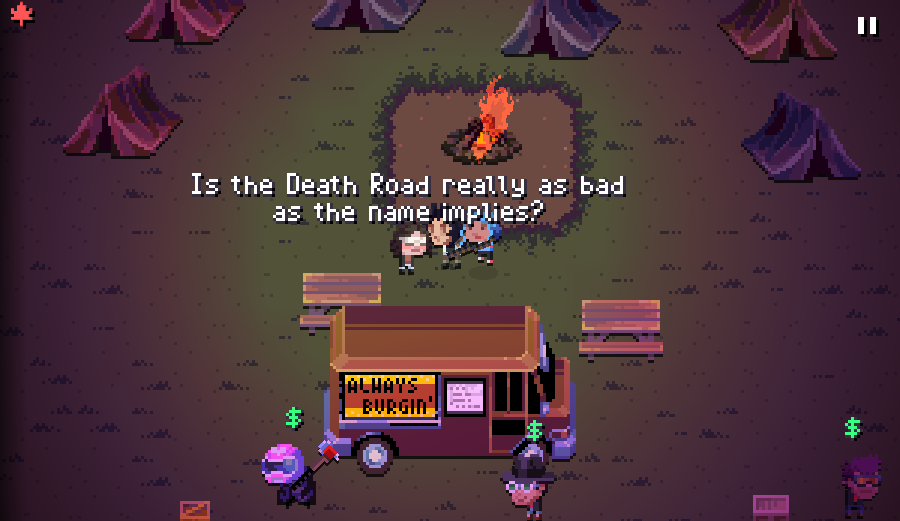
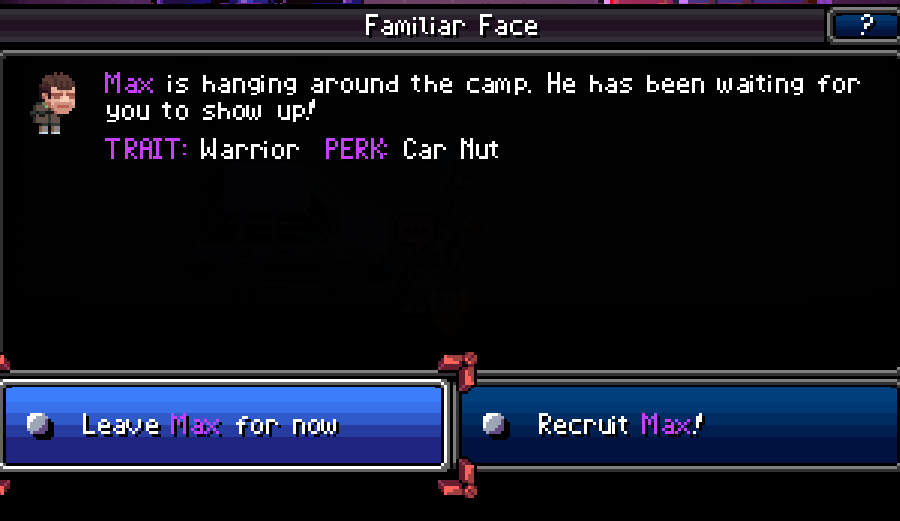
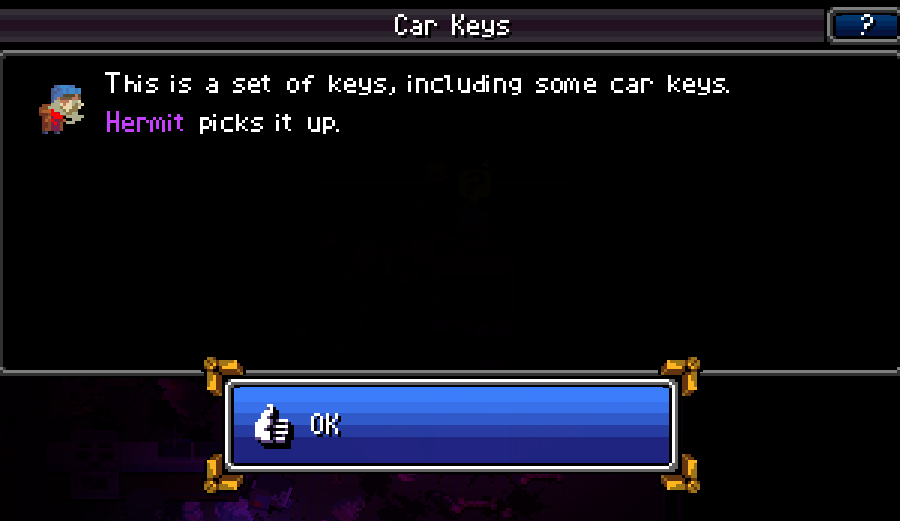
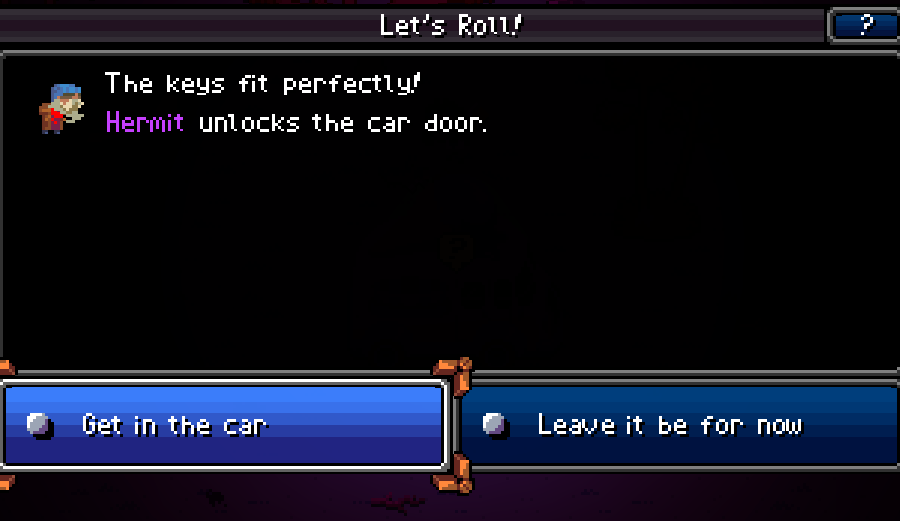
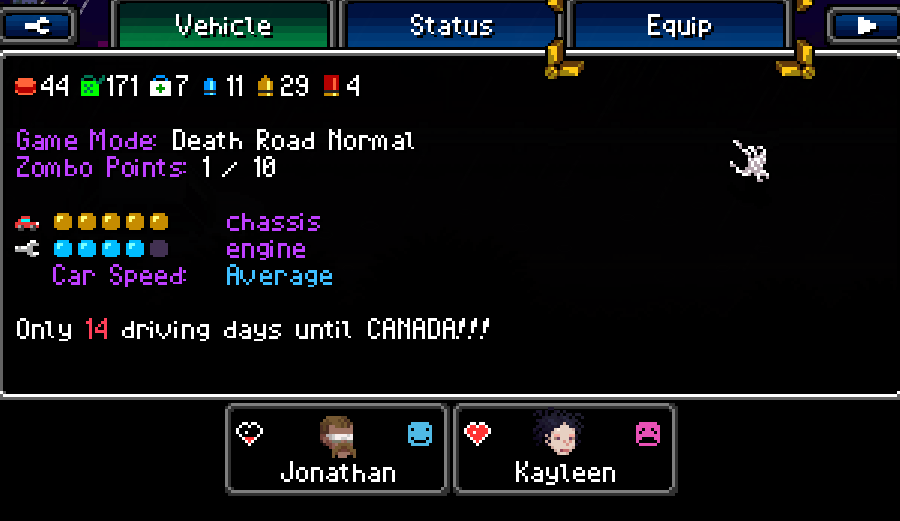
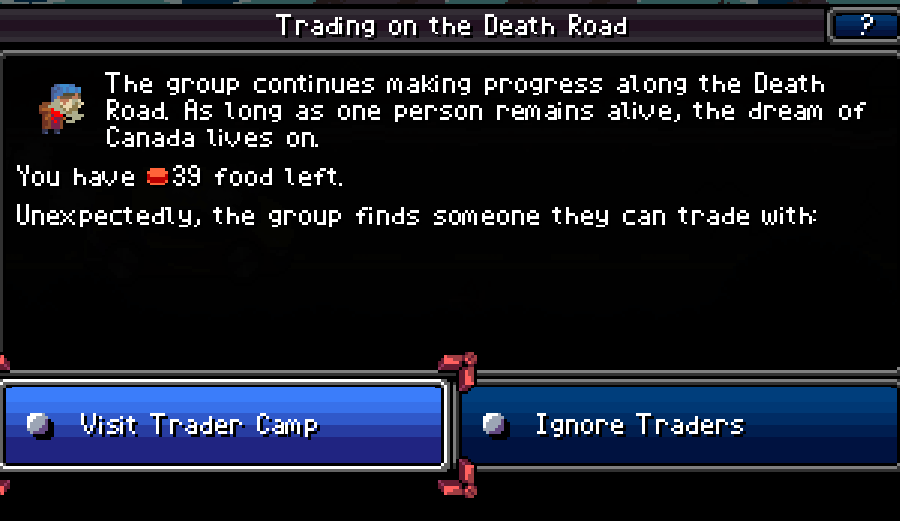
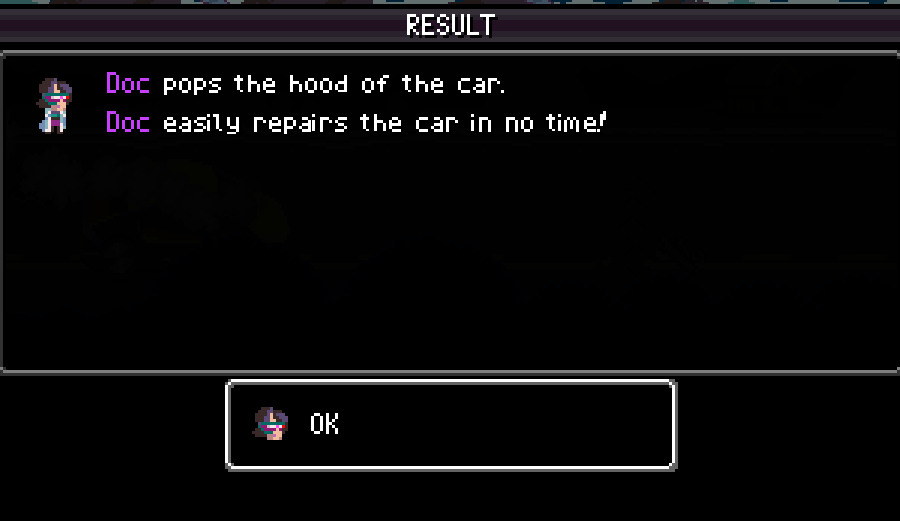
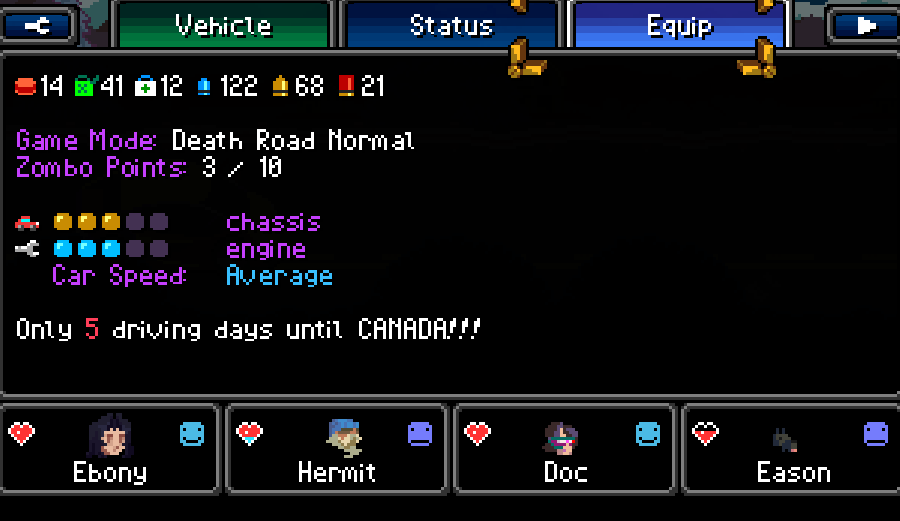
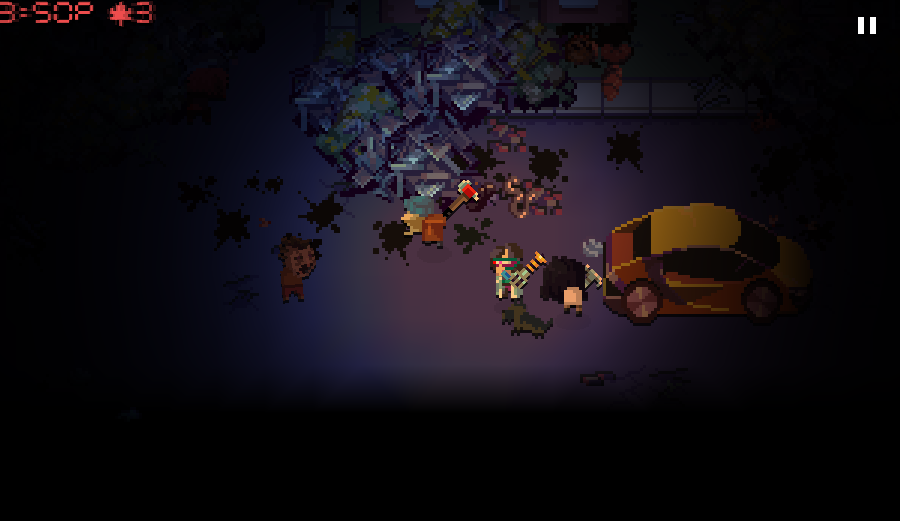
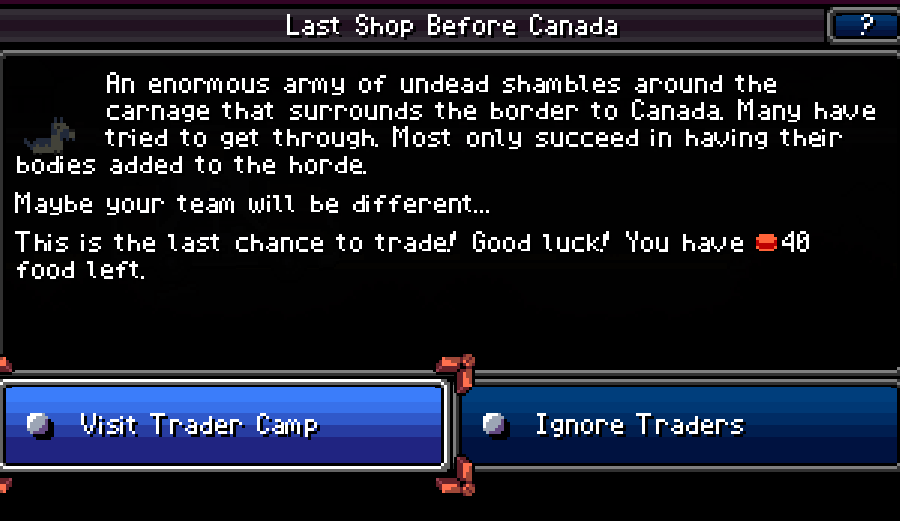
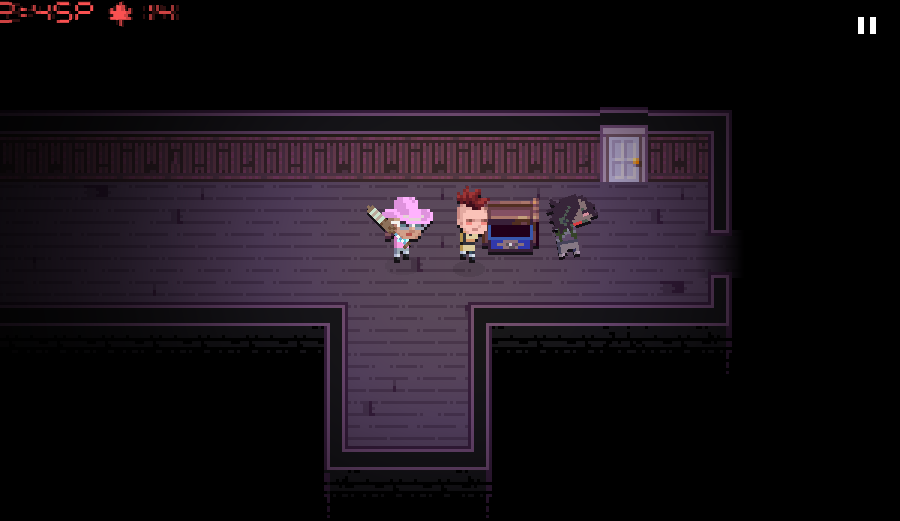
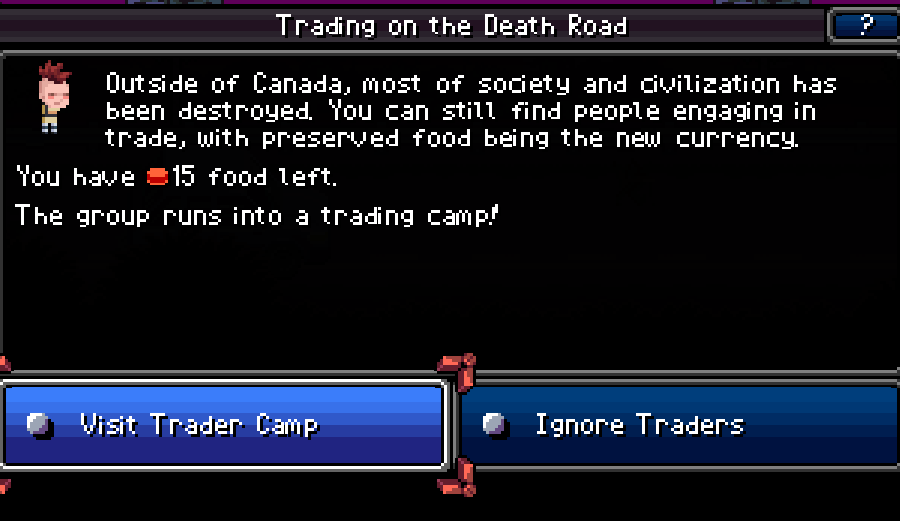
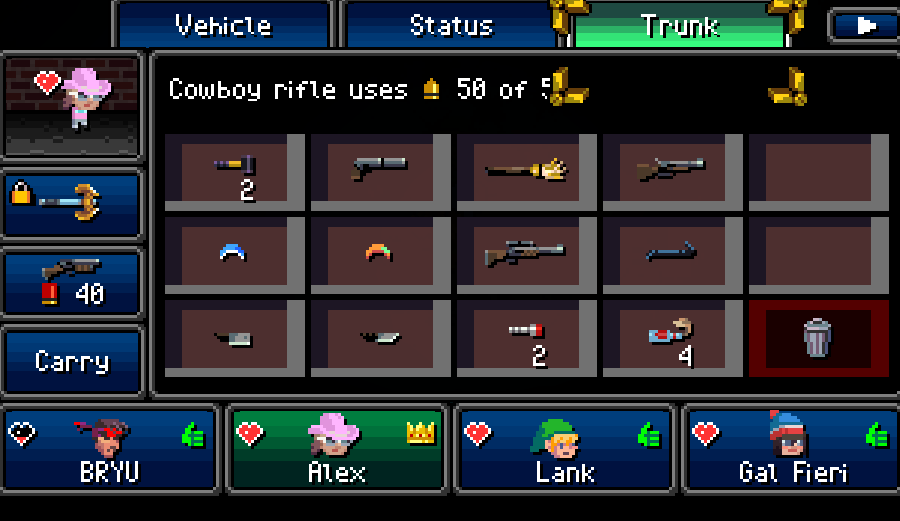
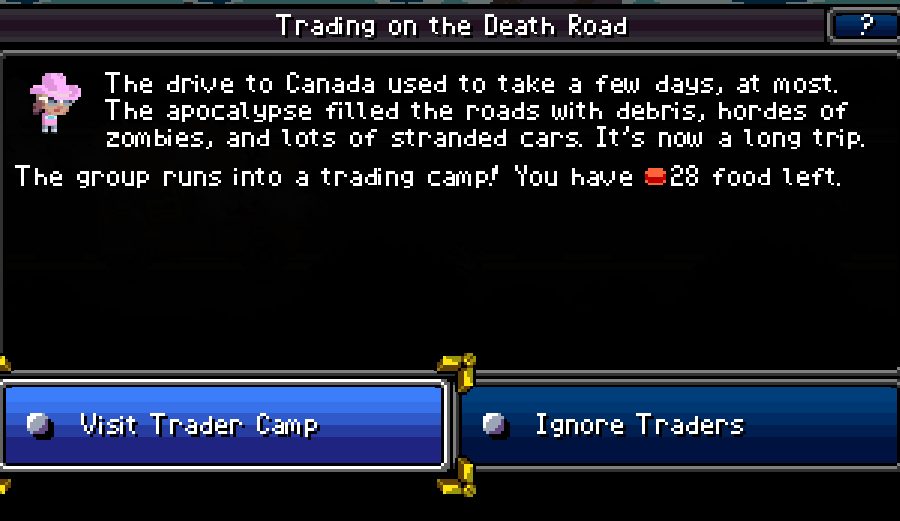
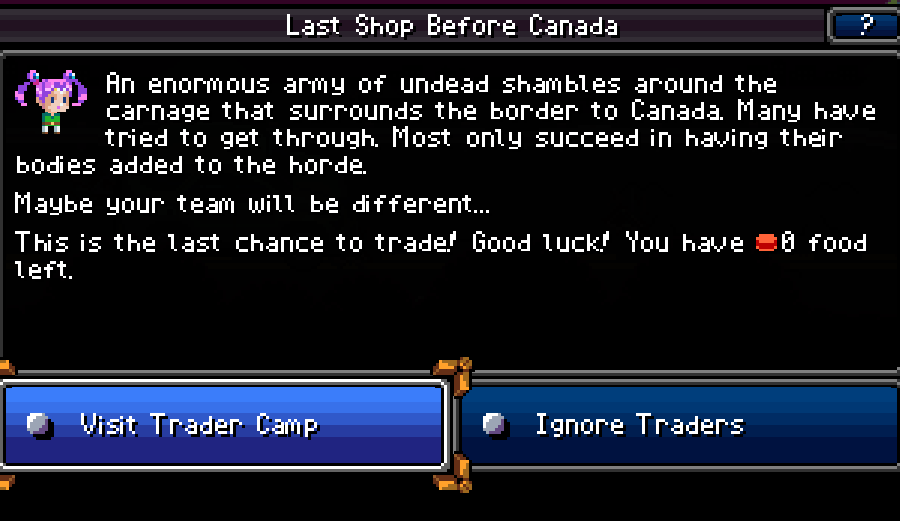
After the trader camp where we were too broke to reasonably buy anything, we got Max. Mechanically, Max suffers from Car Nut not having been upgraded yet- when it is upgraded to max it guarantees he can at least attempt repair on whatever car he brings.
I'll be honest, I haven't watched a Mad Max movie in a long time, so really all I had to go off of were quotes. Thus Max became a guy who lived an incredibly boring life as a boring person before the apocalypse, but saw this as the opportunity to try and be interesting by becoming the Road Warrior.
He's still not very good at it yet though.
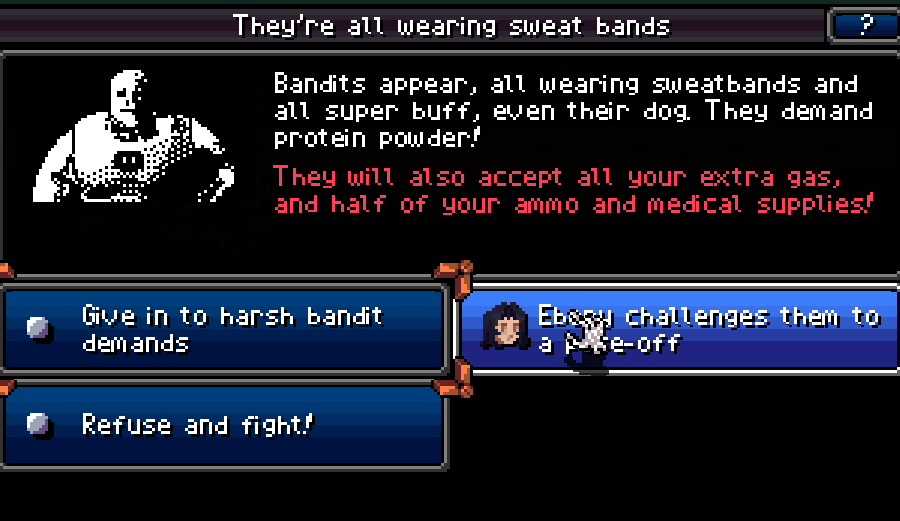
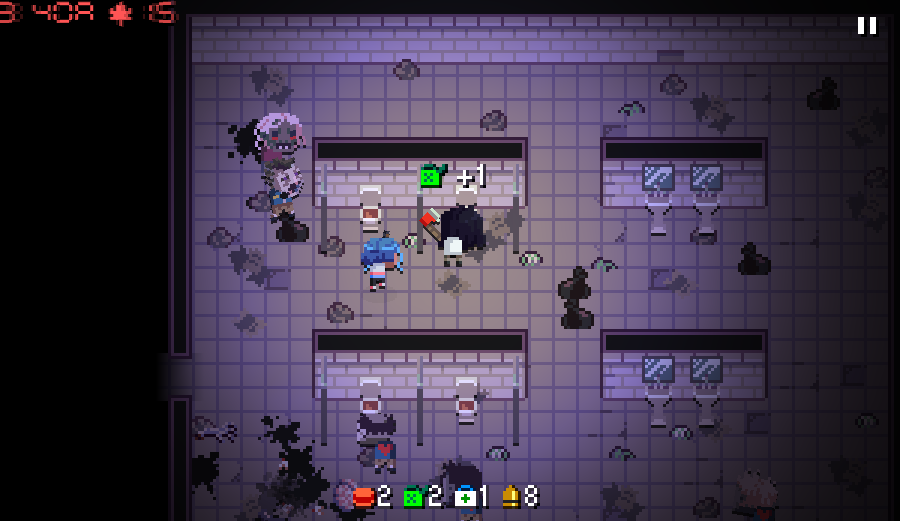
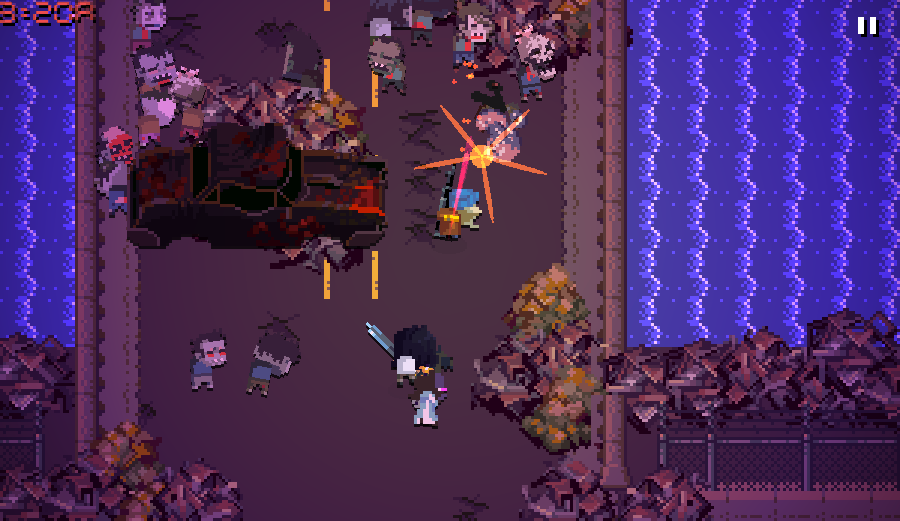
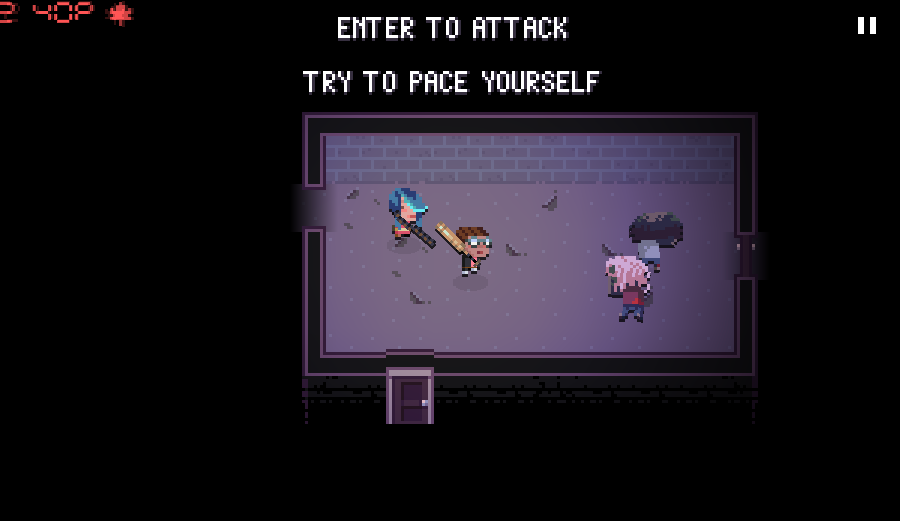
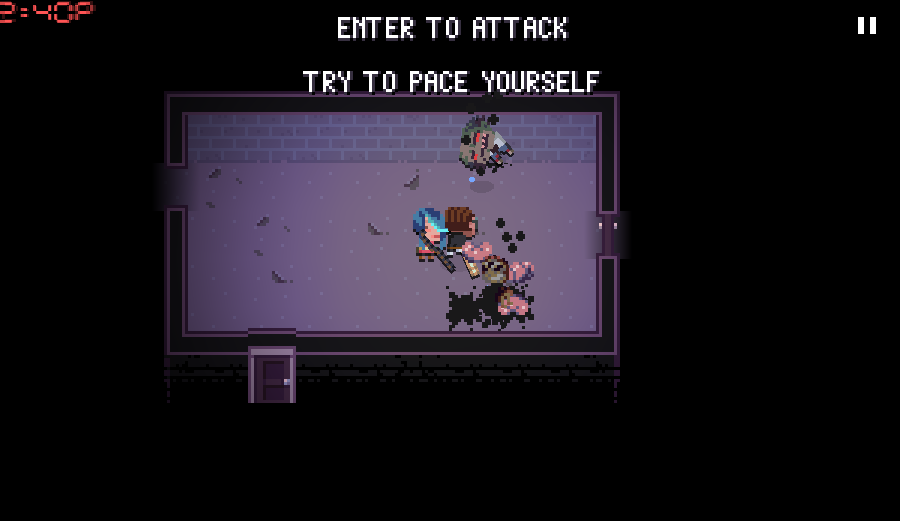
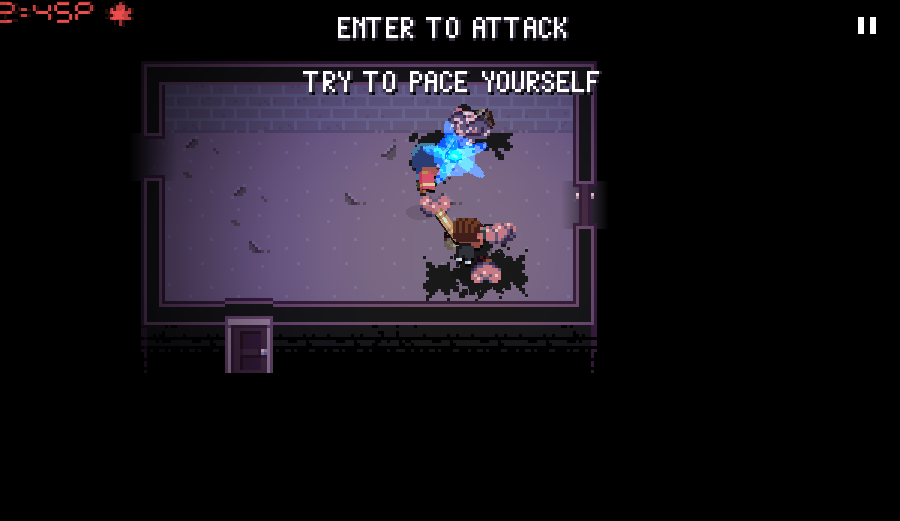
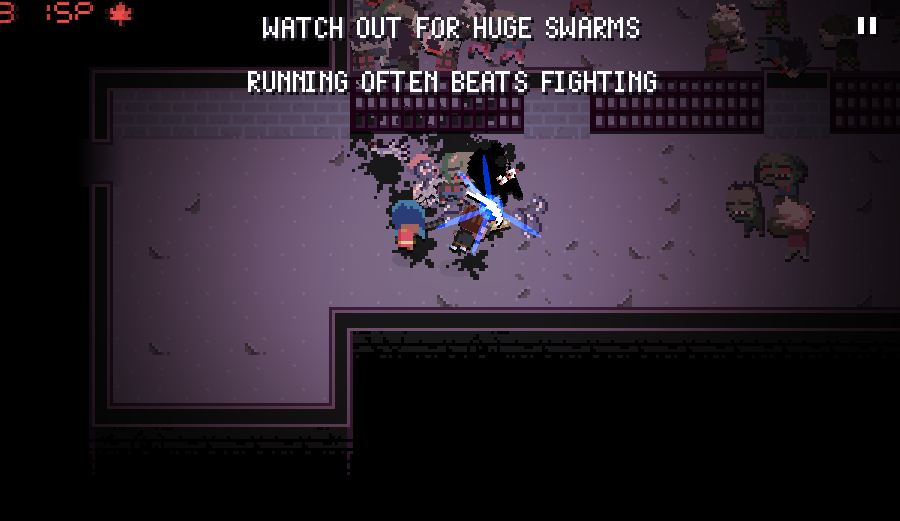
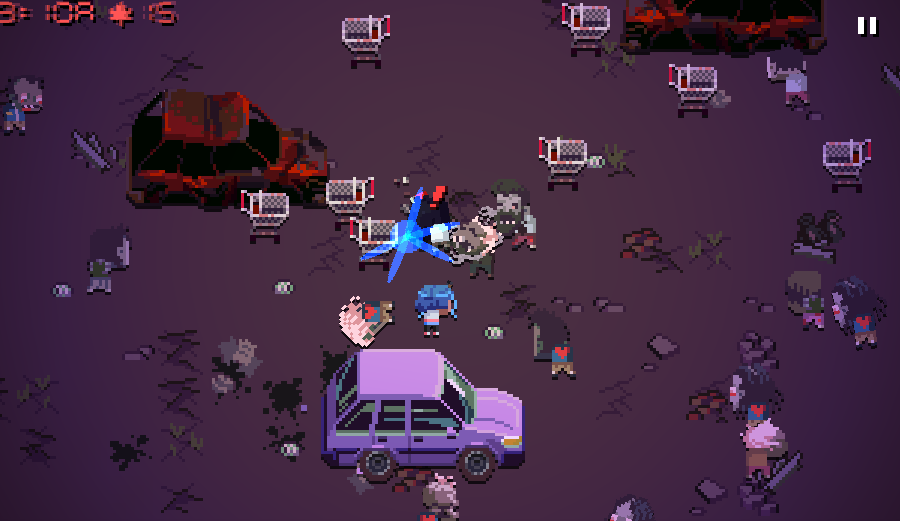
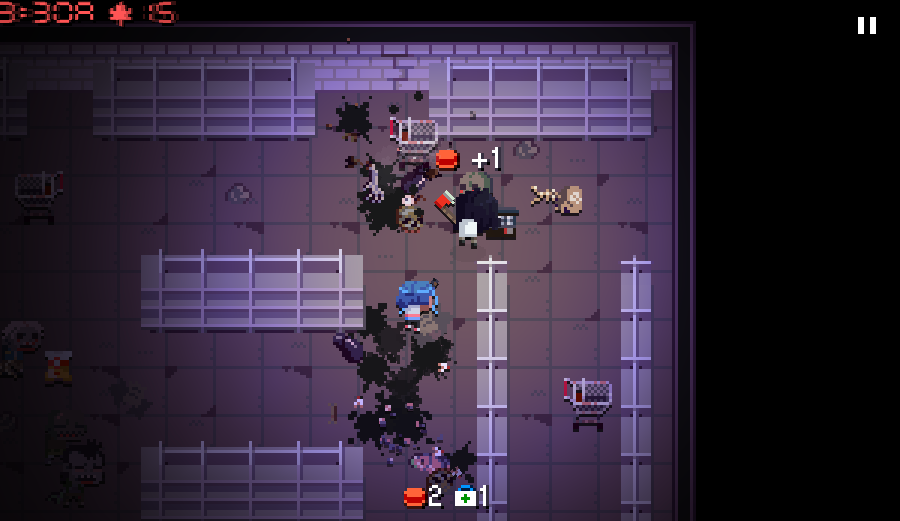
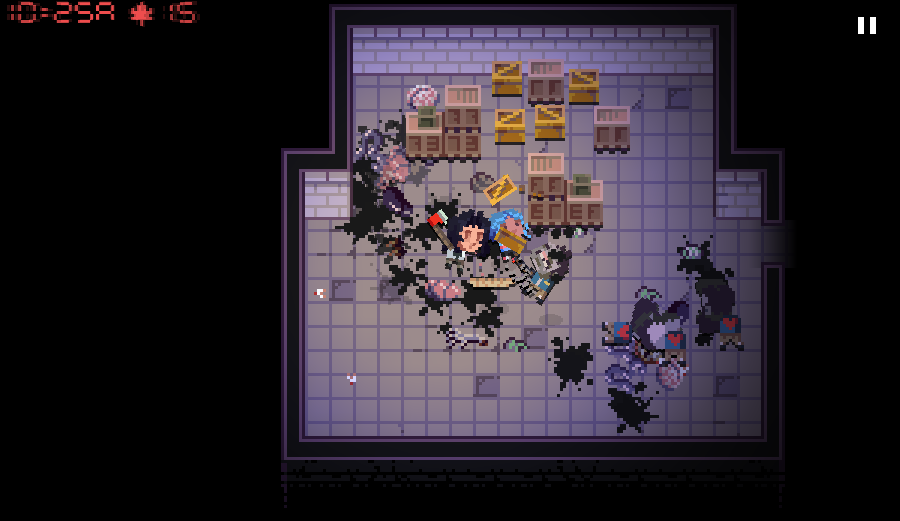
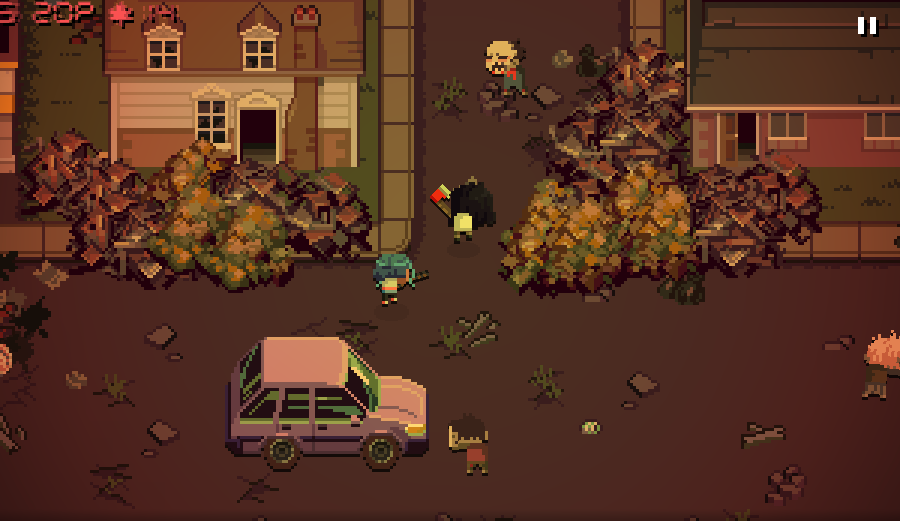
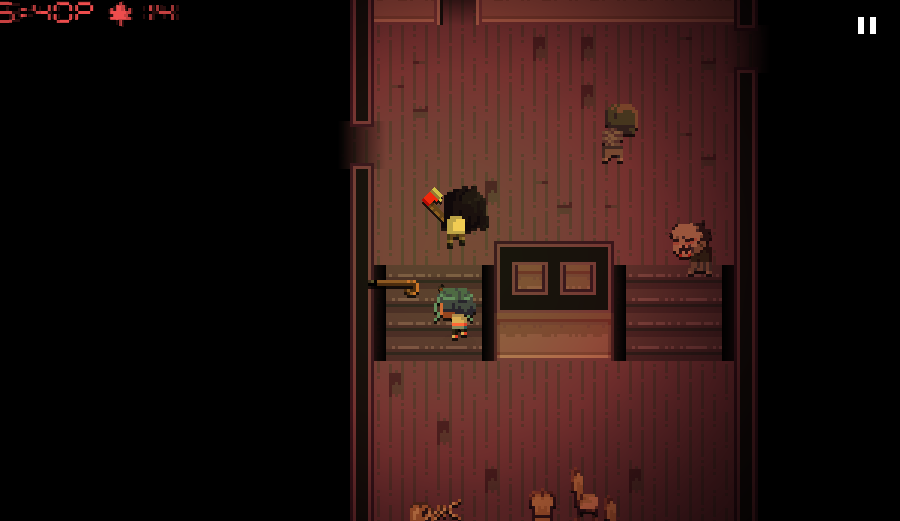
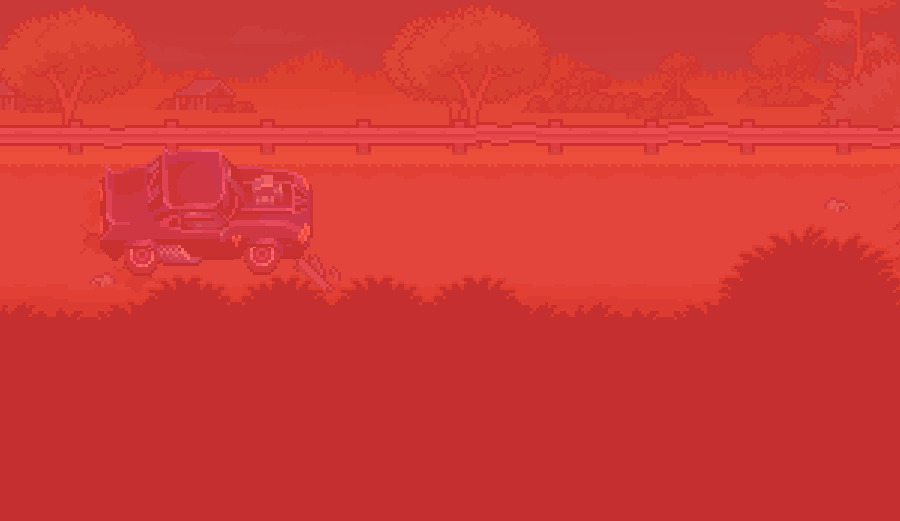
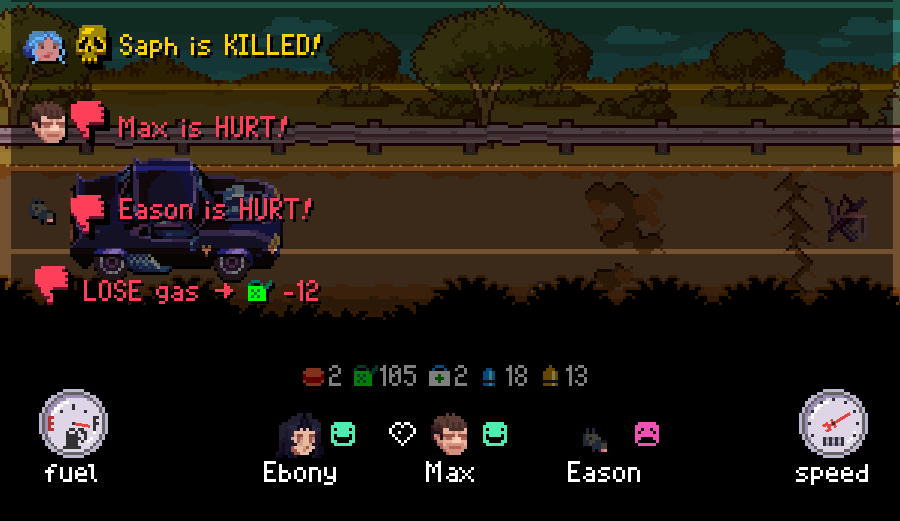
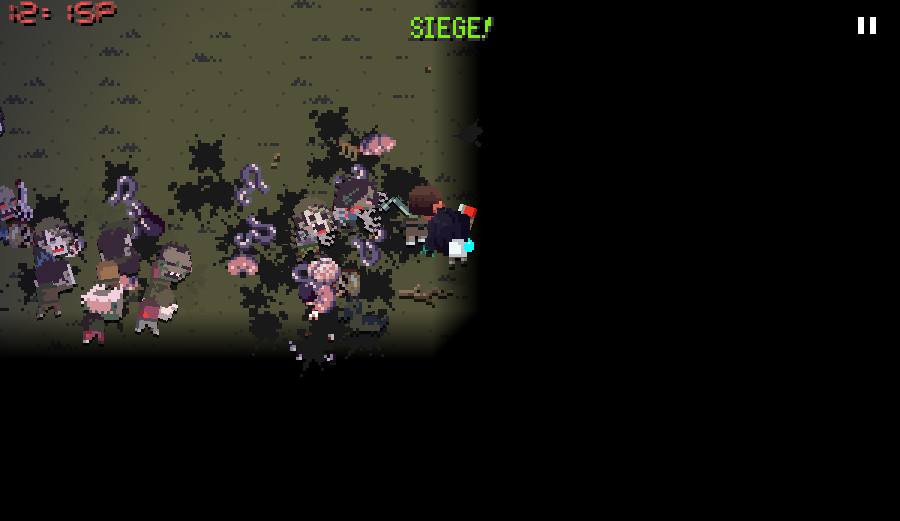
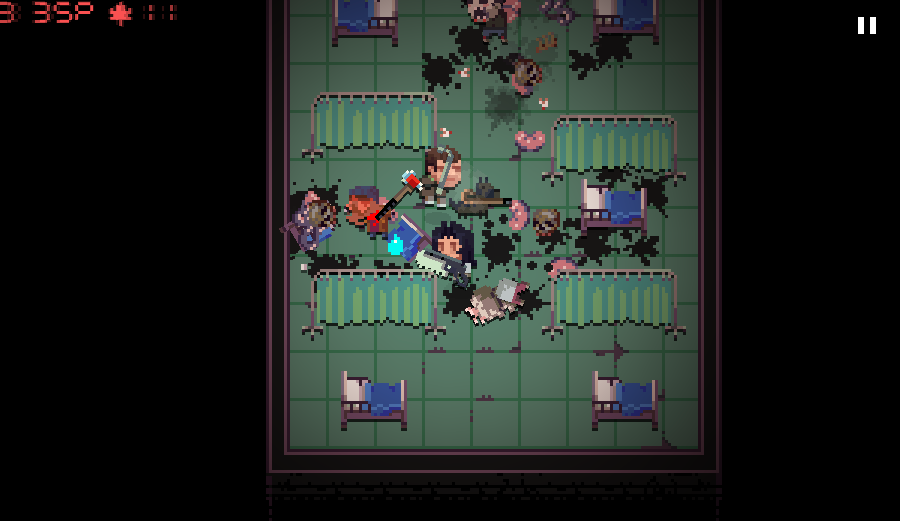
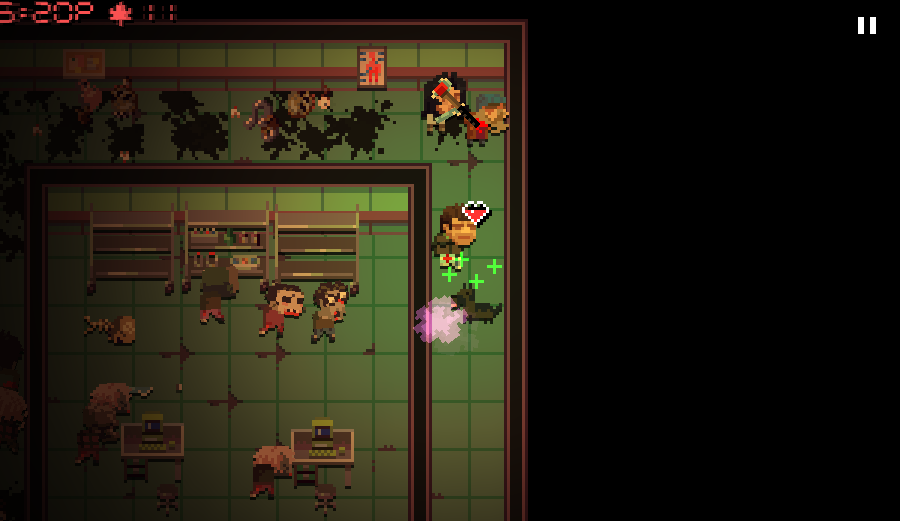
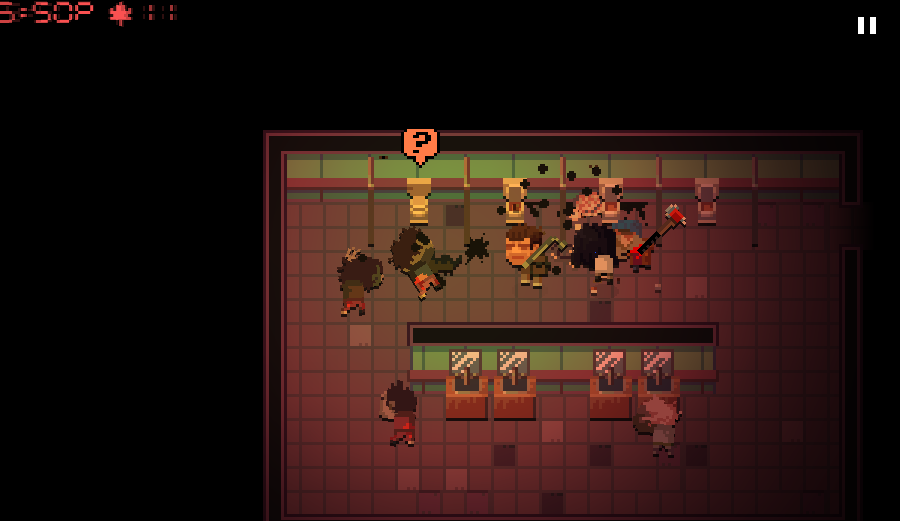
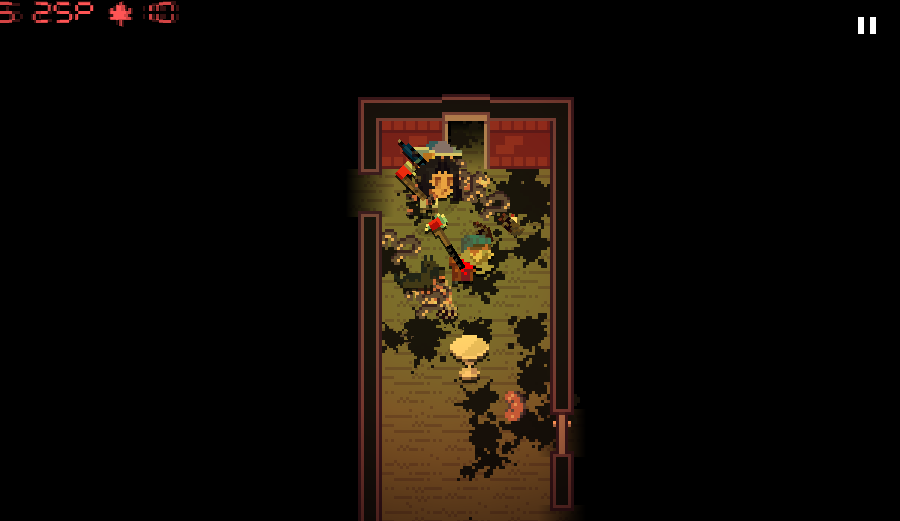
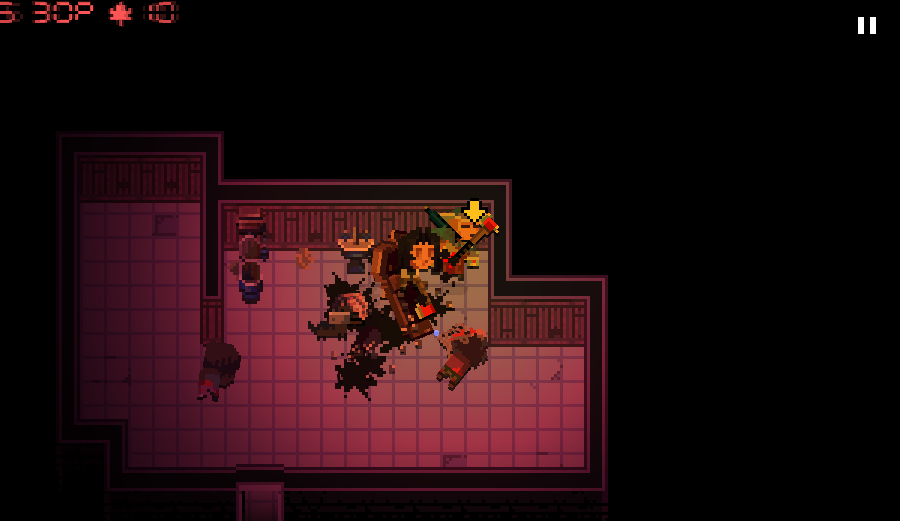
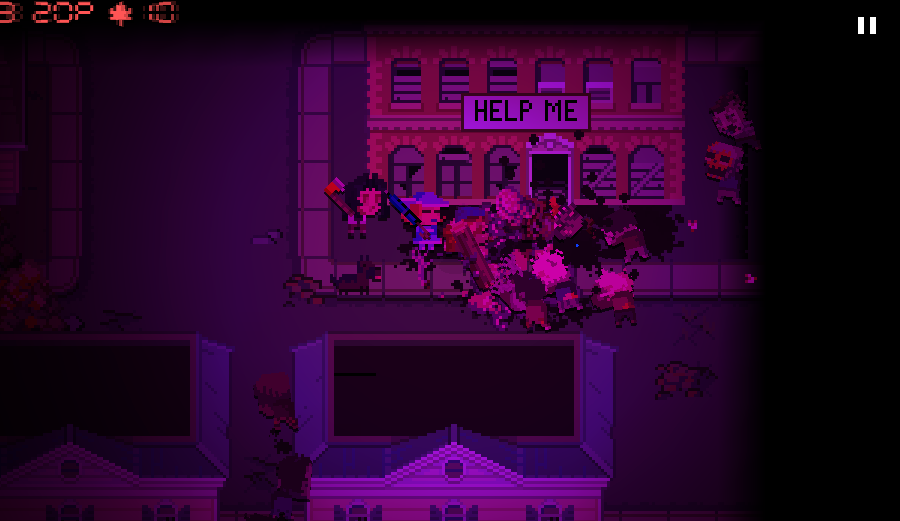
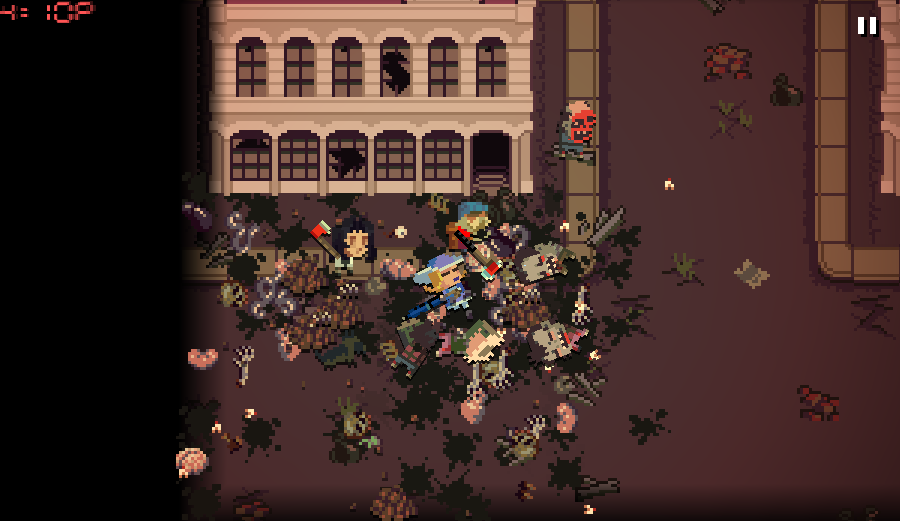
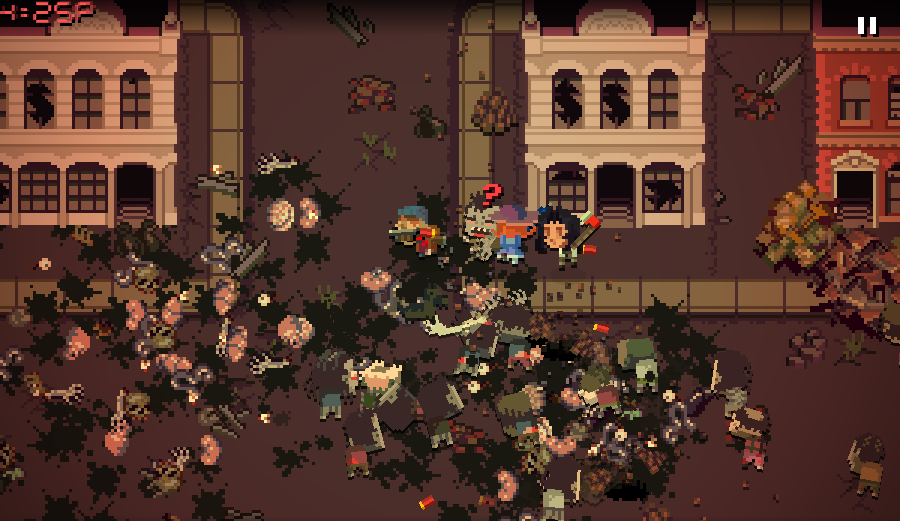
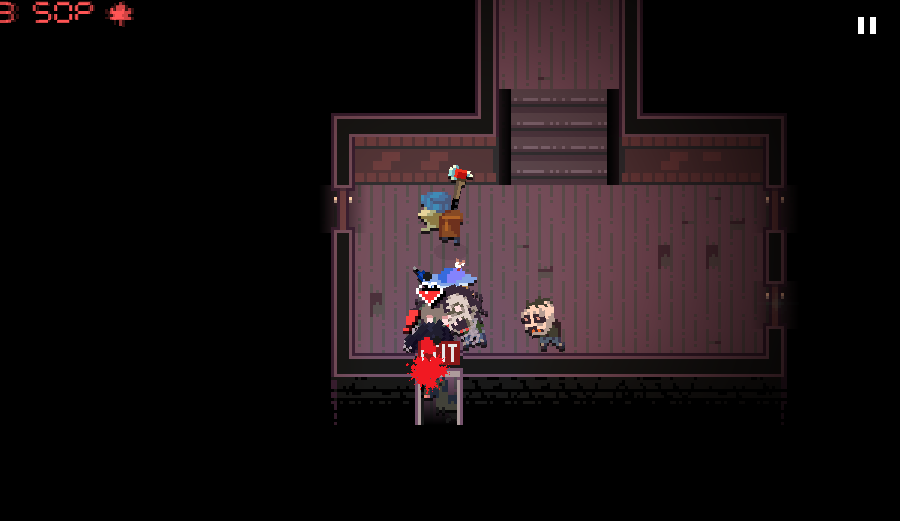
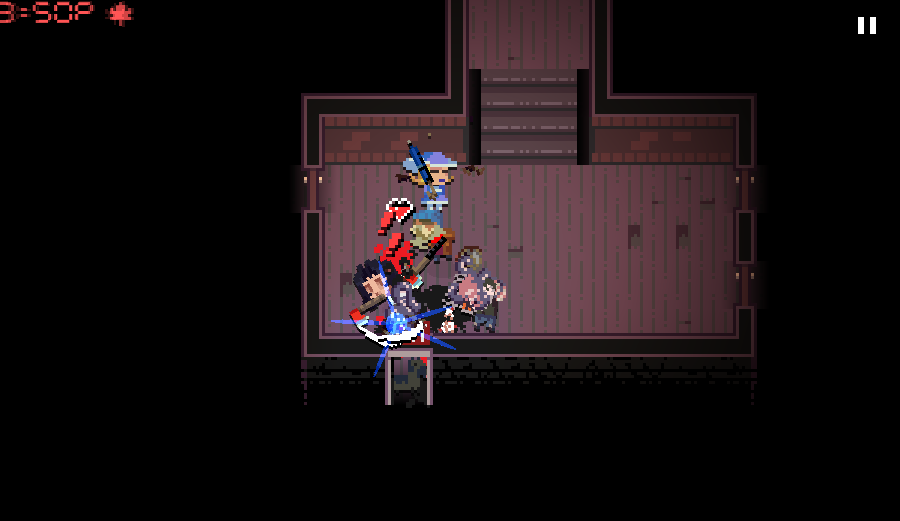
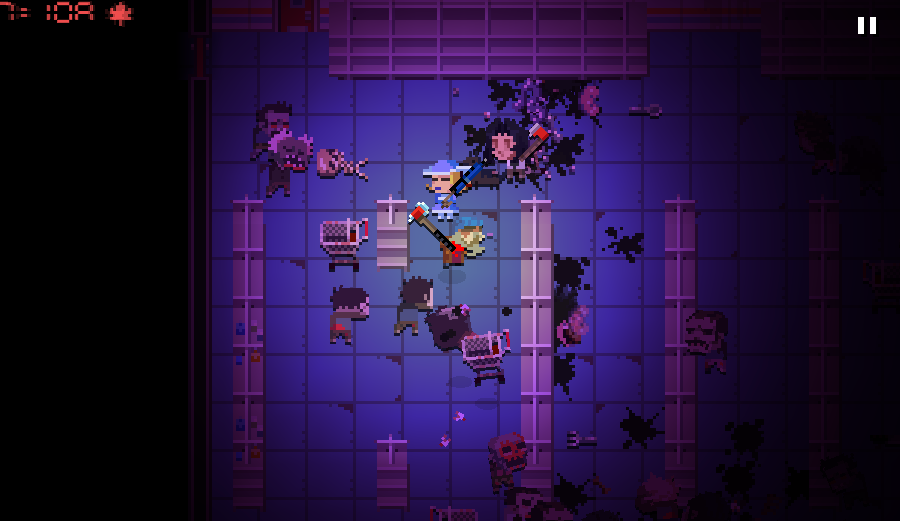
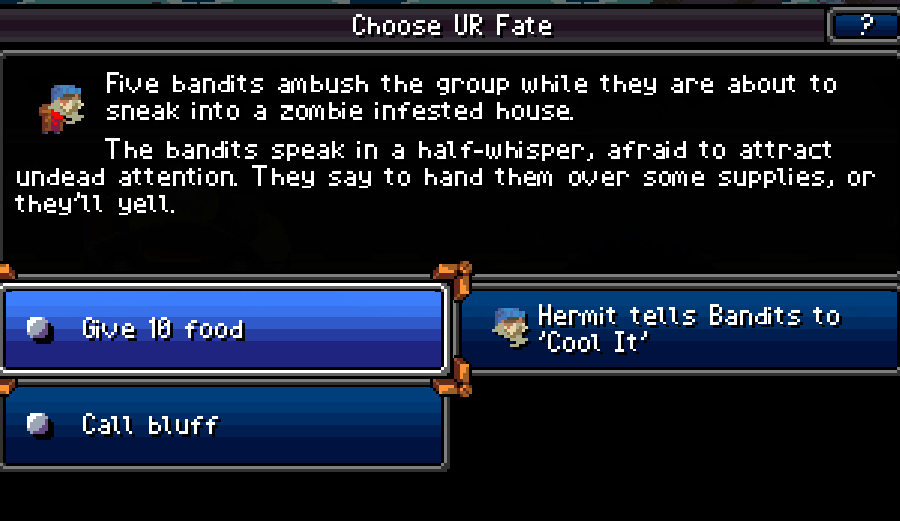
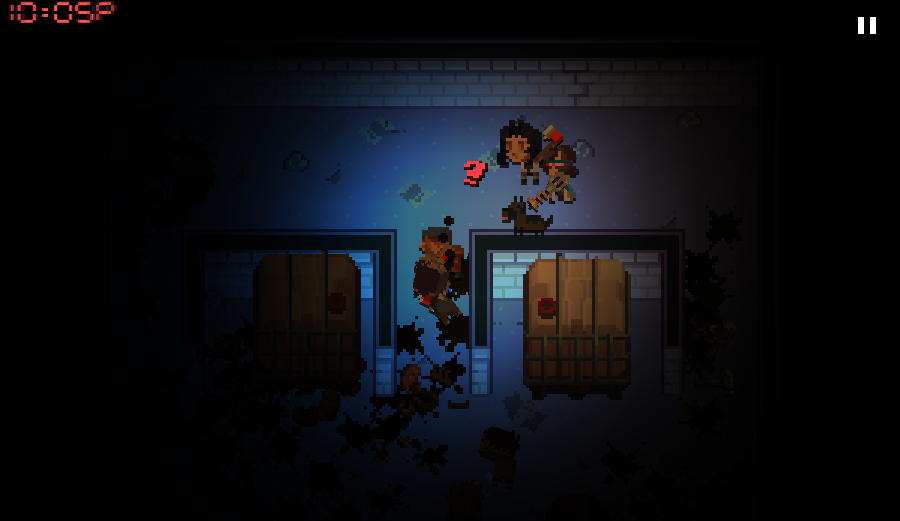
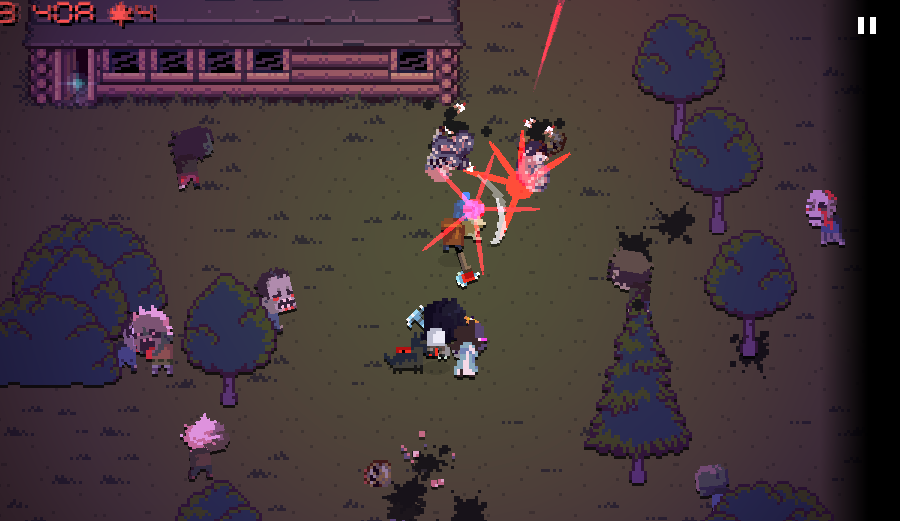
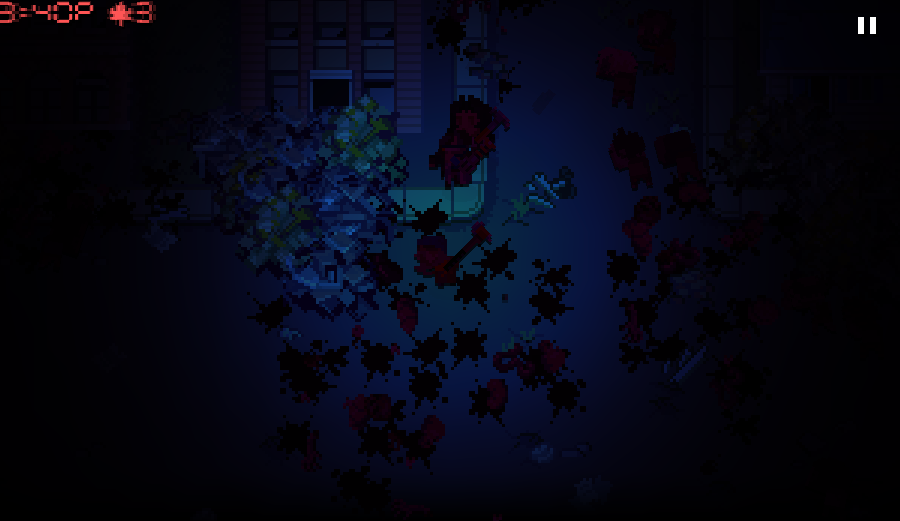
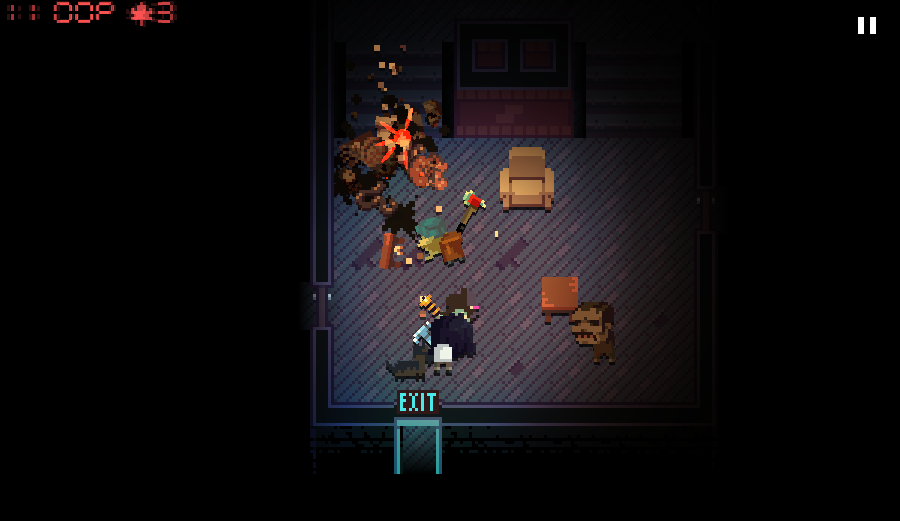
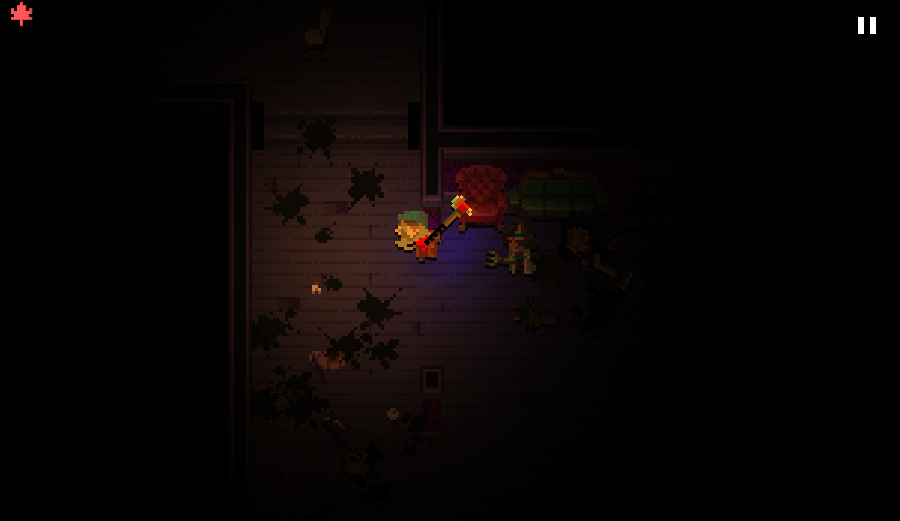
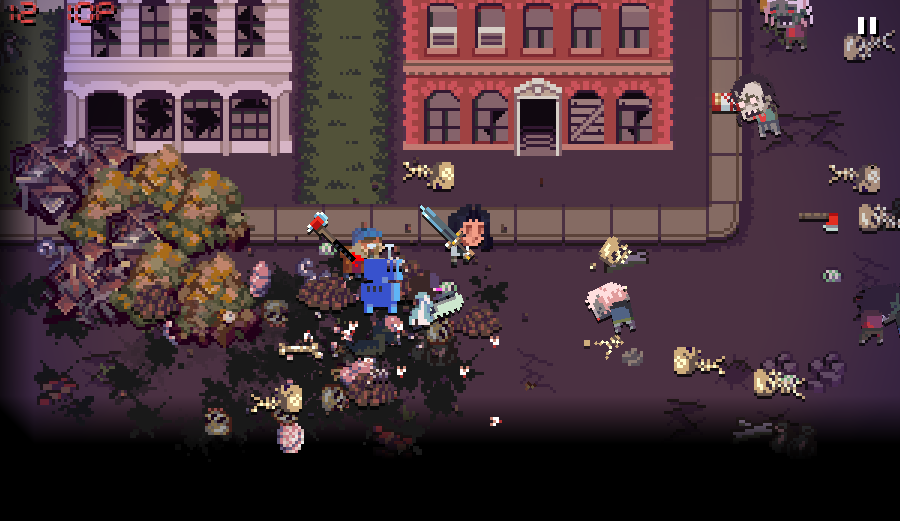
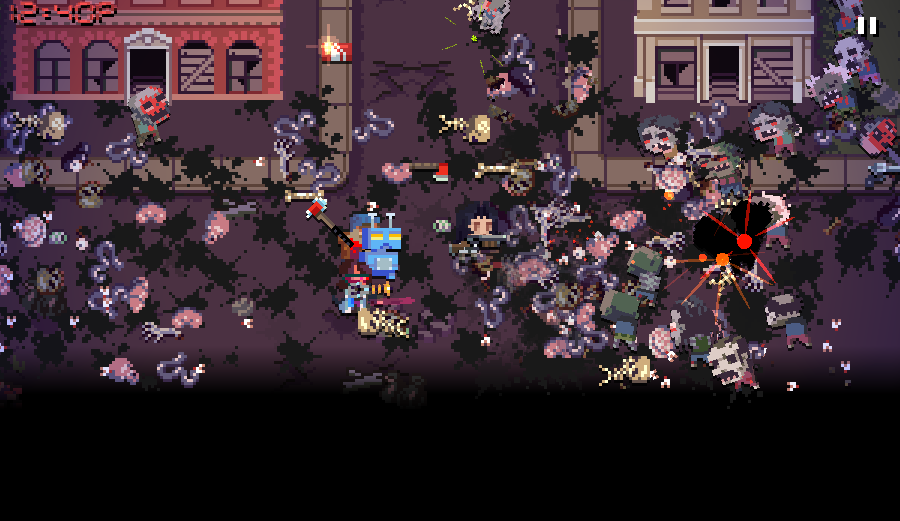
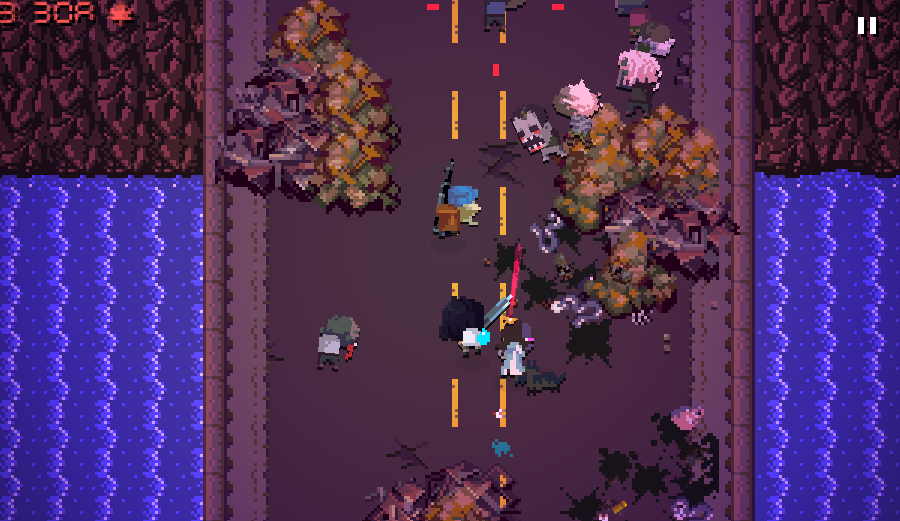
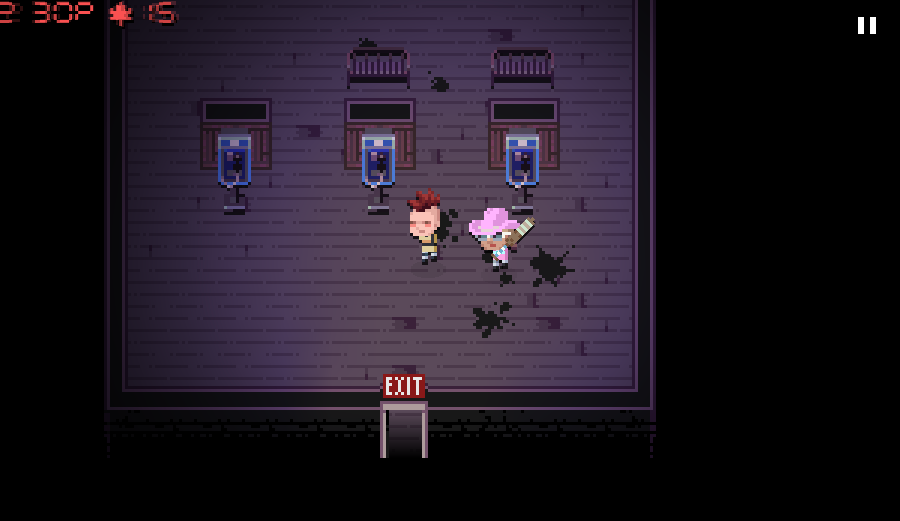
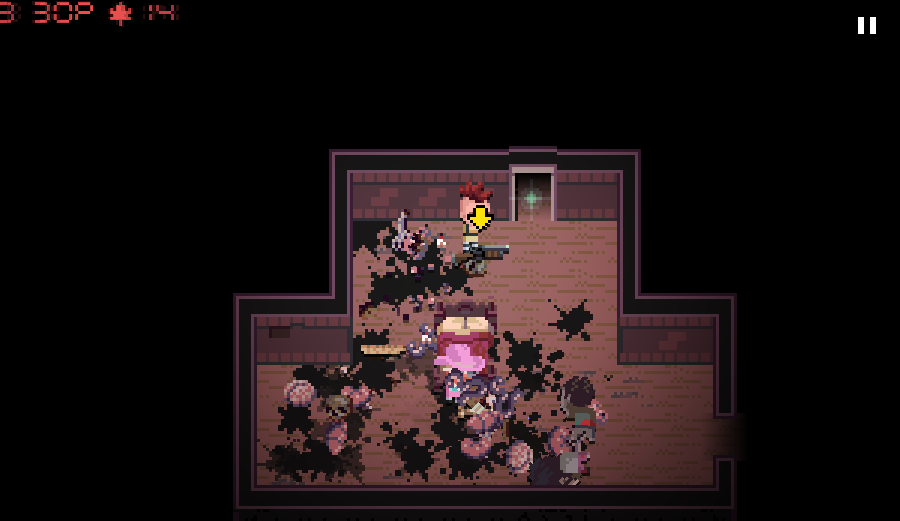
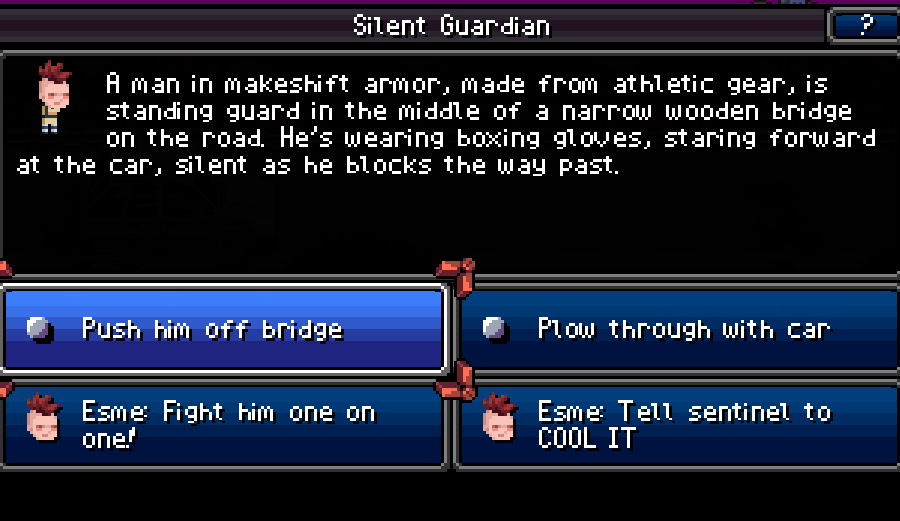
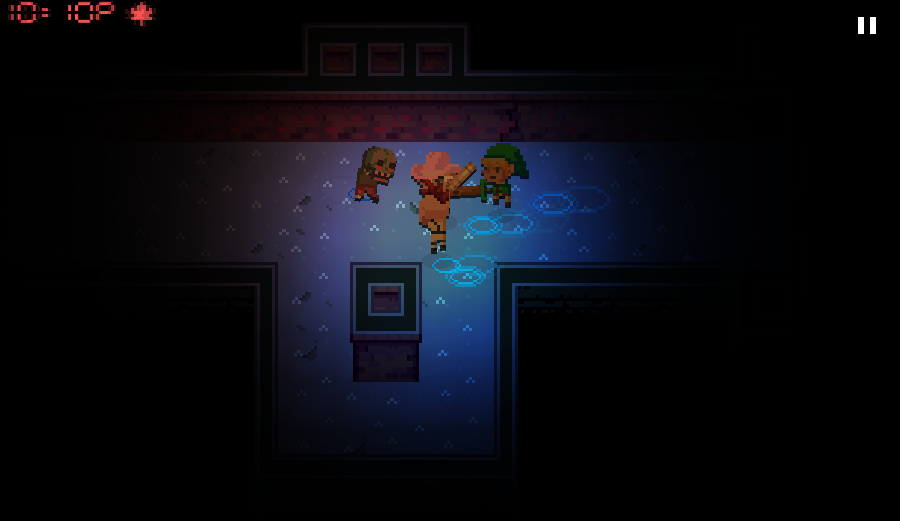
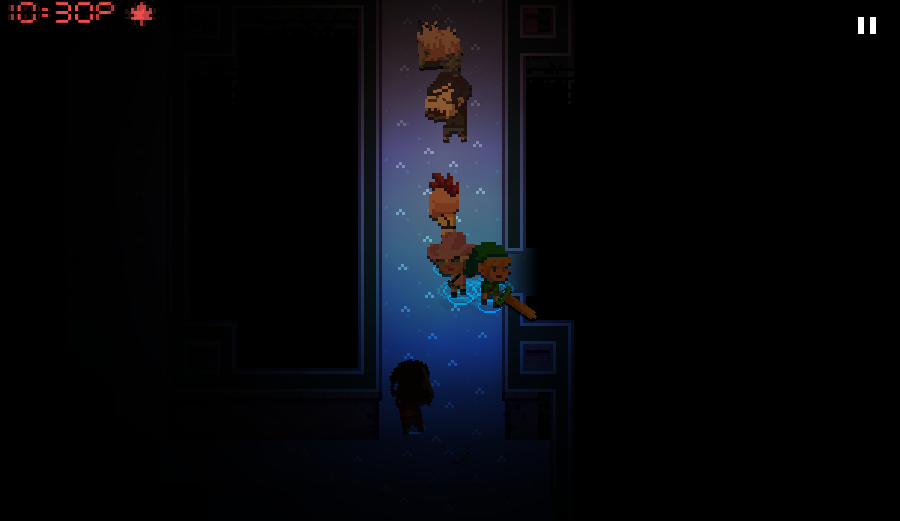
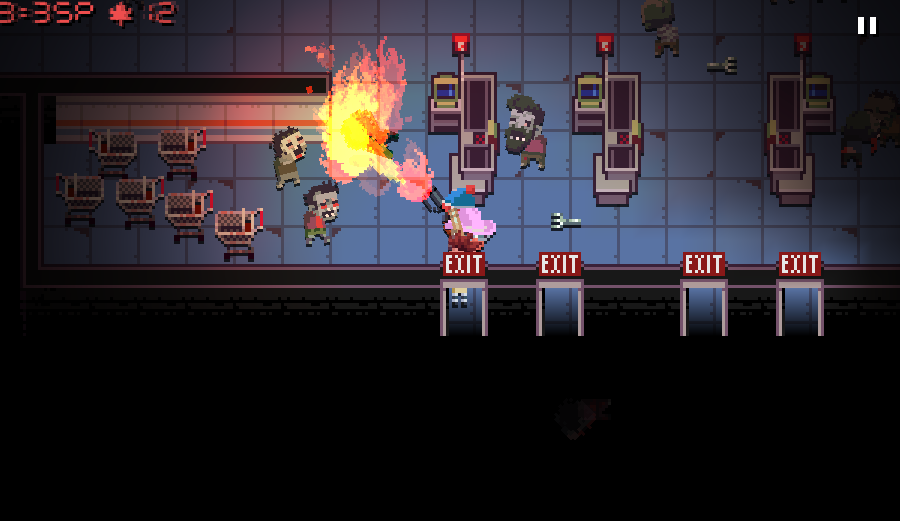
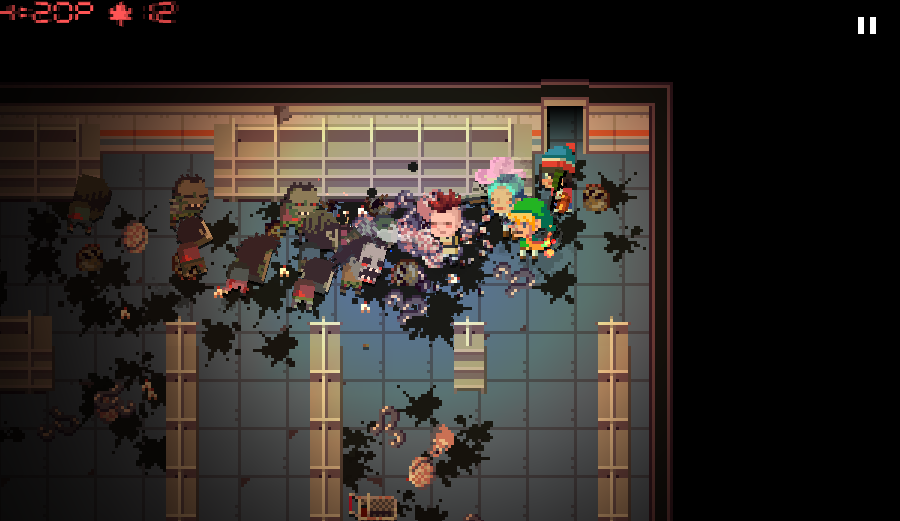
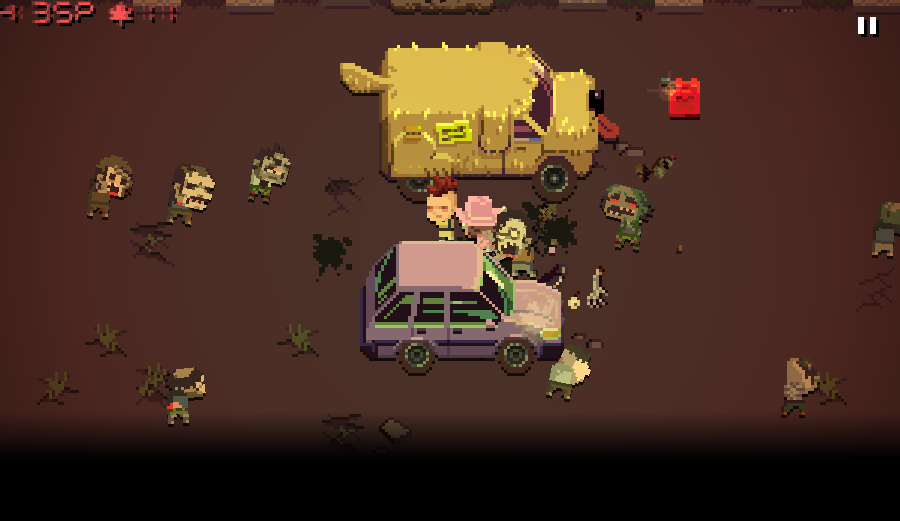
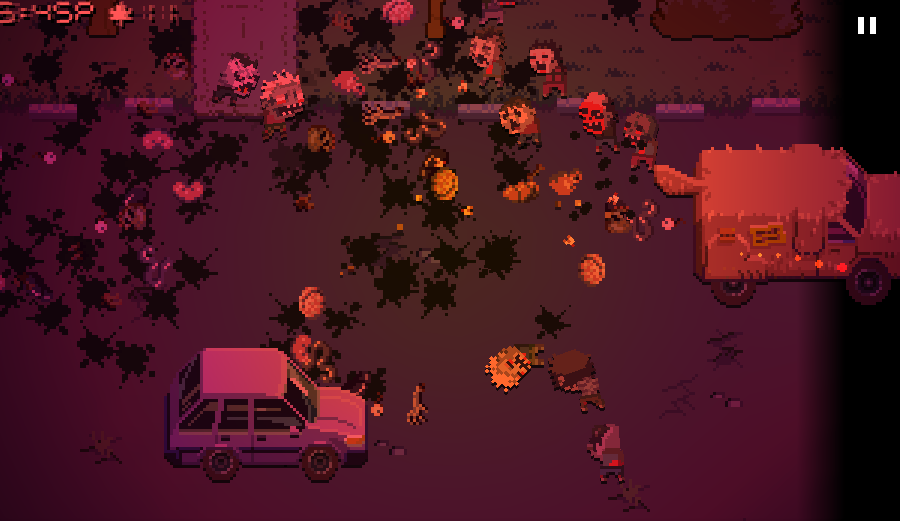
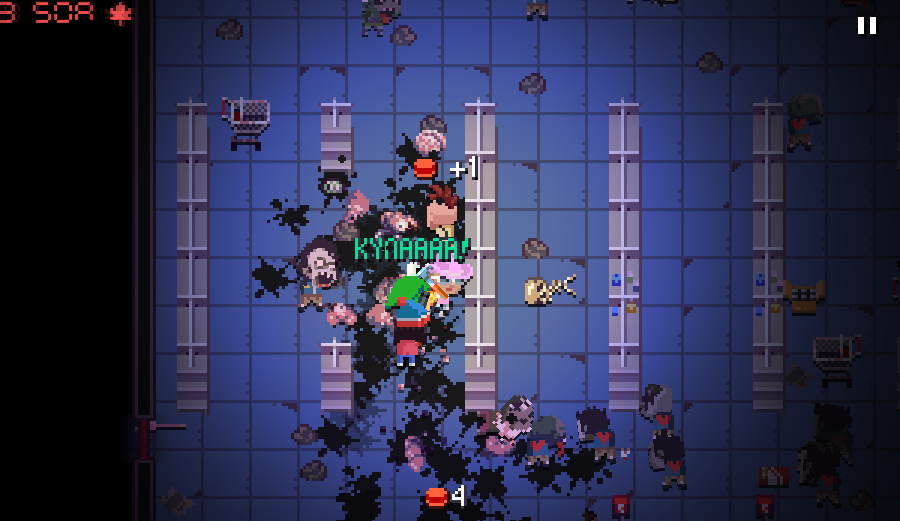
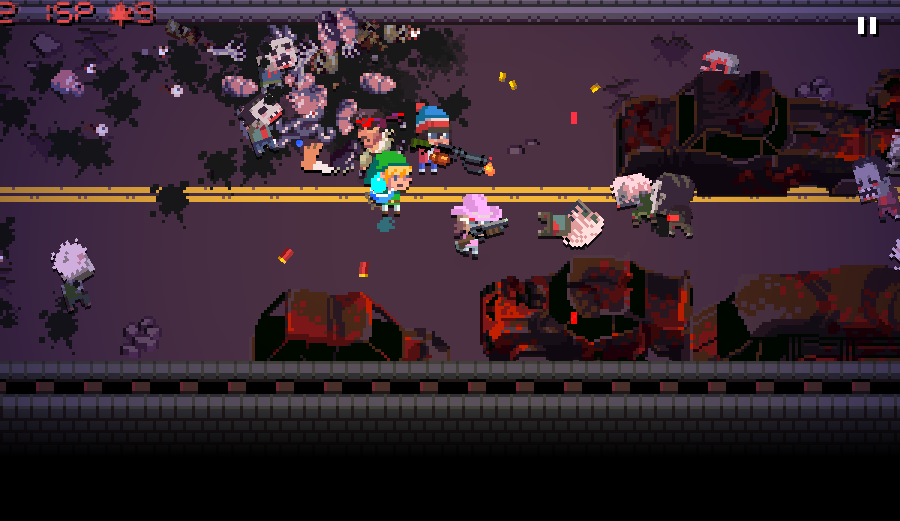
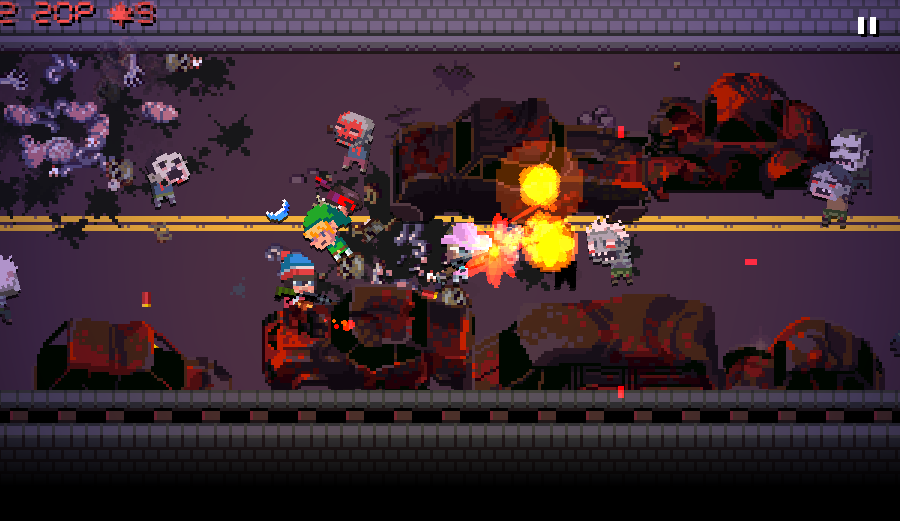
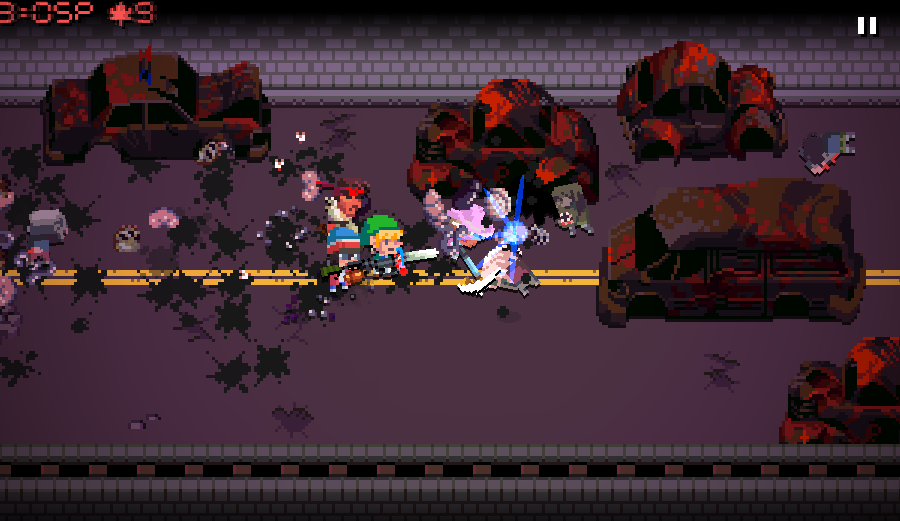
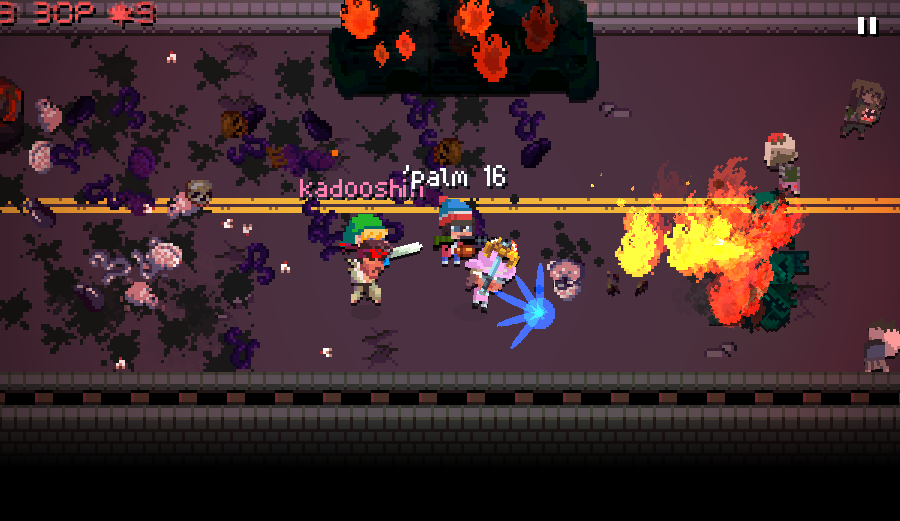
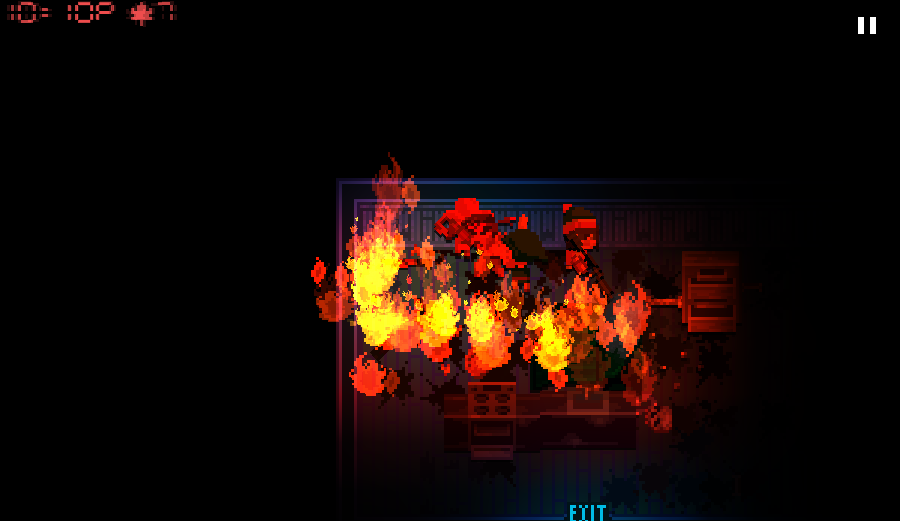
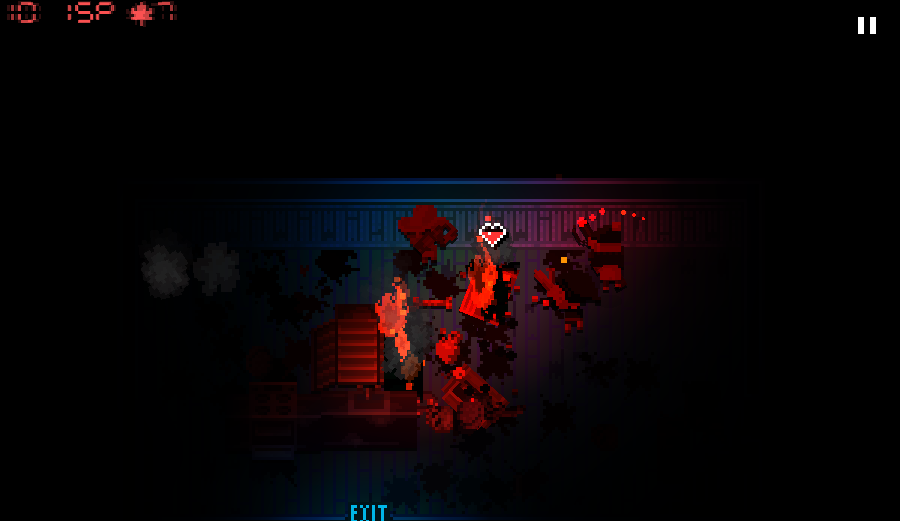
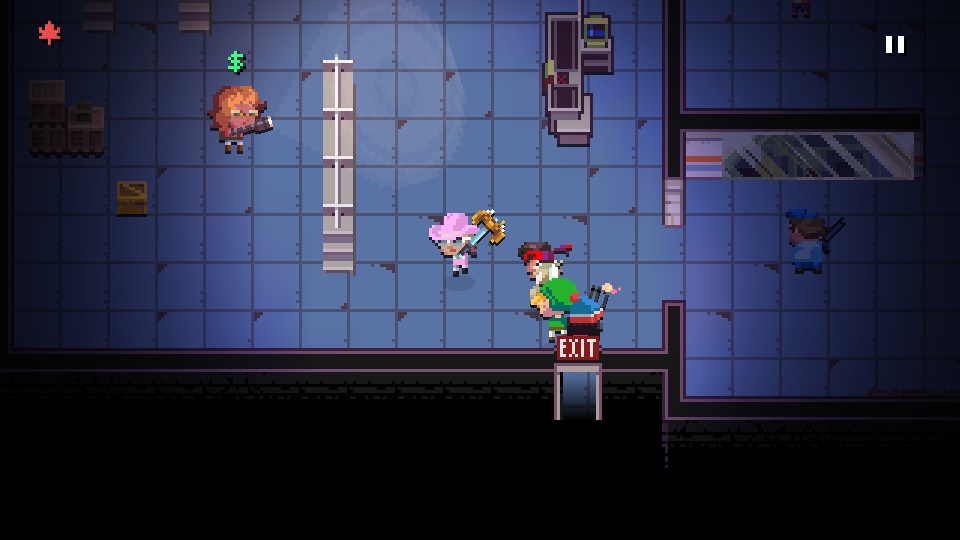
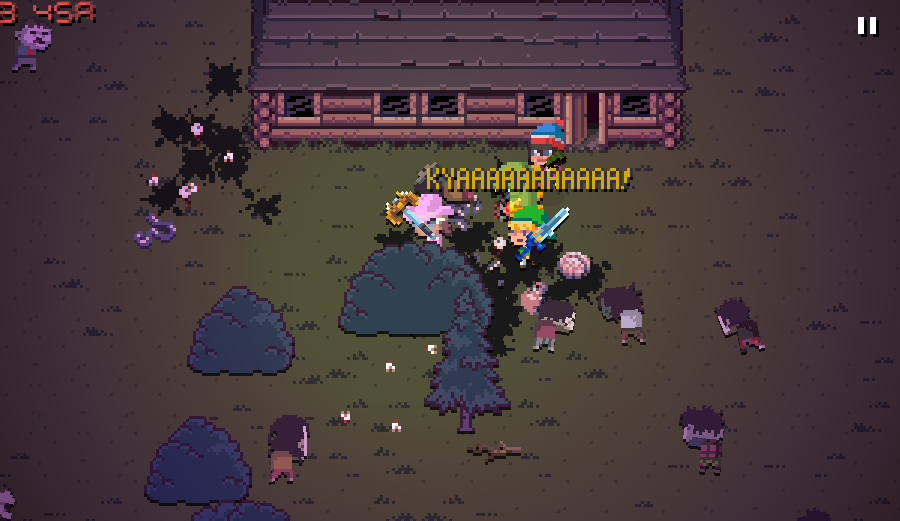
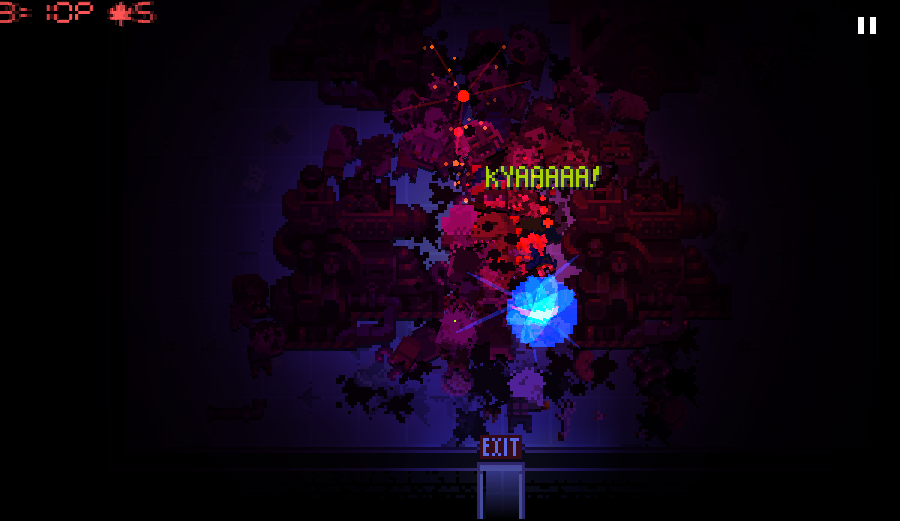
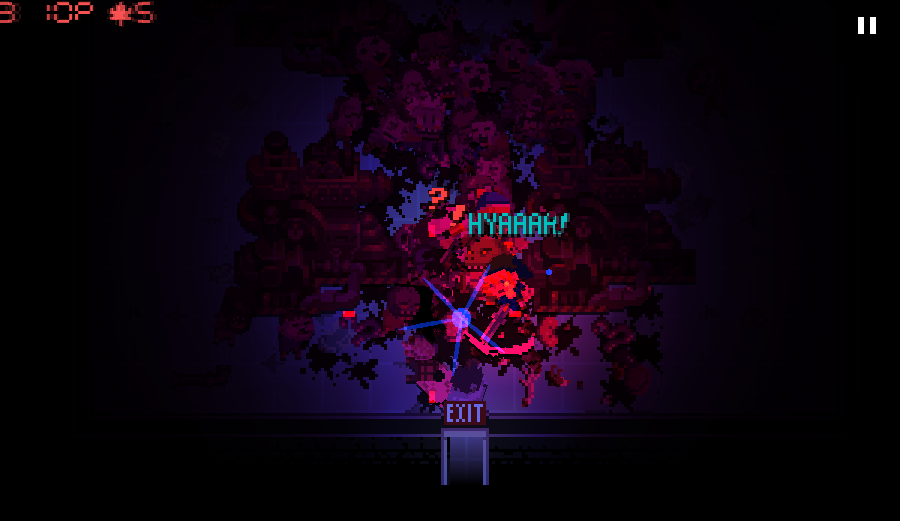
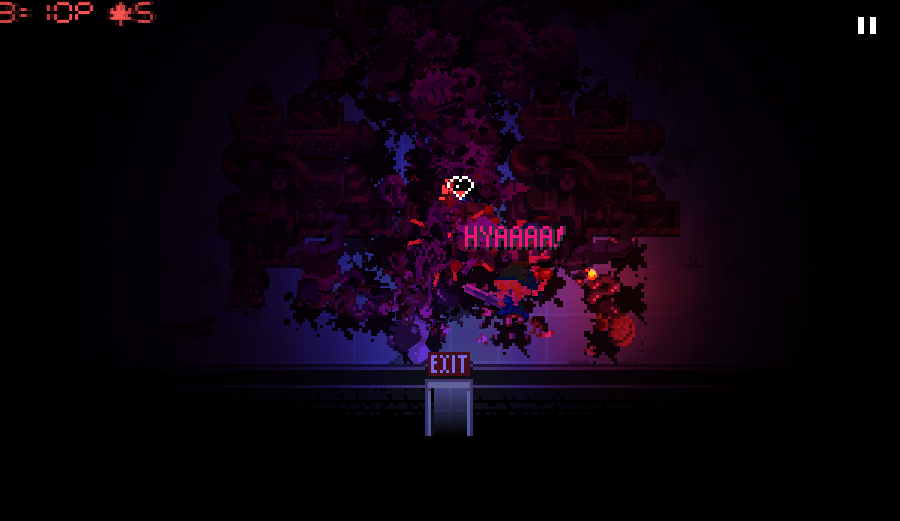
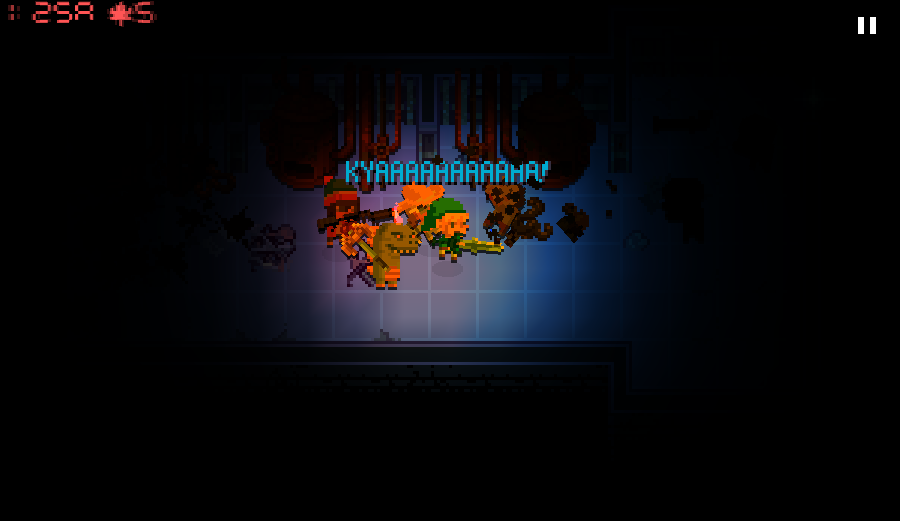
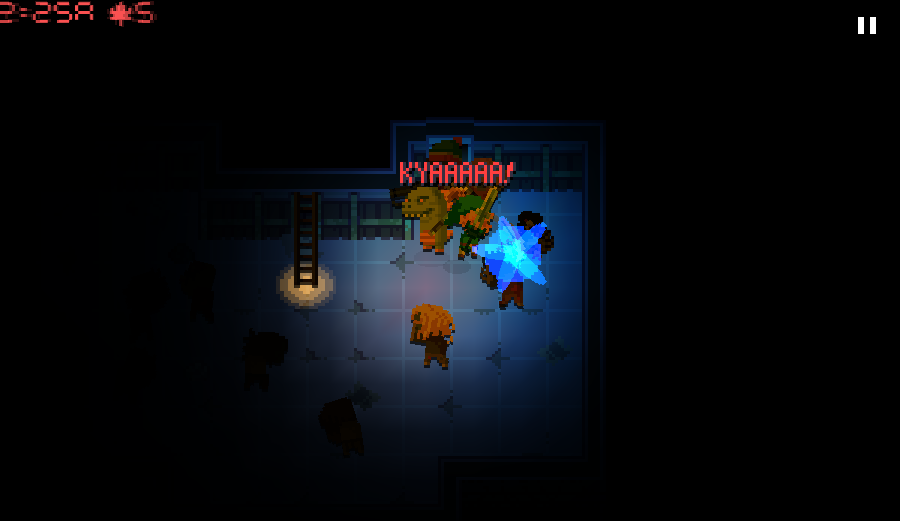
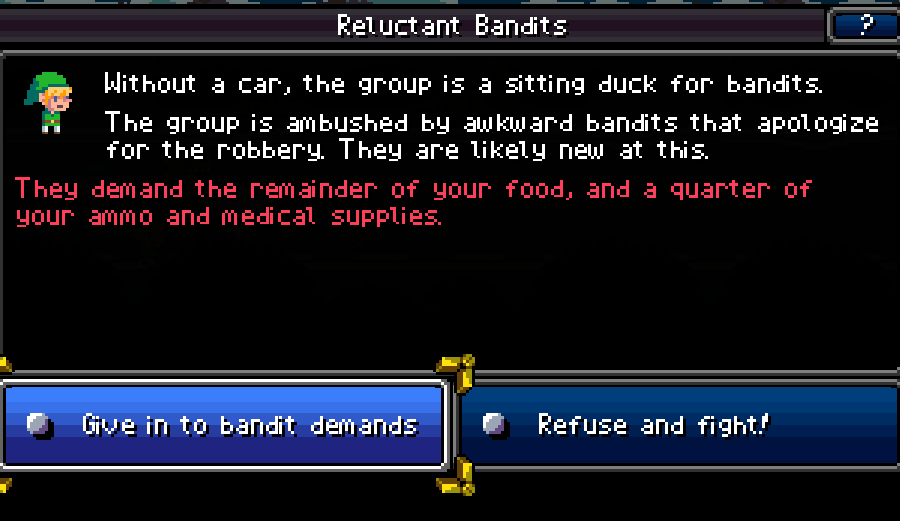
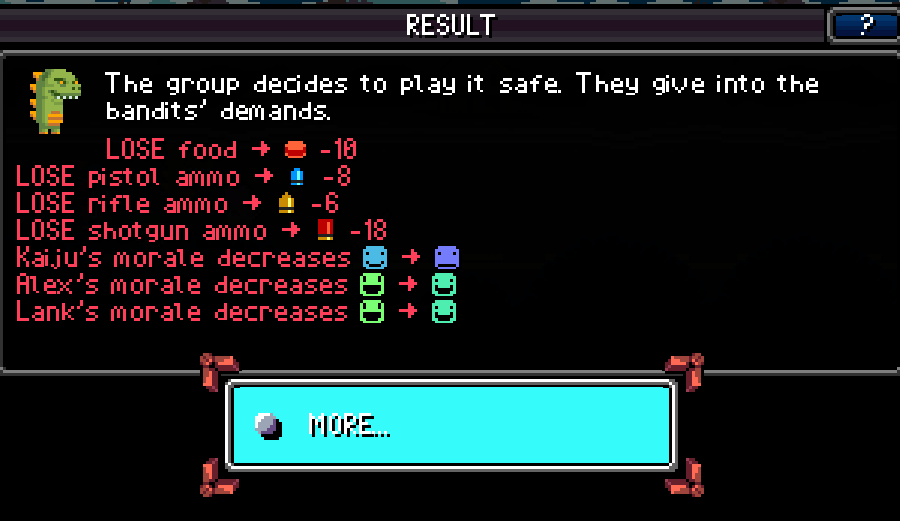
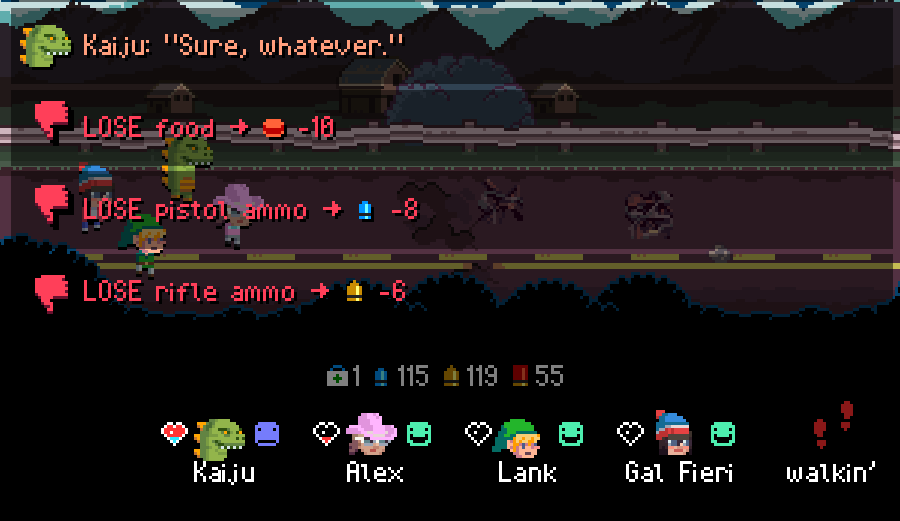
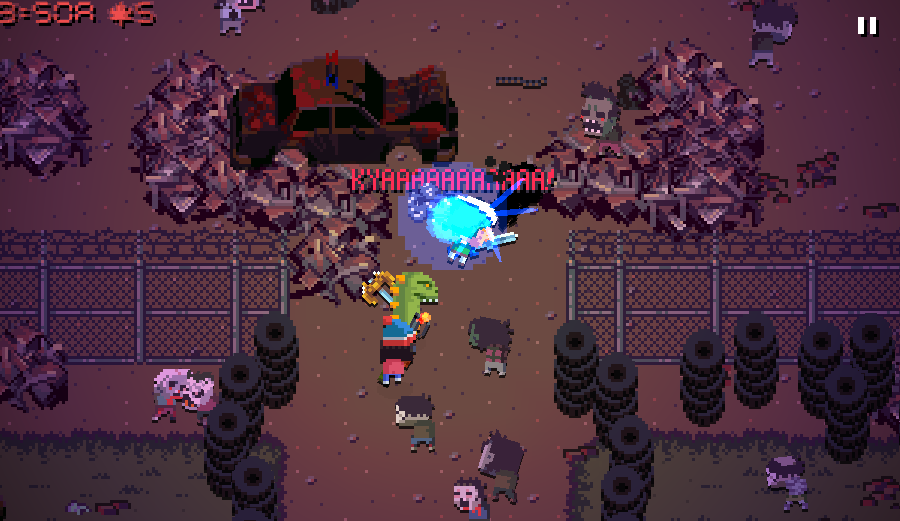
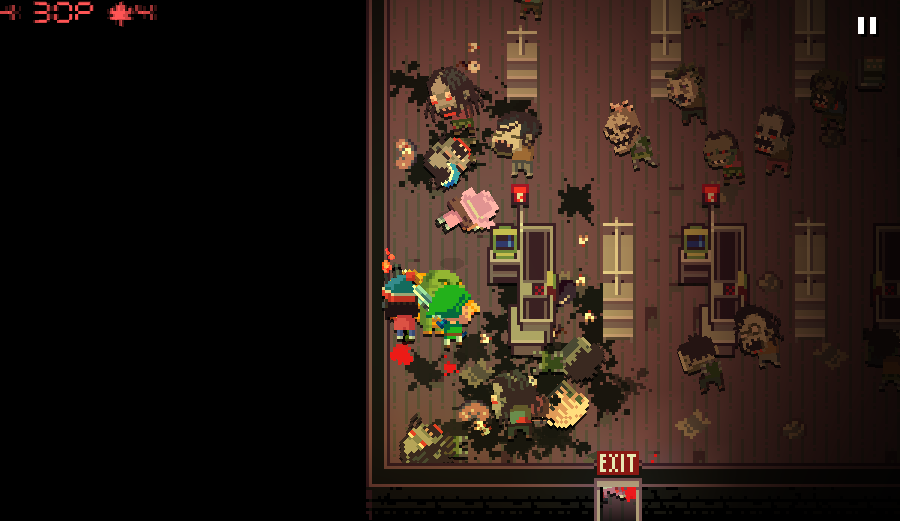
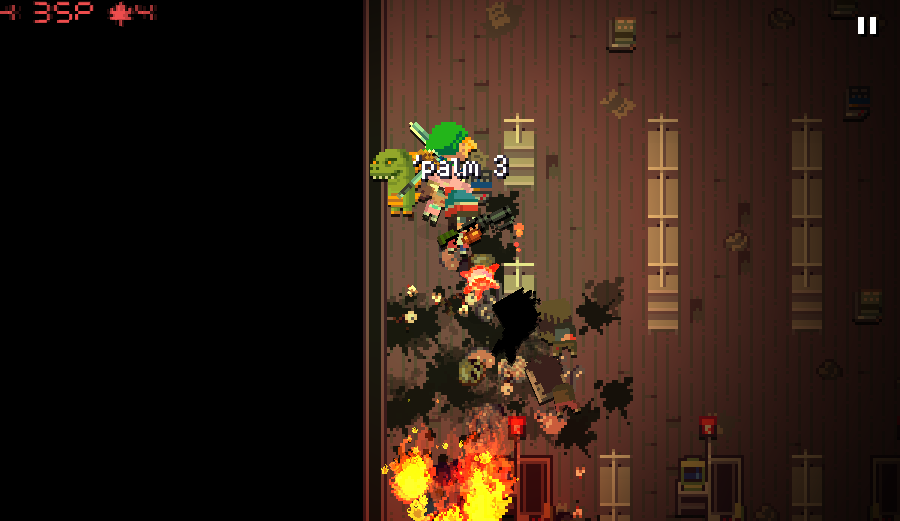
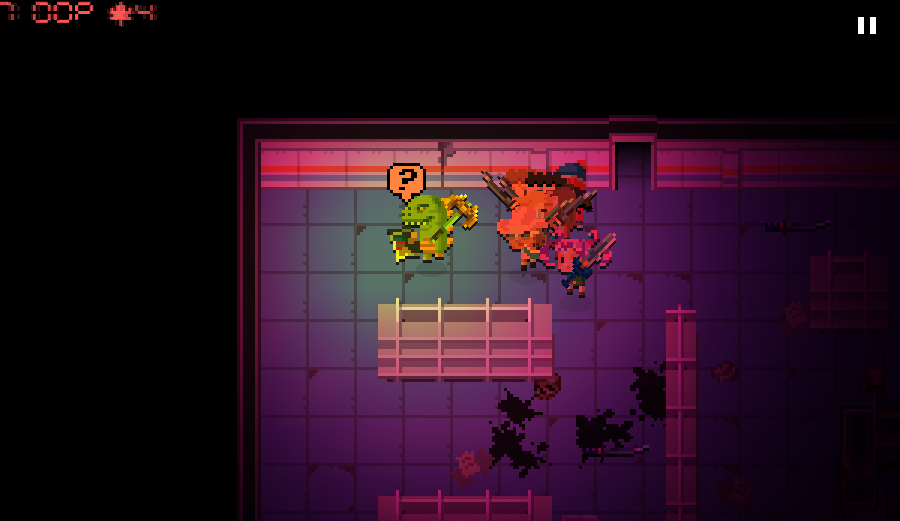
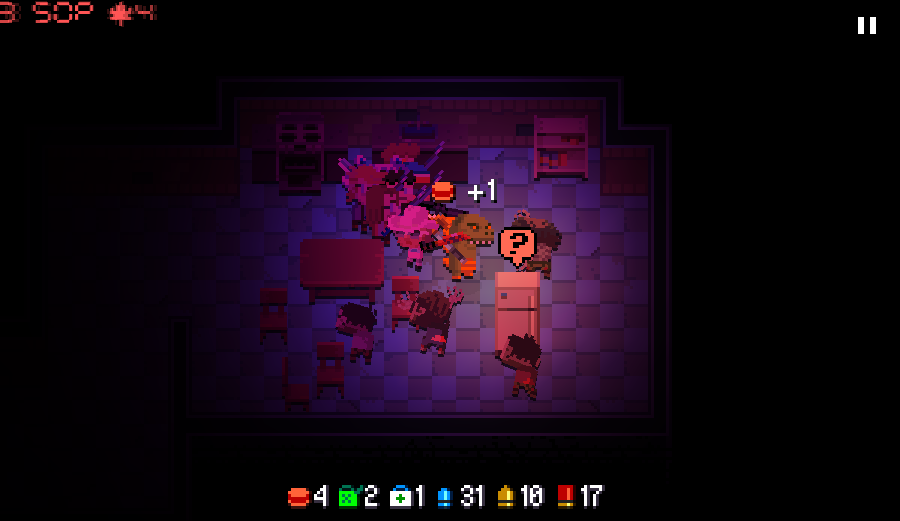
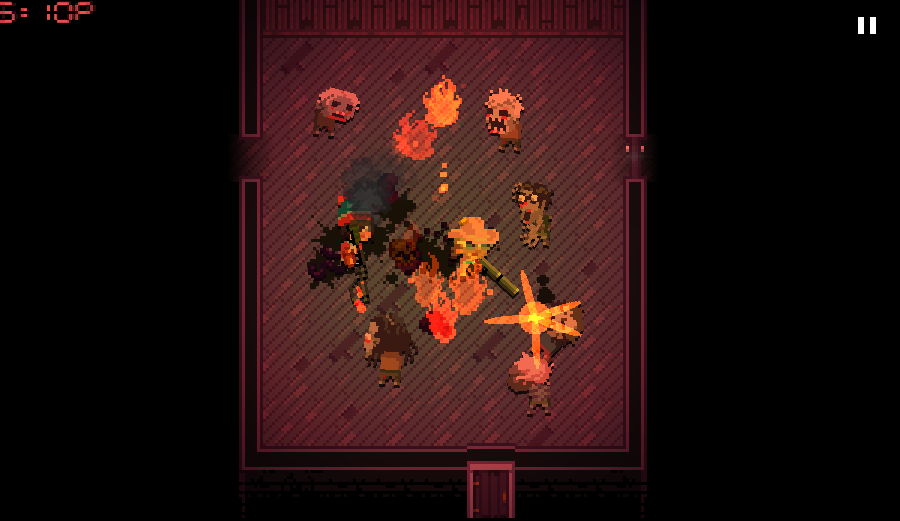
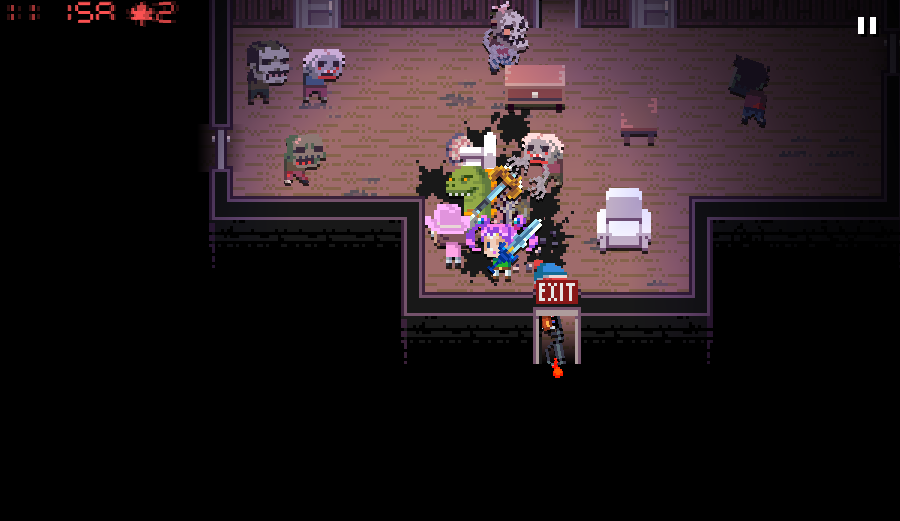
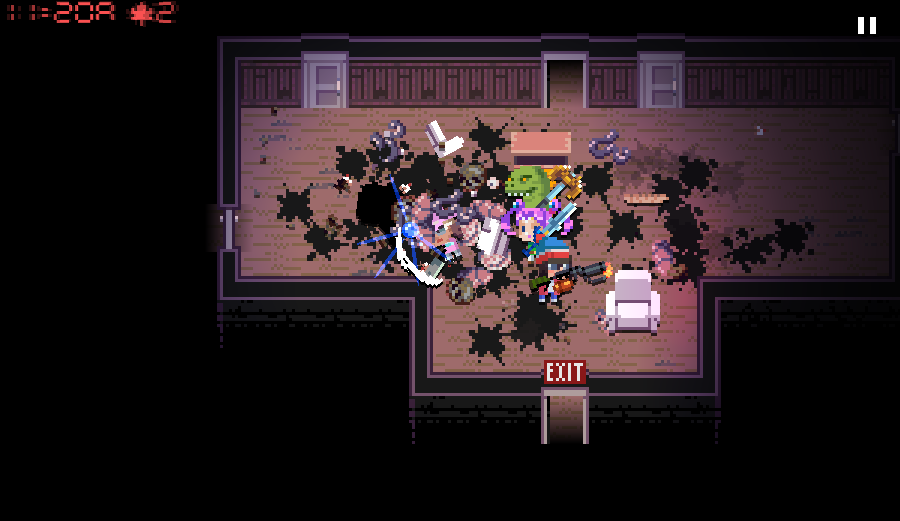
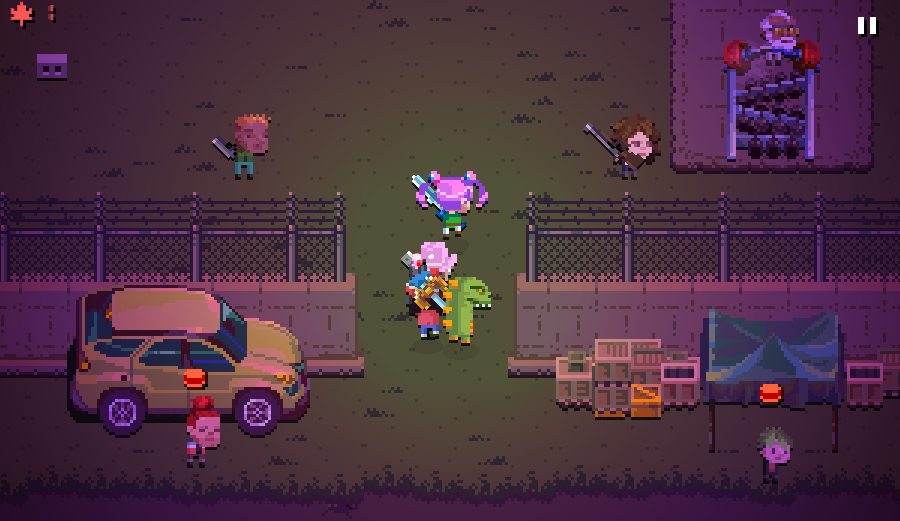
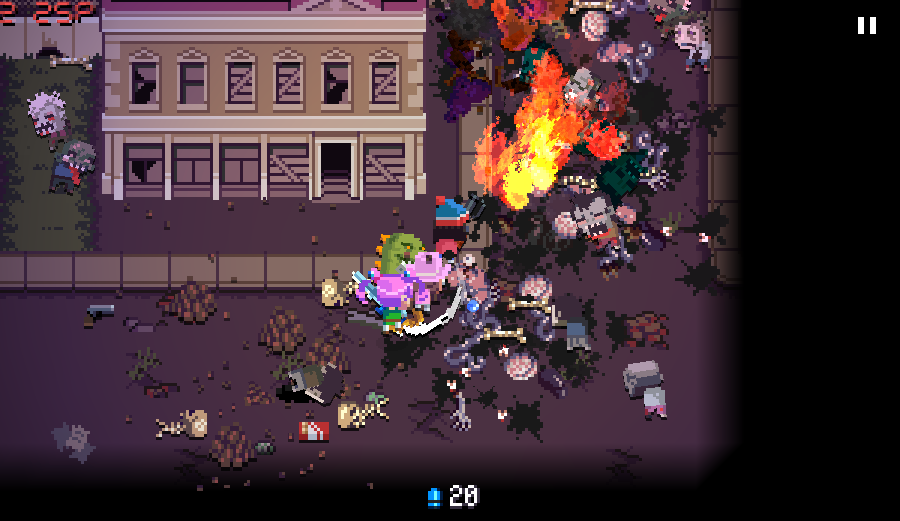
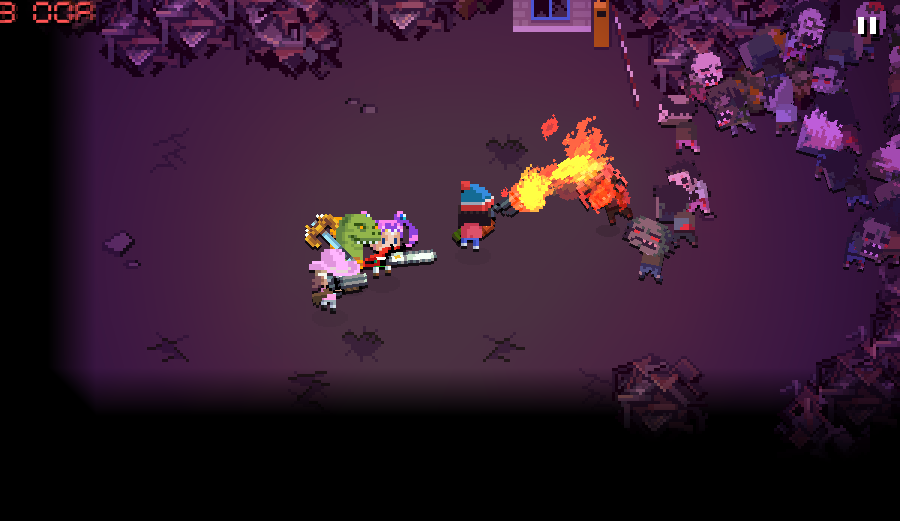
And then Saph died to the Sweatbandits. Strong enough characters could win this and come out clean, but all of our characters are still low-level thanks to level 1 perks. If you lose the pose-off, it's worse than just paying the toll.
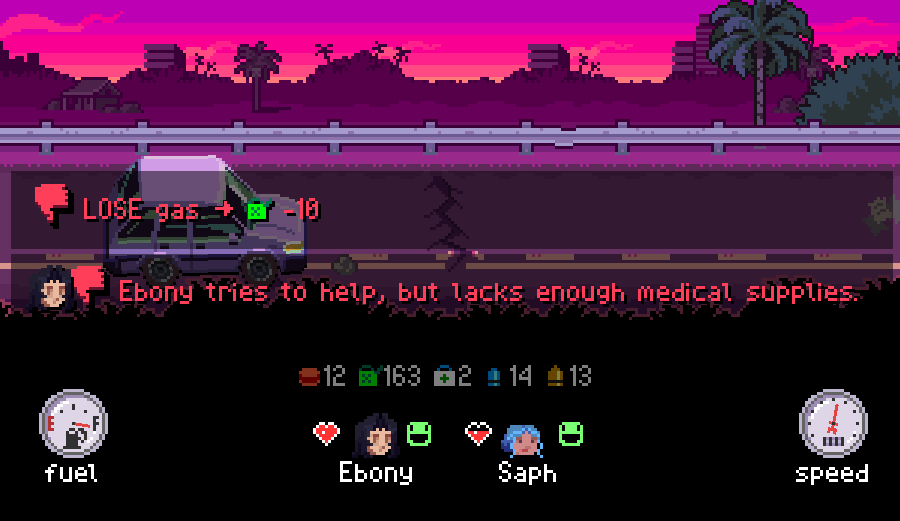
This is some pretty cruel RNG, landing bandits so close to each other like this, and it's the reason why it's best to never leave anyone on 1 HP. We unfortunately didn't get a chance to heal here, so the game really just wanted her dead.
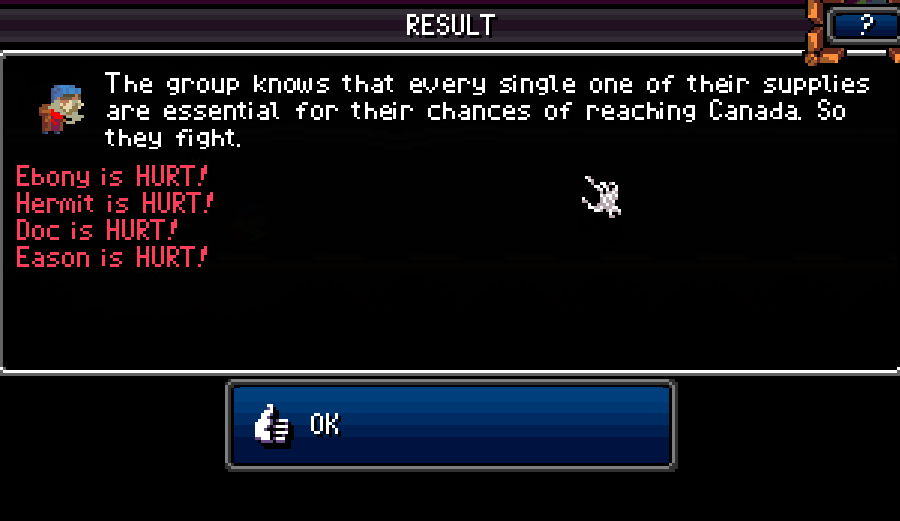
The only time it's worth paying bandit tolls is when you're already broke and have nothing, or you really need to save that Berserk character's life. There's not stat rolls on fighting bandits, it's just "take damage".
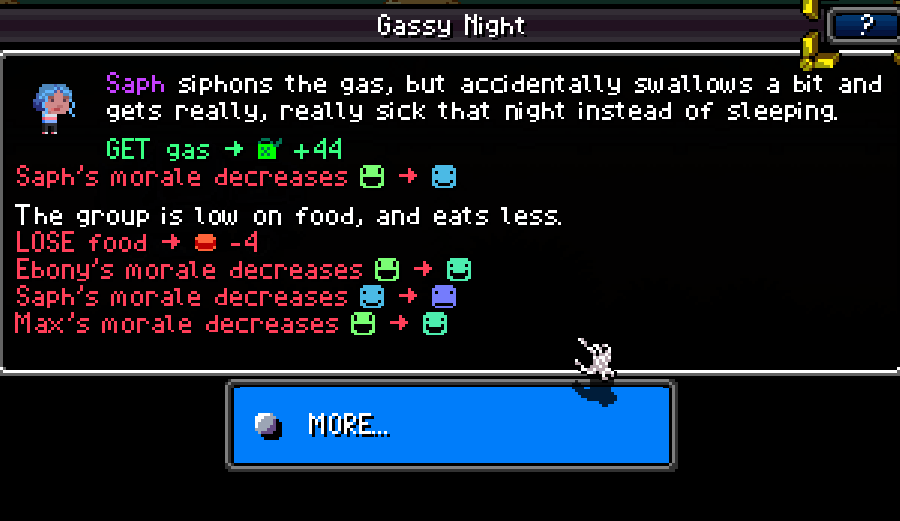
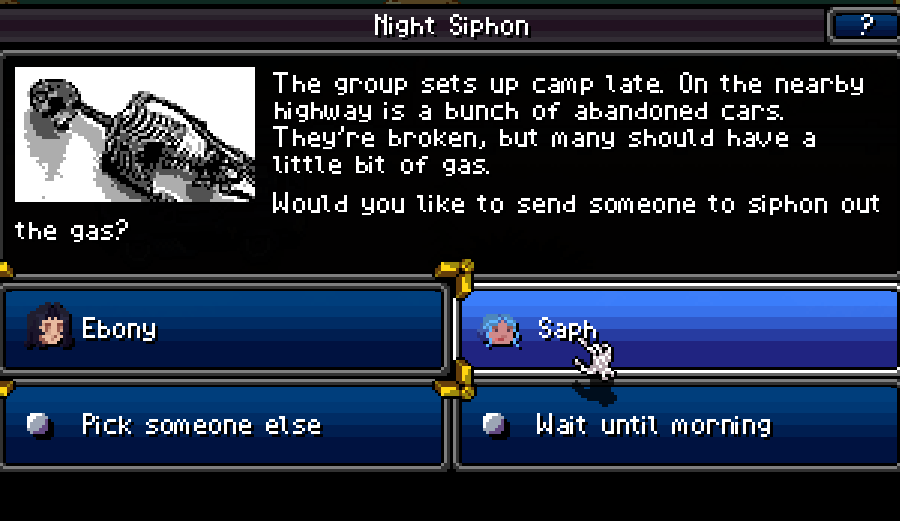
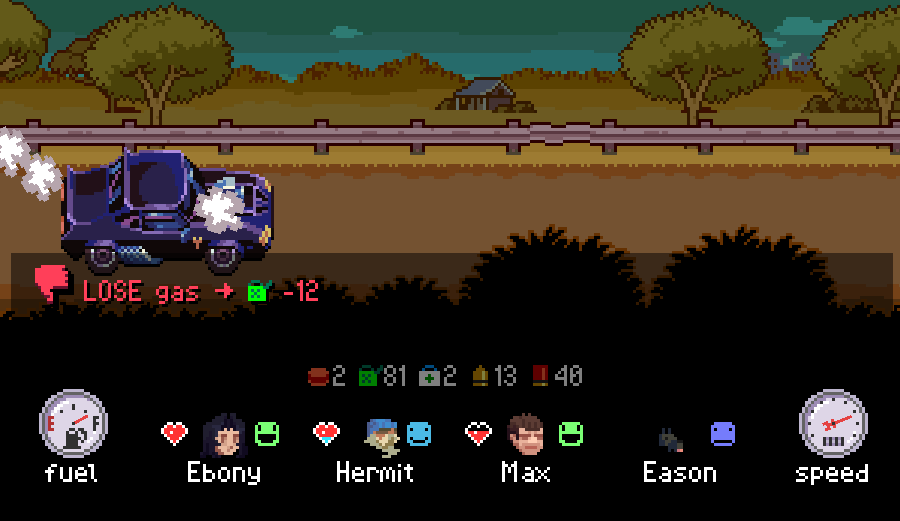
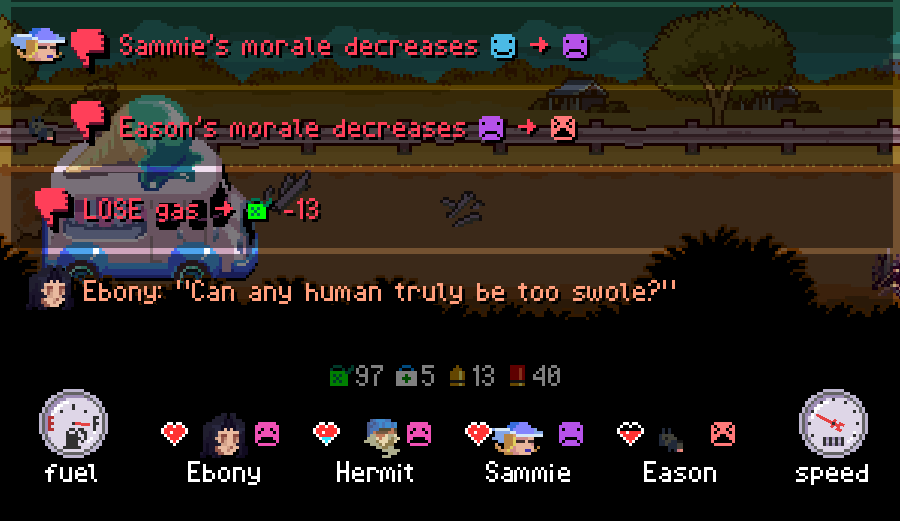
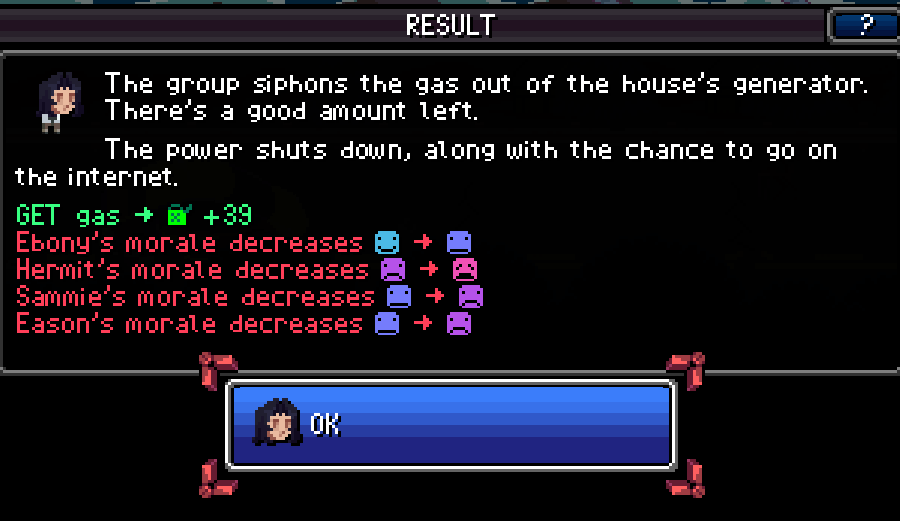
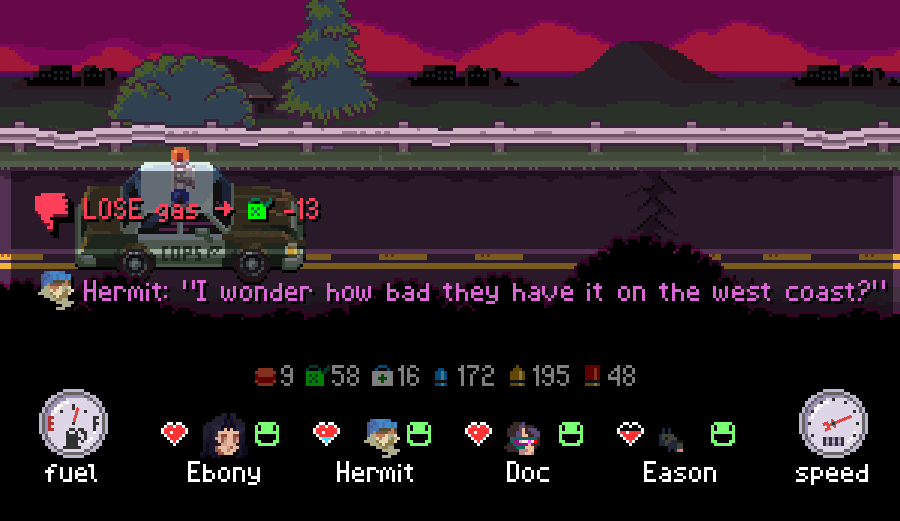
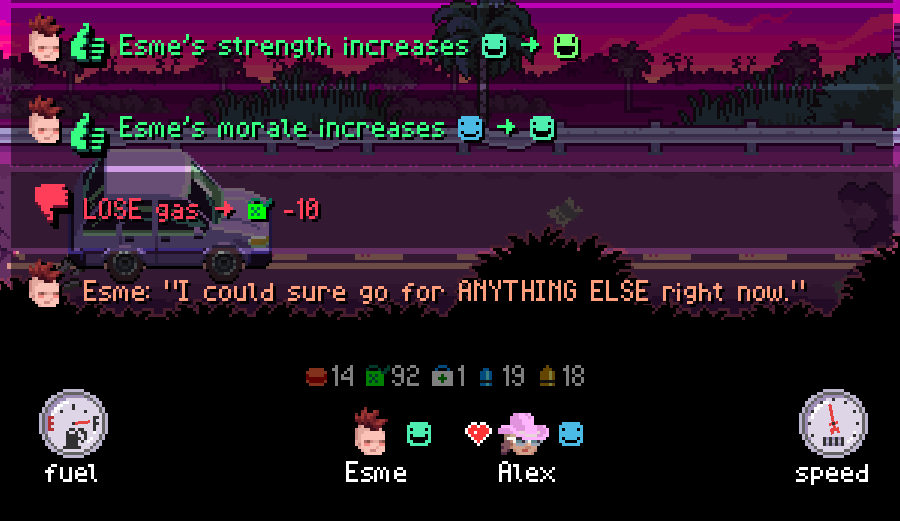
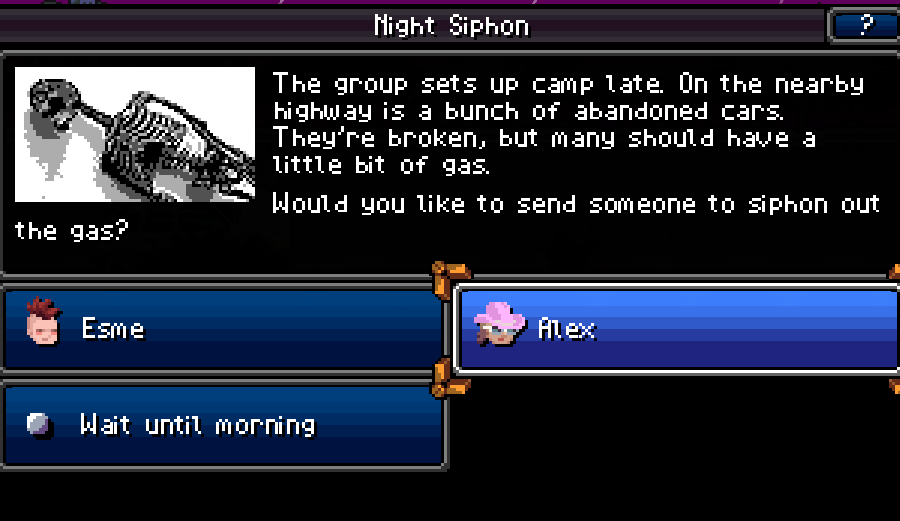
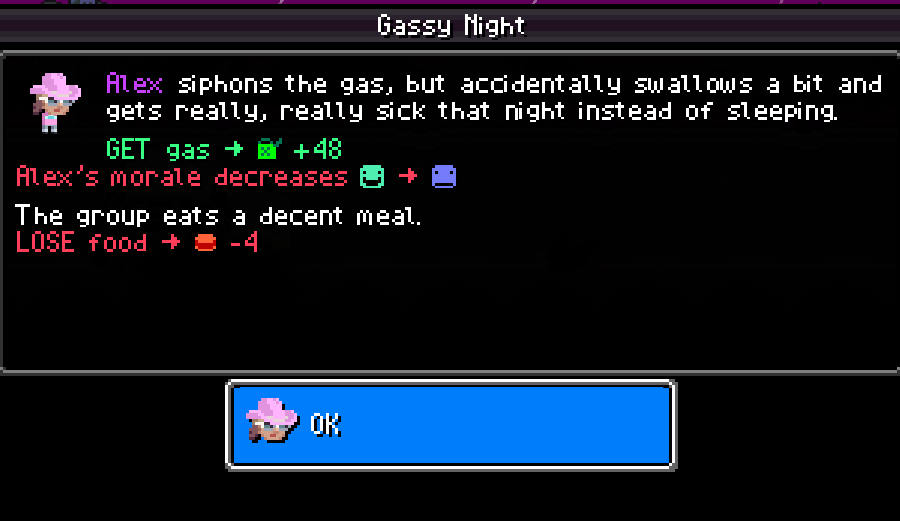
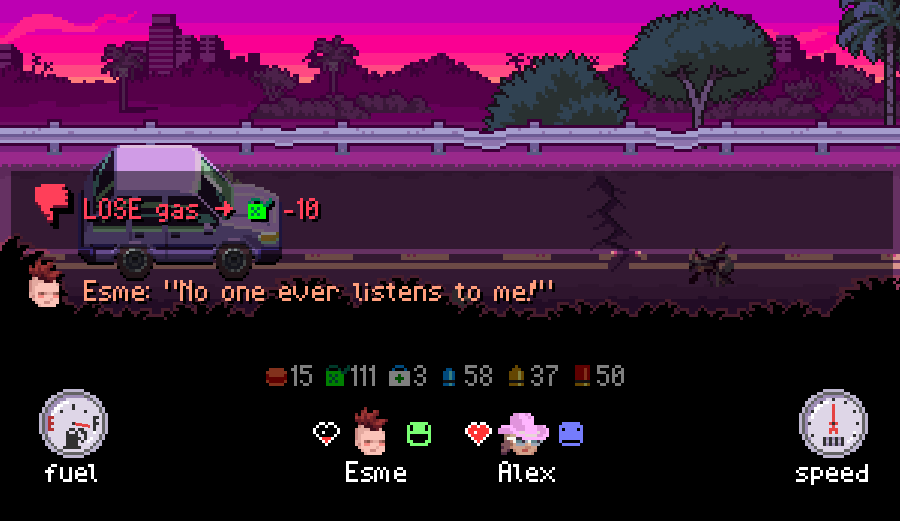
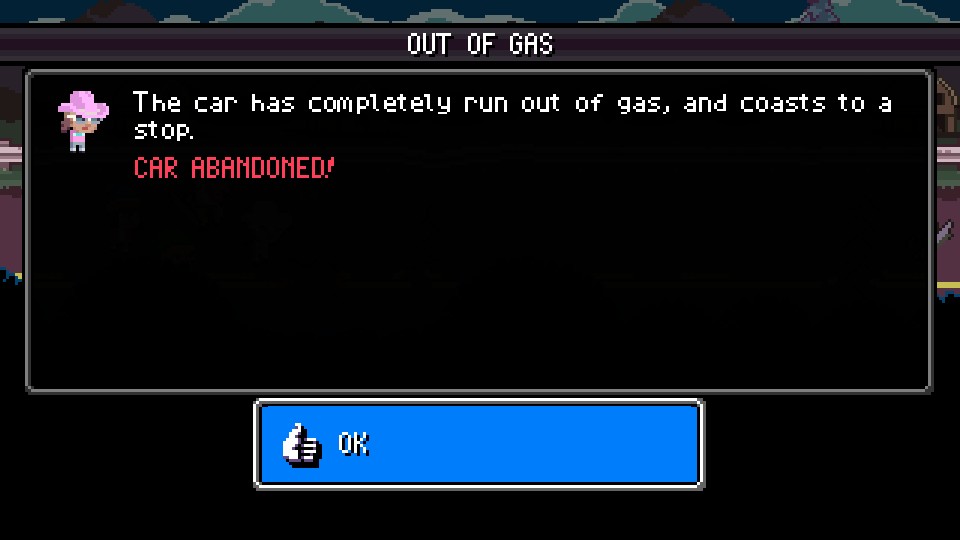
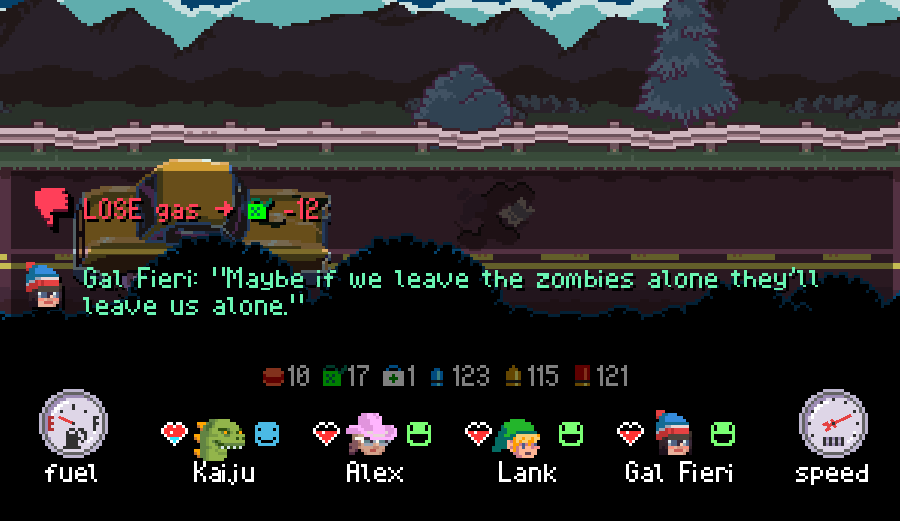
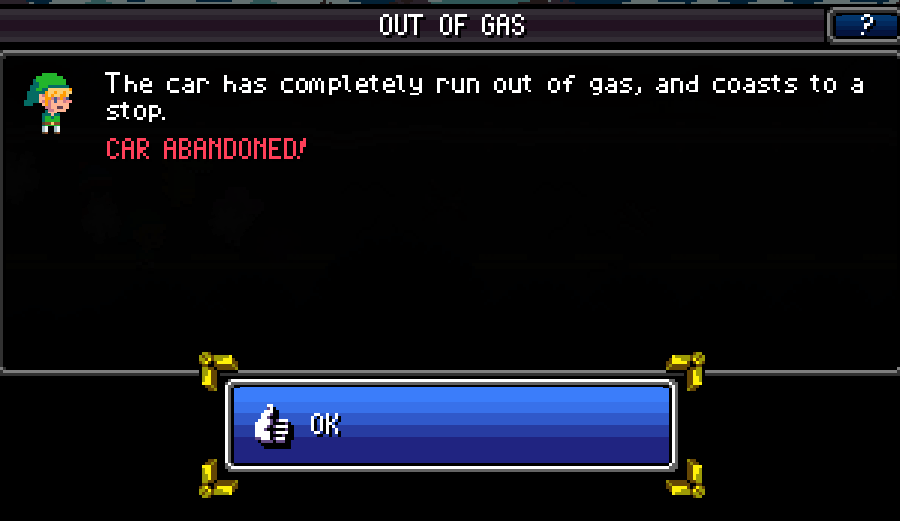
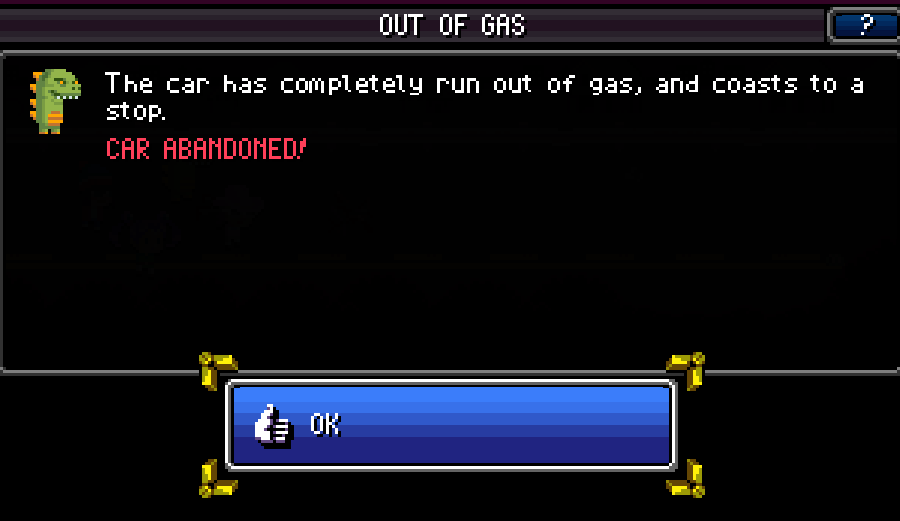
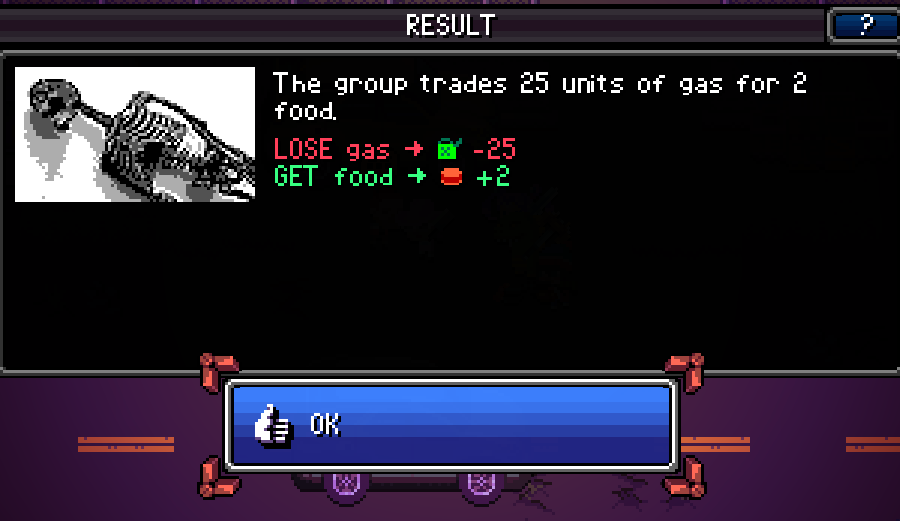
I foresaw something like this coming up, so it's why I had Saph siphon the gas the night before. If this impending death didn't occur, having her sit out of the next looting event wouldn't have been a problem either. The only thing worse than having a car break down is losing a good car from running out of gas.
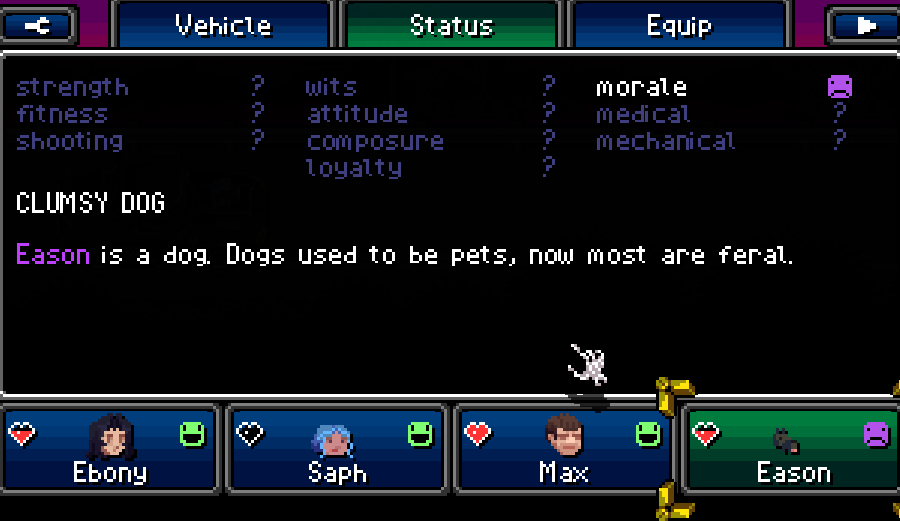
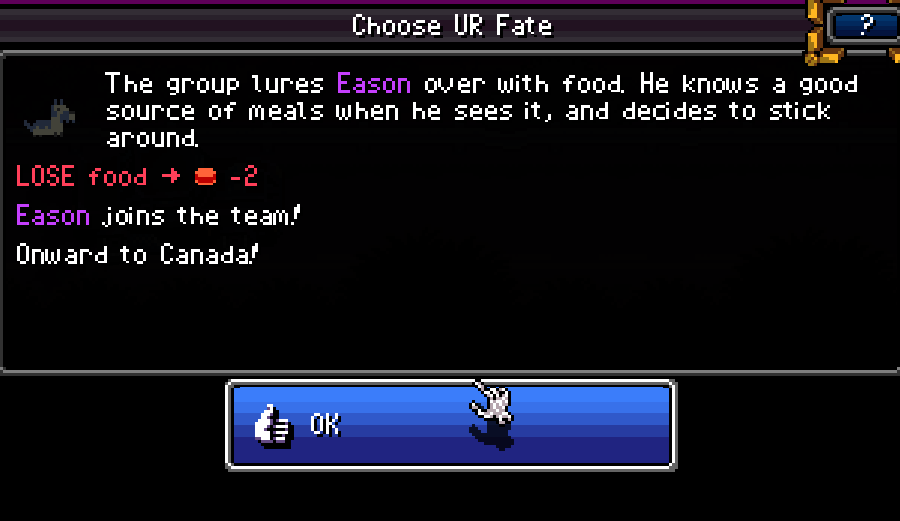
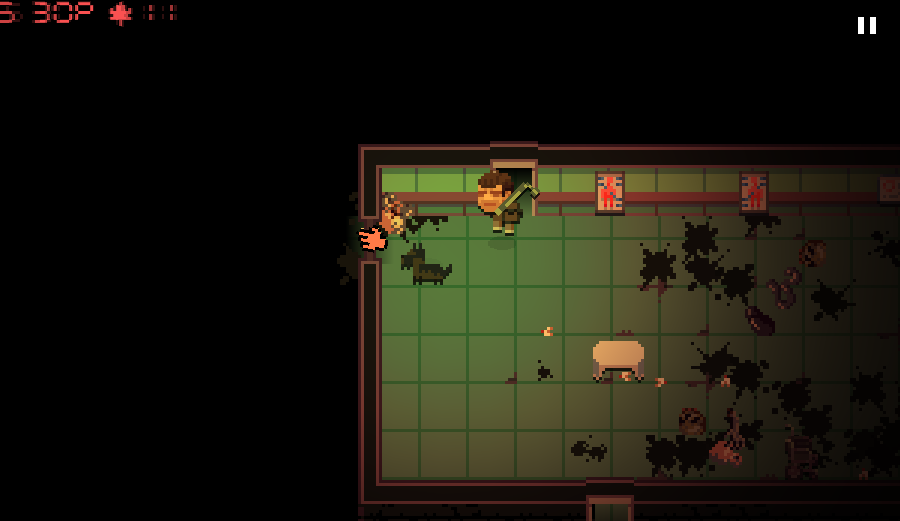
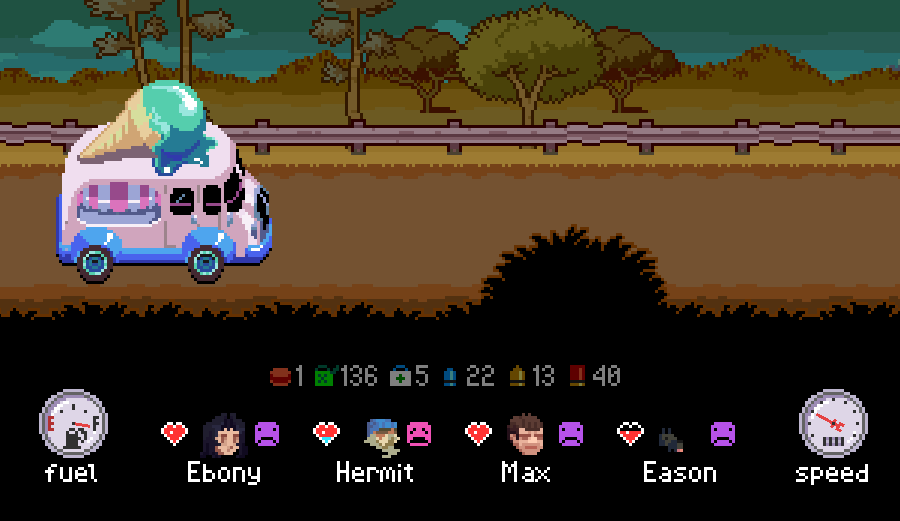
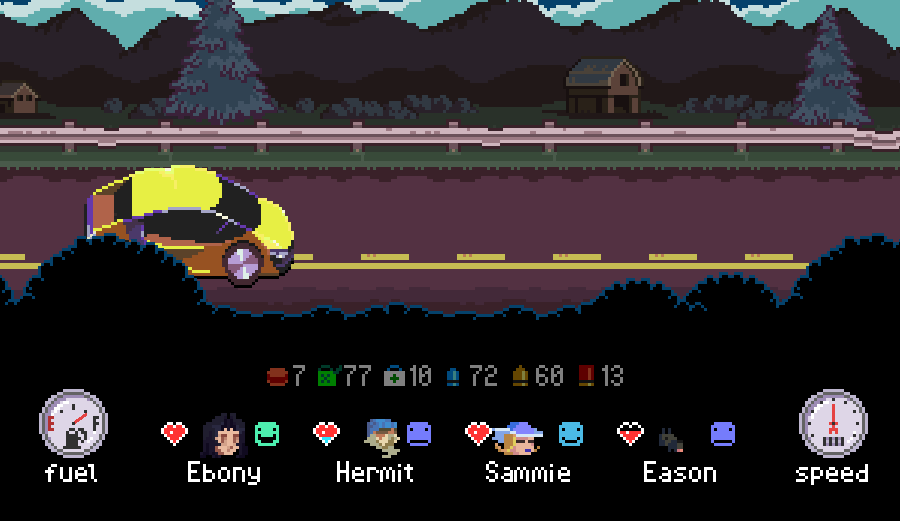
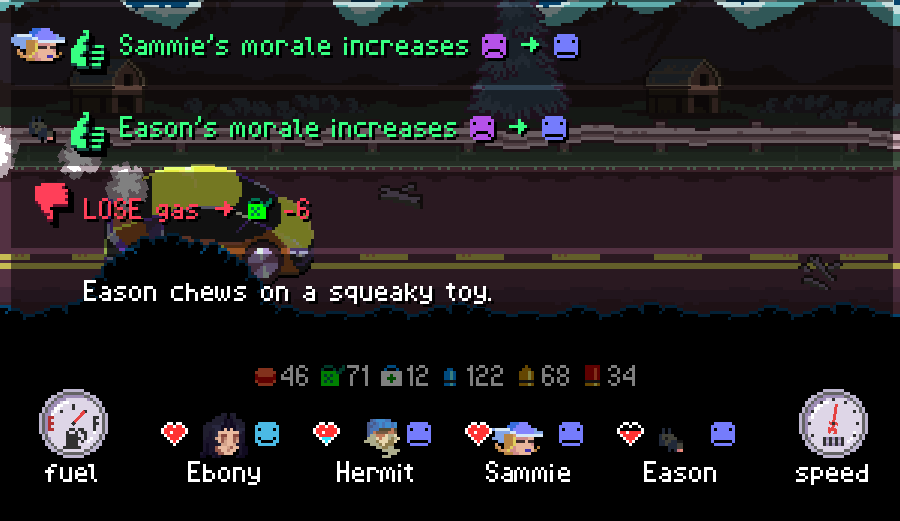
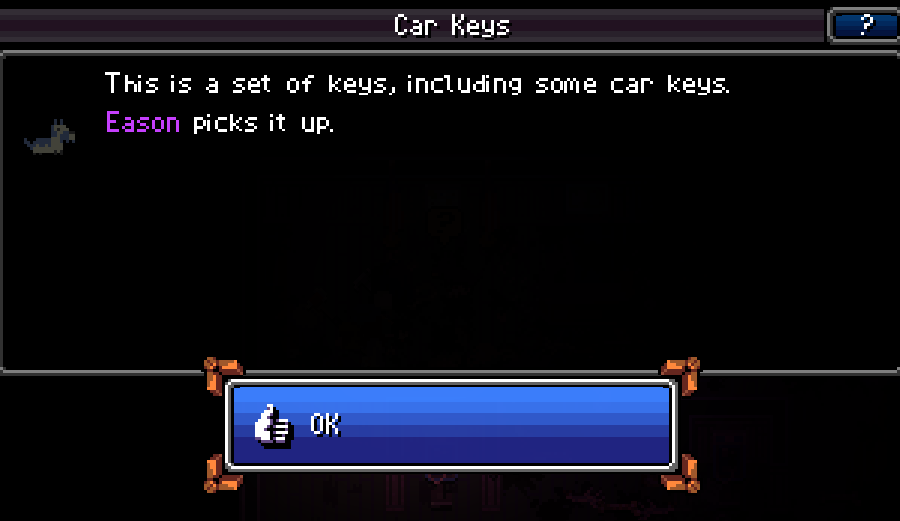
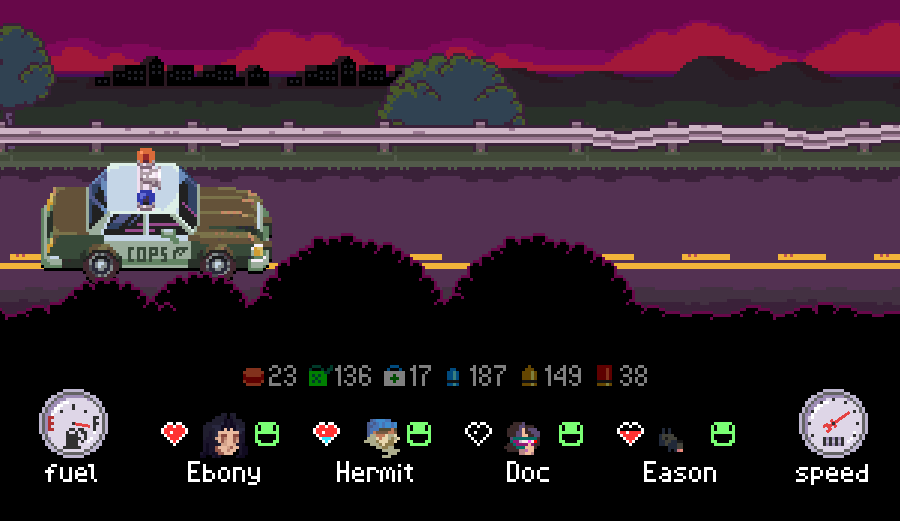
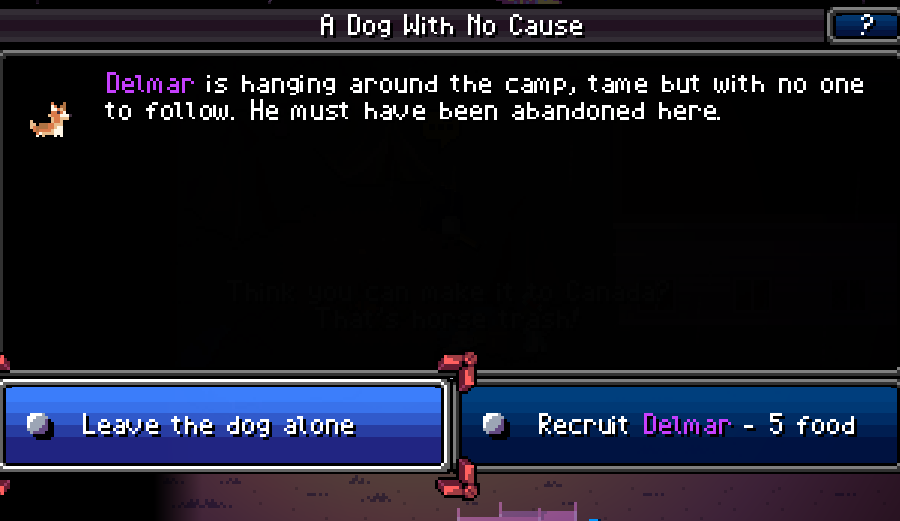
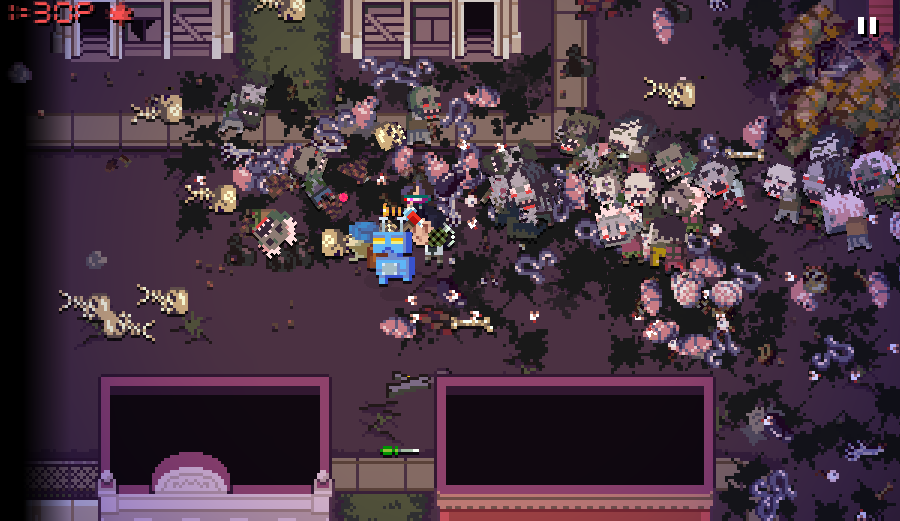
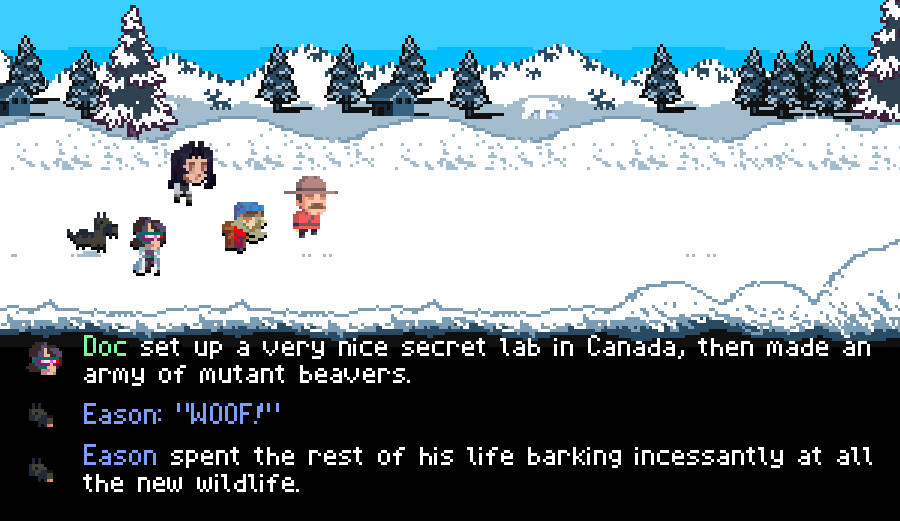
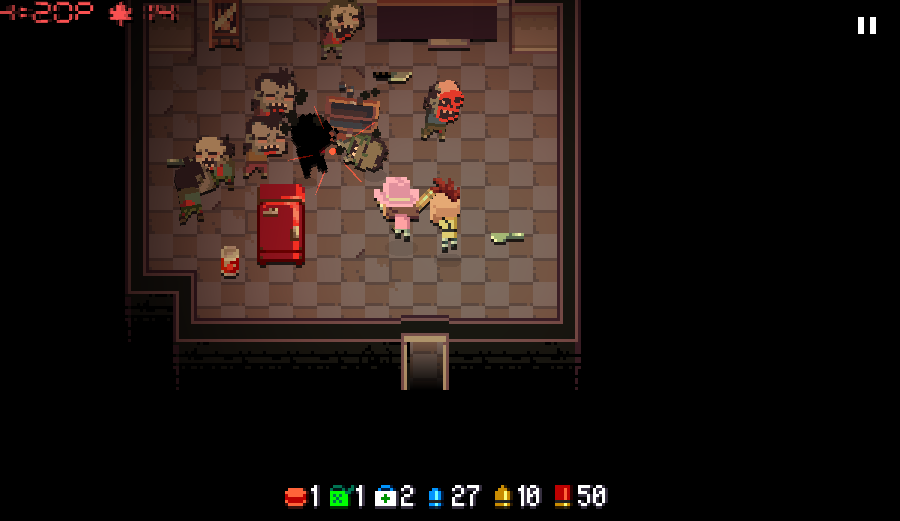
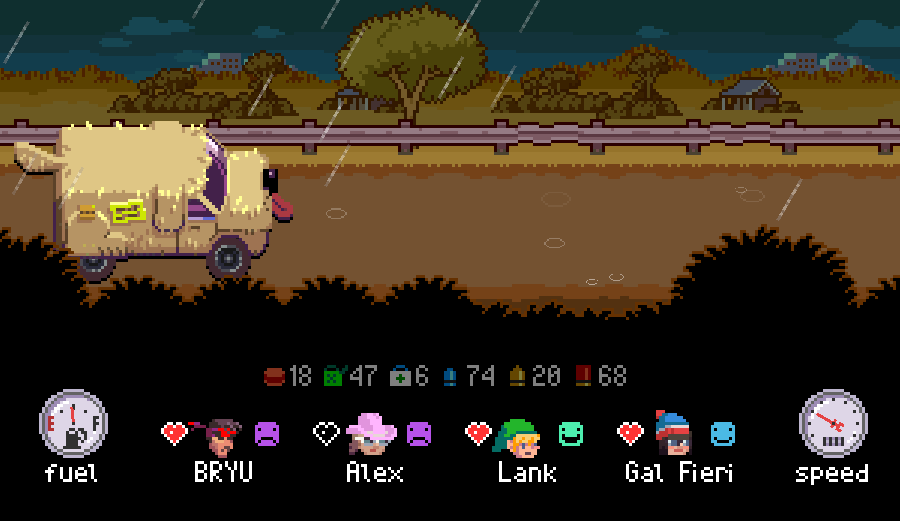
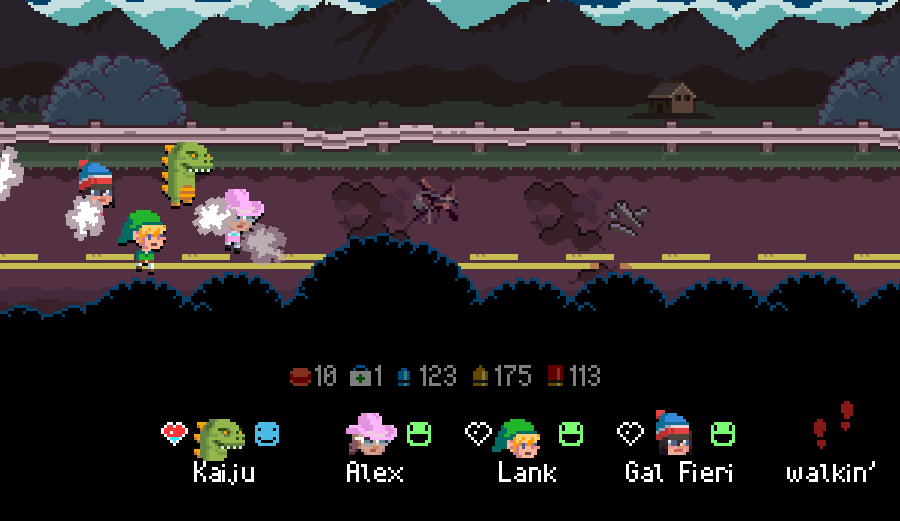
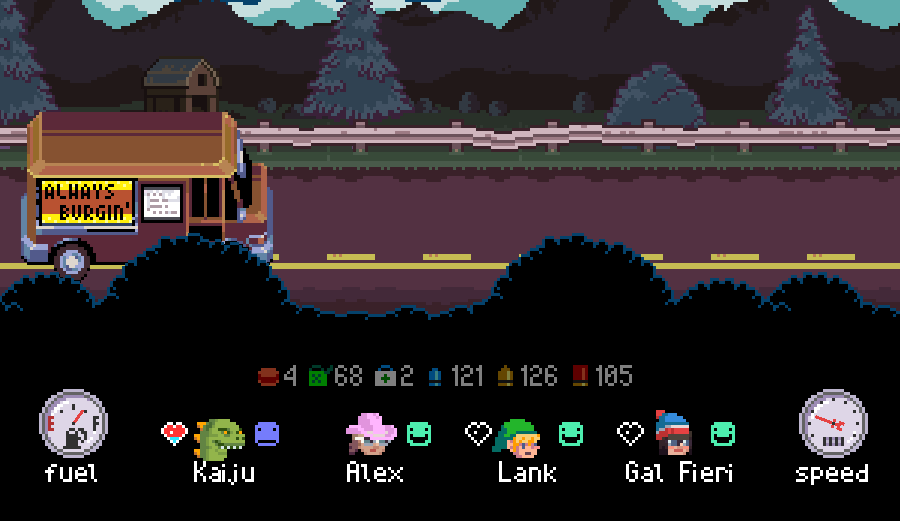
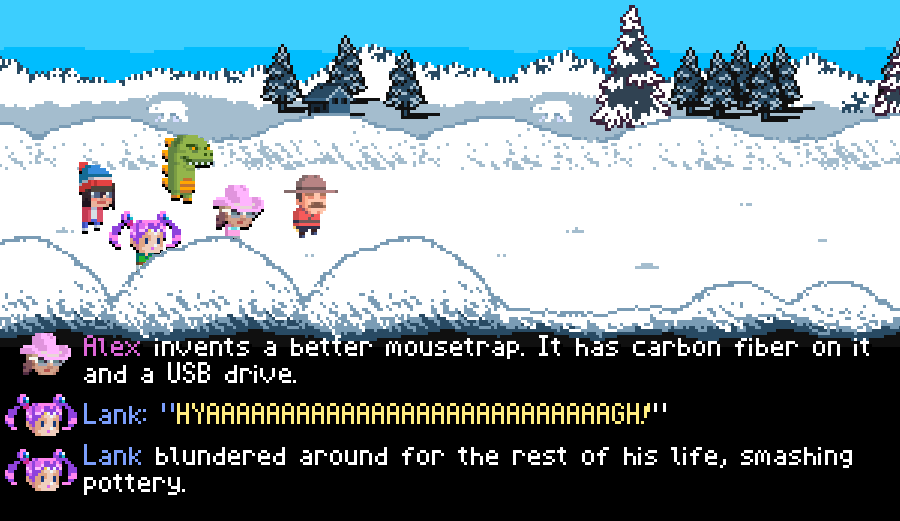
I've not yet mentioned Eason, our second party member that made it to the end. Eason's a dog and dogs feature kinda okay combat ability, fantastic co-op ability in being able to bark to draw zombie aggro, and a general usefulness in a variety of otherwise annoying and painful events.
Hilariously, none of these events ever showed up on this run. Go figure.
I had trouble even keeping track of Eason half the time because his dark coat and habit of standing right on top of people made him invisible half the time.
Eason was always kinda in the background, and that's fine. There's certain occasions that dogs shine, and in a sense, he was always a backup character in case everything went to heck. Their high movement speed makes it easy to quickly loot places or bail when necessary, and that can always come in handy.
--------------------------------------
PART 2: THE GREAT MISADVENTURES
--------------------------------------
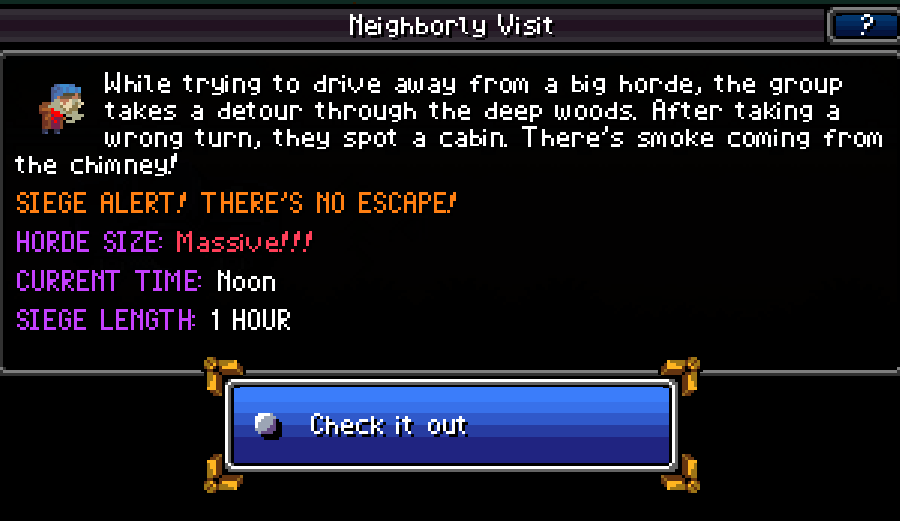
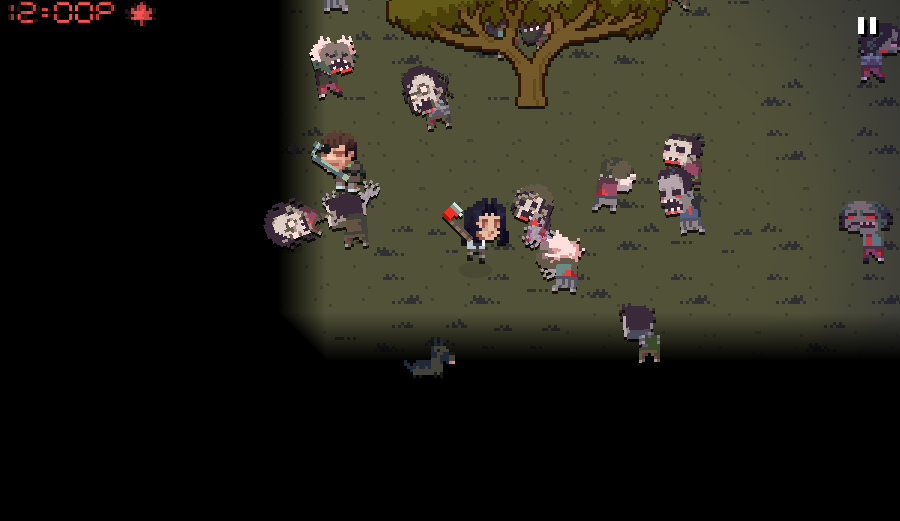
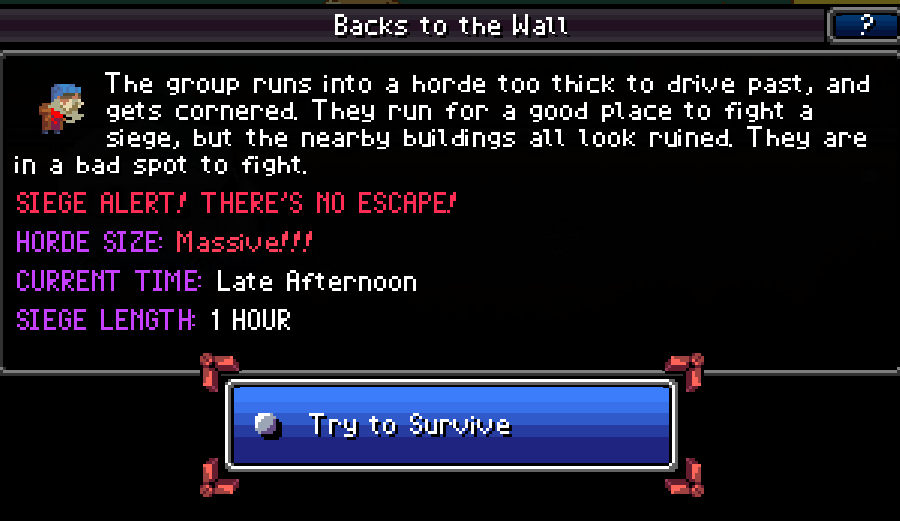
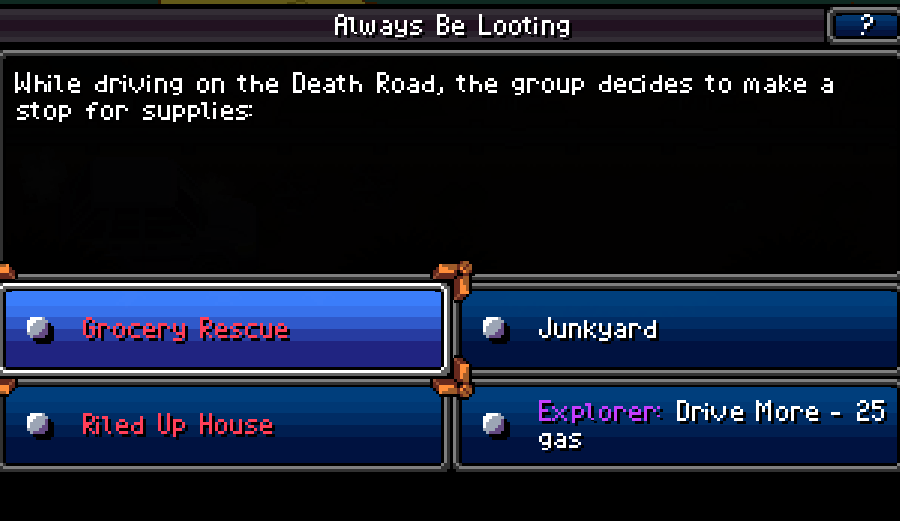
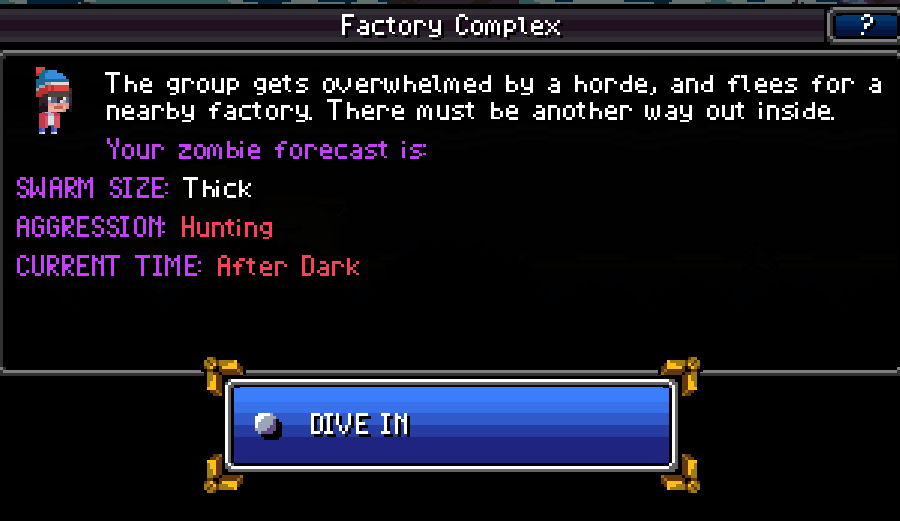
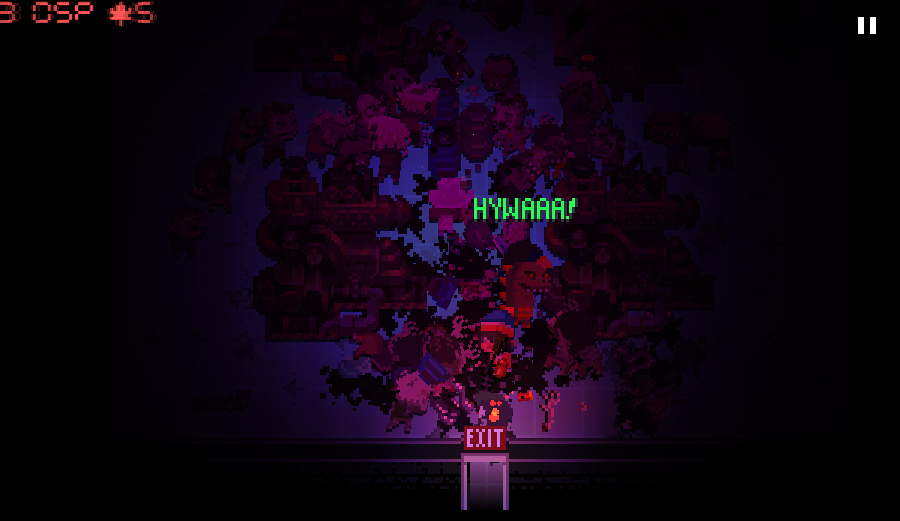
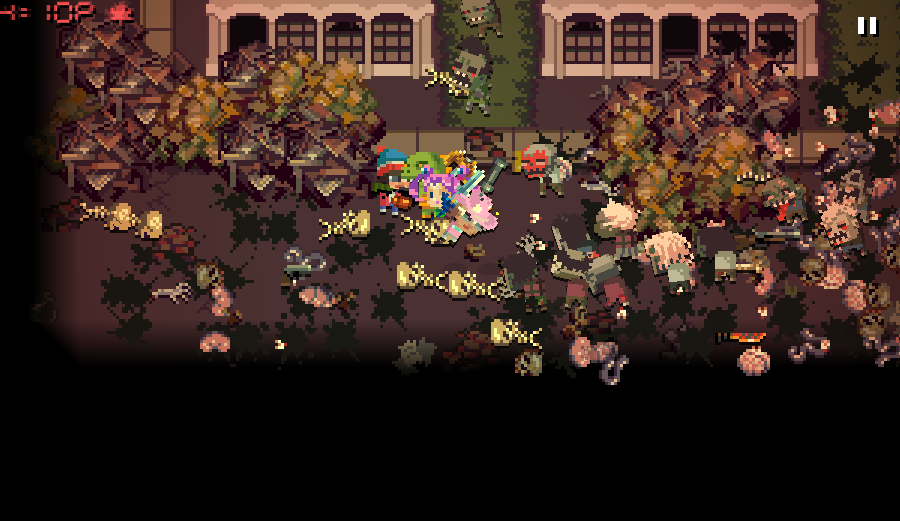
So, following Saph's death we have the Great Misadventures. For a variety of reasons, I didn't really play these coming days very well, but in general this and everything before it are pretty representative of what a newcomer's first run of the game looks like.
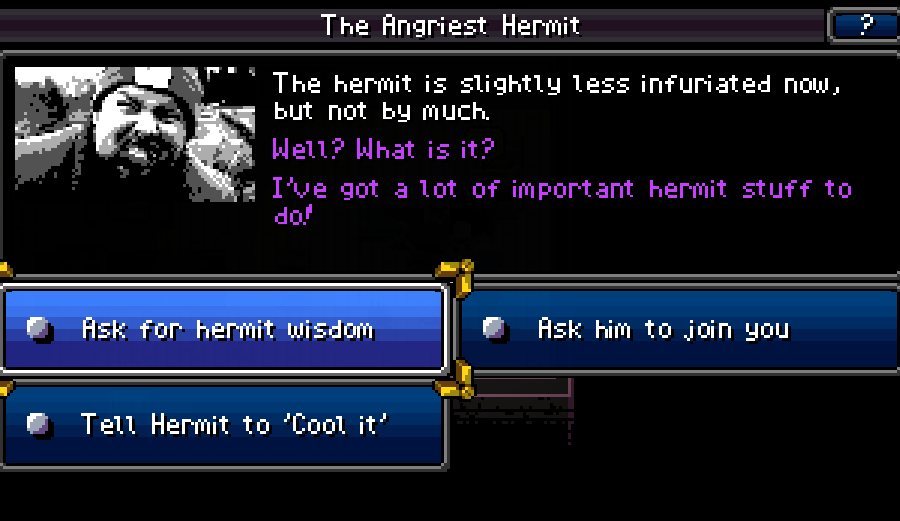
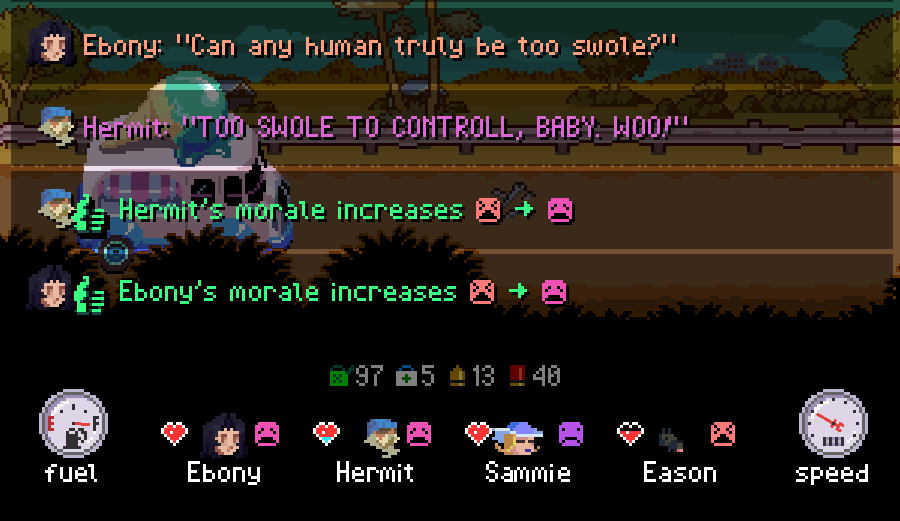
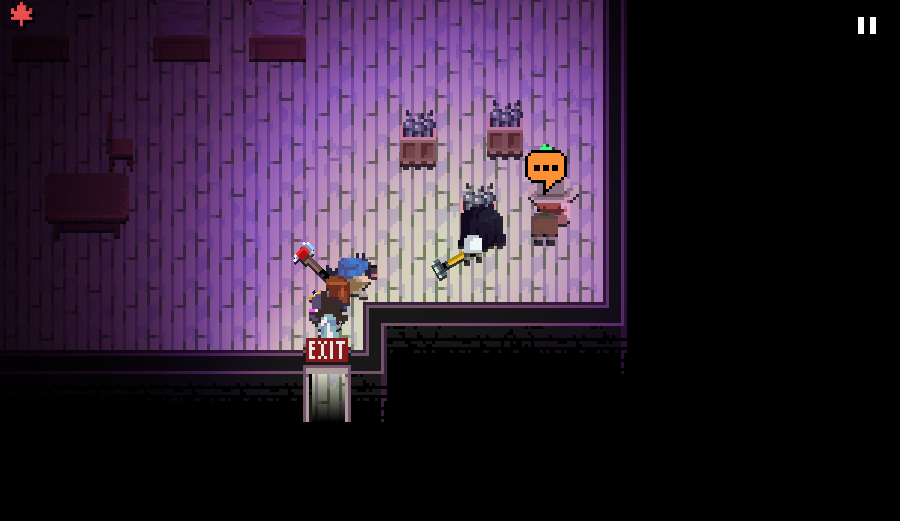
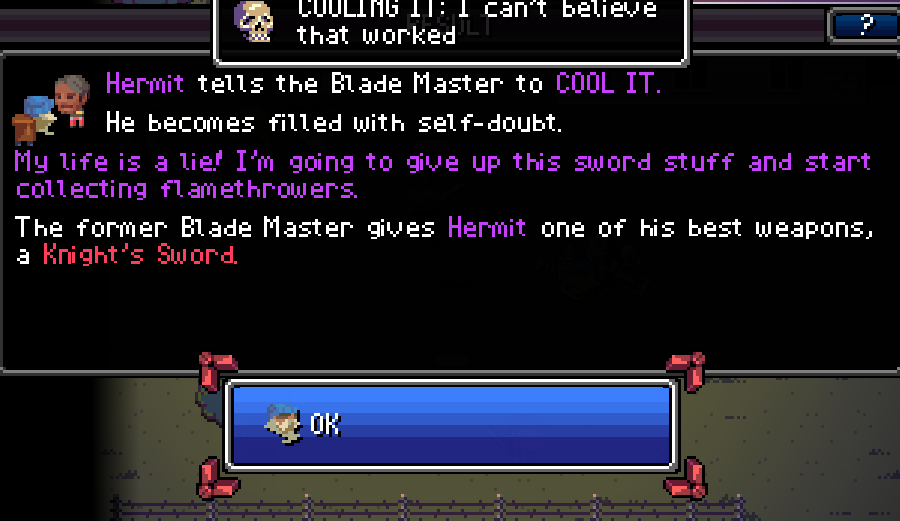
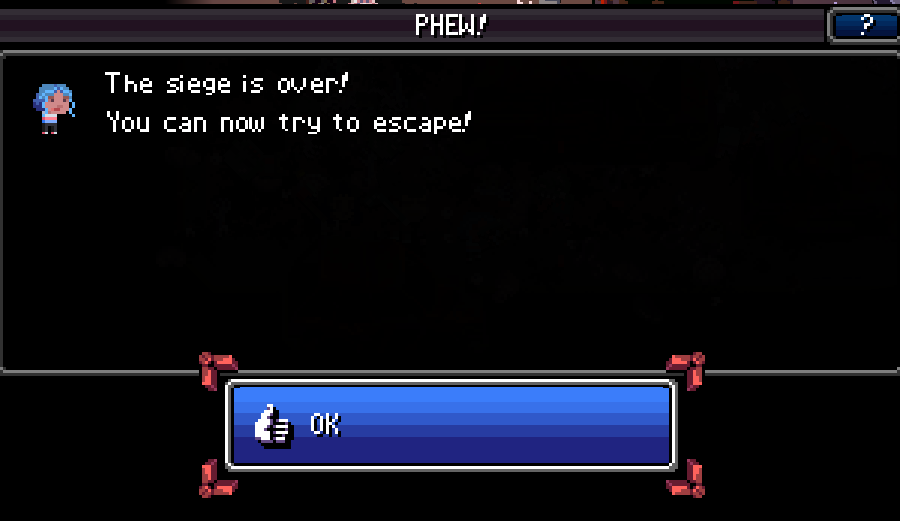
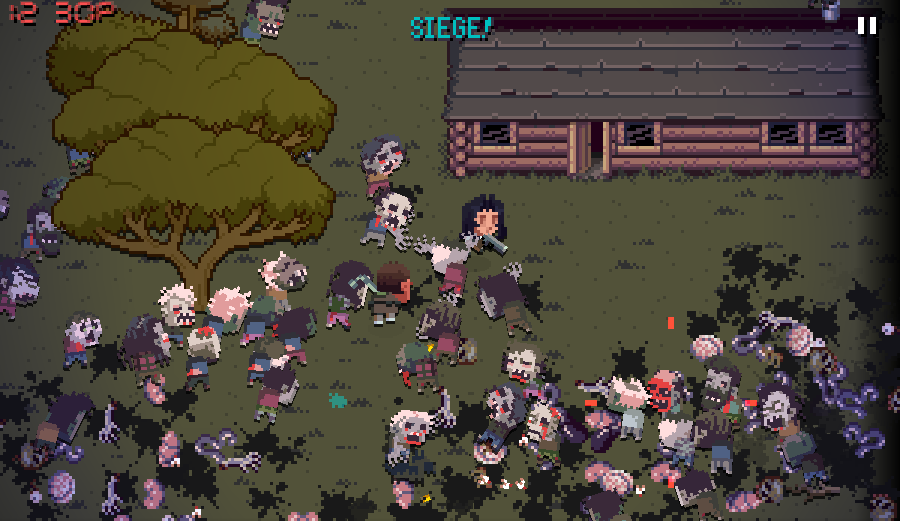
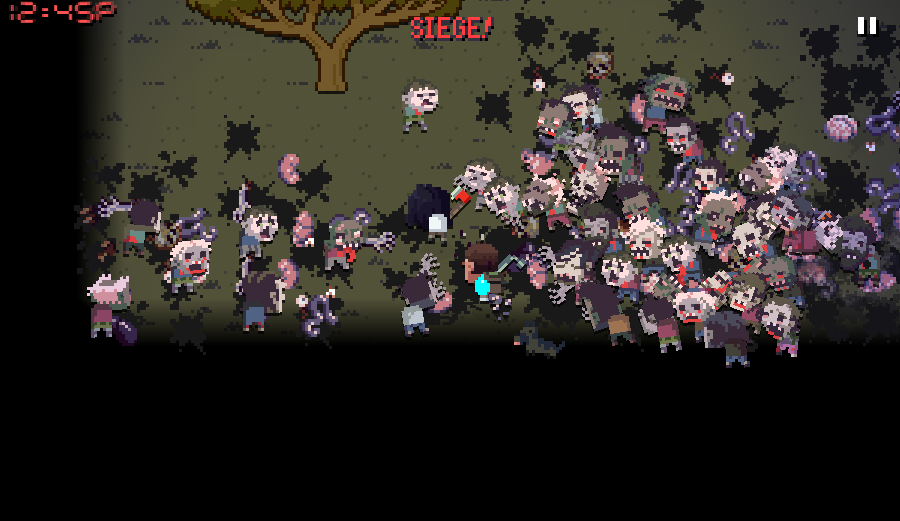
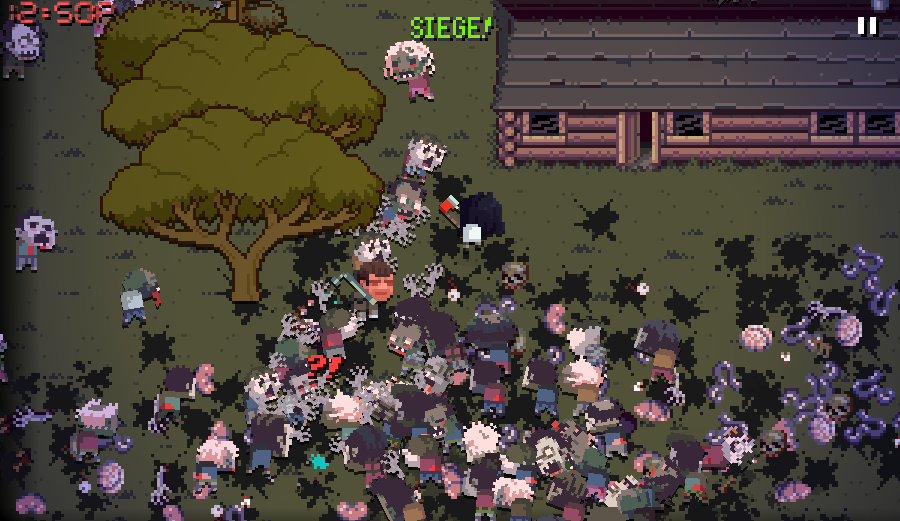
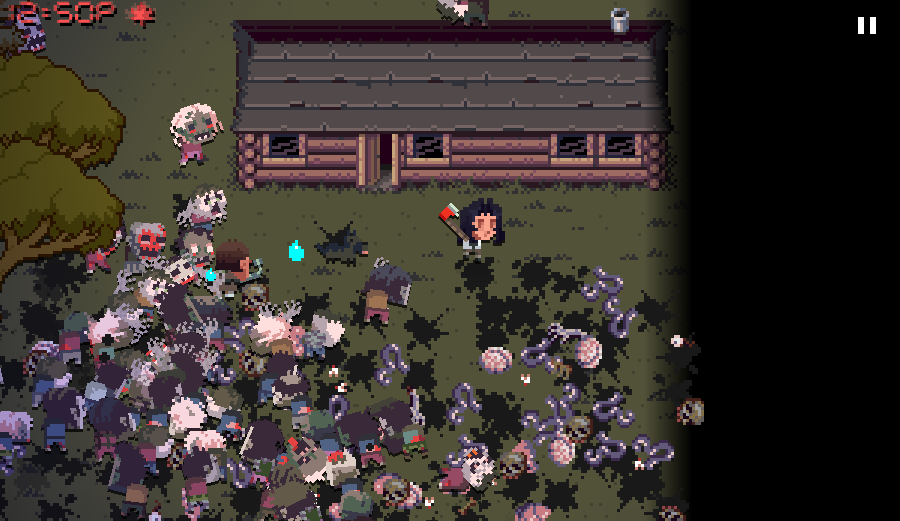
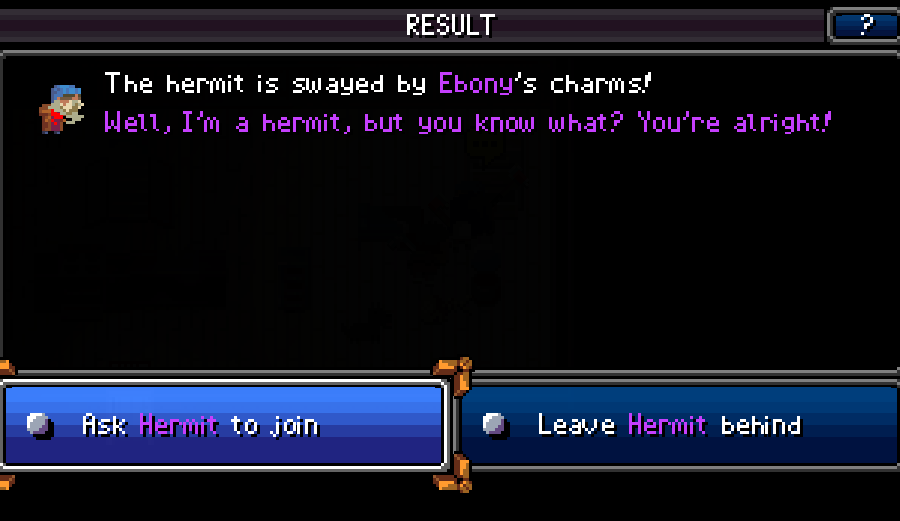
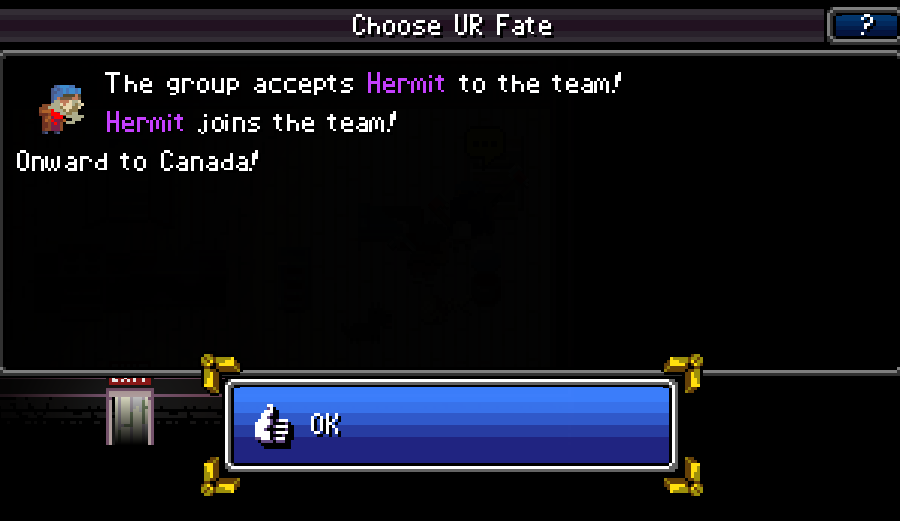
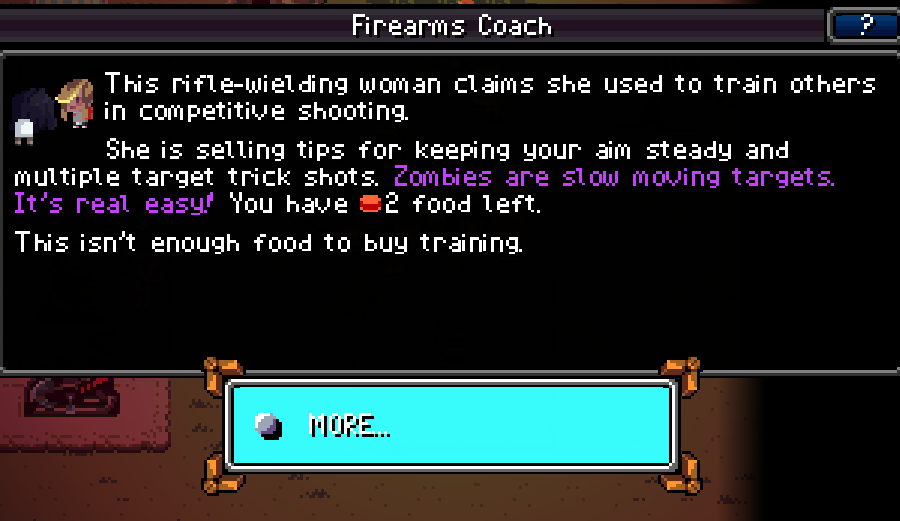
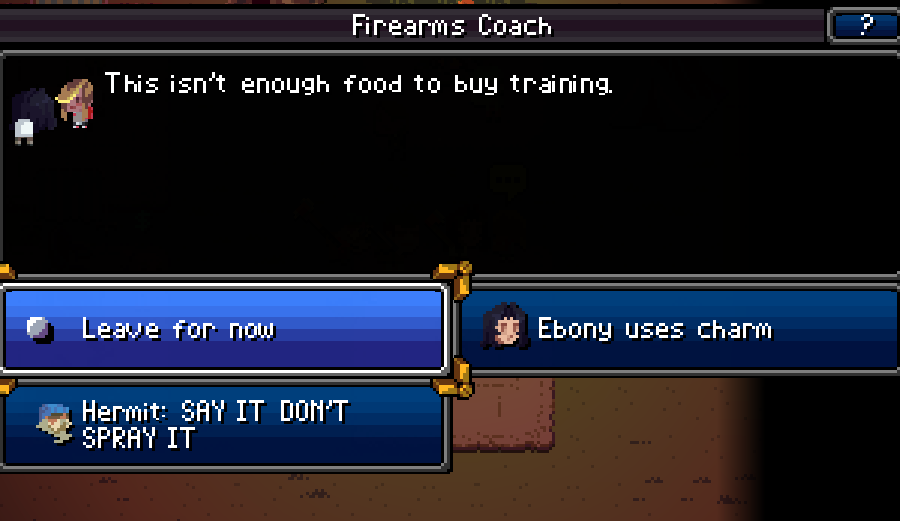
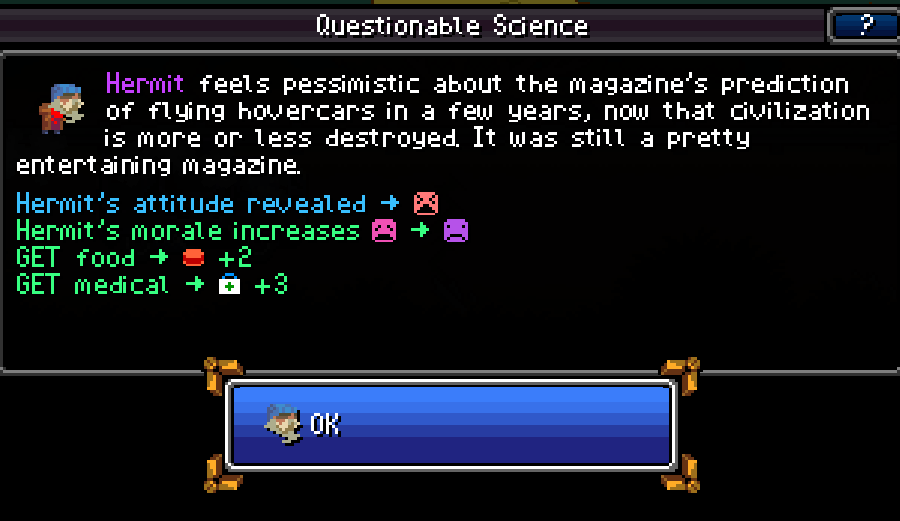
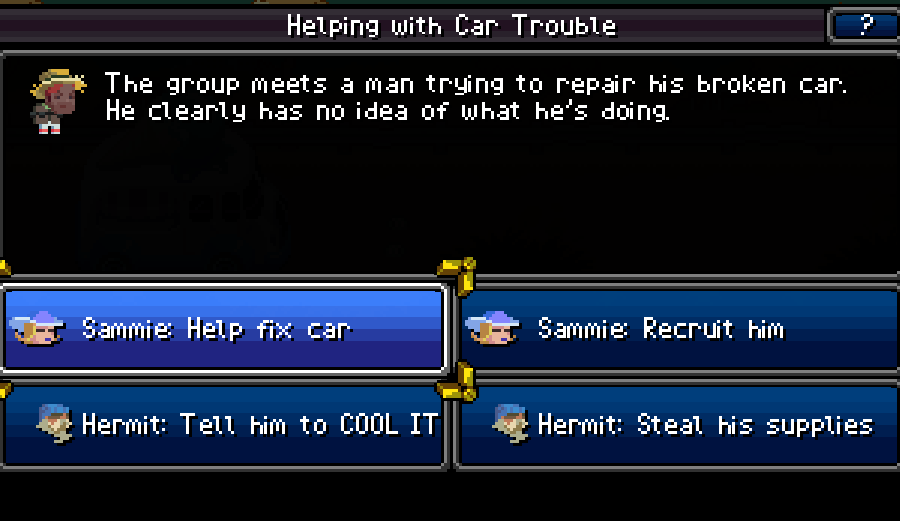
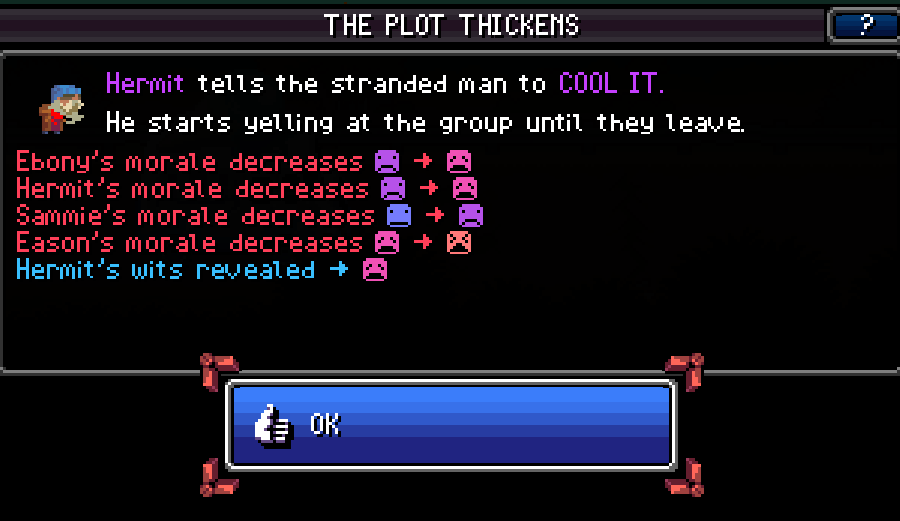
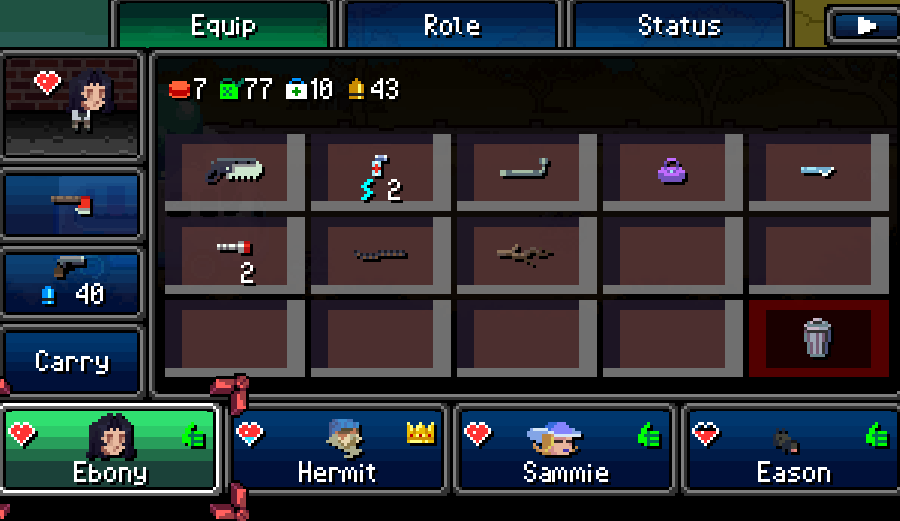
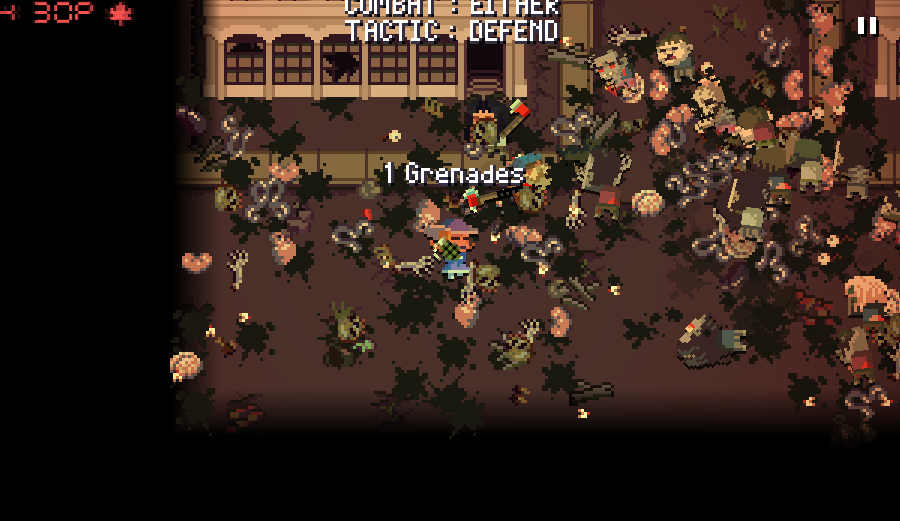
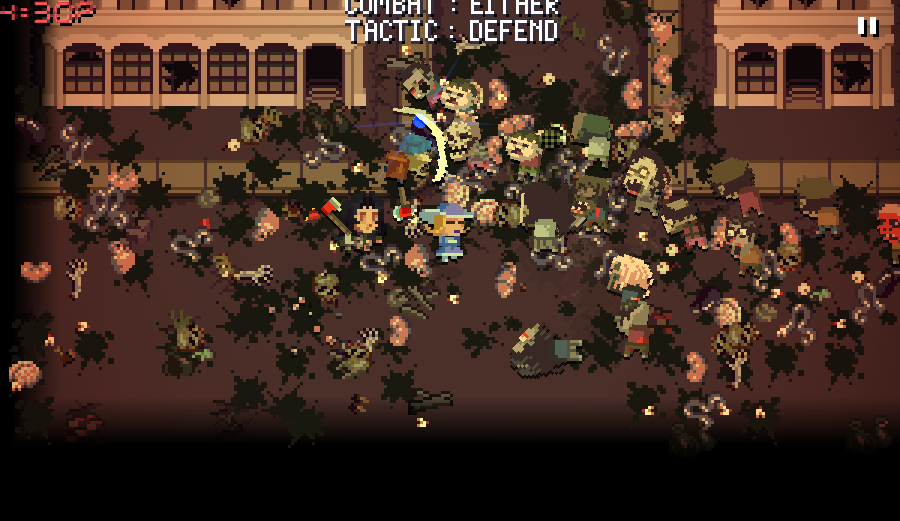
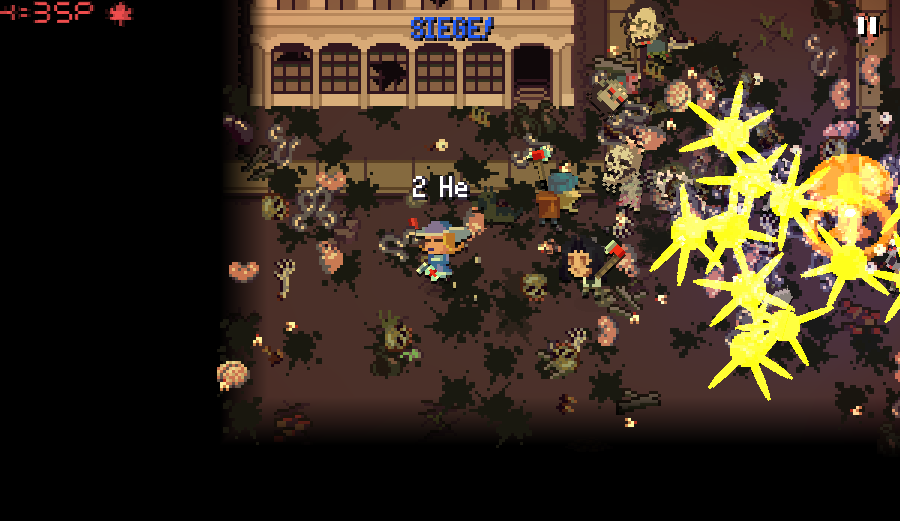
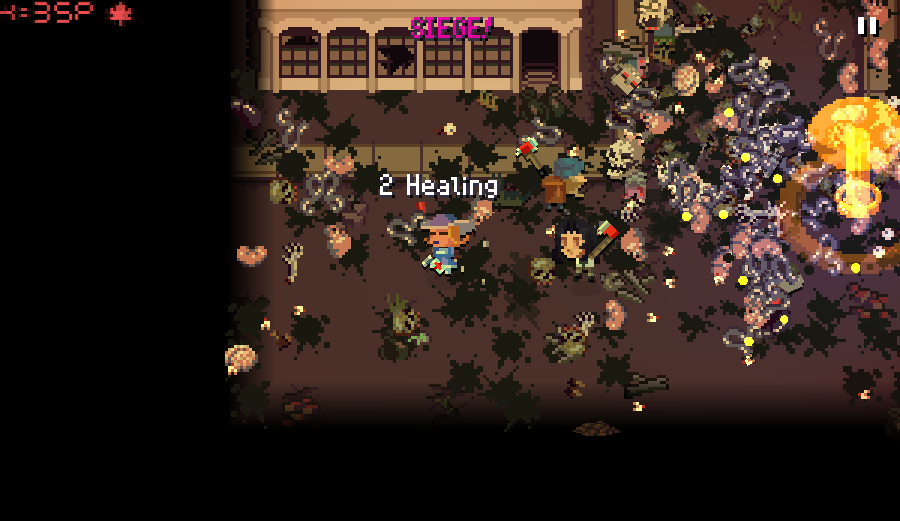
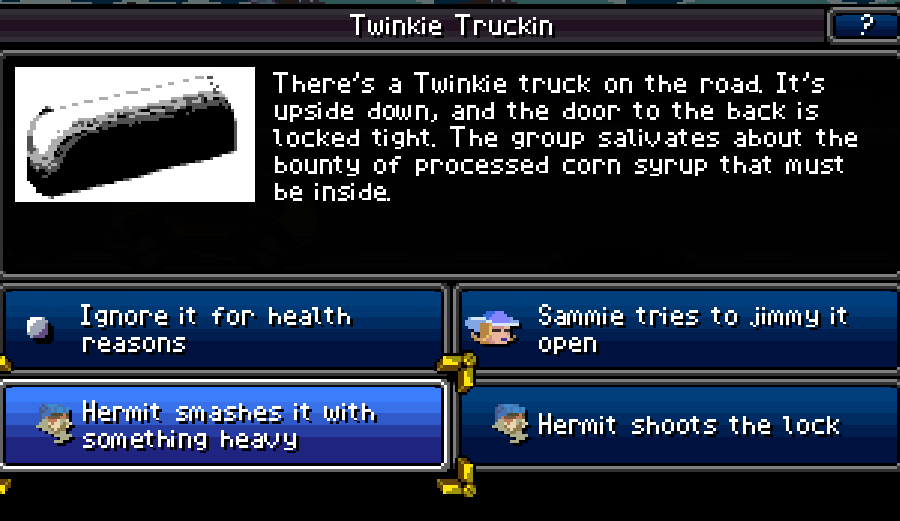
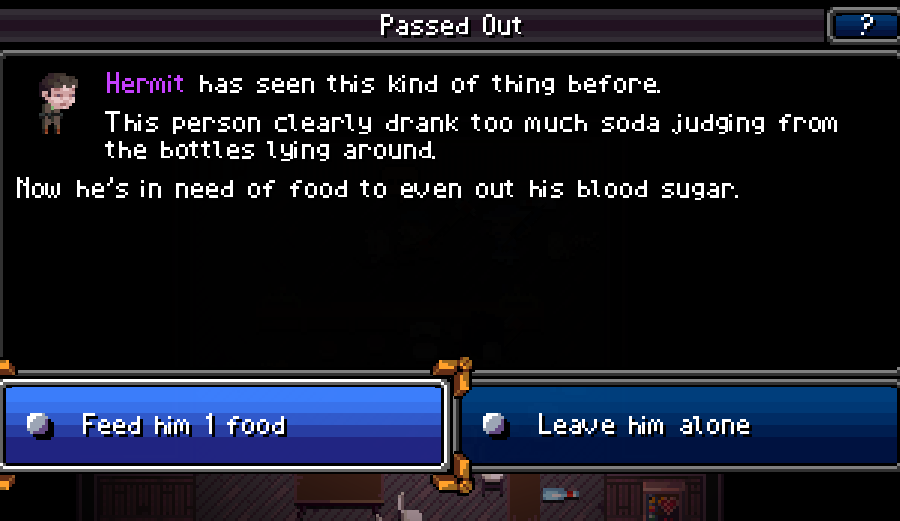
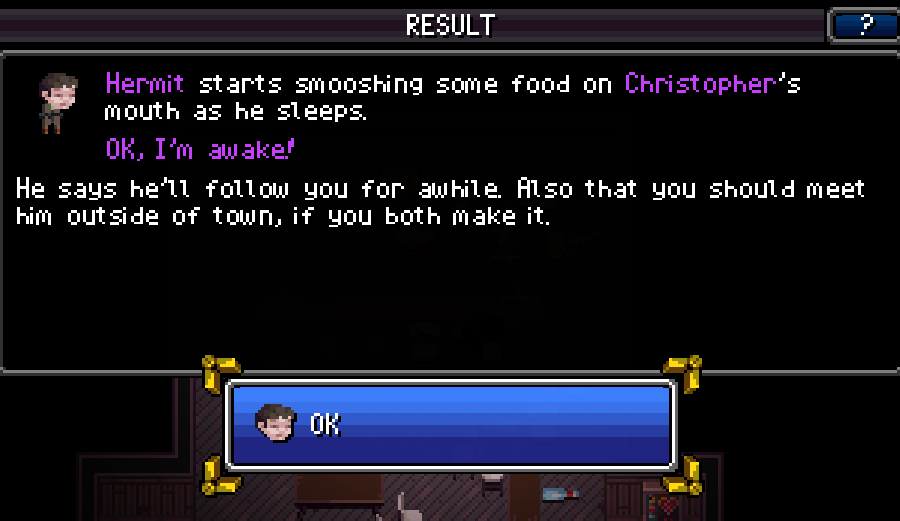
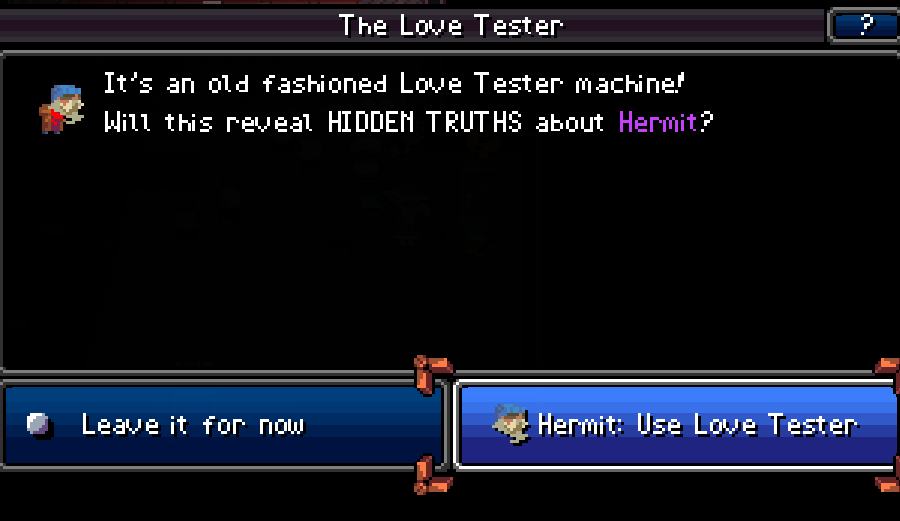
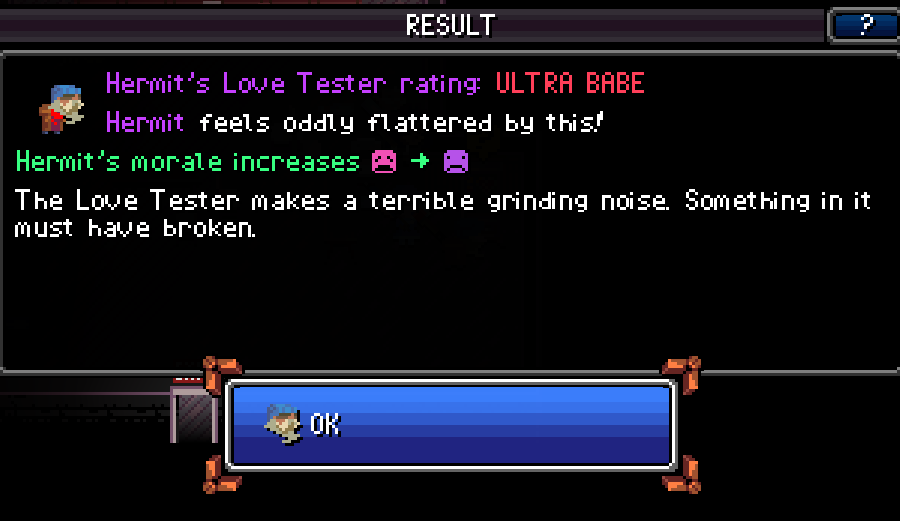
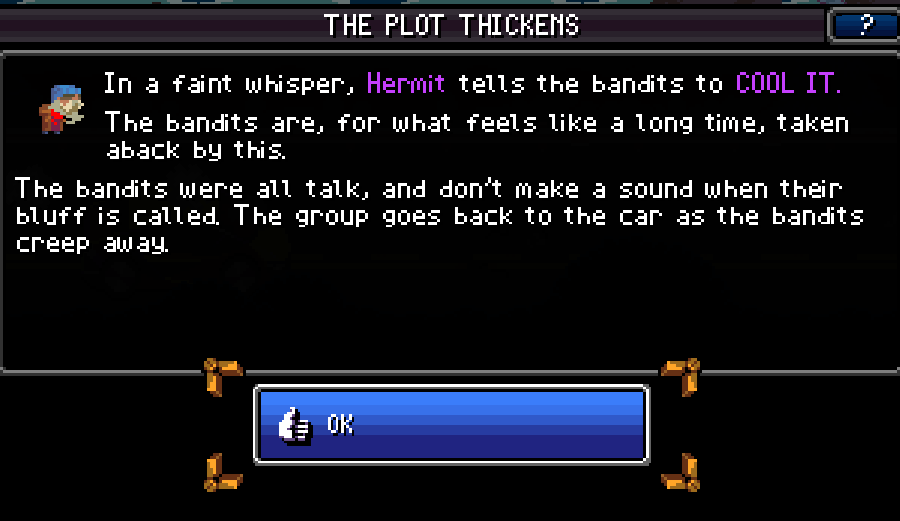
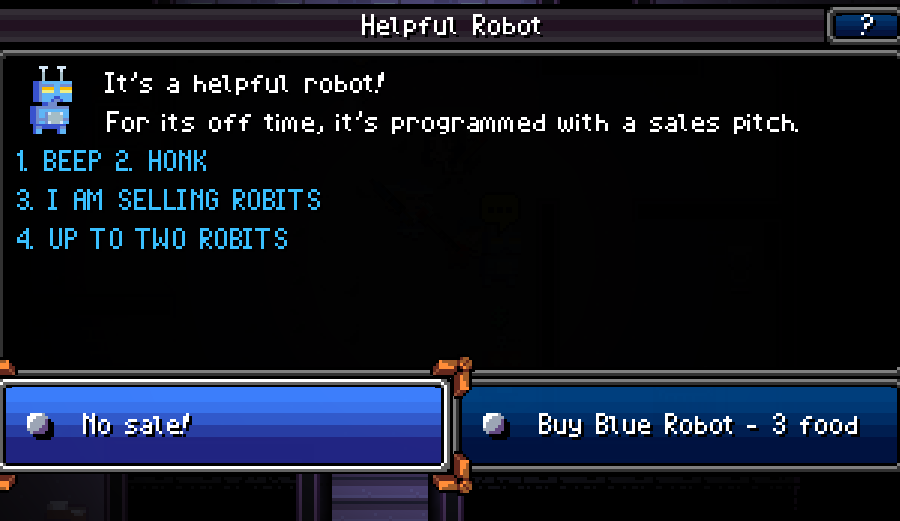
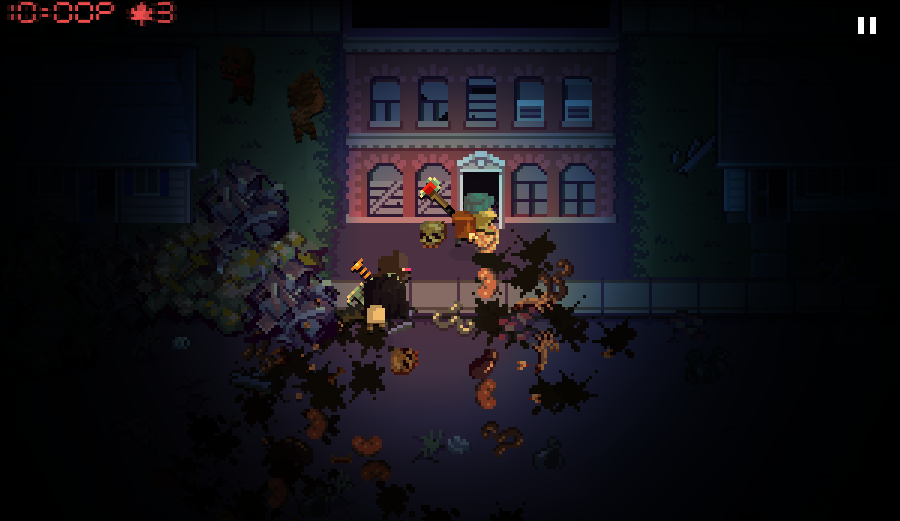
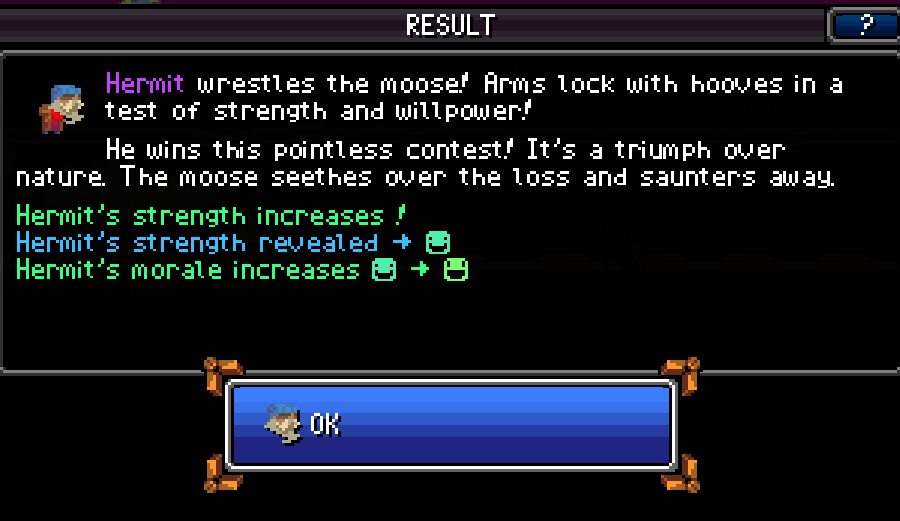
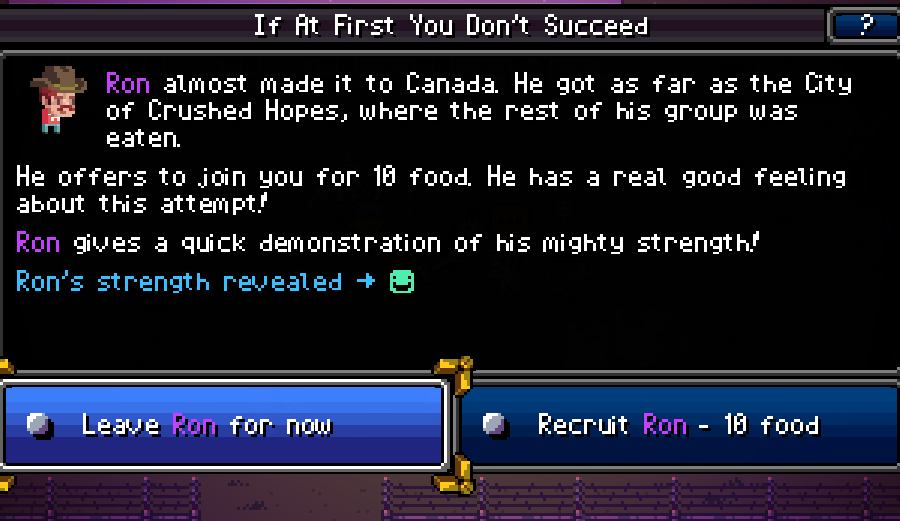
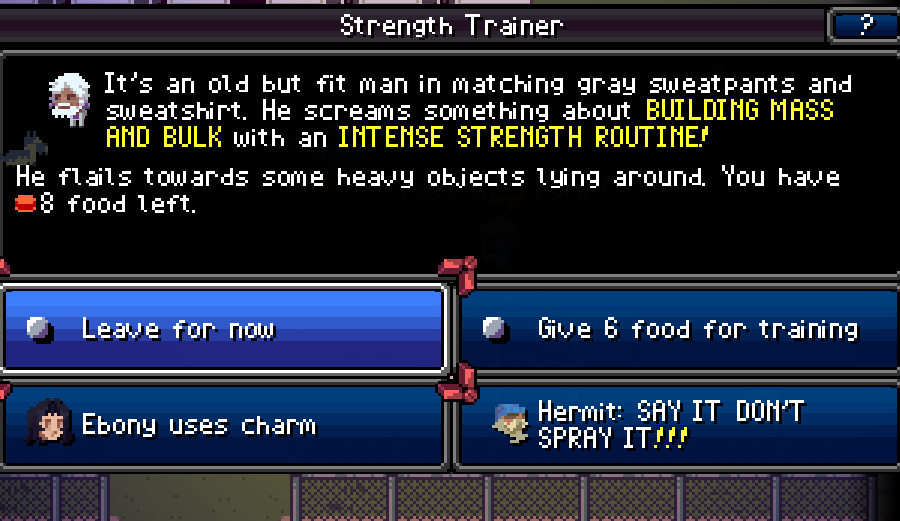
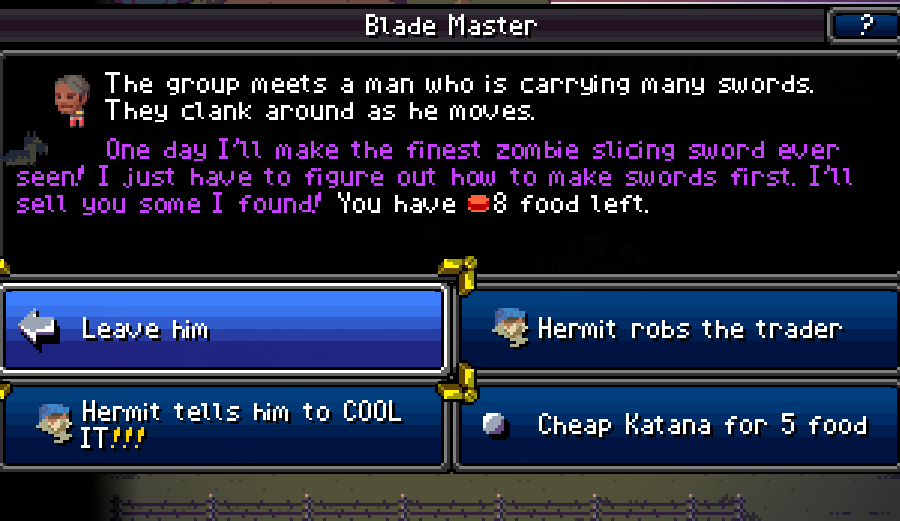
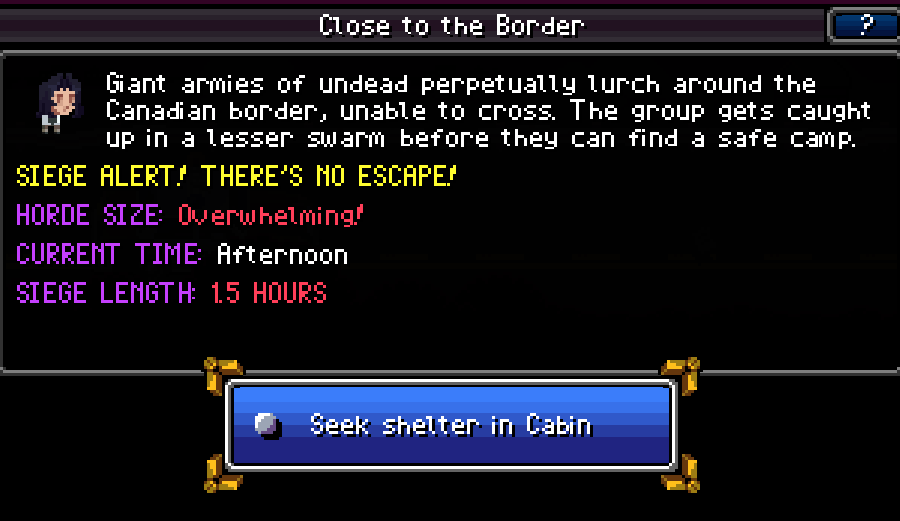
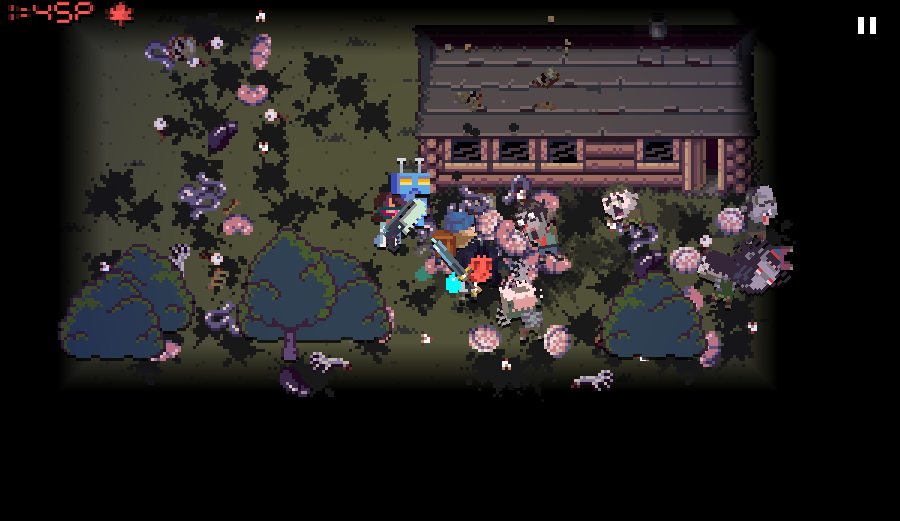
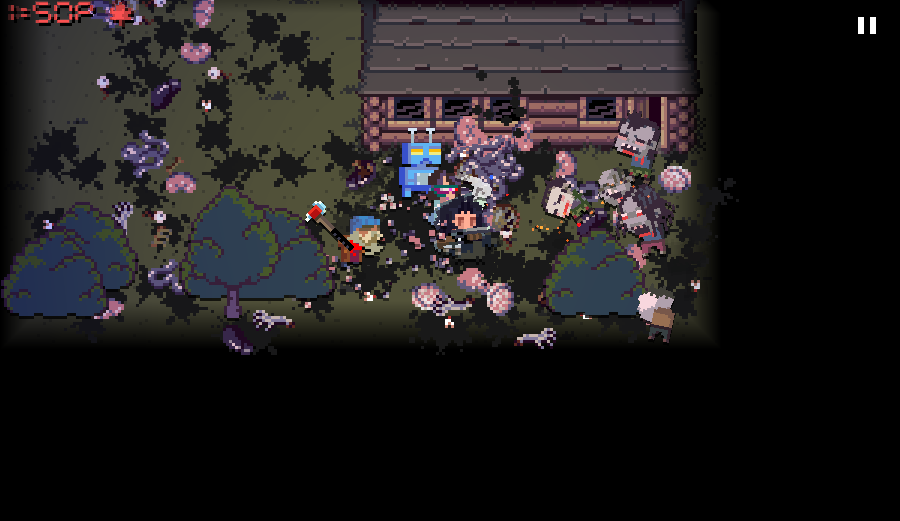
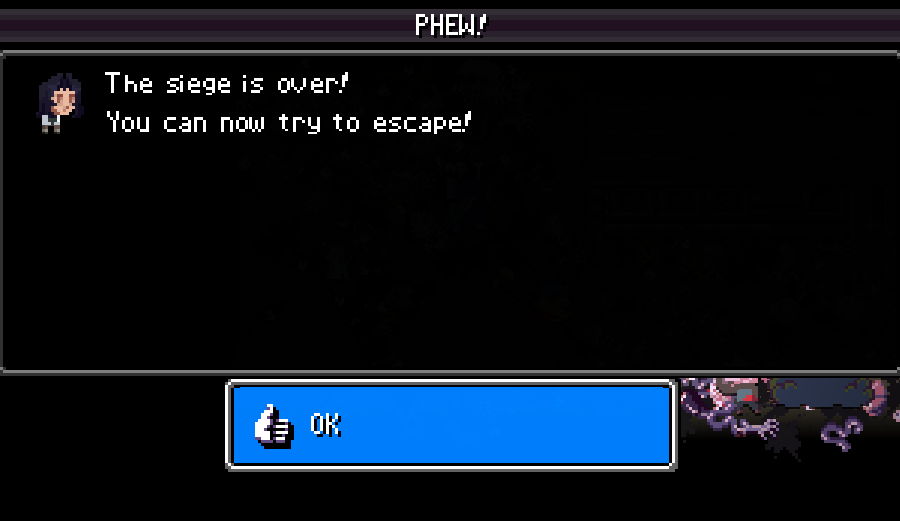
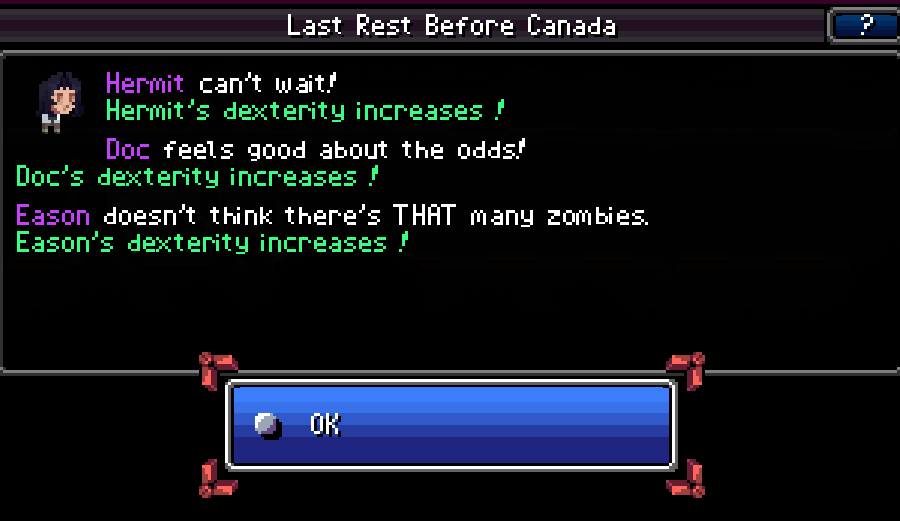
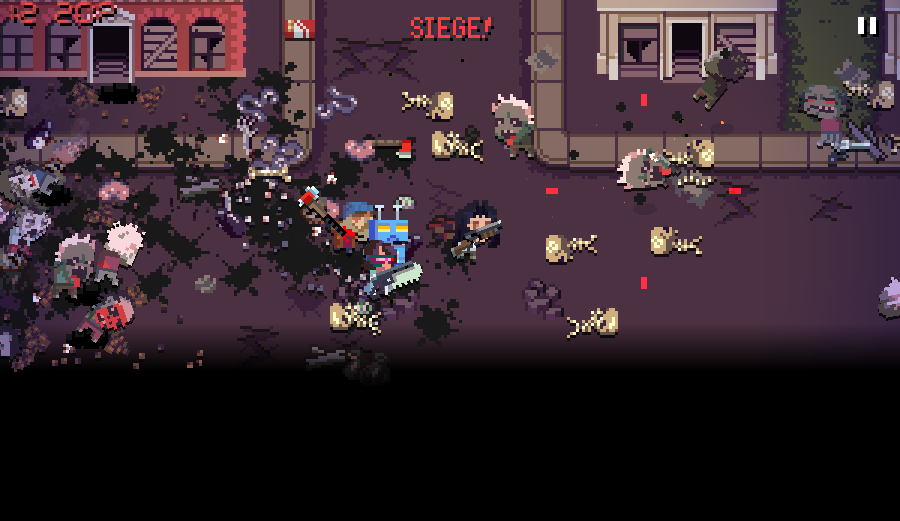
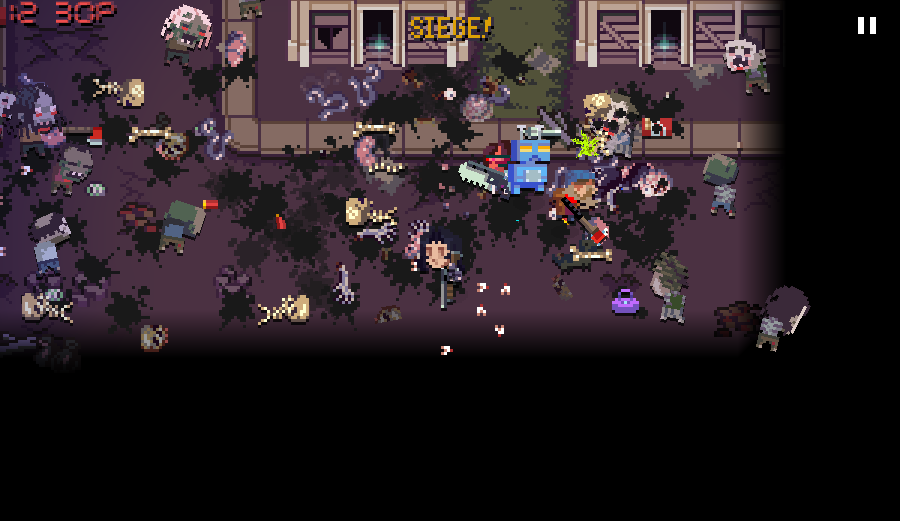
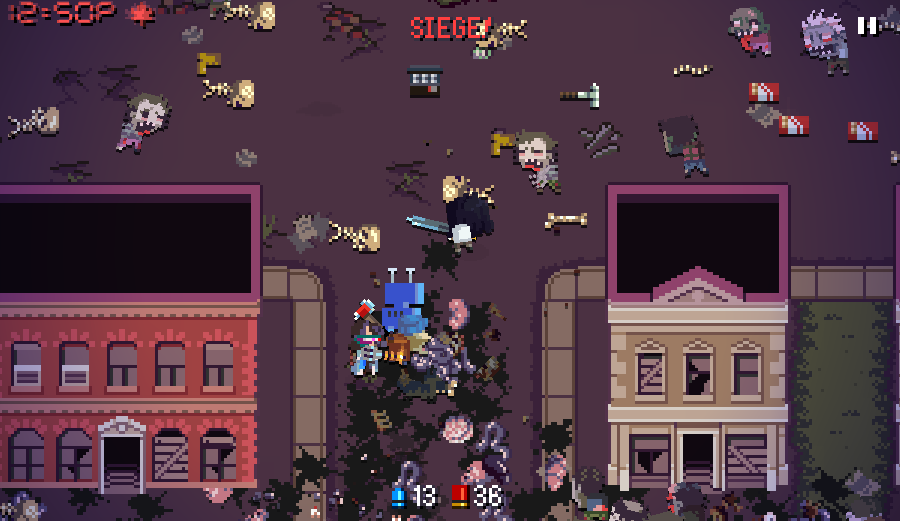
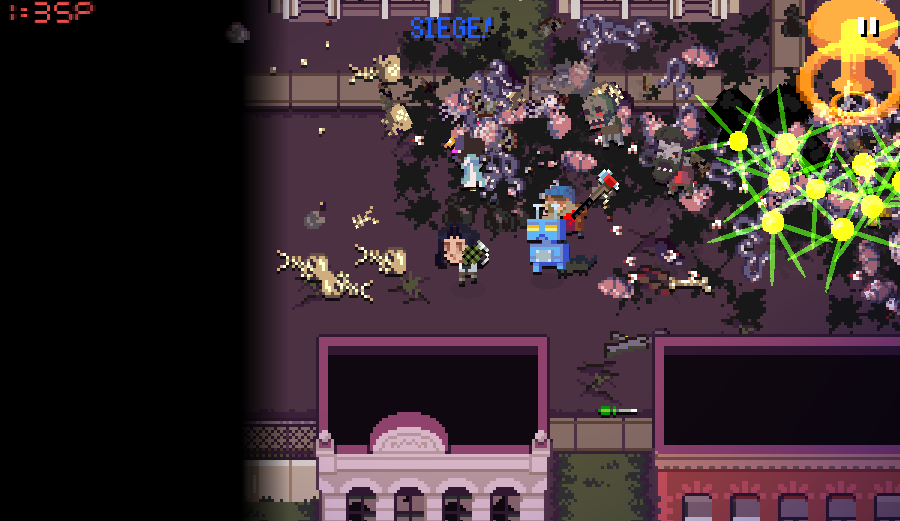
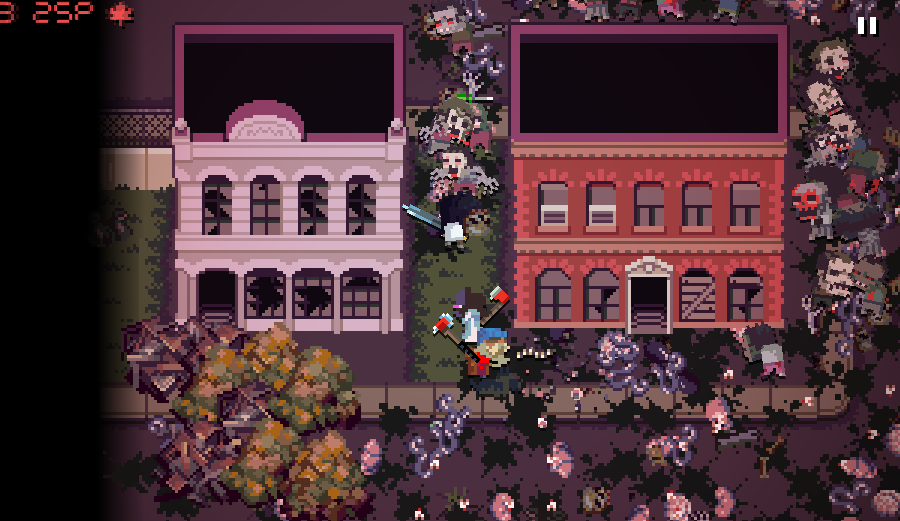
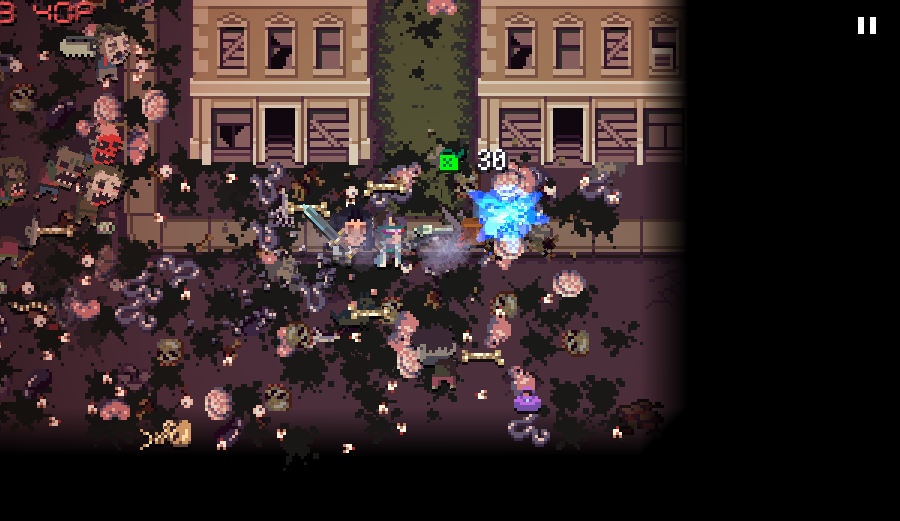
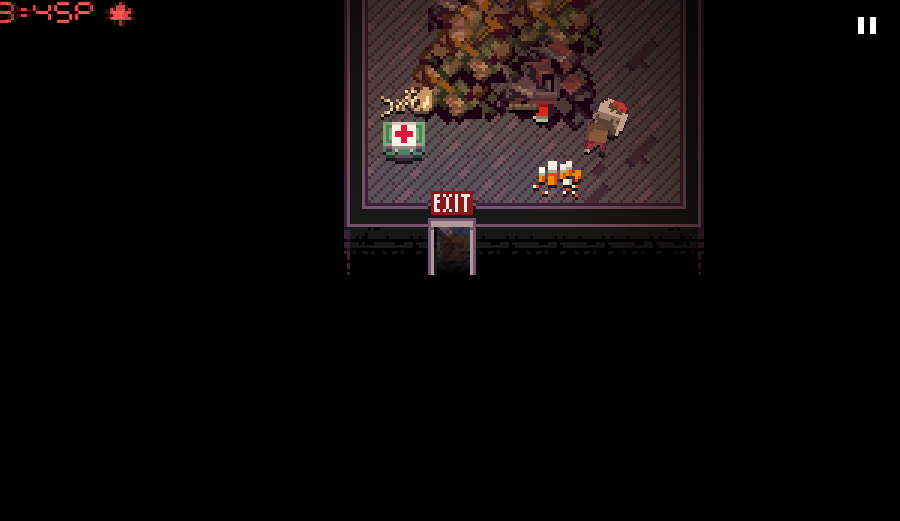
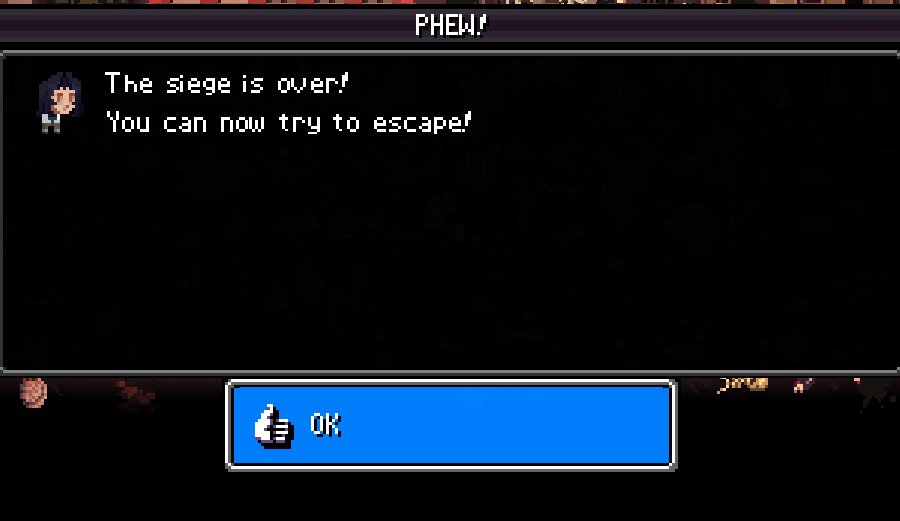
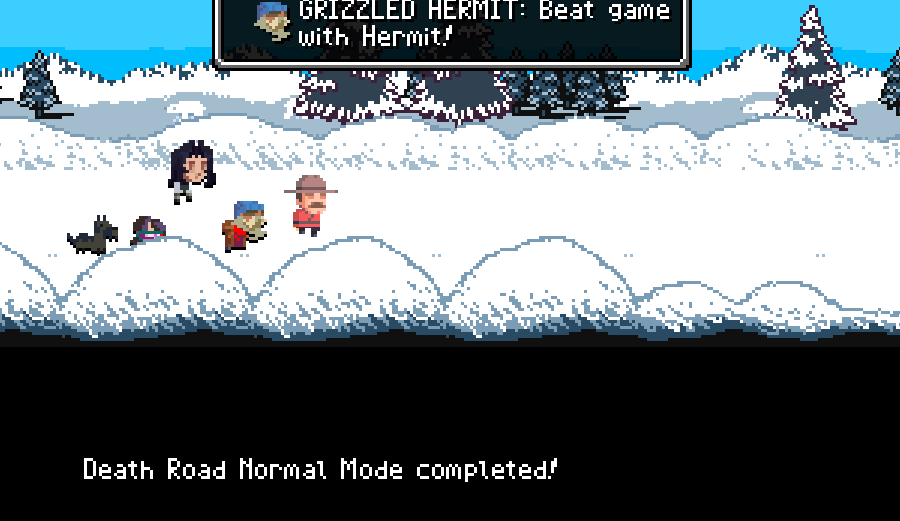
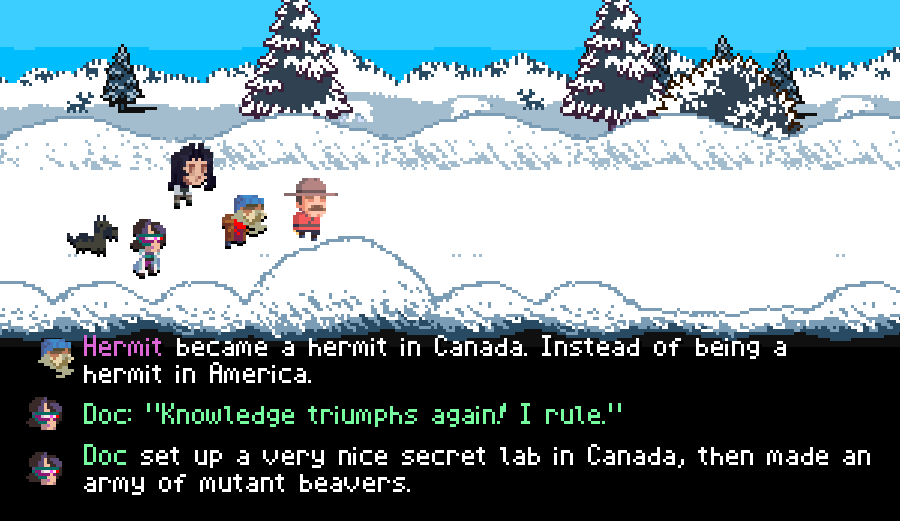
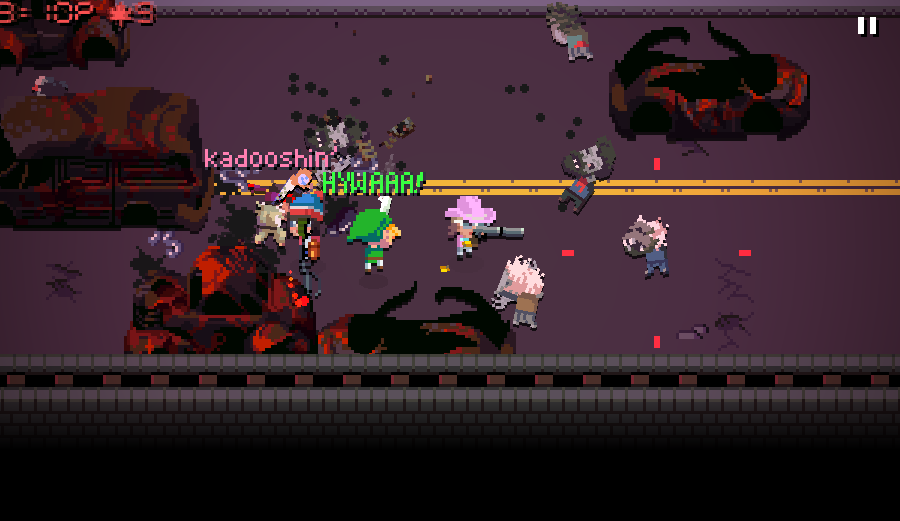
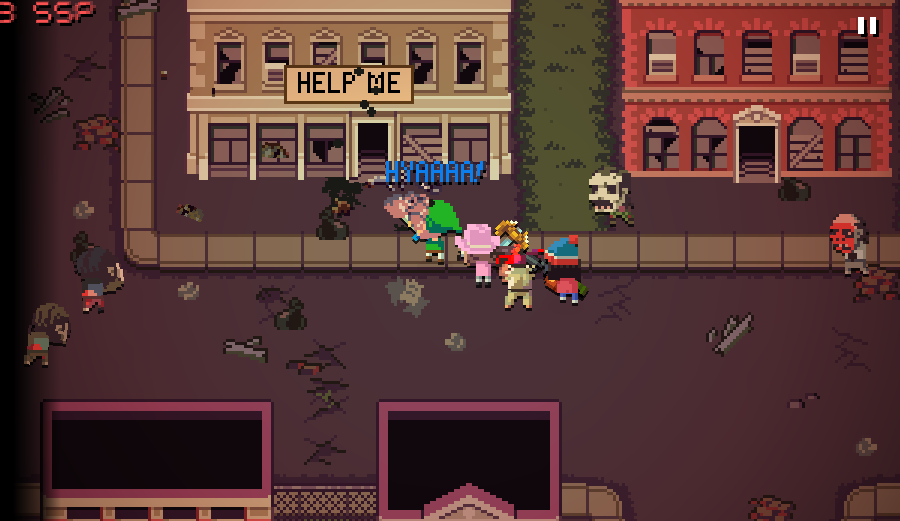
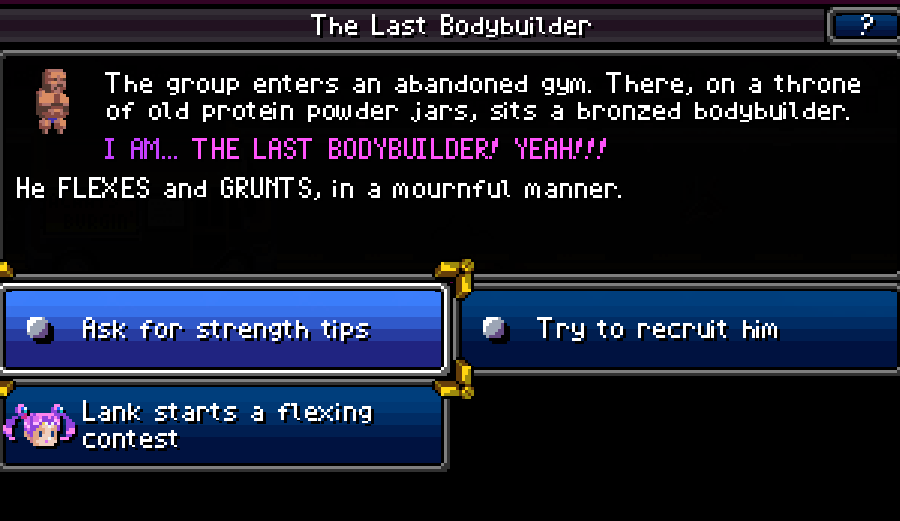
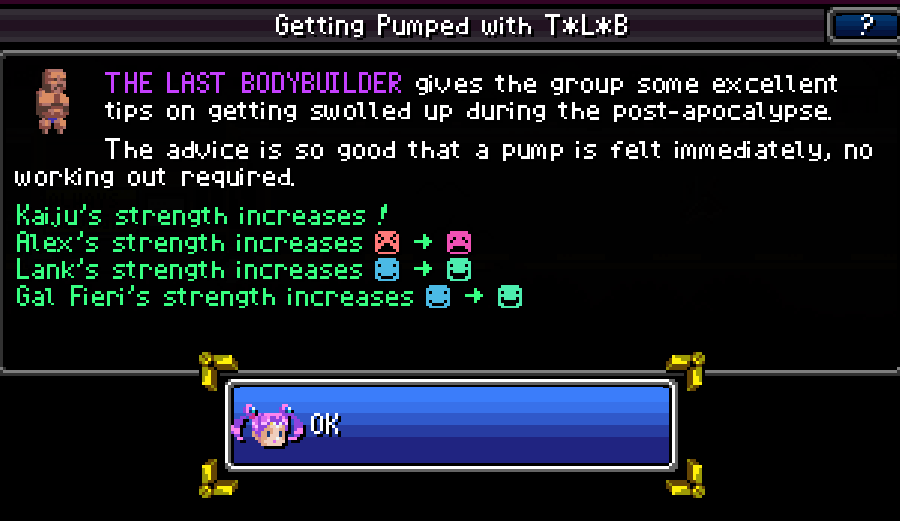
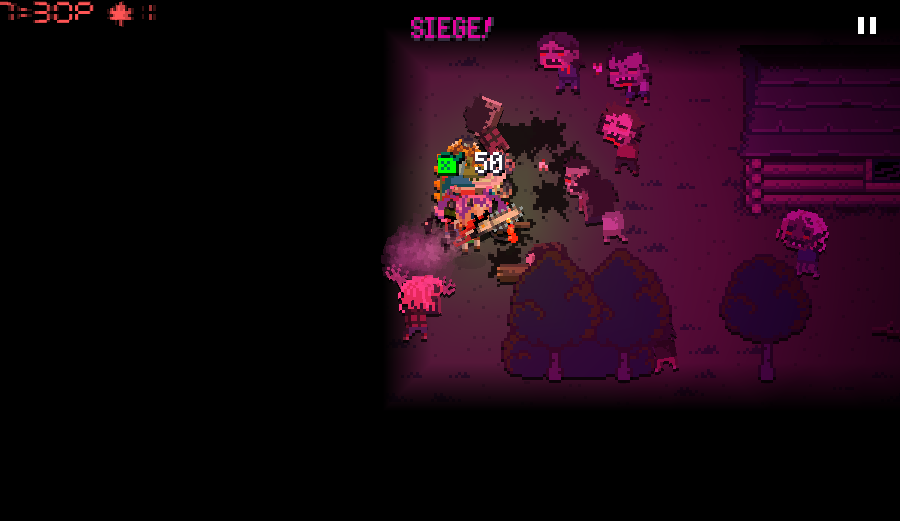
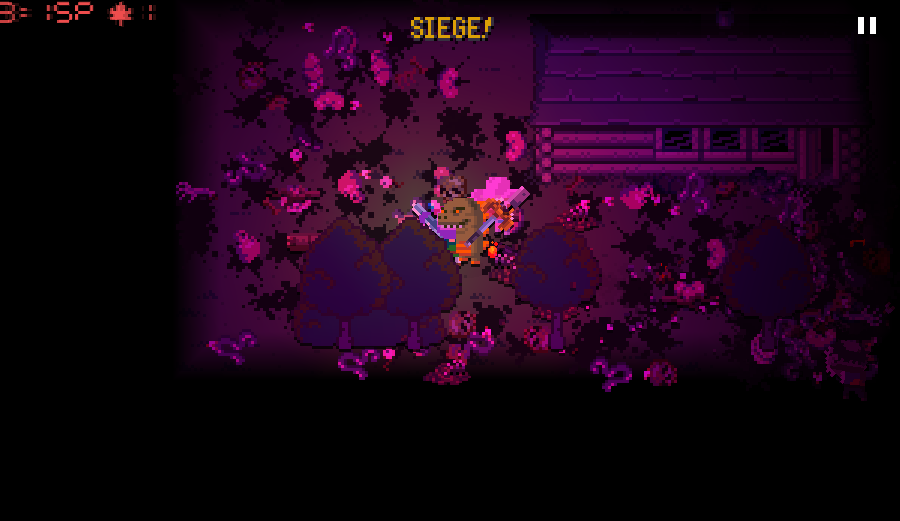
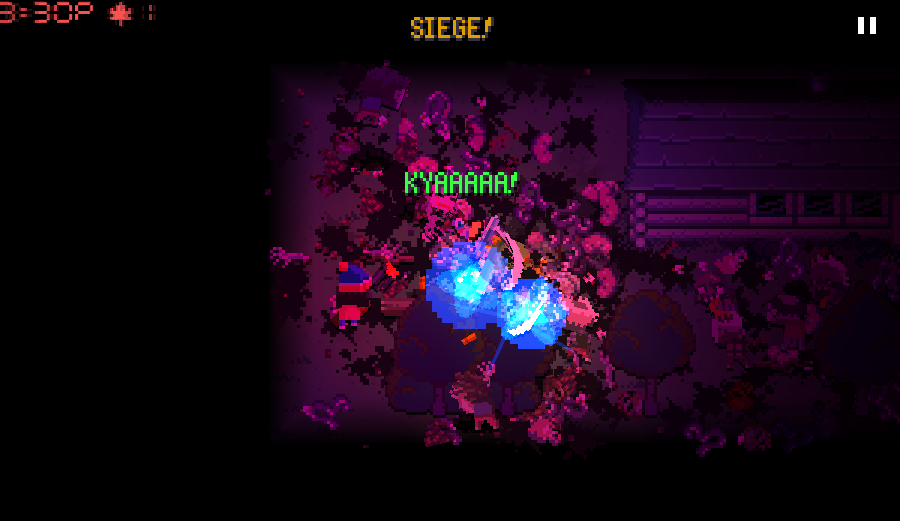
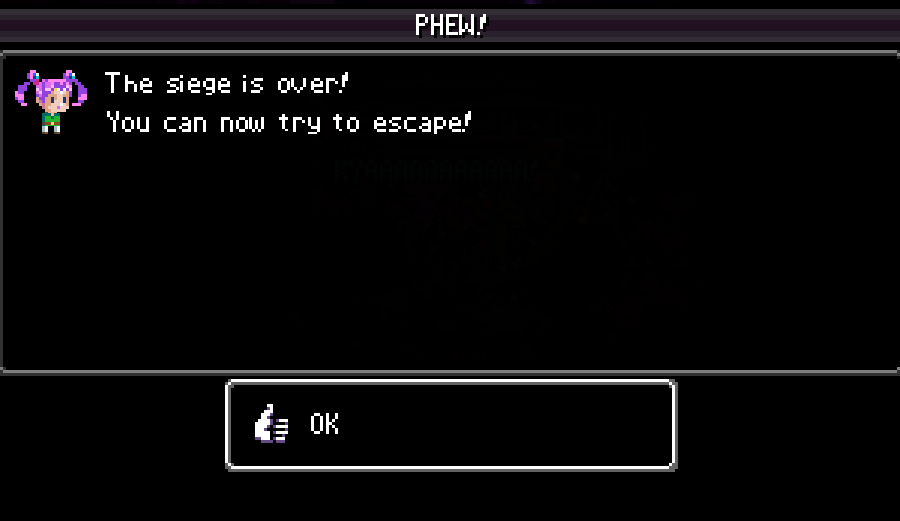
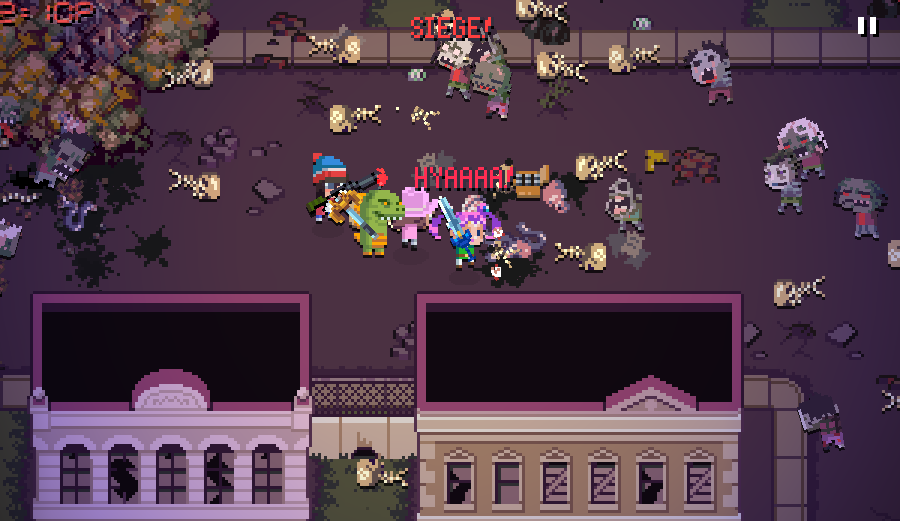
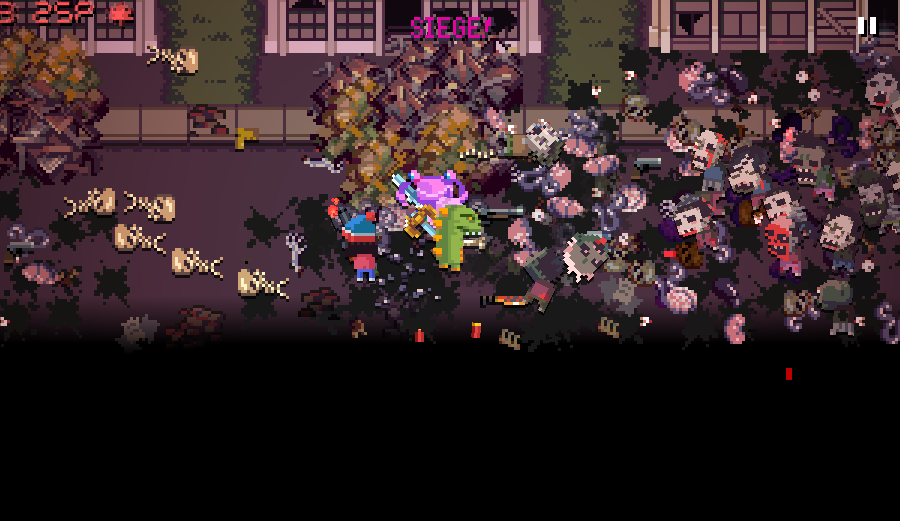
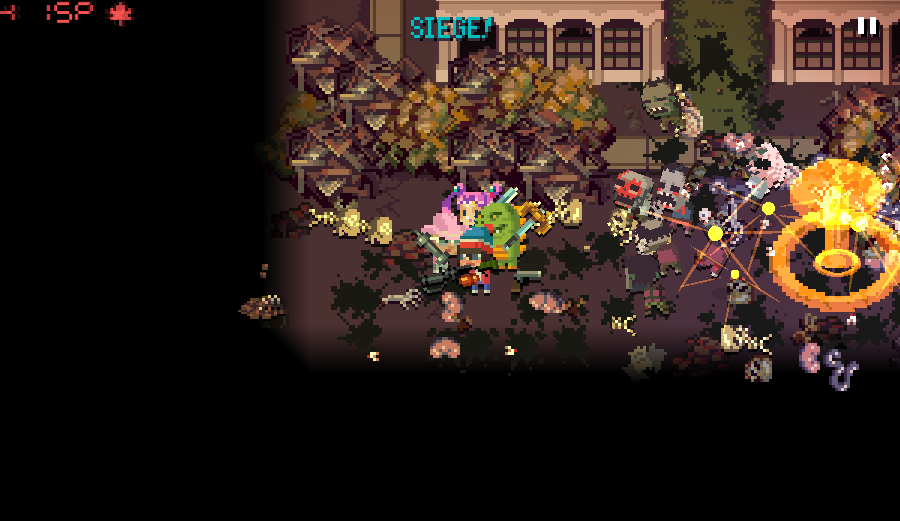
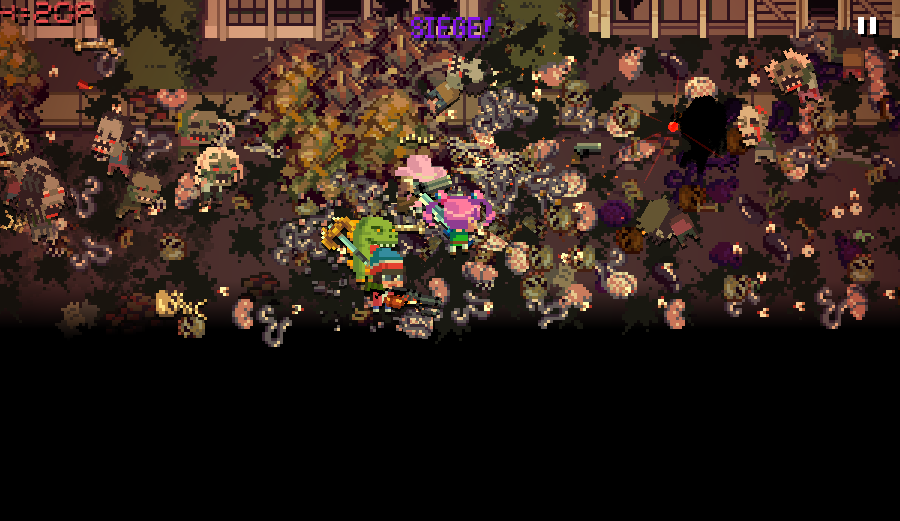
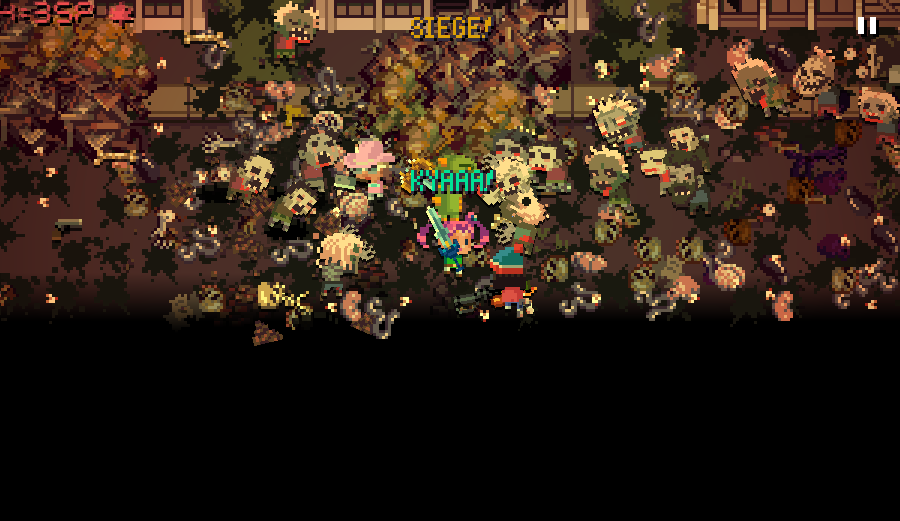
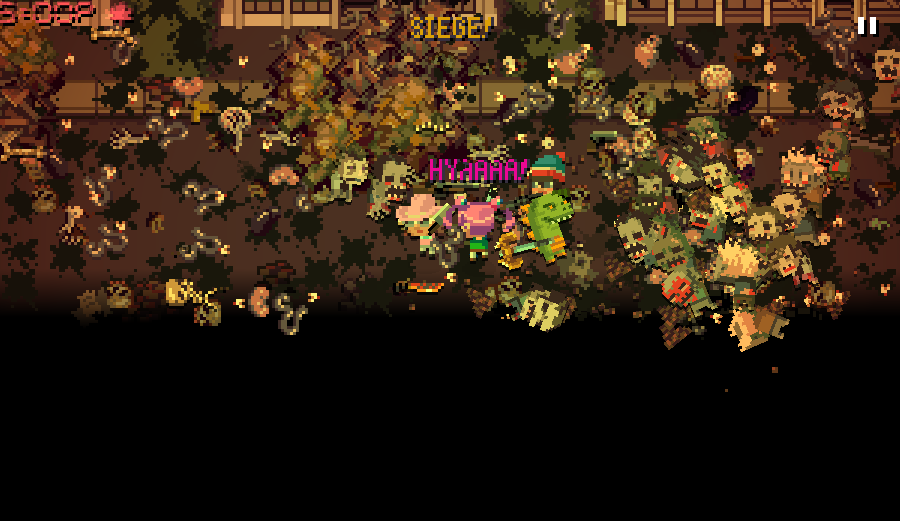
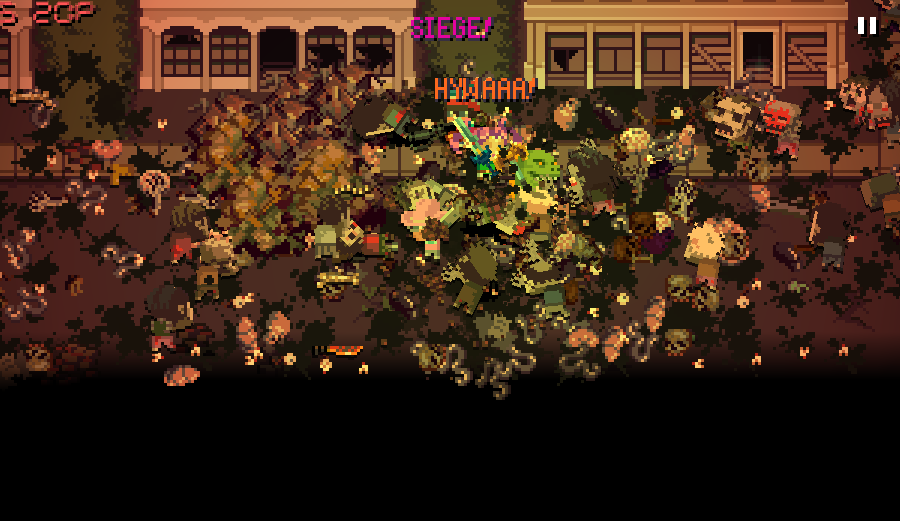
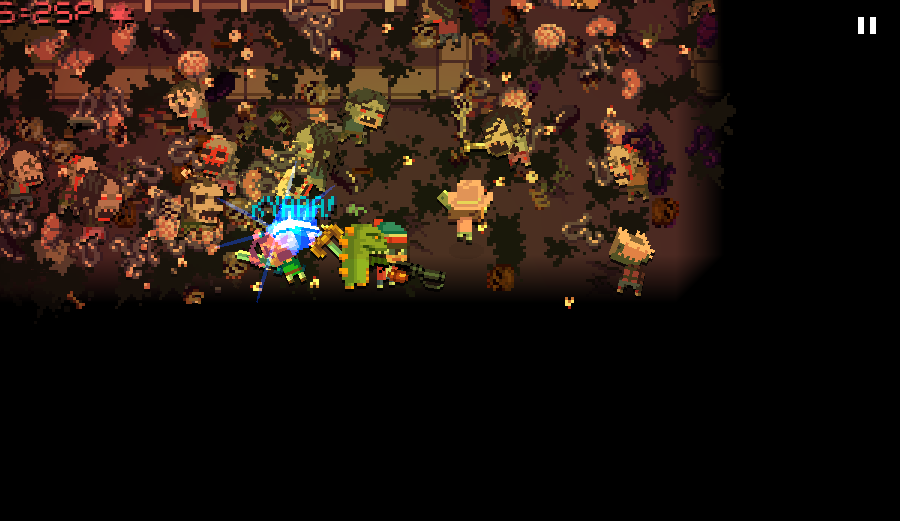
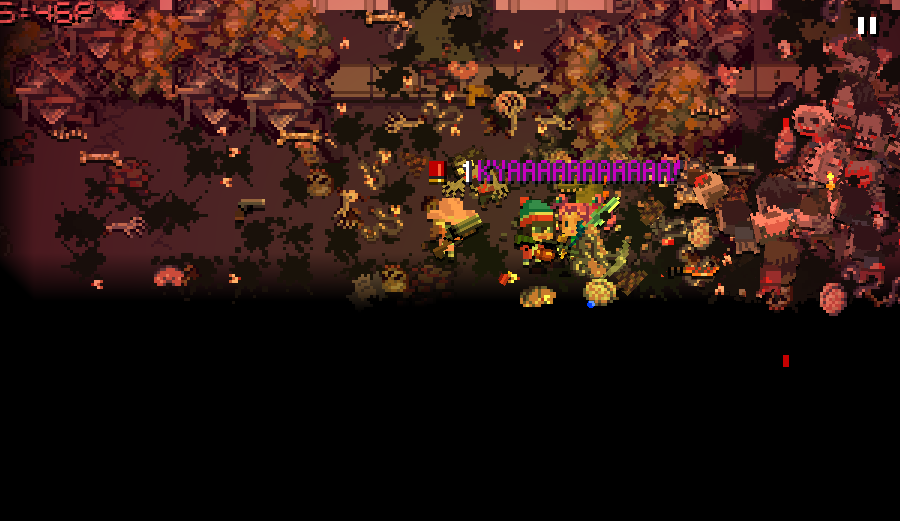
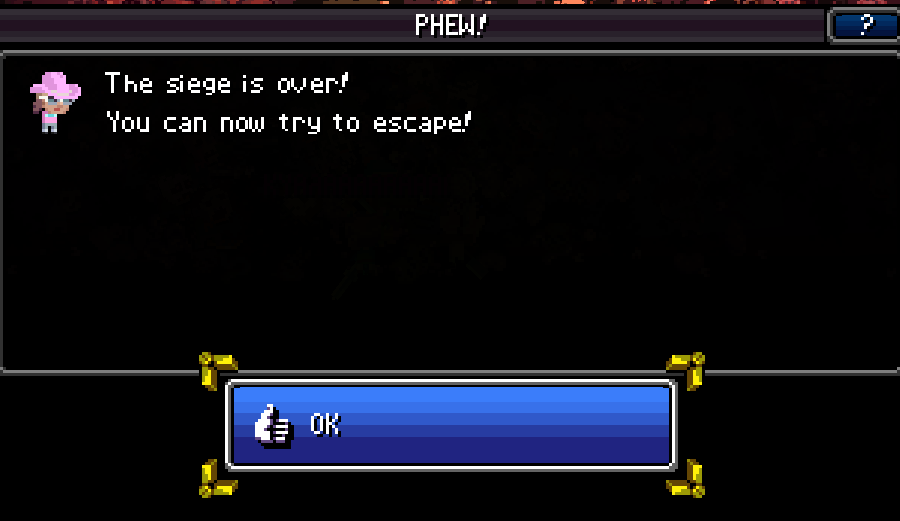
So, Hermit's a rare encounter that forces you to fight off the entirety of a siege. If you have a charged Cool It, then he gives you a bunch of supplies and offers to join, otherwise a Charming character is required to even recruit him. You can at least always get taught "hermit wisdom" on a character for +1 shooting and +1 max HP.
He's not easy to get, but coming with 4 strength, 4 fitness, 5 shooting, and an extra point of max HP, he's a fantastic character to have around. He honestly carried us for most of this run, which is why I still don't regret coming to this location. His only downside is that all of his personality stats are pretty much guaranteed to be 0, but the resulting Grating and Sociopath personality has it's uses.
As an oddity, any character can try to tell Hermit to Cool It, despite that normally being an option reserved for Irritating characters.
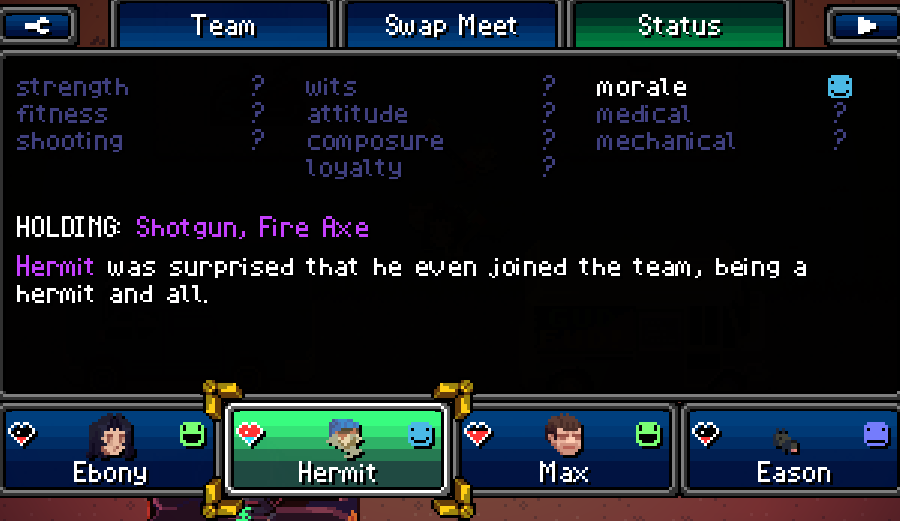
Character-wise, he's a reclusive old guy who just kinda vanished from society, presumably after some disconnect with his family. He's a gruff guy who didn't like where the world was going years ago, and he sure as heck doesn't like it any more now. Initially, he only joins because he's out of food, and given these two guys and a dog are evidently good enough at not dying, he figures he'll net a few meals off of them until he finds himself somewhere else to be.
I'm also pretty sure that whatever accent I was writing for him fluctuated a lot over the course of the run.
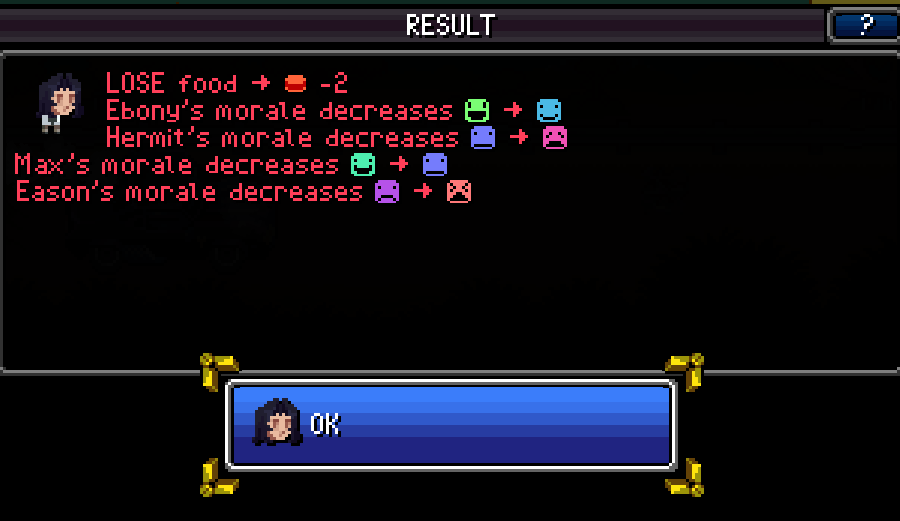
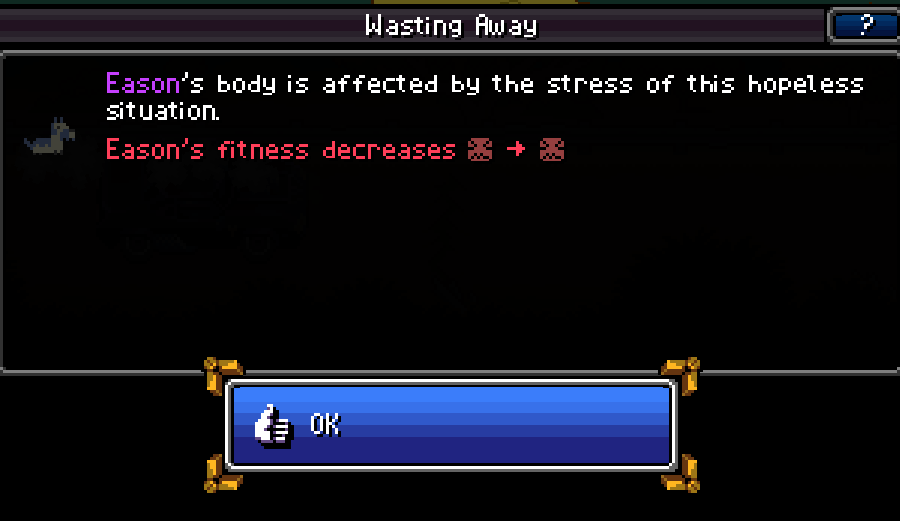
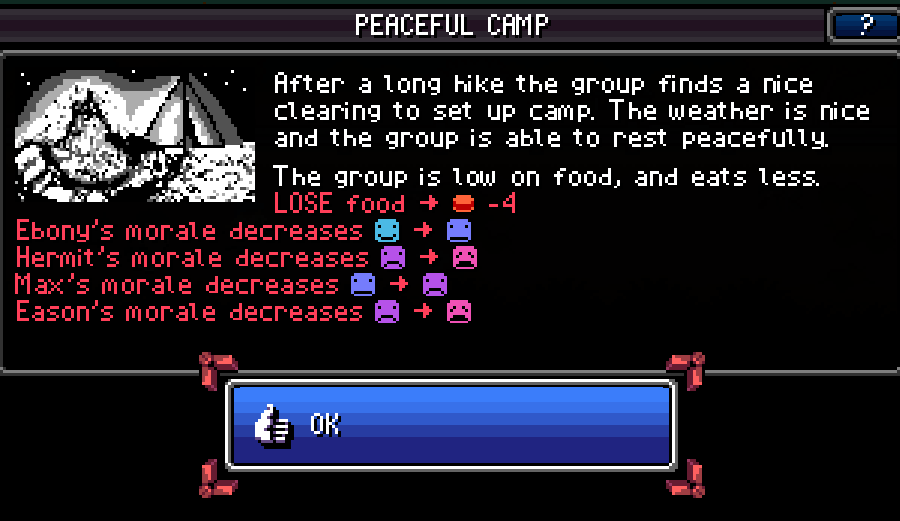
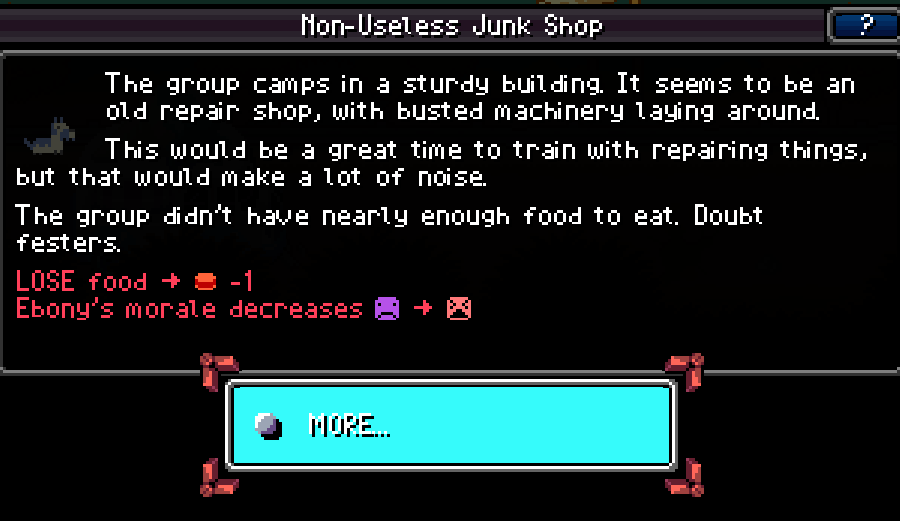
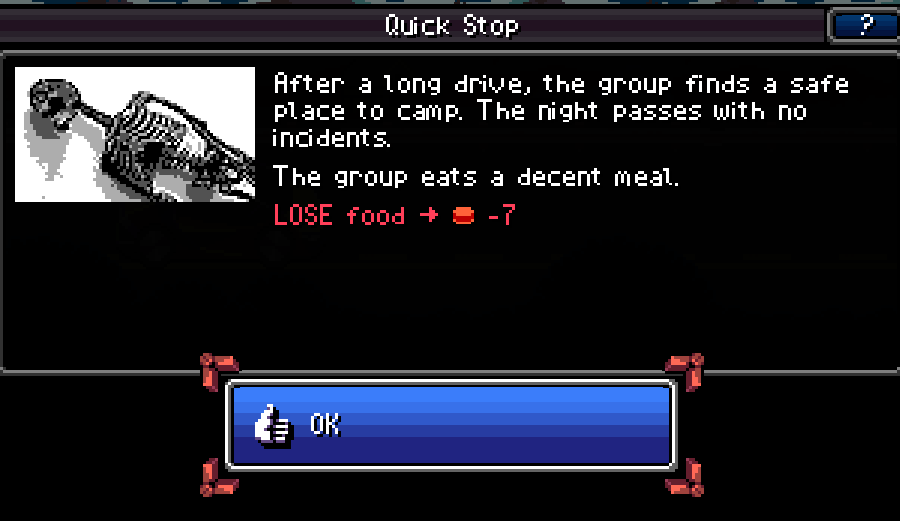
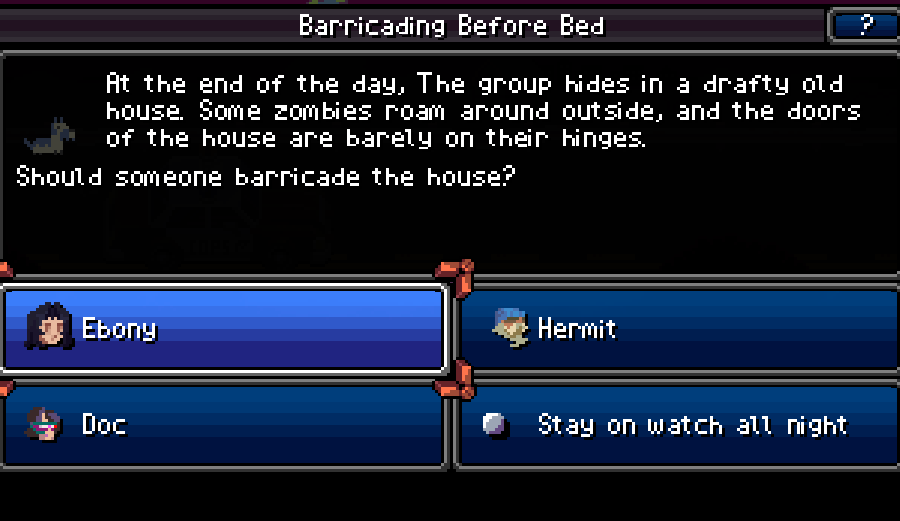
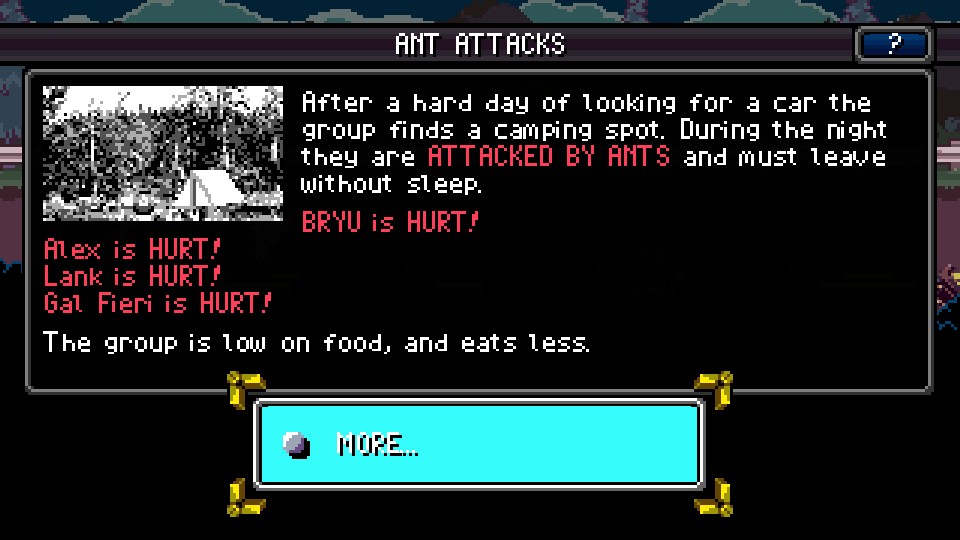
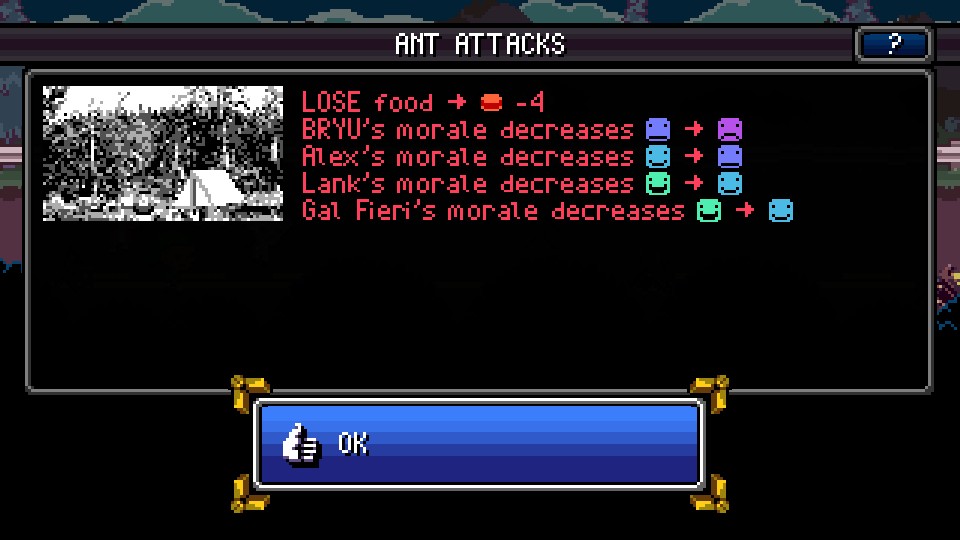
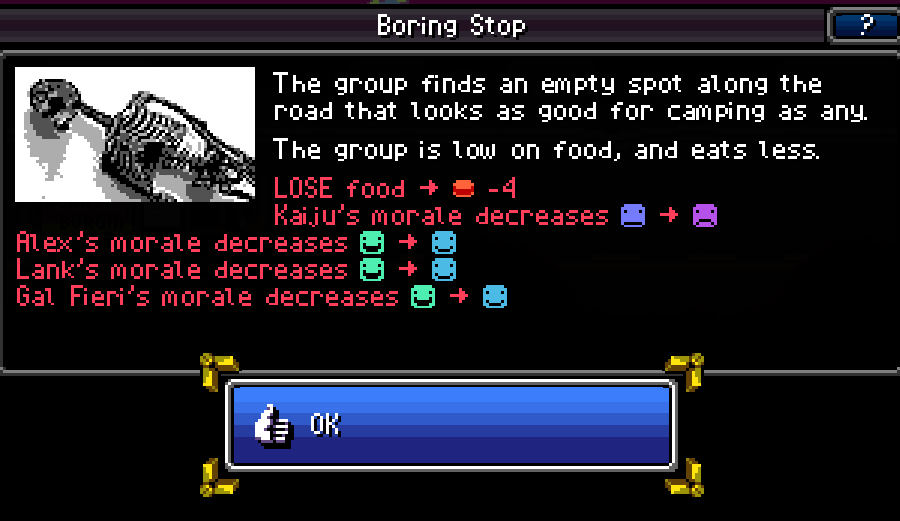
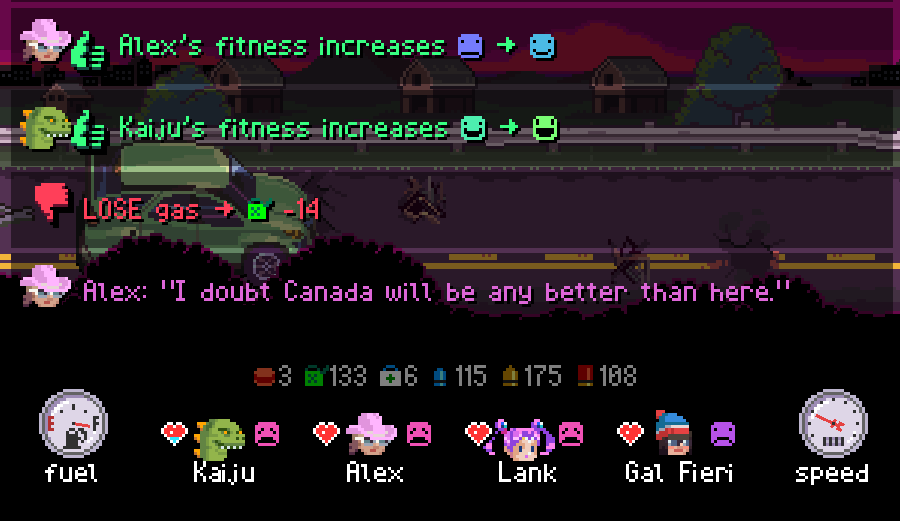
The following days are filled with starvation and morale drops low.
Real low.
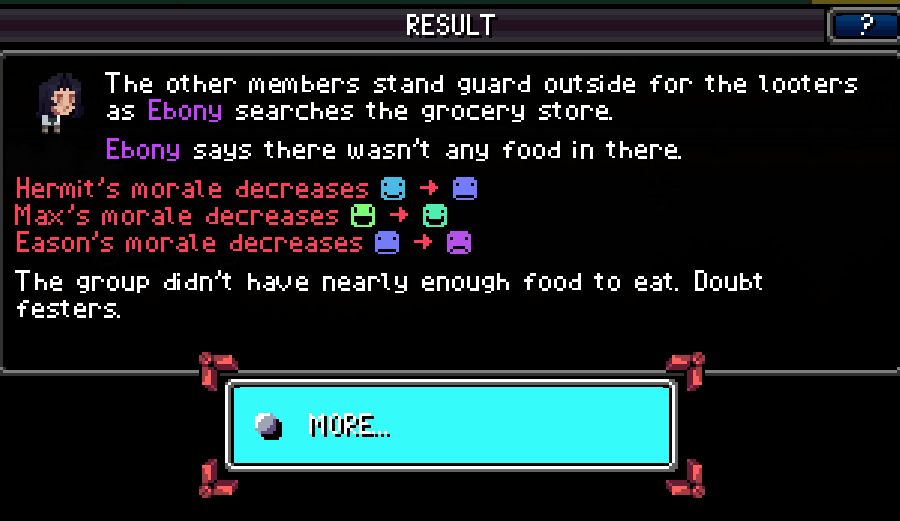
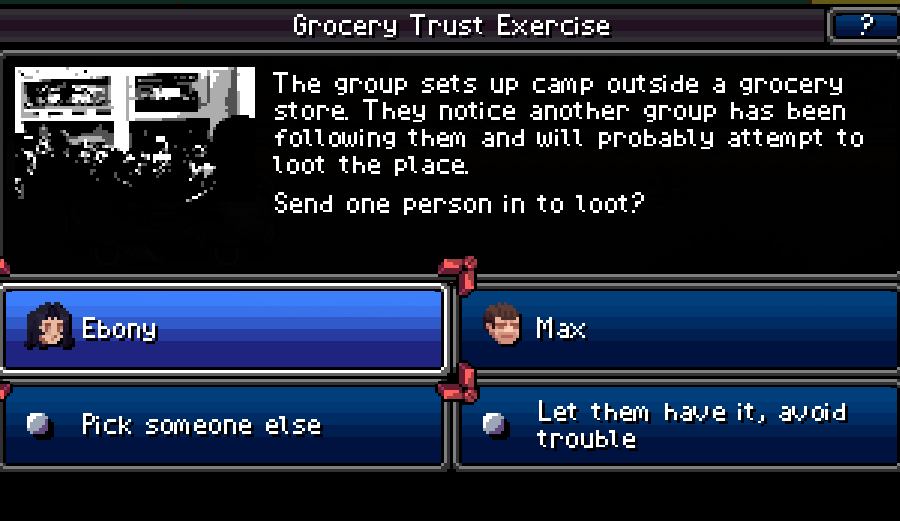
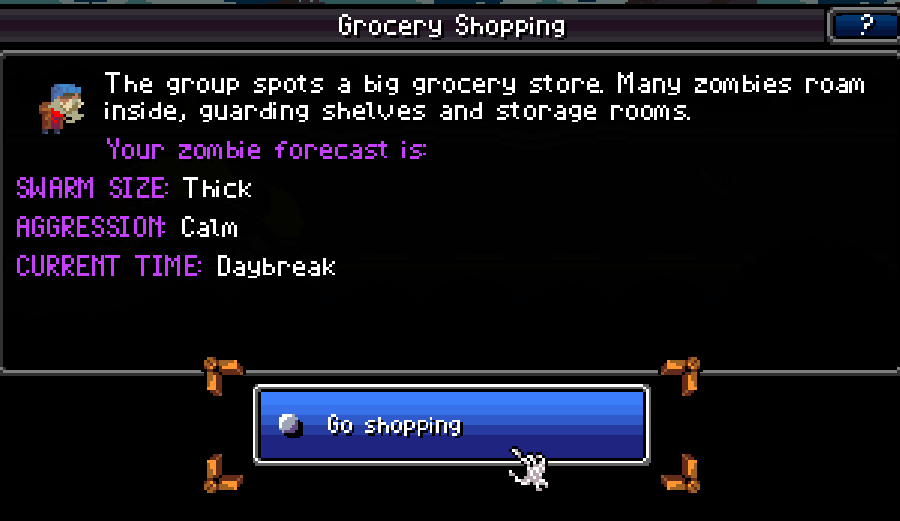
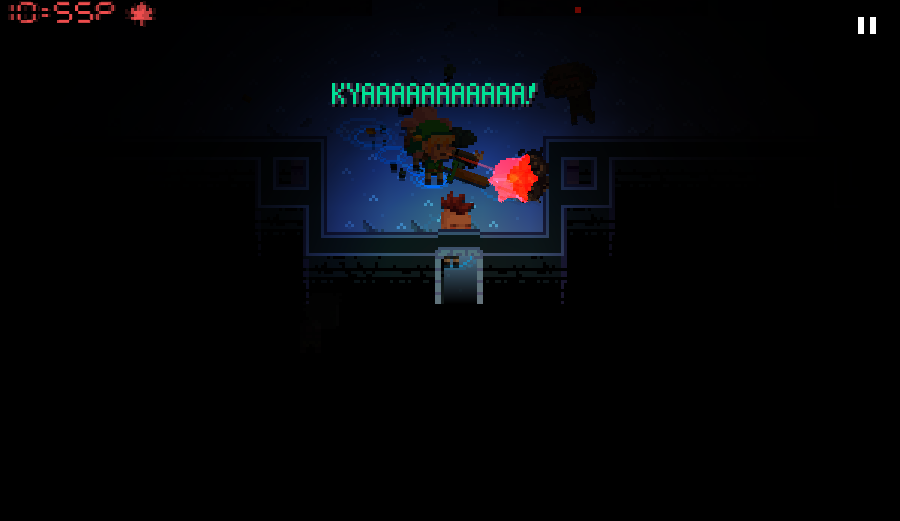
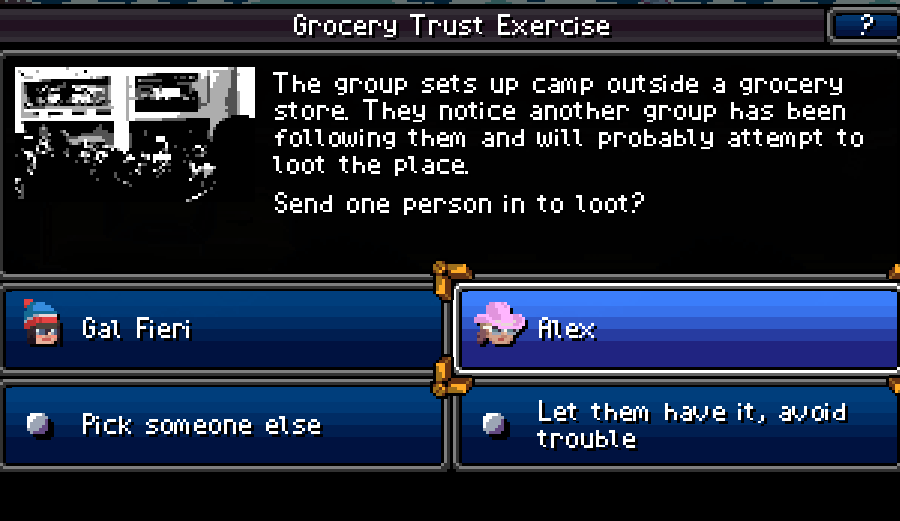
In a fun curveball that threw even me for a loop, Ebony betrayed the team in the grocery store event. Any character with a low loyalty sent to do this will merely eat the food they find or just not do it, and as it would turn out, Ebony's loyalty stat happens to be 0.
There's a rare event where 0 loyalty + Charming is used, but otherwise the loyalty stat is a liability. It's all the danger of a Bandit character without the opportunity to steal anything. In hindsight, this was one of the better events to find this out in, as there's a number of bandit encounters where he could have sold us out and bailed on the team.
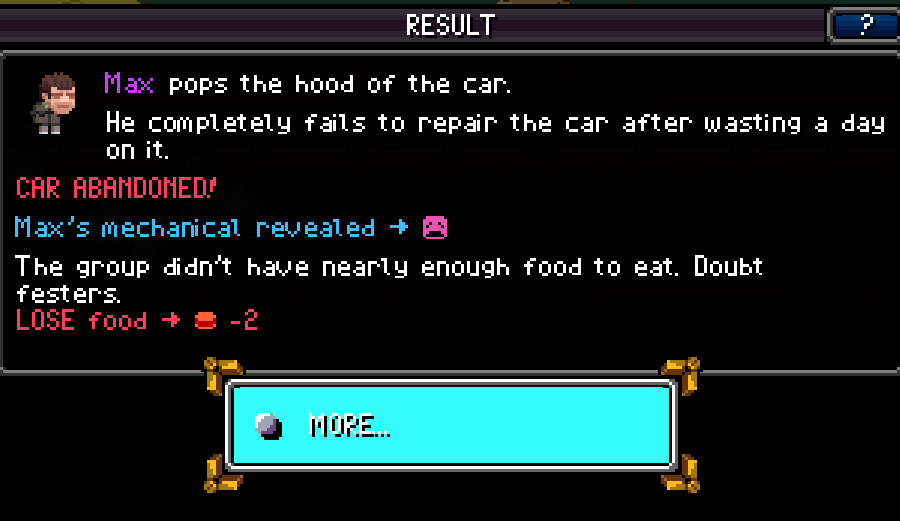
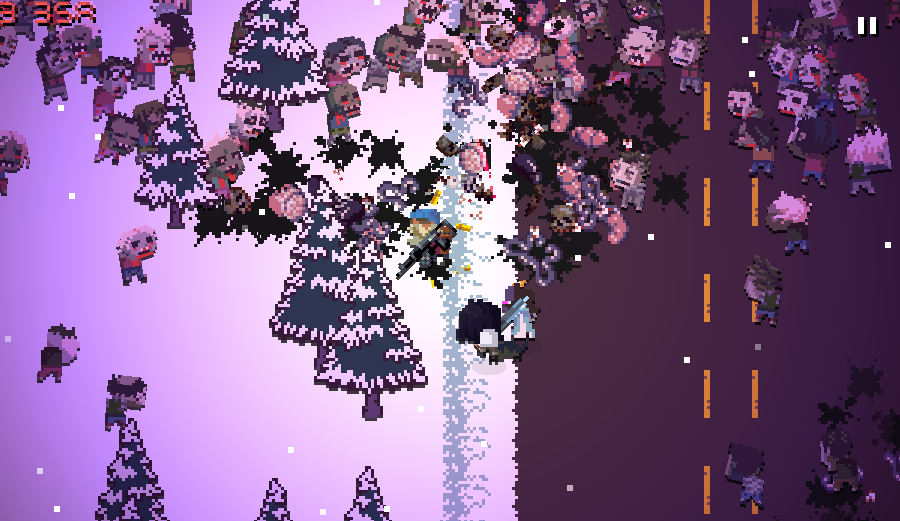
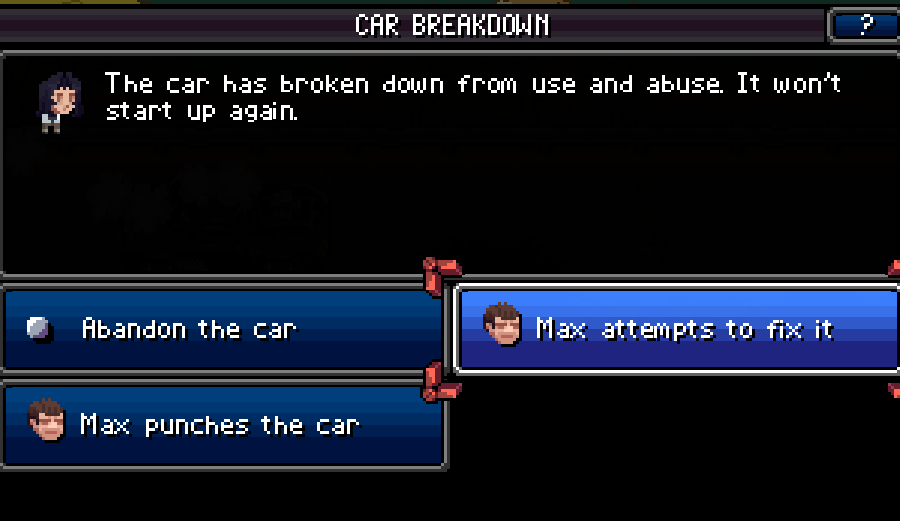
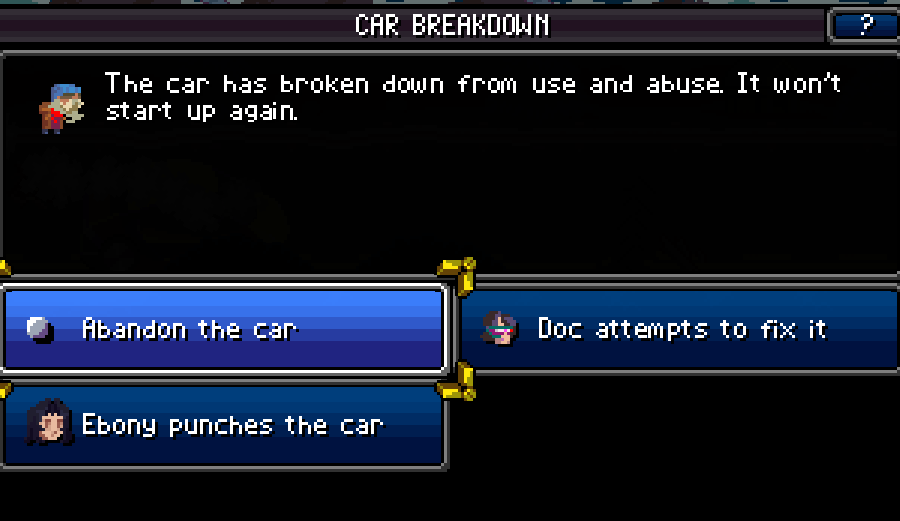
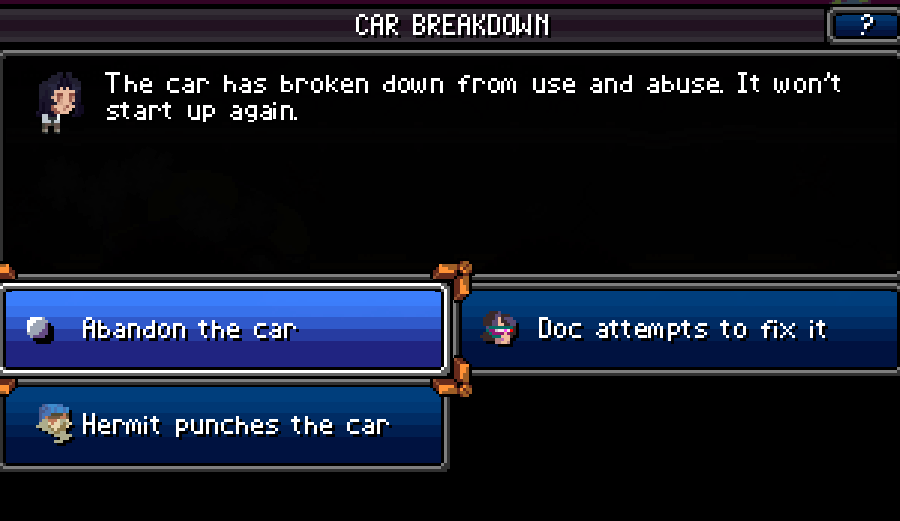
The car breaks down, to make everything worse as walking events are regularly painful, a drain on supplies, and bad for morale.
With our morale rapidly approaching rock bottom and our food supply non-existent, this run should have died here.
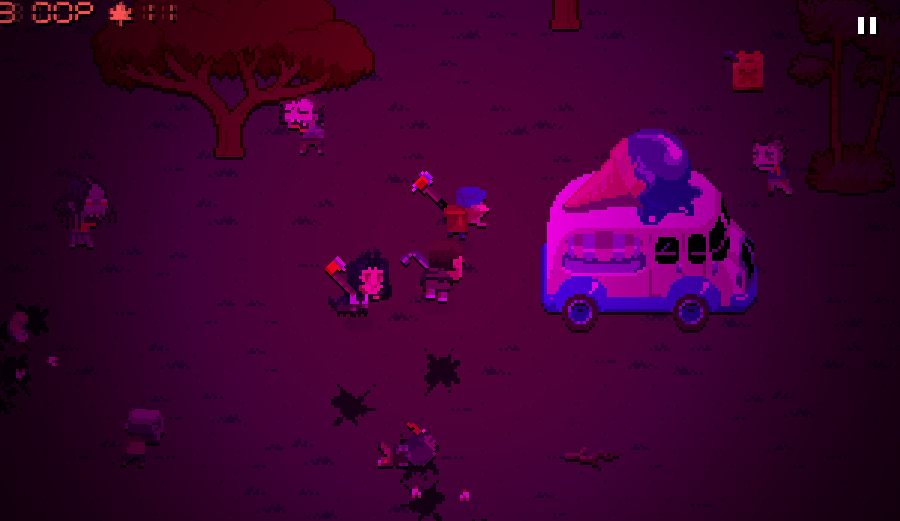
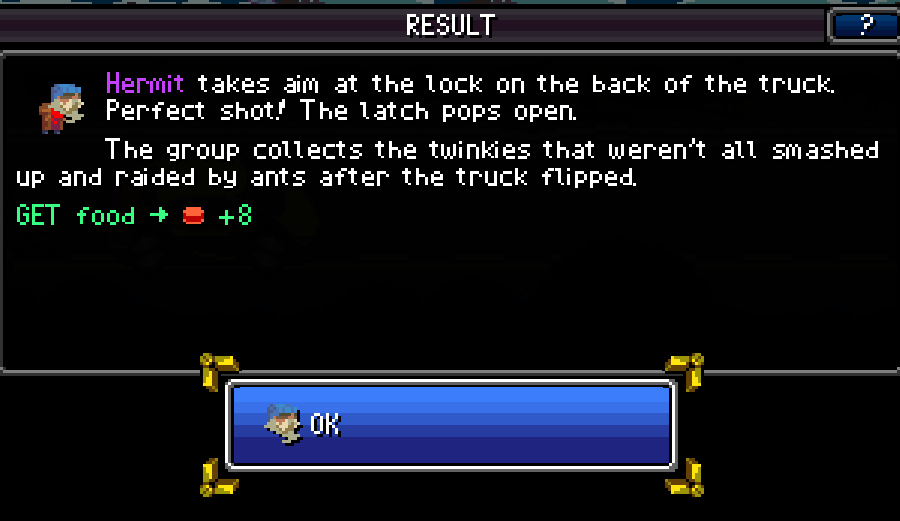
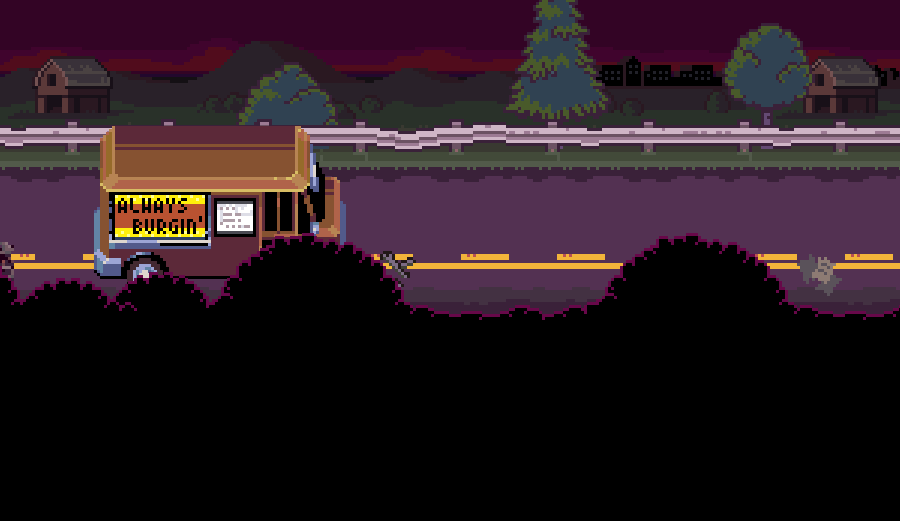
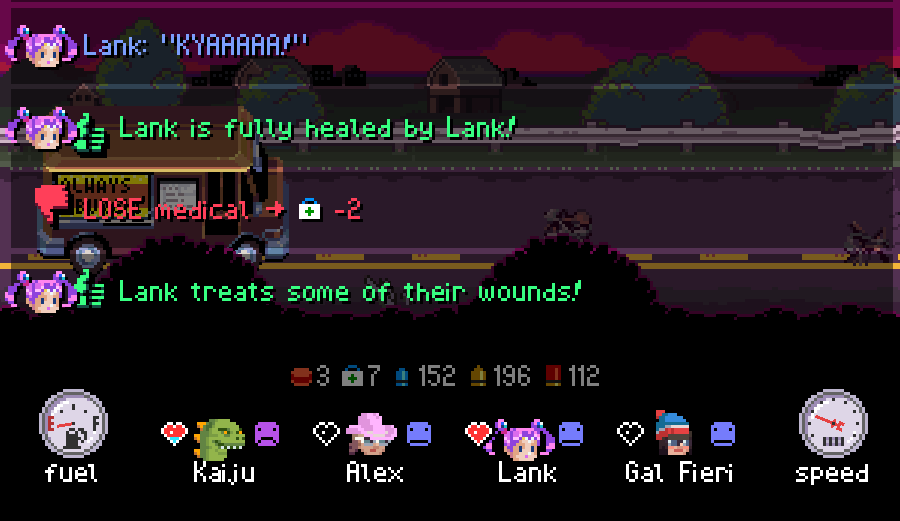
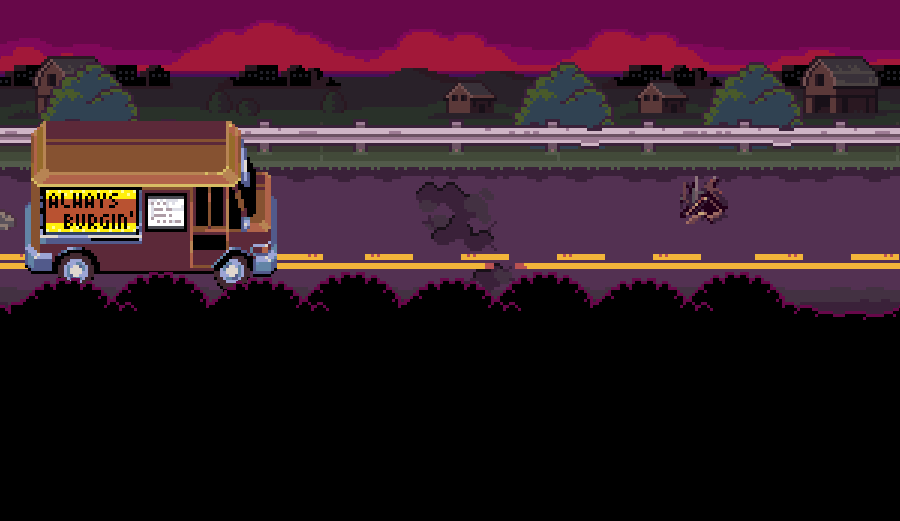
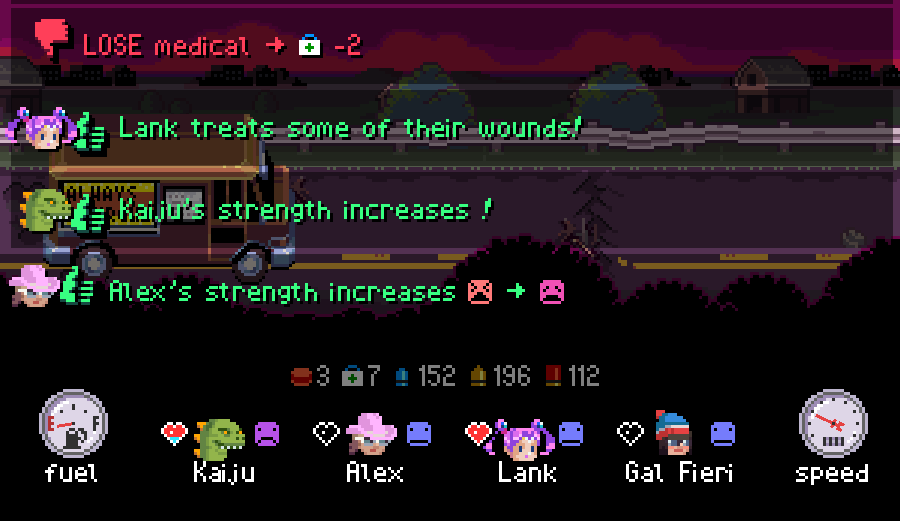
The Twonkie truck bought us more time as it saves us from a full starvation night, sparing us from that -2 morale we'd have taken, and got our morale just barely out of the pits. Though it only served to delay the tantrums.
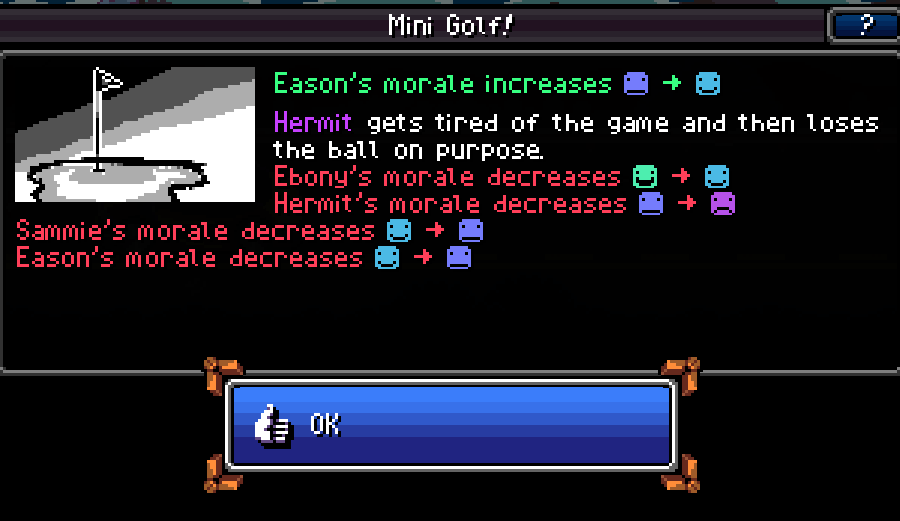
Right after, the game hits our morale down again, dropping Hermit and Eason down to zero morale.
It's very possible for one of them to have thrown a tantrum here, but they just didn't.
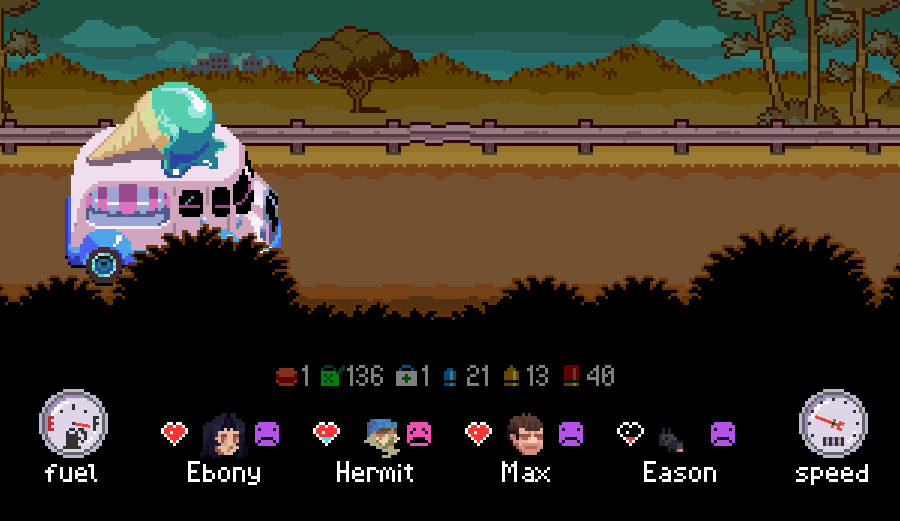
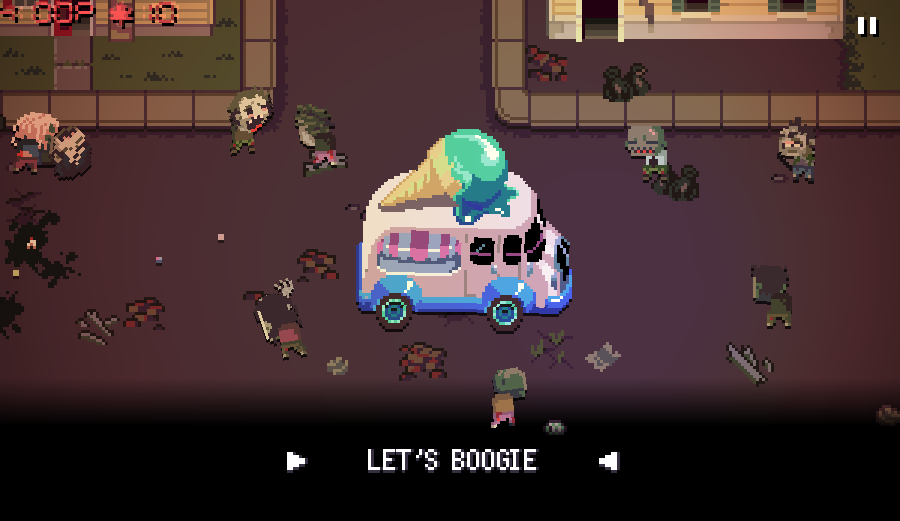
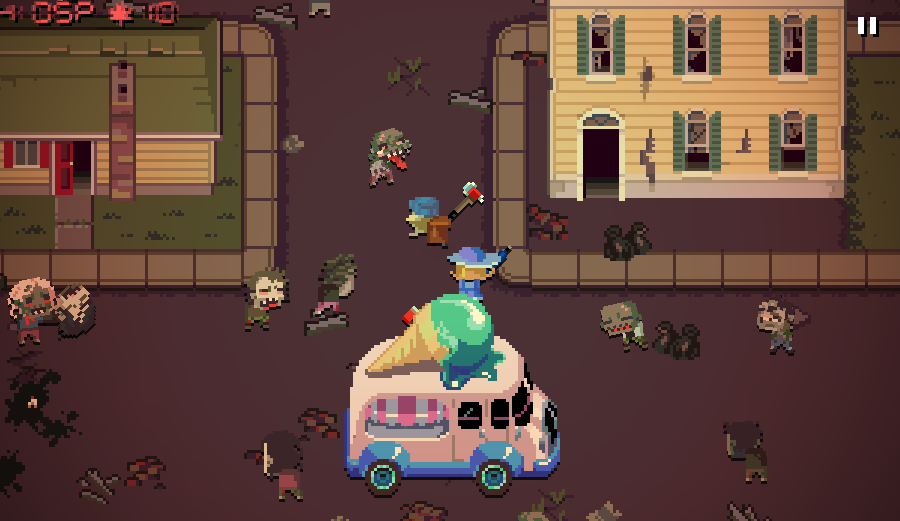
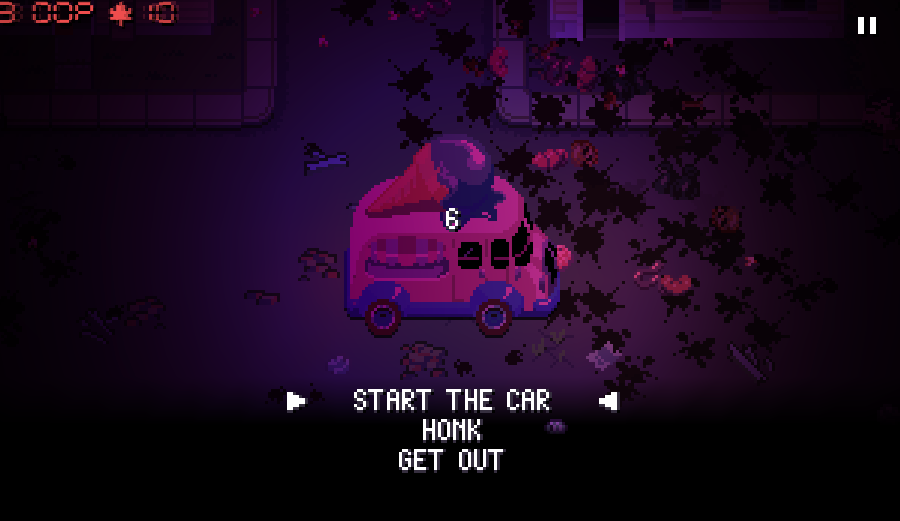
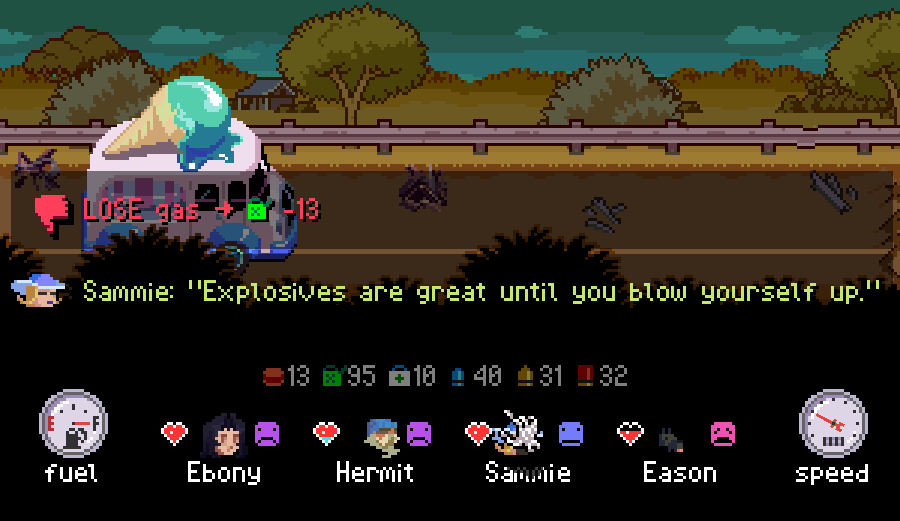
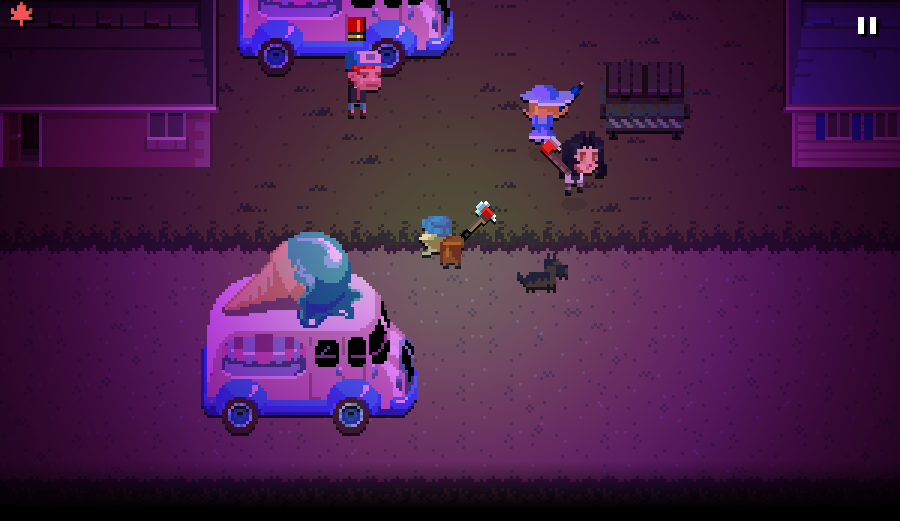
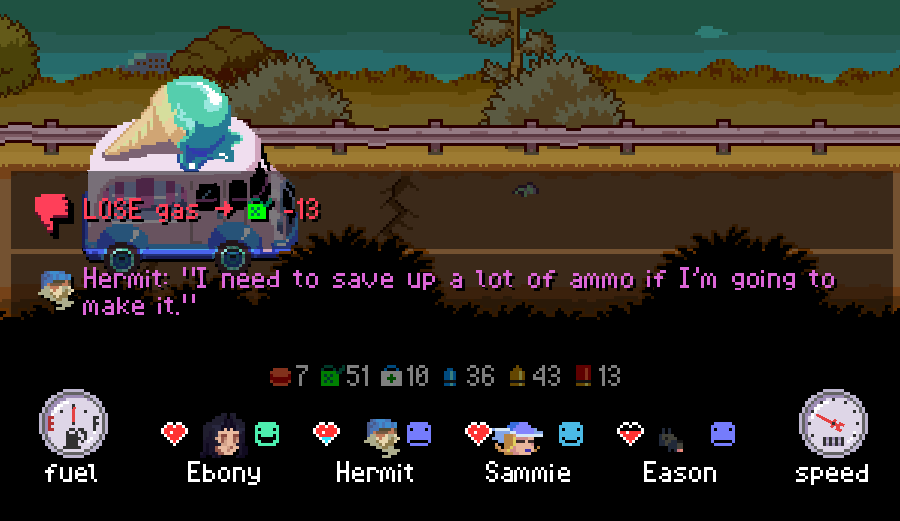
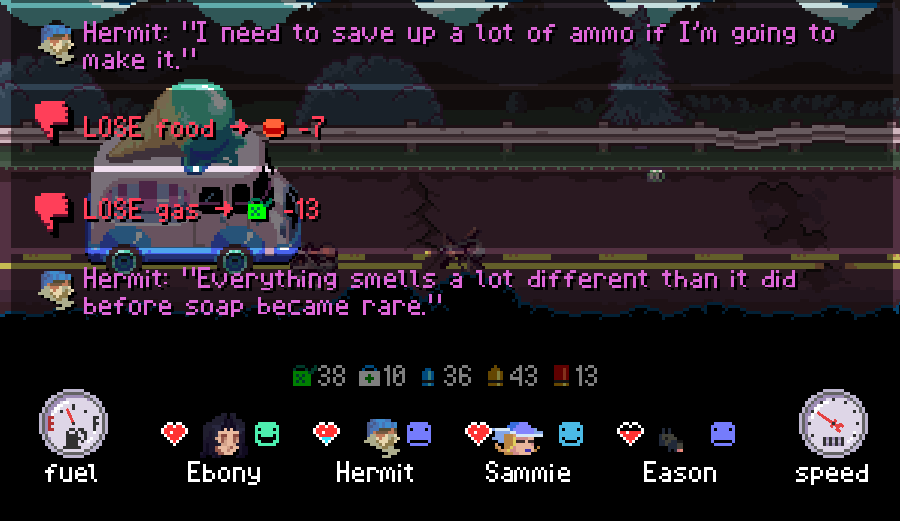
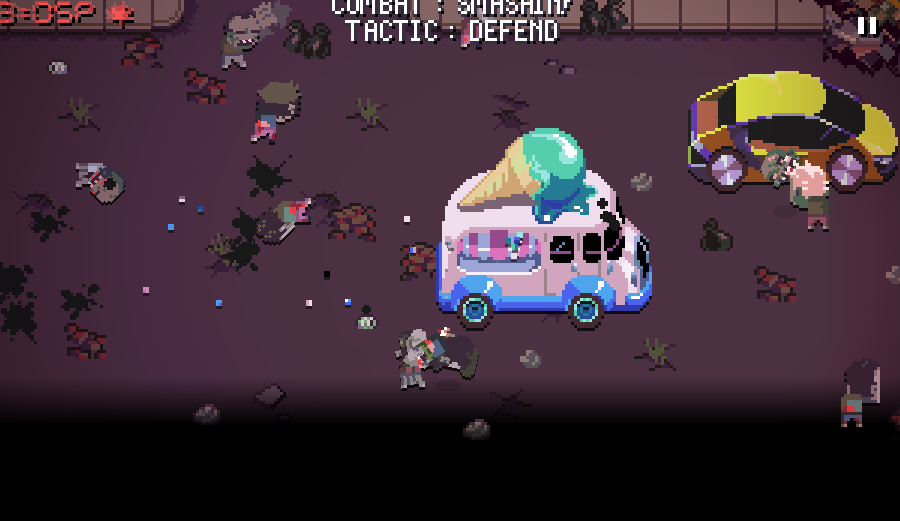
We then get the ice cream van, which boosts our morale by 1 again. The game doesn't note it specifically, but finding a car when you've been walking does give a party-wide +1 morale.
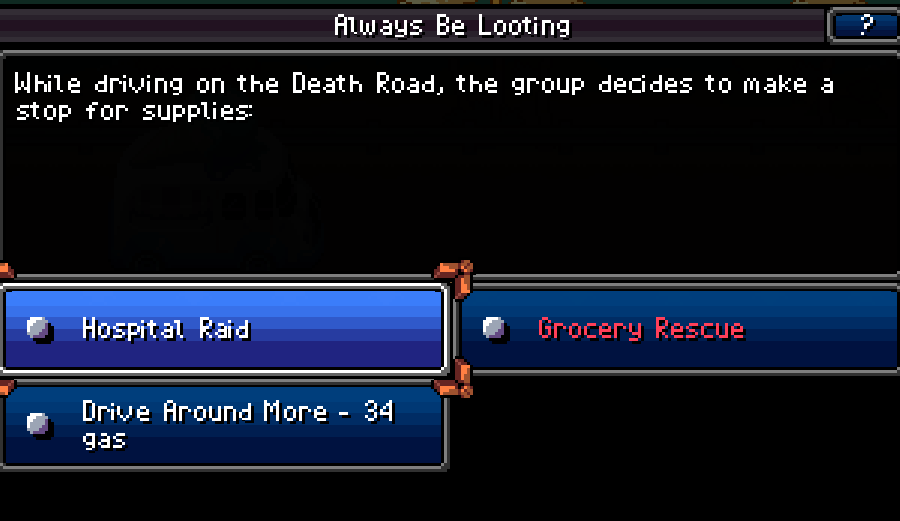
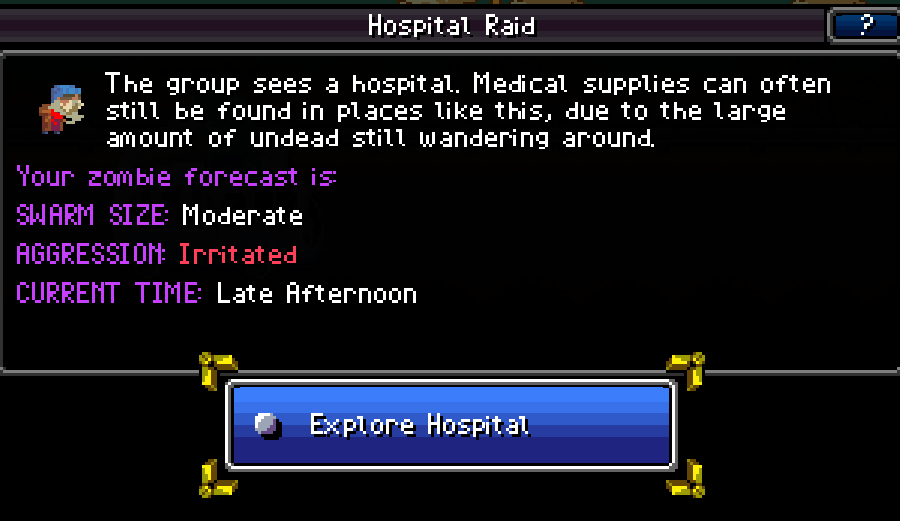
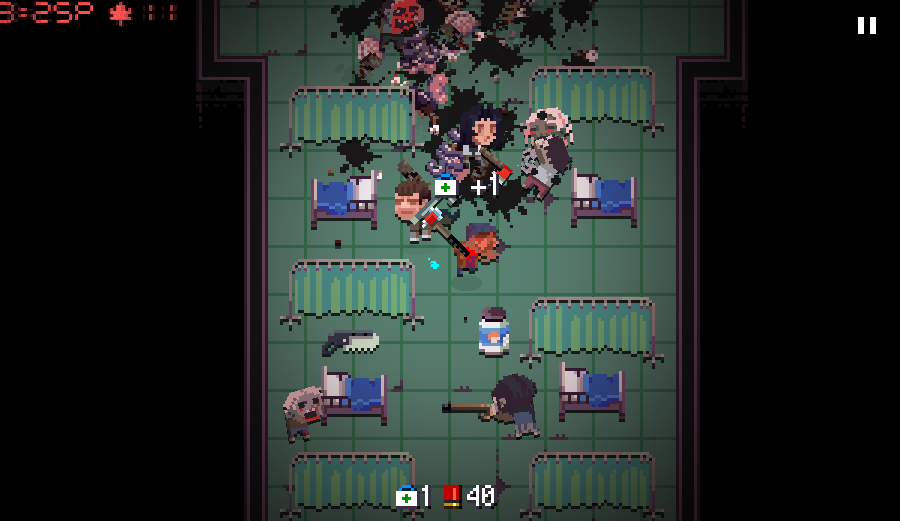
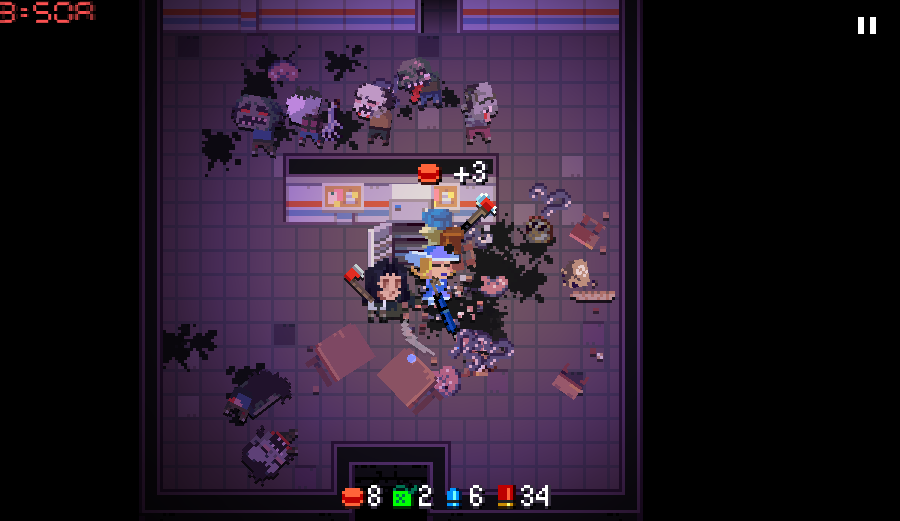
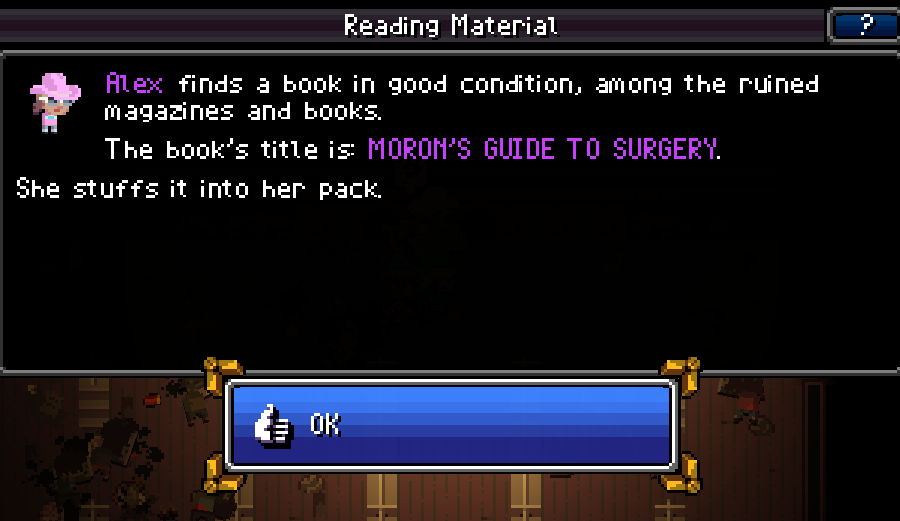
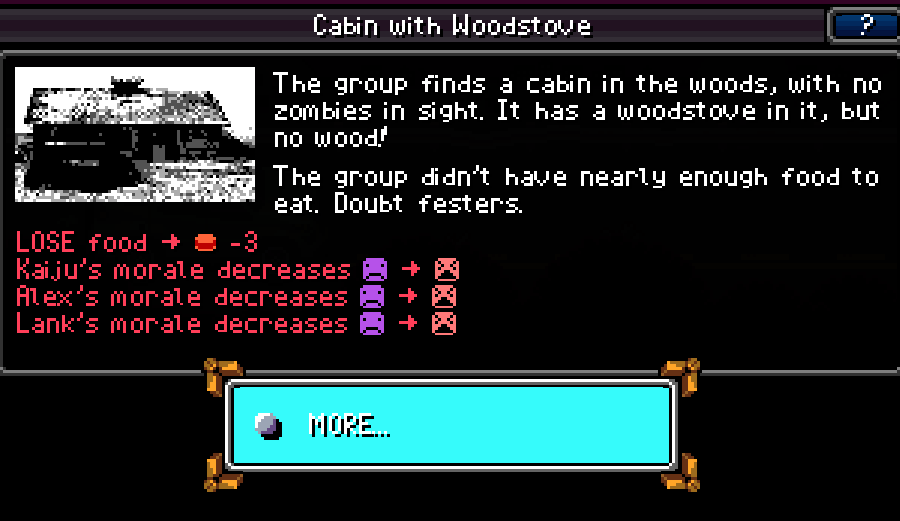
Then the hospital without any food happens. My original thought process here was that getting food and meds would be good, but this one happened to have no food and the meds ended up being useless so I sure misplayed there.

And then, everything started to turn around.
--------------------------------------
PART 3: END OF DARK TIMES
--------------------------------------
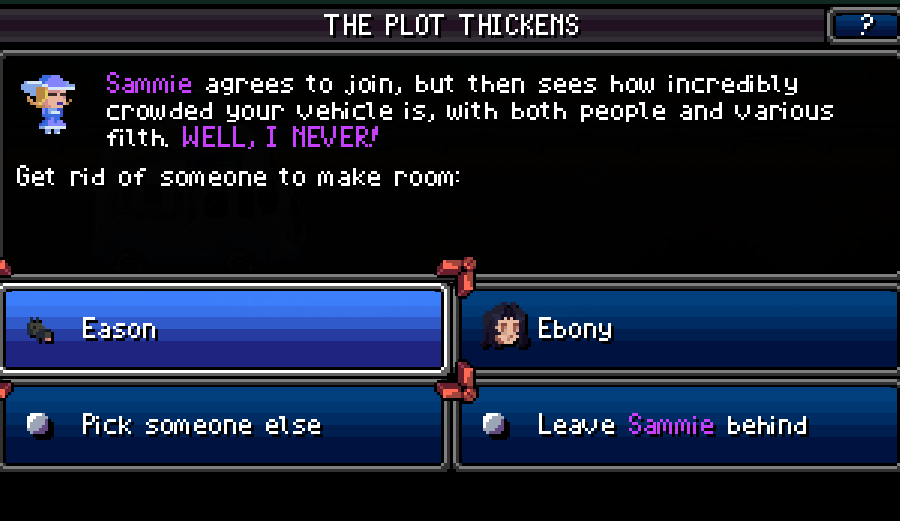
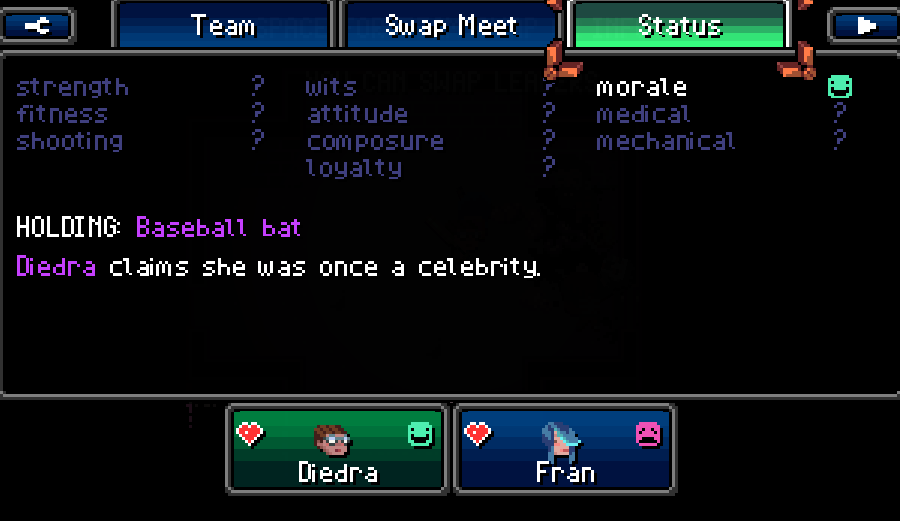
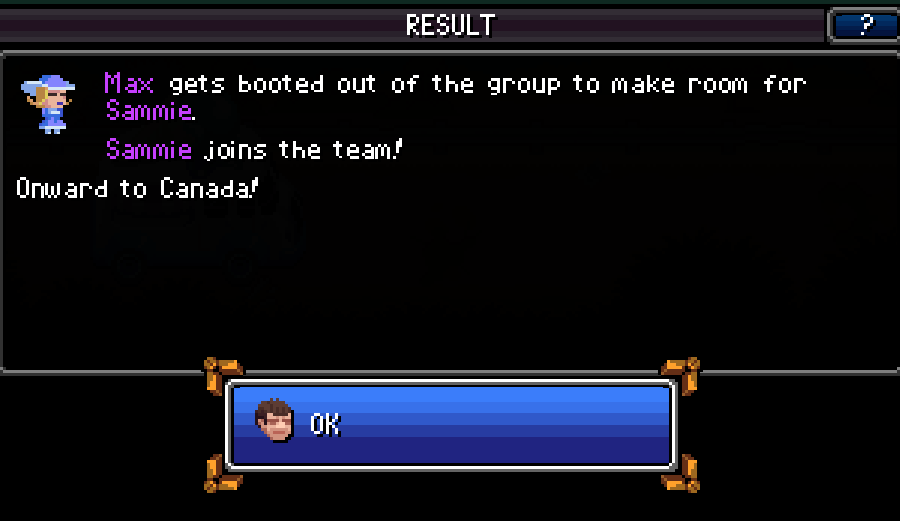
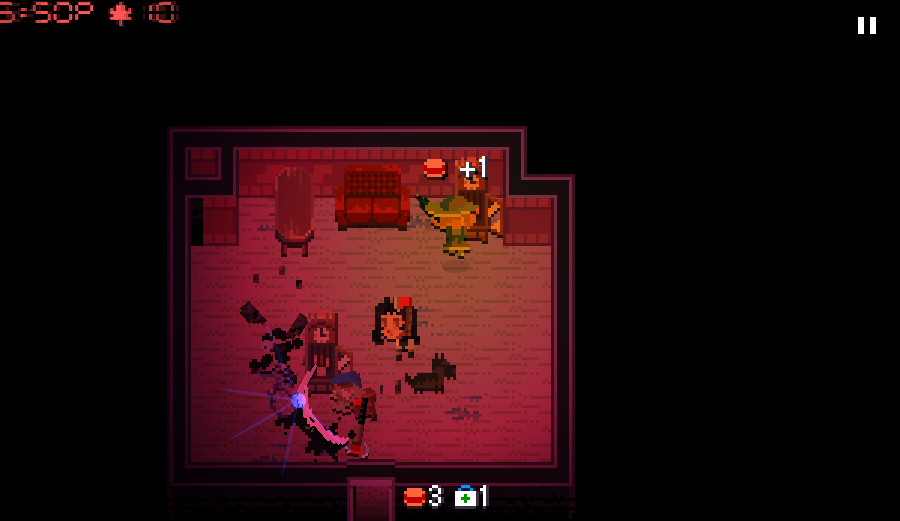
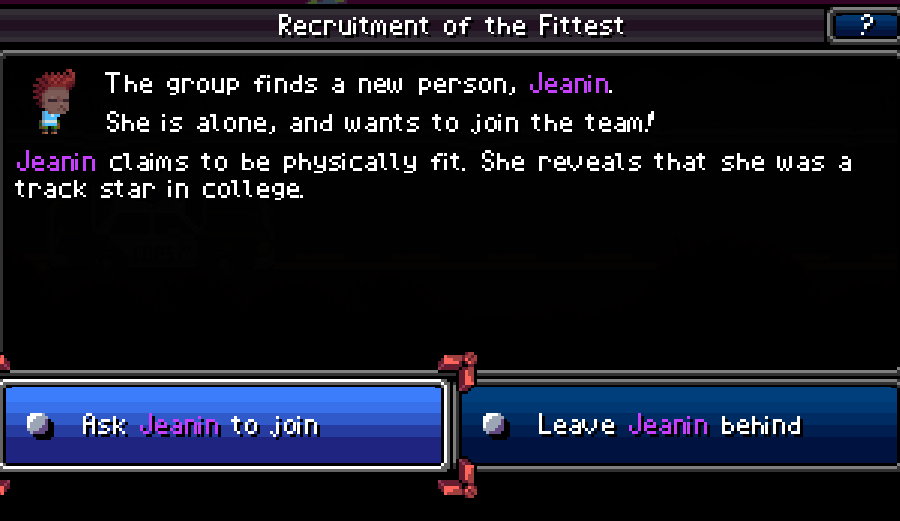
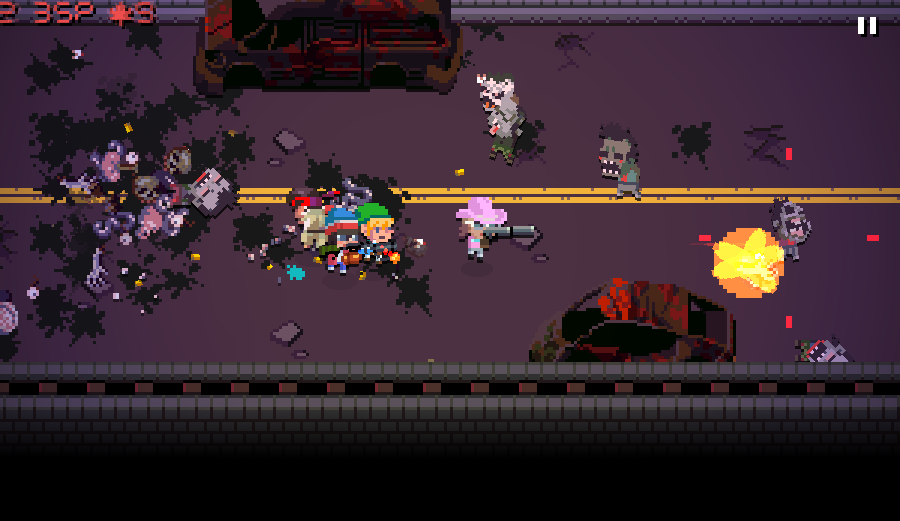
In a way, we've only had bad luck since Max joined, so if he was our bad luck charm, Sammie the Debutante was our good luck charm.
Mechanically, the Debutante has okay fighting stats of 2 strength, 3 fitness and an unbreakable umbrella, and her real advantage is that she's guaranteed to be Charming. With Ebony already in the group, that point is somewhat moot, but she outmatches what Max could accomplish, so here she joined.
Otherwise, the only other thing about her is that she talks very rarely compared to other characters.
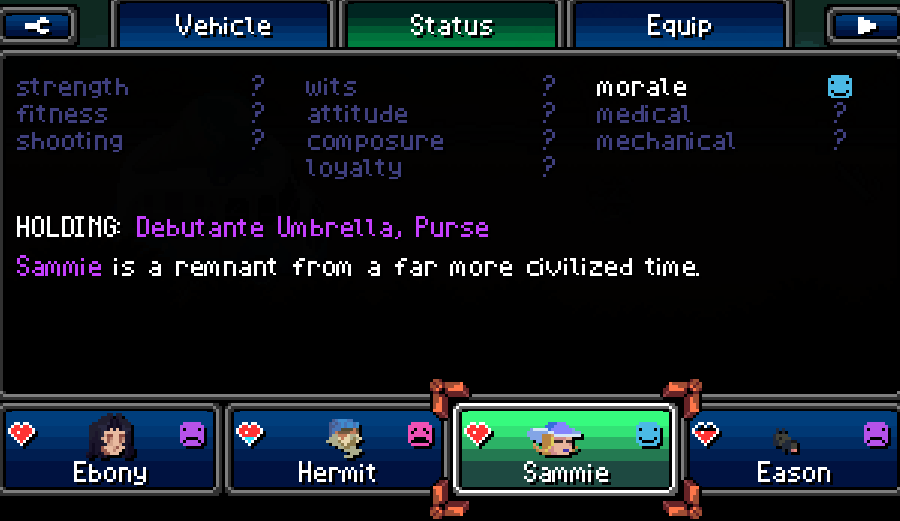
Character-wise, she's a bit of a mystery herself. What's the deal with this random high-class LARPer? Is she an actor too caught up in the role? Is it just some coping mechanism? Even I don't know. But what I do know, is that she tries her hardest to keep everyone's spirits up regardless of how dark the world may have become, even if it may just be part of the act.
It does mean that not only was Max kicked out for a Mary Poppins wannabe, but also she's probably a better actor than he is.
She ends up being basically the Team Mom, keeping everyone from falling apart when the going gets real rough. I also imagine her concept of making room in the car means she gets the entire back seat, and Eason sat up front on the passenger's lap.
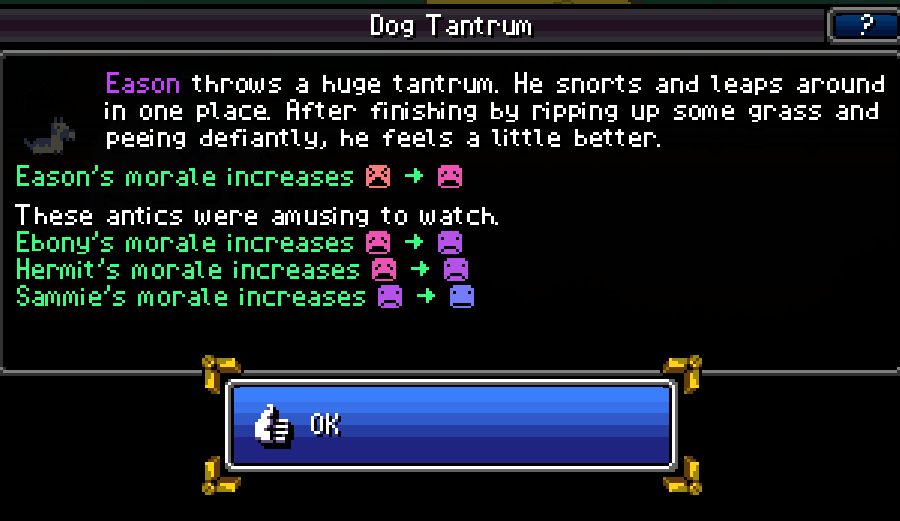
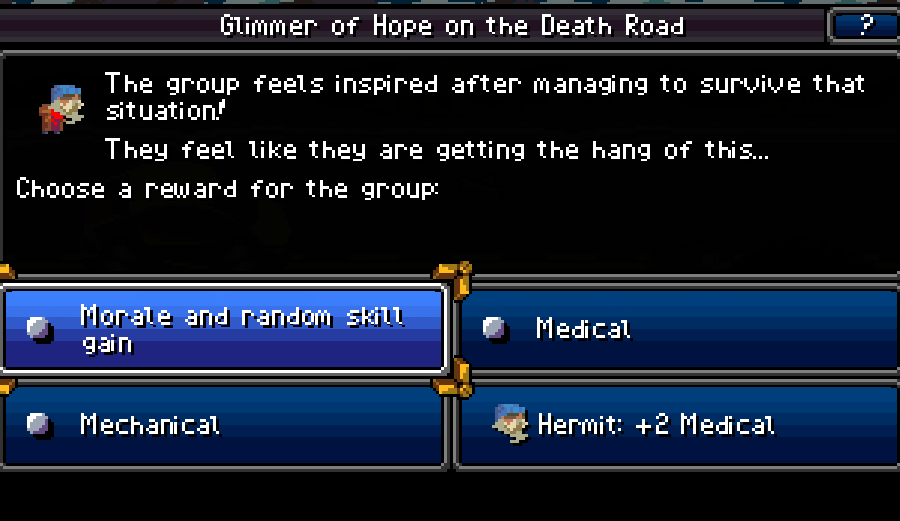
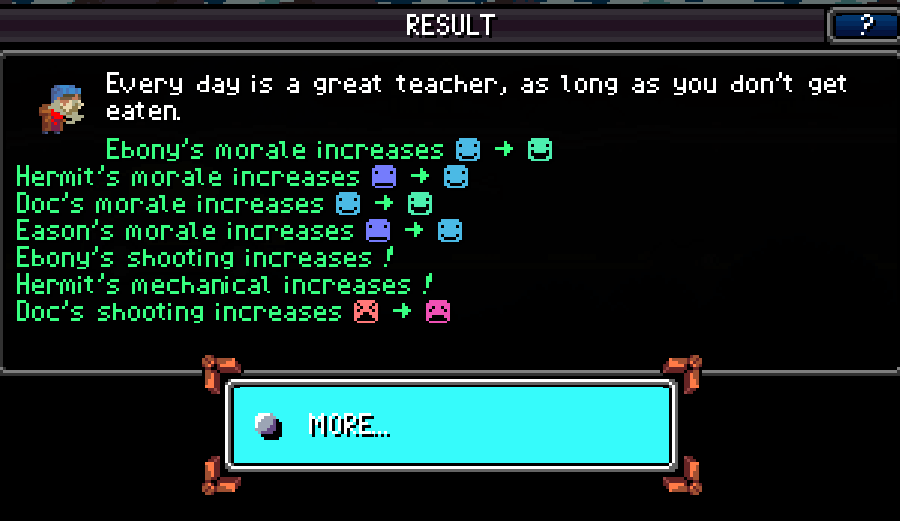
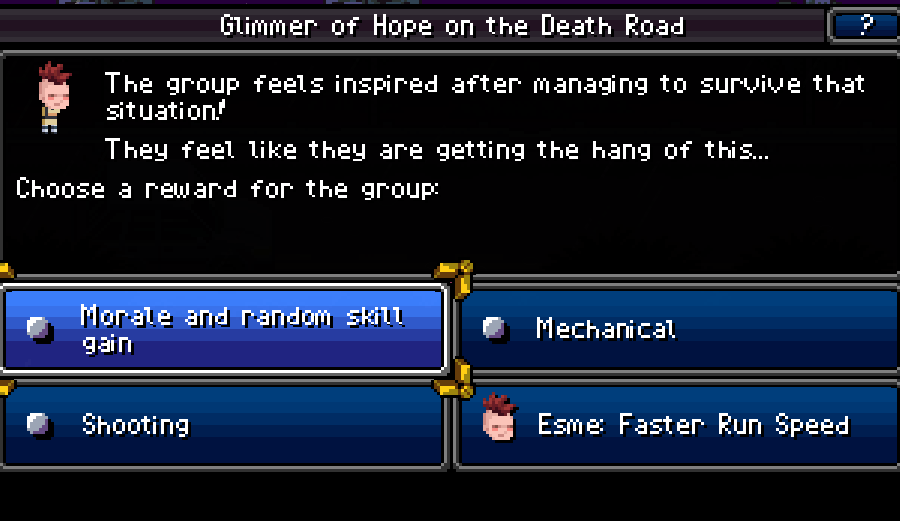
Mechanically, the TSTC call out by Hermit and Eason tearing up the grass for morale boosts were completely random. Both of those events actually happen to be things that can be manipulated through exploiting the game's autosaving nature, as results are only saved once the event ends, and the triggers for these are random entirely.
Given that I'm playing on PC for easier capture I can't just leave the game running in the background between updates while I'm waiting on the thread to vote. When I do reload between events, these things can trigger before the event I was waiting on. In those situations, I would reload the game until the result was consistent with the end of the last update.
This is a long way of me saying that I didn't savescum these things although it is possible. Speedrunners take note, I guess.
And the actual events, like Sweatbandits or the Twonkie truck are pre-set, so I couldn't manipulate those if I wanted to.
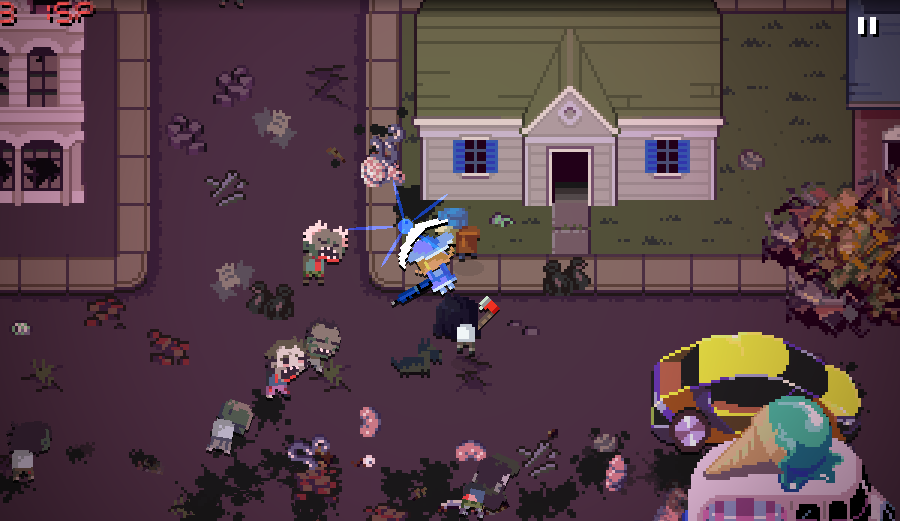
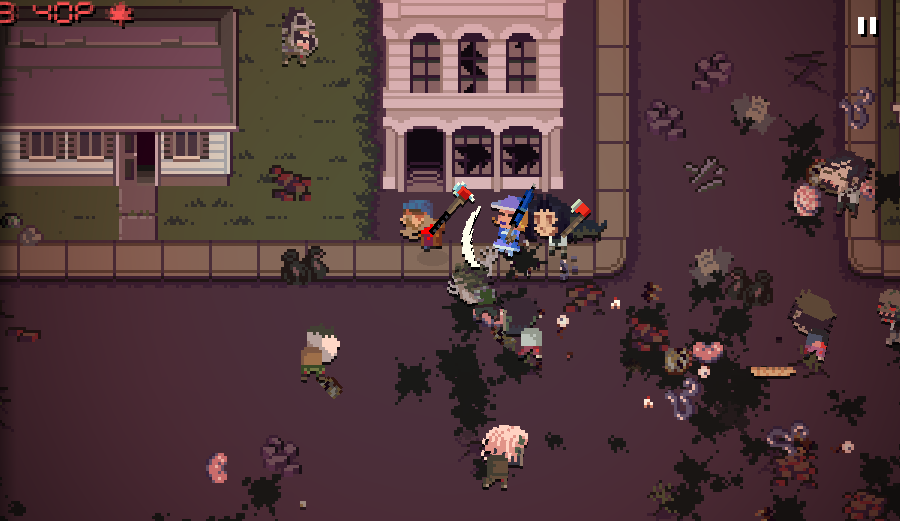
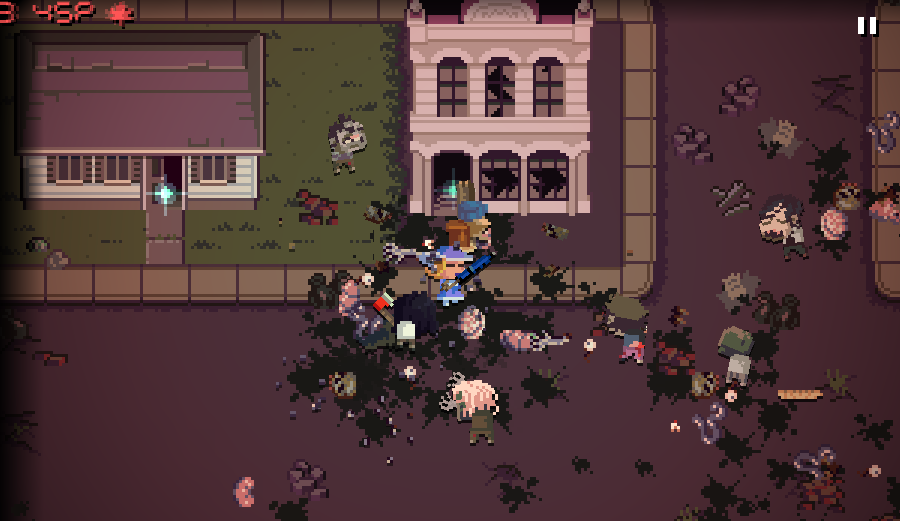
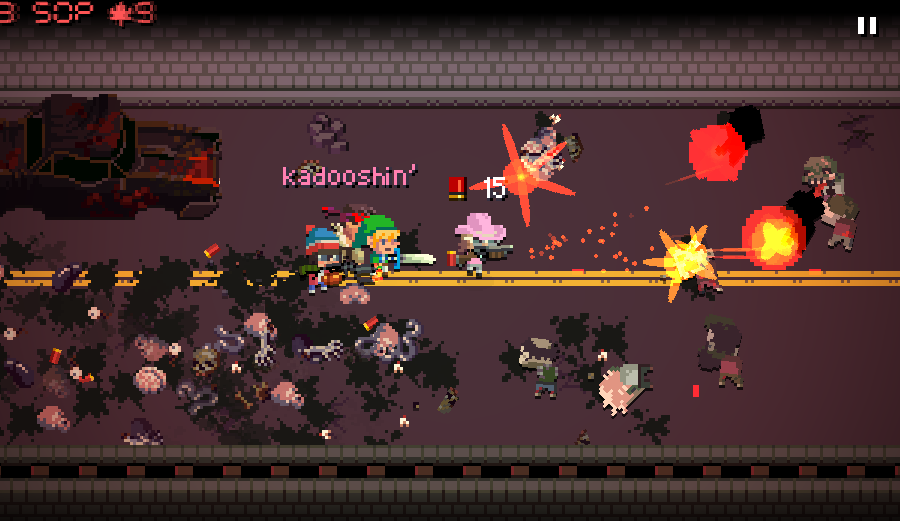
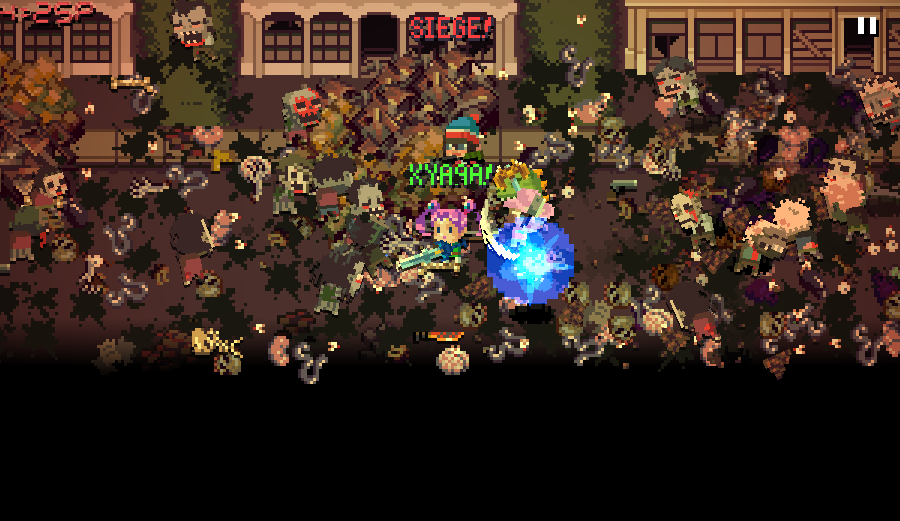
And then stuff starts going well for pretty much the rest of the run. There's a few rough spots, but we made it through alright.
Really all I've got left to talk about is a few mechanical things and a few character writing things.
--------------------------------------
PART 4: THE WRAP UP
--------------------------------------
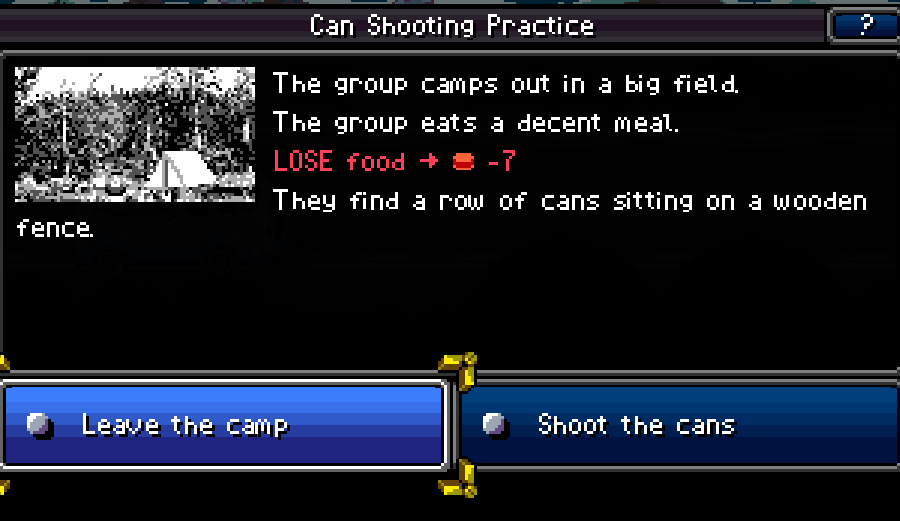
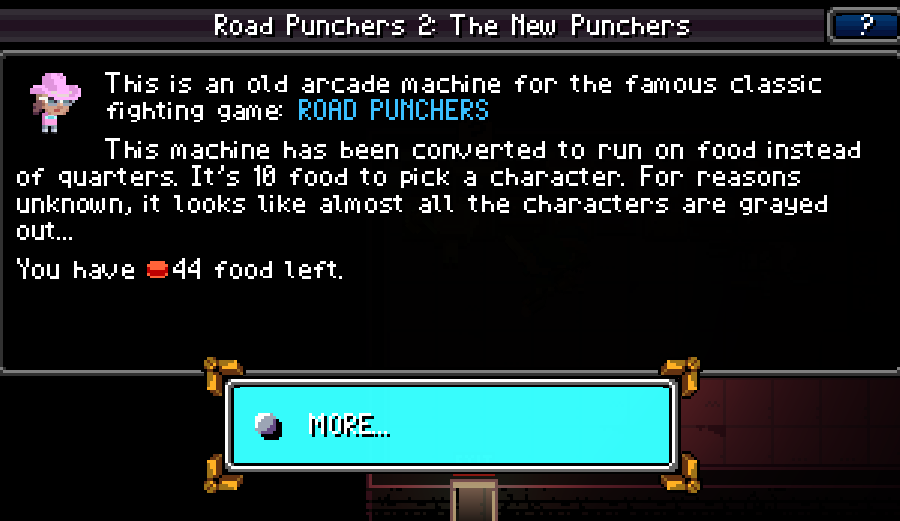
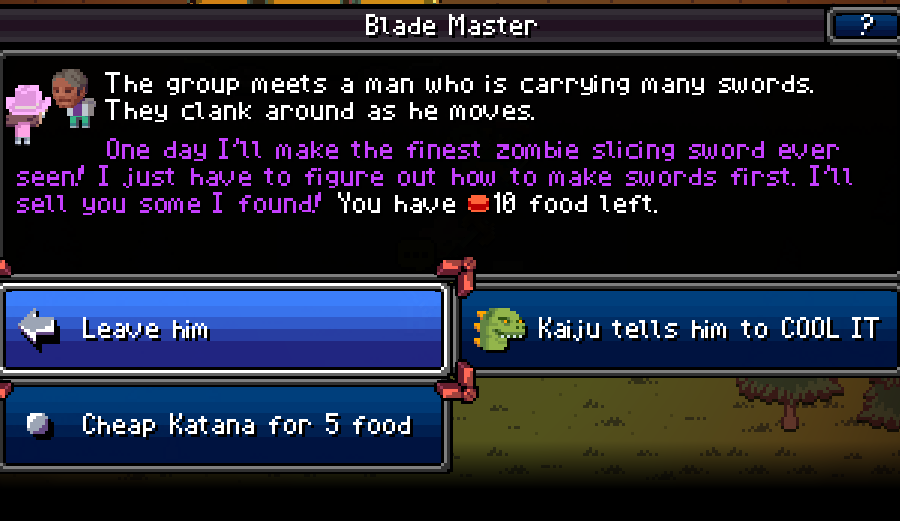
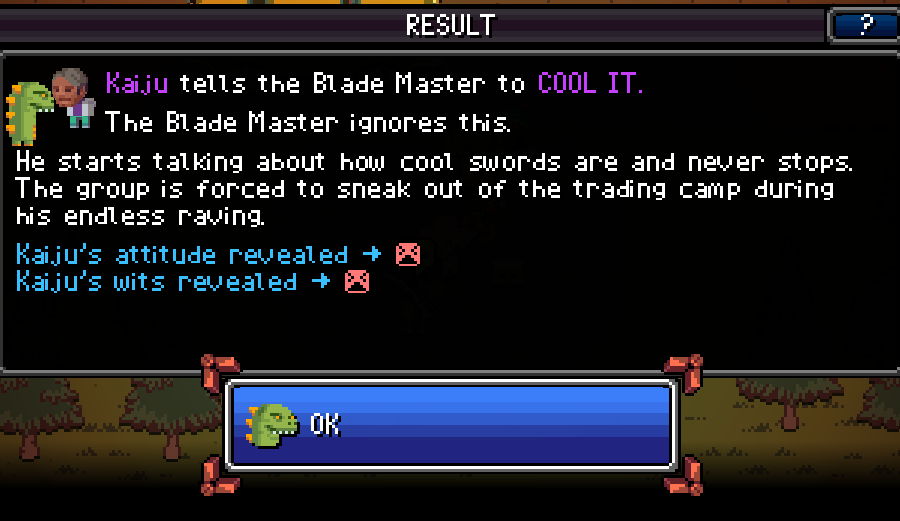
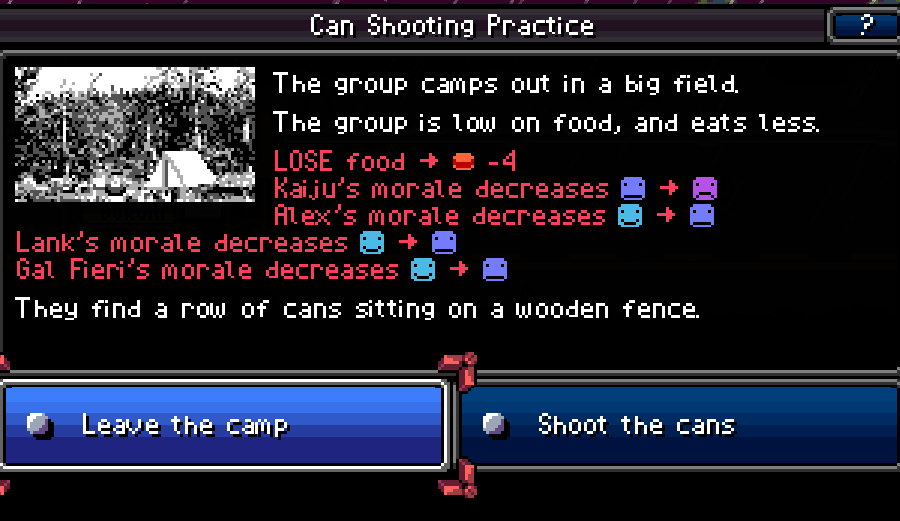
So, Can Shooting Practice. We unfortunately just barely didn't have enough Cool It built up to take advantage of this rare event. Normally it's just a party morale -1 for +1 shooting trade, but a character with charged
Cool It!!! can activate the secret ritual of
DON'T HAVE COW, MAN.
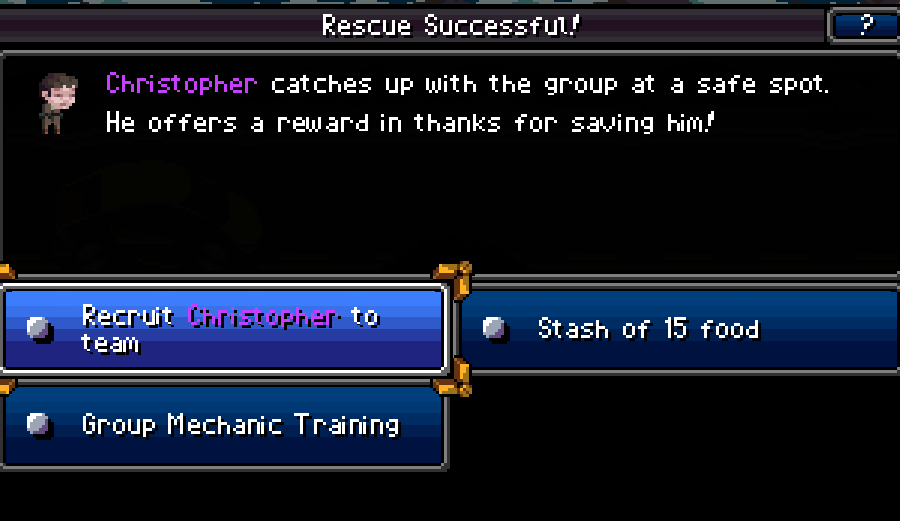
It would've been another party member, though I won't really spoil who it is until it's very apparent we'll never see them by the end of the LP.
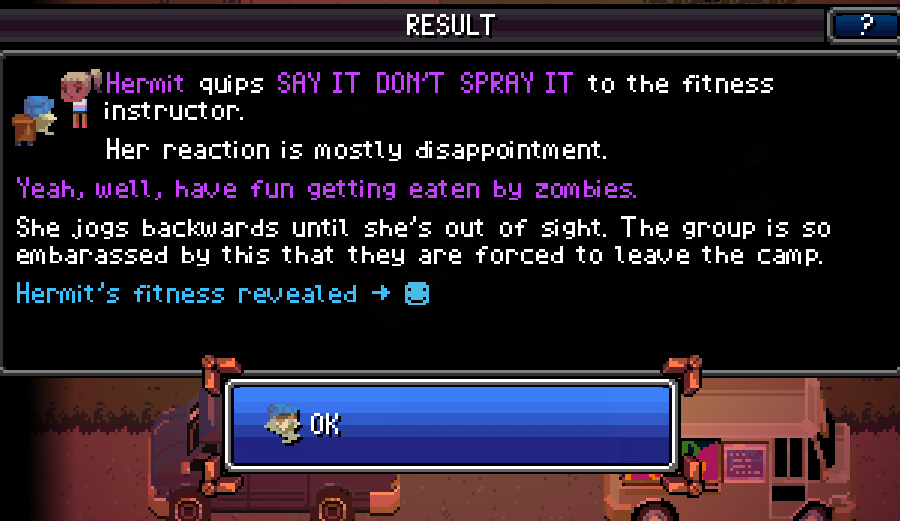
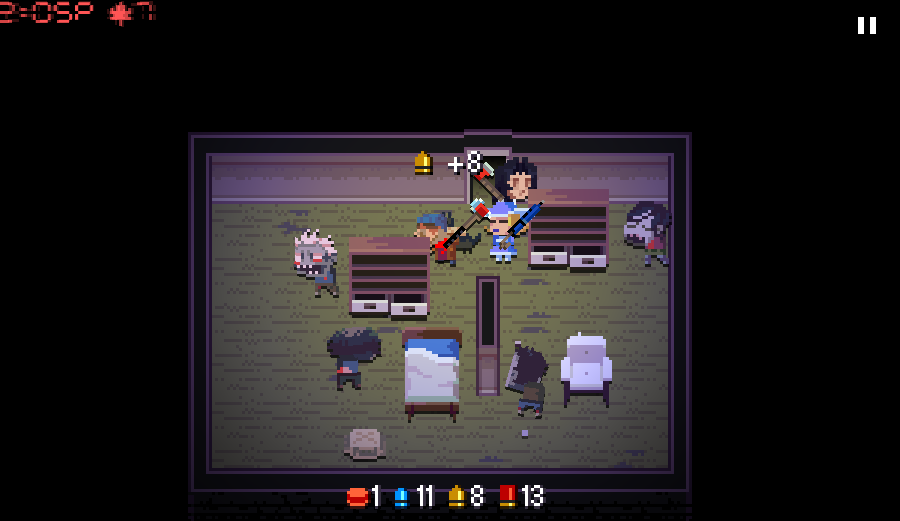
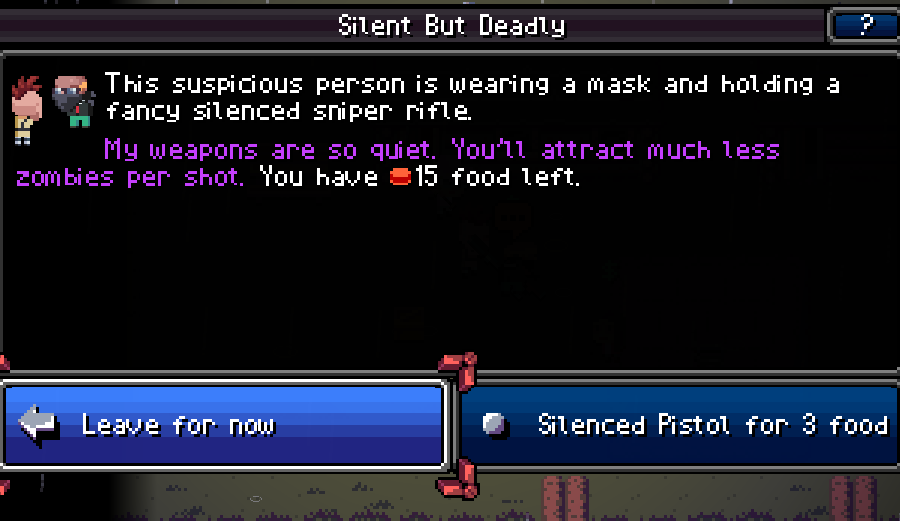
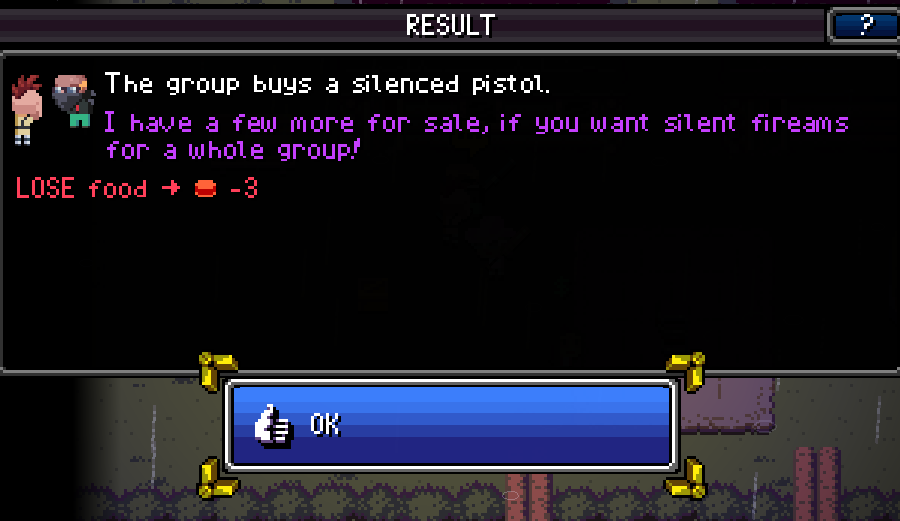
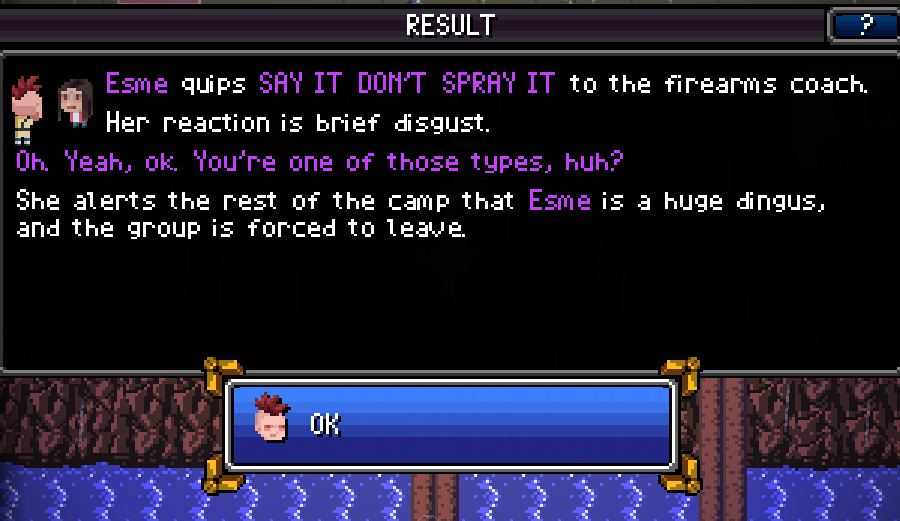
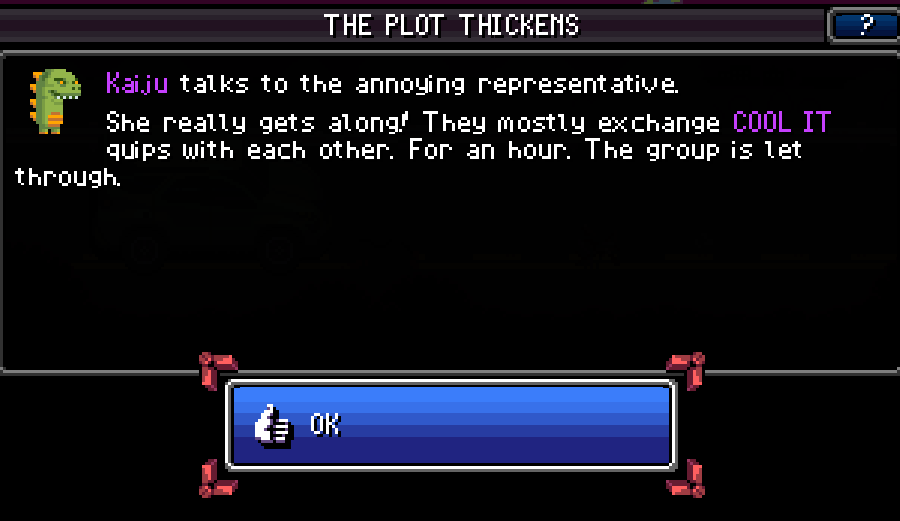
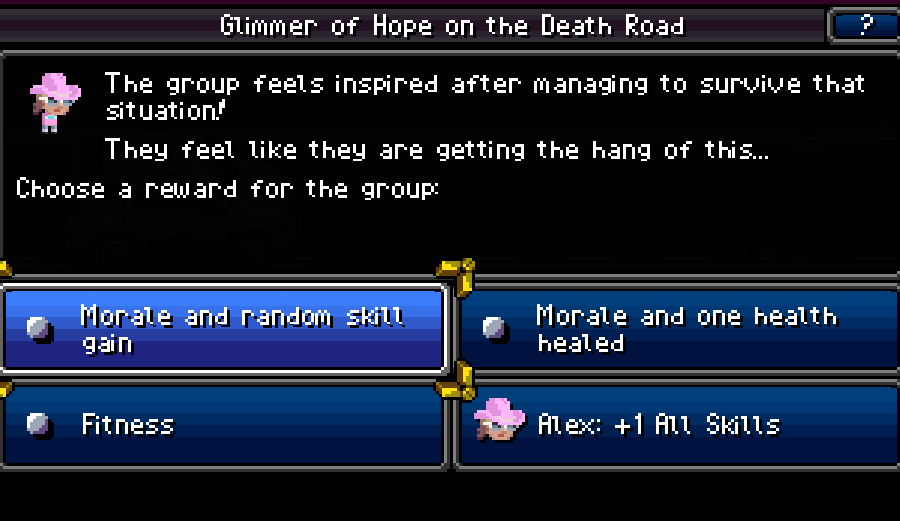
Cool It and Say It Don't Spray It, on the other hand, is a mechanic we luckily got to see at the end of this run in the final trader camp. Every time a character says Cool It or Say It Don't Spray It, an internal value gets increased by 2-3. If it's over 5, then the next event of this nature will let you unleash the Charged Cool It!!!, usually giving you some pretty sweet rewards in return.
Mechanically, I love Cool It. It's silly, and it effectively acts as a way to take smaller penalties at certain points in the game in order to change a later event into a big boost. From escaping bad bandit encounters to recruiting rare characters to having great gear dumped on your head, it's good stuff.

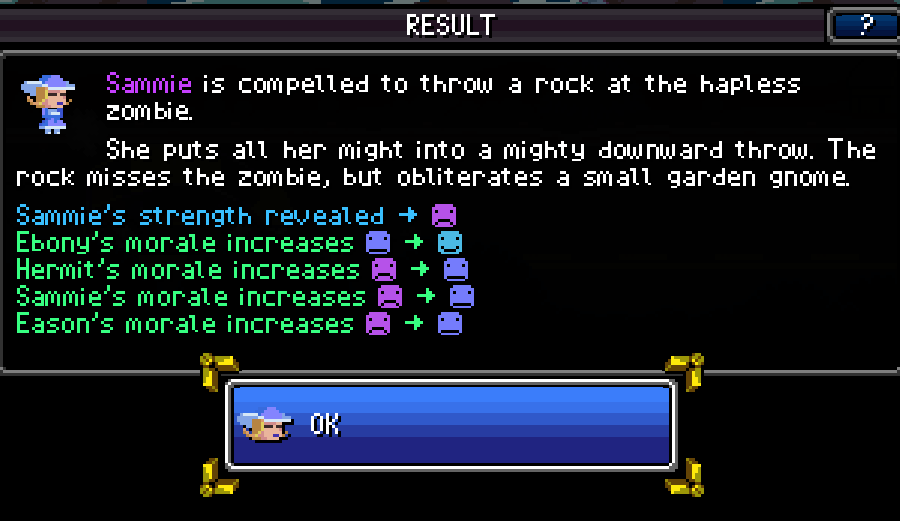
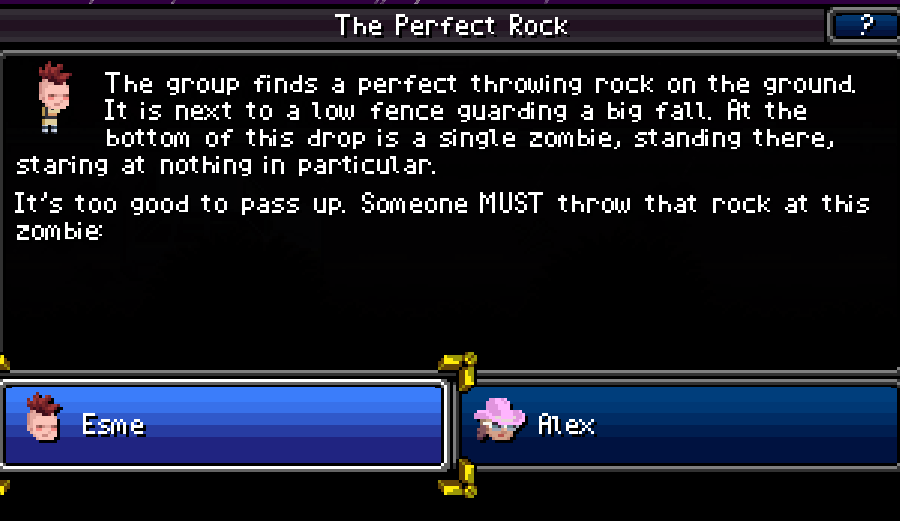
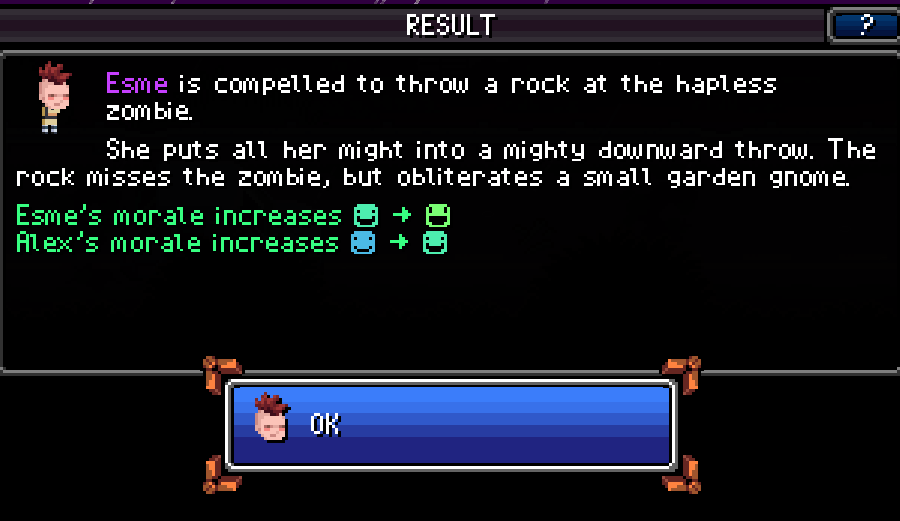
The Perfect Rock event, where you throw a rock at a zombie, is a peculiar one.
Oblivious characters get a weird result where they get both strength and fitness gains from this, but at the cost of a bunch of morale, -1 health, taking a party morale hit, and wasting a day. It's a lot.
Meanwhile this event just does a strength check first- if it passes you miss and obliterate the garden gnome.
If they don't meet that random roll, then if they have high fitness then they get the best morale boosting outcome. Otherwise it just fails, reveals some stats and boosts the rest of the party's morale.
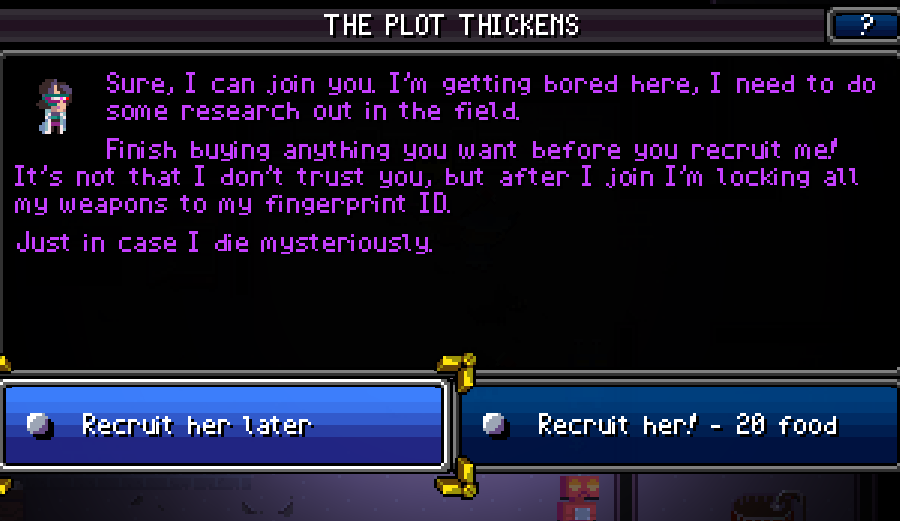
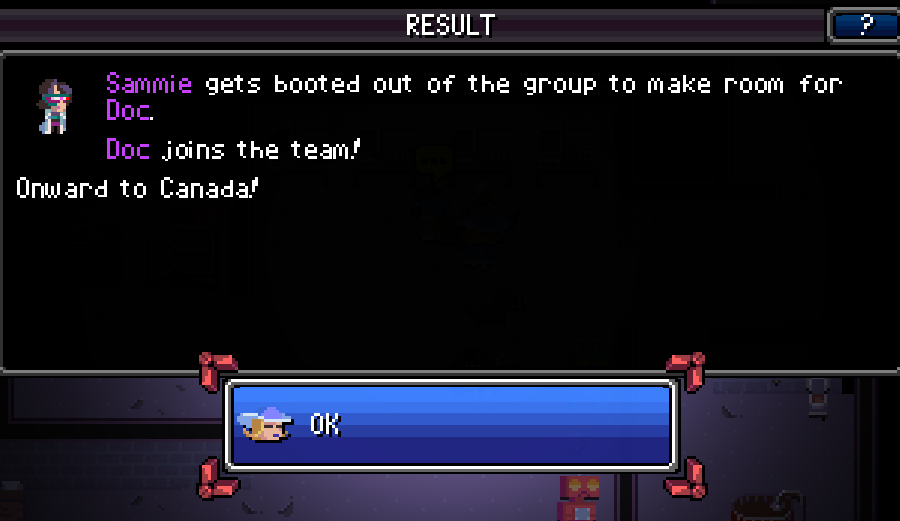
Not long after this, our Debutante left the team to pursue her own goals. Perhaps worried for the state of the car, or maybe feeling her job in keeping these three from taking each other out was done here, she traded places with The Doc.
And when I say "taking each other out" I mean it even mechanically. A number of tantrum events from being low on morale can deal damage to the survivors on your team, and one of the dog events in particular takes 2 health off someone and then has them ditch the team. In an alternate timeline, it would've been possible for Hermit to punch Ebony in the face and then Eason right after deciding to bite, killing our Twinge streamer from purely friendly fire damage.
Game gets dark sometimes.
Speaking of Hermit, he had been breaking out of his crusty old guy shell both from surviving the hardships up to this point and the general positive nature of the Debutante. It caused him to start to seeing the Debutante, Ebony, and Eason as a surrogate family, and her departure broke that for quite some time. This would make him fall back for a bit back into his original grouchy ways.
He'd eventually come back out of it by the finale of the game.
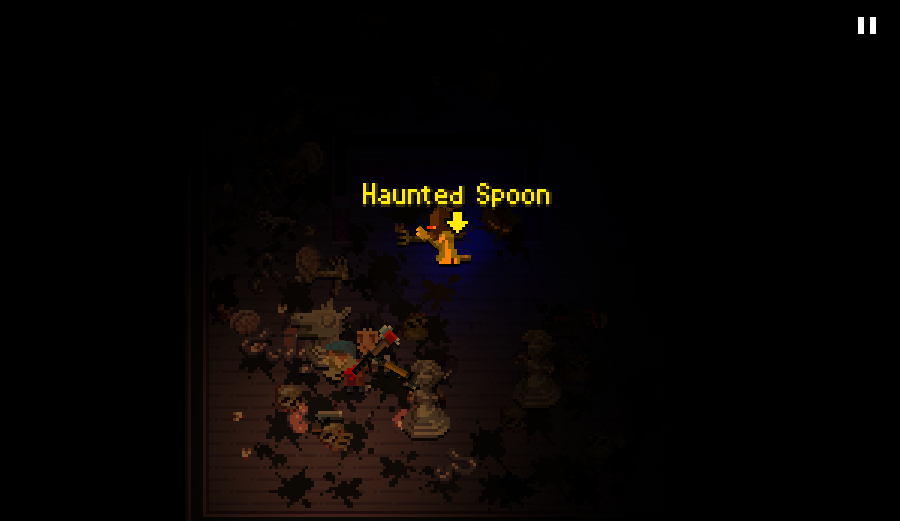
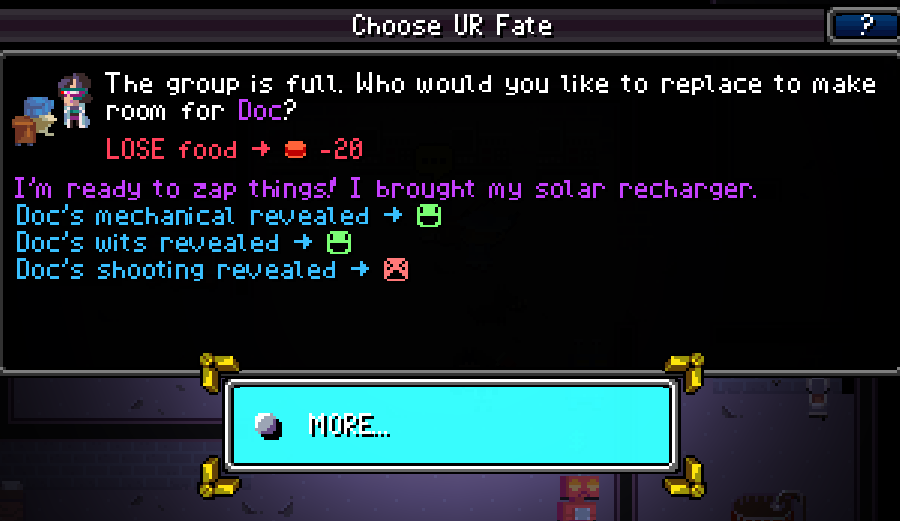
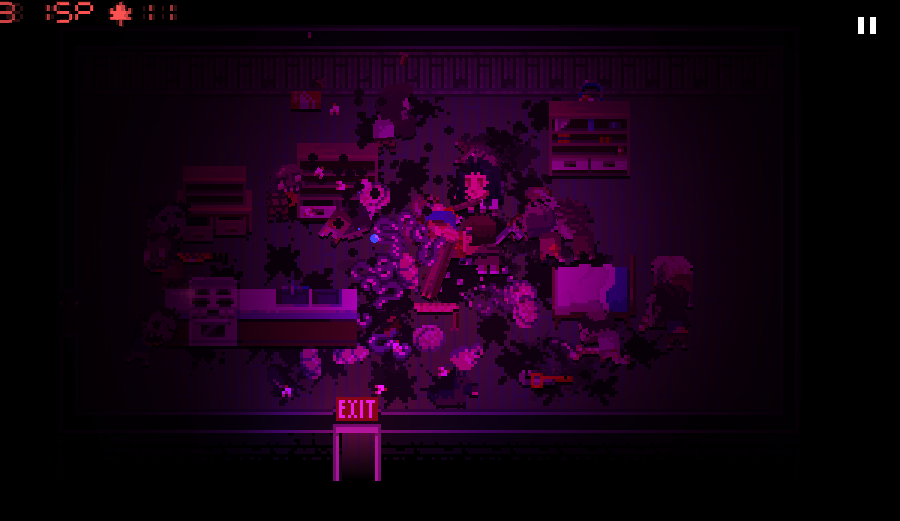
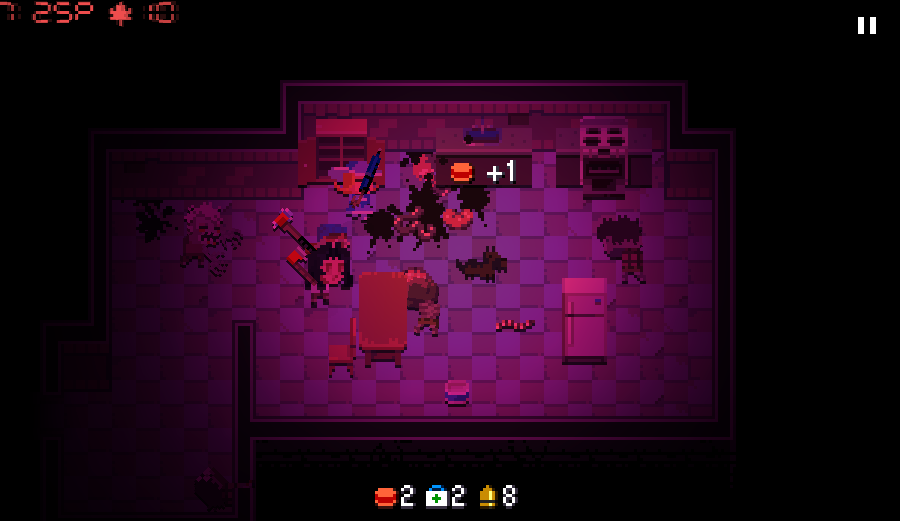
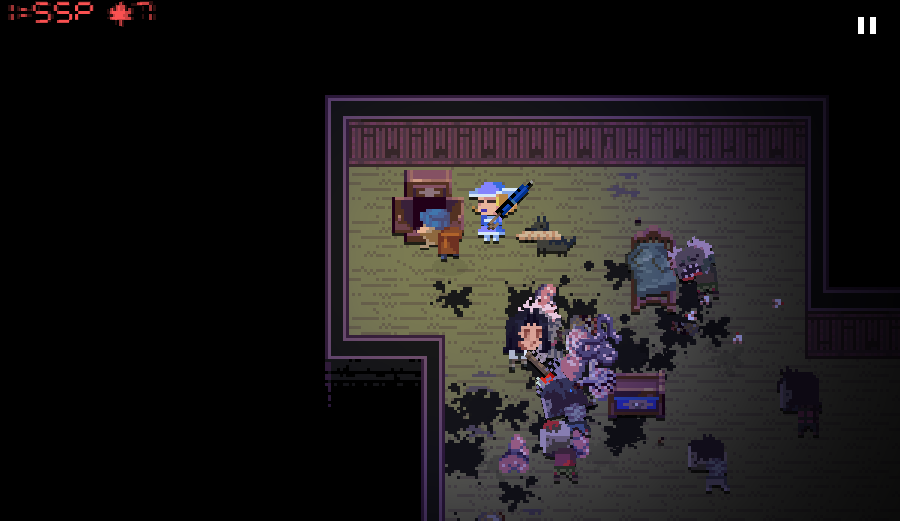
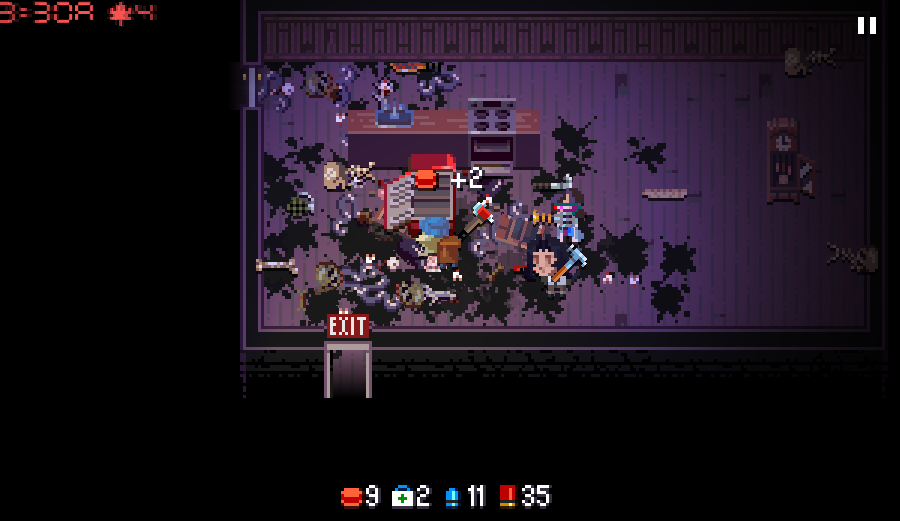
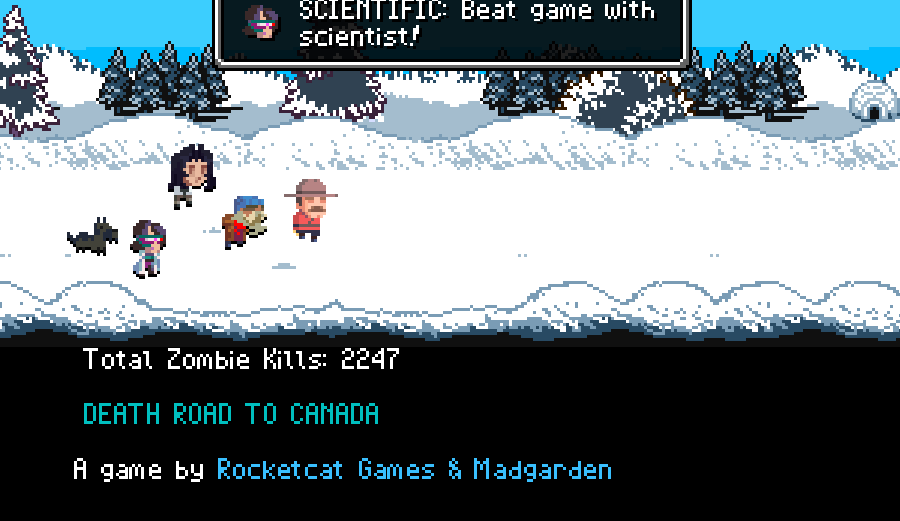
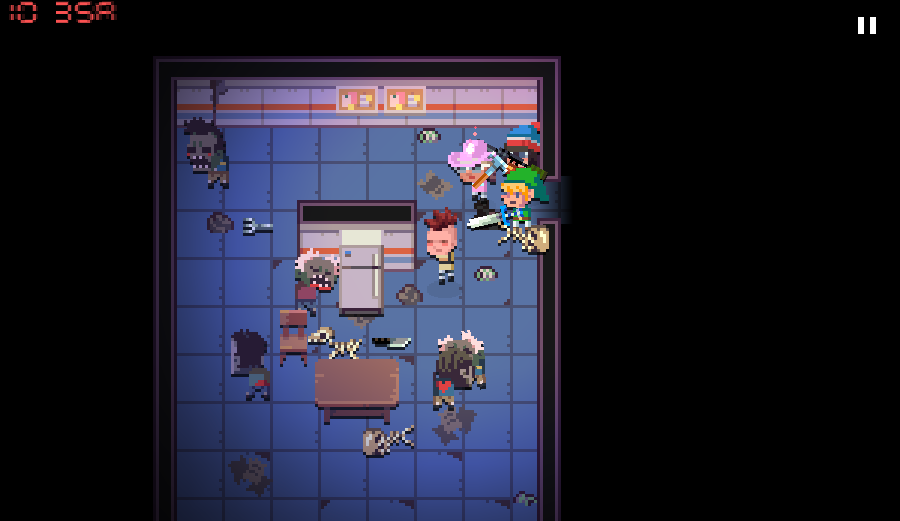
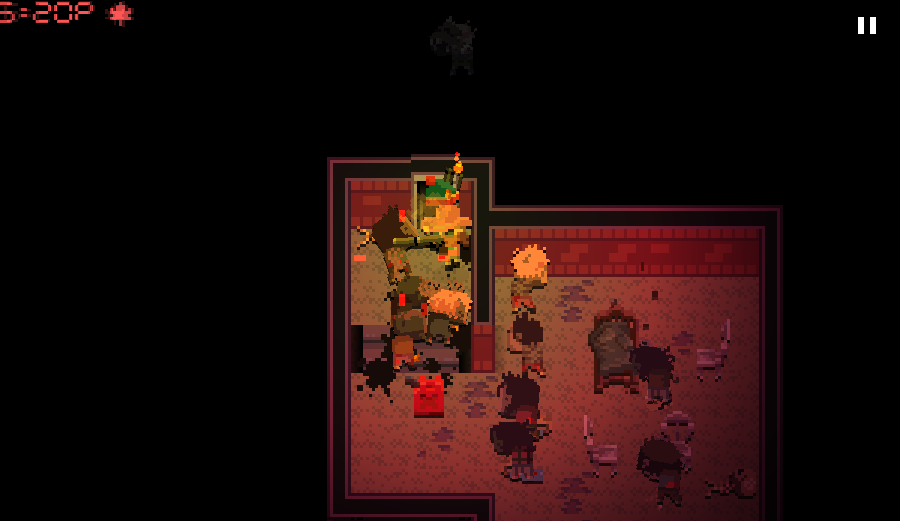
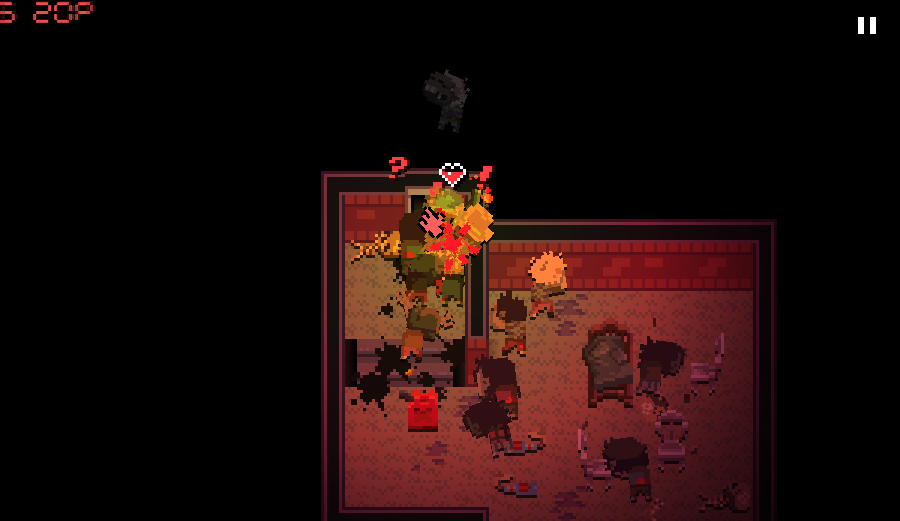
So I guess now we skip ahead some to talk about Doc and the Haunted kitchenware.
Doc herself was mostly written taking use of the lines she normally says in the game. She claims to be "not mad" in her own words, though she actually fits the shoes of the inventor experimenting with dangerous ideas perfectly.
She doesn't really have any attachment to the group, but she finds them to be interesting scientifically and a suitable set of bodyguards in making her way to the border.
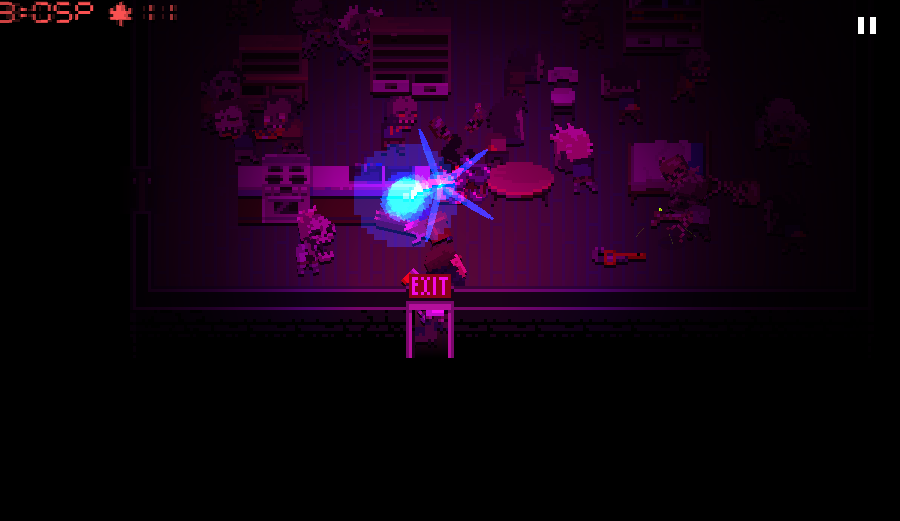
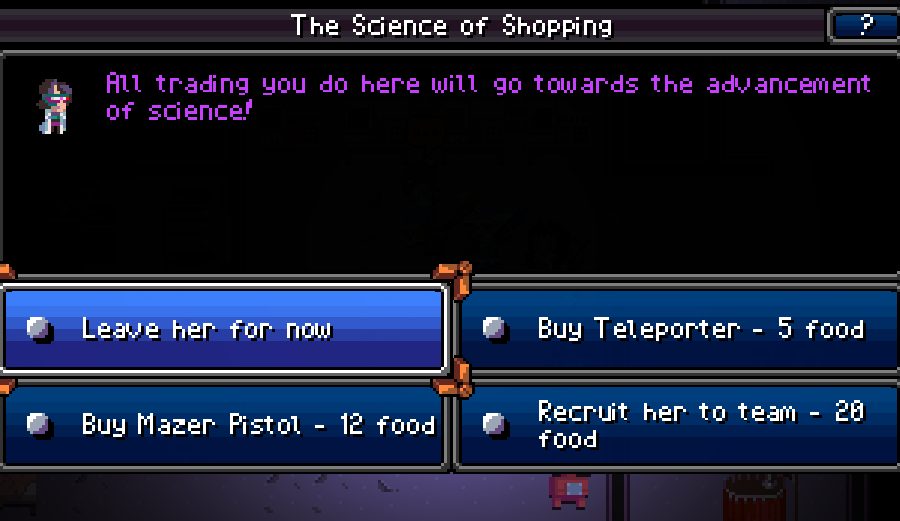
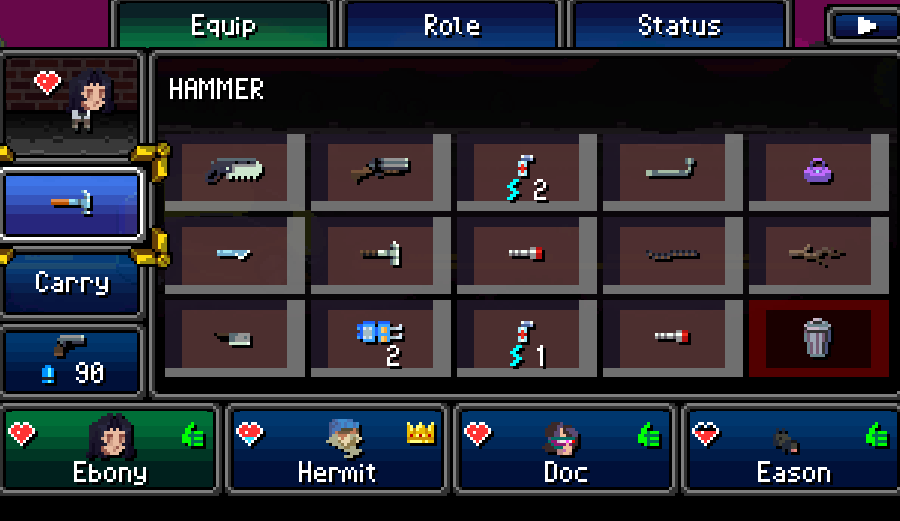
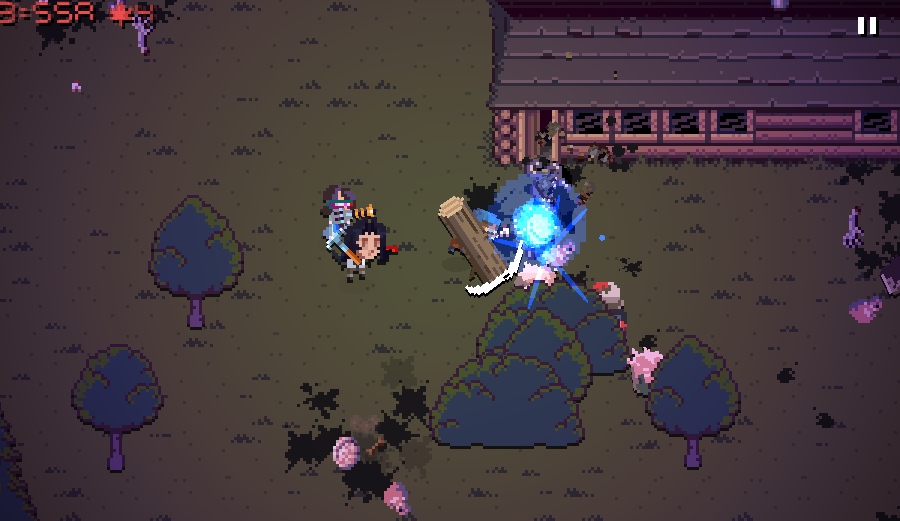
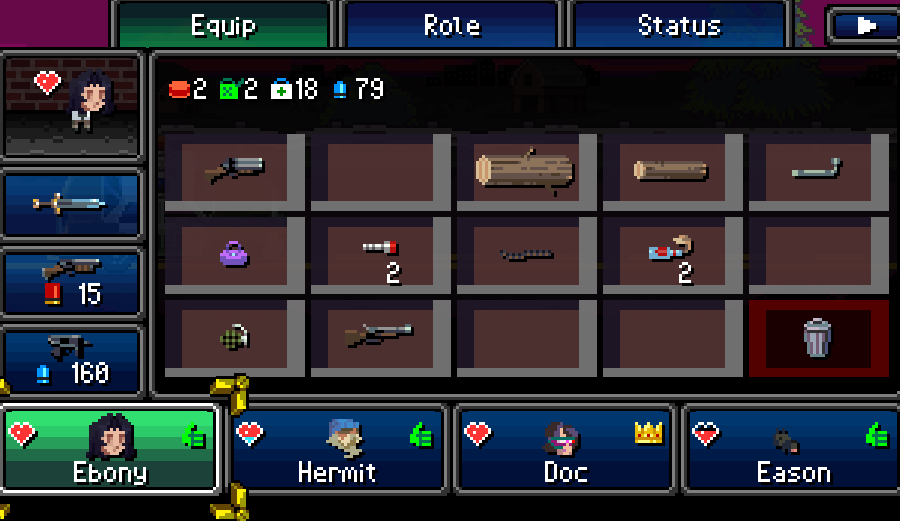
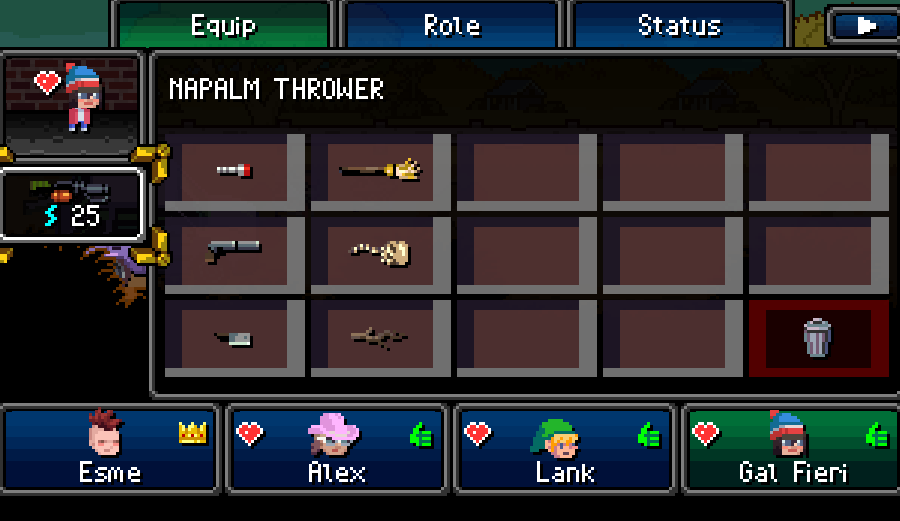
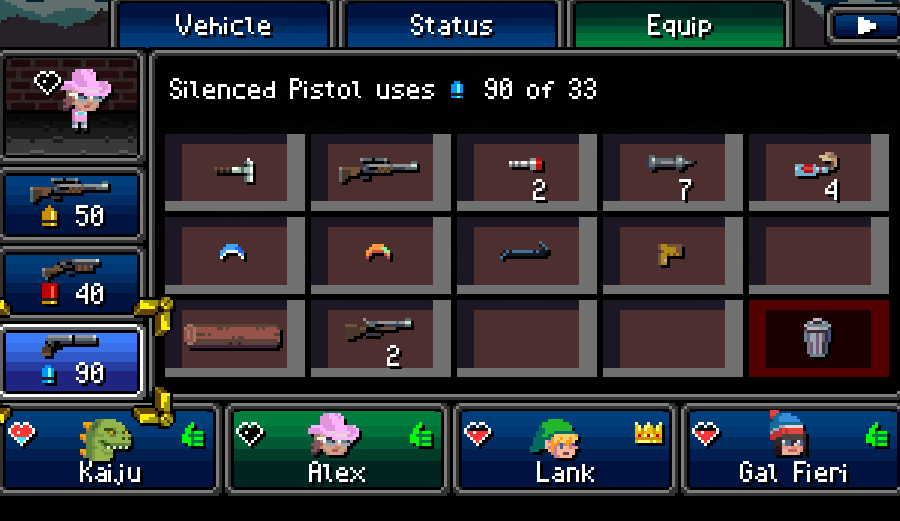
Mechanically, she's alright, and all you really want her for is those mechanical and wits skill. In the late game, her mazer is kinda sub-par, and the teleporter is really only useful for shenanigans. You can use it to break the end of the game or cut through a really big horde, either abandoning your teammates or escaping being caught by a big crowd.
Having two slots eaten up by unremovable items makes her a very annoying AI partner sometimes, in part alleviated and exacerbated by the fact she won't use the teleporter on her own, ever.
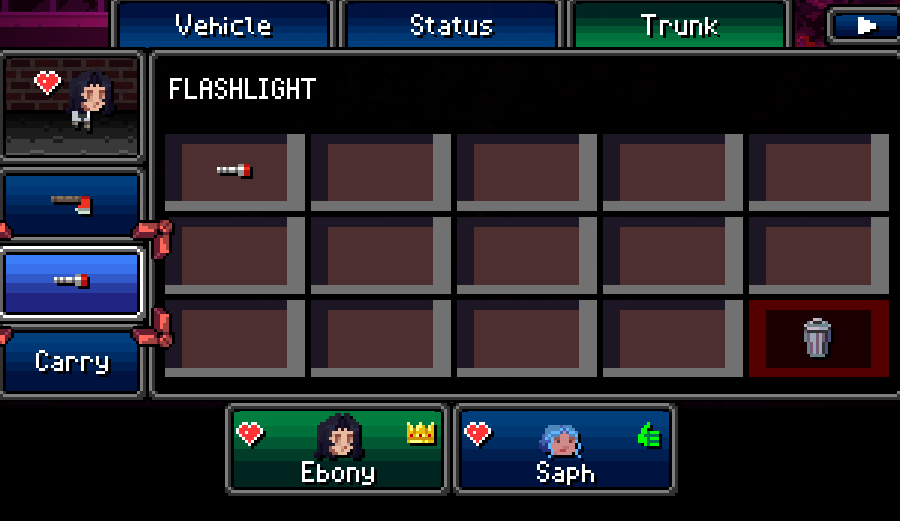
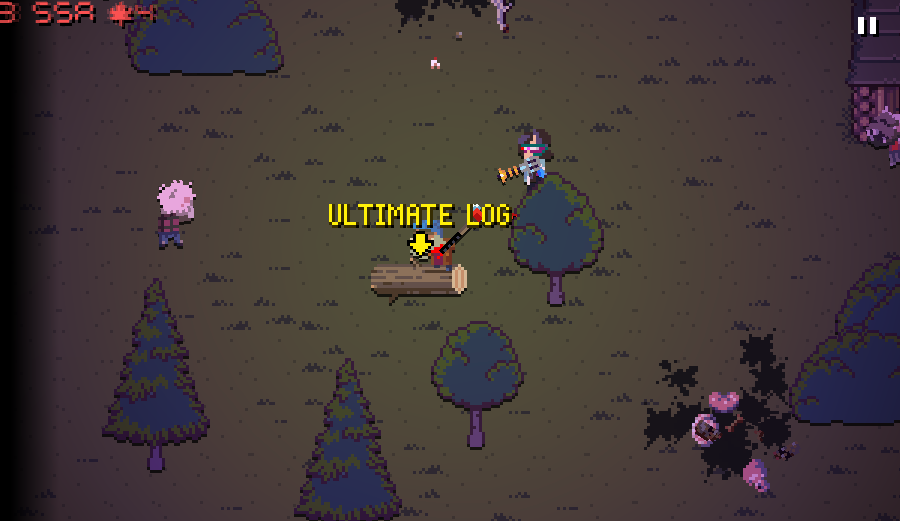
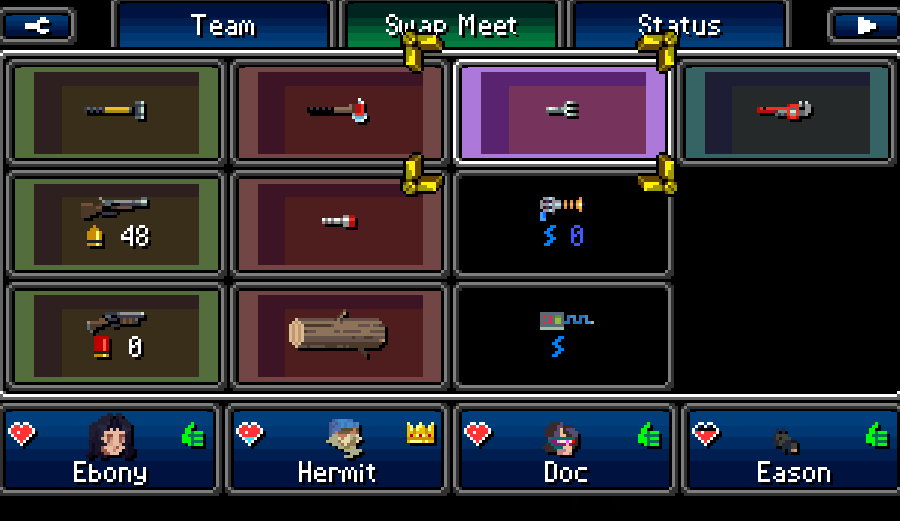
With the AI, you can lock 1 weapon, and what it does is make the AI never drop that item and prioritize using it if possible. Although, there's nothing to be said about the other items in their inventory- they will absolutely briefly drop, say, your ULTIMATE LOG, for a golf club just because they don't think they have the stats to use it.
The AI also has a high priority on using unremovable items regardless of what you've set the AI to do. Even on the "use melee" setting, Doc will still spam mazers if I don't lock a weapon in her only open slot. If I want her to start using the Solar Mazer again, I have to unlock said weapon, which means she can now decide to drop whatever good item I had locked for something much worse.
(The Debutante was prioritizing her umbrella, but I didn't really have anything better to give her instead of it, so it wasn't a problem. While it's not great, it's better than pistol whipping zombies instead of using the bonesaw in their inventory.)
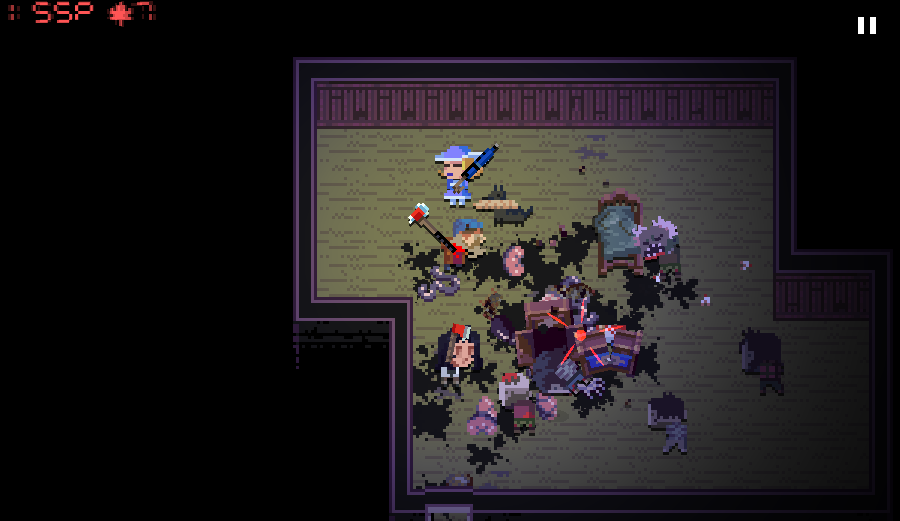
It's worth noting that getting the huanted fork even to the entrance of the Dark Manor was a pain because Doc would keep dropping it for other stuff. When it's thrown, it technically leaves your inventory and unlocks itself. Following this, it was still in the air when I tried to leave and thus didn't even leave with us.
It's a neat weapon that would have been useful, but trying to micromanage the AI to keep it would have driven me insane, I think.
This game's a lot easier in Co-op, I'm tellin' ya.
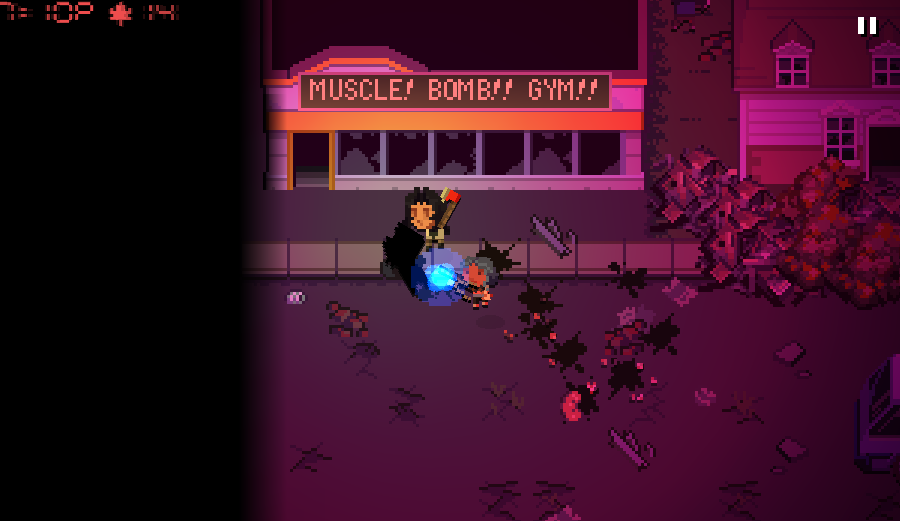
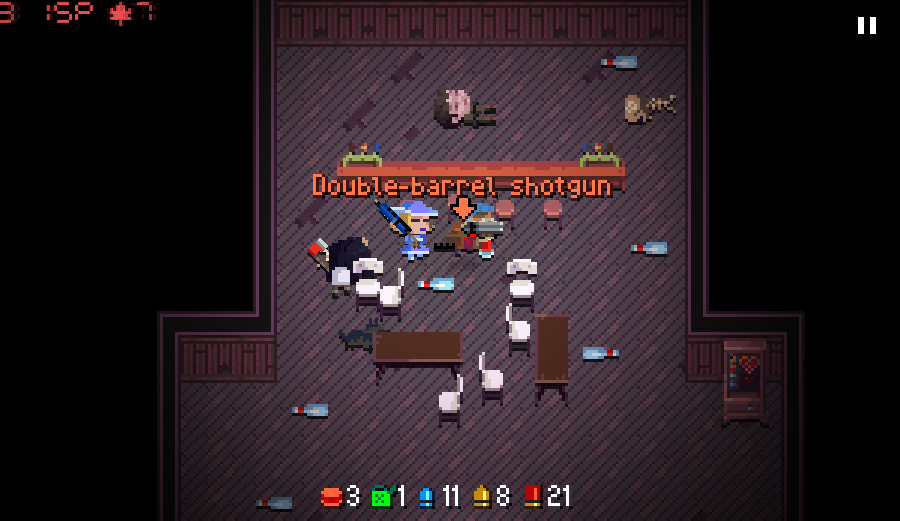
With that out of the way, let's talk how 20 pipebombs from a charged Cool It turned into a knight sword.
So, as mentioned before, I can't leave this game running while I wait on the votes for what we do to come in. It's not an issue with events as noted before, as I can just quit the game right there and we'll run into it again when I load the save.
Trader Camps are a different matter, and it's why I didn't offer any votes in the earlier camps. Whenever you enter a map in this game, camps included, the game reacts differently to prevent savescumming. If it's a normal looting map or whatever, quitting the game mid-map deletes said save file.
Quitting on a trader camp forces you to skip it entirely, and when you load up the file next, you'll just be past it.
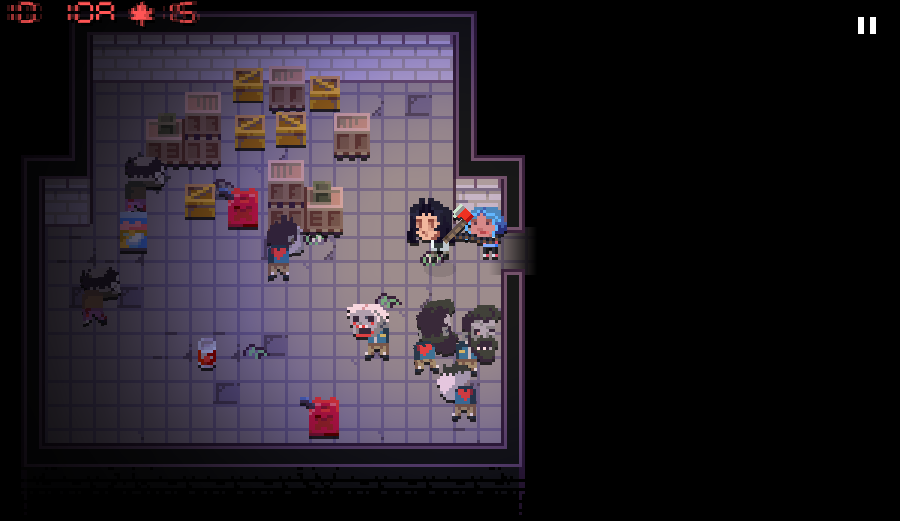
So, in order to handle this, I have to keep save back-ups every time we come across a trader camp. My initial tests of this happened to be with two rare trader camps, and I failed to consider how the game might react in the situation of a normal encampment.
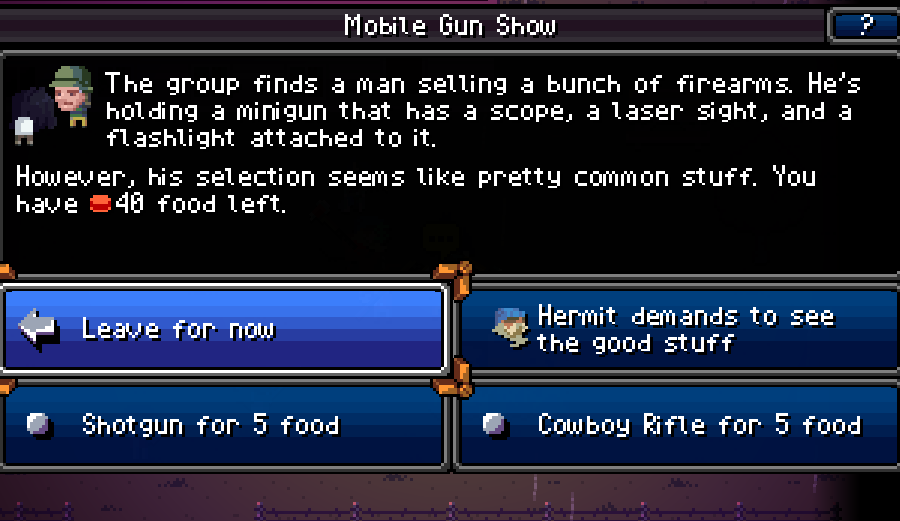
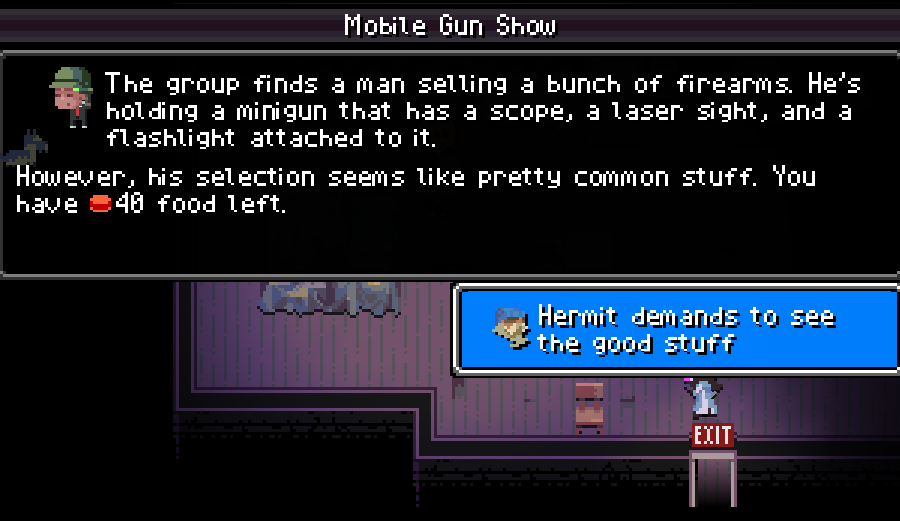
What's not shown in the last update is how I had to replace the save file about 70 times before I finally gave up on getting a version of the camp that had both the Mobile Gun Show and the Pipebomb Supplier.
Because, yes, of all things, the traders are randomly generated on entering the camp. Rare camps happen to be predefined in what spawn, so only appearances get randomized.
Also, one knight sword in the endgame for a character who can barely use it isn't a good trade for 20 pipebombs if you ask me.
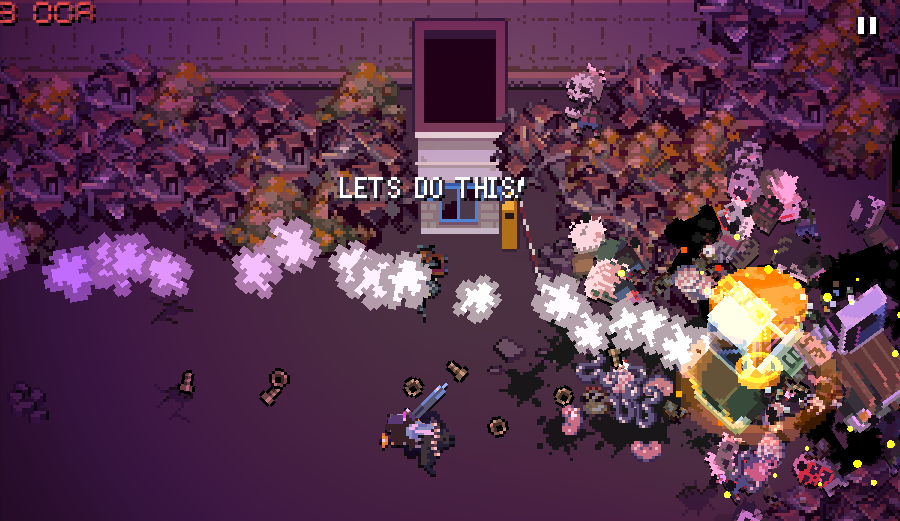
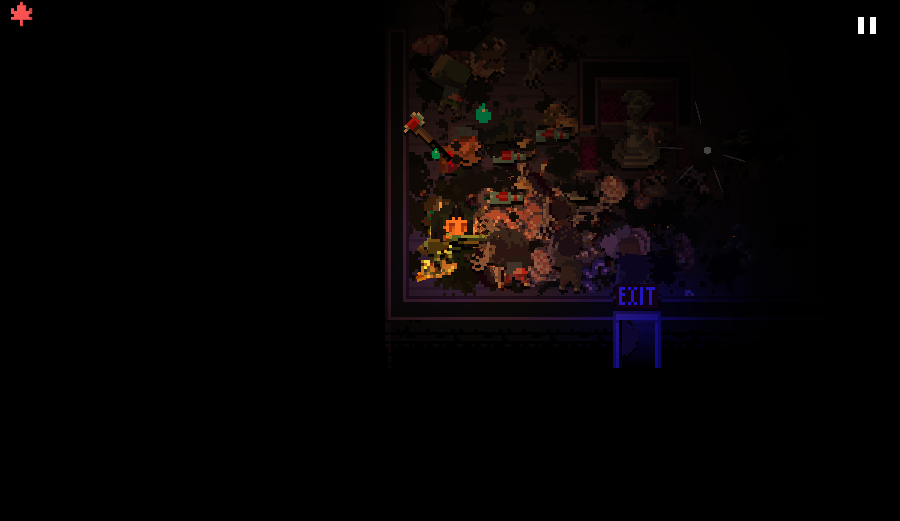
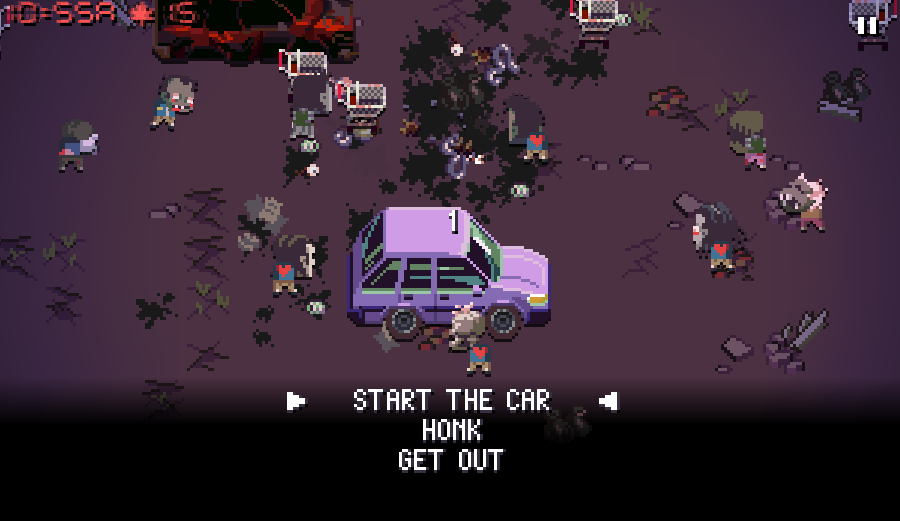
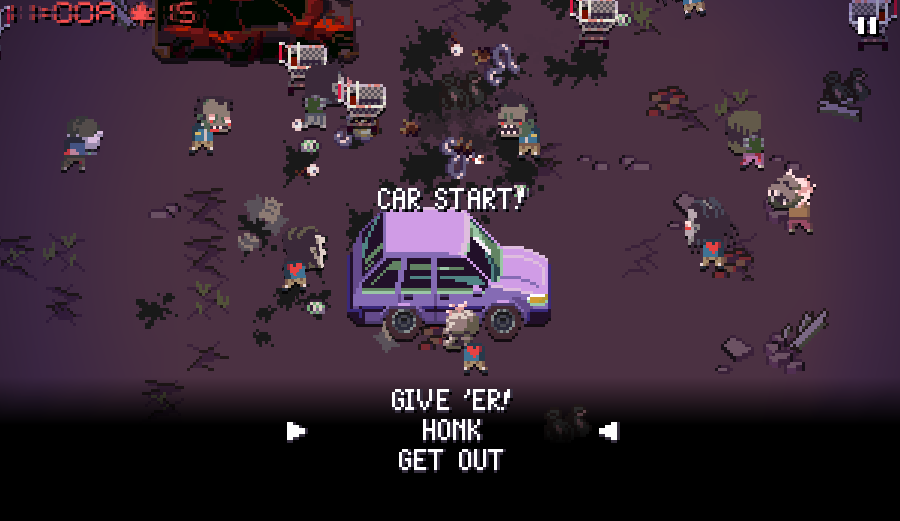
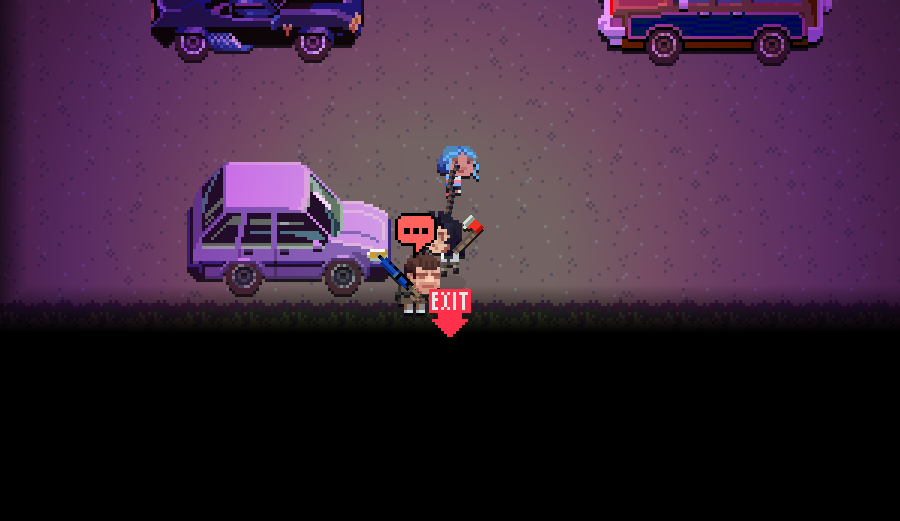
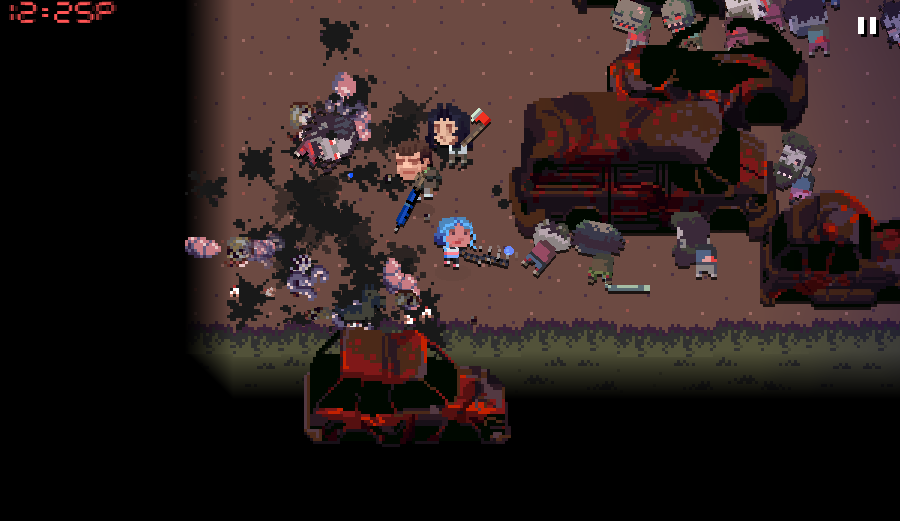
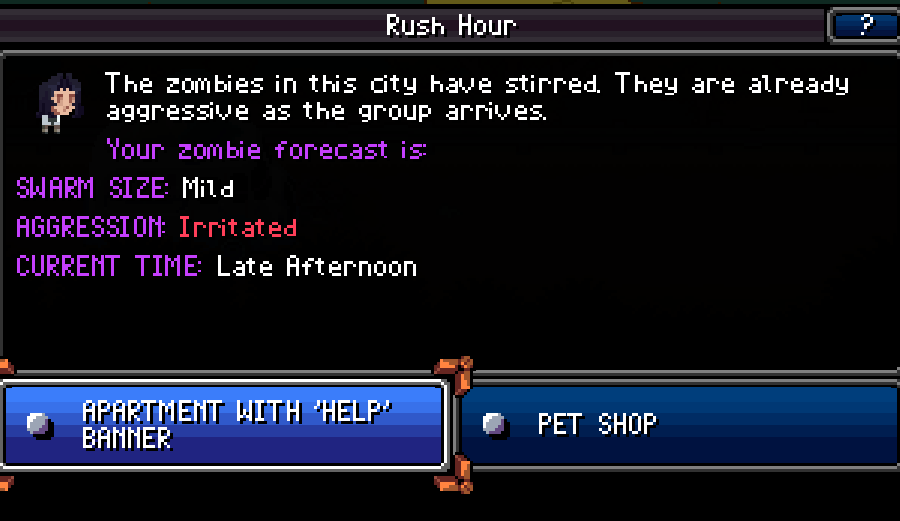
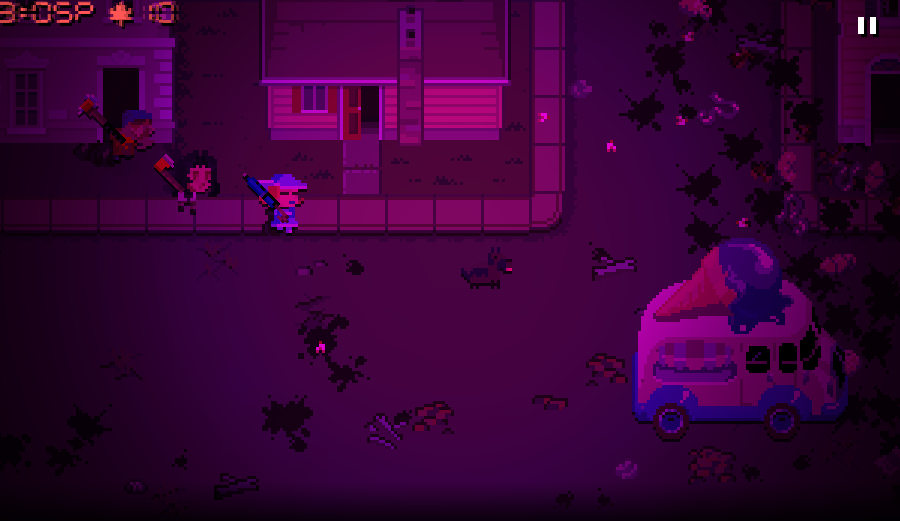
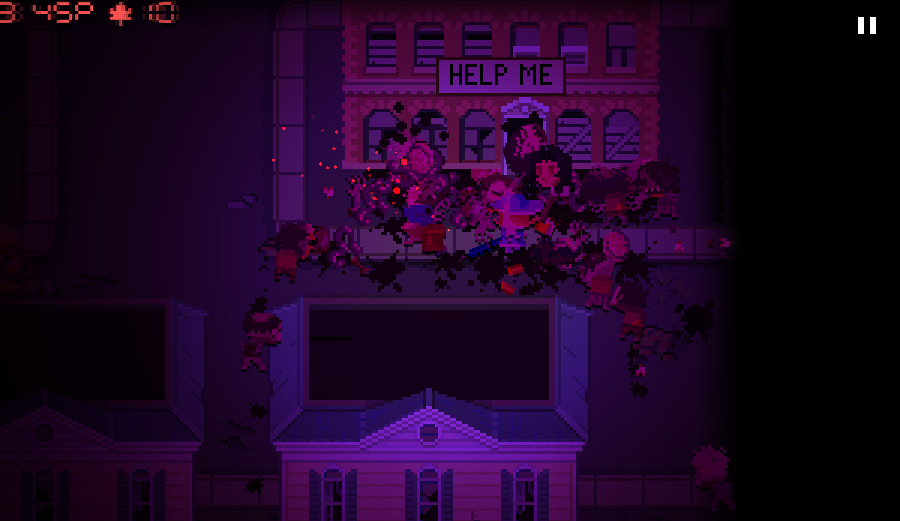
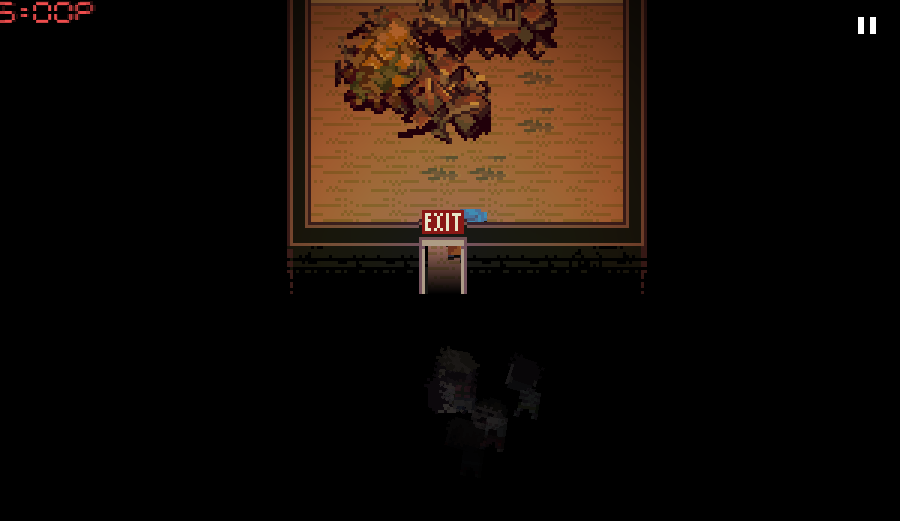
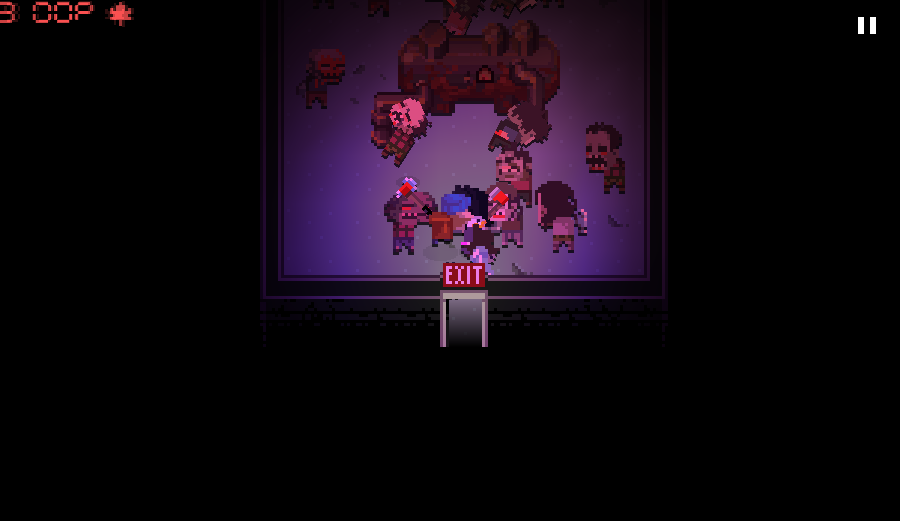
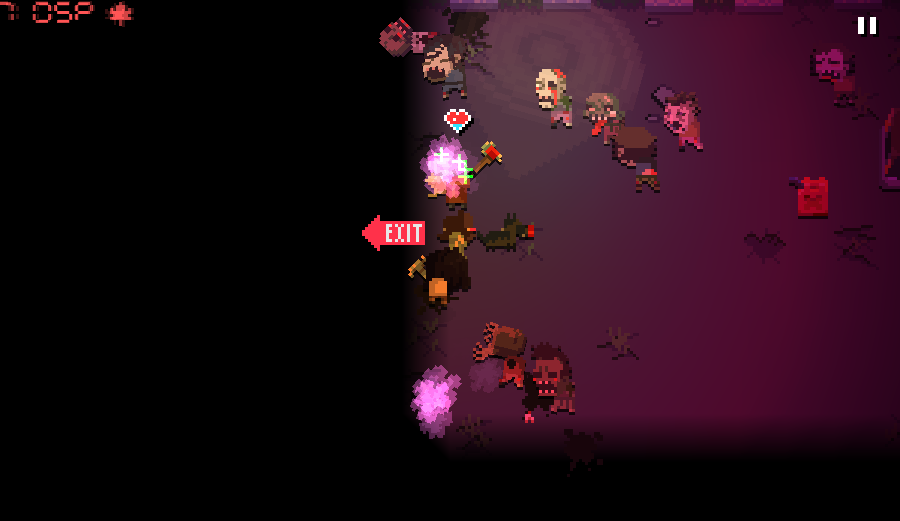
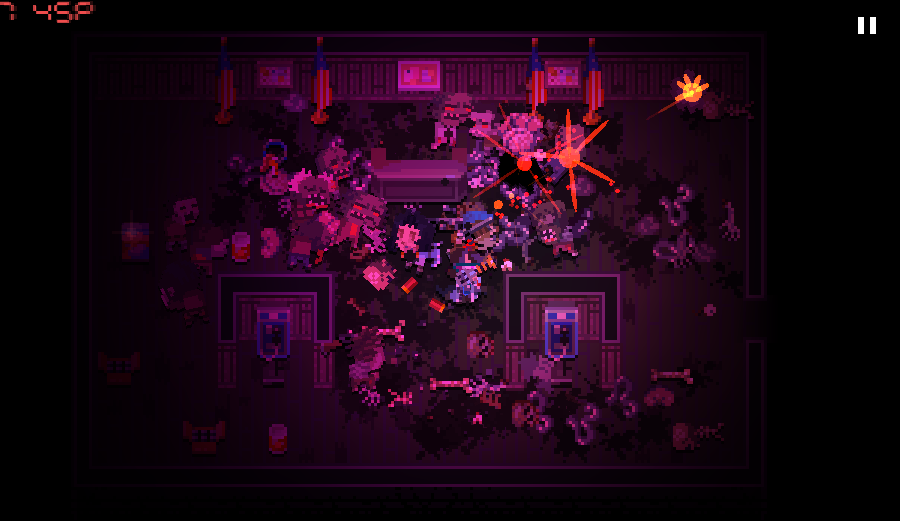
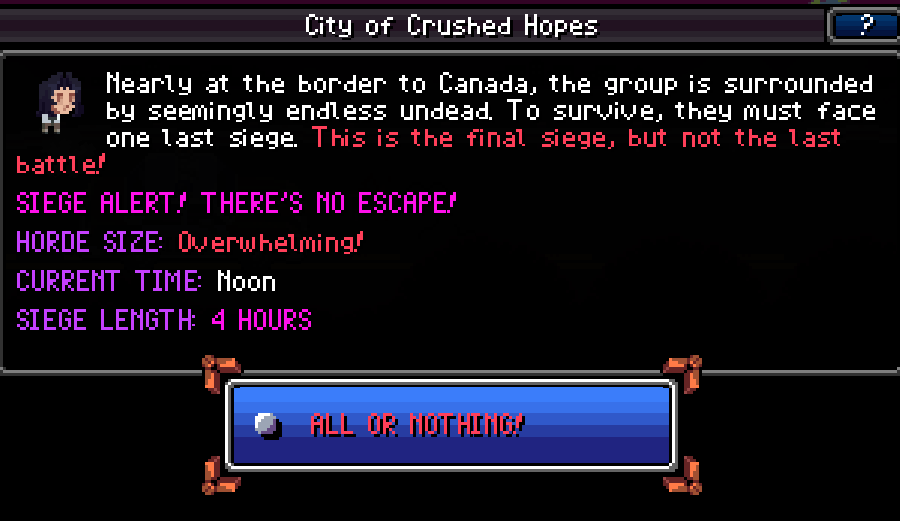
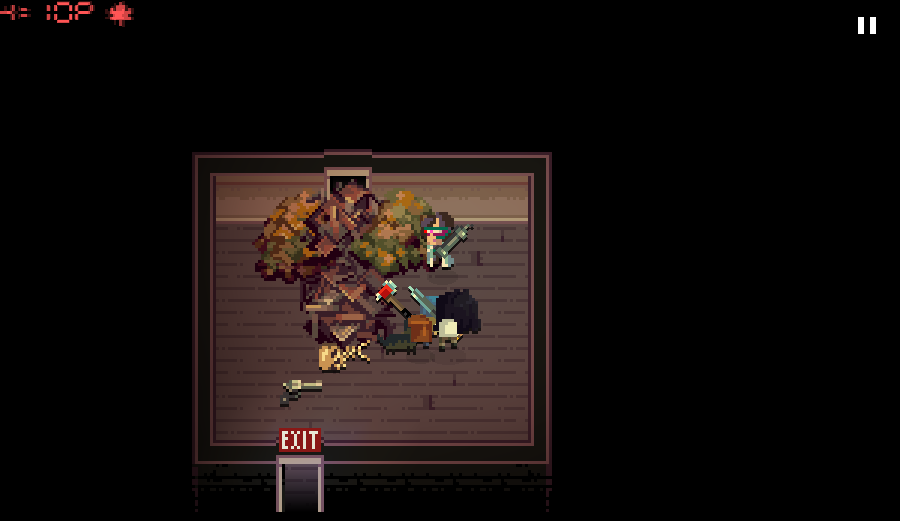
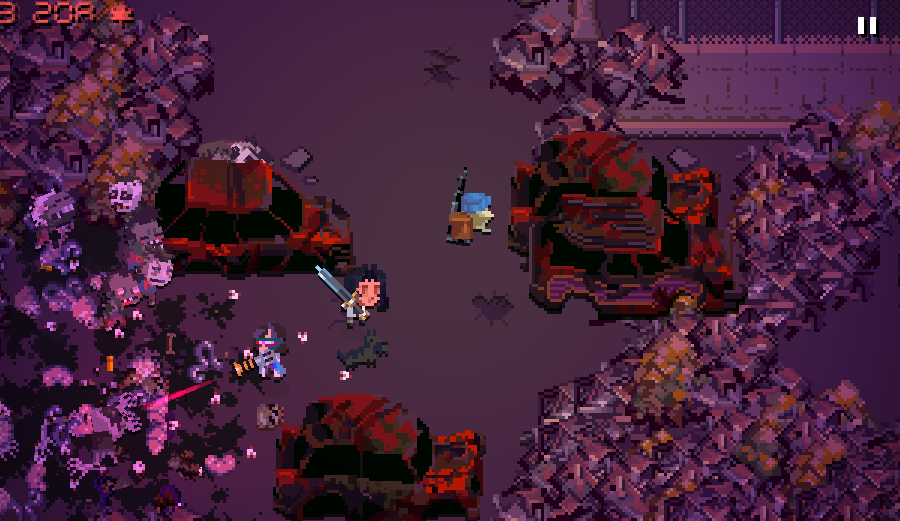
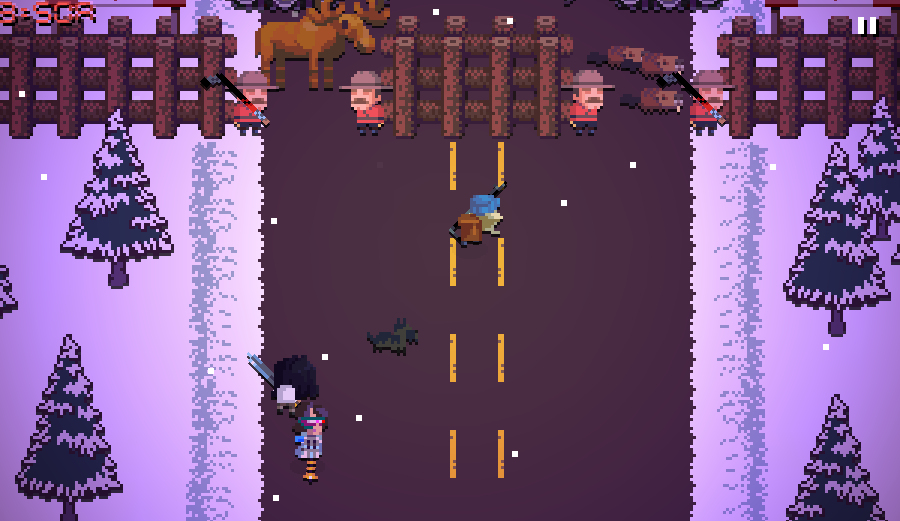
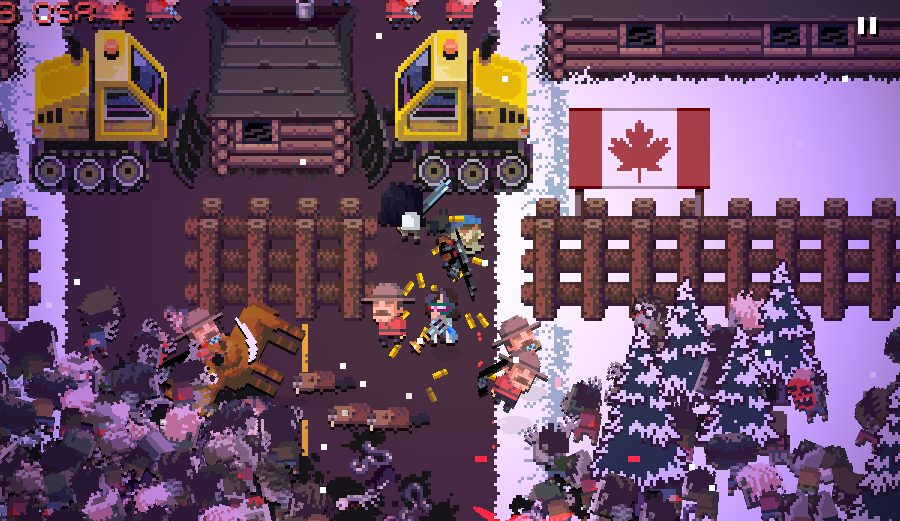
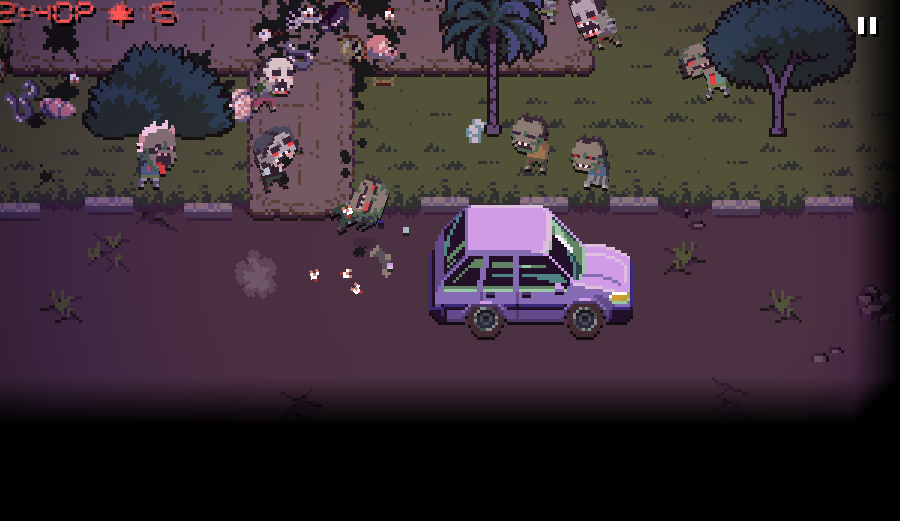
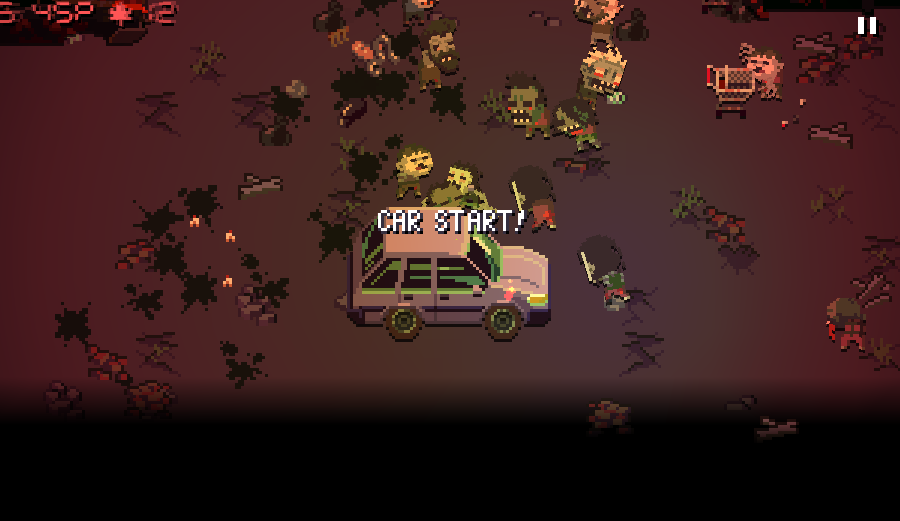
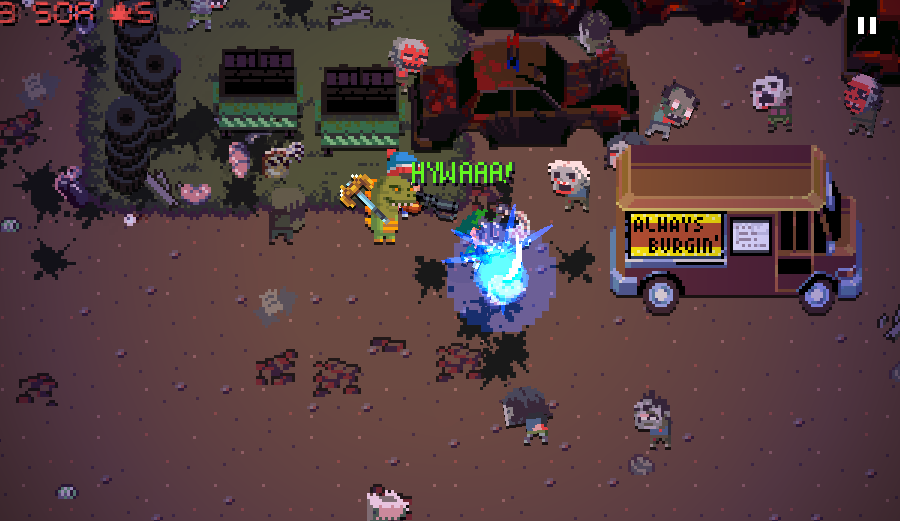
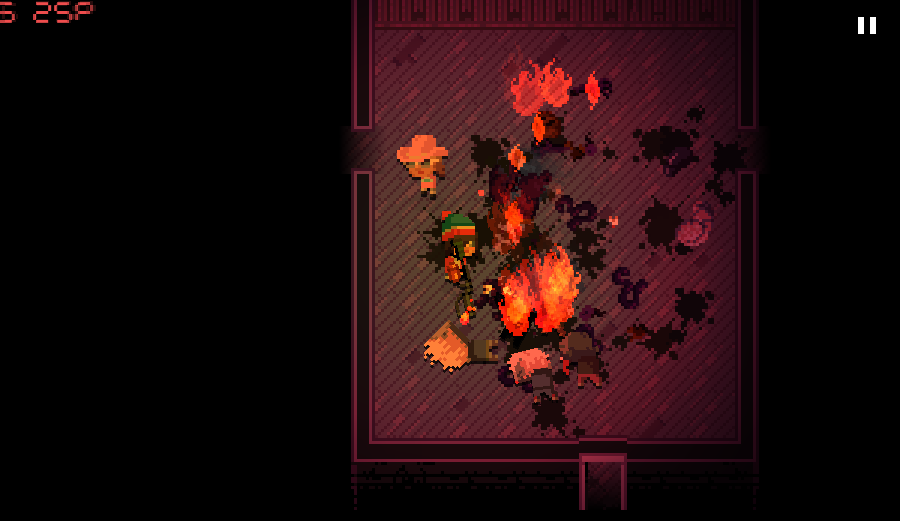
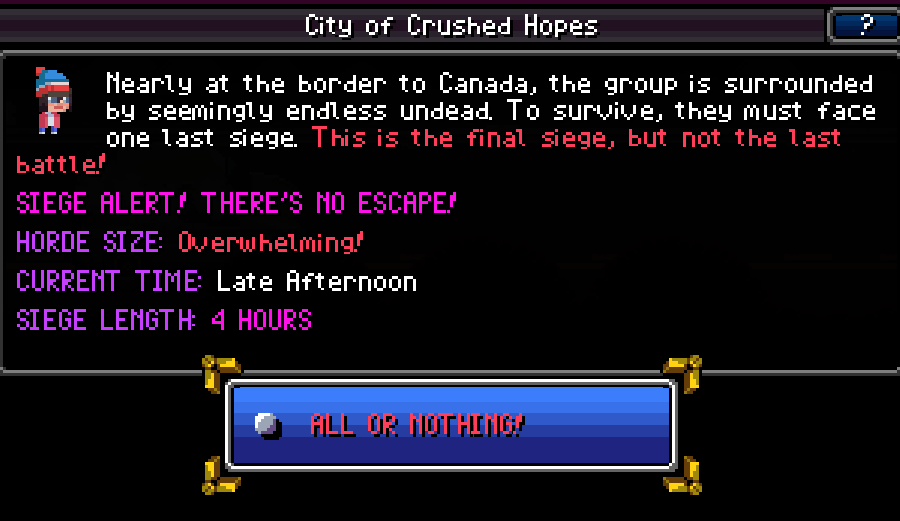
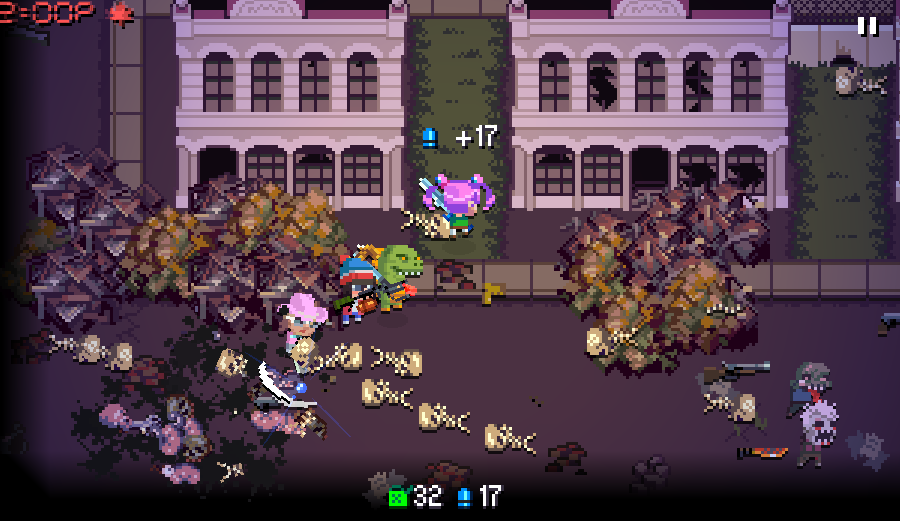
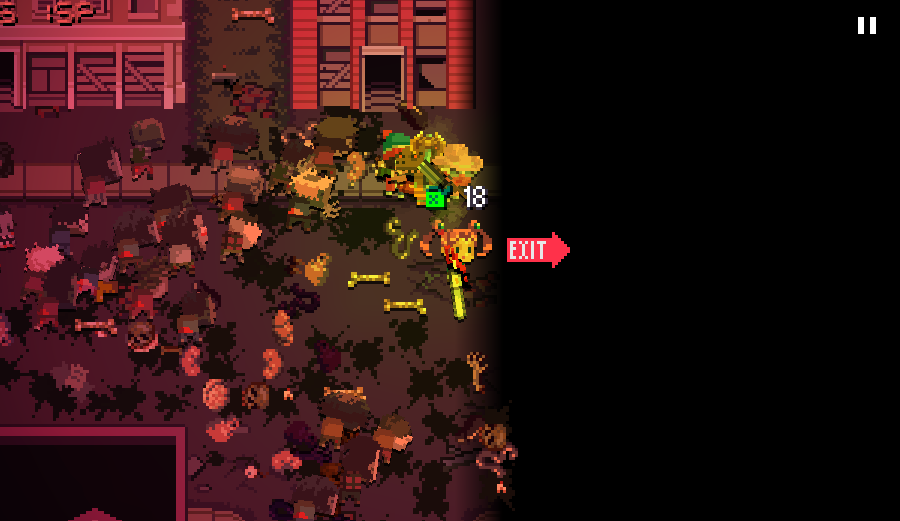
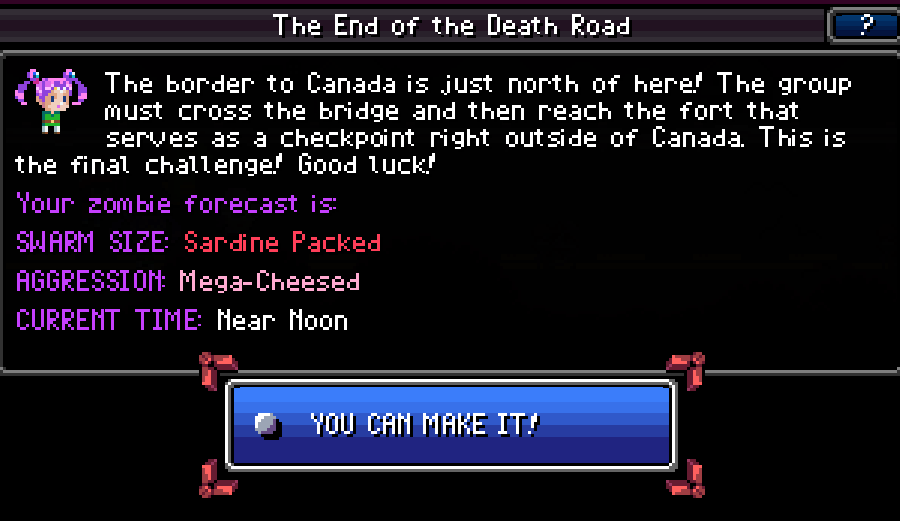
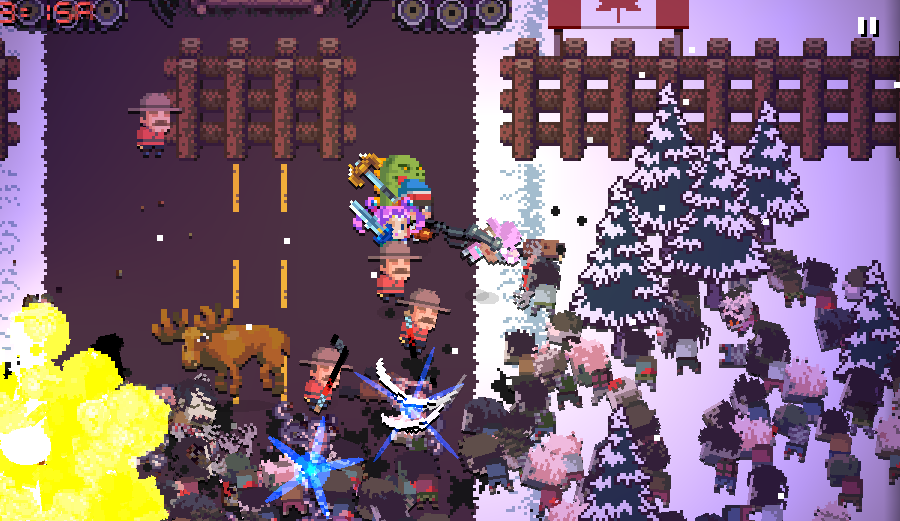
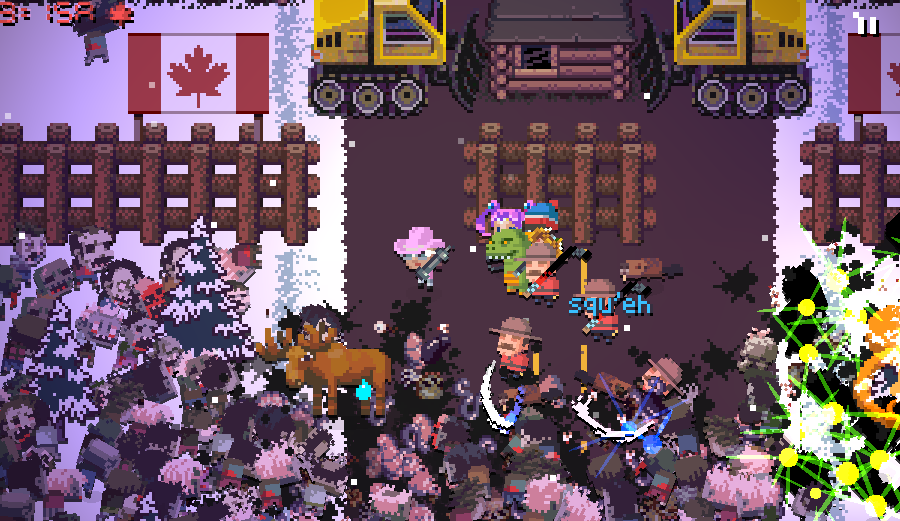
The last thing I really have to cover is the finale map, since I opted for full narrative there.
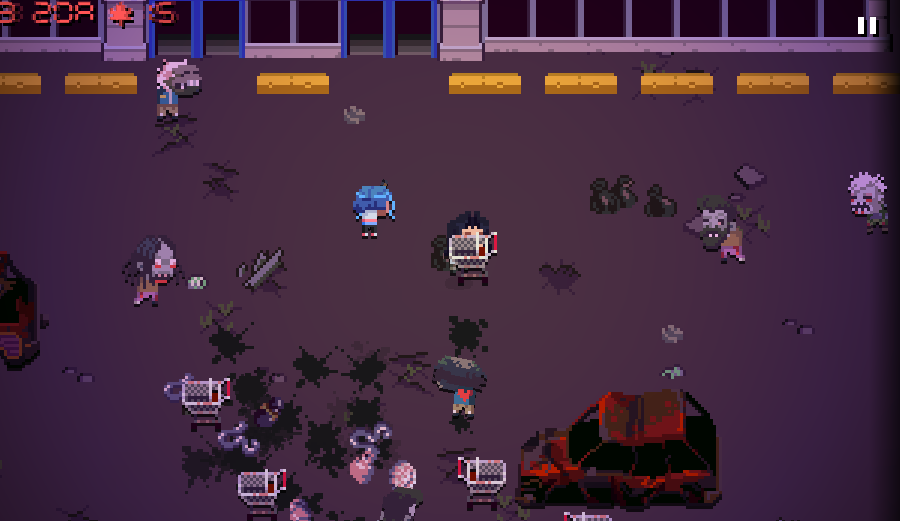
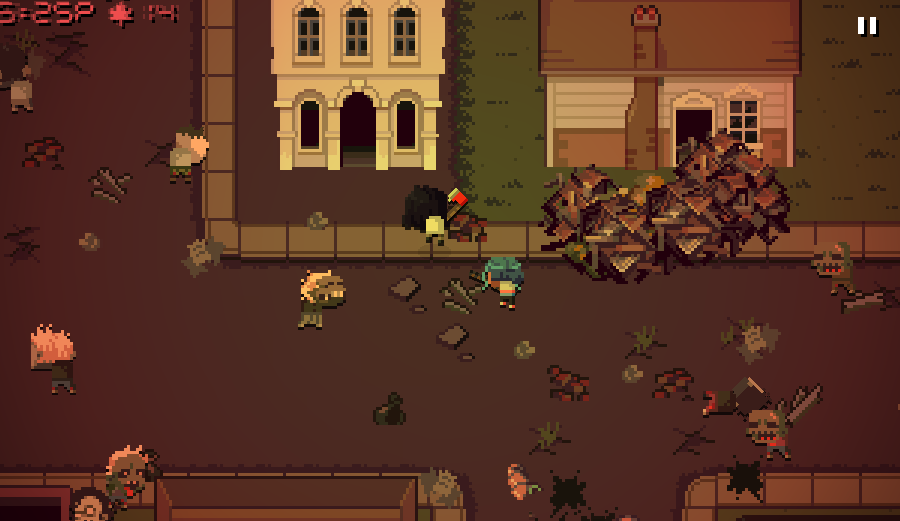
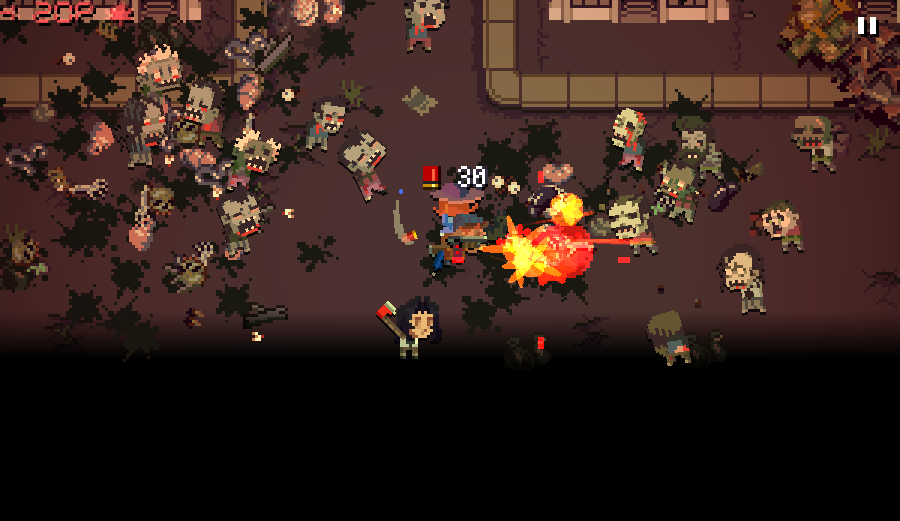
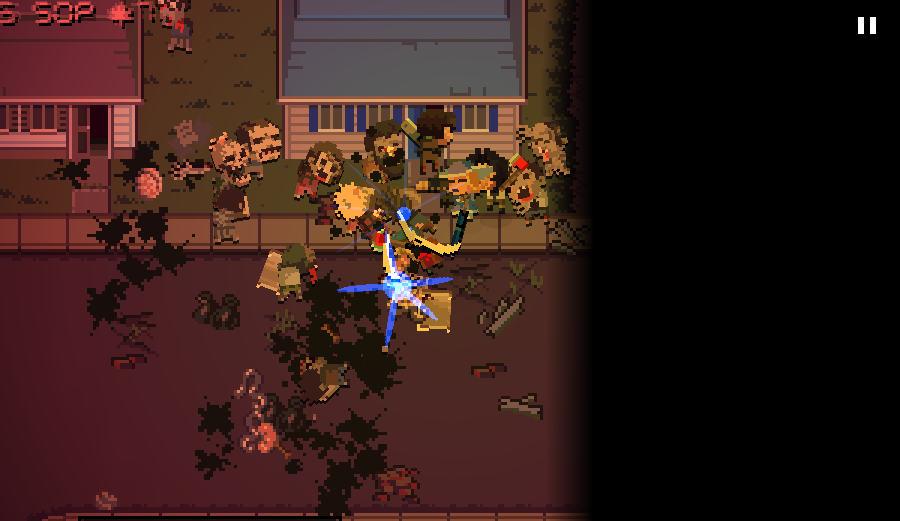
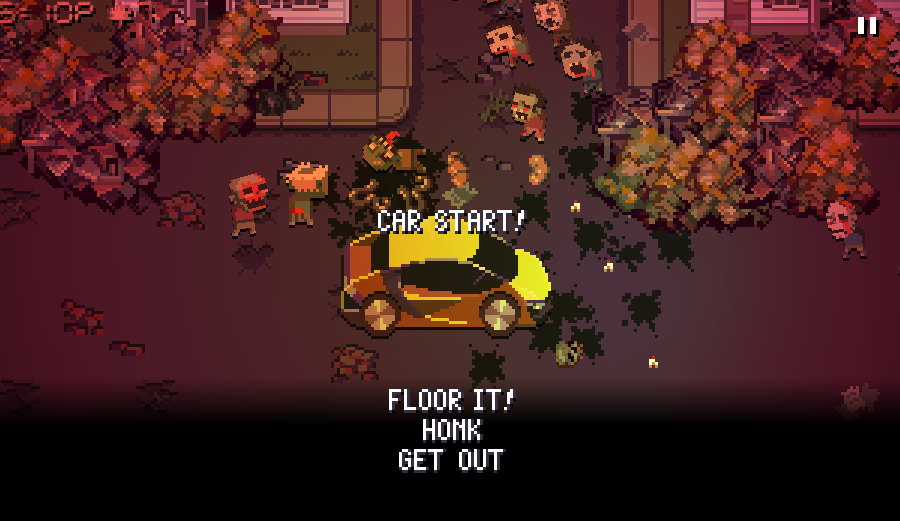
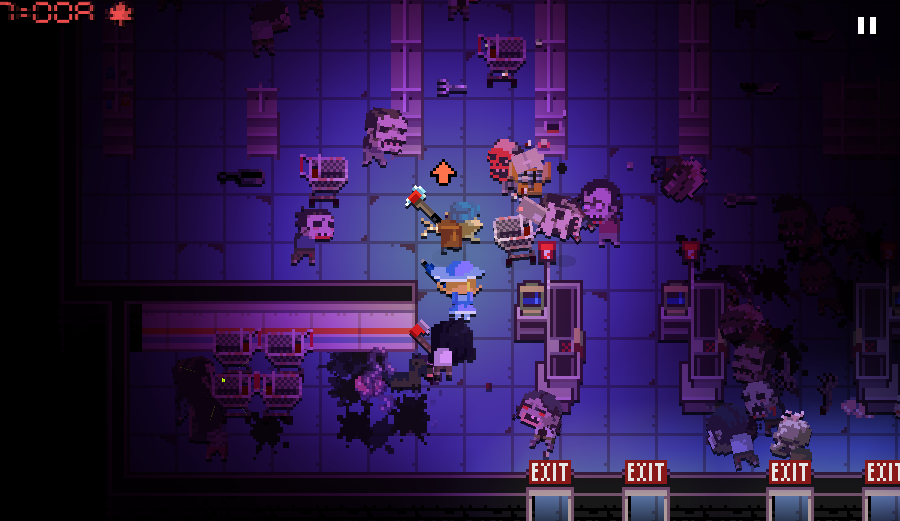
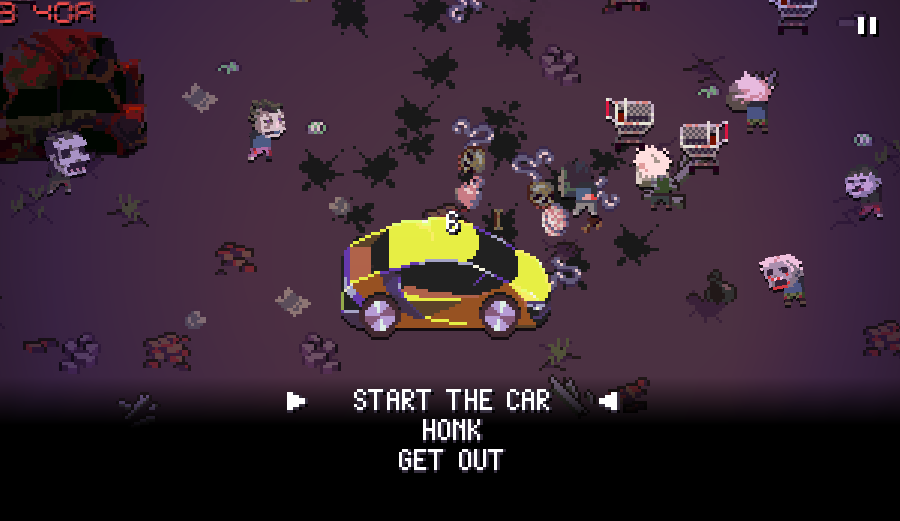
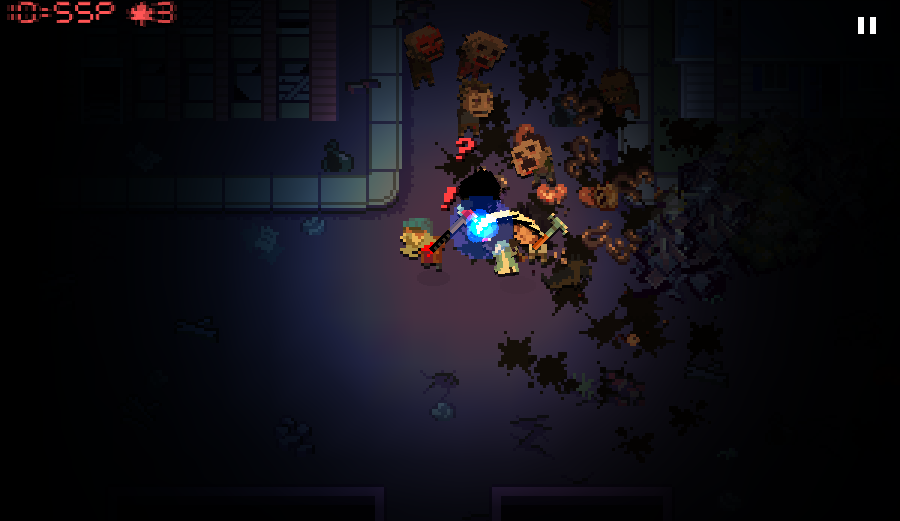
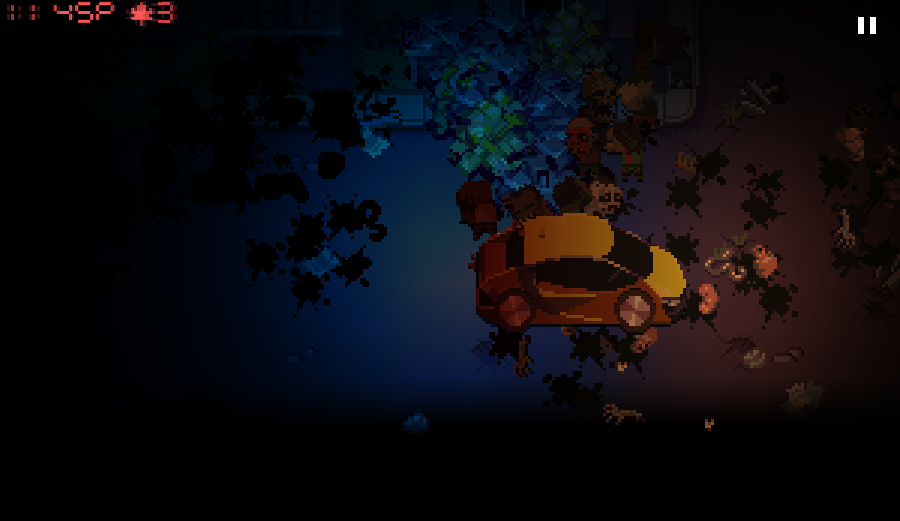
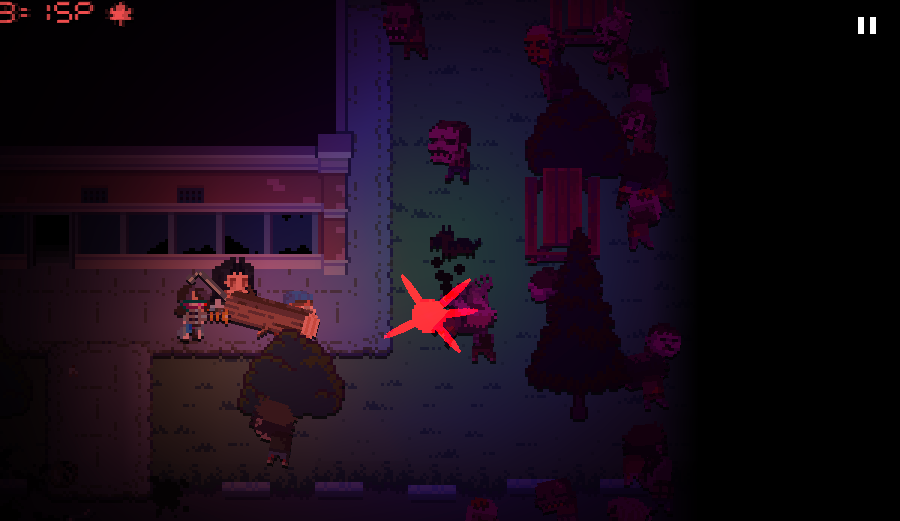
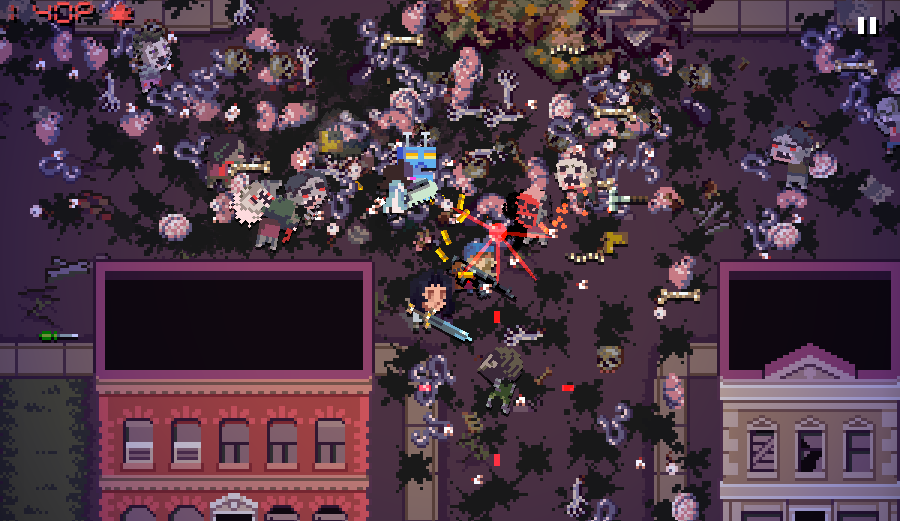
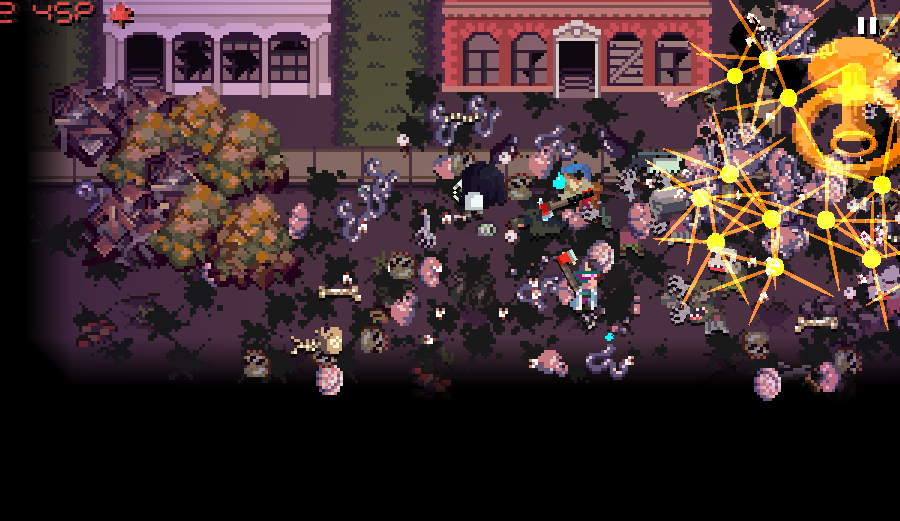
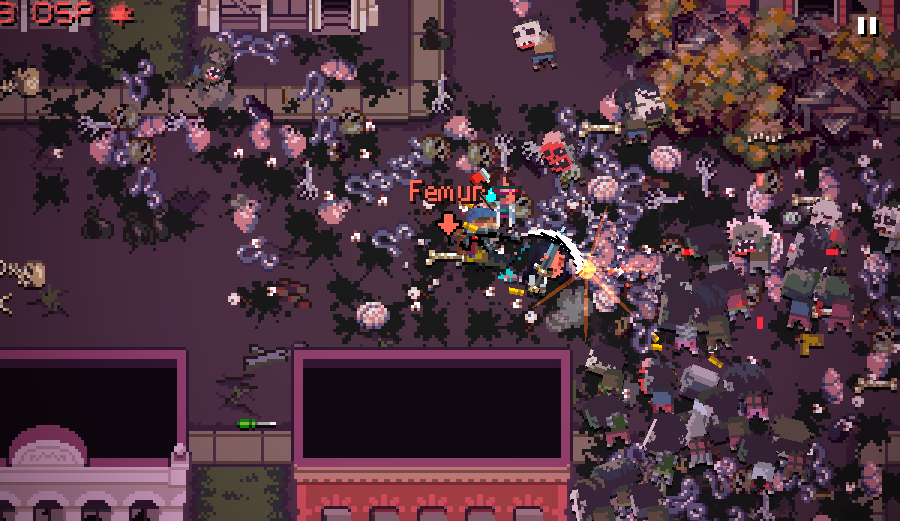
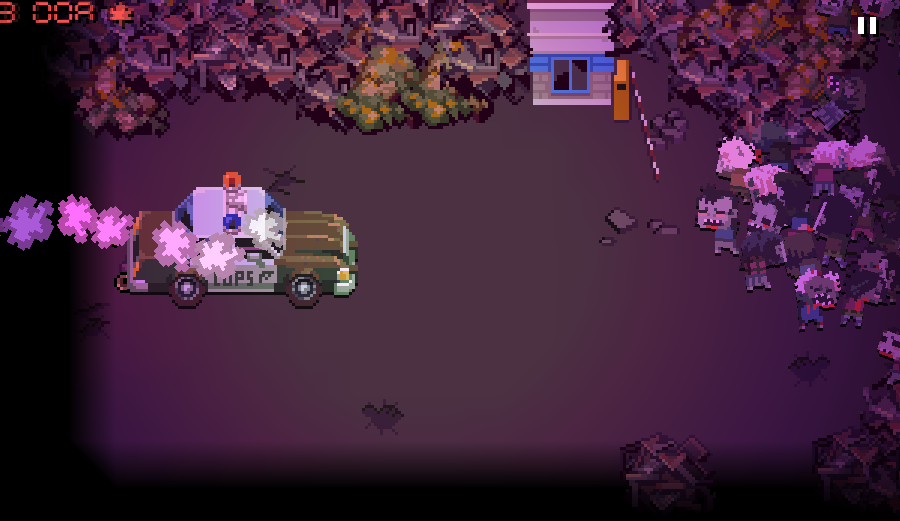
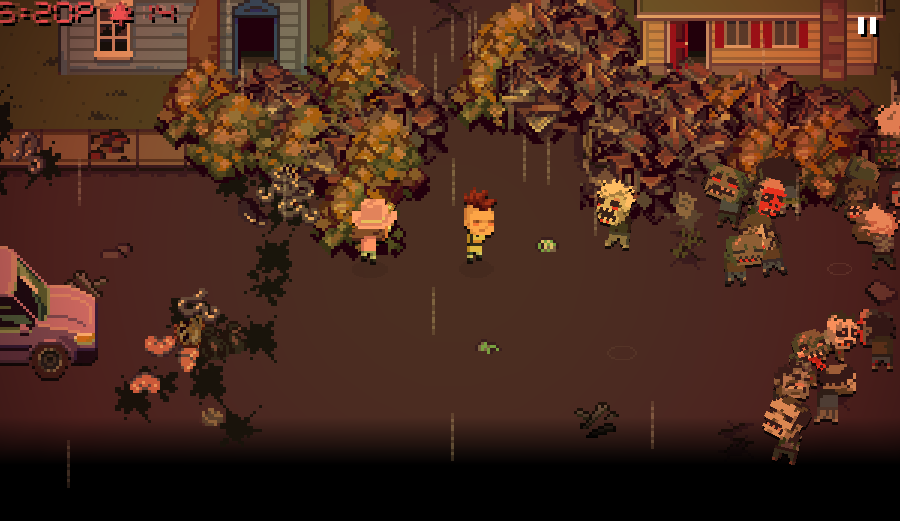
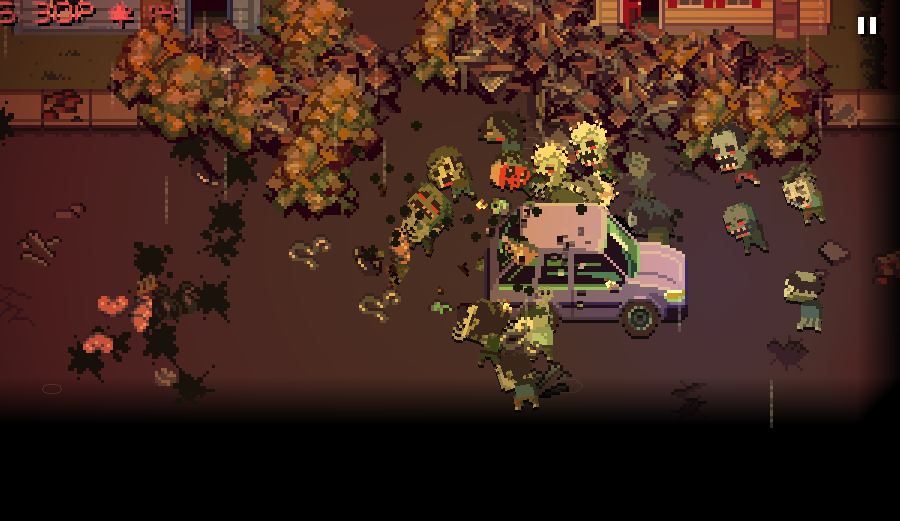
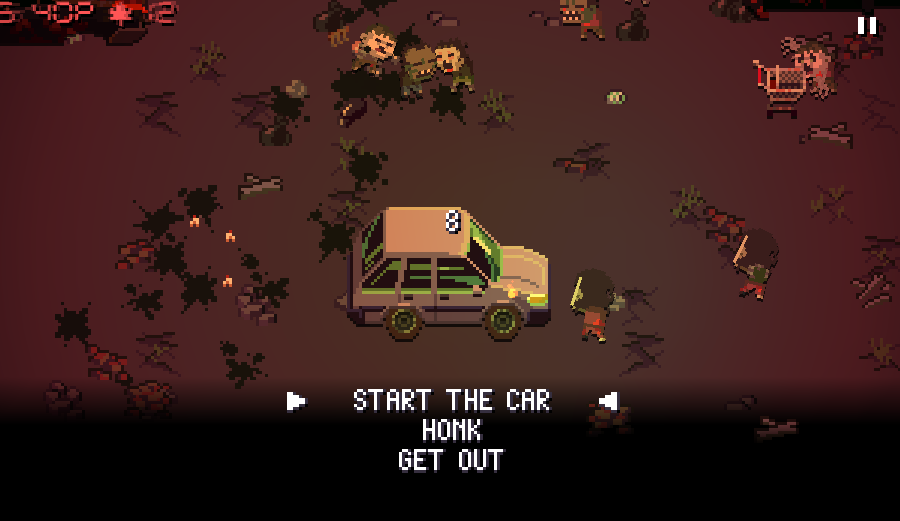
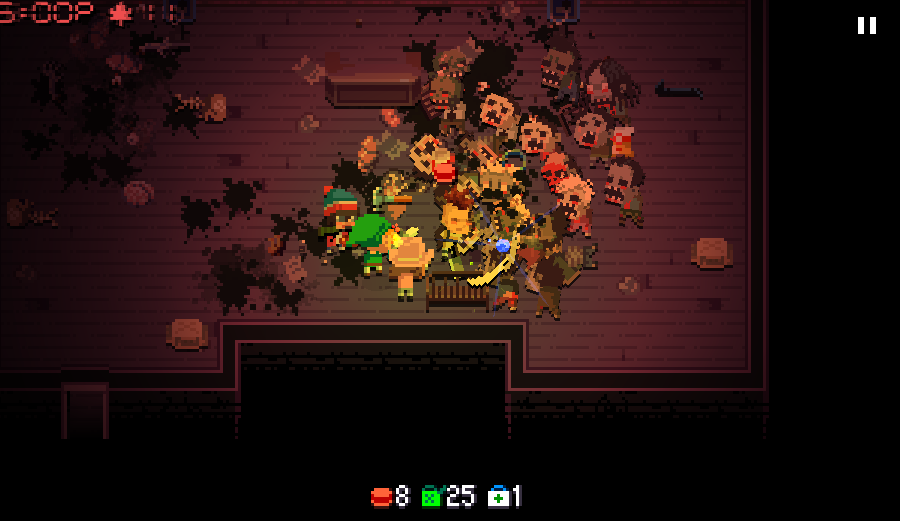
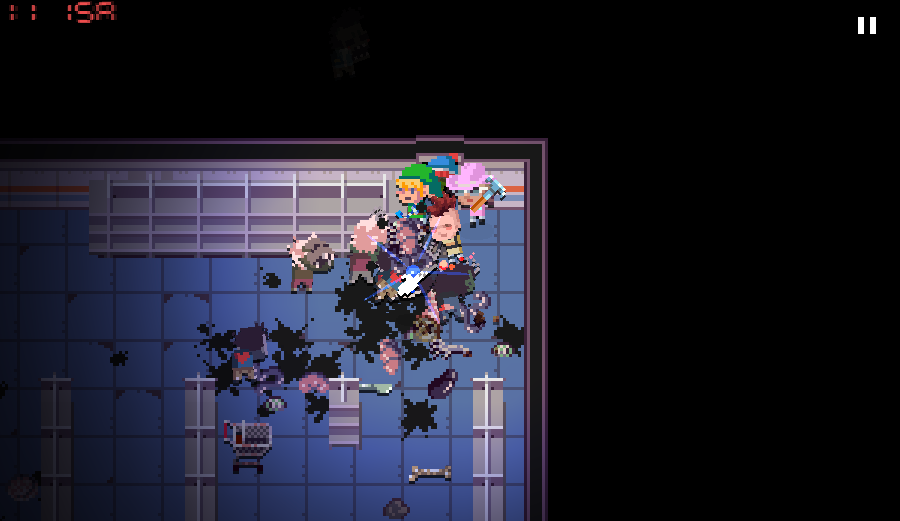
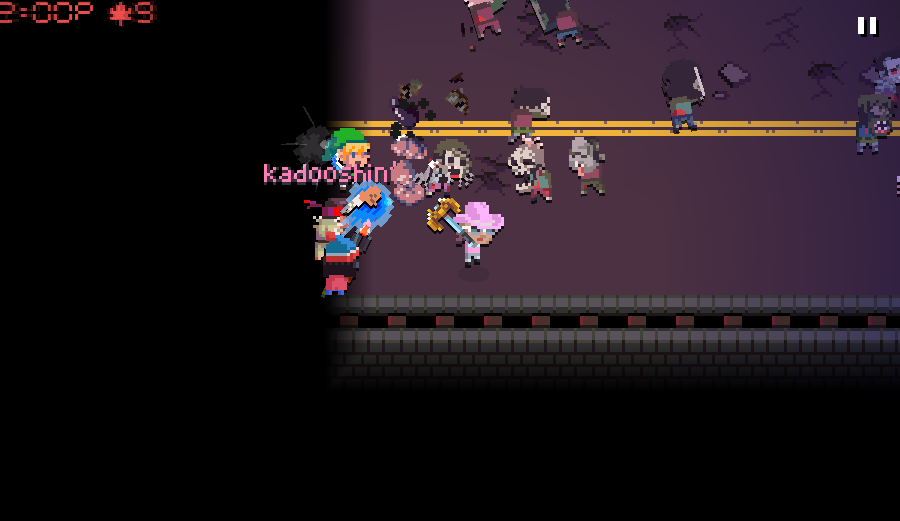
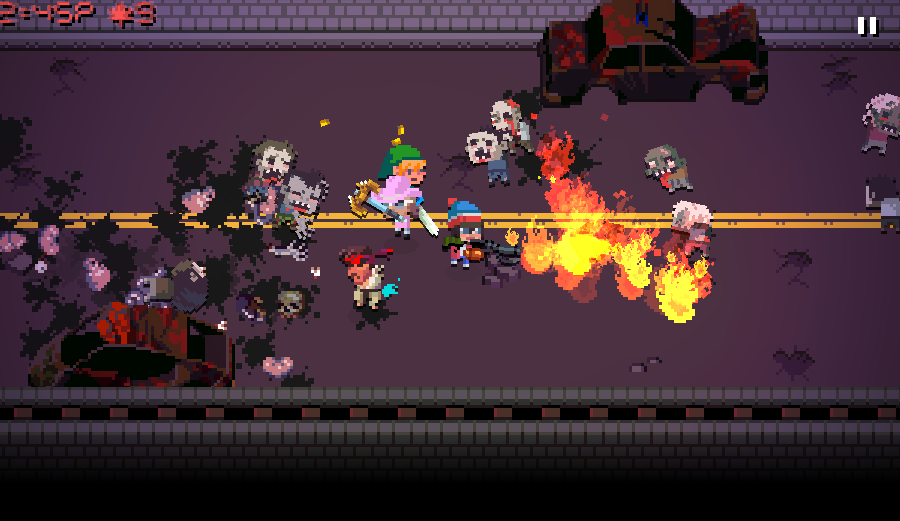
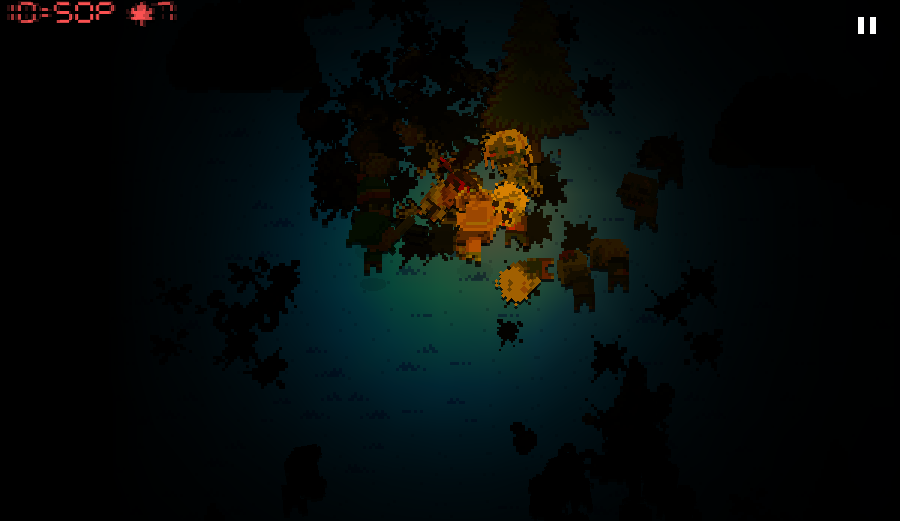
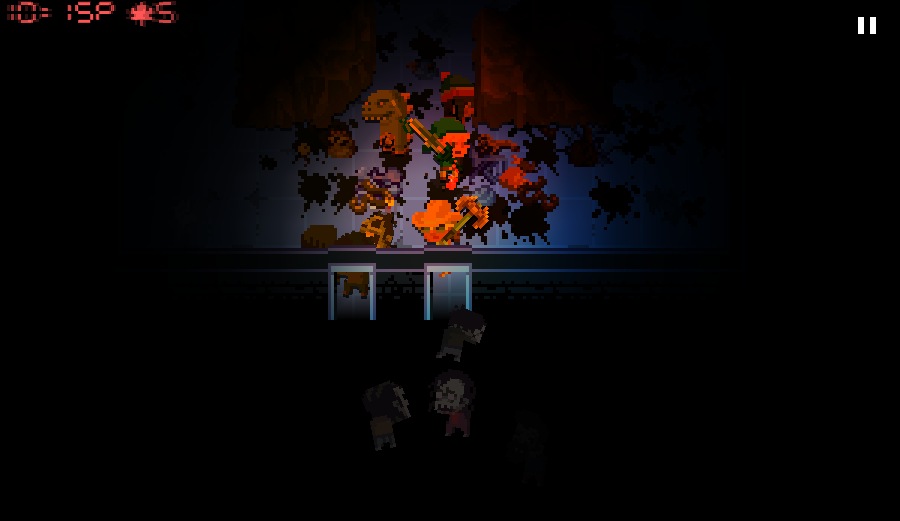
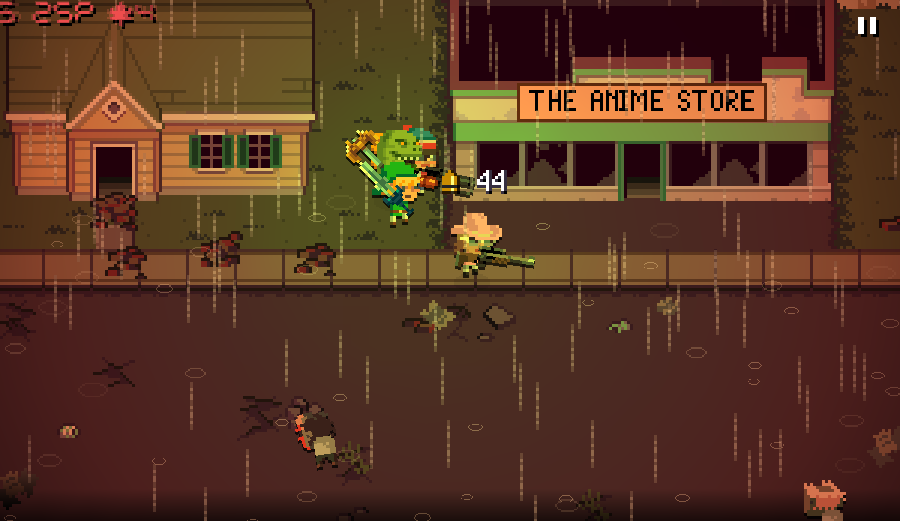
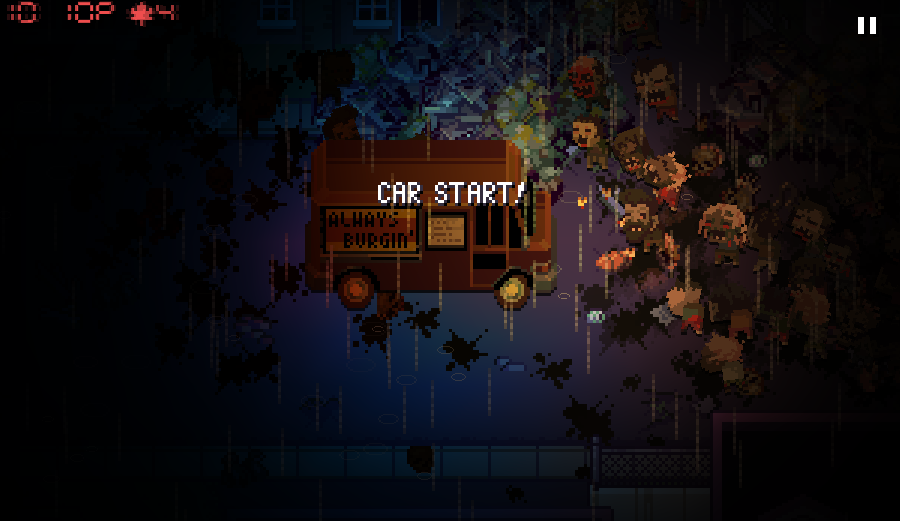
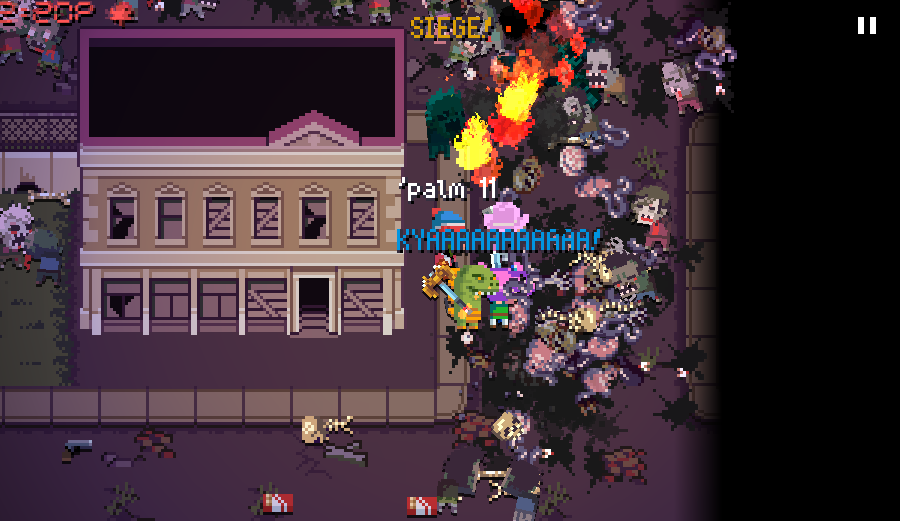
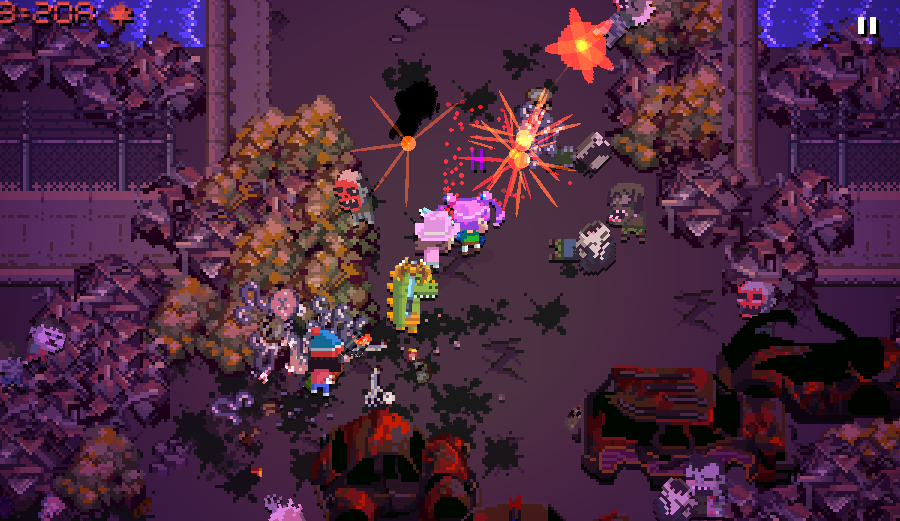
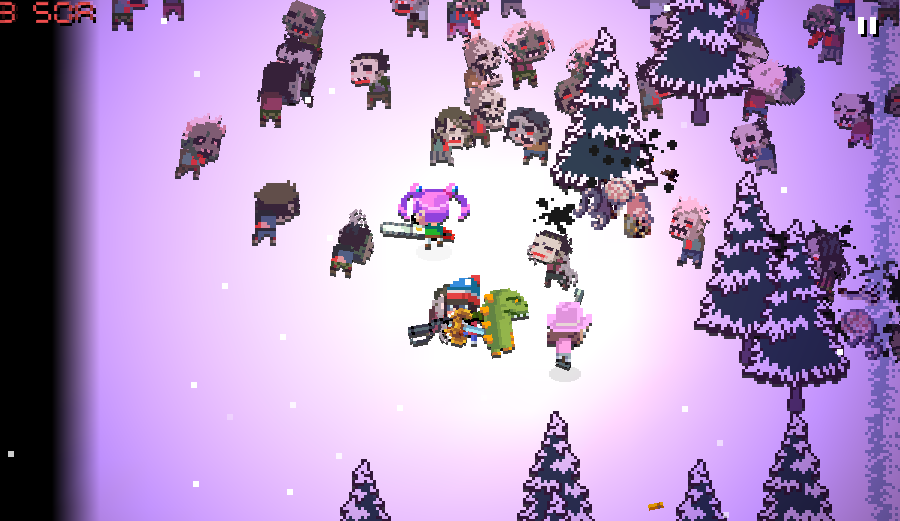
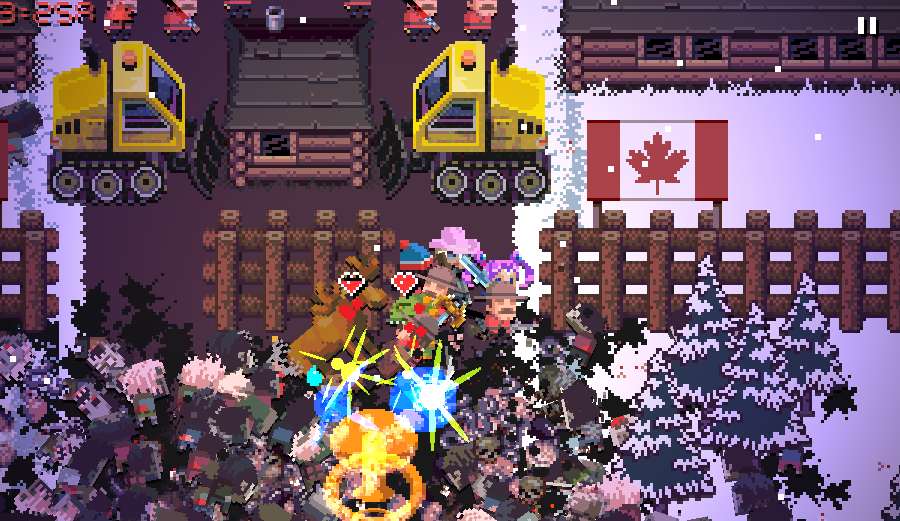
The map itself is always the same, though the placement of some of the ruined cars can be slightly random. The zombies are of course moving around so they're not entirely guaranteed to be consistent, but you can always expect the map to have a big group up front, and an absolutely massive group blocking the way to the Mounties.
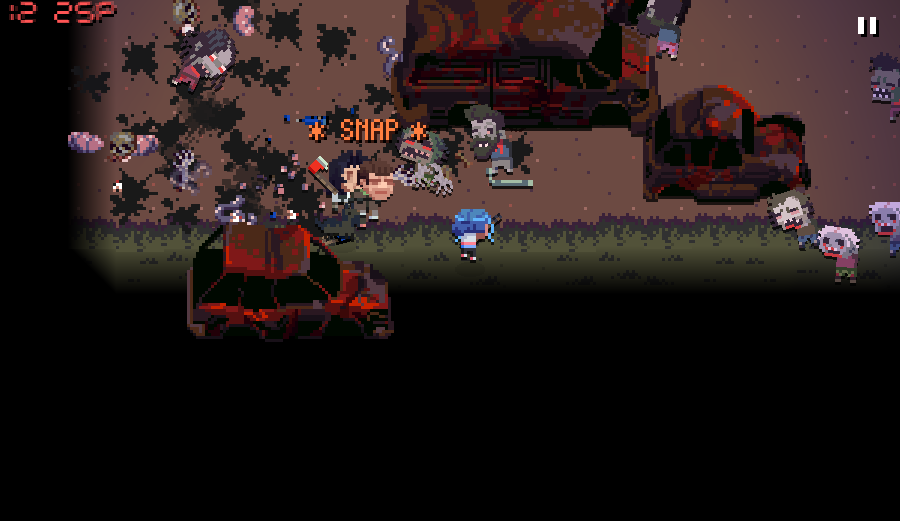
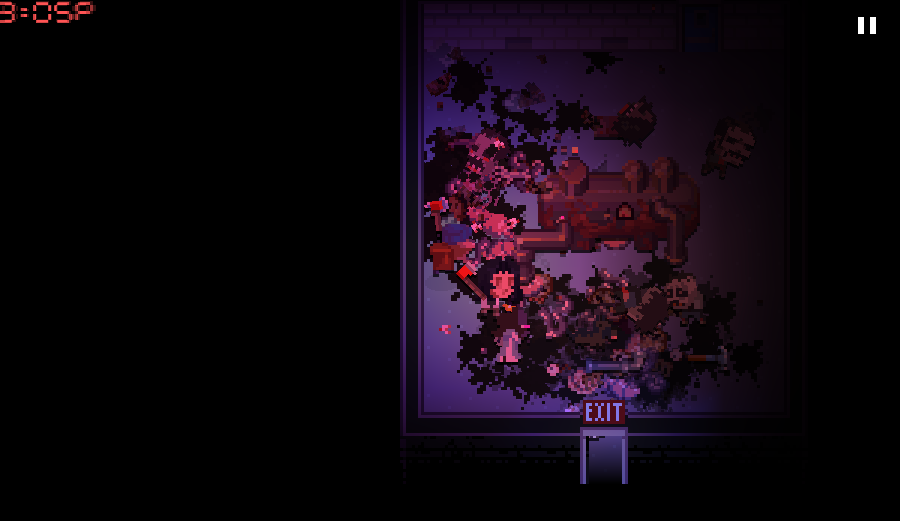
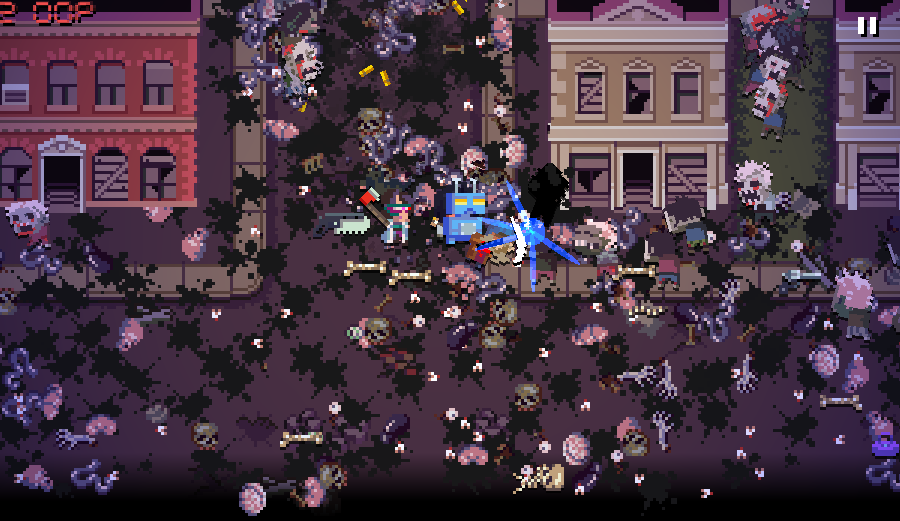
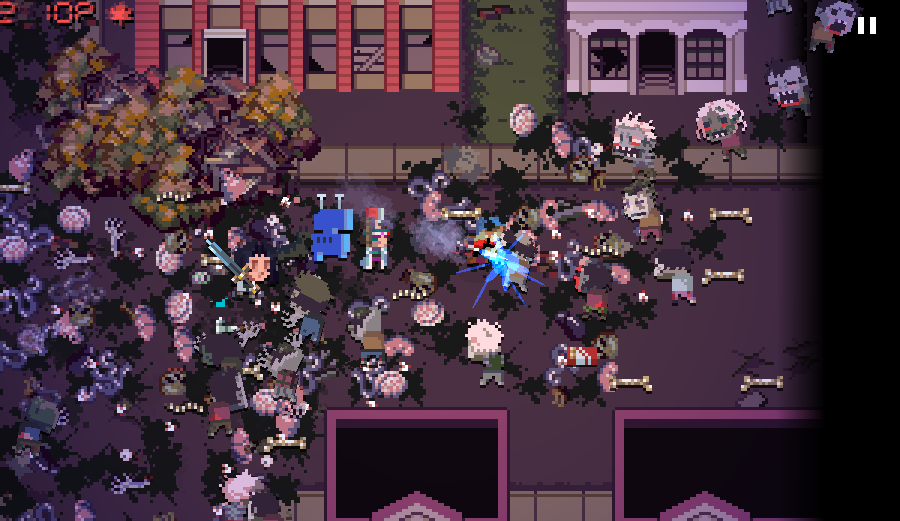
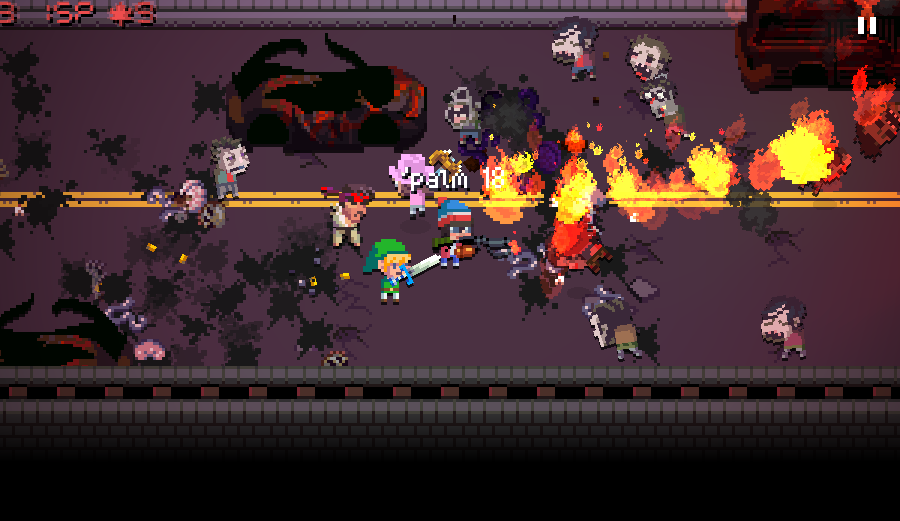
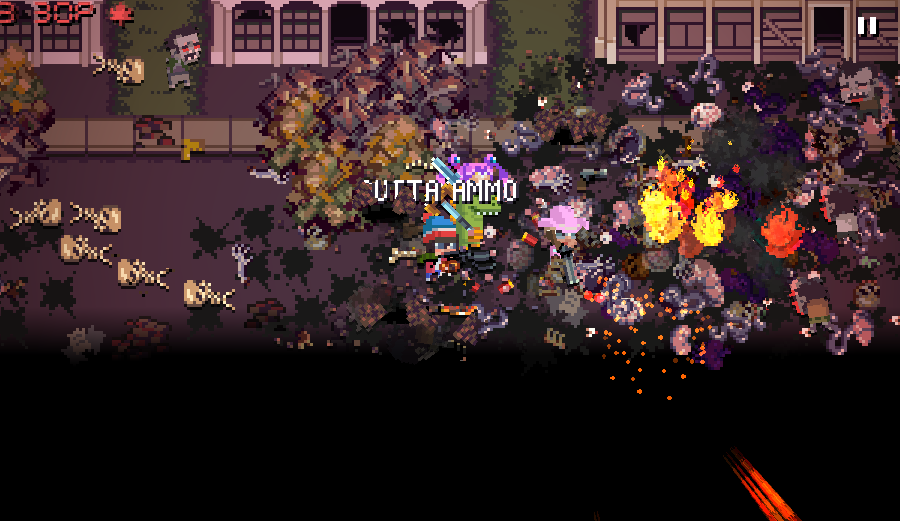
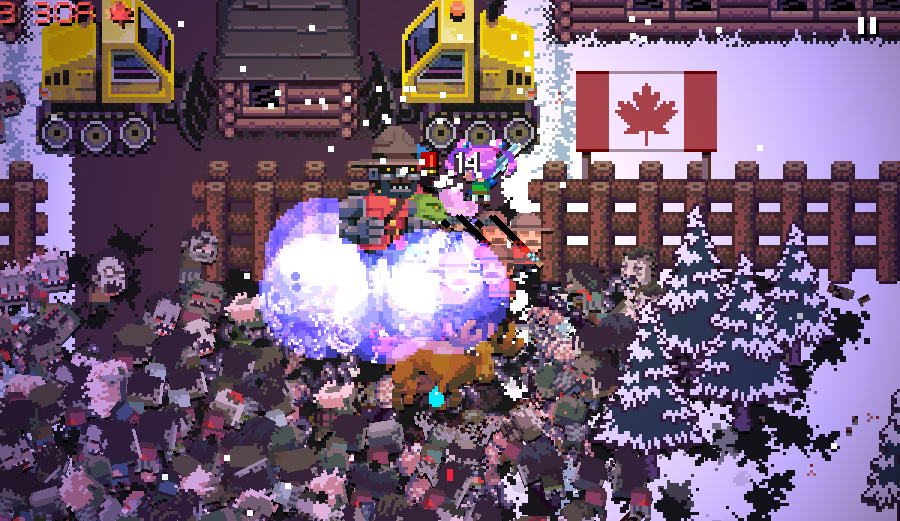
Using the car as a bomb is very useful in thinning out this early horde, and with a single pipebomb more, I'd pretty much cleared the large majority of the zombies in the way on this difficulty. From there, we could pretty much just charge in. Momentum is important on this map as there's so many zombies you just want to make an opening and slip through before they all properly lock onto you.
With some decent guns and maybe another explosive or two, you can get away with this on the higher difficulties as well.
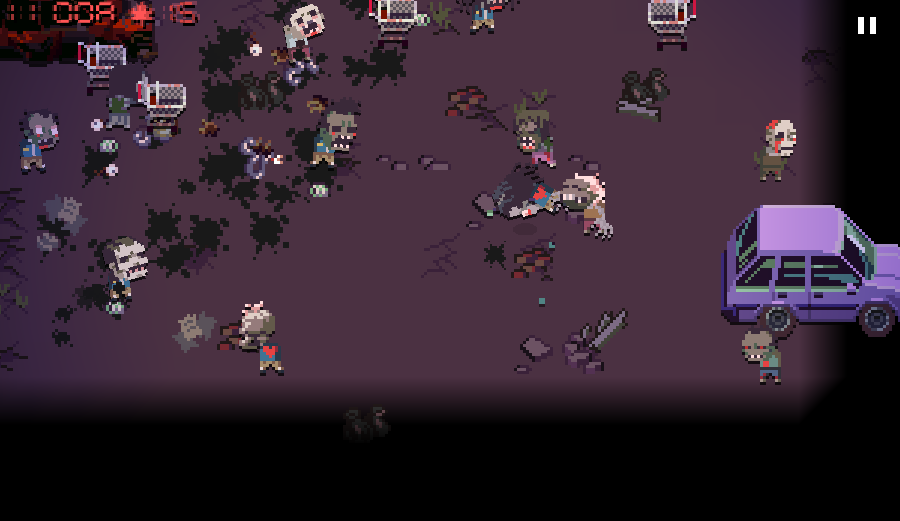
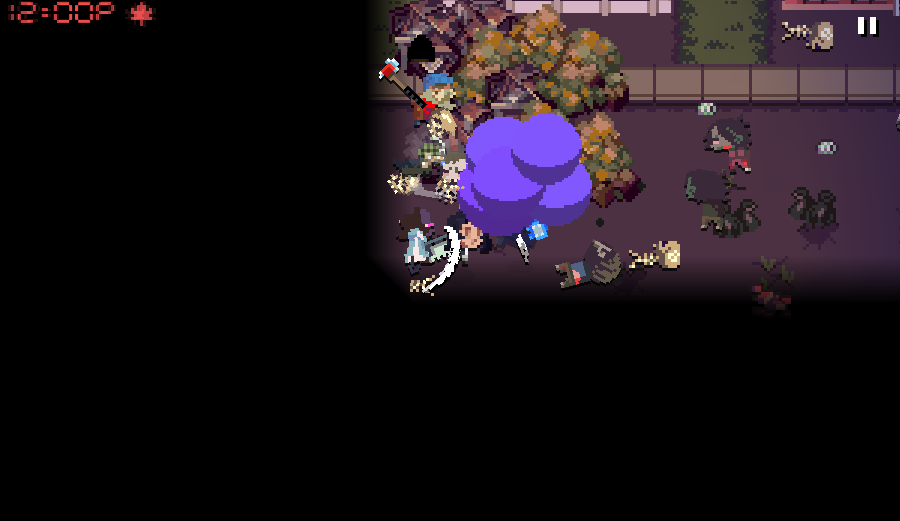
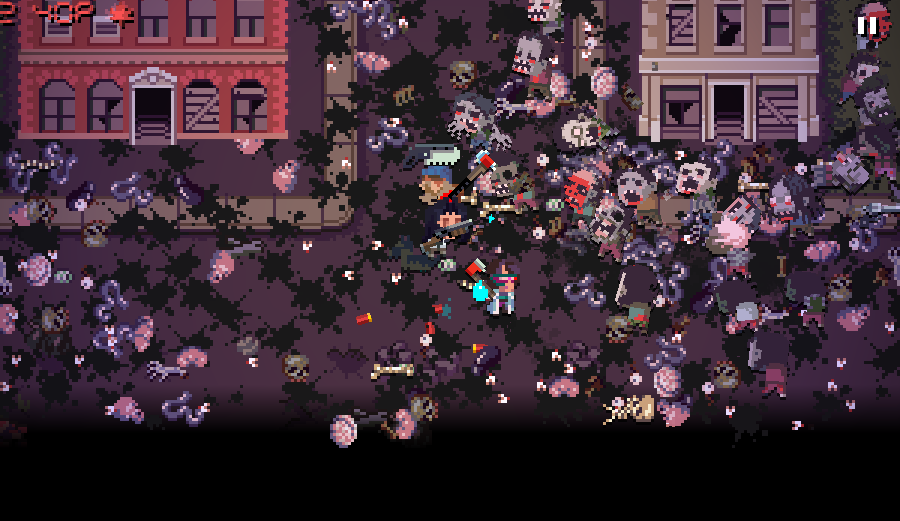
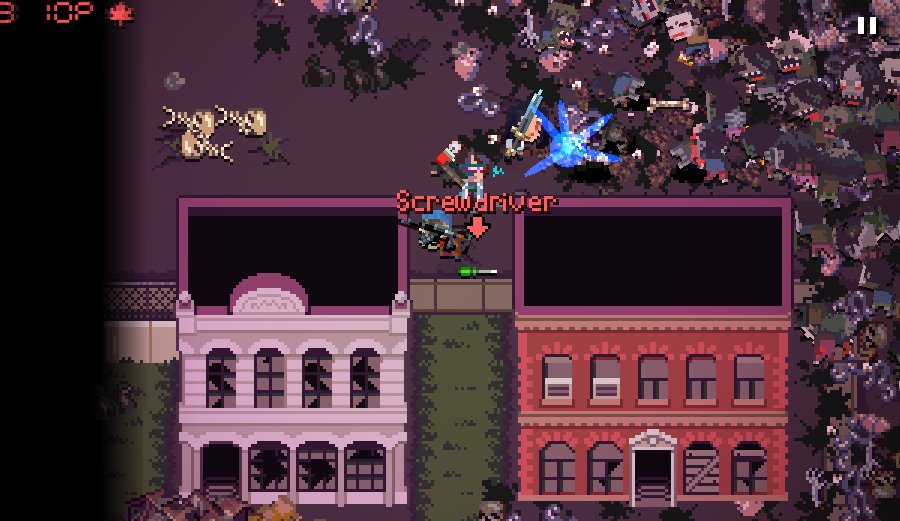
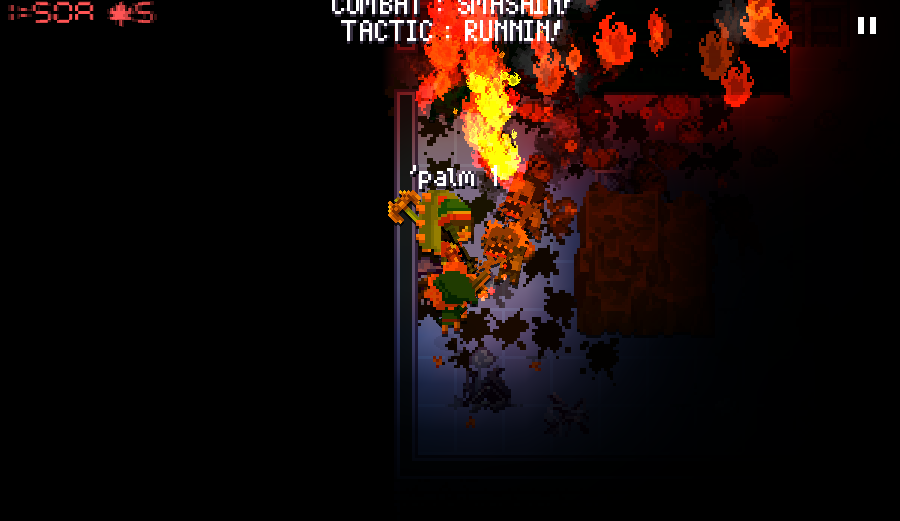
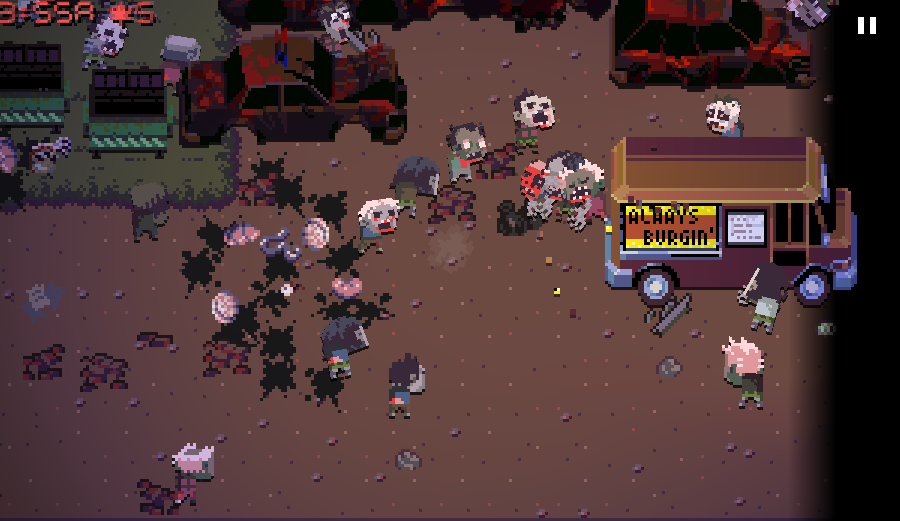
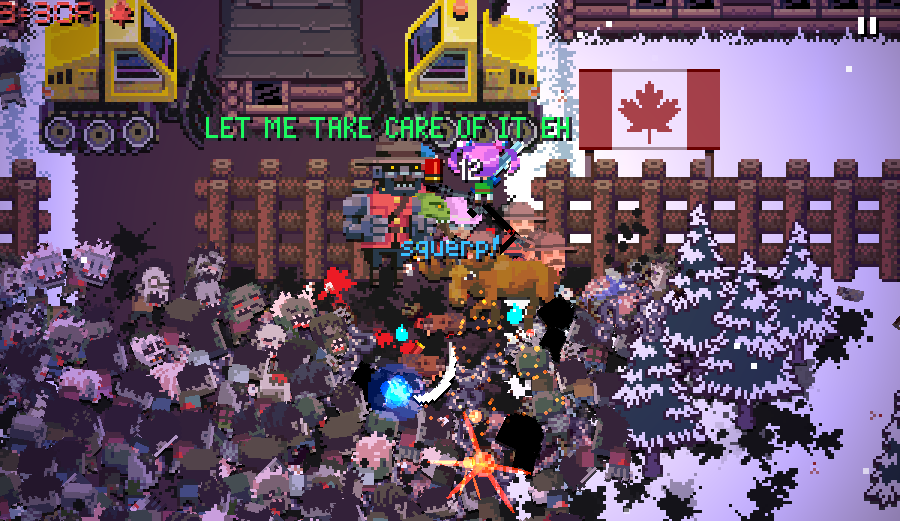
The bridge poses little threat on Normal difficulty, but will be jam-packed on Deadlier and Extreme modes. Fighting through it isn't too bad if you've got chainsaws, assault rifles, smgs, and beefy shotguns, but it's also a threat in the AI lagging behind here.
It's probably best to enter the AI options and set them to "Runnin'" or ("Defend" on higher modes) so that they don't lag behind fighting anything behind you.
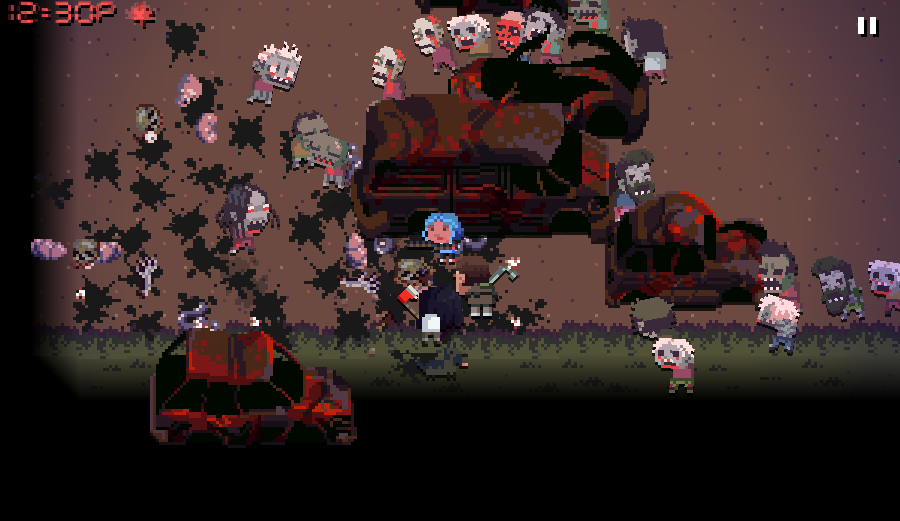
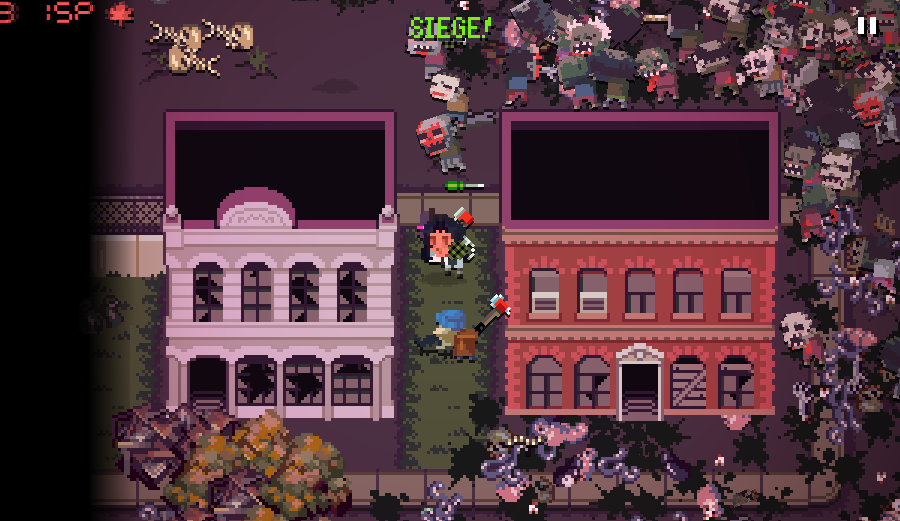
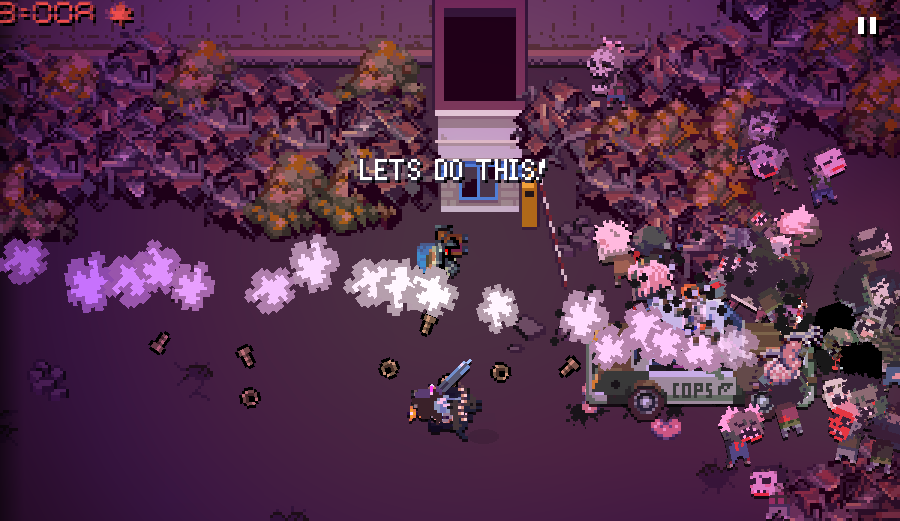
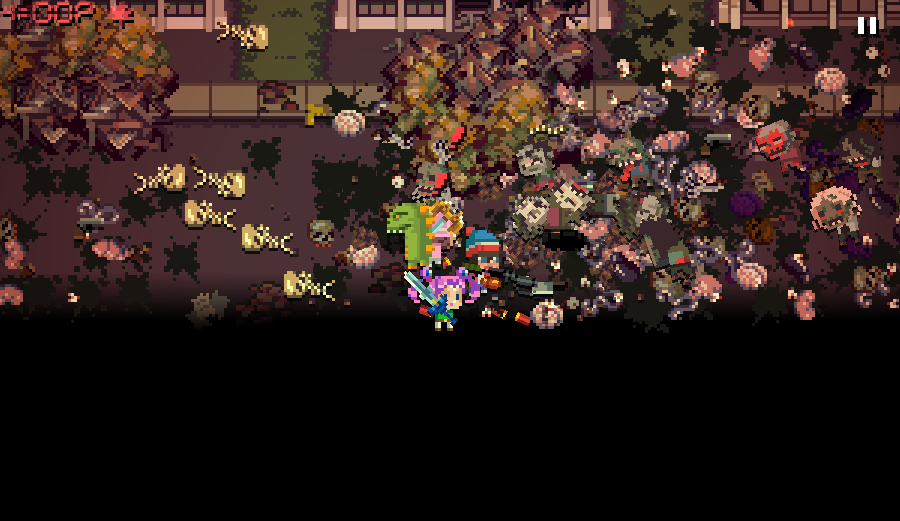
Going around the side of the big horde in front of the fort is the easiest way of handling them as well. On higher difficulties you may have to blow your way through on the side with a bomb of some kind, or draw aggro on one side and run to the other. You're not going to fight through the wall of undead flesh easily, not with zombies coming up the rear.
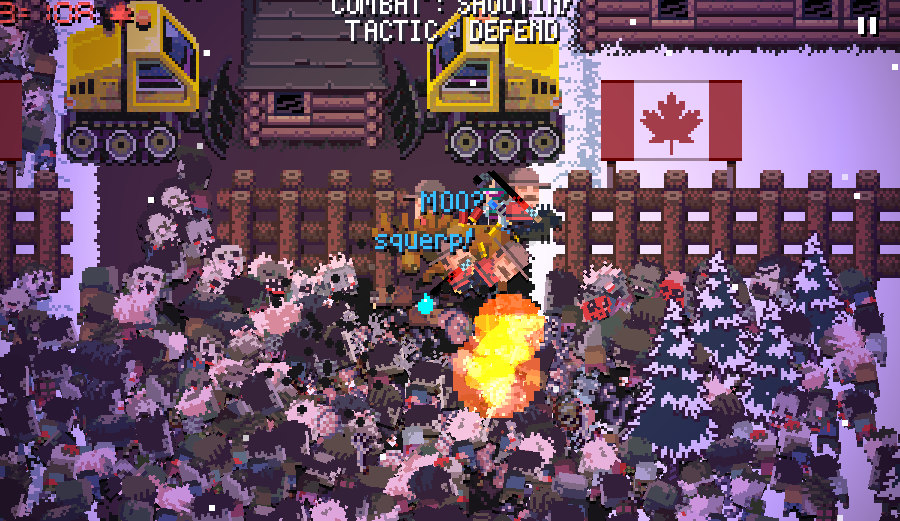
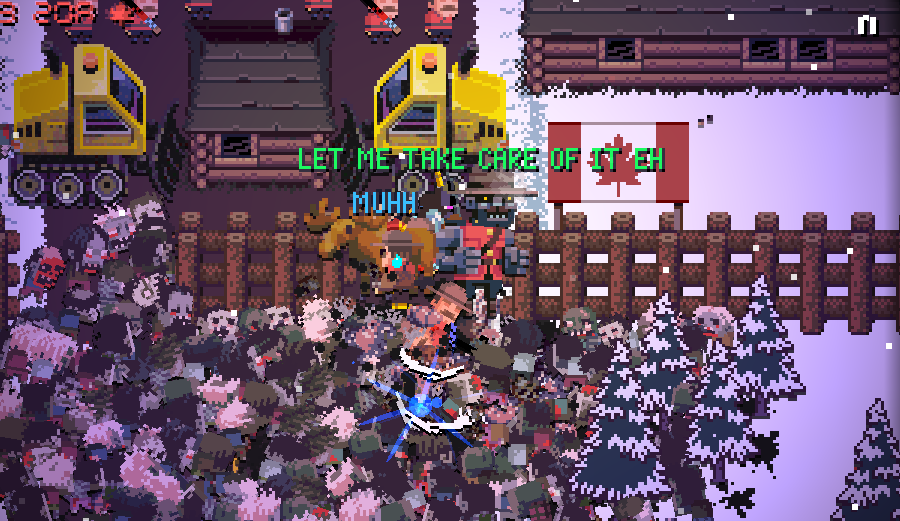
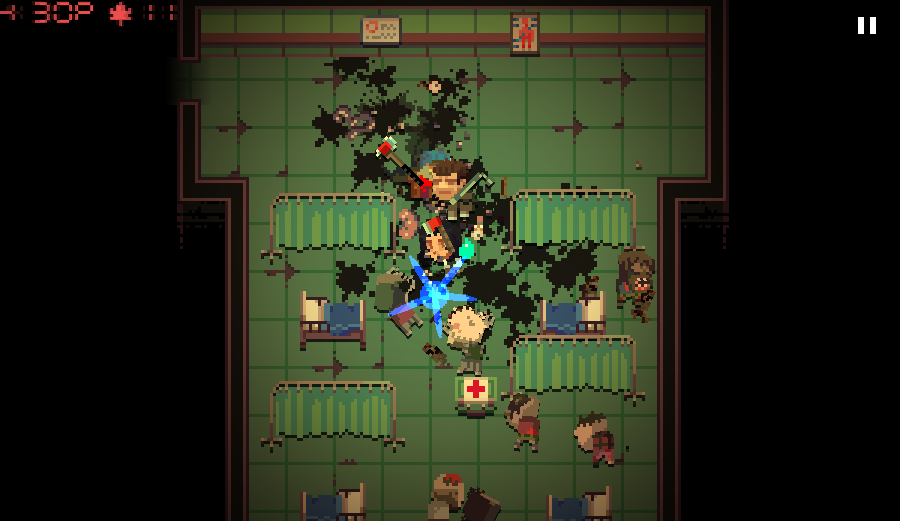
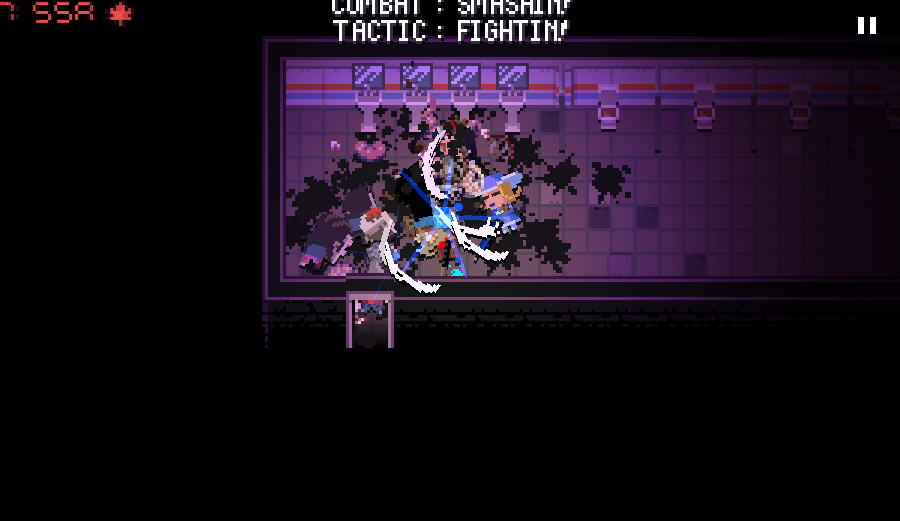
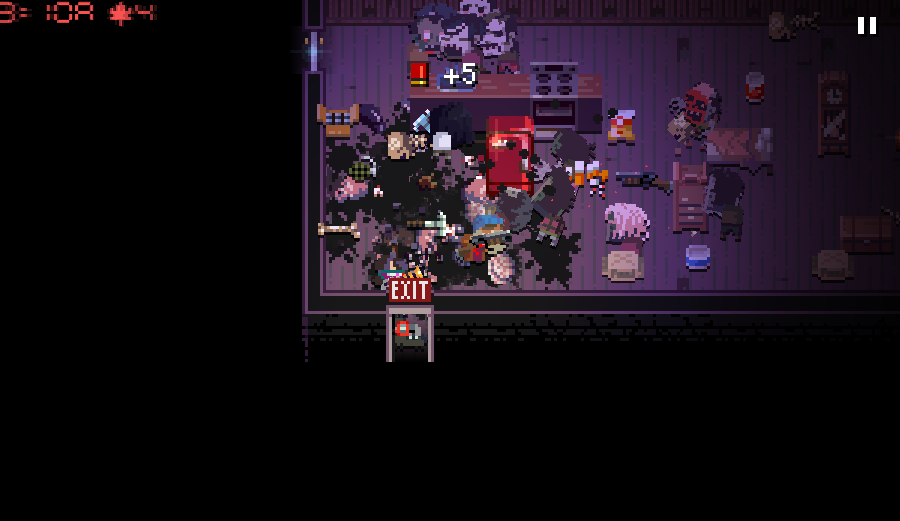
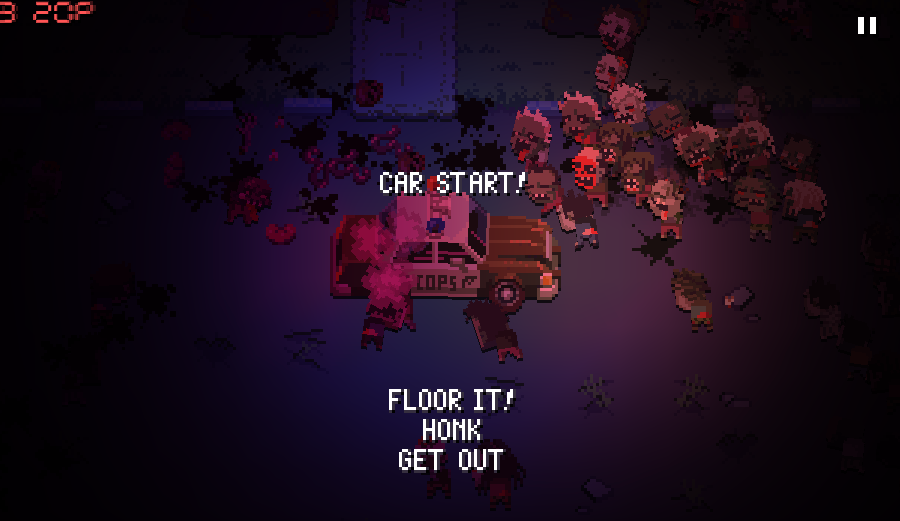
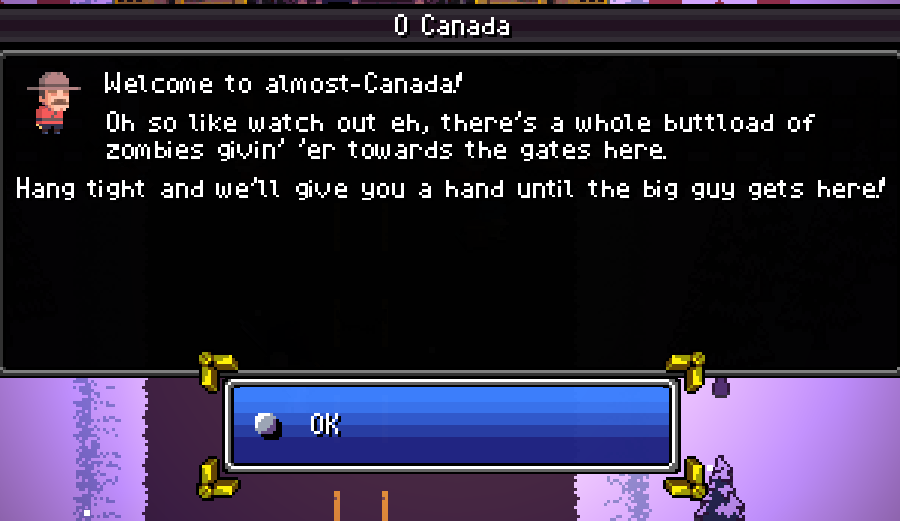
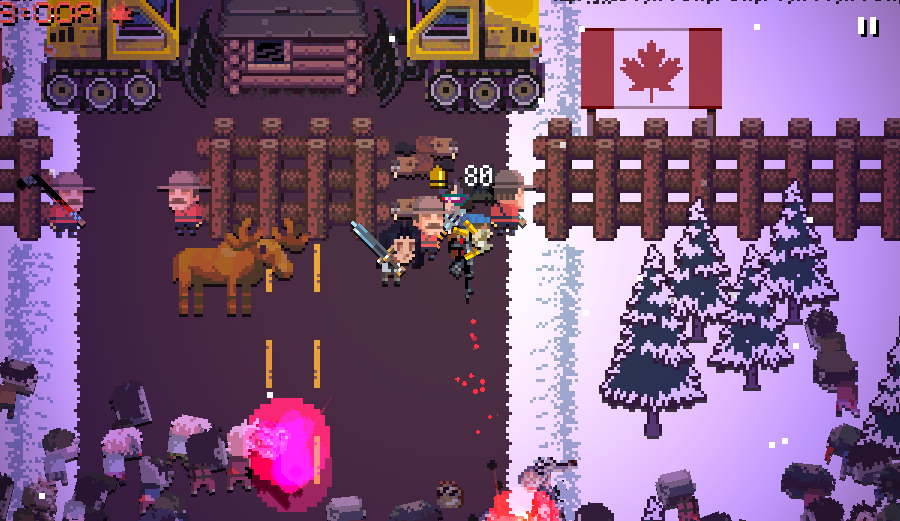
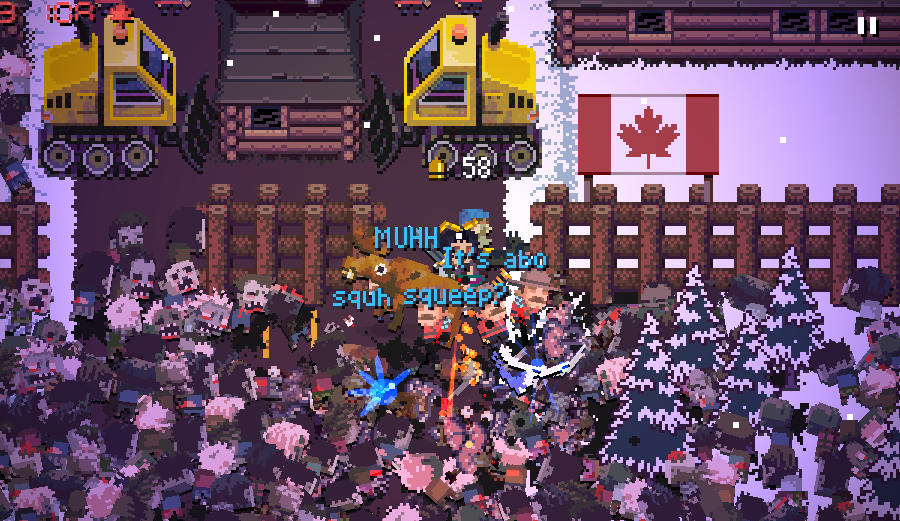
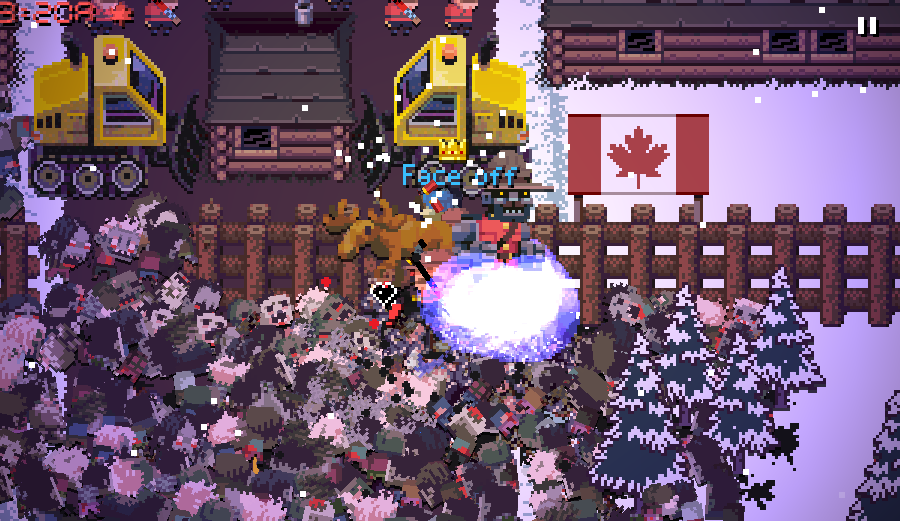
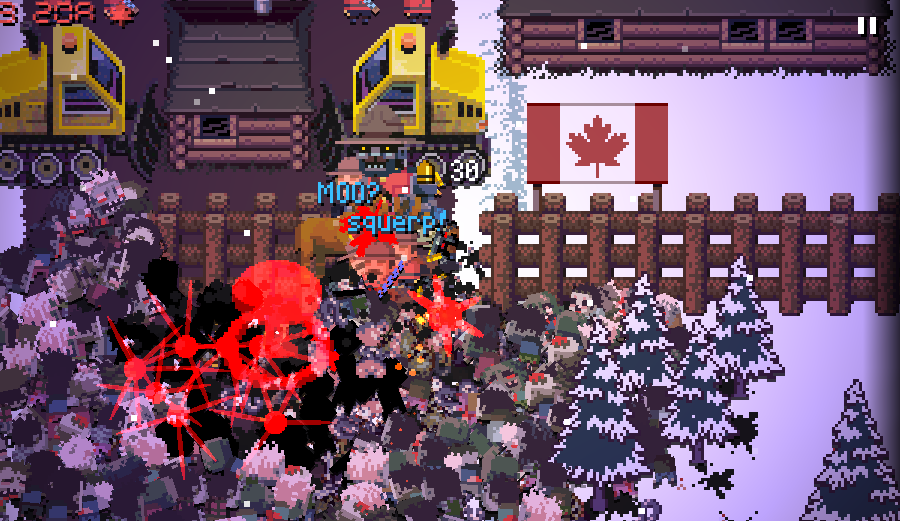
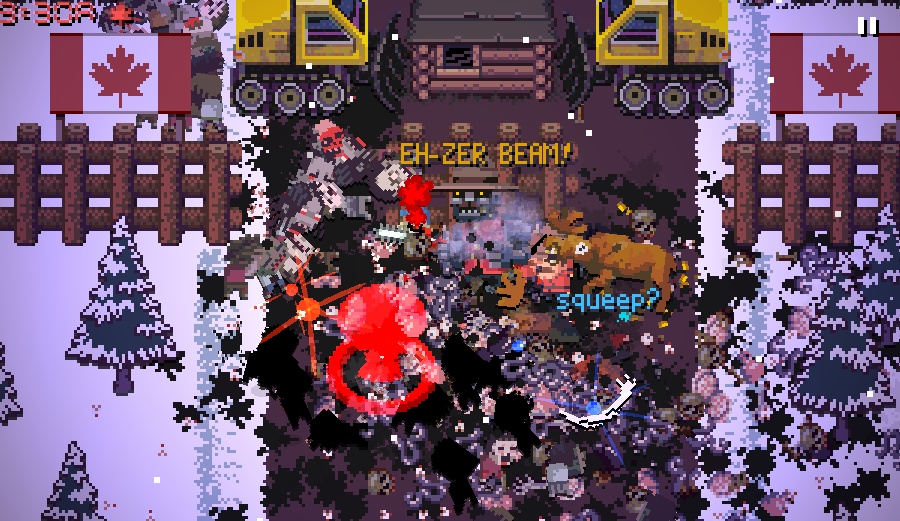
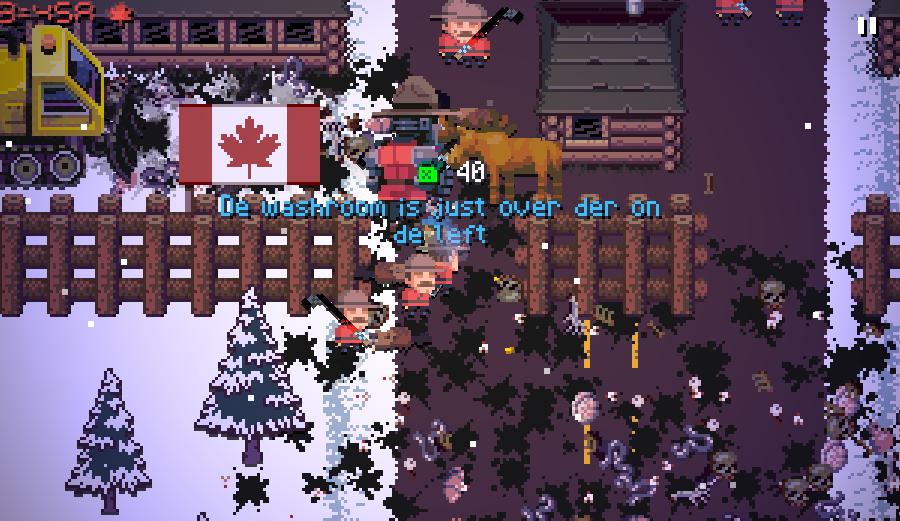
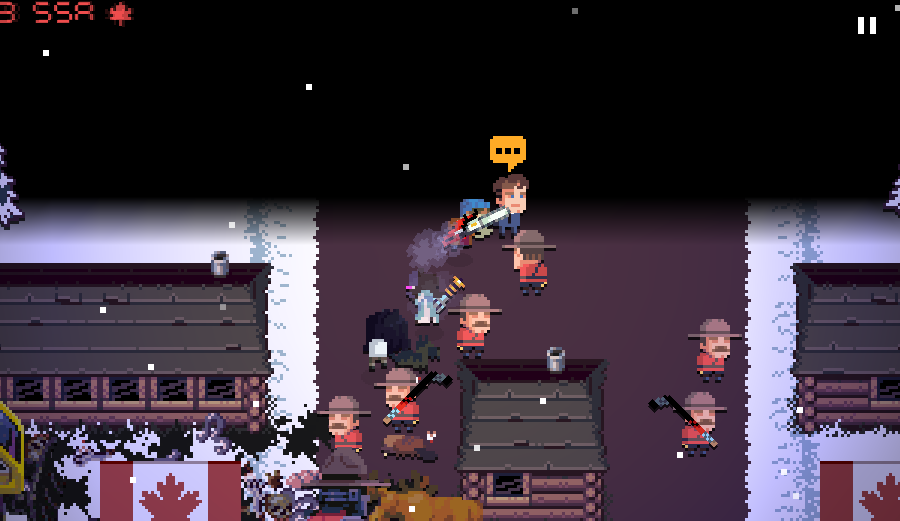
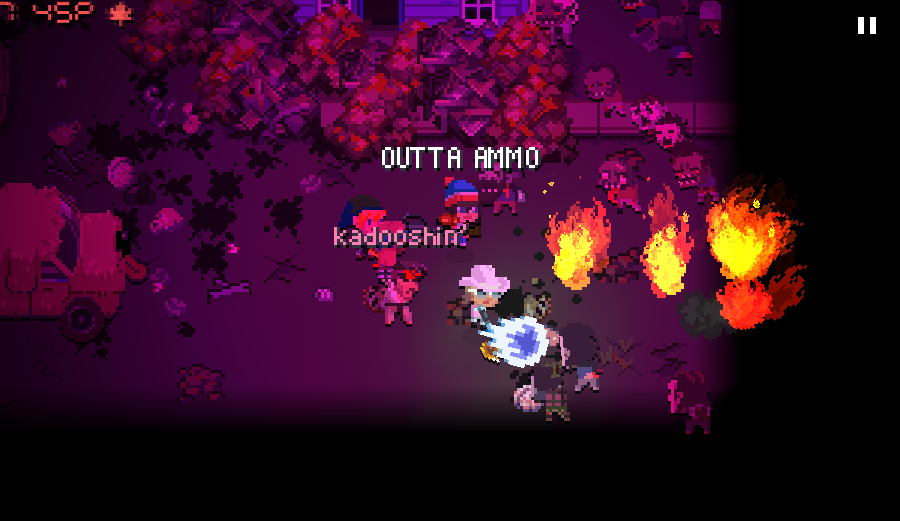
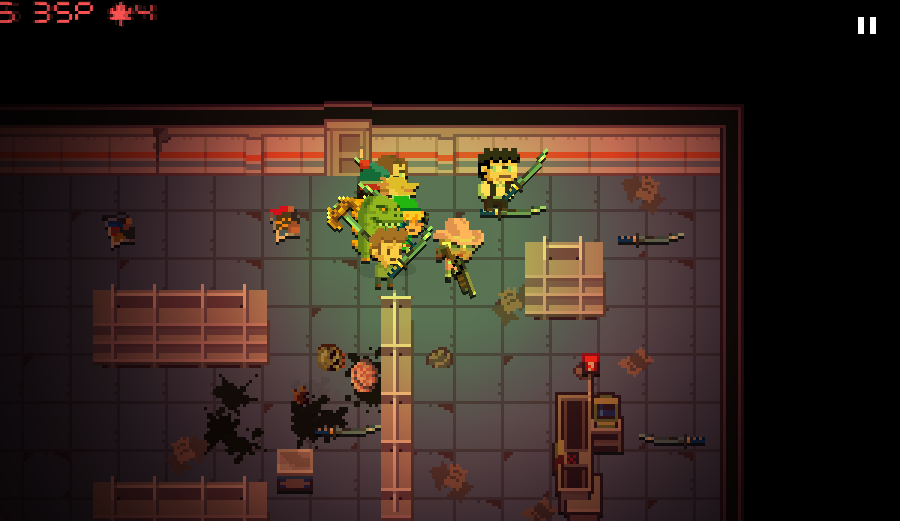
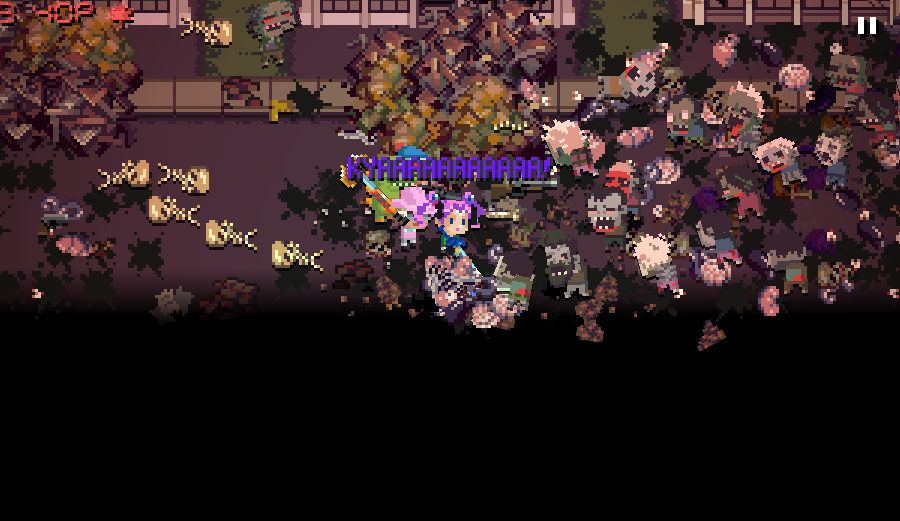
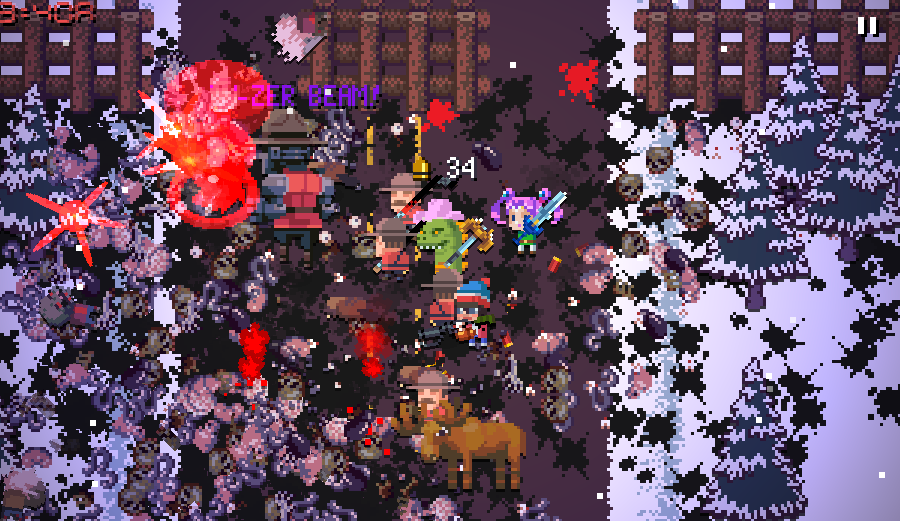
The Mounties, Moose, and Beavers present at the gates aren't invincible, but as long as you keep your backs against the bulldozers blocking the path and keep on swingin' and sprayin' bullets, you'll come out alive. The Canadians are great meatshields and their stats are fantastic, which allow them to make it a long while on their own, regardless of the size of the horde.
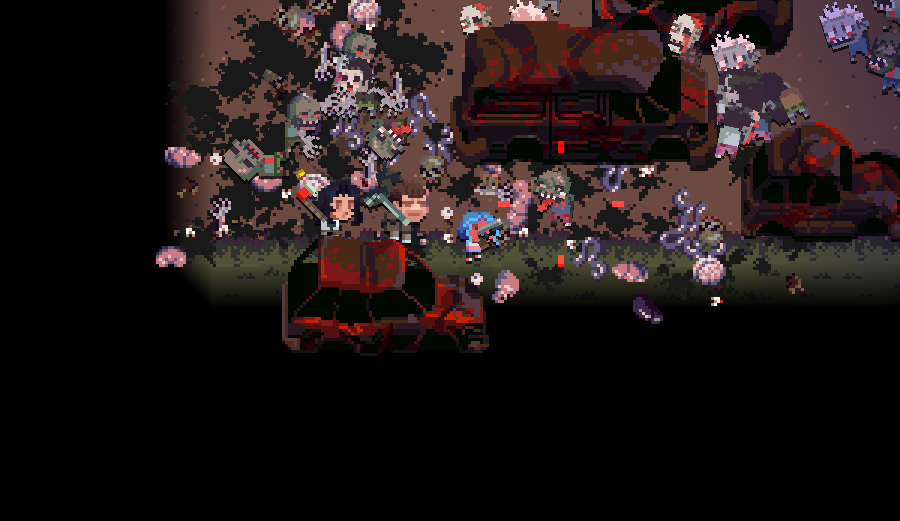
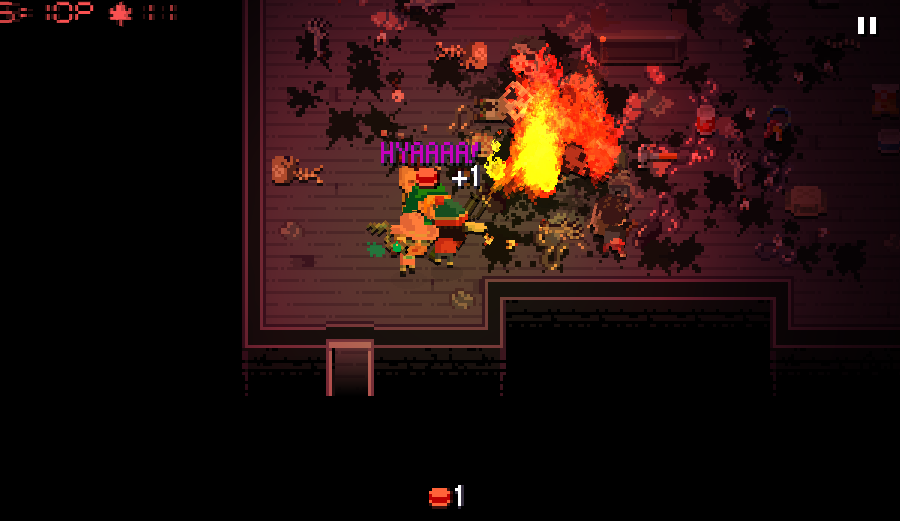
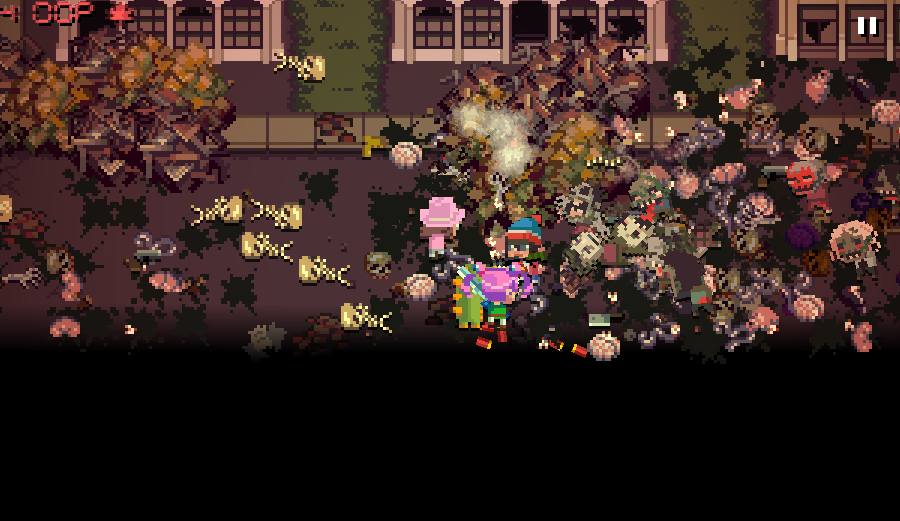
Mecha-Mountie comes in after some time passes, and will absolutely lay waste to the horde, so you just have to survive until then.
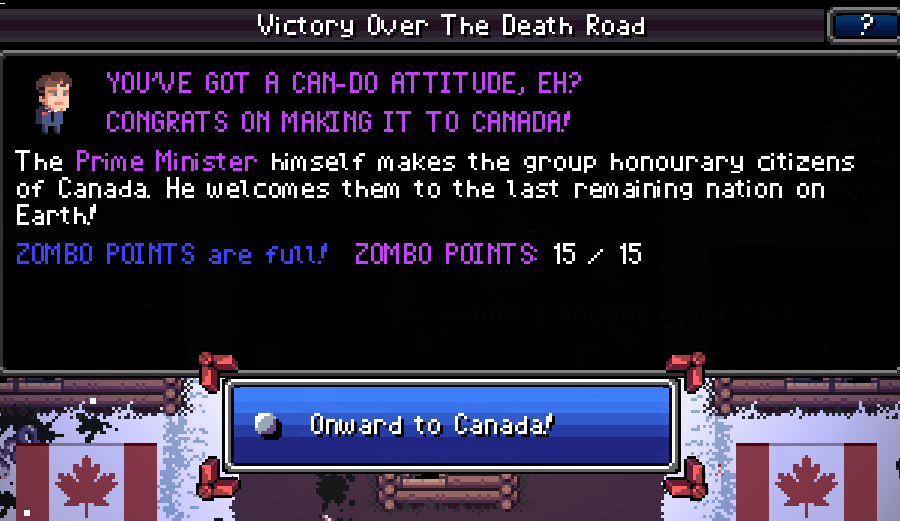
...And that's it!
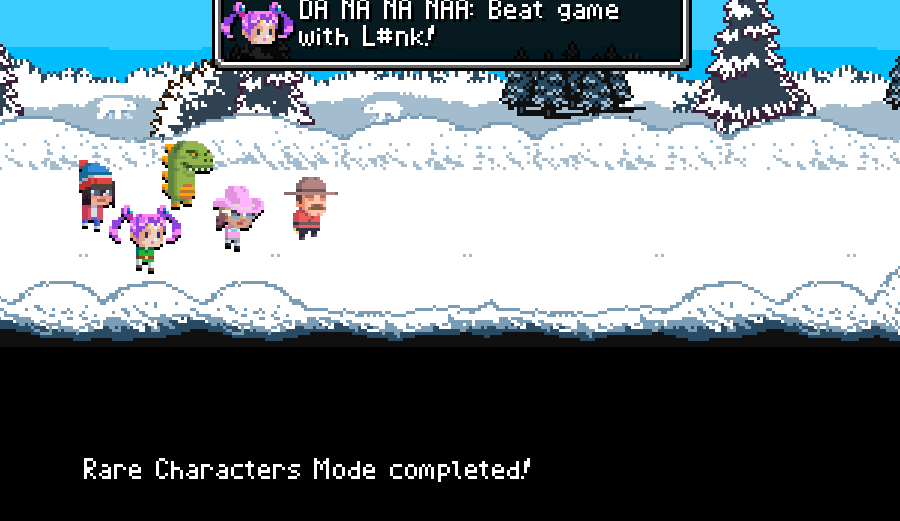
All in all it was a wild ride of a first run, though given the thread voted for us to go into Rare Characters mode next, it may just get wilder.
I probably can't keep up such a rapid update cycle on this next one, as writing the little conversations and stuff ends up taking me quite a while. I don't claim to be a great writer, especially on such a short turnover time and I know for sure the result isn't very consistent, but I think I did pretty alright.
Although I basically had no time to really write updates for my other LP during this and I burned through my whole backlog of updates for it, because it just took that much time out of my day.
Heck, my the LP I originally intended to do was put aside because narrative is just so much work for me.
As result, expect a bit slower of an update schedule for now- more of a twice a week kind of affair for this next run. Also, if there was something I didn't talk about but you wanted to know about just ask.
Next time: things get WEIRD... hopefully.

 --------------------*H*A*L*L* *O*F* *F*A*M*E*-------------------


 -----------------HALL--OF--DEAD-------------------
 :
:


