
 Will!
Will!
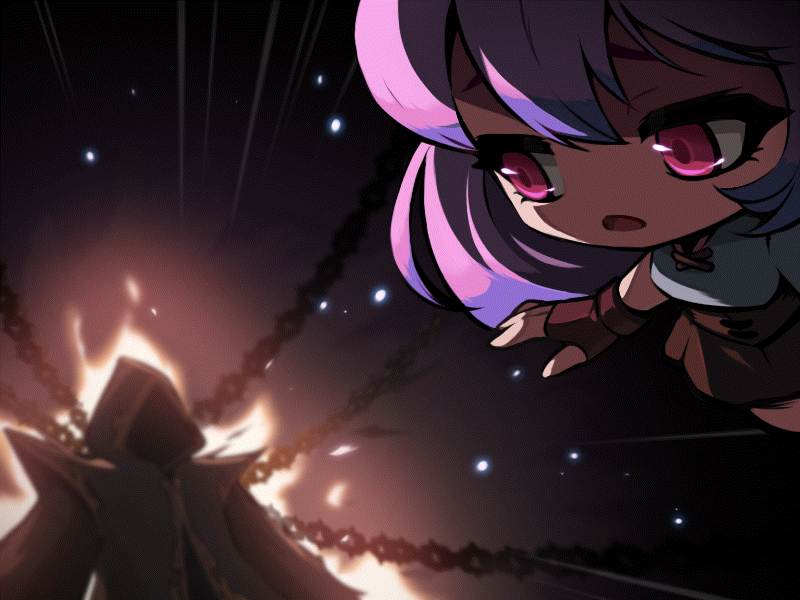
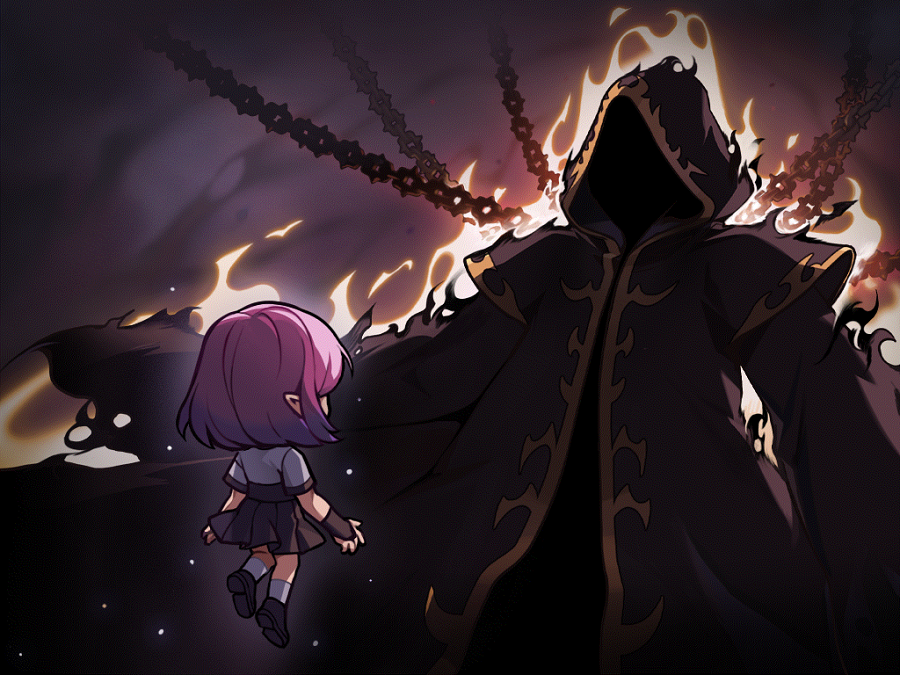
 Ha ha ha... You actually followed me all the way here. You are a piece of work. I should probably tell you... There's only one way to stop the ritual at this point. The one who forms the white sun, Tana, has to die.
(This was what Neinheart was talking about!)
Ha ha ha! So what's it going to be, hero? Which path will you choose? Either you kill a poor girl to save the world, or challenge a being greater than the Transcendents to undo his grand plan. Actually, none of that matters if you can't even beat me first.
… (I've already made one mistake. I've put my allies and the whole world in danger.) (It won't happen again. I can't let it!)
Then I'll defeat you... And then, Tana…

Ah ha ha ha!
The true soul of a person shows in the hard choices they make. What you decide when the chips are down and time has run out... That is who you truly are! We shall see who you truly are. If you can defeat me, that is.
You cannot escape your fate!
Alright, it's time to fight y-!
Story mode? All that smug and you want to do
story mode?
It's the mode the mirror gave me!
Well yeah, but with the power of ~movie magic~ we can do something a little more interesting than
that.

We can fight Will on
Easy instead.
Easy? Why Easy?
Because this way he only has 17 trillion HP or so, instead of the ~27 trillion of Normal difficulty.
But Lucid had only 24 trillion, we can do—
No.
Why?
Because I
like Lucid's fight. Will is an asshole.
Okay… Power from the future time?
Yep. And there's one more important thing I do before we get started as well:

I call out this Familiar.
Familiar..?
Certain monsters that we defeat drop cards that let us summon them to stick around our side and give us additional stats or effects. These are called Familiars, and this one is a surprise tool to help us later.
Now it's time to kick his butt.
Right. Let's go, Eskalade!

Woah, Magilia… It seems like you're way more powerful all of a sudden. It's because Ollie's in danger, right?
Uh… right! Because a true Battleground Idol fights for her friends!

Unlike Lucid, Will's boss cutin doesn't do much. He just stands there as his book slowly flips pages on its own.

And just like that, the battle is joined. We're able to see several things right off. First of all the boss's lifebar looks weird, we'll come back to that. Second, the eyeballs. They fire two sets of five bullets in the same pair of patterns in the same order. Thirdly, I start lining up my burst—our own attacks will be much harder to see in this fight, because I turned my attack transparency all the way up to the maximum just for this fight. I want to be able to see exactly what Will's doing in order to respond to his attacks.

Literally four seconds later, we're able to see another handful of attacks. The purple orbs are sensor bombs. When we get close to them, they'll stop moving and explode a half second or so later. It's possible to get out of their way, but we have to be moving when we touch them. Will is also reared back, this means he himself will be attacking as well. Lastly, there's those things up at the top of the screen, the red portals. Once formed, they show some sparkles in a column over the battlefield…

BAM. Black columns of wispy doom from above. Will has also launched his attack, and that particular pose is the one we wanted to dodge most. That's because that's Will's "push" attack, the only one of his three personal attacks that is really a problem.
This attack, like it says, pushes us back when it hits. Worse, it also inflicts a status effect.

There's now a little skull over our head. This is because we've been Confused!
Confusion reverses our controls temporarily, and also ensures that we must hold the down arrow key if we want to jump. It's annoying, but if we're facing in the direction we want to move we can still use our Pink Pummel's drill to force ourselves forward regardless.

Lastly, there's this animation. In phase 1, whenever Will adjusts his glasses we want to be behind him
immediately.

This is because he summons an eye tornado that will fly the entire length of the screen, dealing us (70% / 90% / 90%) damage, depending on difficulty. This is the attack that will most often kill us in this phase, as nothing else deals more than 20% damage per hit.
We're at full health so I just ignore this one, but in general we want to dodge it.
Okay, so that's a lot about what Will
does, but how am I actually supposed to BEAT this guy?!
You're not.

It's easy enough.
You have to attack Will simultaneously in 2 separate dimensions. If you collect the moonlight and use it, you can shift to the other side.
The
WHAT now?
On to the next new mechanic: Moonlight!

Up there in the top left, we have a new gauge. This gauge is our moonlight meter. It goes up over time naturally, but the exploding purple orbs and black columns will stop it from regenerating for a moment and the eye bullets will actually
drain a little of it. The moonlight meter's use varies from phase to phase, but in all three phases it's important to try and keep it full-ish.

In this phase, it's how we actually
deplete his healthbar.
Yeah, I was wondering why that wasn't going down.
Like I said, he's in two dimensions at once. This main dimension, and a mirror dimension that he sources power from. You should be able to switch between them if you have enough power.
Okay, but how do I
do that!
Oh, you hit the NPC/Interact key. That's how you do all of the various Things in boss fights, it's like our all-purpose Do Thing Button.
Neat.

When we push the button we swap out which side we're on. The background is purple now, and the lifebars near the top have also changed: purple is a solid color, while the blue is now a gray. Attacking Will now will drain this healthbar instead of the blue one. That light around us is invincibility, when we swap places via Moonlight we're invincible for 3 seconds so we can't die to a random eye tornado already in progress.
But neither of those is his
actual health!
Just hold on, Magilia. This fight is
super annoying to solo.
BRINGING FRIENDS WAS AN OPTION?!

Anyways, we get to work whittling this HP bar down as well. Will uses his last notable attack here, a teleport. It does nothing but remove him from the field for ~3 seconds, during which time we cannot attack him. He will then appear on top of where we were when the teleport started. We're just idling away now waiting for 28:50 on the main timer.
What happens at 28:50?
~Mechanics~
 Will is trying to unlock his power. Find your way to safety.
At 28:50, and every two minutes after that (26:50, 24:50, etc), Will uses a full screen attack on one of the two sides. To avoid it, we have to not be on that screen—we can tell which one is safe because the safe side will have this eye in the background. This means our job is pretty simple: when we see the popup announcing Will's doing his thing, we look at the center of our room. Eye? Safe, do nothing. No eye? Hit moonlight and swap rooms.
That's not threatening at all…
Only because that bastard is yapping…
Back in the day, Melange wouldn't
chime in when it was mechanics time, so you either kept an eye on the timer or just died. Thankfully, this is
not implemented in v251.
This isn't all, though. We have a few moments to wait before the attack has resolved…

And then Will balances his healthbar.
He what? Oh—hey! It went down!
After each power unleash, Will's HP of his lower half heals up to his current HP of his higher half, and this becomes his new remaining HP. We have to damage both sides
evenly in order to progress. This is our primary issue with clearing Normal or above by ourselves, the healing means his HP is effectively much higher than it shows. I
might be able to do it, but it'd be very close.

Anyways, we have 2 minutes to burn through his health bar. I start off with a half burst against purple Will, then whittle him down with normal Trinities.
 The Pupil of Chaos seeks a target. You might be moved.
What's that even mean?!
I mentioned that we're invincible when we swap areas by
Moonlight. That was because of this. Periodically, Will will just swap some people around randomly. We are the only one here, so we're guaranteed to get swapped from blue to purple.

This works out fine for us, since we've gotten purple down
right next to the first HP gate.
HP has
gates now? Can I have one?
Only gate your HP has is the pearly one when you run out, I'm afraid.
Shucks. How do we get past HIS, then?
Mechanics. We'll get to it, Will's fight is very much a test of if you know how Will's fight works. Just punch him with dragons.
Gladly. This is for Ollie!!

We give blue Will our full Burst, and knock him down to the HP gate as well.
He's unlocking his power, again. Look out.
Hey, this is too early! We have another like, 44 seconds!
Will's HP gates are directly related to his full screen attack, so before today we had to wait for the next one in order to have a chance to break it. Instead, we can now get a full screen attack immediately upon
hitting his gate. This does speed up the fight, but the next 2 minute timer always comes based on when the test last finished—this means our next attack is desynced.
Anyways, no eye, swap sides.

After dodging the instant kill, we're then shoved back into a room (randomly purple or blue) with a new
thing in the middle. It's time for a test.
Ah, jeez… I hate tests.
Attack the Pupil to redirect the moonlight. Use this to create the moonlight barrier.
What does that even mean?!
That thingy in the center looks like an eye. Hit it and see what happens.
We actually don't have to. Having Spotlight active means that it'll hit the thing on its own. This is both a good AND a bad thing.

Ah man, it's meteors! This is Magnus all over again!
You beat up that Magnus in two punches, didn't you?!
Still!
Go for the shining ones.
When the thing in the center is hit, it makes meteors rain down over our heads. We need to dodge the black ones (which deal 75% HP damage on hit) and grab one of the shining orbs as it falls. Depending on luck, this can take a few hits. Because we're solo they all appear on our side, but there
are technically still two worlds in this phase—if we were in a party hitting ours would make it rain on their side and vice-versa.
Long ago, to solo this boss we had to set up some kind of summon to attack the thing on this side and then warp over ourselves to catch what we tossed down. Thankfully, this is
not implemented in v251.
On top of the immediate tests I mentioned before… Will is
much less annoying than before.
This is still remarkably annoying!!
Well, yeah. He sucks.

We grab one of the lights and stand inside the shield that is now in the center of the screen. We do have to move a little to avoid the black meteors, but that's not too hard. Now all that's left to do is wait.

Will does his full screen attack (complete with the first actual spider we've seen in all Esfera) and breaks both screens at once. All players outside the moonlight shield are immediately killed, and here's the kicker:
if anyone died at any point from "unleashing his power" to now, he does not ungate his HP and instead recovers some back.
But it's just me… and I survived. So now what?!

The screen cracks…
 Explodes,
 denoting the attack is over… ~27:06 is the time to keep in mind here

You're… a little more skilled than I thought.
You made a big mistake. You tried to kill my
friend.
And Will is stuck for 10 seconds in a mechanical bind state. We can use this to immediately pour damage on going into his next phase, but our burst isn't up yet so I have to just use basic Trinity.
This concludes everything there is to know about part 1 Will. We now have to do this two more times.

The overall strategy here is pretty simple. Moonlight generation varies based on our difficulty level, but even on Hard our moonlight generates quickly enough that we should always be able to swap if we want to. That means we can functionally ignore the balls, bullets, and even the columns, since they won't be able to deal us enough damage to kill us off before our 10 second potion cooldown lets us heal again. The important thing here is staying
just behind Will. Staying behind him ensures he can't hit us with his slaps or his eye tornado, and staying around the middle of the screen ensures that he can't teleport to one side and fling a tornado at us that spans the entire map.
There aren't any mishaps in this phase to talk about. Will is literally a knowledge check, he's impossible if you can't do his tests and kind of free otherwise.

Our burst comes back up, and we drop it on blue Will's head to drain his HP. We're in a rush, though. The timer's at 25:16…

And we blitz Will down as of 25:01. This is actually strange, because 2 minutes from the last attack ending would mean he'd do his healing trick at ~25:06. This means that either the timer starts after his first stun is completed,
or that our bind delayed it by 10 seconds… or both.
The documentation on this boss is not complete enough to know the exact specifics. What matters is that we don't have to dodge more than one screen break attempt this segment.

No eye, we swap to blue…

Hit the eye, grab a yellow, sit in the shield…

Earth shattering kaboom…

Ghh…
Bind phase. Magilia, I want that twink benothinged.
Can do! …What's a twink?
Uh… d-don't you worry about that, Angelic Buster.

The test took long enough that our 60 second halfburst is just coming back up by the time it's over. This lets us take a massive chunk out of blue Will's HP right from the start…

Tornado for tornado! You can't touch me!
I didn't plan for that.
And outside of this moment, where we get cornered by an eye tornado and I opt to use Soul Resonance to keep from having to swap twice, nothing interesting happens from here to the end of the phase.

Eye on our side, we don't swap.

Grab the glowy meteor, sit in the shield.

Screen break, and that's phase 1.
But he's still got health left!
Yeah, that doesn't matter.
Wha?

I can see… this will take a little more…
effort.
It's over, Will!
No… it's not.
Will is serious now. Perhaps his true intentions will be reflected within the mirror.

My world…
my rules.

The second phase starts off with me going right into a burst rotation, but before I can bind him Will slaps down a spiderweb barrier. This barrier is only visible on the lower half of the screen on both sides of it, but if we touch it we die. Period. That's -1 life unless we're invincible at the time.
It doesn't move, but Will still has his push attack to shove us into the thing so we need to be careful.
 Beware of his true form reflected in the mirror. Use collected moonlight to break the curse keeping you from healing.
While Magilia's beating the snot out of Will for the next ten or so seconds, let's cover the overarching mechanics in phase 2 real quick. First and foremost: the screen ends halfway down, and we can see a reflection of both ourselves and Will down there. Some attacks, like the eyeballs and half of the columns, will hit in the top world. Some attacks, like the webs and those spider legs (which are also the exact same as the columns up top) come from the bottom. Our mirror self and our normal self can both take hits, which will deal us damage.
This is a problem, because we do have our healing turned off. Will's second phase shuts off every normal form of healing, including skills that heal us. There's only one exception to this:
 Familiars.
 Familiars are not coded into KMS, as they are exclusive to servers outside of the main one. Because of this, there are some oversights in phases that turn off healing. HP Familiars like our Red Shadow can heal us for 5% HP every 10 seconds. This gives us some additional staying power, though it's still not ideal. For emergency healing, we can pop our Moonlight to break the curse and heal for around 10 seconds. It's enough to heal exactly twice if we use the first one right after activating the moonlight.

Will still has his attacks as well, with the lower Will miming the upper Will with every movement.

He can also dive into the mirror and have his mirror self dash—we can jump over this, but it thankfully doesn't push us around at all.

He can also summon one of his stupid six-legged spiders to crawl across the screen. We can jump over this one as well, and were we not invincible I would do so since it deals 20% HP damage.
I love idol privilege sometimes.

All of Will's personal attacks in this phase can be upjumped, which makes it easy to time a dodge. We also have one final advantage because we're playing solo: we can kind of ignore one of the mechanics he'll try and use against us in this phase.

Sometimes, Will winds up to make one of his attacks, but his
lower self doesn't move.
That means he's using a feint, and the actual hurtbox is going to be
behind Will.

Like so.
My plan failed again… How did you get out of the way?
I was the only person to swing at. You were suspicious from the start.
While this can throw off parties of players who aren't paying close attention, in a solo fight like this we're always holding aggro so he will only ever strike in our direction. It's just a neat parlor trick here.
Anyways, we continue punching him until we hit the first HP gate at the 50% mark.
 The Mirror of Lies reverses attacks. When the crack appears, face the attack.
It's test time. This is the single greatest hurdle to clearing Will, if you can do the phase 2 test you can clear this boss for sure—in a party, at least. The test starts by clearing off everything on the screen.
This wasn't always the case, it was possible before for the side webs to stick around going
into the test, cutting off the corner of the screen completely.

The test is remarkably simple. We have to deal with five sets of attacks (later reduced to three), each attack having three groups of legs raining down from above and below. In this phase it's most important to keep an eye on the floor. If the floor is normal, we hide in this corner. The legs have a handful of patterns they can fall in, and none of them
ever hit the extreme left of the screen.

This changes when the floor is cracked.
Uhh… sparkles right over me, about to get hit??

…Oh! I'm fine?
When the floor's cracked, we get damaged if we
don't get hit by the legs. This is the hardest part, as we have to move to where the legs are going to land very quickly. After a while you just kind of get a feel for the patterns, but until then Will phase 2 will be a massive pain. Messing up deals 90% HP damage, and like in phase 1 everyone needs to survive to clear the gate. If anyone dies, the test continues until it's done and then Will recovers some HP.
I see… so that's how it works!
Once again, you're navigating past my schemes… You think you have a chance of winning like this?
Of course! I'm going to stop you and save Ollie for sure!

Surviving his test gives Will another 10 second stun and unblocks his HP. I want to be a little careful in this phase, since I
really want to have my Burst up going into phase 3.
Wait, there's a phase 3?!
Surely you didn't think I'd let things end here, did you..?

My burst winds up bringing him relatively low, and his test is ~30s to a minute, so eyeballing it we should be fine to bump him over the finish line here. We just have to be careful and remember to keep healing. Moonlight in this phase is pretty generous unless we're making zero effort to dodge anything.

Test time again. It's still easy. This is really the worst part about Will—more than any other MapleStory boss, Will
does not respect your time. The fastest you can clear him (assuming a near-instant 0-test of every section) is still over five minutes, and his tests are both mind numbingly easy and also hideously punishing if you just try and autopilot them…
He's
really annoying, basically, and this is somehow worse than the
actual badly designed bosses that came before him.

And now he's stuck in his stun again. Unlike phase 1, here we
do have to punch down the rest of his HP to end the phase. We could pause here if we needed our burst to finish coming off of cooldown, but we're ready for phase 3 so let's just punch him in the face.
Couldn't agree more.
That... is… IT.
 Will has lost his composure. The path to the heart of Mirror World is laid bare.
Congratulations,
Adversary. I've decided to
crush you.
You can't crush me! An idol's spirit is boundless!

For phase 3, Will loses his glasses. This is how you can tell he's trying, but also it means it is now alright to punch him in the face.

The moment we enter, Will
opens with one of his most dangerous attacks. He transforms into a giant spider (becoming invincible for the duration), and because his eyes are orange, two legs are raised, and he's a little bit low I already know the secret to survival:

I
stand still and prep burst. If we move too far once the attack starts, we will die.

While we're binding and chopping through his health, let's cover the important bits of
this phase.
Spider legs are still coming down from overhead, but there's safe spots in various places throughout the room now where they'll never land. One of them is
roughly where the yellow mark on the screen is, which is where we'll want to hang out most of the time. That spot also dodges the vast majority of the eye bullets (which also still exist!) as a bonus. The purple bombs are also still around, those I usually just kind of ignore… but we
do want to keep our Moonlight up in this phase. That's because of the webs.
On the outside of the screen, webs have filled in. As long as we are under one of the webs we take constant damage and are inflicted with Skill Lock, preventing us from using any of our abilities. Over time, the webs will grow in and close off parts of the screen, preventing us from using them. This functionally puts the fight on a timer. Our moonlight is used to extend this timer a little bit and keep us in the fight.

Once he's unbound, Will immediately goes for his other Giant Spider attack. White eyes, one leg raised, and he's raised his body up high. I immediately pop my sparkle burst iframe, but in most circumstances we want to be ready to flash jump or dash instead.

That's because
this attack spawns the leg right on top of where you are. Both this leg and the other giant spider leg attack deal 70%/90%/100% HP based on difficulty, but even if it won't kill us on easy mode I still don't wanna lose most of my health at once.
Will himself will also use normal attacks in this phase, transforming into a spider to smack us. There's only one of these normal attacks that we need to worry about…

And that is this one. Note the reared back stance and the crossed over legs.

This is his Push attack, and it is the thing that will
actually kill you in this phase. Like in every other phase it shoves us backwards and reverses our controls. Unlike every other phase, it shoves us
into the ring of webs on the outside of the map, turning off our skills and damaging us further. Worse for us, this boss's attack cooldowns are spaced out such that he usually uses this attack shortly before using his white Giant Spider attack, meaning we're going to have to dodge a thing appearing instantly on our location while skill locked and with backwards controls.
This is
possible, but I've never done it. Much like phase 1 of Lucid, sometimes Will will just kill you.
Unlike phase 1 of Lucid, that's only if this attack hits you.

Will's final attack is this green orb, which chooses a random person in the party to surround in a gunky green poison aura.

While we're surrounded by the poison aura, we deal damage to any
other players who are near us. We
must attack the boss while poisoned, as failing to do so for seven seconds will instantly kill us. If we die while poisoned, the poison goes to another party member and our gravestone also emits a poisoning aura that will damage other members for a short while. In exchange for this, we gain a 30% Final Damage bonus.
Without party members, this translates to: "A 30% Final Damage bonus, but we have to keep hitting the boss or we die." That's just a buff.
Hah! Looks like your plans have gone awry, Will!
You cannot even begin to comprehend the barest fathom of my true plans!

While dodging one of the single spike leg attacks, I wind up on the top platform with a mostly-full Moonlight gauge and decide to use it. Activating Moonlight in this phase surrounds us with a golden aura that will make us temporarily immune to the effects of the encroaching spider webs.

It also burns away the first two webs we touch, giving us more time before the webs cover the entire screen and leave us with nowhere to go.
This gives us a very basic pattern to deal with: Punch Will. Avoid the big attacks, continue punching Will. Whenever Moonlight gets full enough, pop it and burn two webs before returning to punching Will.
This sounds very simple! The problem is in the execution.

So we punch.

And we avoid the big spike attack.

And we burn away webs.

And we dash back in onto the push attack which shoves us into the webs with reversed controls.
So we pray for No Big Spike.
Oof..!
It's fine, you've still got plenty of lives left.
That doesn't mean I have to like getting hit!

We get out of that situation before he does his next big spike, so it's fine. Still, the main problem with Will is the time limit meaning you take risks, which gets you hit, which gets you dead.
Patience is often important in Maple bossing.
I am very bad at patience, and it gets me killed frequently.


By the time we're below 60% health, we're already getting a big web on the left hand side. This means that side is running out of room, as it doesn't spawn until near the end of the webbing pattern since webs can only spawn next to other webs. My moonlight is a bit high for this phase as well, we really want to be keeping it as low as possible from constant use. We're still making decent time, though—we shouldn't be in any danger of getting webbed out of the fight.

Unfortunately, while trying to clear webs I stop looking at Will. This lets him shove us into the webs again.

That leaves us in this position: Skill Locked with the Big Spike coming down.
Our only hope here is to walk to the right at full tilt and jump at the perfect time, which will let us just barely dodge the spike.

I still cannot execute this jump.

That was a cheap shot!
It was a surgical strike to your weakness. You should've expected that if you were so intent on angering me.
Oh, that is IT. Eskalade, we're kicking this twink's butt!
Great attitude, but… seriously, please stop calling him that.

Our next Burst rotation is lucky enough to happen during a poison aura, so we're able to cut his remaining HP nearly in half all at once. Around two or three more minutes of focused damage should let us finish him off…

…Which is good, because I mistime another big spike and lose a second life. The basic strategy in Will is to conserve all your lives through the easier parts 1 and 2 in order to spend them here to get more damage in part 3, but usually you want to save them in
this part as well until you get to the very end.

I then make another stupid mistake around a minute later and focus on clearing webs during the poison aura phase, because I had forgotten about the "must attack" rule.

Which is another death.

This is starting to get really annoying…
It's alright, Tear. We're good to go.

The second I revive, it's time to fire off another burst rotation. No poison, but it's still a lot of damage.

You are… strong. Truly strong. I admit it, I may have underestimated you, Adversary.
That's because I'm the Battleground Idol, Angelic Buster! And remember it!

Because there's no way in heck I'd lose to someone who doesn't know how many legs a spider has!

Upon defeating Easy Will, a couple of achievements pop up for us—you get achievements for beating a boss for the first time, and I've never bothered with this difficulty level before just now.
Will himself crackles with power a little longer…

Which then
explodes.

Before he collapses, kneeling on the ground.
Ghhh…

And there goes that power… Man, I can't wait 'til I actually
have it.
It's still your power either way. You always have had it. Just have to learn how to USE it.
With the fight over, we're finally free to do something about the ritual. But does Angelic Buster really have it in her to save Tana? And what's with that strange red nodestone?
Oh nuts, this sounds just like a cliffhanger.
That's because it is.
Video: vs Will
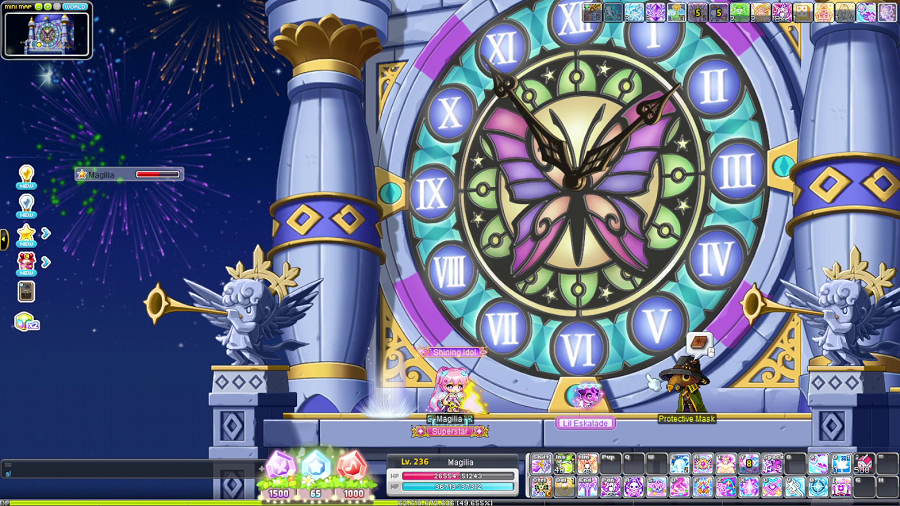
 I... think it's over. But the barrier around the city isn't gone yet.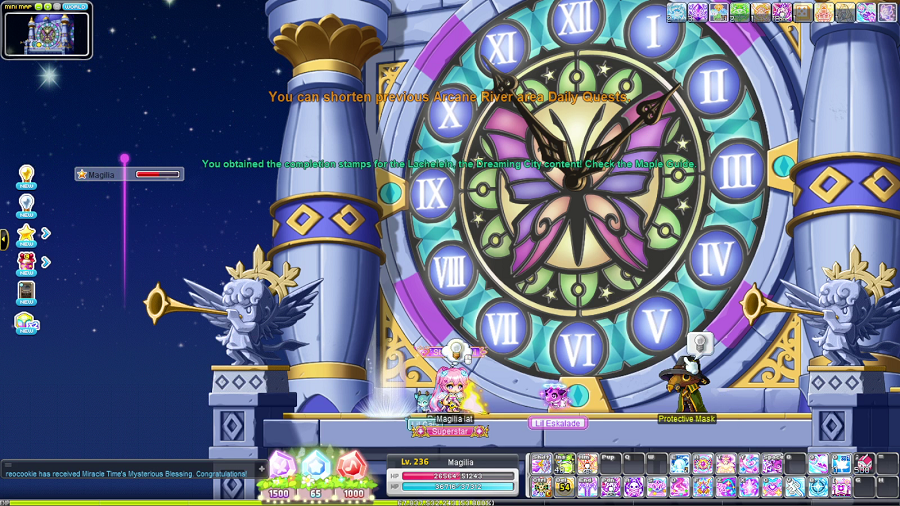
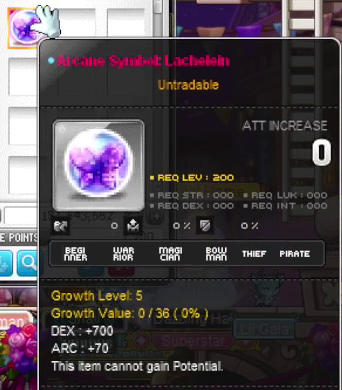
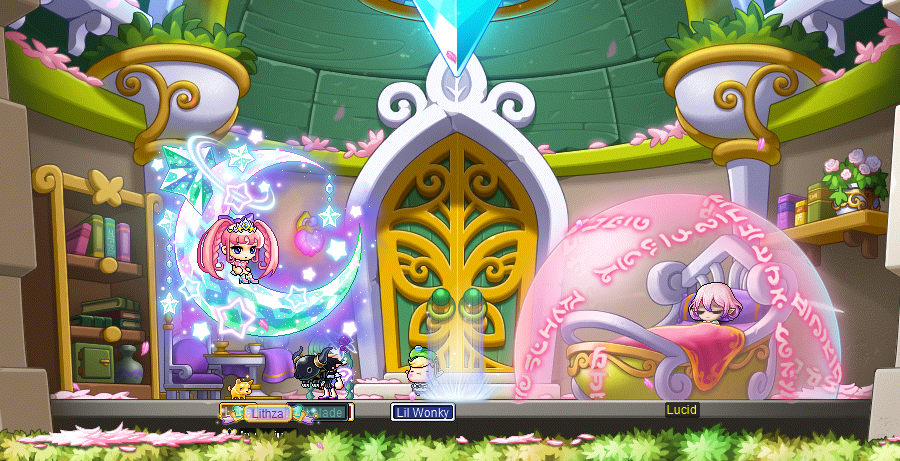





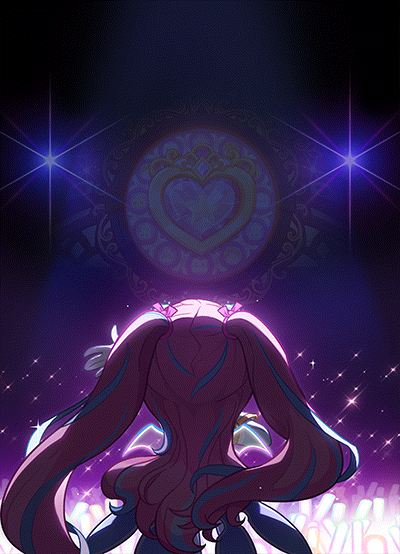


 ONE MORE SONG! ONE MORE SONG!


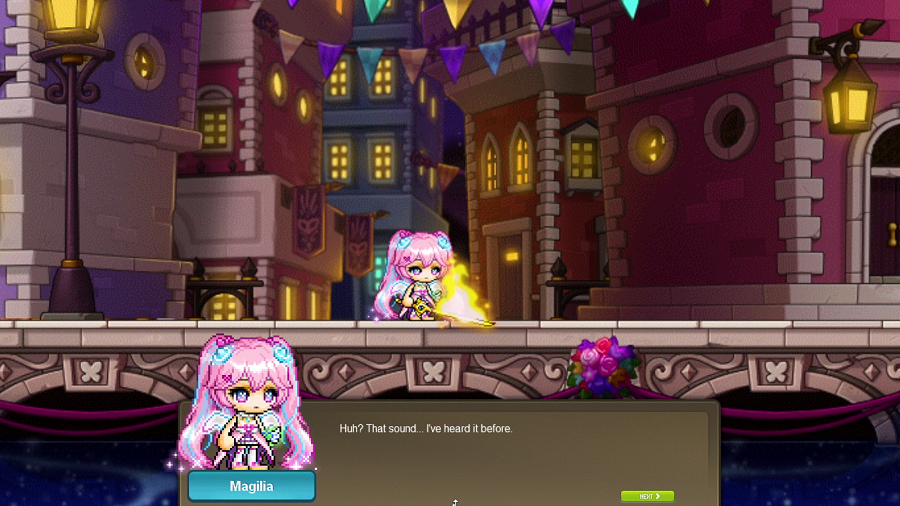
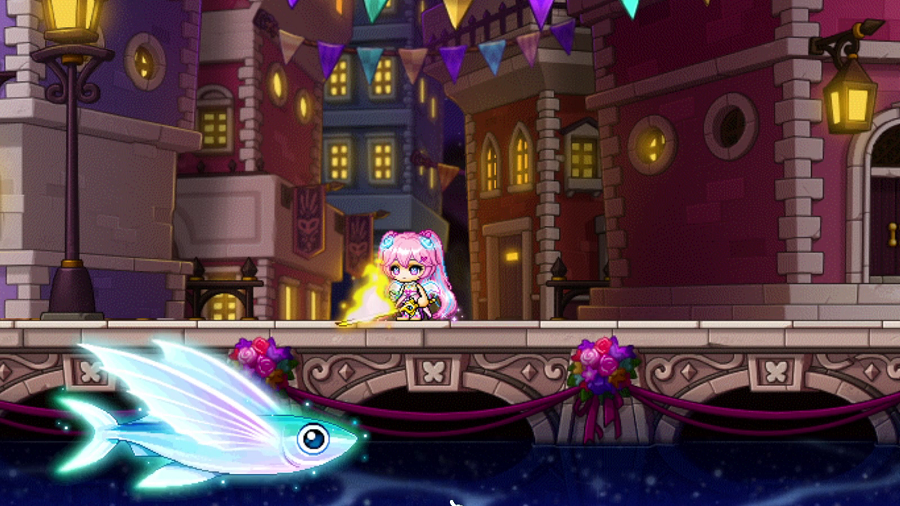
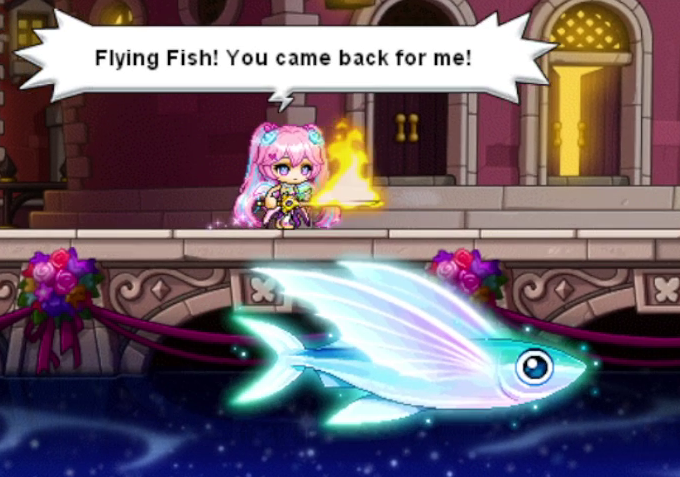
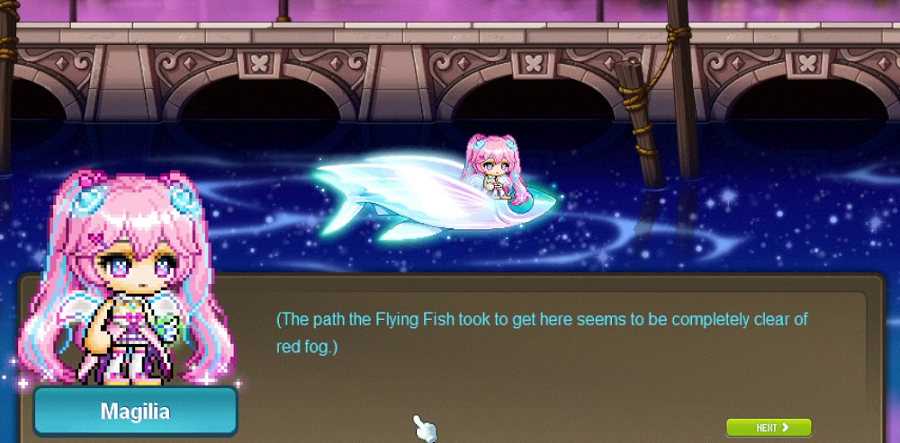
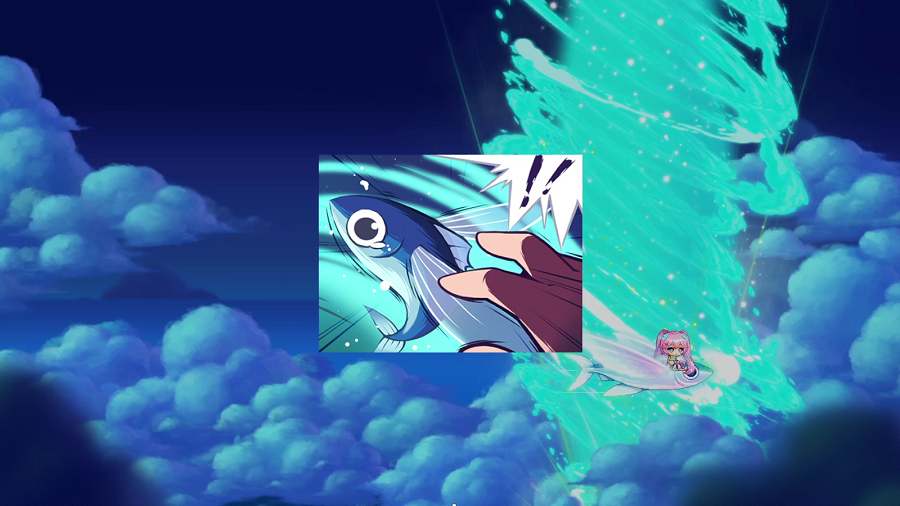


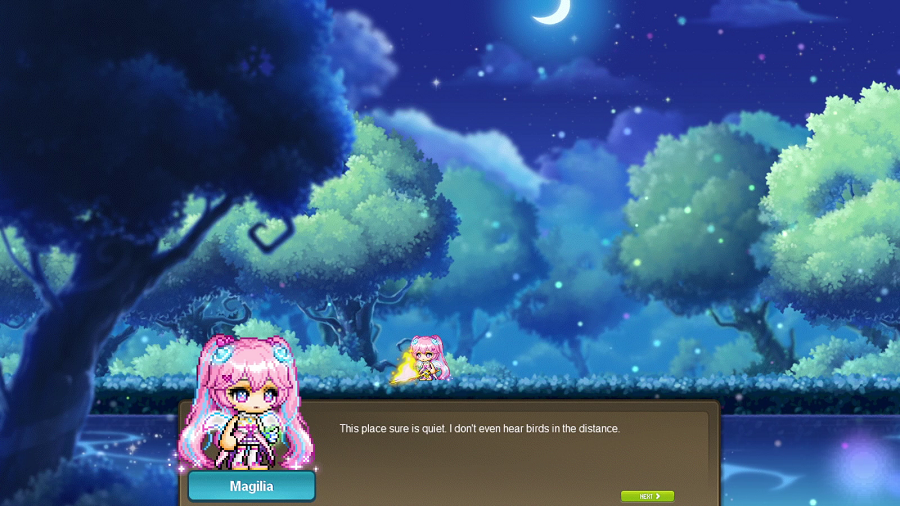
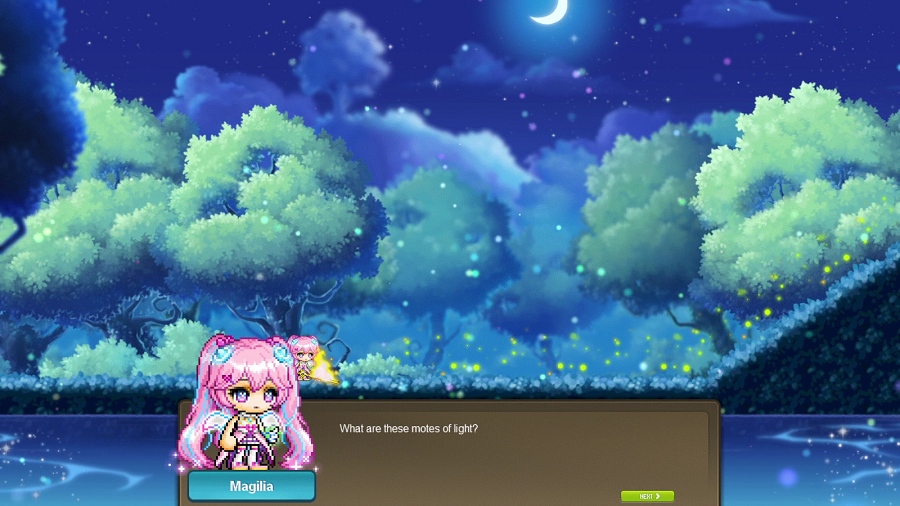
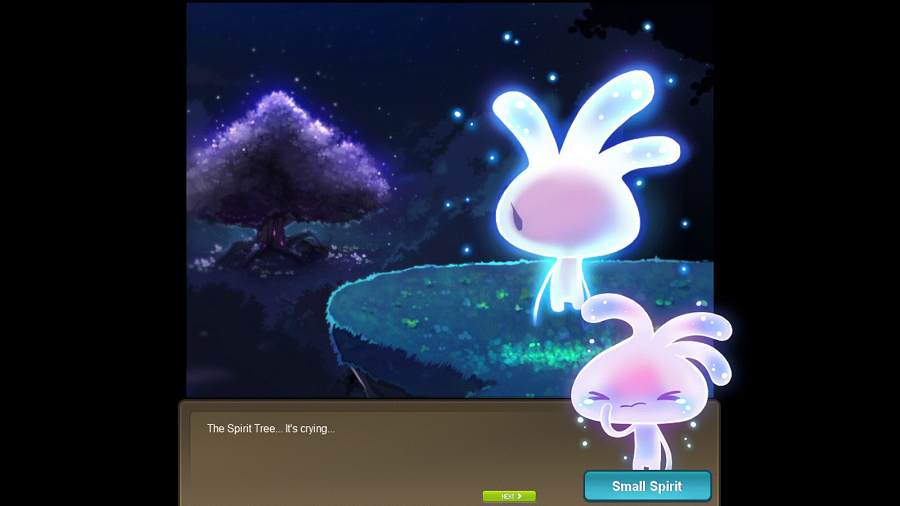
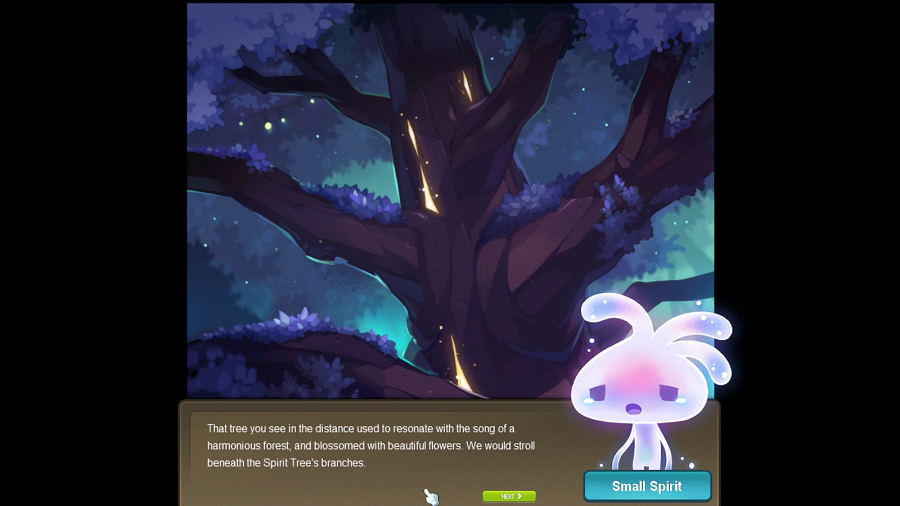
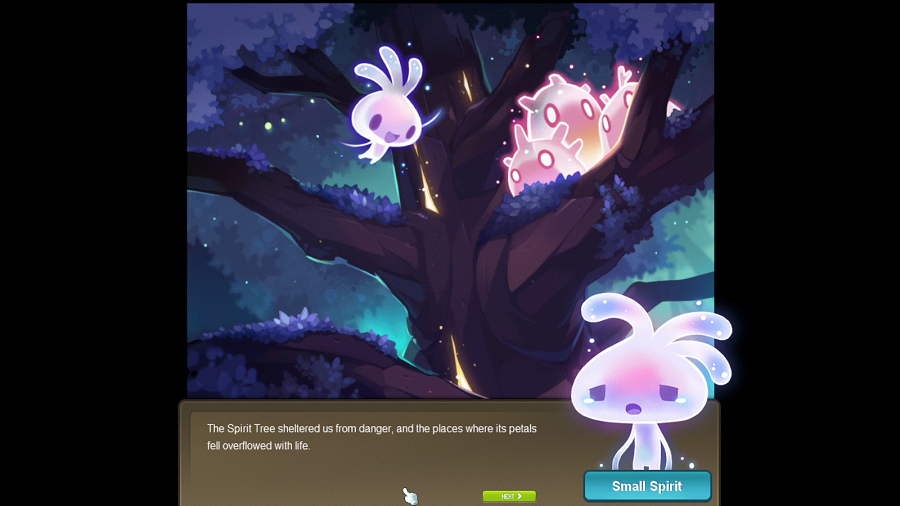
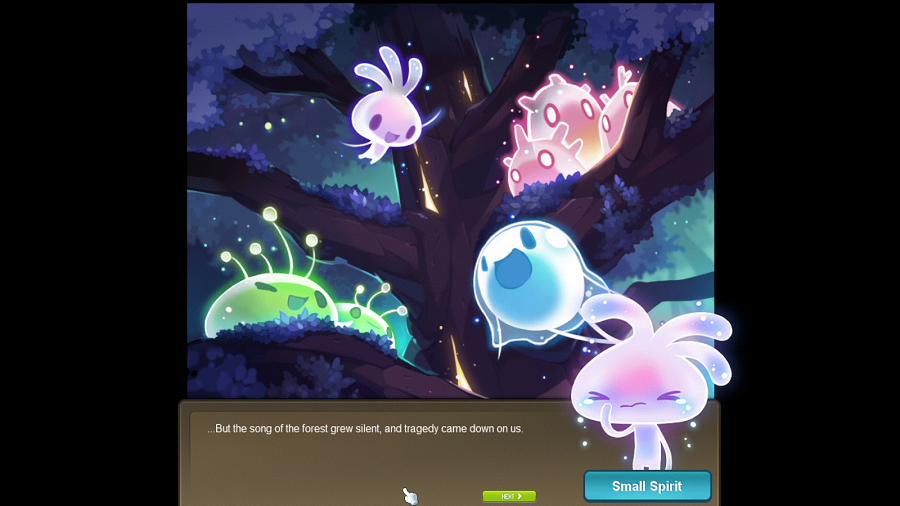
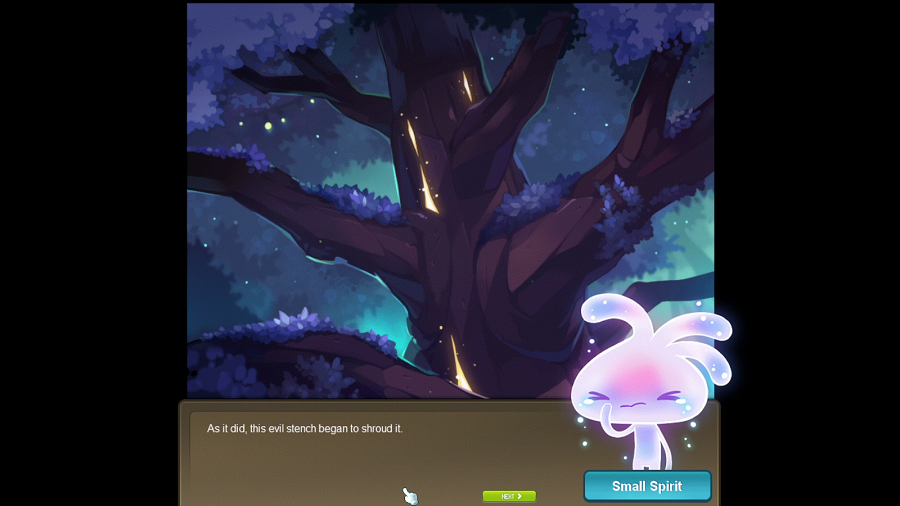
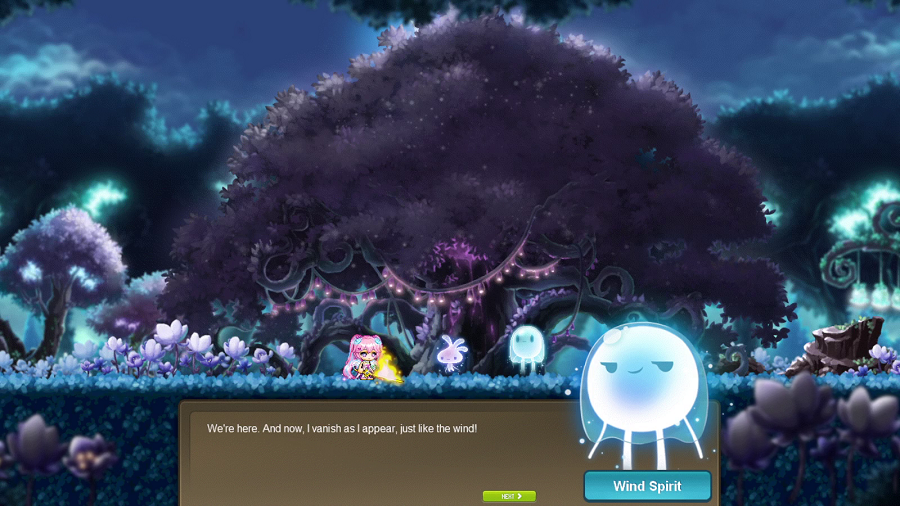
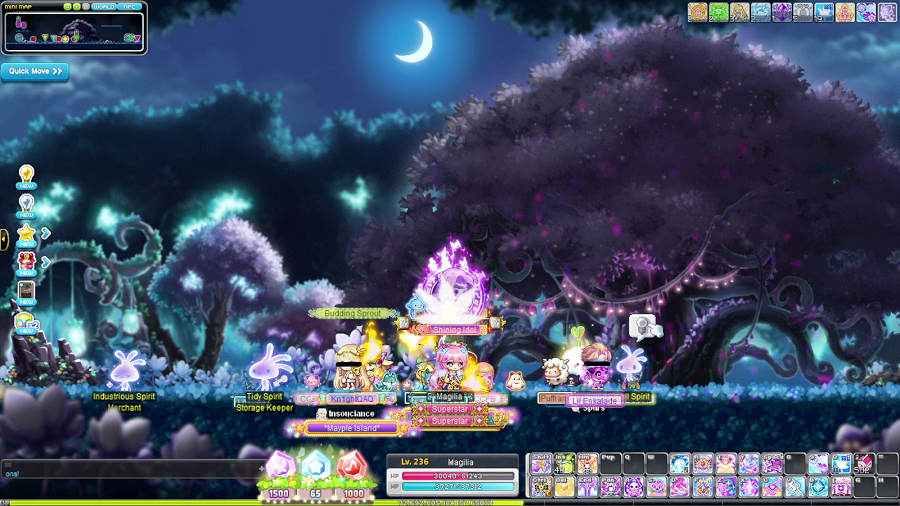
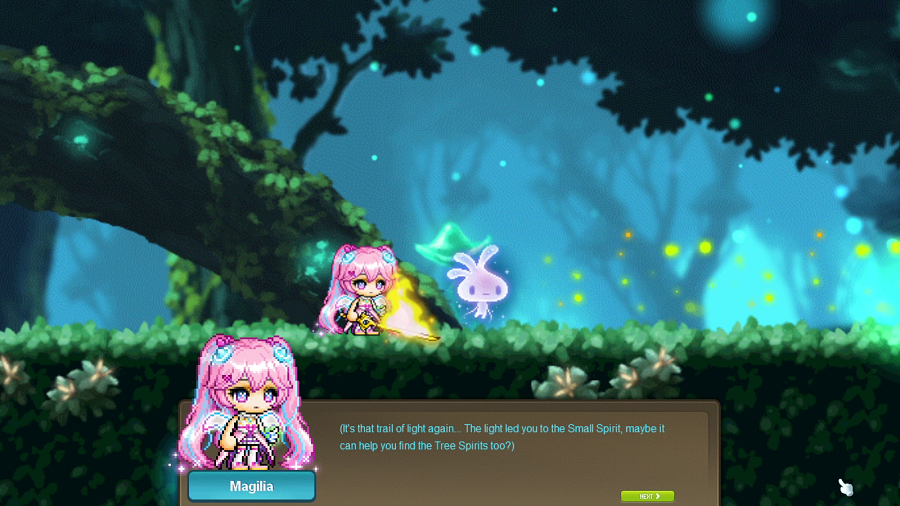
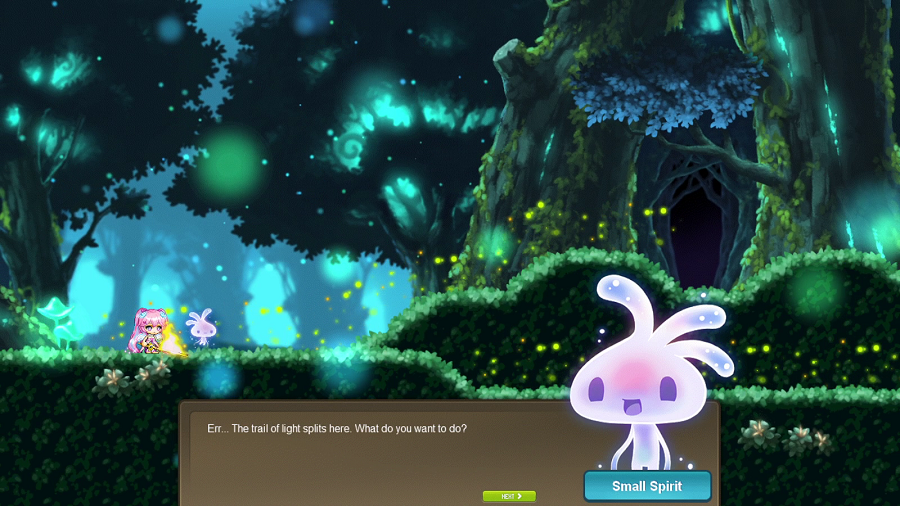
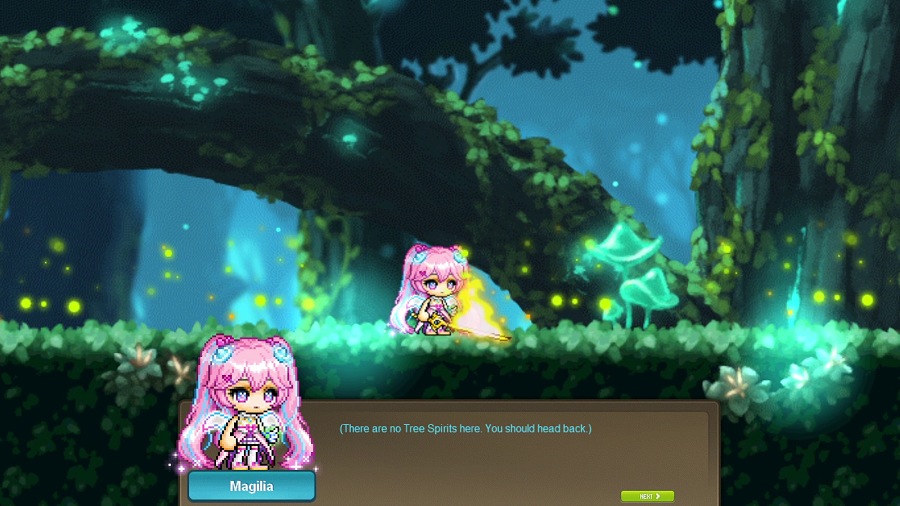
 The Spirit Tree... It's crying…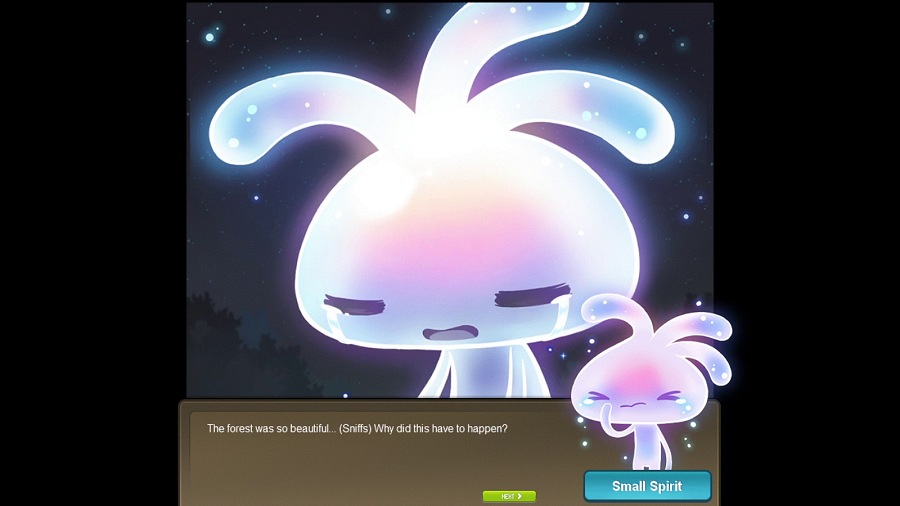
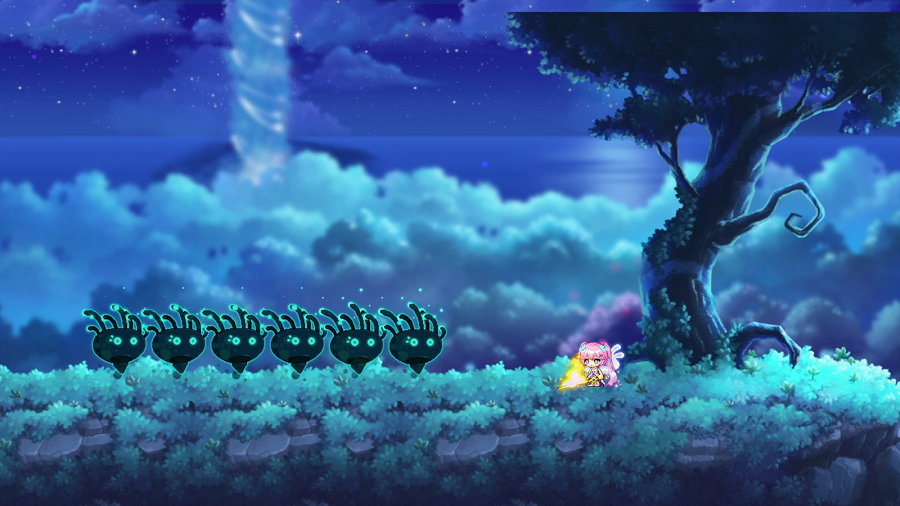
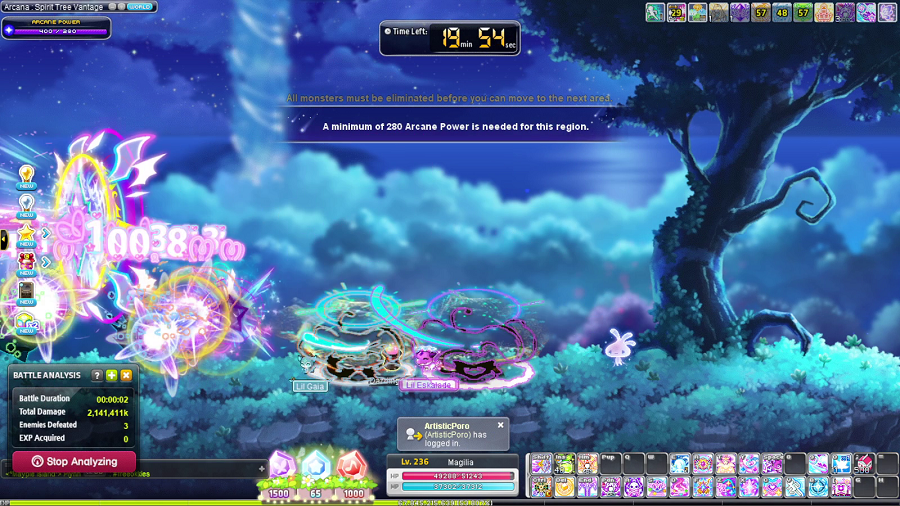
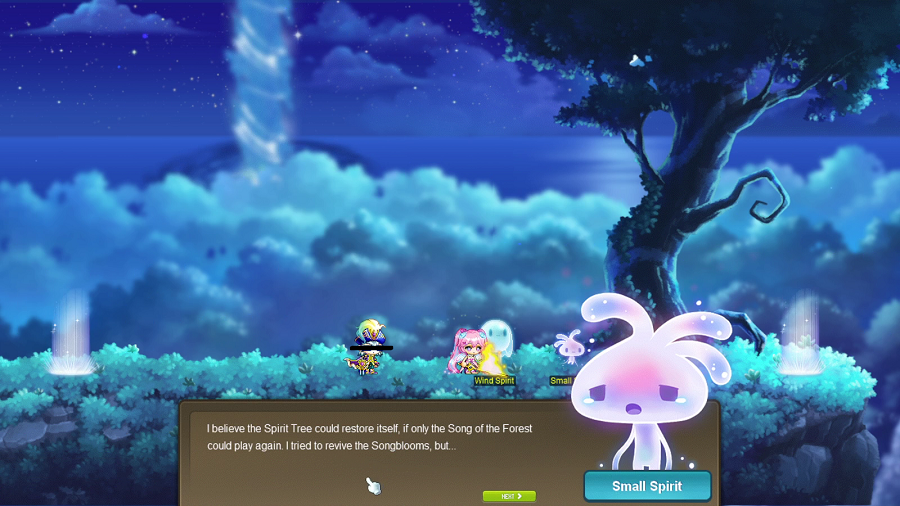
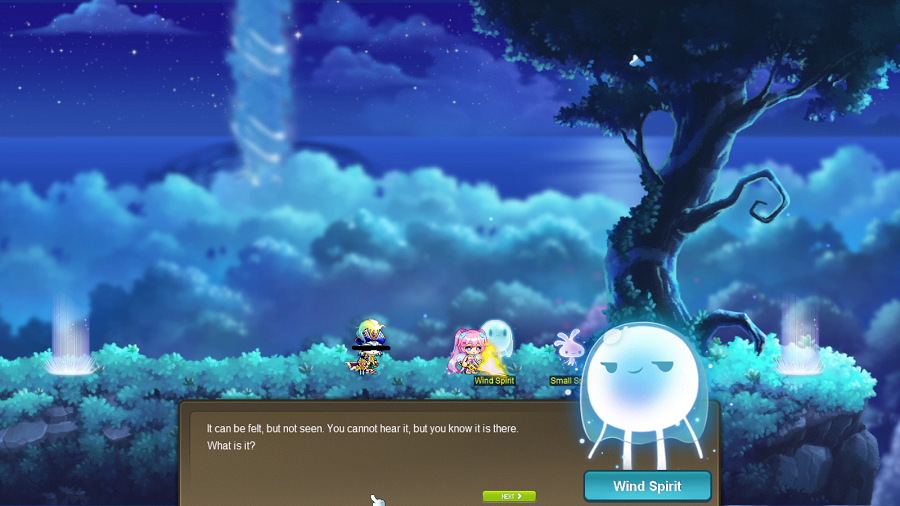
 It can be felt, but not seen. You cannot hear it, but you know it is there. What is it?

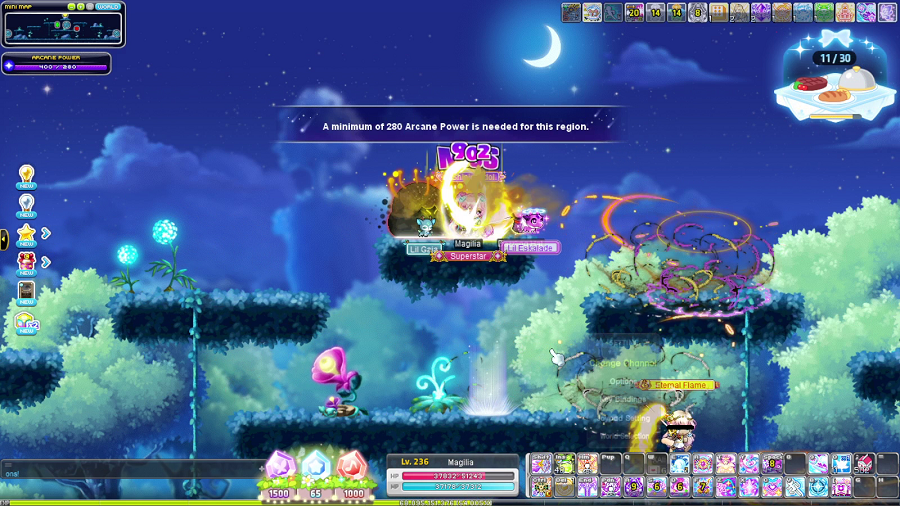
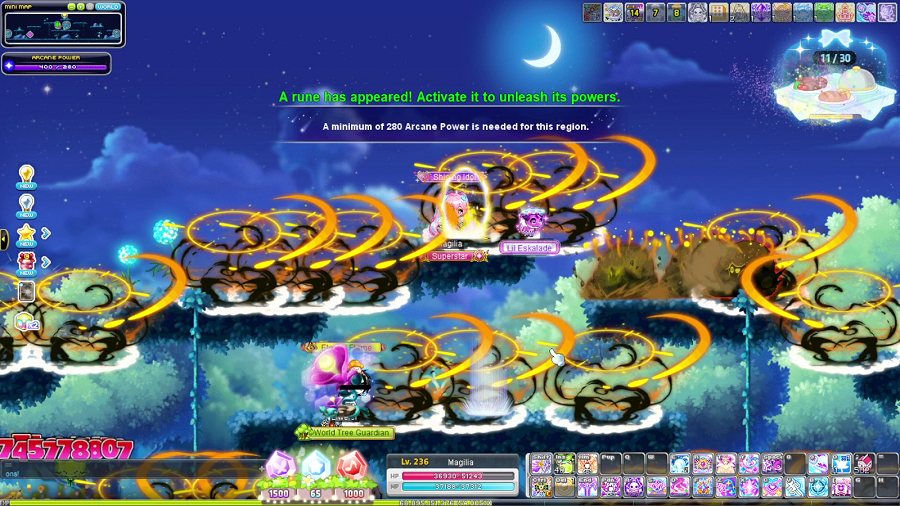
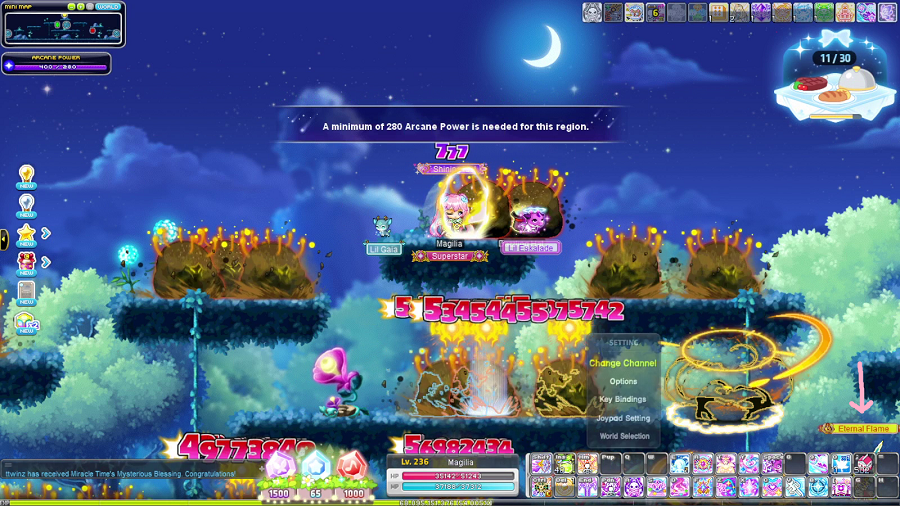
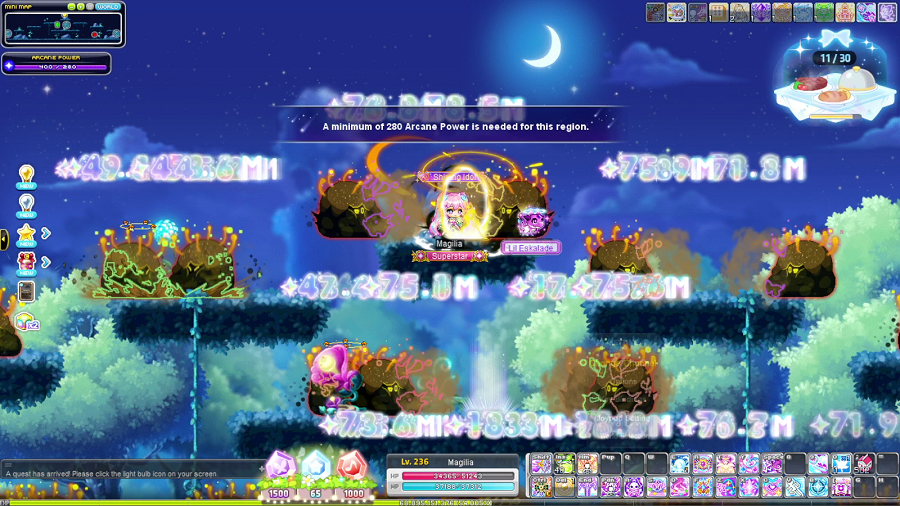
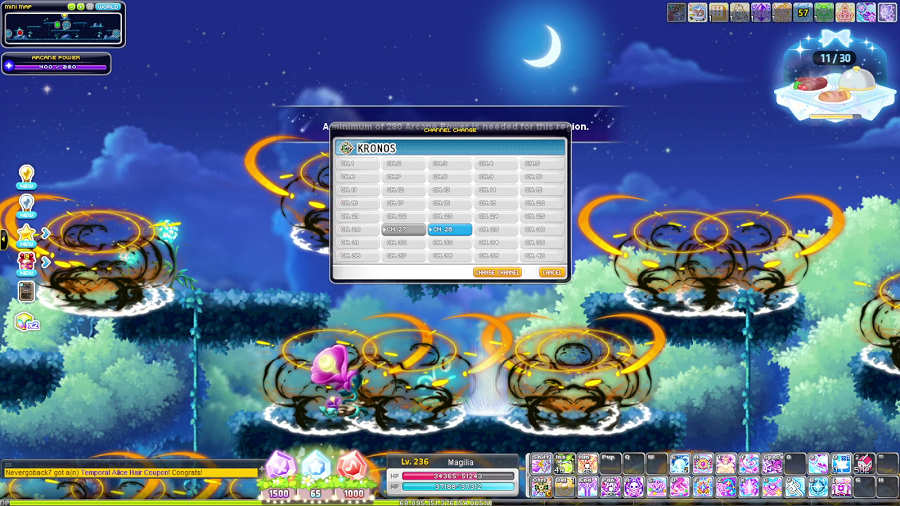
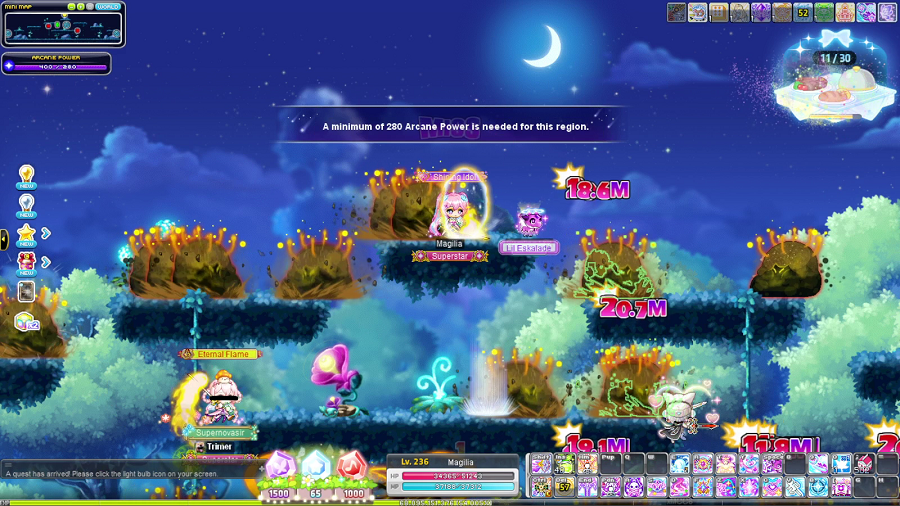
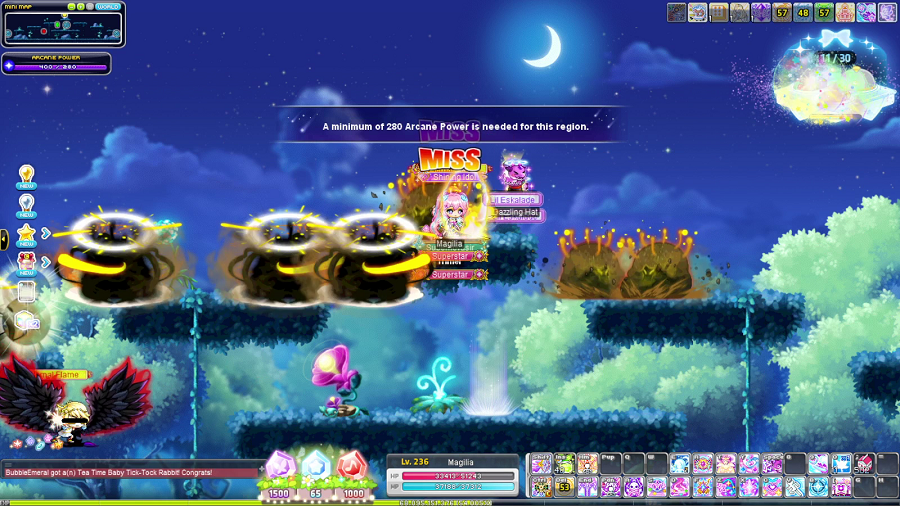

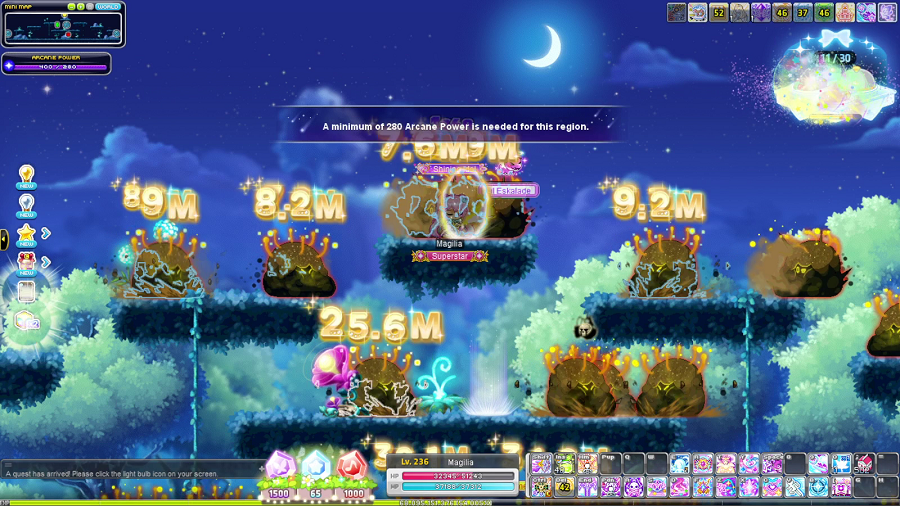



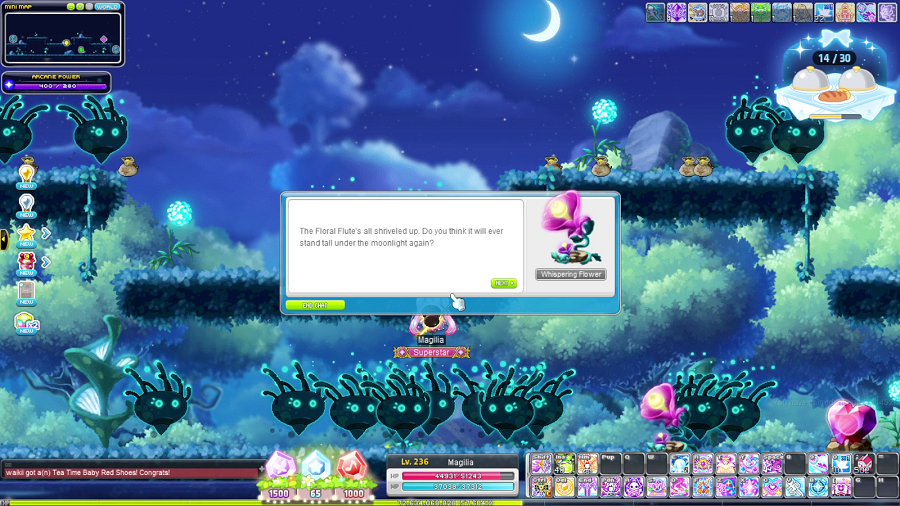

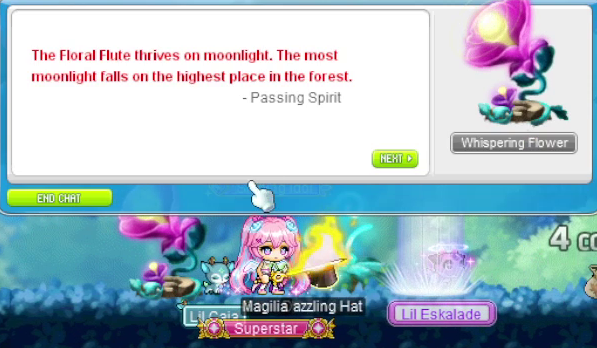
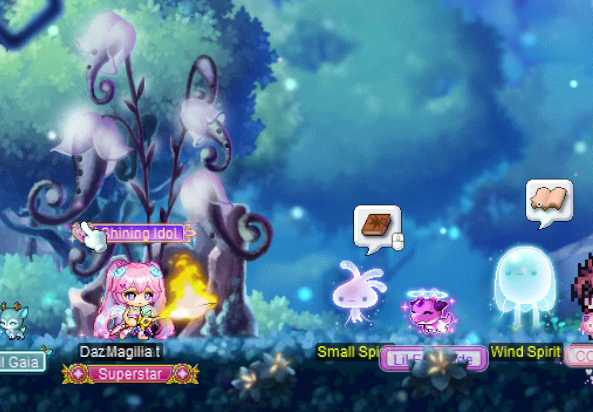
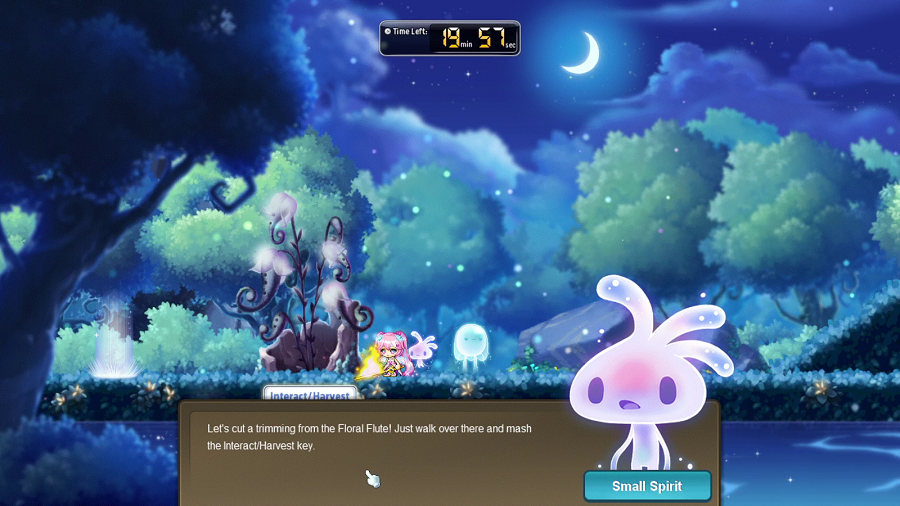





 We caught the stranger!


 Ug… Ugh..! Can someone hewp me?


 Ugh…
Ugh…


 Bloop!


 Auugh.
 Your mental state appears to be deteriorating.
 Who... uugh... Who are you? Who am I? Augh... Why do I hurt?


 A bit more to the right…
 Slowly... slowly…


 Heheh! Thanks Shey! I‘ll be sure to put this money to good use!


 Hey, old man. Did you not hear me, or are you just stupid? I said pay up! You want a primo market spot, you've gotta fork over the dough.
 W-well, you see, business has been down l-lately…


 Yes, there was a survivor. I'd be happy to tell you, but…


 I'm fine.


 Humans have a remarkable stubbornness that defies even grievous injury.


 This is the girl that will bring me immortality?


 Arkarium…


 Blasted idol… When did you get so strong?


 Yeah... It's not budging.
 Should we just blow it up? I've got a bunch of explosives!


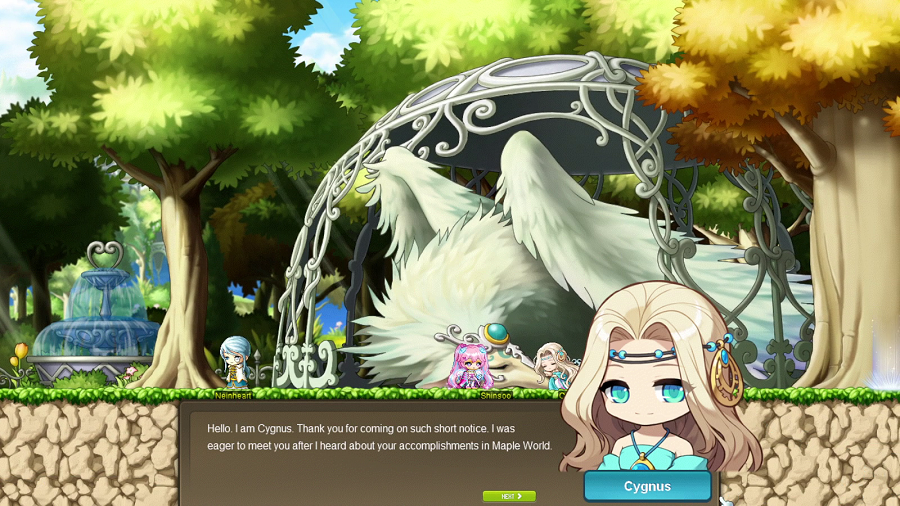


 Bzzzzzt... Bzzzt... Can... hear... but... commu…


 Not sure…
 As prophesied. Two names. Two reserved.
 Two reserved. Two names.


 …
…


 ...is exceptionally strong, but tries to shoulder the burdens of the whole world. They don't have to save everyone themselves, but they keep trying, no matter what.


 Not necessary.


 Who's there?!
 Oh, it's just you, Neinheart. And you're with Magilia. Sorry I almost jabbed you there. Patrolling has me on edge.
 I don't know about that, but I know we need all the help we can get. Monsters are mounting bigger and bigger attacks, and these chains…


 A dark shadow has appeared, blotting out the light…


 Welcome, Neinheart and Magilia. It's good to see you safe and sound.


 Welcome, Neinheart... and Magilia.


 Even if we defeat the Black Mage, if our world is destroyed in this cataclysm… it'll be all for nothing.


 It's been a while, Magilia! You're looking like a right captain yourself now.


 So, the time has come.
 It's time for battle, isn't it, Neinheart?

 I must say, I've never been on an expedition to a sun before. Rather exciting, isn't it, Belle?
 Brighton, we're not going on a picnic! Be serious.

 Calm down, everyone.


 We've reached the barrier. W... wait... What is that?!


 C-Claudine... Something about the enemies in the fog here is... wrong.

 Yes, captain!
 Kyrin, the fog has grown thicker. It won't be long before we lose all visibility.


 Only the ships near the White Spear survived. Of hundreds, a few remain.


 Magilia... Save us…


 …
…


 I knew it. You really are something else.
 Tuesday Night Prog is brought to you tonight by our fine friends at Final Fantasy XIV. Have you heard of the critically acclaimed MMORPG Final Fantasy XIV with an expanded free trial which you can play through the entirety of A Realm Reborn, and the award-winning Heavensward and Stormblood expansions up to level 70 for free with no restrictions on playtime?!


 Well, my obedient little bees did manage to propel me to the top of the most popular Arcadion fighter poll, and I thought it was only right to give a li'l something back after all that hard work.
  Honey B. You've been getting quite ahead of yourself lately, haven't you? Challenging me, after what I did to you last time?


 !!!!!
!!!!!


 This is what happens when you use powers you only barely comprehend.


 Neinheart, are you all right? It looks like the White Spear is still in combat…


 Wing Master Orchid... Or perhaps not. Why have you sought me out?


 You didn't think you could just stroll right up there, did you?
 You fools! Eee hee hee hee!
 Target located. Eliminate.
 Two of you against five of us... Hardly a fair fight. I'll take you both myself!
 Ha, don't be like that. Let's share!


 Adversary! You have made it this far! Impressive.
