I didn't even remember the wand of lightning existed, let alone know that you could do that with it, wow. I don't think I've seen great sword drops either, too bad money's basically worthless now.
Anyways fuck the third floor of the White Tower, it's one of those things where screenshots and texts can't really convey just how obnoxious going through it is, especially if you had the "brilliant" idea to just go visit Yvel first for the sake of having to go into the White Tower only once. Seriously, just double dip the dungeon, nothing's worth hard moding a floor full of wraiths and etherial apparitions.
[SSLP] mrw the acid burns my armor, Let's Play Lands of Lore: The Throne of Chaos! [Finished]
Man that was a lot of undead. Your party surely could have brought an exorcist or two here, heh.
Really weird that the crucible for this really important elixir is just a statue head.
Kind of fitting for the wizard to use a magic wand like a long range infinite ammo weapon, if not exactly "balanced".
Besides that, yeah, the tower is really starting to wear out its welcome. It just feels like an incoherent dungeon they built just for the sake of adding "content" and extending the game. It could've been cool if they were more coherent and had less obnoxious design, but as it is, umm, yeah.
Last edited by Count Revier on Mon Aug 12, 2024 12:08 am, edited 1 time in total.
The White Tower is considerably less complex than the mines yet some how much more obnoxious to go through. What always gets me is how ridiculously easy the first two floors are, and then Level 3 has you being attacked by uber Wraiths in all cardinal directions. I considered grabbing more screens to demonstrate just how many of these guys you have to fight, but I feel like I established the point well enough without a dozen extra violet tinted fight scenes. One thing I could have shown better there is a lot of the time you'll be trawling through the floor and suddenly your team starts dying from an enemy in the wall.
Sadly, this is not the last dungeon we have to deal with where we fight hoards of obnoxious uber enemies, and the second instance of this does not give us any special weapons to make it easier. It'll be a grand old time for sure.
Sadly, this is not the last dungeon we have to deal with where we fight hoards of obnoxious uber enemies, and the second instance of this does not give us any special weapons to make it easier. It'll be a grand old time for sure.
Small spur of the moment bonus update for today! I don't think I adequately showed off just how perilous the third floor of the White Tower can be, so I recorded a quick sampler of what it looks like if you enter this place WITHOUT the Vaelen's Cube.
Doing this on Ferocious either requires quick movement and good luck, or about an hour of turtling as you thin out the Wraiths. Pick your poison there. Oh and in case you're wondering, as far as I'm aware there are only two Emerald Blades in the game, so someone has to sit combat out, and this place is extra miserable if your main is Kieran or Ak'shel. It's technically possible to get a third, but not until quite a bit after we clear this area.
Doing this on Ferocious either requires quick movement and good luck, or about an hour of turtling as you thin out the Wraiths. Pick your poison there. Oh and in case you're wondering, as far as I'm aware there are only two Emerald Blades in the game, so someone has to sit combat out, and this place is extra miserable if your main is Kieran or Ak'shel. It's technically possible to get a third, but not until quite a bit after we clear this area.
Yep, there's the misery of the cubeless White Tower 3F experience. Anyways, caught this bit from lurking SA and I'd figure I'd chime in;
From what I remember the stuff in the CD version that bodied you really hard bodied you about as hard in the floppy version so I'd think that if they did increase the difficulty between versions they did it in a way that's harder to pick up on through casual observation, like increasing evasion or attack speed. It doesn't help that the bit on the talk page is extremely vague and I'm certainly not going to trawl through a twitter account to see if there's anything pertinent there.Cullen wrote: I saw a bit of hearsay on the Wikipedia talk page for this game that stated the floppy version was criticized for having really easy combat, and they adjusted the CD version to be tougher (presumably by making the enemies hit harder). I've never played the floppy version, so I can only guess how true that is, but it would certainly explain why this area is suddenly so busted against the player.
Update 17, Mid-City Fiesta
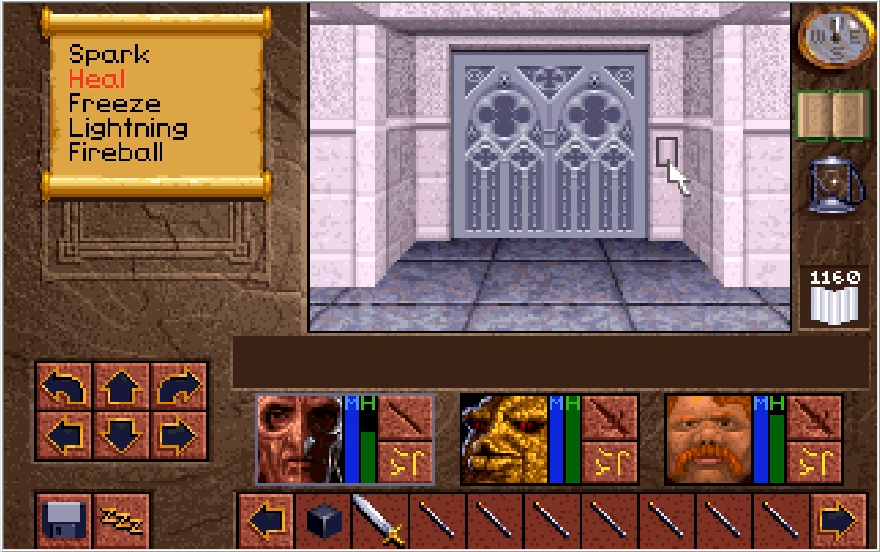
You thought we were done with this place? Well for the most part we are, but there is one more optional thing we can do, which I honestly wouldn't recommend bothering with. Wouldn't be much of an LP though if I took that attitude, so I'm returning to White Tower Level 3 with the Crucible of Faith to get the last door on the floor opened.
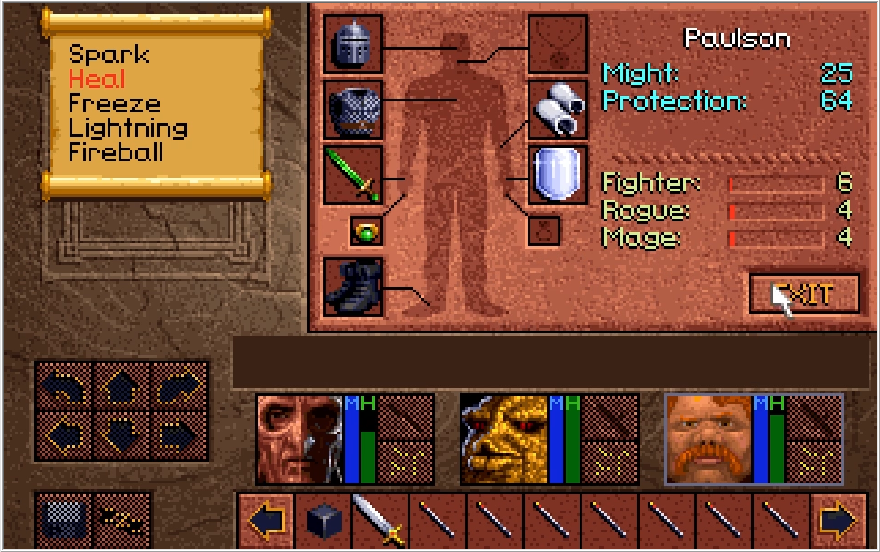
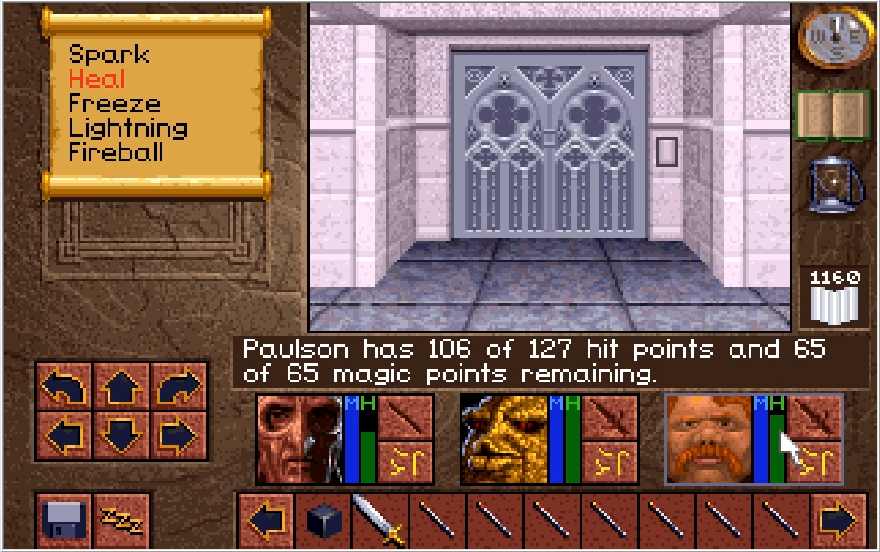
I took about 10 minutes to grind out Paulson's Fighter level so we don't have to deal with a half full level 5 gauge anymore, and he rewarded me with a mediocre amount of HP gained. This is probably the best place to polish off that level for Paulson since the Emerald Blade kind of ignores conventional damage dealing rules and allows him to actually get somewhat decent exp off of the Wraiths. Not that it really matters since I didn't bother doing that for my Kieran file and that's going to be taking over on Update 19. But I refuse to let that effort I took getting exp with the Emerald Blade in Update 16 to go to waste!
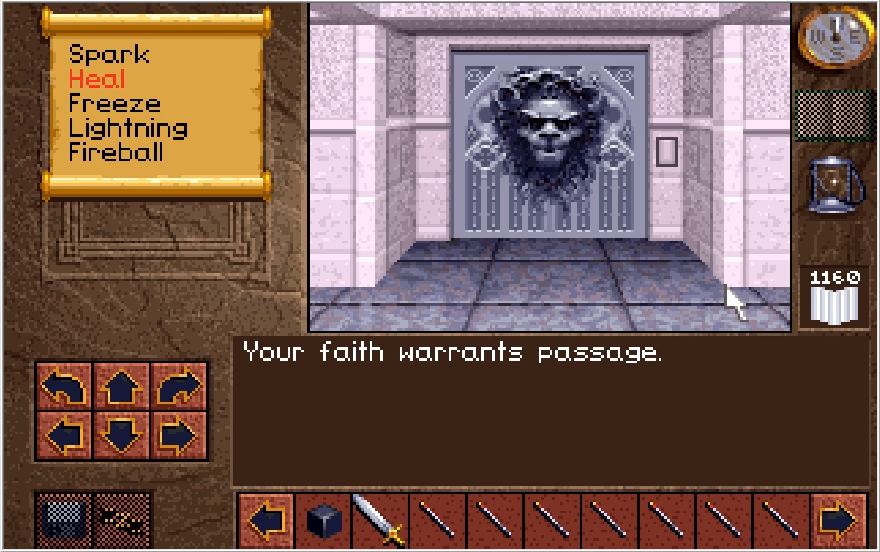
With that tangent out of the way, Simba here rewards us for collecting a trophy of faith and opens up to reveal the rewards he held within.
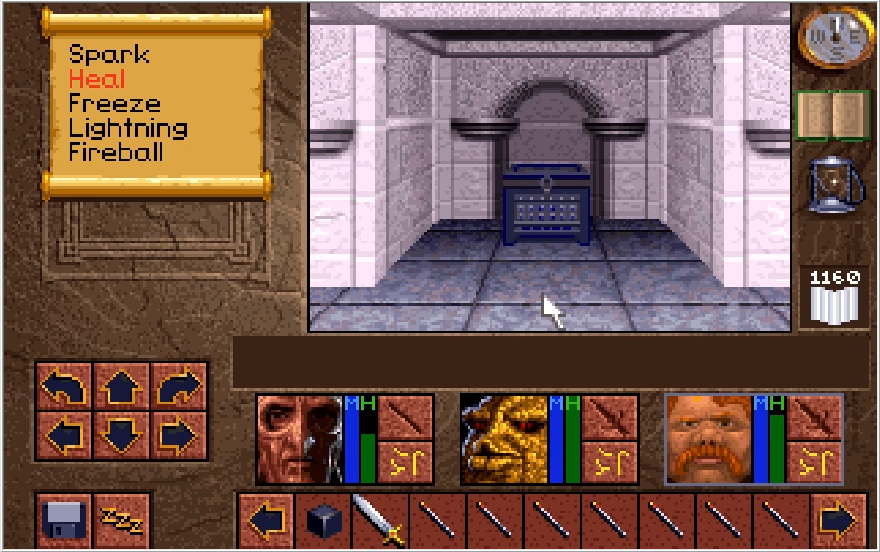
Past the door is a small forked hallway with a chest at each end. When you open one of these chests, the other chest will disappear. The rewards in these chests are quite terrible, so I'm not sure why this is a mutually exclusive choice.
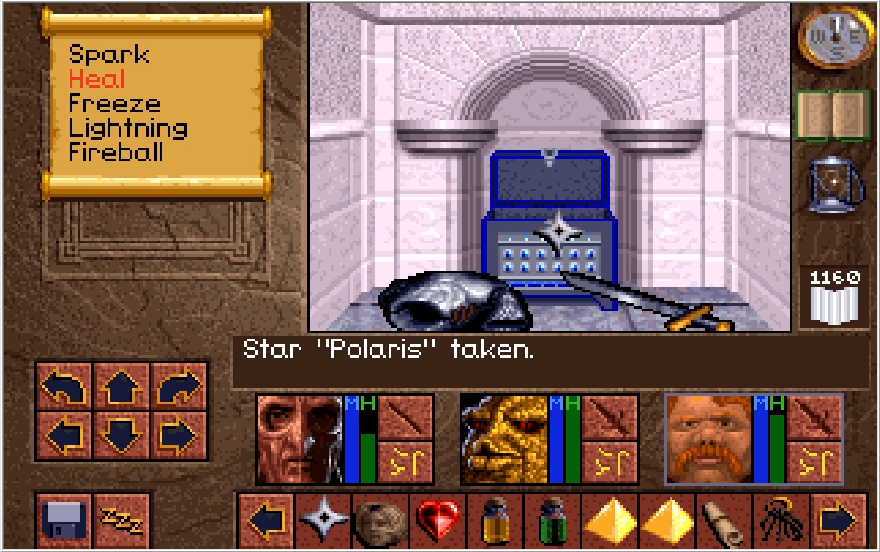
The northern chest contains a Star "Polaris" (another vanilla shuriken with slightly higher might, terrible), a THIRD Rapier "Talon" (terrible) and a Dwarvish Chain Mail. (Same thing Ak'shel has at the moment) This is actually a decent upgrade for Baccata... but we will be finding equal or better armor in the next area we go to, rendering it pretty pointless.
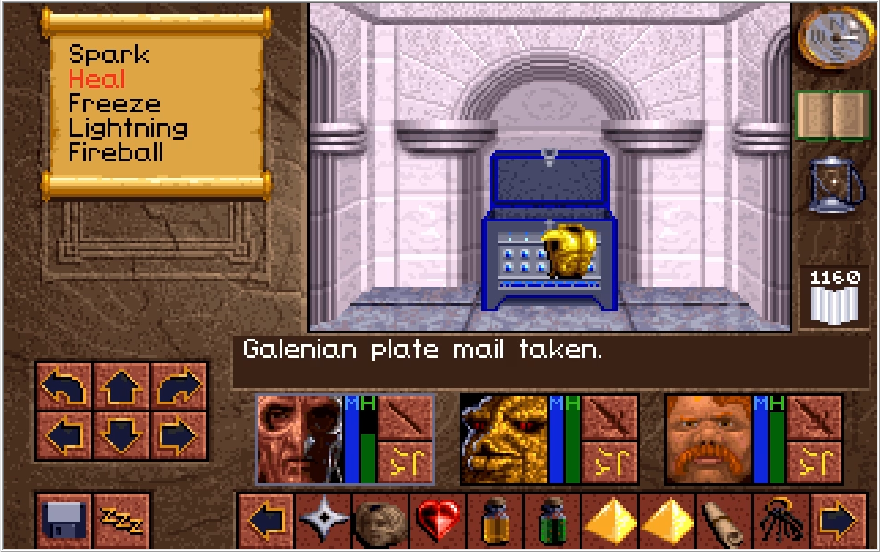
The east chest contains a Galenian Plate Mail, which has the same protection value as the Dwarvish Chain Mail and is thus equally pointless.
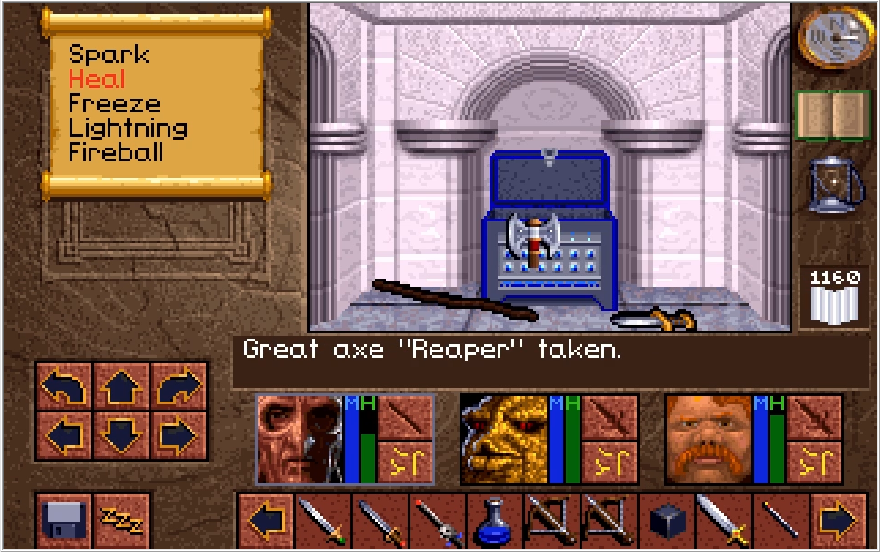
It also contains an Arbalest (we'll find a stronger one in the next area we go to) and a Great Axe "Reaper". Despite the badass name, that Great Axe is a horrible weapon, weaker than both of the weapons we've gotten from the bosses in this dungeon that required far less effort to get to. Still, we can sell this junk so I sub them in for some trash items I'm hauling.
I would like to point out before we leave, there is one more special weapon in the White Tower I neglected to get because I straight up forgot about it. You can get a Bow "Gemini" if you head towards the chest in the hall loop outside the faith door without weighing down the pressure plates. For some reason, the Bow disappears if you weigh down the plates to get to the Lightning Wand chest without grabbing it beforehand. It's a special Bow that fires two arrows at once, but it's only stronger than the CBV if both arrows hit which is far from a guarantee.
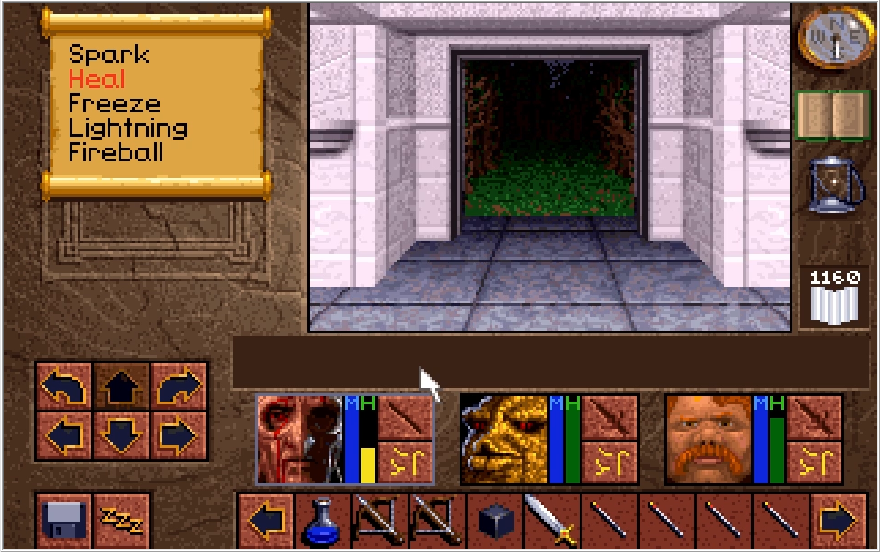
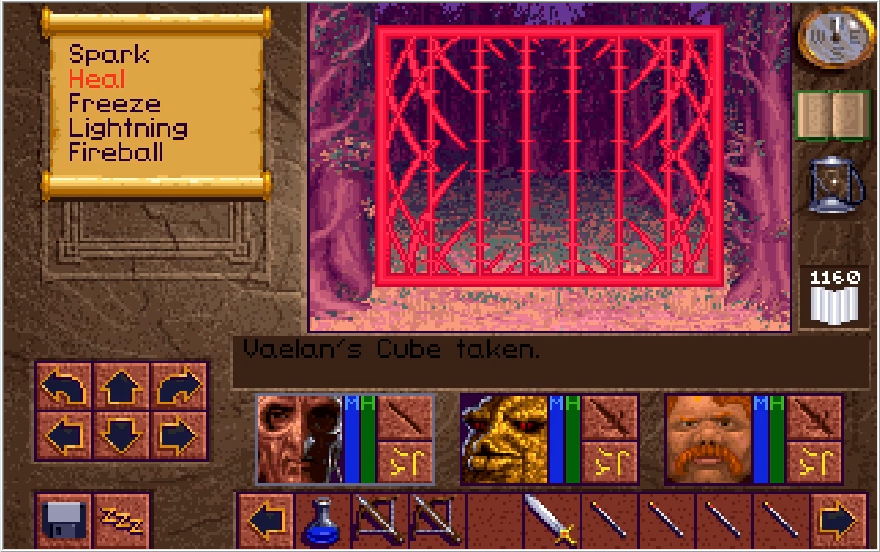
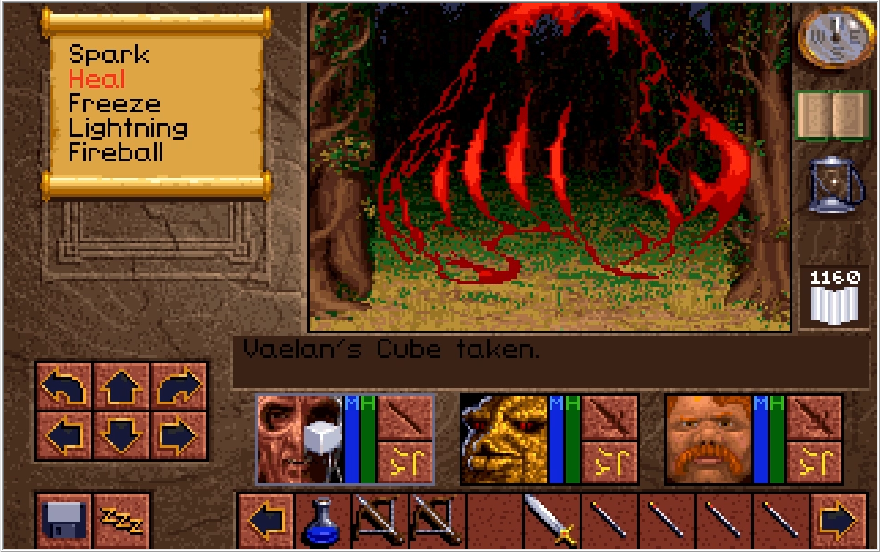
With that taken care of, we can finally pop the second Scotia barrier. Again, woe unto the poor sods who did this before completing the White Tower Level 3.
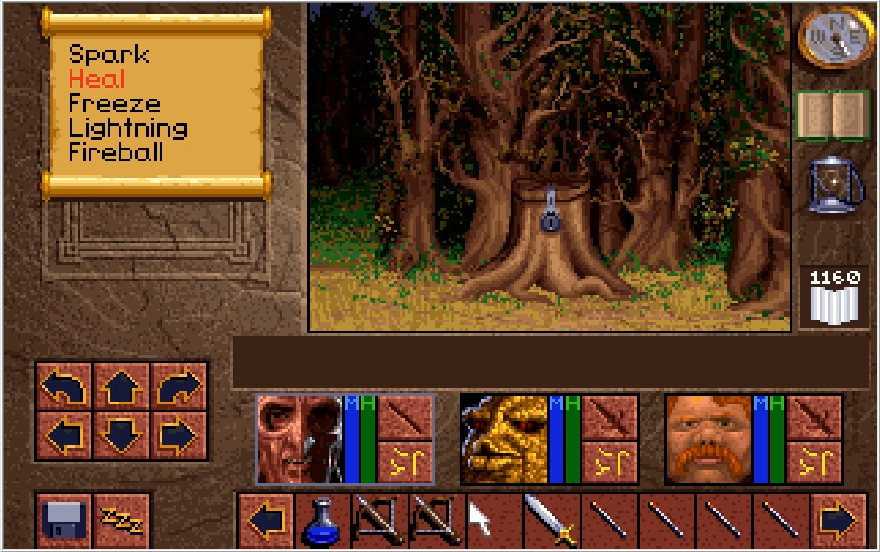
We need to head west to reach our destination, but there is a chest to grab if you bear east first.
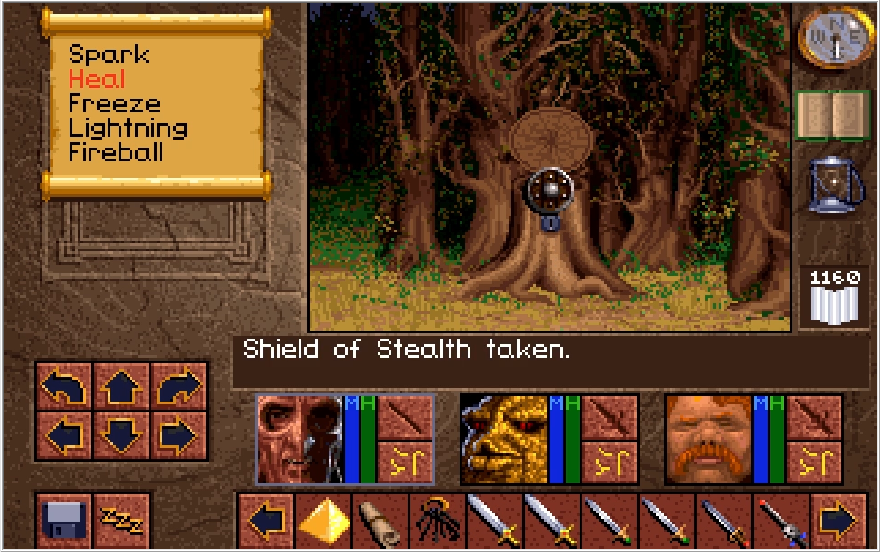
We get a Shield of Stealth for our first spoil. This is a part of a set of equipment geared towards stealth. Supposedly, equipping all the equipment in the set makes the wearer harder to see and detect. In practice, these are a bunch of low protection early game armors that don't seem to do anything for the wearer beyond making them eat shit. I am genuinely unsure if these actually do anything, since it didn't seem to affect anything the one time I equipped a character with them.
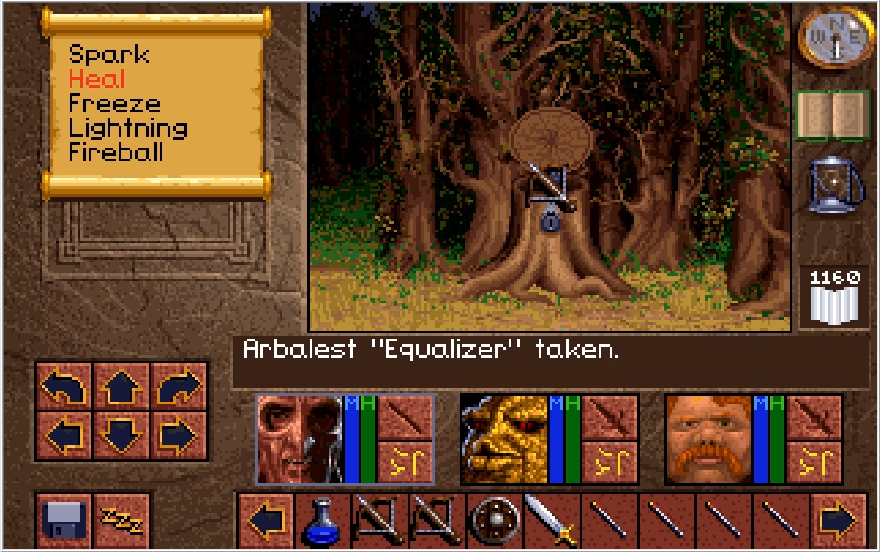
The chest also contains the Arbalest Equalizer. This is not the superior Arbalest I alluded to earlier, but it does have an interesting effect. The Equalizer has the unbelievably powerful ability of... always missing its shots, meaning that picking it up and throwing it will deal more damage than wielding it. I love how the few named weapons with actual effects almost always do something terrible or useless. These pieces of garbage are the only thing this chest has.
With that vendor trash grabbed, we can now head west and make our way to the city of Yvel!
Music: City of Yvel
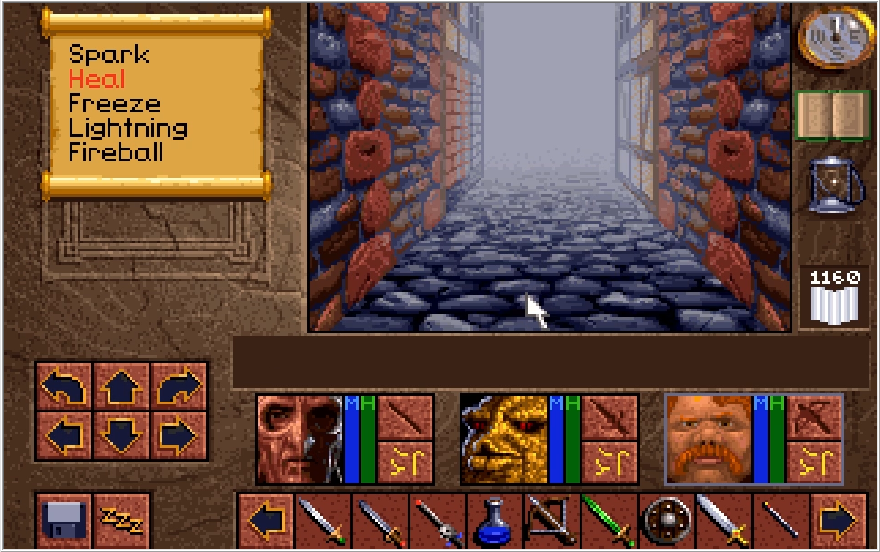
Between the music and the foggy streets devoid of any life, this place is actually kind of creepy. That being said, there are no threats, puzzles or traps to worry about in this area so I'll just quickly get us along to the points of interest.
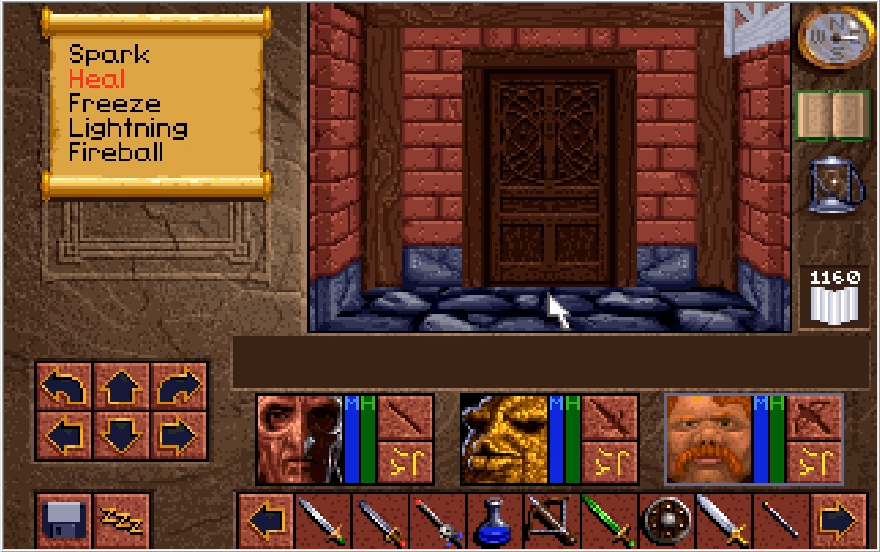
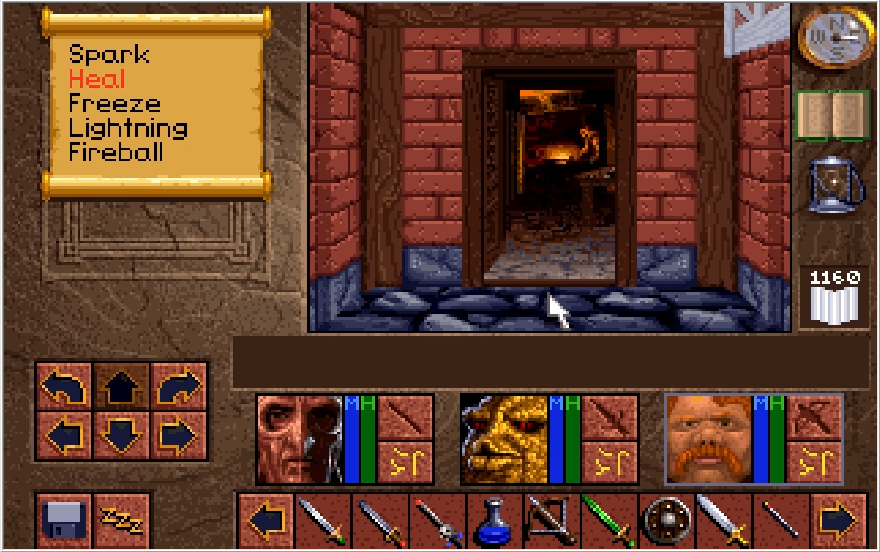
Heading east and turning north at the first fork in the path will allow us to find this door nestled in a corner. Looks like someone is in here.

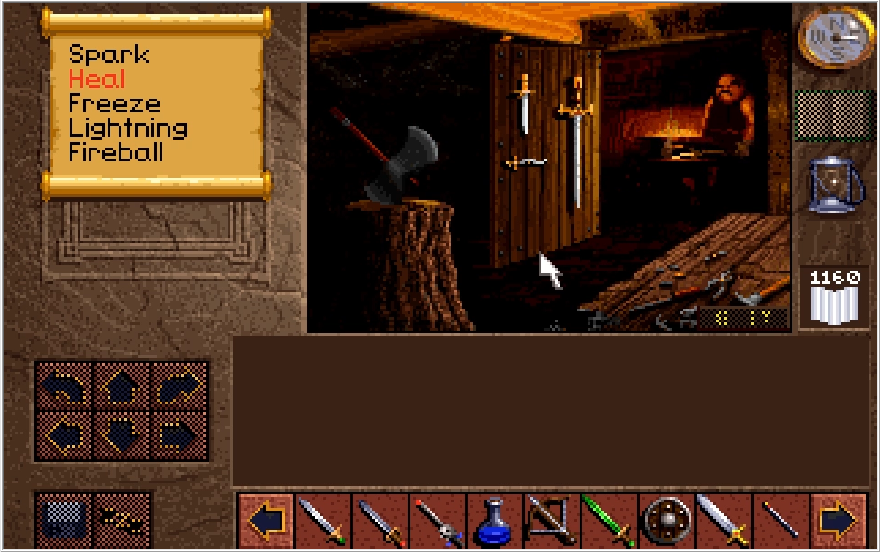
It's Victor!
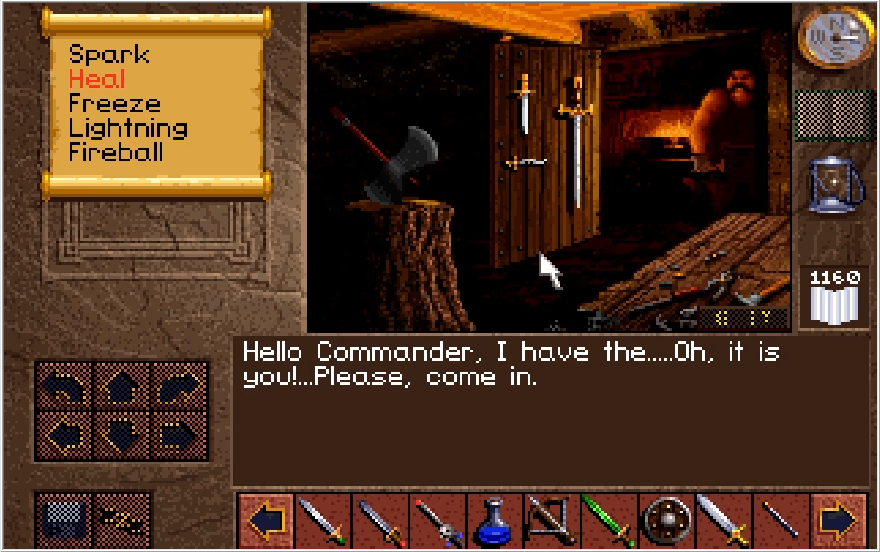
Huh, looks he was expecting someone else. I'm guessing he was waiting on a Gladstonian commander, perhaps that Eric fellow mentioned at the start of the game finally met up with the Council?
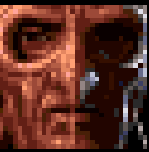 : "It is quite a boost to see you again Victor! Gladstone takes comfort in the support of all patriots like you!"
Don't glaze him too hard Ak'shel, you'll give him a big head. As in a big ego, I mean.
 : "Ak'shel, Baccata, Paulson! Welcome. I have now my new shoppe here."
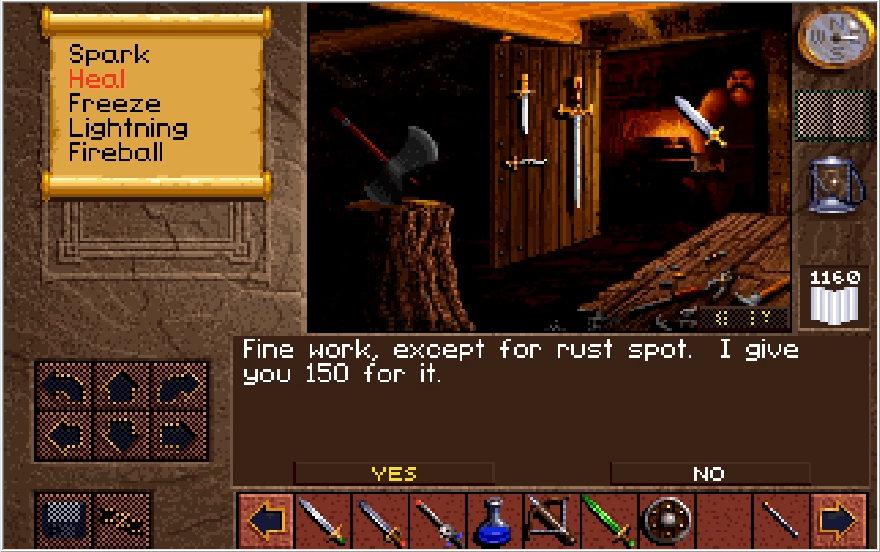
No time for chit-chat Victor, I have a whole trove of shit to unload on you. We actually get quite the payday from Victor, his coffers run deep for the gear we have.
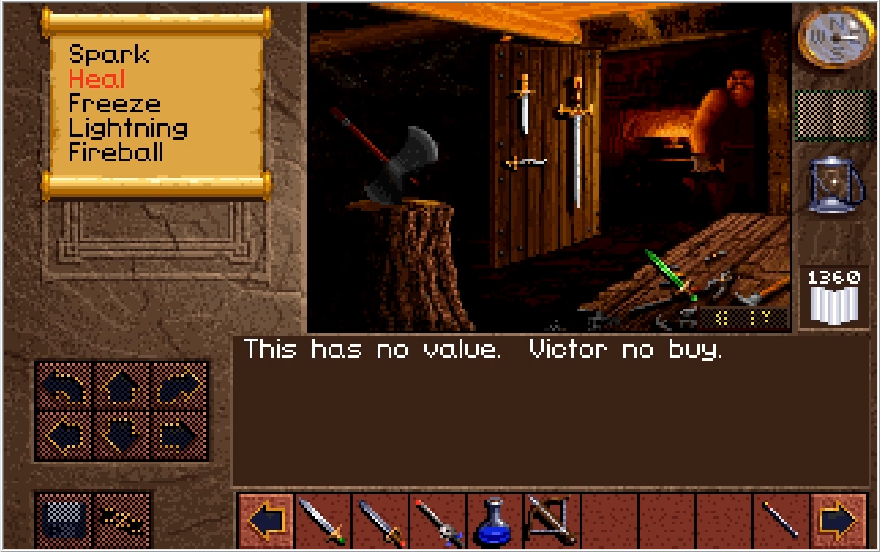
Just for fun I wanted to see his reaction to the Emerald Blade, and he sounded weirdly pissed off when I offered it to him. Guess he can't see the value in ghost busting, maybe he doesn't believe in them.
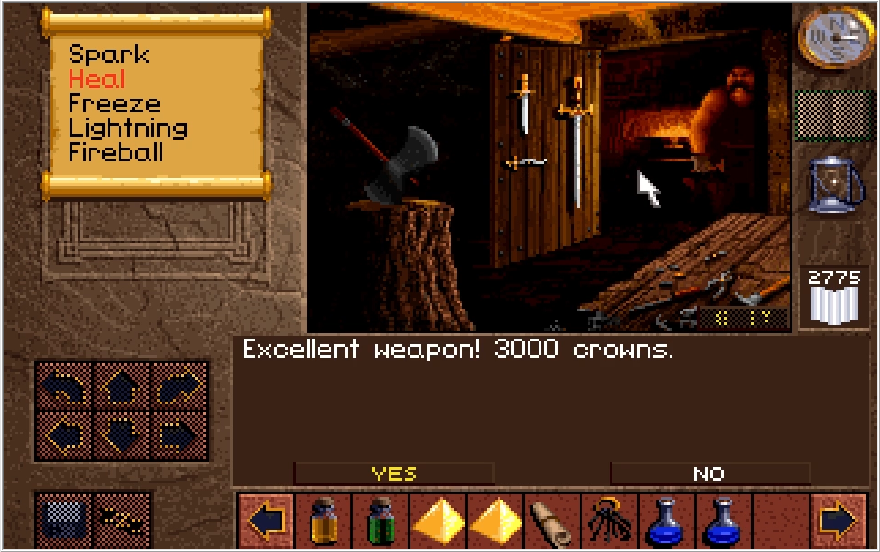
Victor sells two interesting items and two trash ones. The Great Axe embedded in that stump(?) is weaker than the Reaper that I sold to him and the dagger hanging above the one I clicked on is equally trash. The dagger in the lower left is actually the Jewelled Dagger from the Draracle's Cave! How Victor got his hands on it is anyone's guess, but he'll sell it to us for an outrageous 3000 crowns. It's actually pretty easy to get the money for this and there is little else to spend it on, but the Jewelled Dagger is weaker than the best weapons we have currently and is in fact weaker than the other worthwhile thing Victor sells.
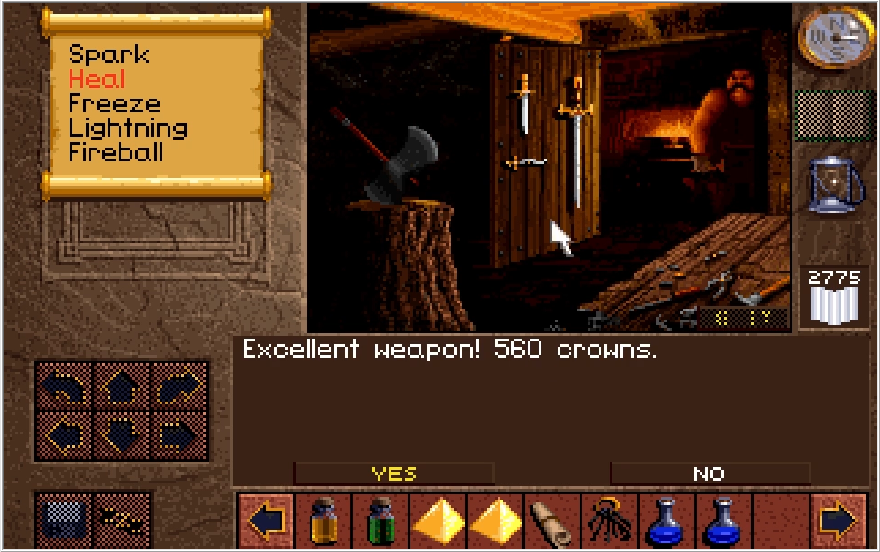
The big 'ol sword on the wall is the Great Sword Justice, the strongest weapon in the game! 560 crowns is more than worth it for this weapon.
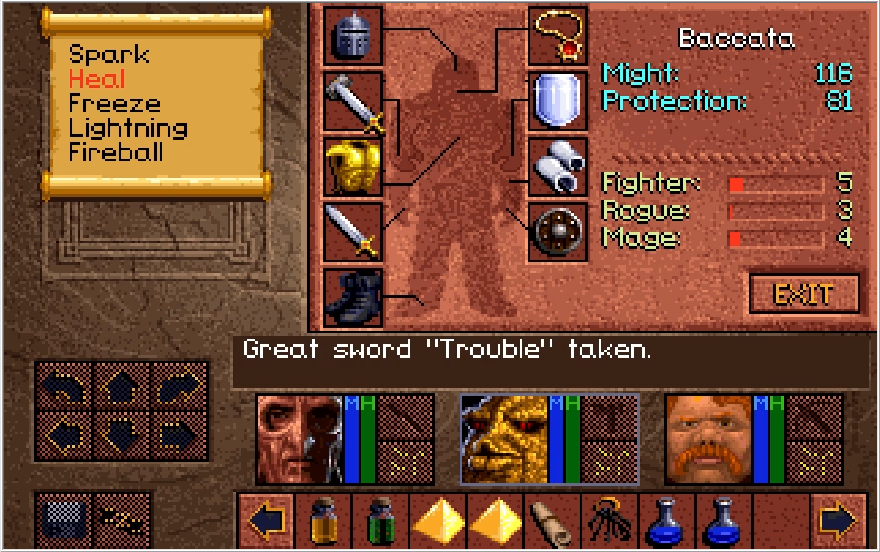
Baccata has achieved his ultimate form, short of wielding two Great Sword Justices. More on that later.
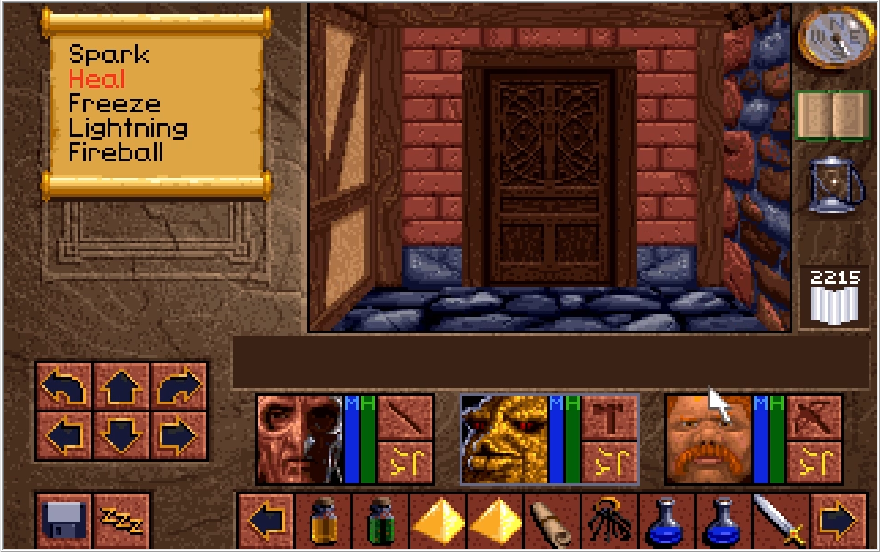
Backing out and heading eastward again, we find another open door for us to venture into.
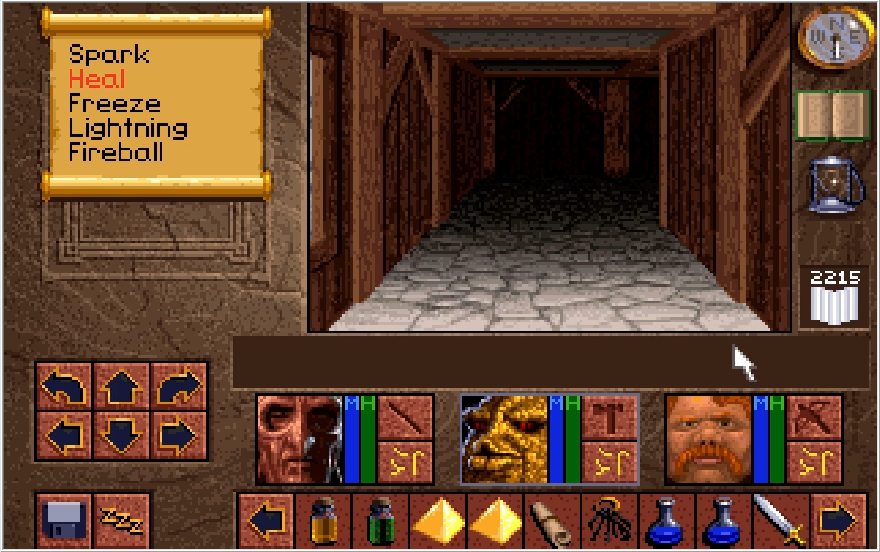
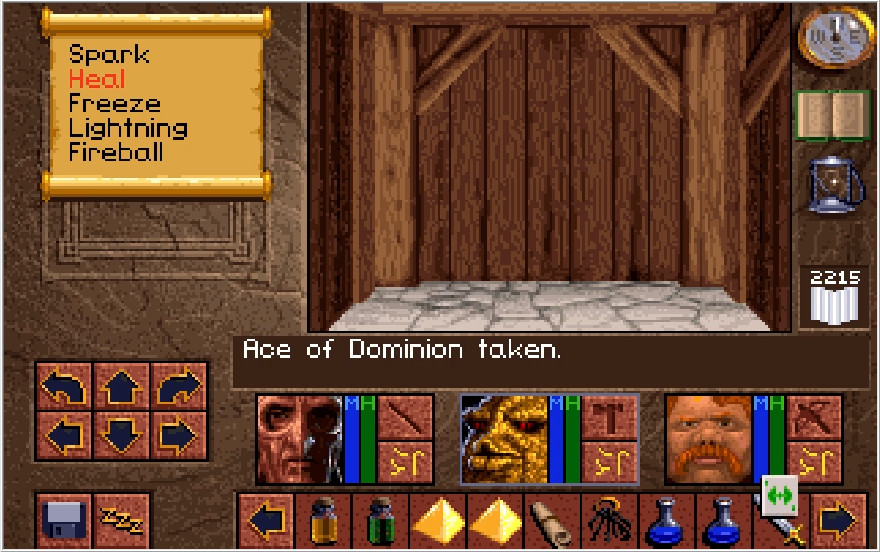
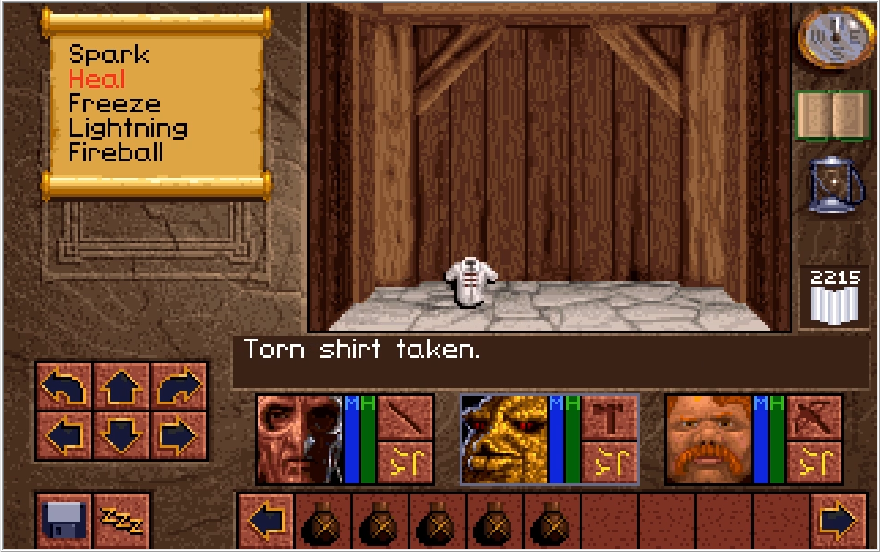
Inside is a stripped down abode with two items in it. The Torn Shirt is garbage, natch, but the Ace of Dominion is very interesting. This is a one-use item that casts the Hand of Fate Level 4 when used. We will be learning about that spell very soon.
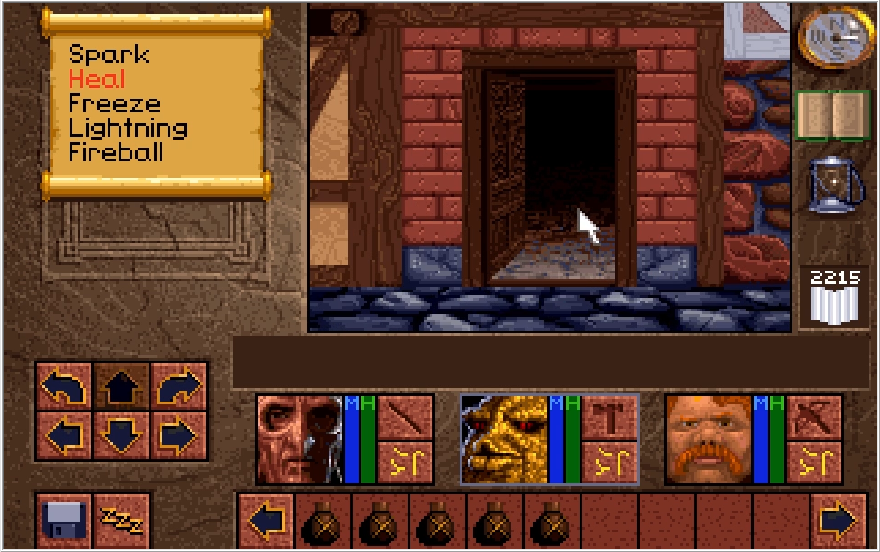
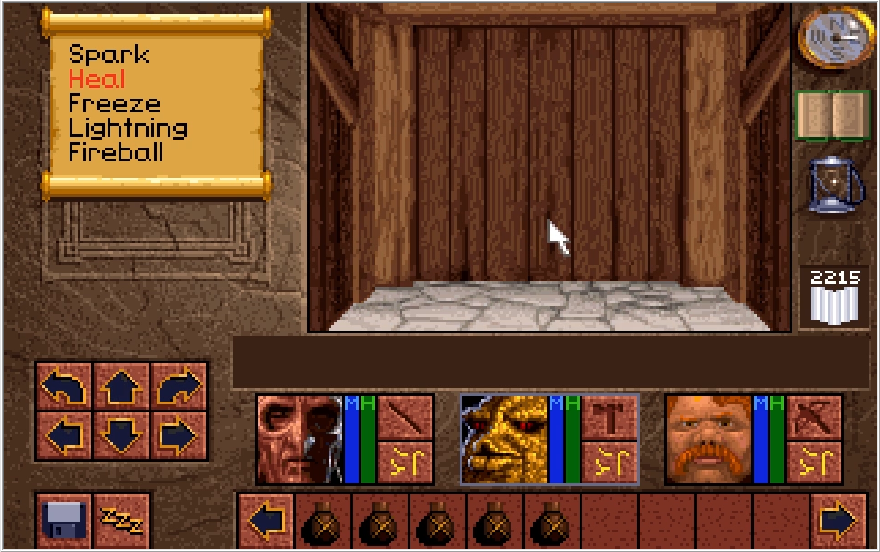
Some of the doorways in Yvel just open up to small empty room like this, though thankfully there are only a few itemless dead ends in the city. Believe it or not, these empty rooms do actually have a potential use we'll be seeing later.
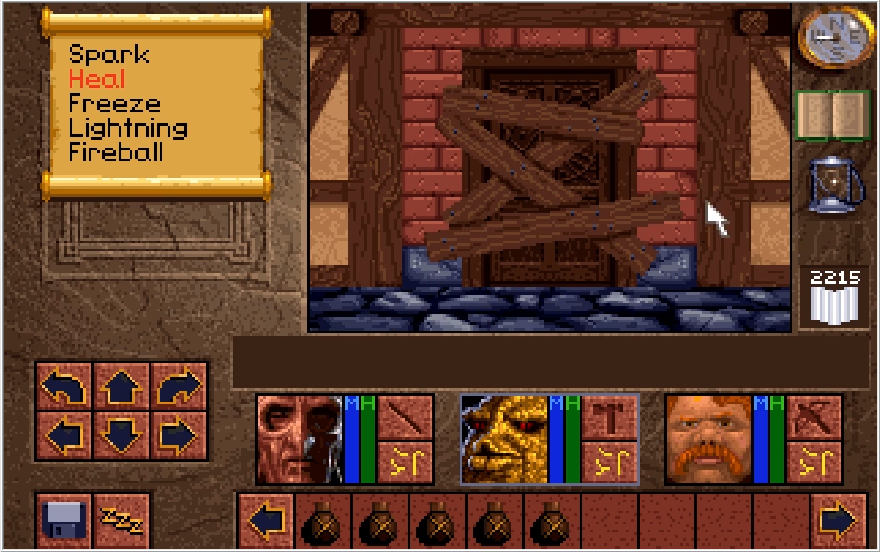
Now I haven't been showing off too much of my movement through the city because the overwhelming majority of doors in the city are boarded up like this one. The reason I'm taking time to show this one specifically though, is that it actually prompts a response if you click on it.

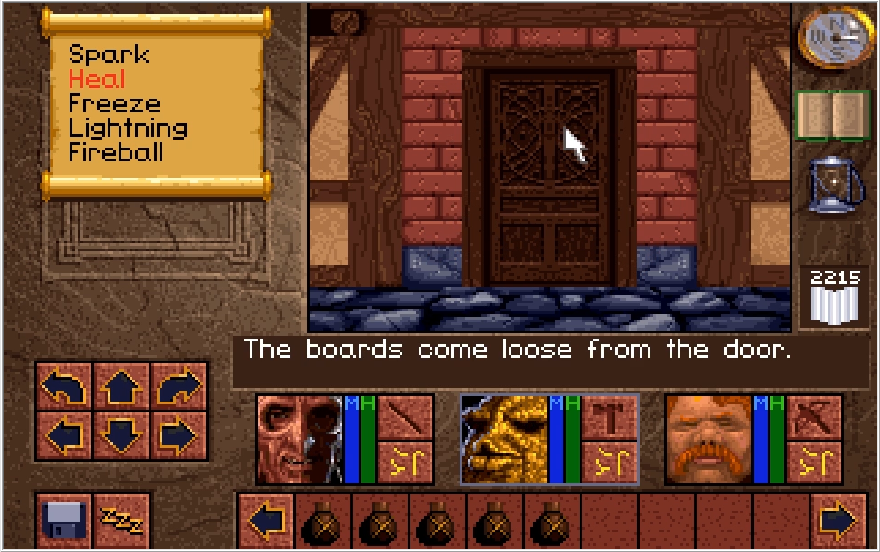
Click it a few times, and Ak'shel will manage to pry the boards off. Note that none of the other boarded doors have any kind of flavor text if you examine them, so to find this naturally you just need to click on every door you see in the vain hope one of them prompts a response. This is the only boarded door you can open.
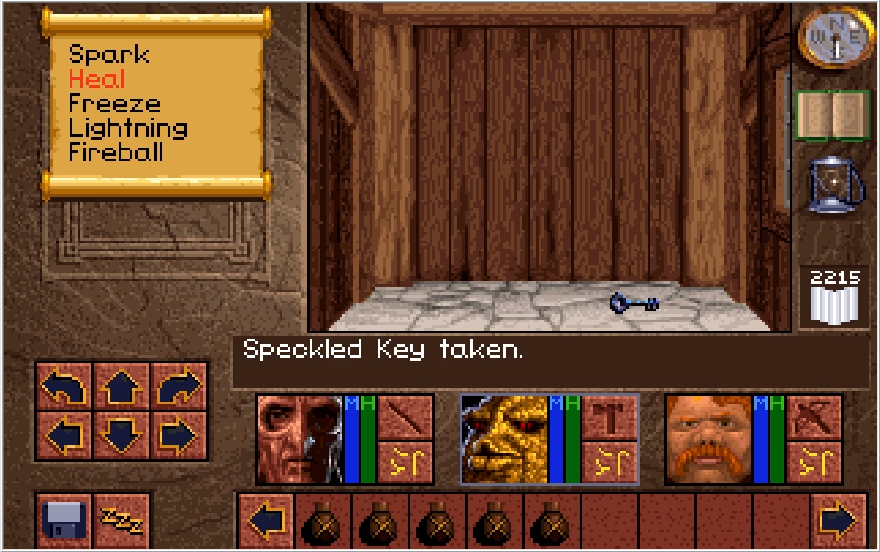
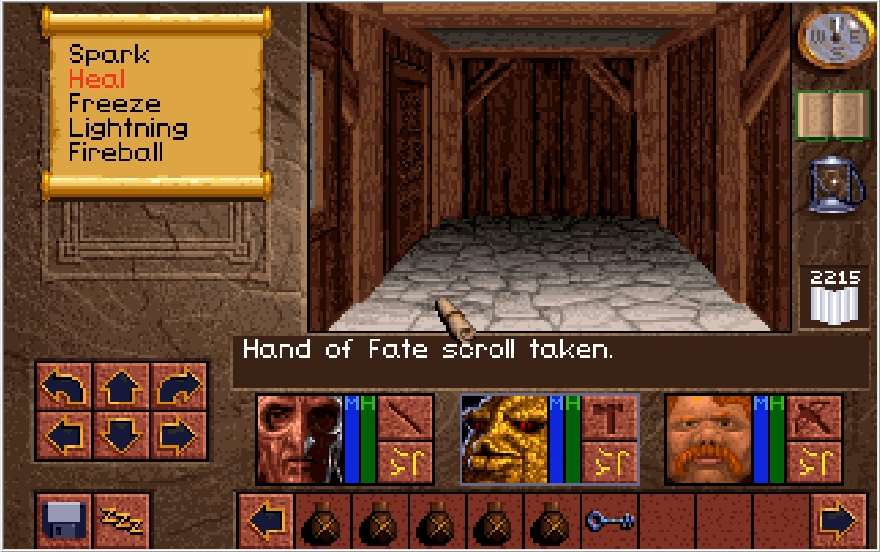

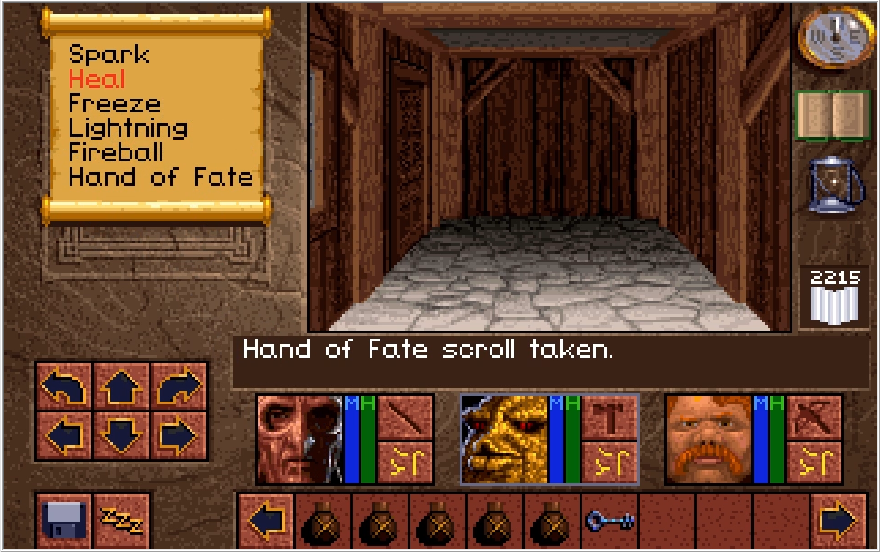
It does contain some interesting items at least, a key for us to use and the second to last spell of the game, Hand of Fate!
Hand of Fate
Lv.1: 30 MP, Pushes the enemy 1 space back for no damage
Lv.2: 60 MP, Pushes the enemy 1 space back and can potentially deal 75 damage if they hit a wall
Lv.3: 90 MP, 125 Base DMG AoE
Lv.4: 120 MP, 175 Base DMG AoE
This is the weirdest spell in the game by far. Yes, Level 1 doesn't do any damage, and it's a pretty pointless effect most of the time because the enemy will just simply... step forward as soon as the spell hits. Level 2 has its damage dictated by RNG, while the succeeding levels are just non-elemental AoEs that even for Ak'Shel will drain your entire MP bar after one use. Most enemies on Ferocious mode at this point can survive the damage this spell dishes out, so it's definitely less appealing for the purposes of this LP. If you're wondering if the Level 1 variant is ever used in some kind of puzzle, it actually does get used in an optional one... that you're provided an infinite use artifact for that replicates the spell, meaning getting the spell itself is fairly pointless. The only other notable thing about it is that its name is another reference to the Legend of Kyrandia series, specifically the second entry: The Hand of Fate. Pretty on the nose.
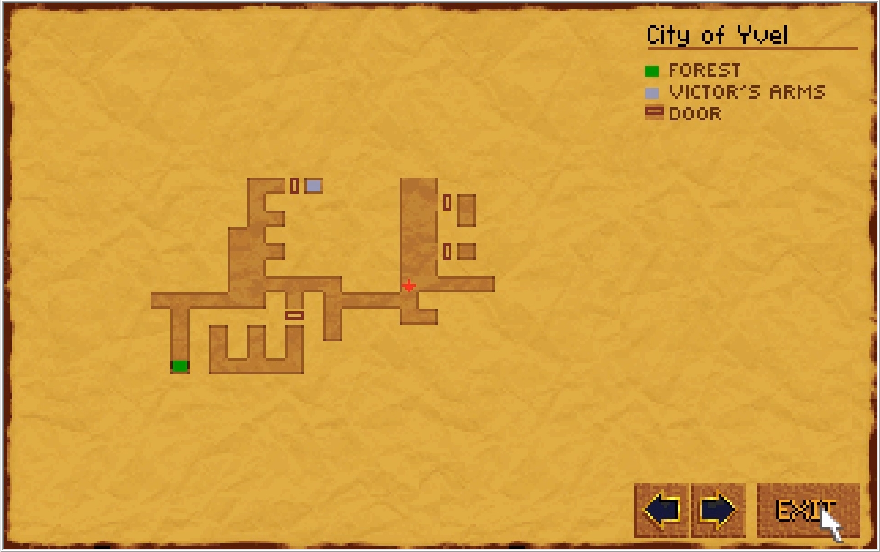
Figured I'd provide a lay of the land so far so it's a bit clearer what this place is laid out like.
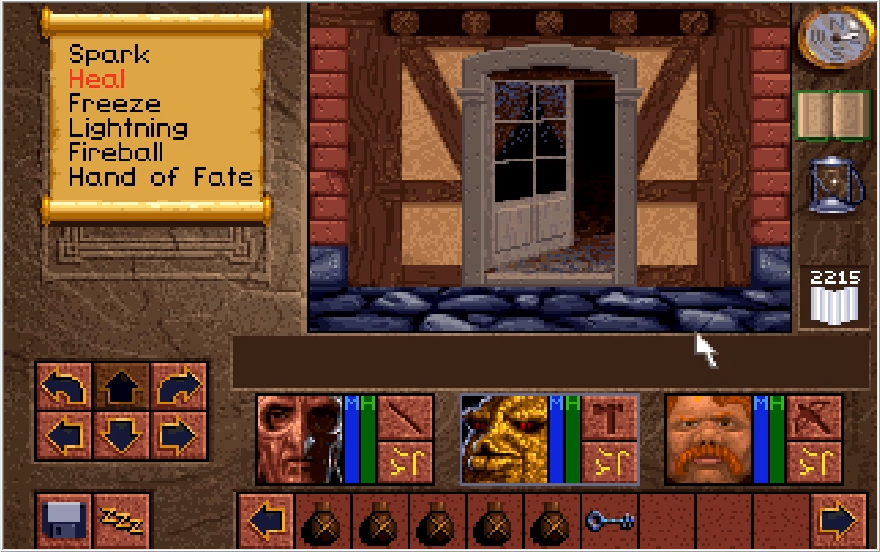
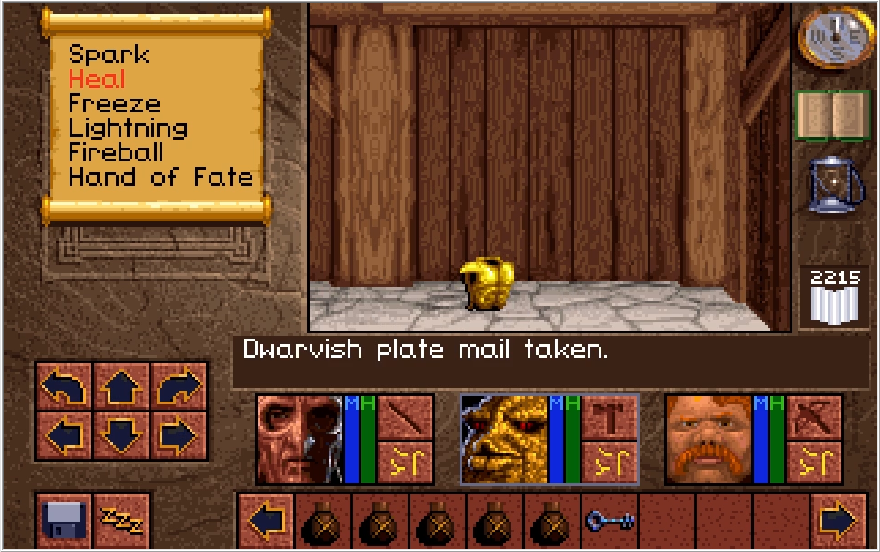
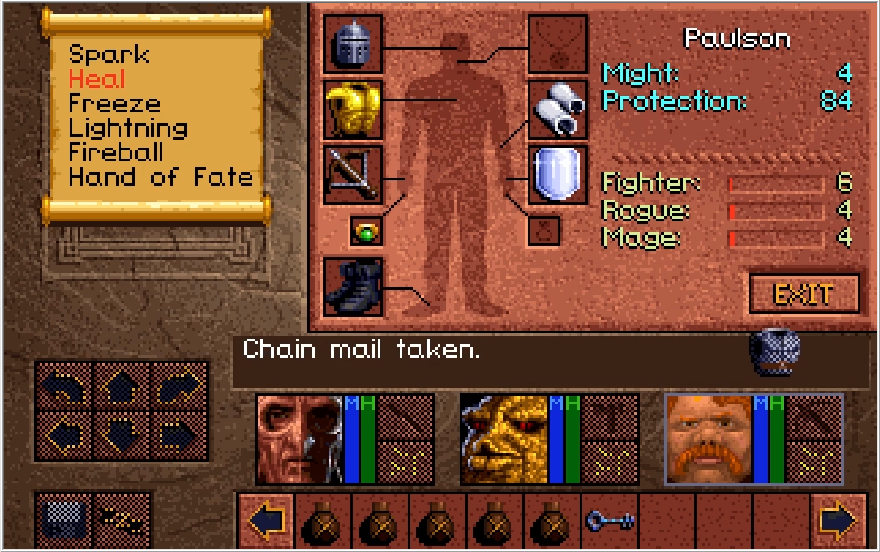
Beyond another open door, I find a Dwarvish Plate. Despite the fairly generic name, this is actually one of the strongest armors in the game. It's better than what Ak'shel has though I neglected to check that and put it on Paulson instead. I shuffle it around to Ak'shel later on.
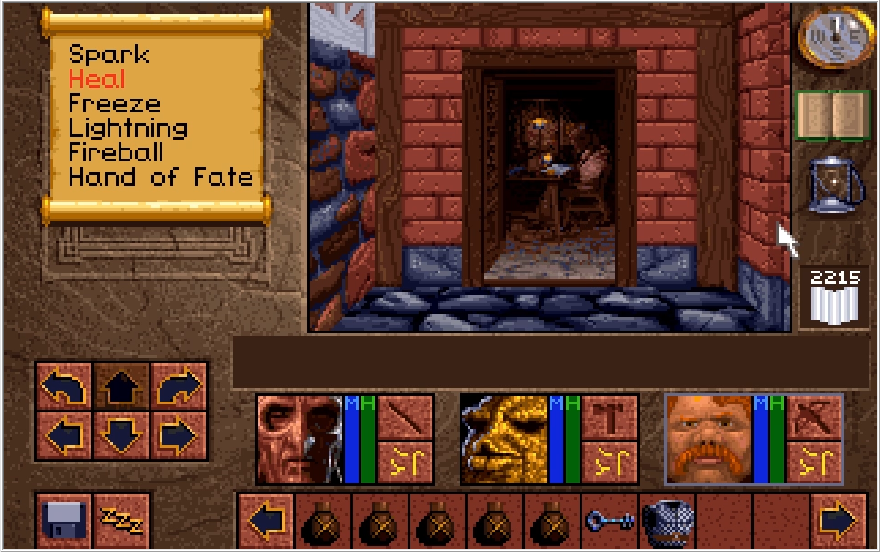
Exploring some more, I come across another door that seems to have someone waiting behind it.
Music: Sadie's Shop
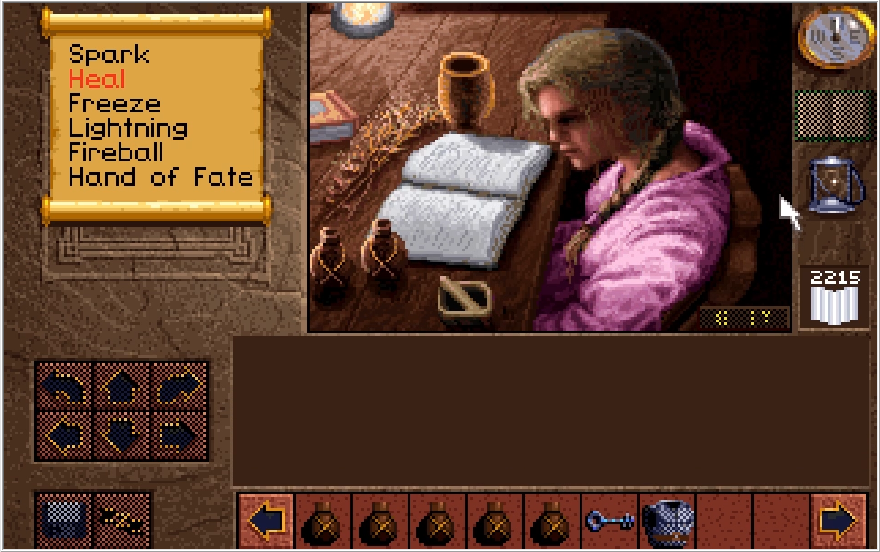
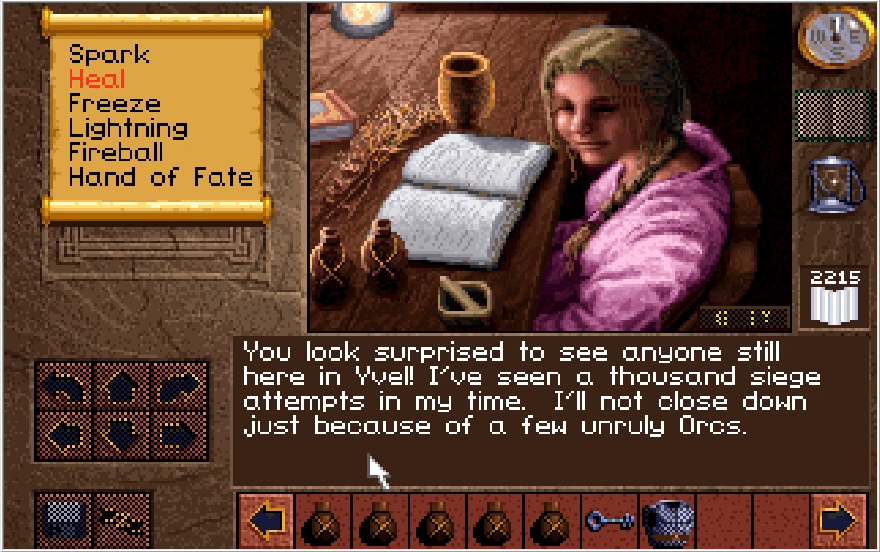
This is Sadie. She's not actually capable of reading with her eyes closed, I just caught her mid blink in my screenshots. She is remarkably unbothered by the thought of dying by starvation or dismemberment.
 : "Perhaps you could help us. We are seeking ingredients for an Elixir that can cure King Richard."
 : "What are you looking for?"
 : "I have a recipe that the Draracle gave me."
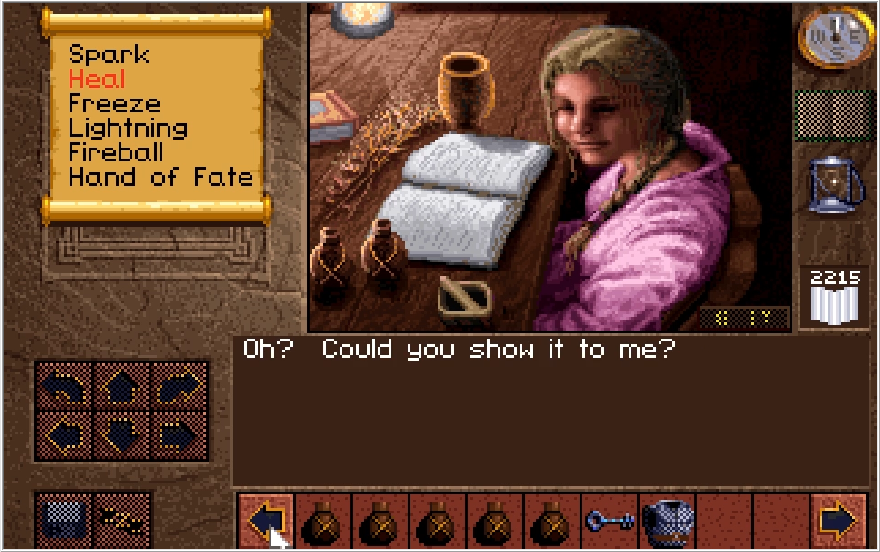
Remember how I said way back when that the Recipe Scroll and one of its deciphered clues is a key item for finishing the game?
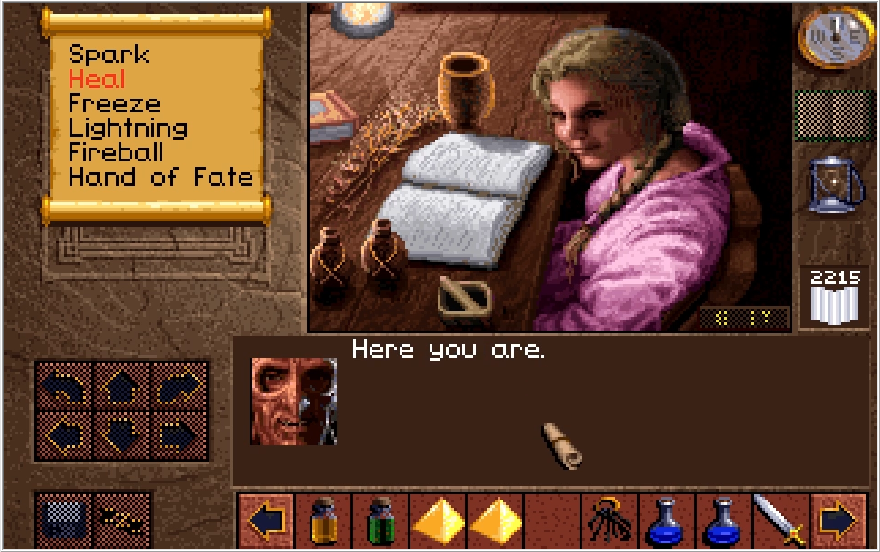
Fortunately, neither of those are problems for me, so I can just present the scroll and get my dirt. Literal dirt, not blackmail material. (Although I wouldn't be opposed to having something on Geron...)
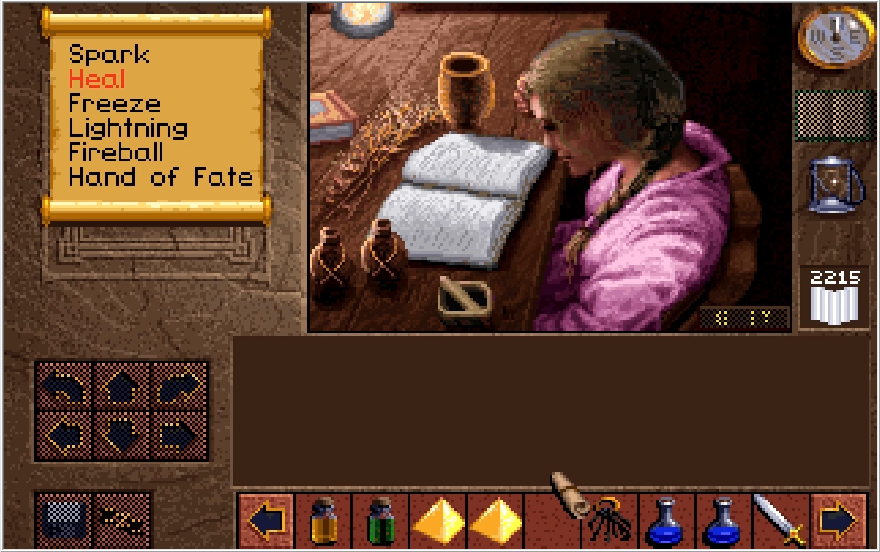
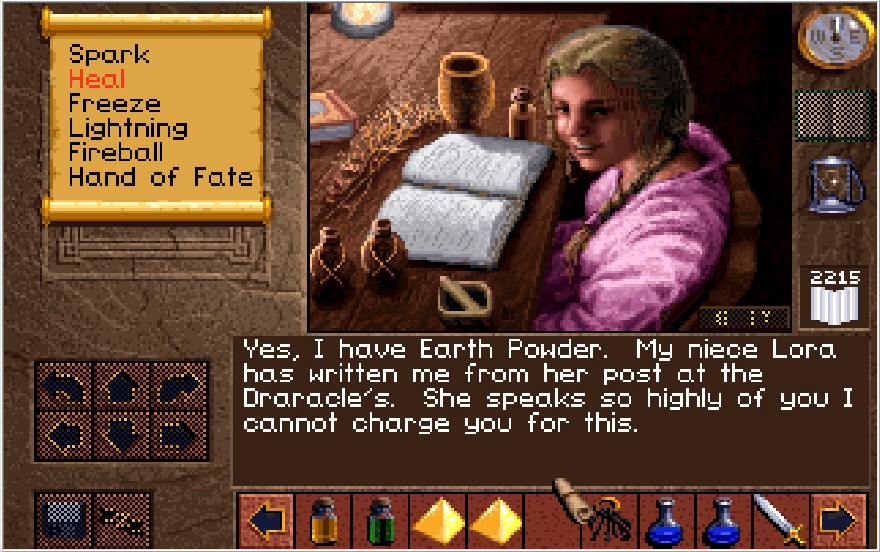
In a surprise twist that would leave M. Night Shyamalan in a state of orgasm, turns out Sadie is actually the aunt of Lora and I guess actually knew who we were the whole time? Since we did a solid for Lora, Sadie gives us the Earth Powder free of charge. Had you not rescued Lora, you would instead have to fork over a hefty 500 crowns to secure a vial of Instant Mud (Just Add Water!).
 : "Thank you so very much! All Gladstone thanks you!"
I like this game, but not enough to play 4 hours to see what indignant response your character gives if they have to pay for this ingredient because they didn't rescue Lora. That aside, Sadie actually has a wealth of flavor text in her humble home, the most we've seen in awhile.
When clicking on her mortar and pestle,
 : "I use this to crush the leaves."
When clicking on the dried herbs,
 : "I crush these dry leaves for my medicines."
When clicking on the closed book in the background,
 : "That's just a book of Grisbl History."
When clicking on the lantern,
 : "I need the light to read by."
When clicking on the jar to her right,
 : "You can get some ale at Bruno's Lodge."
Sadie spends her free time reading non-fiction and pounding back brewskis? Paulson, I think I've found your ideal woman.
When clicking her book,
 : "A book to pass the time with."
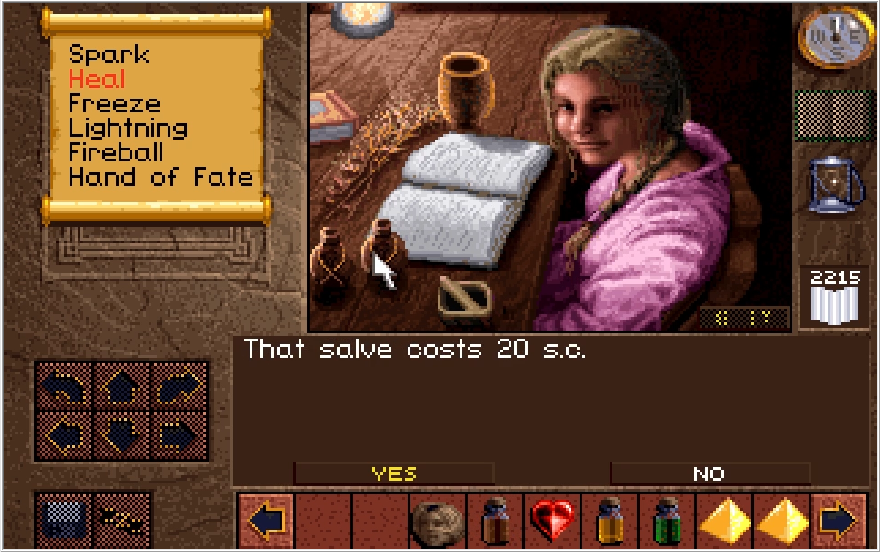
Sadie also has a couple services she can provide for us aside from the Earth Powder. Those flasks to her left are actually salves we can buy for 20 crowns. There is a very fringe case where buying one of these can actually be useful, though you have to be pretty dense to wander into it.
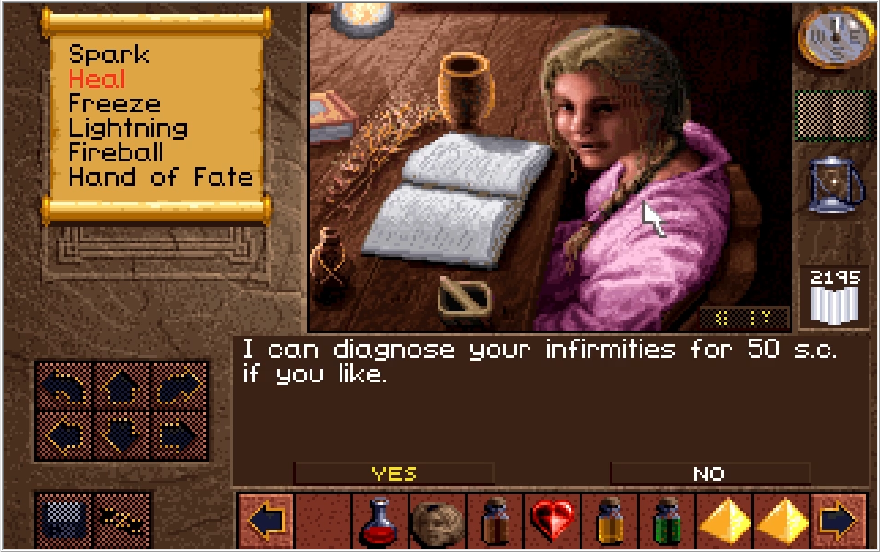
Sadie can also "diagnose your infirmities" for 50 crowns, which I assume means "heal the party if they are hurt for some reason." We can literally do that for free by resting in this city that has no threats present in it, but what the hell.
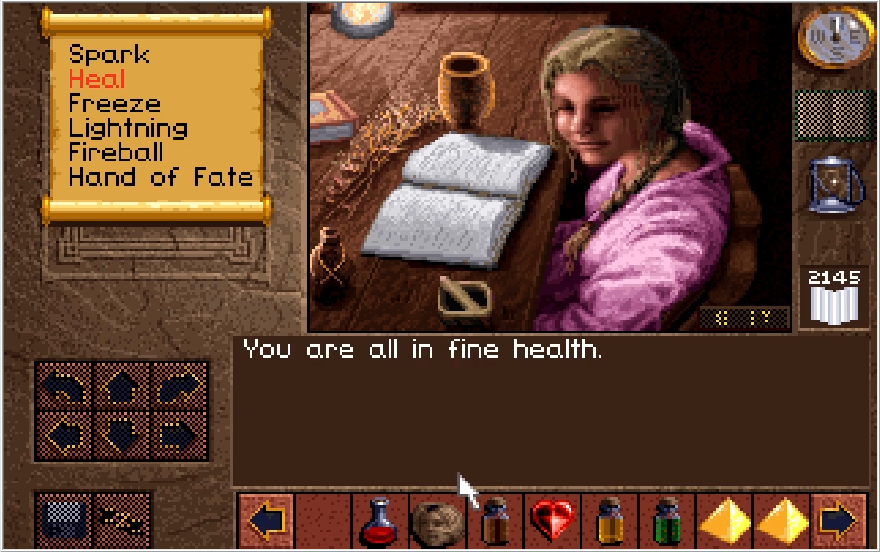
Charging ridiculous prices for medicine and an exam where she just tells us we're fine? I can tell the spirit of Sadie was carried on by the American health care system.
Let's get out of here.
 : "So long and good luck!"
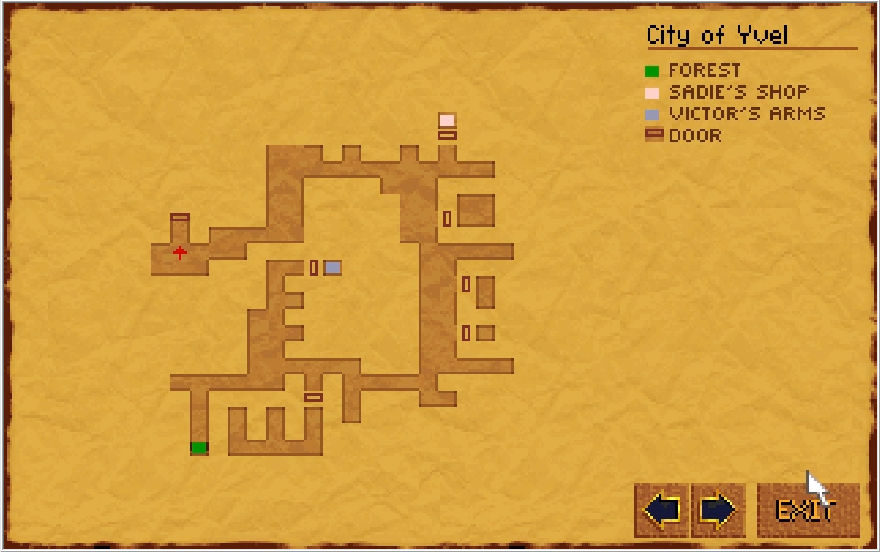
We've covered quite a bit of ground, and there is still more to see! To start, I enter the door directly in front of me on the map.
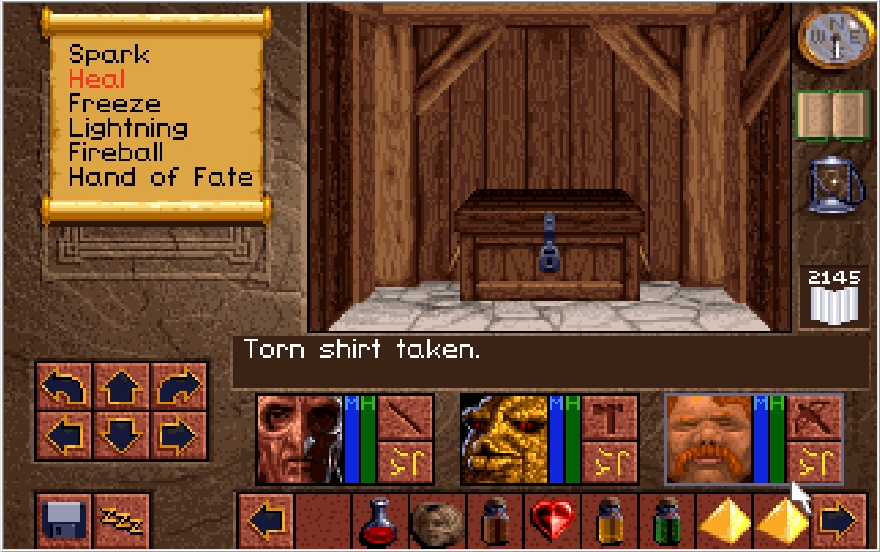
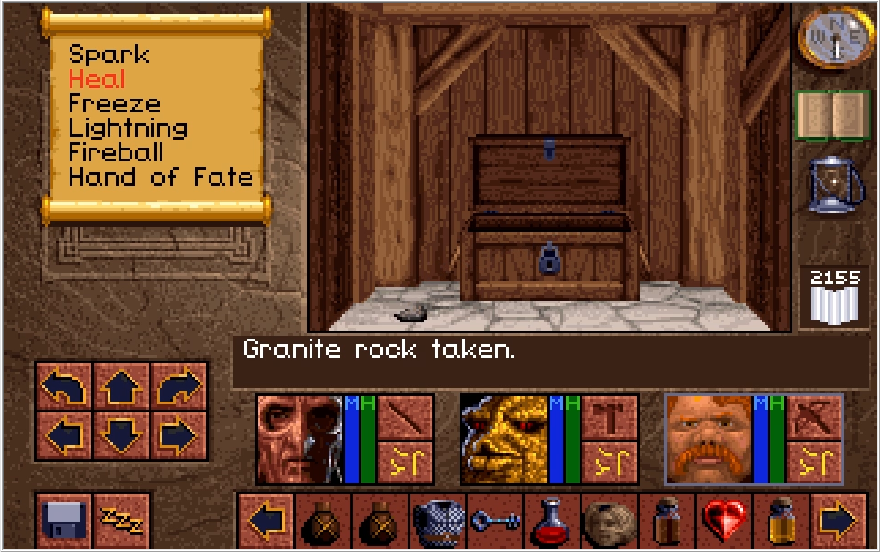
This room contains a couple chests. This first one contains some crowns, some oil, a... Granite Rock? Yeah there's a couple of rocks in the game that arbitrarily have different names than just Rock. I'm not sure if these deal more damage when thrown or something. Trash to throw on the ground regardless. This chest also contains some bracers, but I already have a set for everyone so I can just drop them.

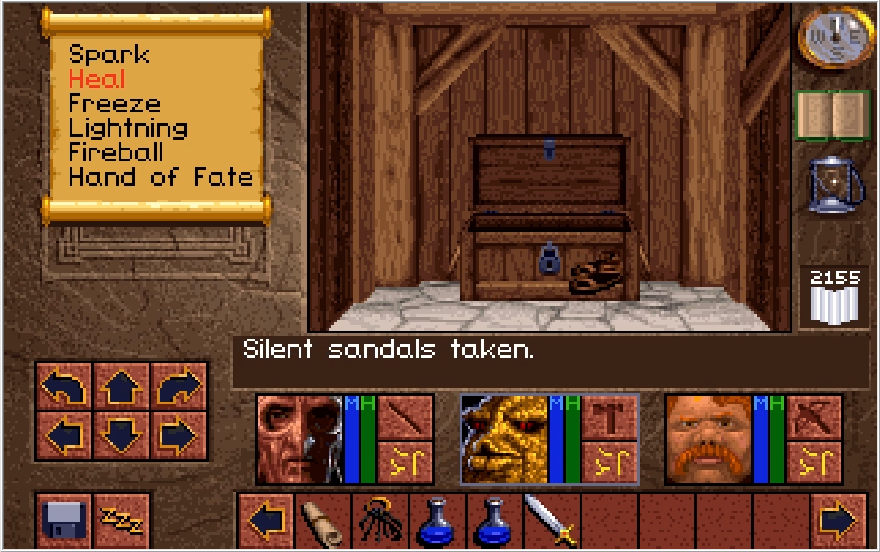
The other chest contains the next piece of the stealth equipment, the Silent Sandals. Like the Shield, it is complete trash.
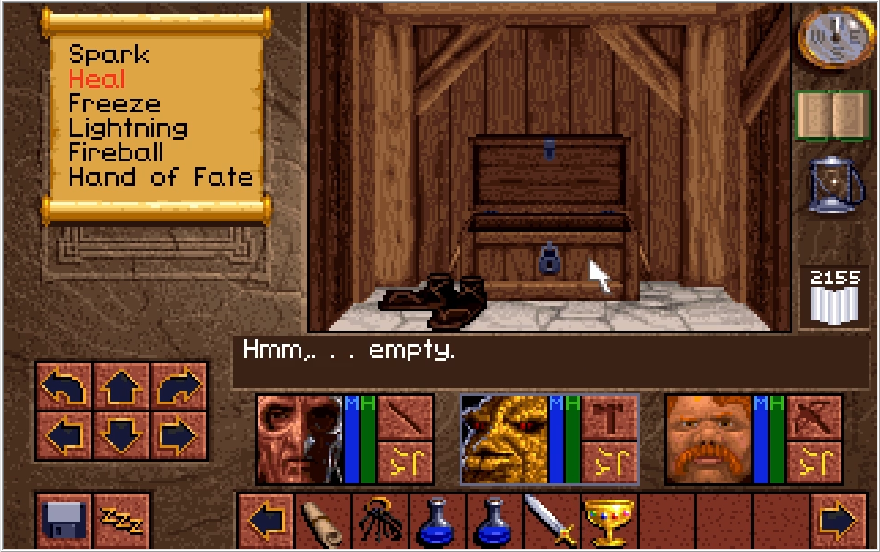
So much so I don't even bother to take them. The chest also contains a 4 gem Bezel cup, which is much nicer!
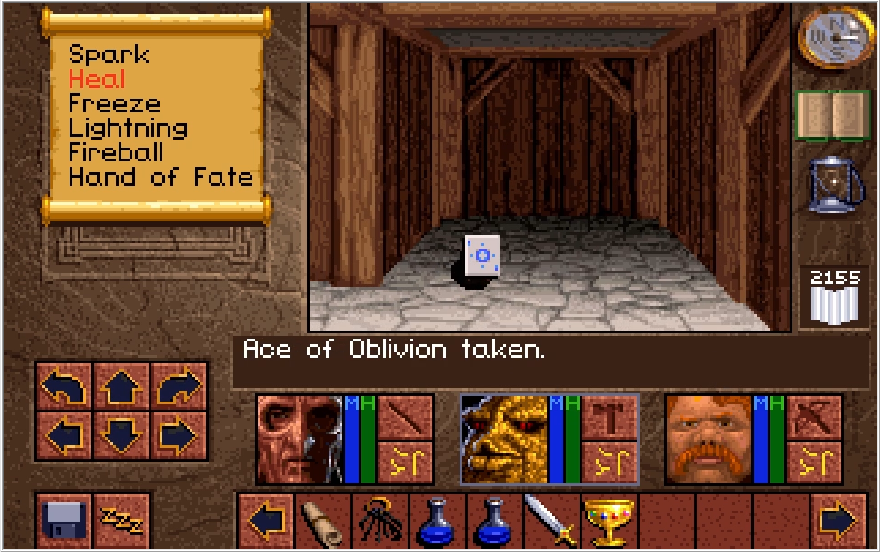
In yet another room we come across, there is an Ace of Oblivion for us to pilfer. This is a one-time casing of Mist of Doom 4, another yet to be seen spell that'll take us a bit longer to get access to than Hand of Fate did. Granted, we also can access it through the Wand of Death, so we at least have more item options for it.
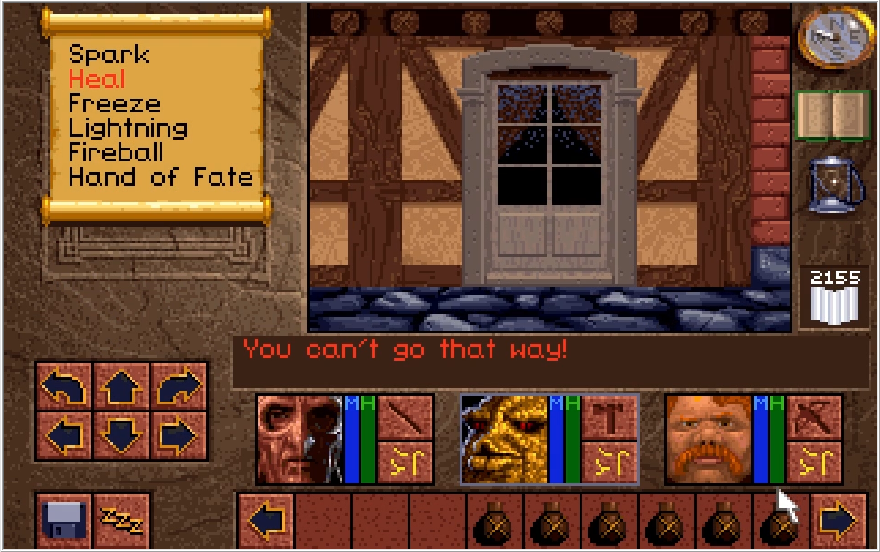
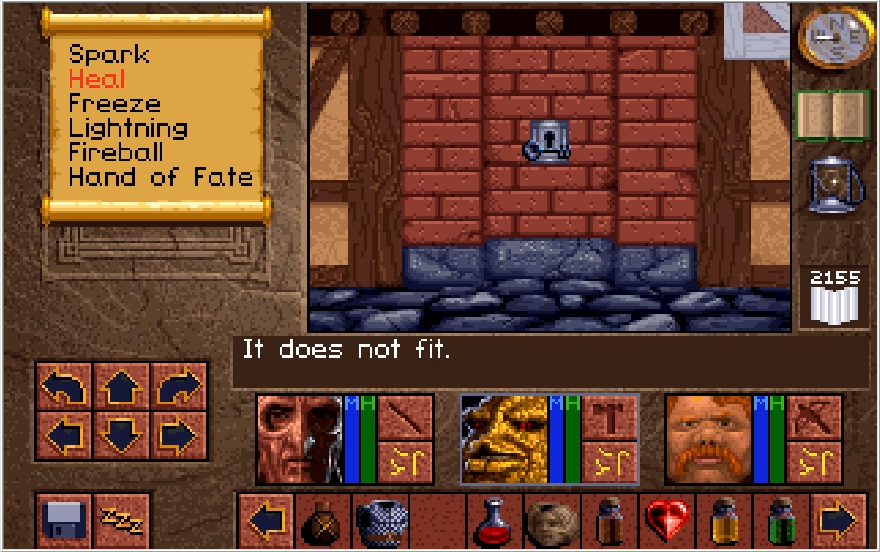
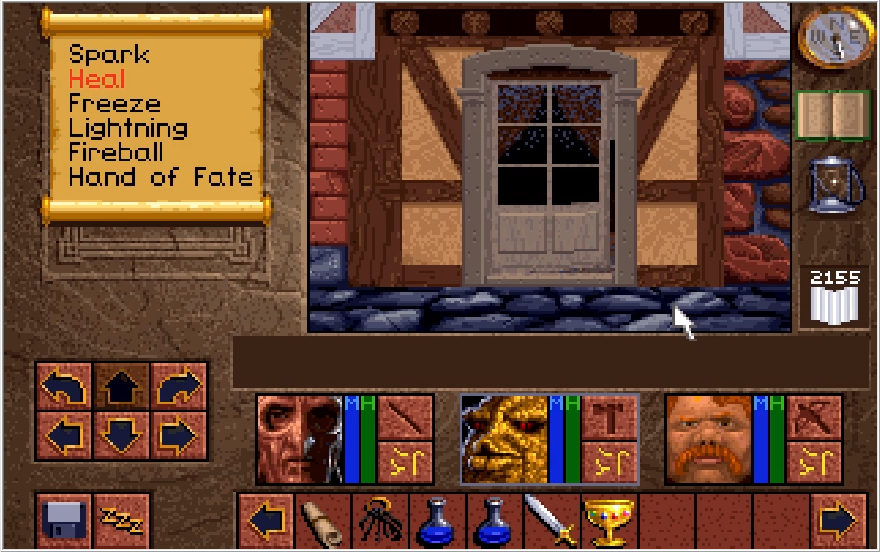
Trawling around, I come across a locked door that neither my Speckled Key nor my picks can actually opening. It's a bit weird for a residential door to have its lock embedded on the wall next to it now that I think about it.
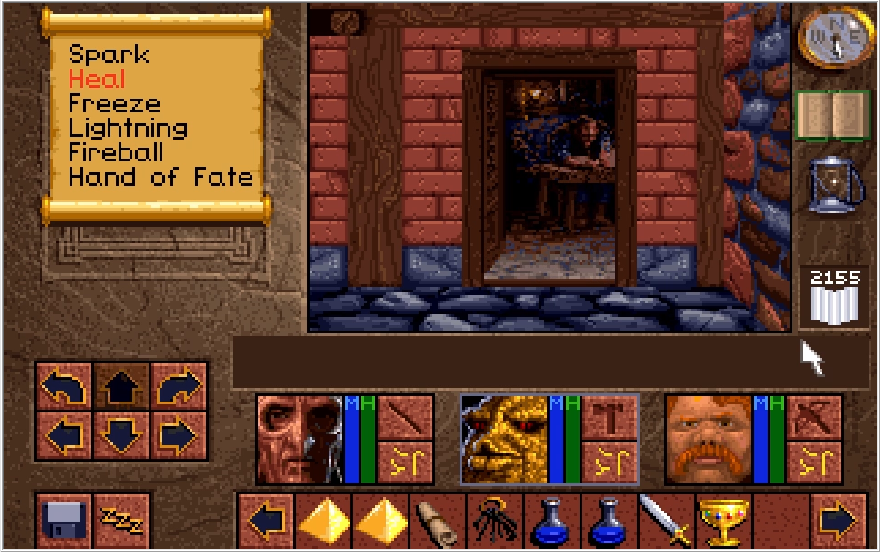
In the northwest corner of the city, we come across the third occupied home of the city. Perhaps this place is more lively than I gave it credit for!
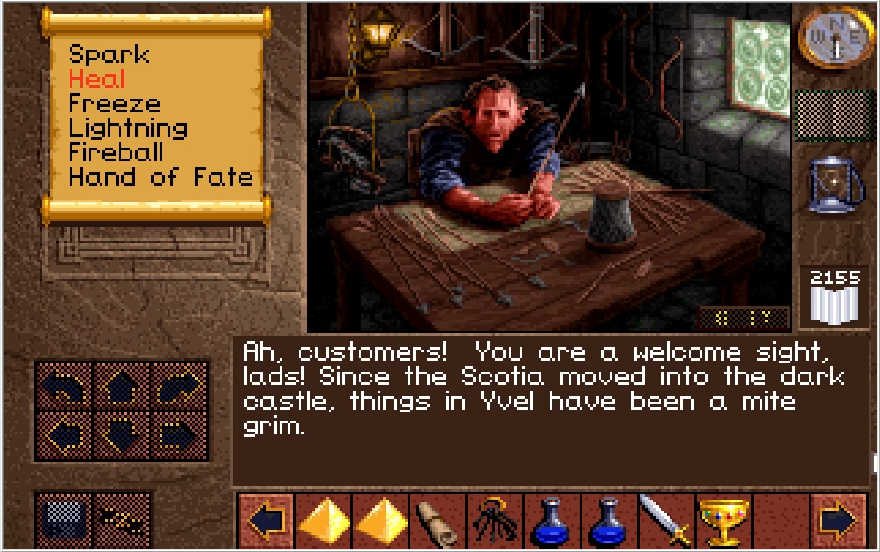
Sadly, the Yvel Fletcher isn't cool enough to get his own shop music and instead they just reused the Gorkha shop music. Guess the composer was running out of steam at this point.
 : "We as well, are glad to see you sir!"
Incidentally, this guy is a Draconoid like Ak'shel. Nice to know he's not alone in this land!(of lore)
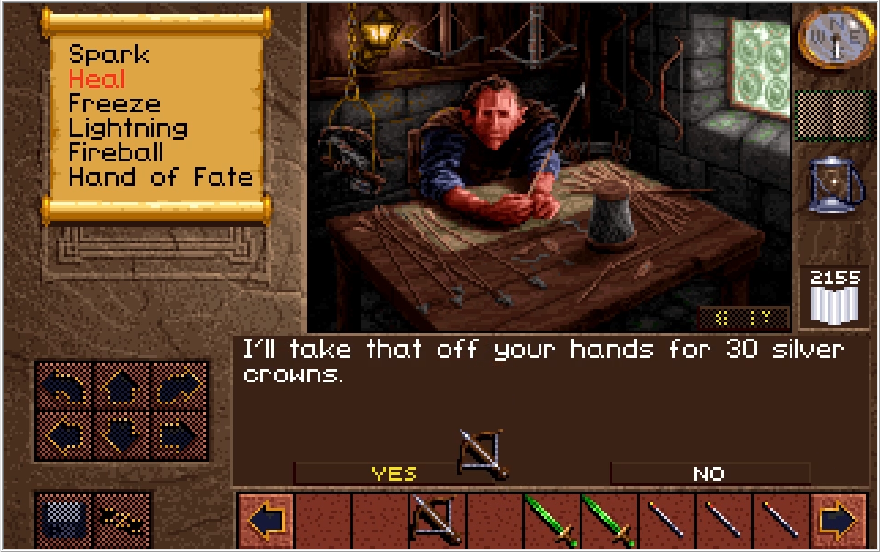
We can sell our bows to him at full price. Unsurprisingly, Equalizer goes for a low amount. The nameless Arbalest on the other hand, fetches a nice 300 crowns! Now you might think this guy sells an ultimate weapon like Victor does... but in face the best thing he sells is a second copy of the Arbalest I just sold him. Instead, the effective ultimate bow of the game is found in a random home in the city. Because that's Lands of Lore.
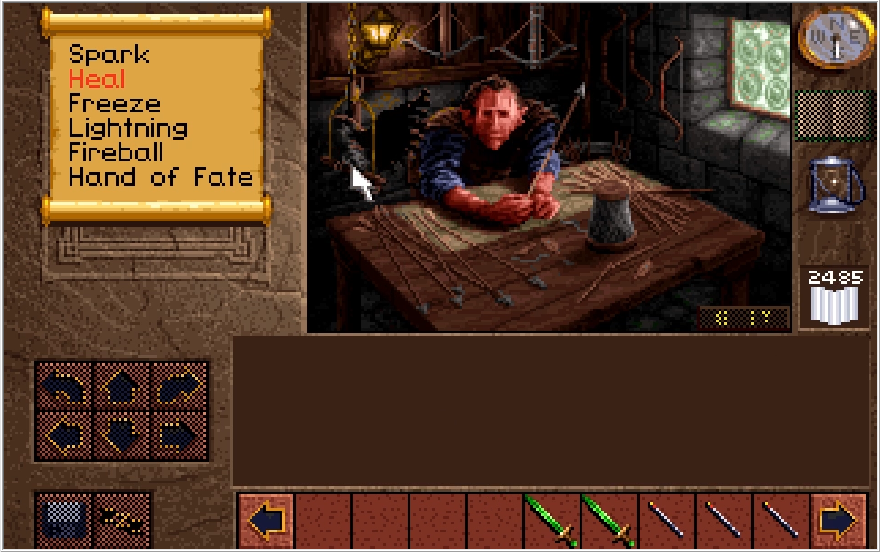
You can click on his bird to make it squawk. The fletcher doesn't really seem to care that we're harassing his feather source. Like Sadie, the Fletcher also has a weirdly high amount of flavor text relative to what we've been able to glean from the environment as of late.
When clicking on the arrows on the table,
 : "A full supply goes with every bow sold."
When clicking on the spool,
 : "I go through three of these on a good day."
When clicking on the smaller, indistinct bows in the background,
 : "I can't be selling that now, can I?"
Kind of a weird comment, they don't look any different from the bows you do sell. Clearly this is outing me as a filthy casual with an untrained eye for the finer points of archery equipment.
When clicking on his window,
 : "Careful, that glass work is worth a fortune."
When clicking on the lamp in the background,
 : "If my window was a bit brighter, I wouldn't be needin' that."
Overpriced AND terrible at letting light in? I hope that came with the store and it wasn't a custom glass work order you made.
When clicking on him,
 : "The getting of the feathers 'tis the hardest part!"
I'm guessing that was what he was supposed to say about the bird before they decided to turn it into a squawk button.
This is getting kind of weird, let's dip.
 : "Good luck and happy hunting, my friends."
Fun fact, in the game even though the voice track says "My friends", the in game text transcribes it as "Me friends" like he's a pirate.
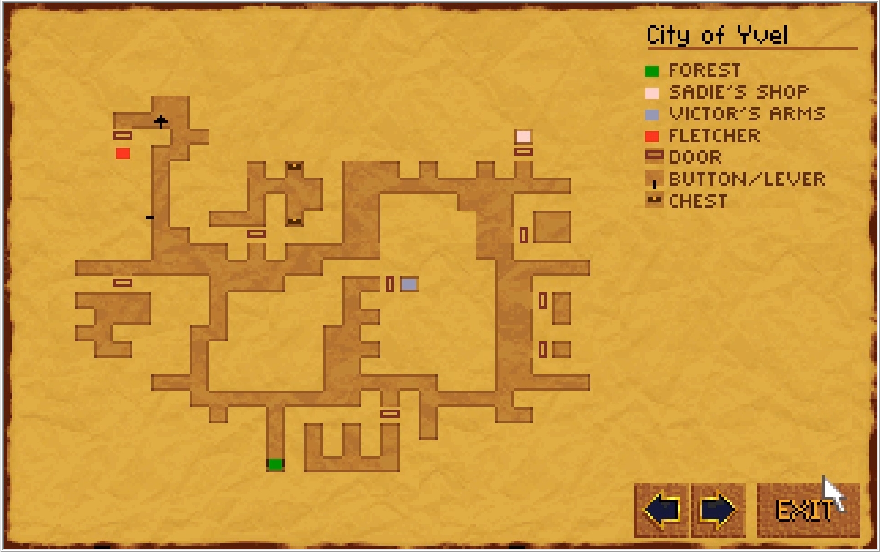
Would you believe me if I told you we still have more side rooms to explore?
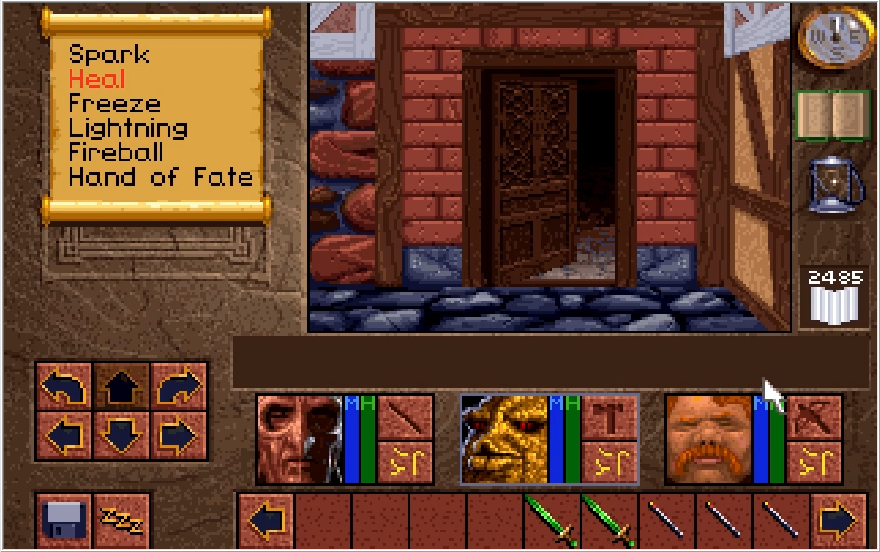
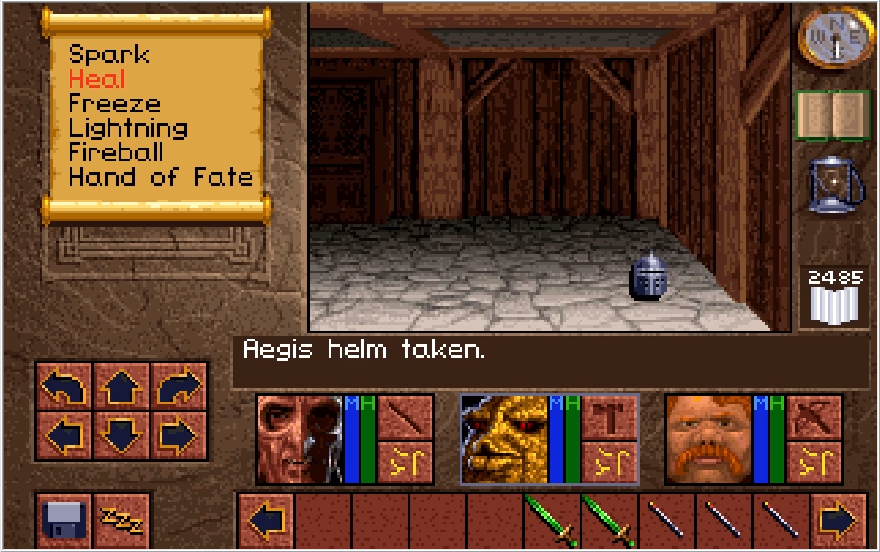
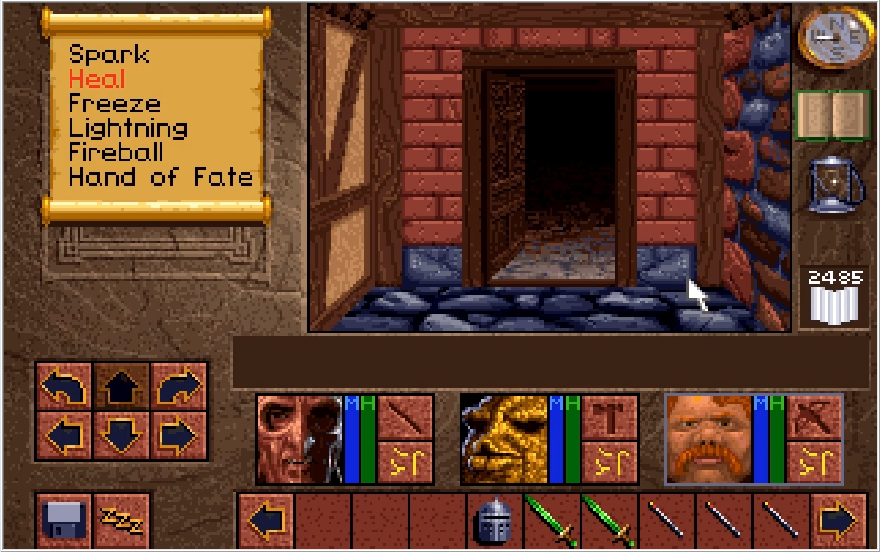
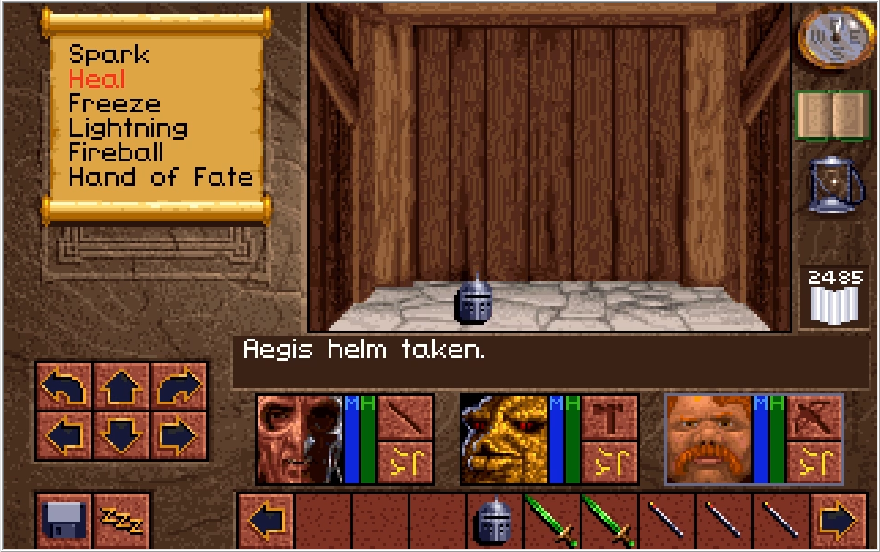
There are a couple rooms by the Fletcher that contain Aegis Helms. These are weaker than the Helm Prentis, but are a single point upgrade over the Great Helm. Onto Baccata and Paulson they go.
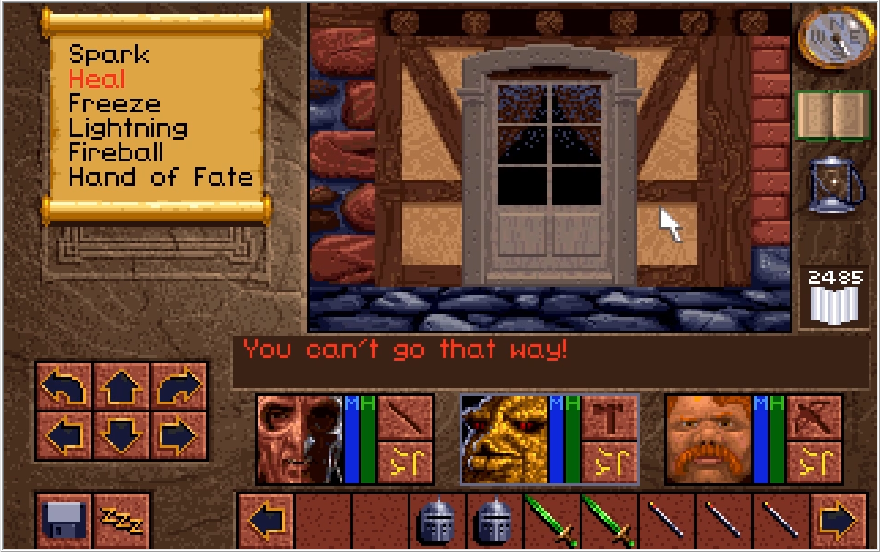

In a secluded alley, we find yet another locked door. This one accepts our Speckled Key!
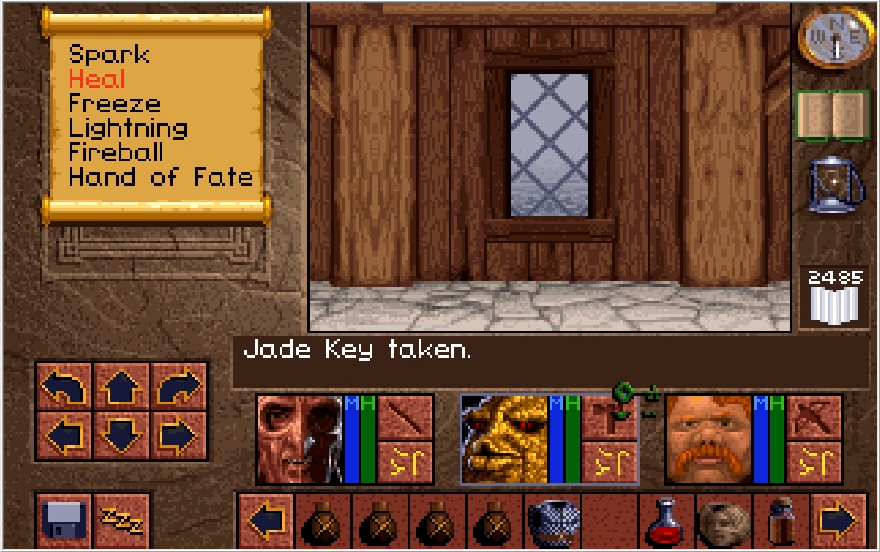
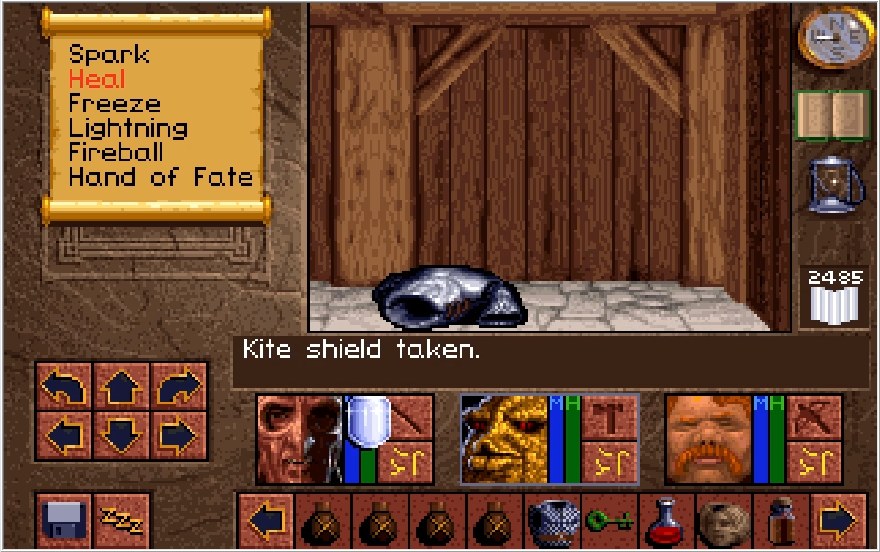
Beyond the now opened door, we find a Jade Key, a Kite Shield and a Plate Mail. Baccata actually didn't have a second Kite Shield, so I slapped that onto him. The Plate Mail is another Dwarvish Chain Mail sprite swap, but it does give me a good armor piece to slap onto Paulson while I give the superior Dwarvish Plate to Ak'shel.
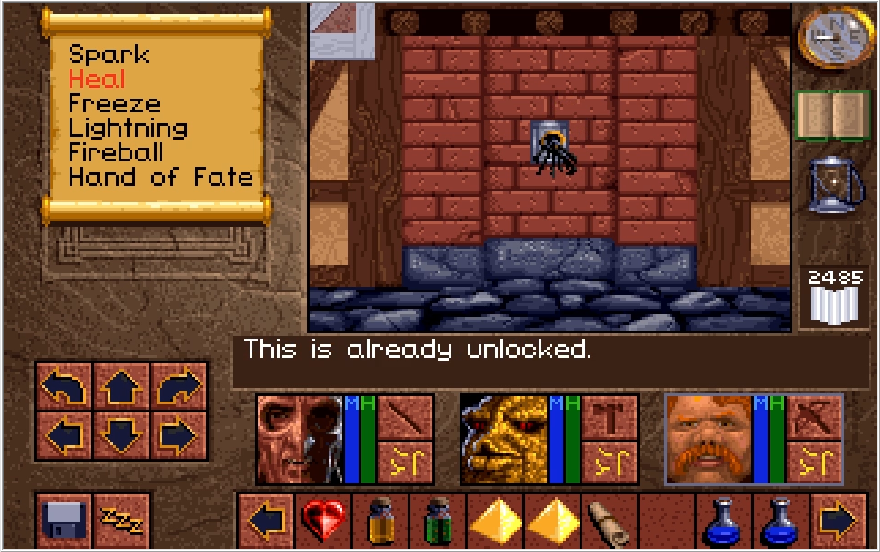
In the same alley, there's another locked door, this one with a pickable lock.
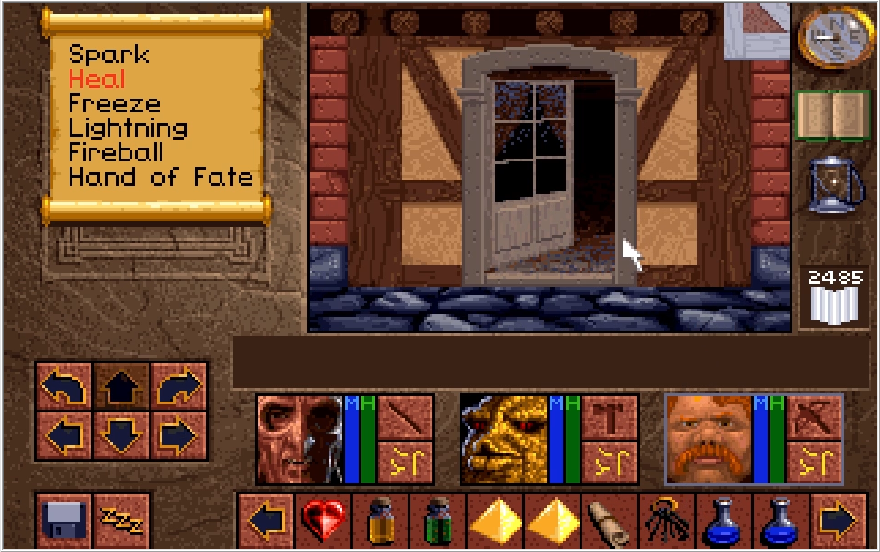
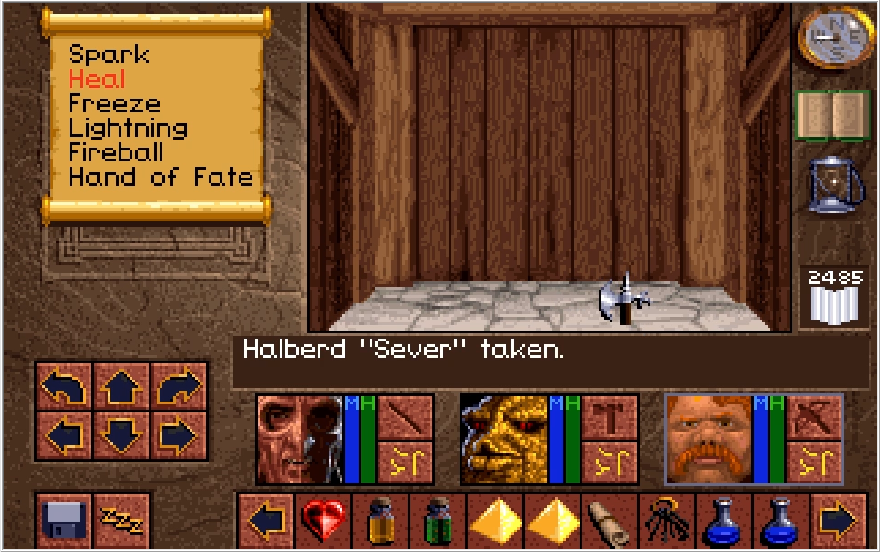
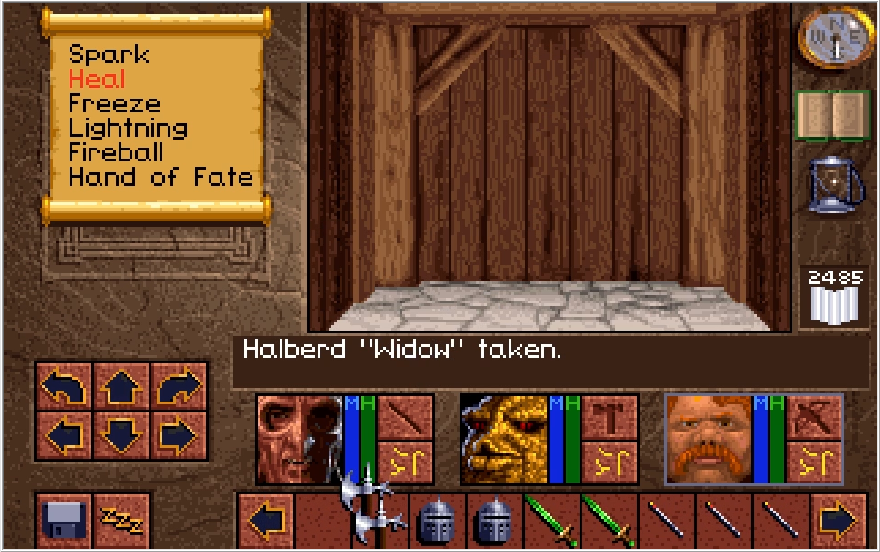
Beyond the door, we find the Halberd's Widow and Sever. Sever is a fair deal weaker than what we currently have, while being slightly ahead of the Great Sword Trouble. Nothing good for Baccata at this point, he's quite happy dual wielding Thunder and Justice, but they could theoretically come in handy. We'll have the means to get a second Great Sword Justice in the very near future though, so I just plan to sell these.
Oh yeah I've been meaning to mention for like three updates that in this playthrough I got the extremely rare Halberd drop from the Pentrogs in Opinwood. You probably saw it in a handful of screens when I was sorting Baccata's equipment. This is the only playthrough where I got that drop of the 4 practice runs I did, so I have to imagine it's quite the rarity.
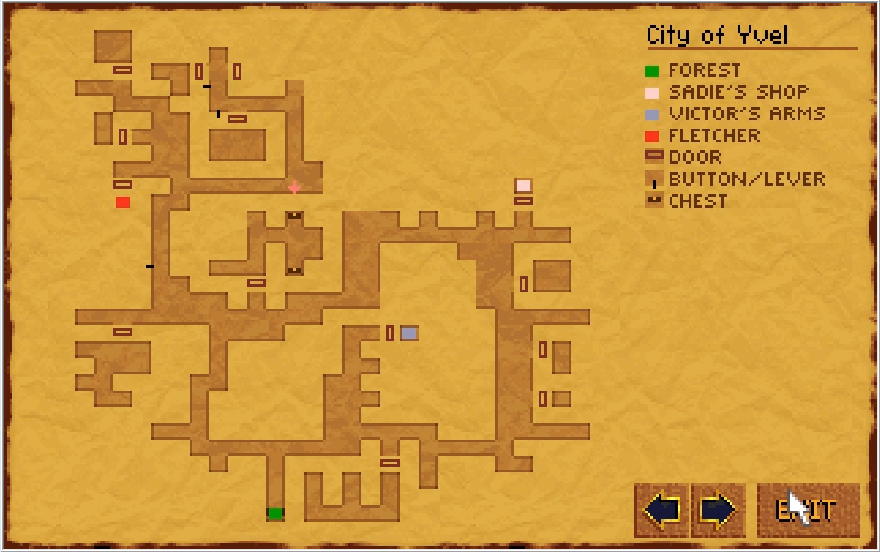
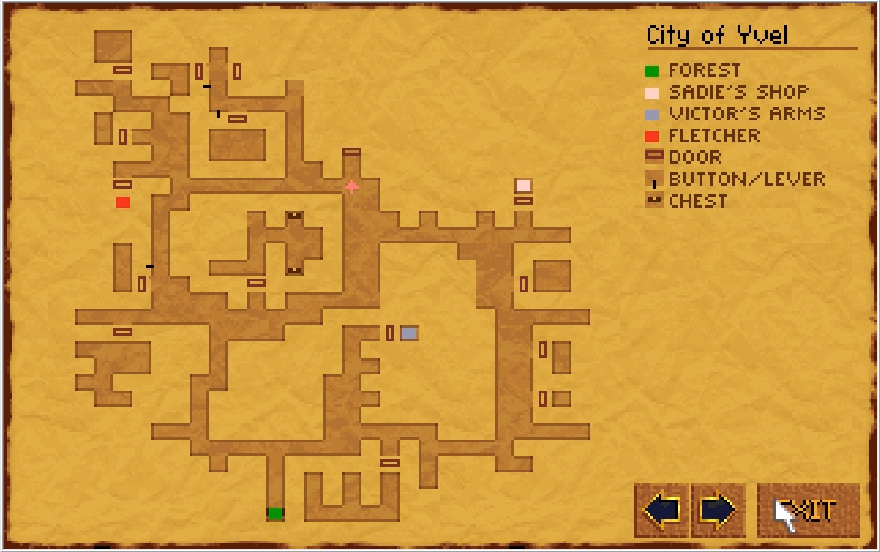
The map so far. This place is quite spacious! Now I know what you're thinking, what's that Jade Key we got open up? At least I'm assuming that's what you're thinking.
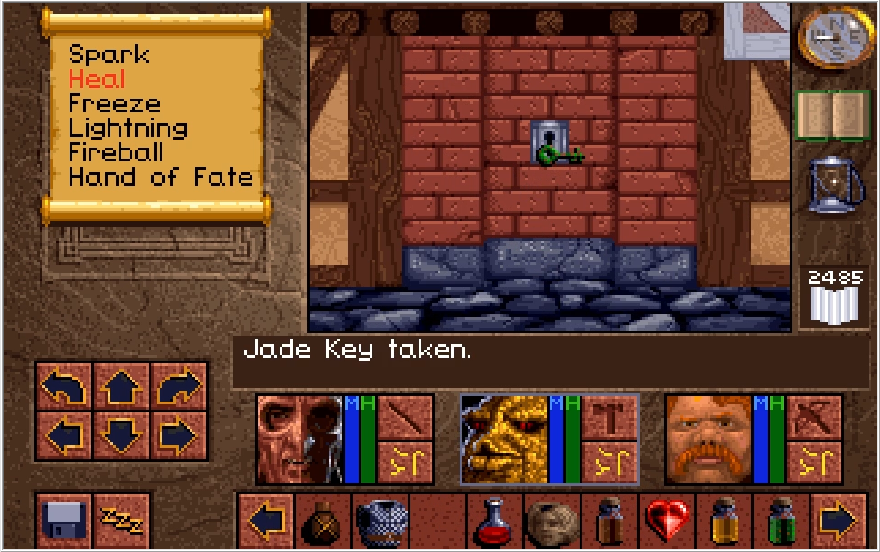
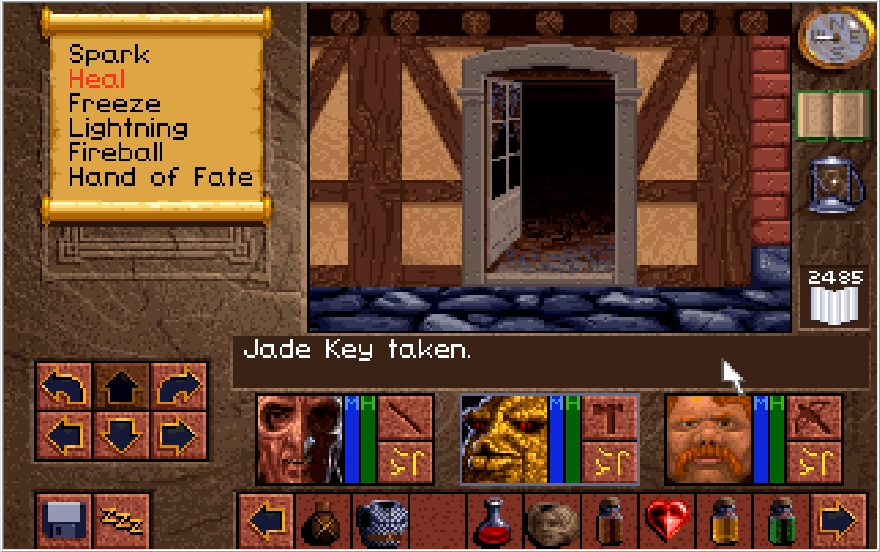
As it so happens, the Jade Key opens up that lock we came across previously with no option to open. That alley had quite the treasure trove in it, what fantastic treasures await us beyond this door!?!
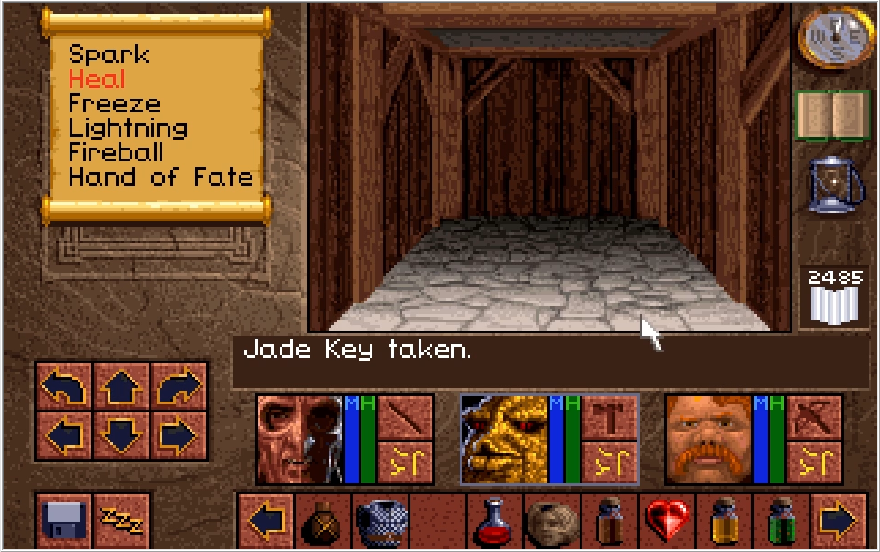
Nothing! Trolled again....
We've almost fully explored the city at this point. Besides the door in front of me, that alley off to the west connects to the last three openable doors of the city, plus there's that door I neglected to open by the locked ones.
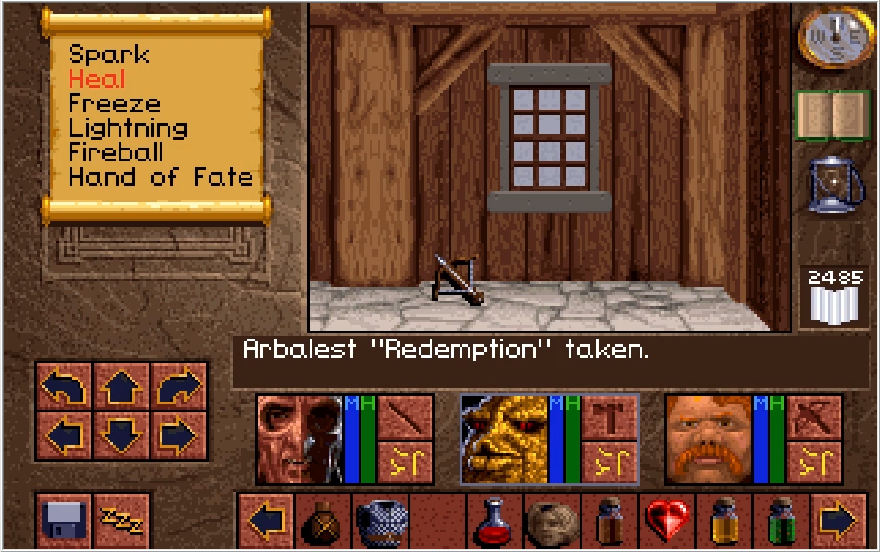
Behind the next door we search is the Arbalest "Redemption"! Redemption is the second strongest bow in the game and for all practical purposes, it is the best bow in the game. The true ultimate bow is at the tail end of the final dungeon, past when there's anything to use it on, and it's only marginally stronger than Redemption anyway. Redemption actually does have a pretty solid damage increase over the CBV, but it does not have the 100% accuracy so it's debatable if it's truly an upgrade. It's fun to have Baccata dual wield it with the CBV though!
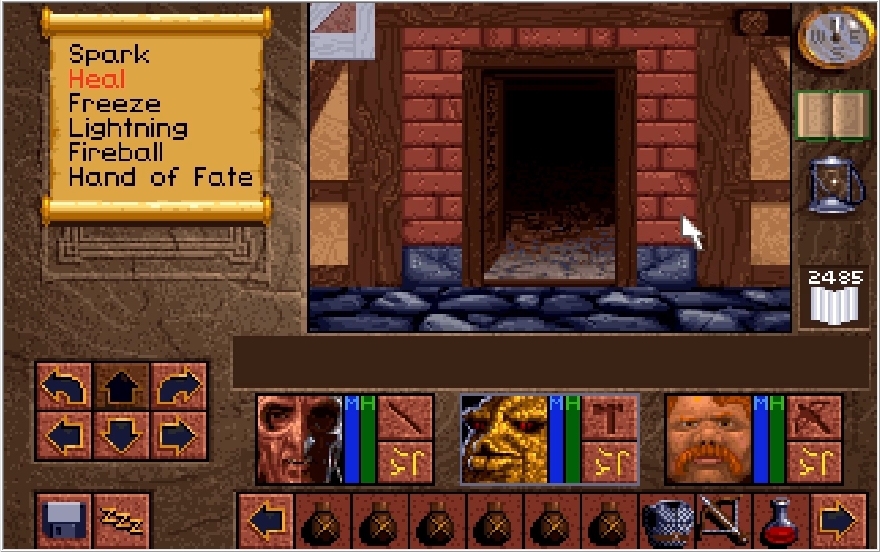
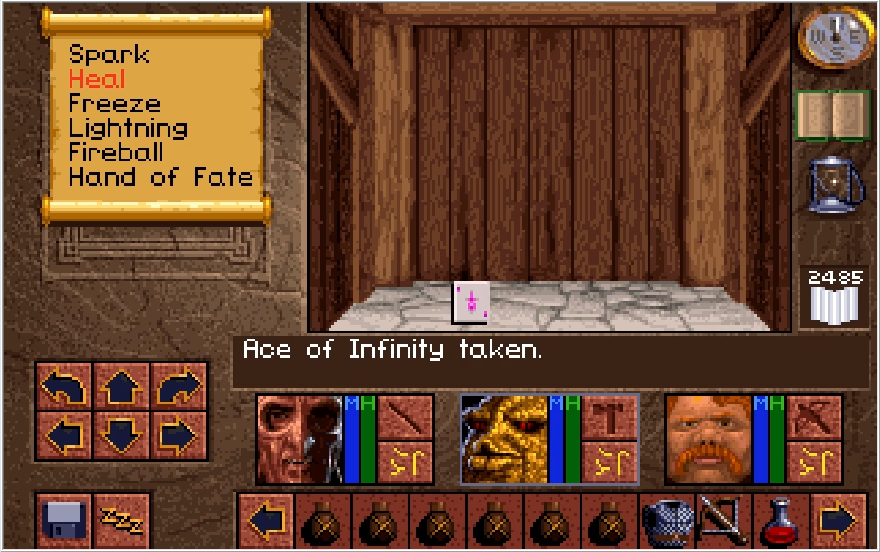
Our next door to search has an Ace of Infinity in it! This one has a bit of an underwhelming effect, it's just a single use full heal for the character it's used on. Basically a Bezel cup with no animation.
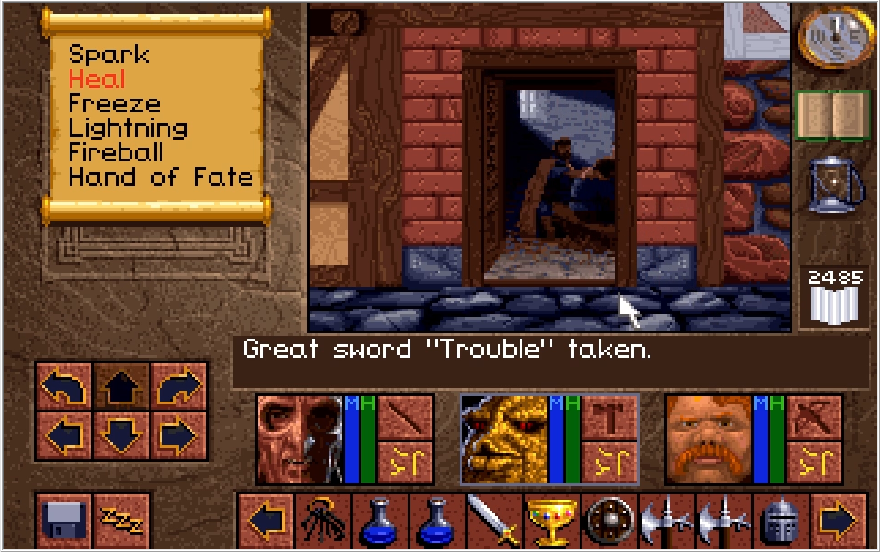
In the furthest point north in the center of the map, another door holds some residents. Seems like a conference of some sort. Note there is another door immediately south of this one. It just has some oil in it, but it is important to keep that door in mind for later.
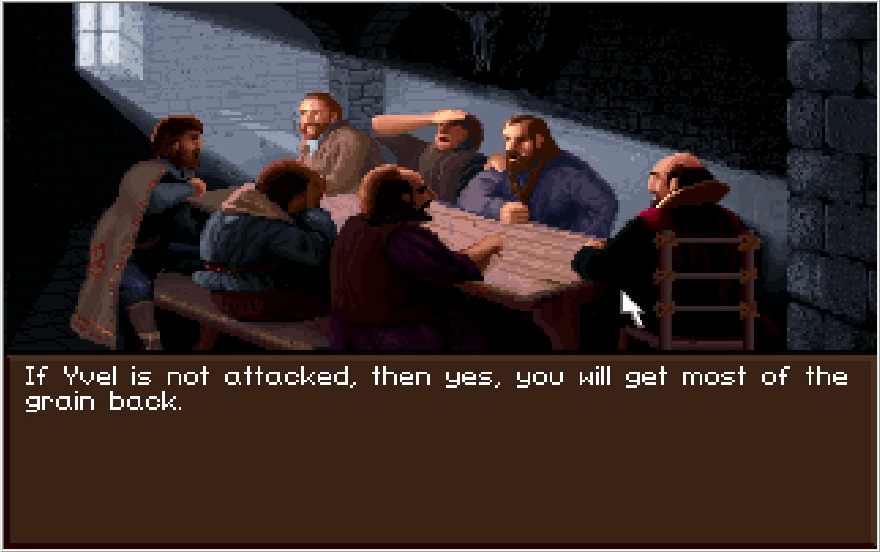
"Can I call it or what", I say, being the one who recorded the video for this.

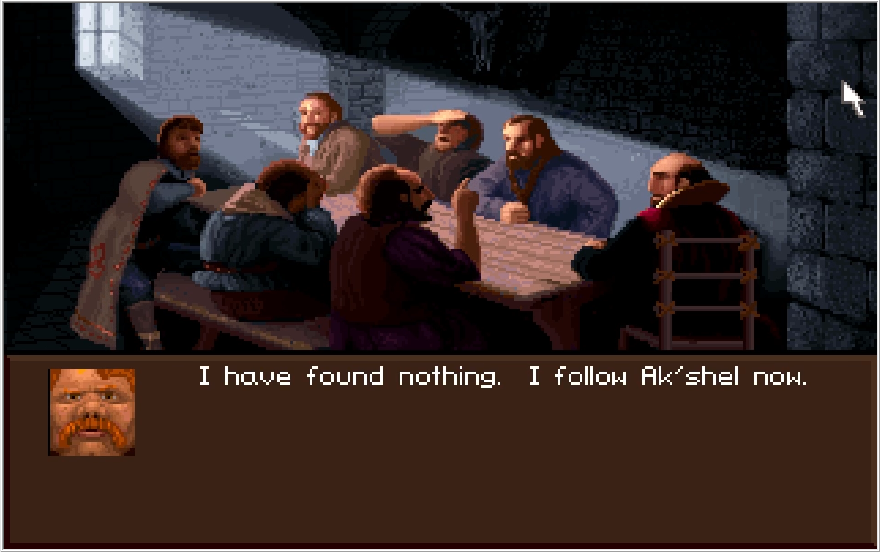
Paulson makes Ak'shel sound his like cult master when he words it like that. By the way, this is the last plot relevant line you're guaranteed to hear from Paulson if memory serves me right. There is one moment where he might say a couple lines at the end of the game, but hilariously it's dictated by RNG if he says anything. Glad he used this opportunity to confirm his trip to the Urbish Mines was useless.

While Ak'shel and co. have been working on their Fighter, Rogue and Mage levels, Geron has been diligently training his Dickhead attribute in the interim, managing to get it to the level cap of 10.
This is the only opportunity I'll have in the game to mention the Level cap for any attribute is 10, which you will never get anywhere close to in a normal playthrough without hours of grinding. Disregarding that, we can click on some of these schlubs to get their thoughts on the current situation regarding the siege of Yvel. This conference would make more sense if the Great Orc hordes actually spawned in like they were supposed to earlier.
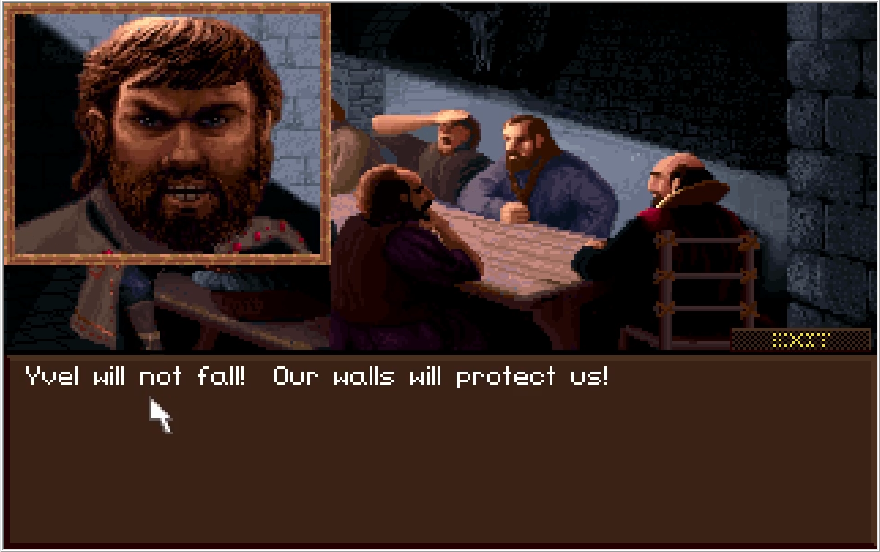
This guy has an excellent Seethe face to go with that comment. What about the guy next to him?

Gah Jesus fuck, Geron jumpscare! This is way more detail than I've ever wanted to see him in. He looks like that hyper realistic render of Mario.

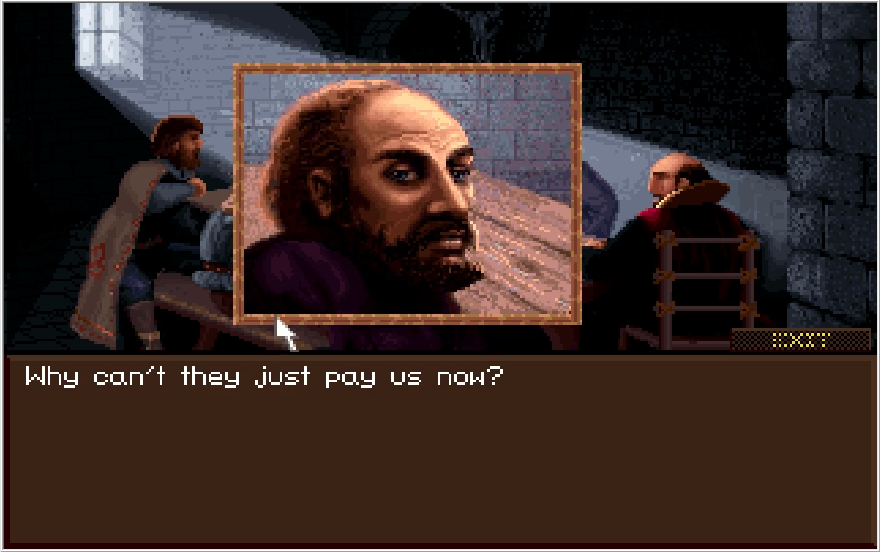
Just sell a bunch of swords to Victor bro, he's got money to burn.
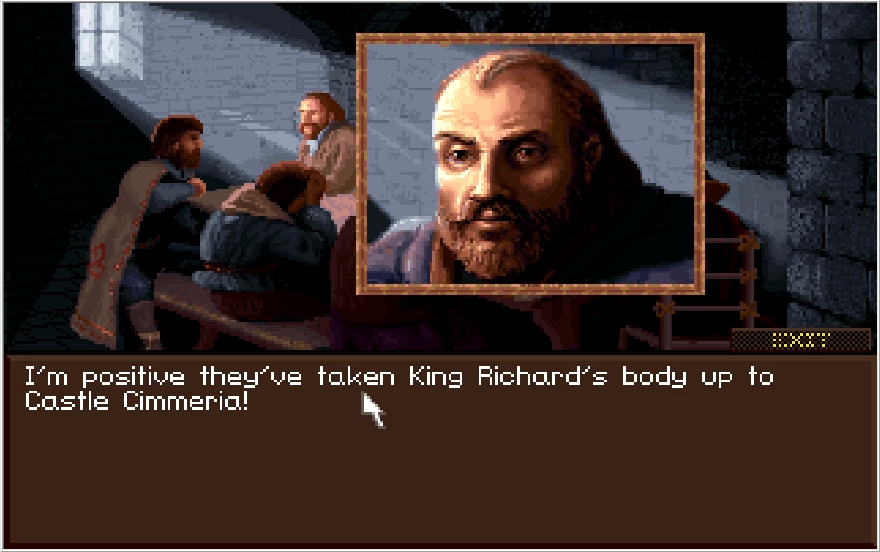
This is the one guy who actually has anything valuable to say here. Nice of Scotia to allow us to kill two birds with one stone like that. Cure Richard and then kill the witch in rapid succession.
Any other participants in the discussion prompts the Geron Jumpscare about their non-fluency in... English? So we'll just talk to the man himself now.
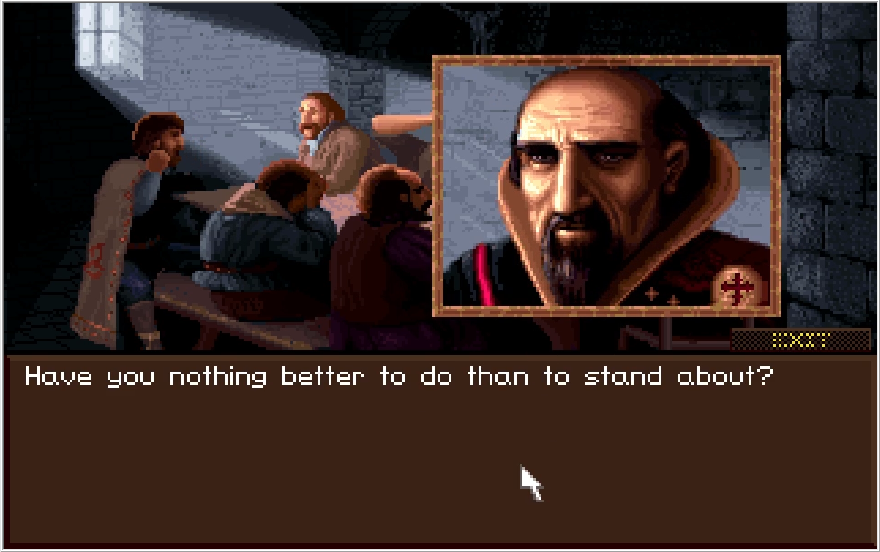
Geron you haven't done anything except lay down red tape.
To his credit, Geron is the one who will decipher the Earth Powder clue on the Riddle Scroll for you if you have yet to get that done by Dawn, saving you a trip back to her. Unfortunately, we've already accomplished that so all Geron can do is embody the classic D&D Alignment, Lawful Douchebag. Let's get out of here.
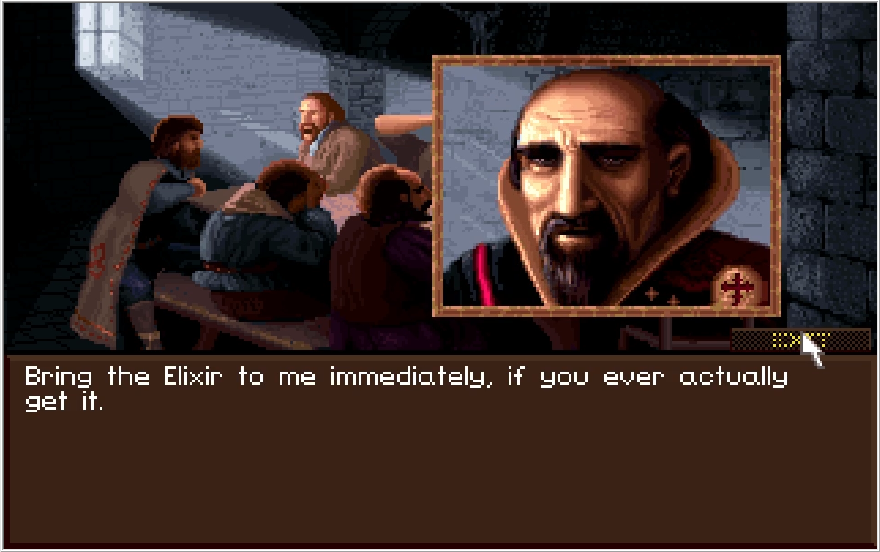
Nice to see he's worked on his people skills. I need a friggin drink, I can't even with this guy.
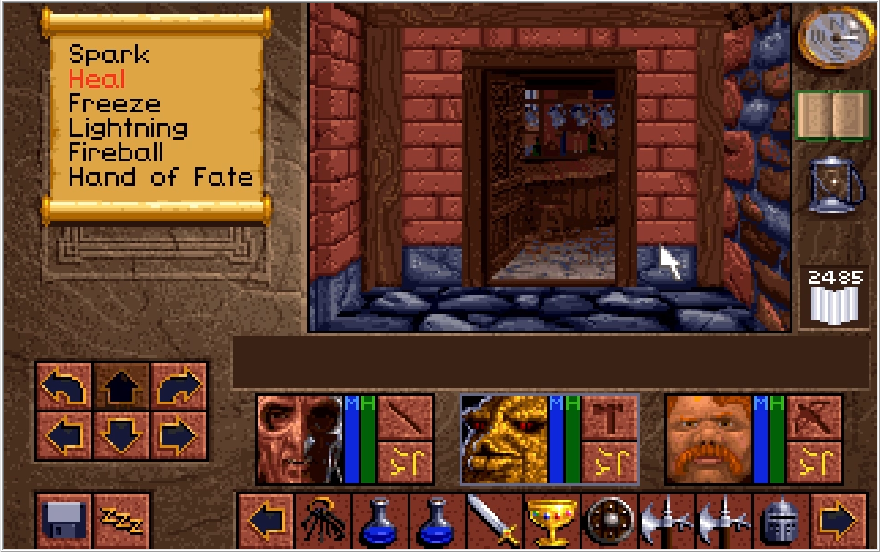
I imagine the others in attendance feel the same way, which is why they held the conference in a room that's just a few steps west of the local bar Bruno's Lodge!
Music: Bruno's Lodge
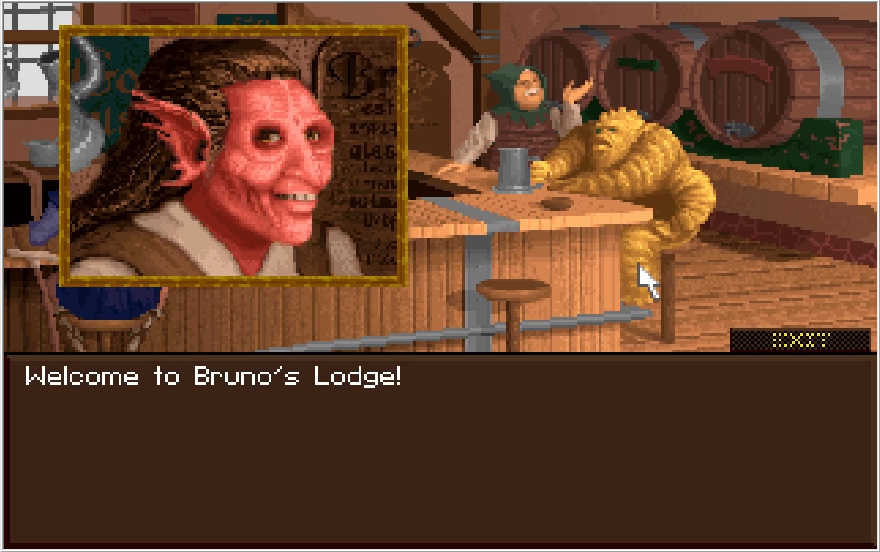
Quite the lively place! Well as lively as a bar with 4 people in it can be anyway. Bruno himself is another Draconoid! Must be a common demographic in Yvel. We see a handful of Thomgogs and Draconoids, but there aren't any other Hulines in the game besides Kieran. I guess they wanted to correct for that in Lands of Lore 2 because the first major place you go to in that game is the Huline village. They look nothing like Kieran and instead look like shitty furry cosplays made with supplies gotten at a Hobby Lobby.
Bruno's mug is blocking him, but a familiar face sits at the left end of the bar!
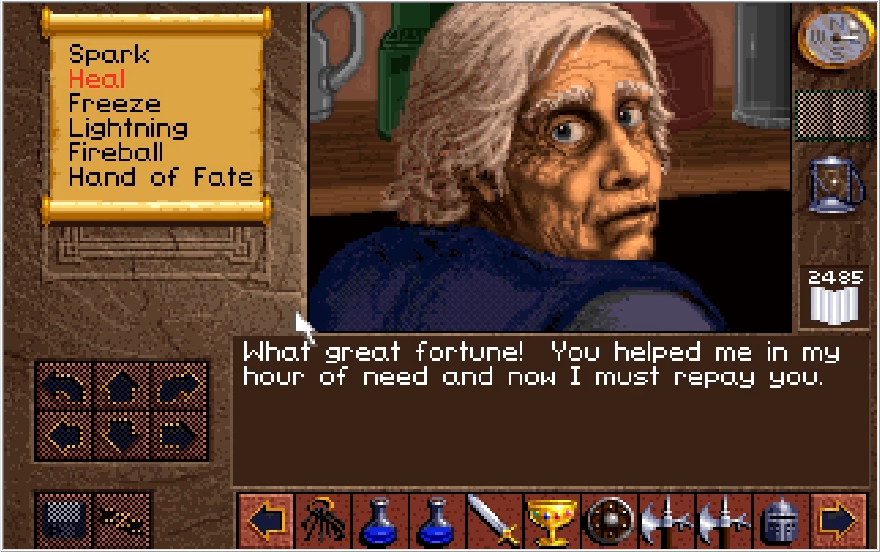
It's the Beggar! Glad to see he's doing well.
 : "I hope you are feeling better, sir."
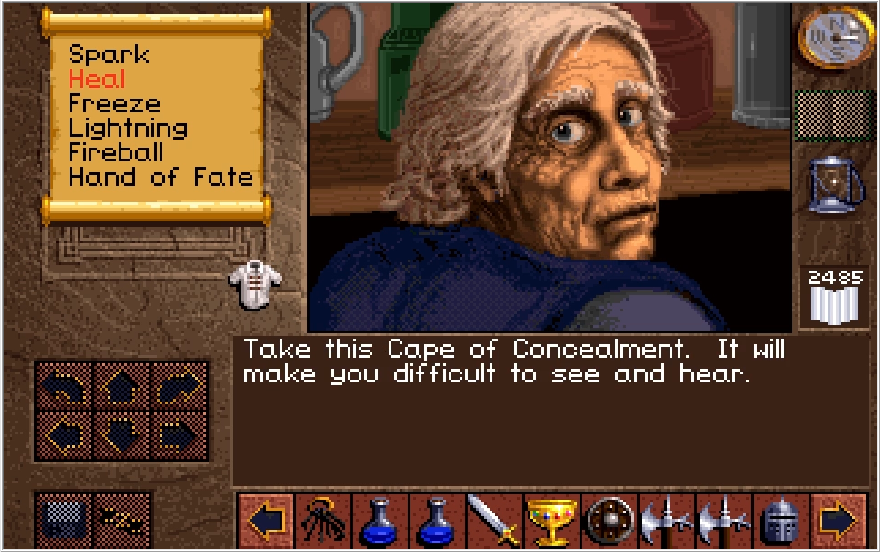
 "Thank you! This will surely help us!"
No need to lie to the man Ak'shel. This is the final piece of the Stealth equipment and it is by far the worst piece. Body armor provides the bulk of your protection, and this piece of shit is barely better than a Leather Jerkin. If not for the fact it could be sold, the single crown you could take off the Beggar's corpse would be more valuable.
Speaking of, obviously the Beggar is not here if you had killed him in his encounter. I've read conflicting things on what happens if you didn't help him. I've heard he sells you the cloak instead if you never helped or encountered him, but the clue book doesn't list a price and implies he only gives it if you had helped him. Something I could have tested but just neglected to because the payoff is so far out from the trigger.
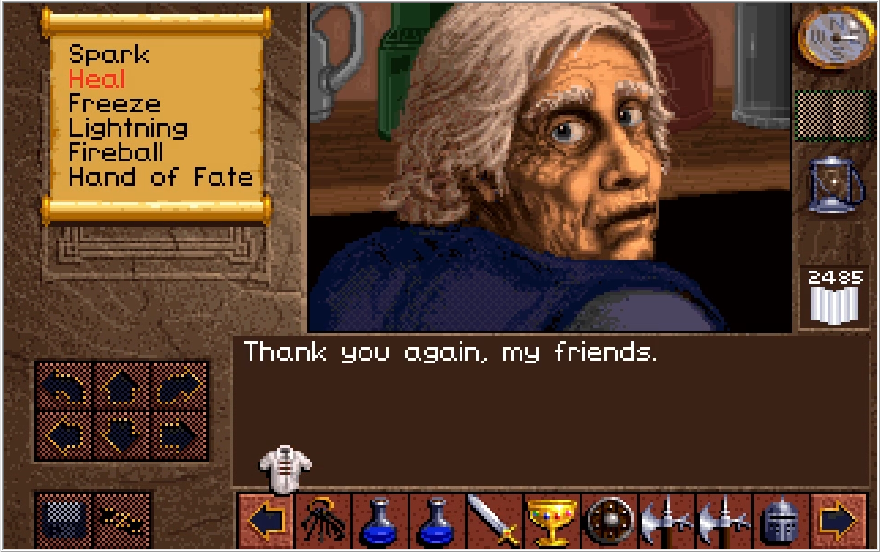
He just says this after you get the Whisper Cloak. Onto Bruno himself!
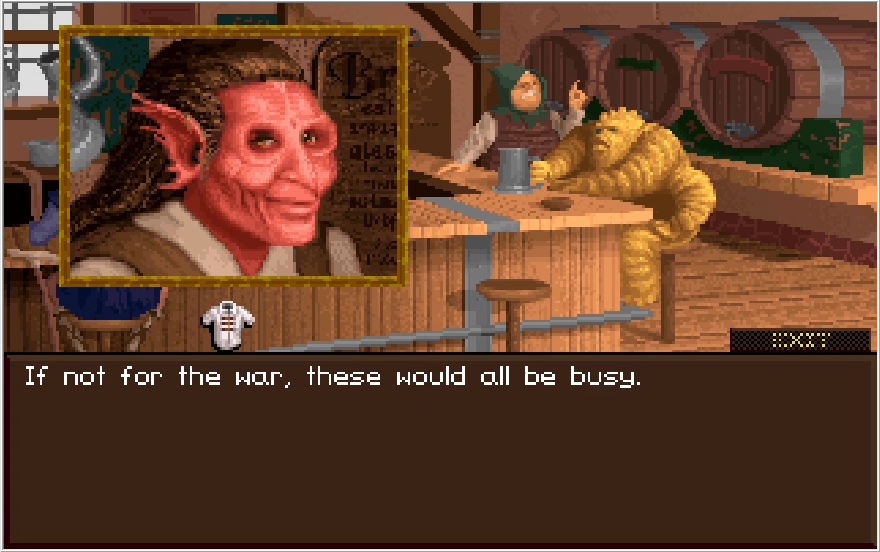
He's talking about the steins in the back.
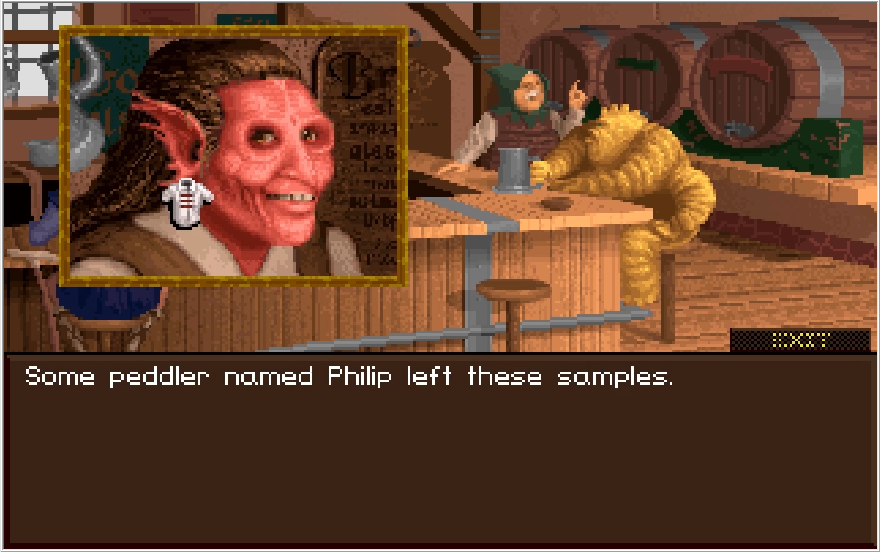
This is in reference to the liquor bottles on the shelf. Let's click on Bruno himself next.
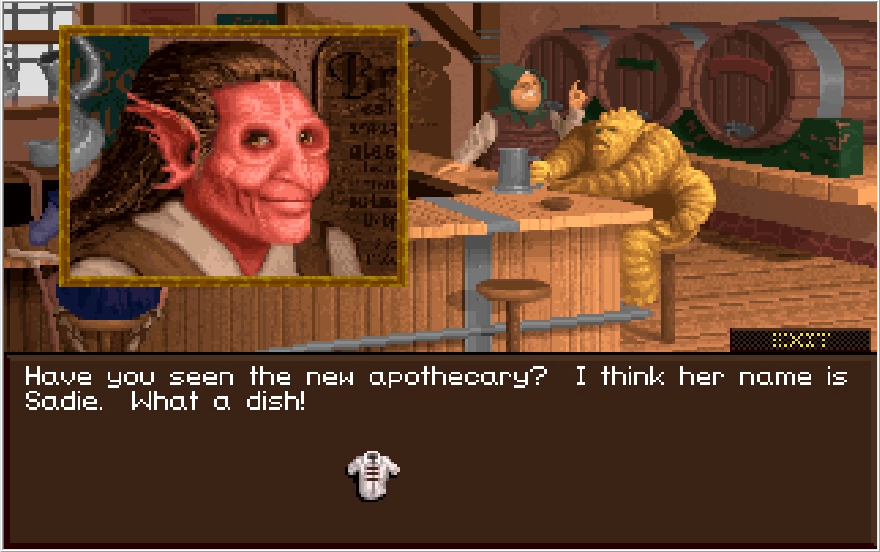
Sadie may have a disarming smile, but watch out boy she'll chew you up! Besides, I think Paulson has a shot, let him flex his game.
Yes the Whisper Cloak will be on your cursor until you leave this place. The only other thing Bruno has to say is what's in those kegs to the right of the bar. From right to left, they are Chateau Bruno's Table Red, Grisbl Cider, and Southlandia Ale. Thrilling. Let's hit up that Thomgog gentleman to the right!
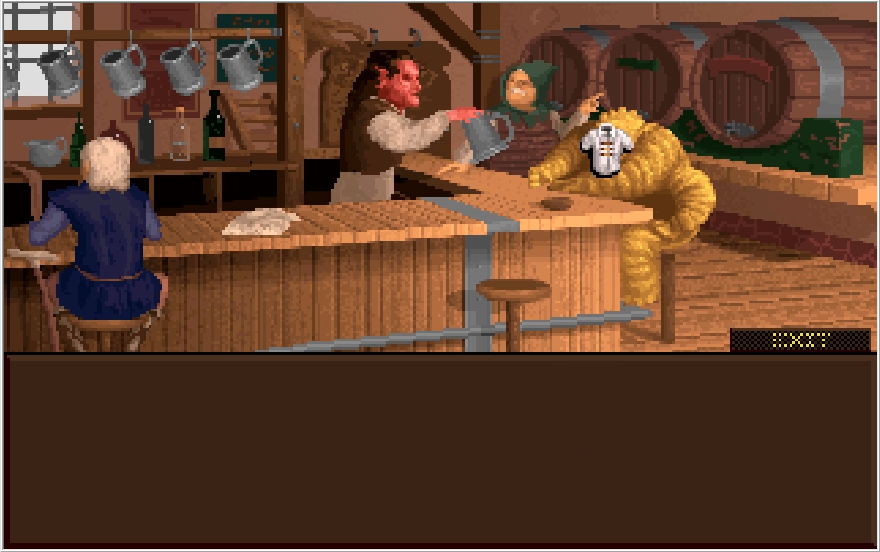
Bruno takes his empty stein.
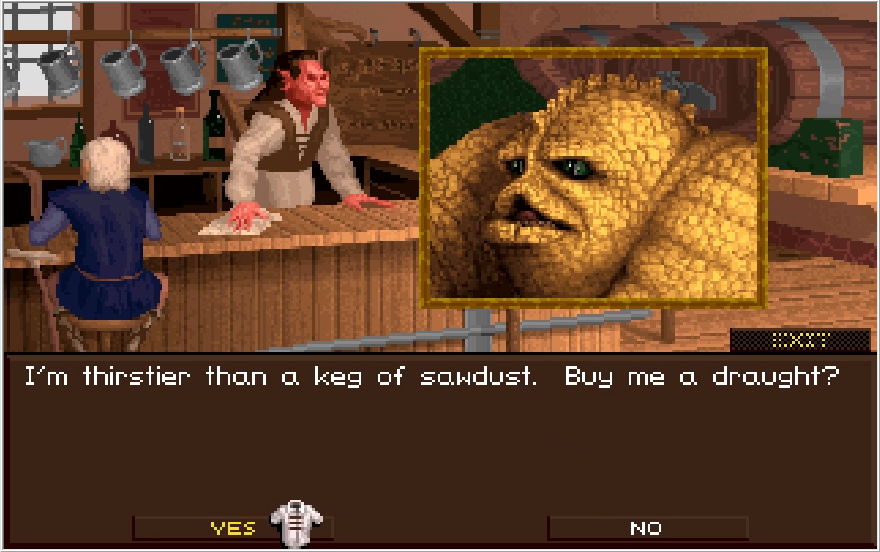
The text doesn't show it, but he also says "Hey baby" at the start of this. Gosh, I might blush, how can I turn him down?
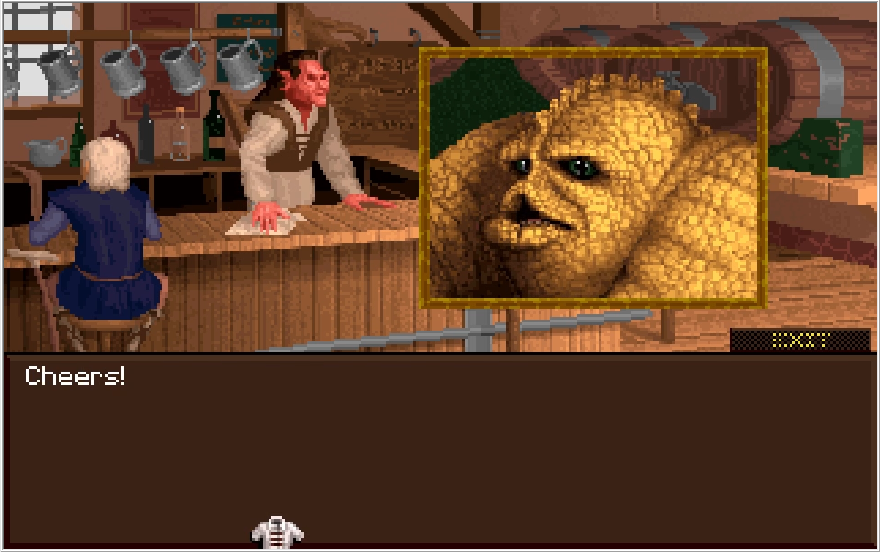
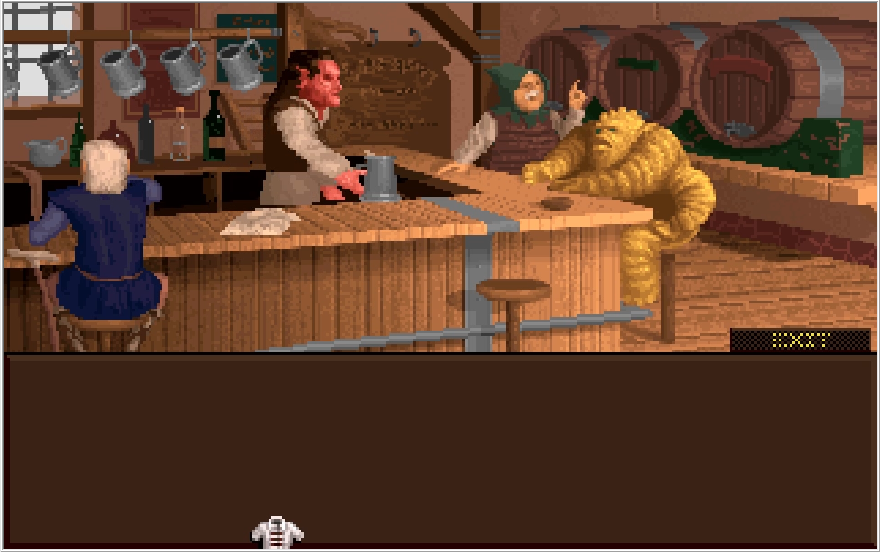

Nah I'm just kidding.
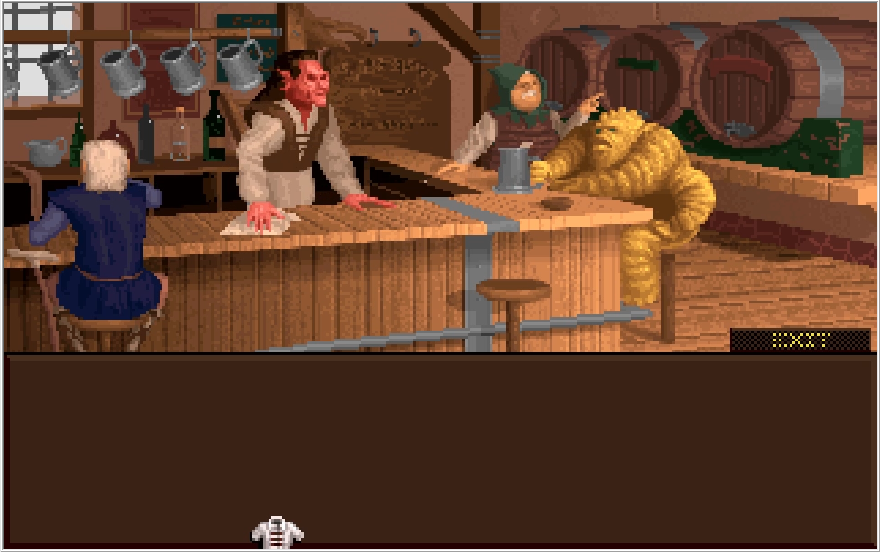
He catches it and resumes imbibing libations. What if we refuse him?
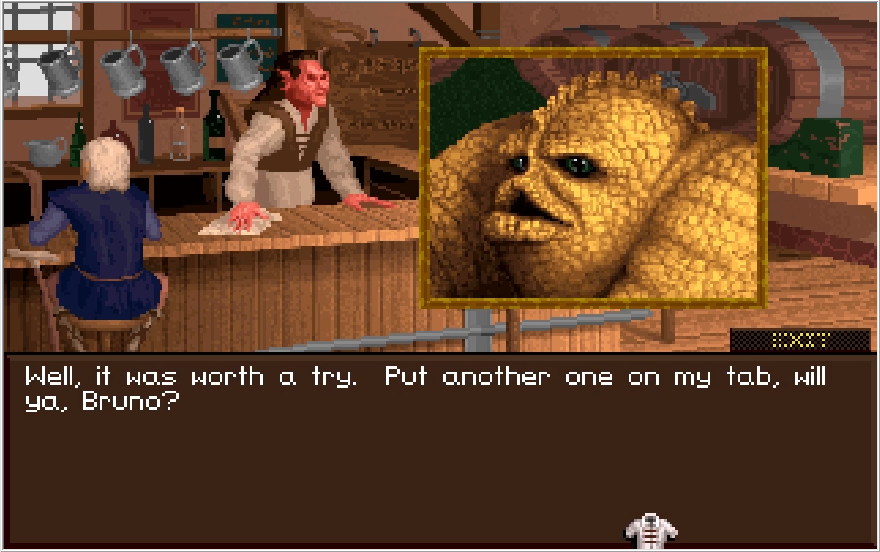
Same again and same again. Note that he downs that shit in one gulp so you can just infinitely buy or refuse drinks for him, and someone is losing a ton of money either way. You lose 5 crowns every time you buy him a drink, for the record. Who's the hooded fellow hanging out in the back got to say?
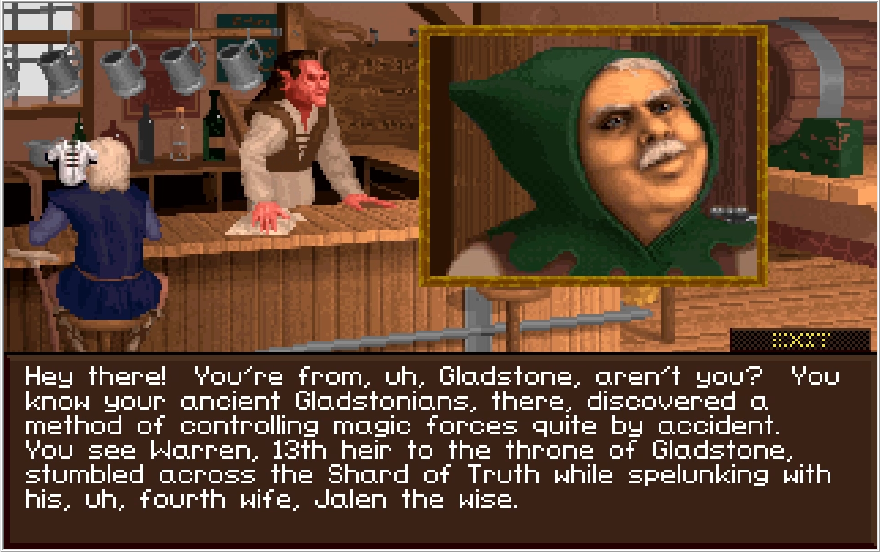
Okay, FUCK transcribing what this guy has to say. You're getting a video and you're going to like it.
Thankfully you are not quizzed on this guy's (Lands of) lore dump. Youtube theory crafters love this guy, I'm sure.
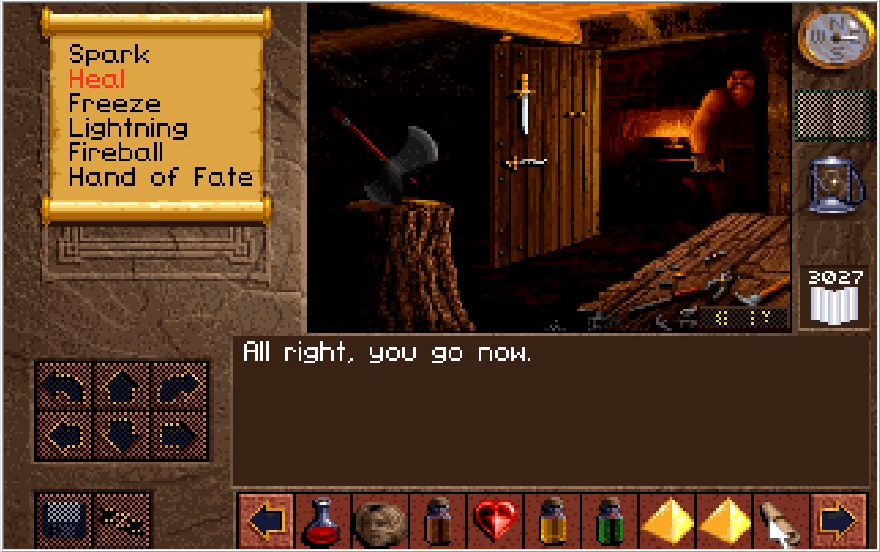
With all that done, I take one last visit to Victor to liquidate the bulk of the useless crap we got in the city. I could totally buy the Jewelled Dagger if I wanted now, I just simply don't care to.
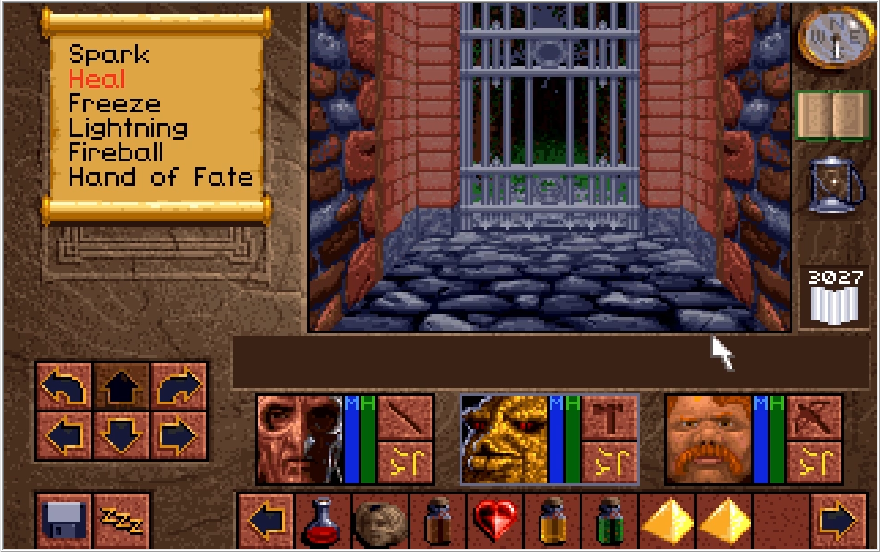
With everything in the city done, we can now leave Yvel and return to the White Tower to craft the Elixir! Thankfully, we only have to take a few steps into it to accomplish our goal.
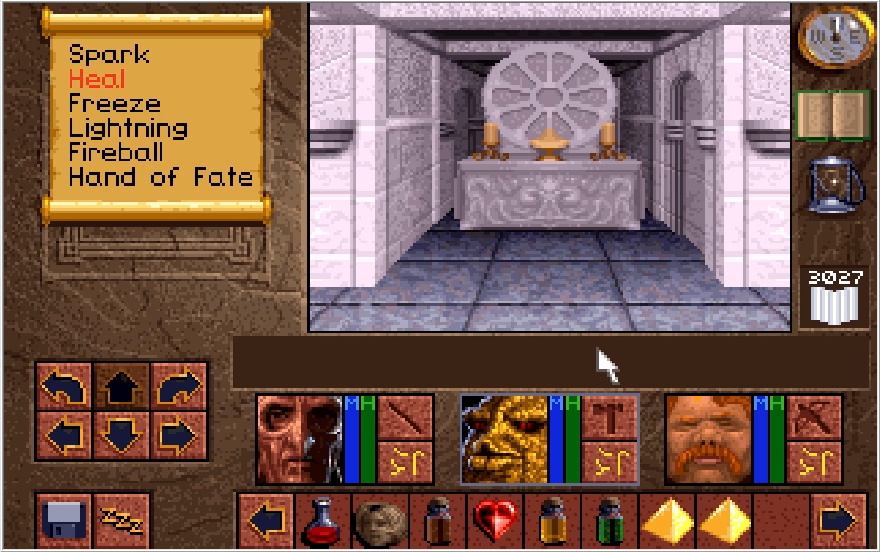
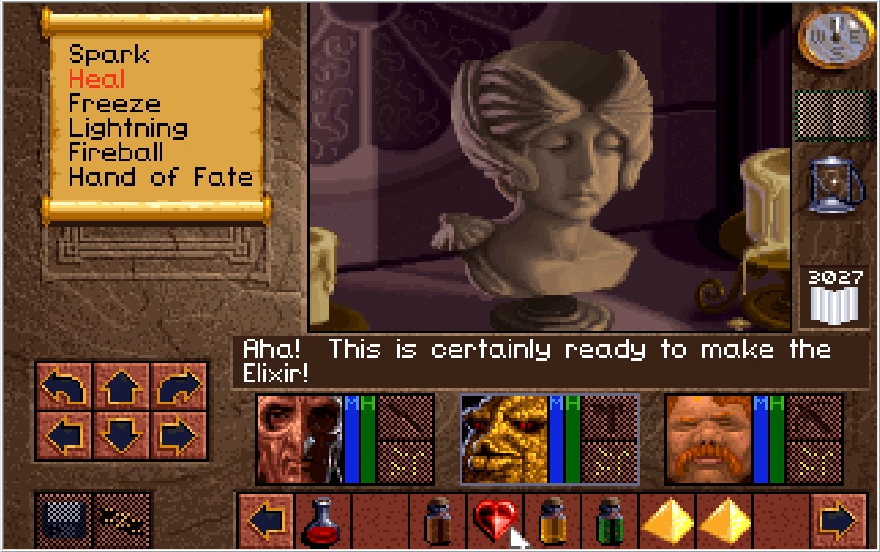
Returning to the Altar de Blanca*, we have finally reached the moment the game has been building to since we finished the Draracle's Cave!
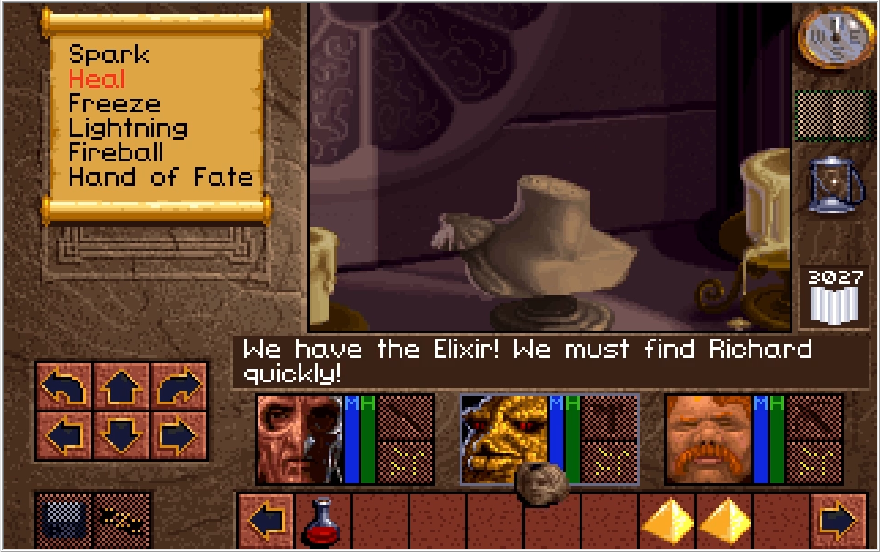
Hell yeah. Maybe Geron will finally recognize our abilities and actually help us for once? That will have to wait until next time though!
It'll be a little bit before the next update, I'll be going on vacation starting the weekend and won't be returning home until the following weekend. I'll definitely have enough time to get another update out for my other LP, but Lands of Lore likely won't see another one until close to the end of August. We're rapidly approaching end game though, so get excited for that!
*TL's Note: Blanca means "white".

You thought we were done with this place? Well for the most part we are, but there is one more optional thing we can do, which I honestly wouldn't recommend bothering with. Wouldn't be much of an LP though if I took that attitude, so I'm returning to White Tower Level 3 with the Crucible of Faith to get the last door on the floor opened.


I took about 10 minutes to grind out Paulson's Fighter level so we don't have to deal with a half full level 5 gauge anymore, and he rewarded me with a mediocre amount of HP gained. This is probably the best place to polish off that level for Paulson since the Emerald Blade kind of ignores conventional damage dealing rules and allows him to actually get somewhat decent exp off of the Wraiths. Not that it really matters since I didn't bother doing that for my Kieran file and that's going to be taking over on Update 19. But I refuse to let that effort I took getting exp with the Emerald Blade in Update 16 to go to waste!

With that tangent out of the way, Simba here rewards us for collecting a trophy of faith and opens up to reveal the rewards he held within.

Past the door is a small forked hallway with a chest at each end. When you open one of these chests, the other chest will disappear. The rewards in these chests are quite terrible, so I'm not sure why this is a mutually exclusive choice.

The northern chest contains a Star "Polaris" (another vanilla shuriken with slightly higher might, terrible), a THIRD Rapier "Talon" (terrible) and a Dwarvish Chain Mail. (Same thing Ak'shel has at the moment) This is actually a decent upgrade for Baccata... but we will be finding equal or better armor in the next area we go to, rendering it pretty pointless.

The east chest contains a Galenian Plate Mail, which has the same protection value as the Dwarvish Chain Mail and is thus equally pointless.

It also contains an Arbalest (we'll find a stronger one in the next area we go to) and a Great Axe "Reaper". Despite the badass name, that Great Axe is a horrible weapon, weaker than both of the weapons we've gotten from the bosses in this dungeon that required far less effort to get to. Still, we can sell this junk so I sub them in for some trash items I'm hauling.
I would like to point out before we leave, there is one more special weapon in the White Tower I neglected to get because I straight up forgot about it. You can get a Bow "Gemini" if you head towards the chest in the hall loop outside the faith door without weighing down the pressure plates. For some reason, the Bow disappears if you weigh down the plates to get to the Lightning Wand chest without grabbing it beforehand. It's a special Bow that fires two arrows at once, but it's only stronger than the CBV if both arrows hit which is far from a guarantee.


With that taken care of, we can finally pop the second Scotia barrier. Again, woe unto the poor sods who did this before completing the White Tower Level 3.

We need to head west to reach our destination, but there is a chest to grab if you bear east first.

We get a Shield of Stealth for our first spoil. This is a part of a set of equipment geared towards stealth. Supposedly, equipping all the equipment in the set makes the wearer harder to see and detect. In practice, these are a bunch of low protection early game armors that don't seem to do anything for the wearer beyond making them eat shit. I am genuinely unsure if these actually do anything, since it didn't seem to affect anything the one time I equipped a character with them.

The chest also contains the Arbalest Equalizer. This is not the superior Arbalest I alluded to earlier, but it does have an interesting effect. The Equalizer has the unbelievably powerful ability of... always missing its shots, meaning that picking it up and throwing it will deal more damage than wielding it. I love how the few named weapons with actual effects almost always do something terrible or useless. These pieces of garbage are the only thing this chest has.

With that vendor trash grabbed, we can now head west and make our way to the city of Yvel!
Music: City of Yvel

Between the music and the foggy streets devoid of any life, this place is actually kind of creepy. That being said, there are no threats, puzzles or traps to worry about in this area so I'll just quickly get us along to the points of interest.


Heading east and turning north at the first fork in the path will allow us to find this door nestled in a corner. Looks like someone is in here.


It's Victor!

Huh, looks he was expecting someone else. I'm guessing he was waiting on a Gladstonian commander, perhaps that Eric fellow mentioned at the start of the game finally met up with the Council?
 : "It is quite a boost to see you again Victor! Gladstone takes comfort in the support of all patriots like you!"
Don't glaze him too hard Ak'shel, you'll give him a big head. As in a big ego, I mean.
 : "Ak'shel, Baccata, Paulson! Welcome. I have now my new shoppe here."
No time for chit-chat Victor, I have a whole trove of shit to unload on you. We actually get quite the payday from Victor, his coffers run deep for the gear we have.

Just for fun I wanted to see his reaction to the Emerald Blade, and he sounded weirdly pissed off when I offered it to him. Guess he can't see the value in ghost busting, maybe he doesn't believe in them.

Victor sells two interesting items and two trash ones. The Great Axe embedded in that stump(?) is weaker than the Reaper that I sold to him and the dagger hanging above the one I clicked on is equally trash. The dagger in the lower left is actually the Jewelled Dagger from the Draracle's Cave! How Victor got his hands on it is anyone's guess, but he'll sell it to us for an outrageous 3000 crowns. It's actually pretty easy to get the money for this and there is little else to spend it on, but the Jewelled Dagger is weaker than the best weapons we have currently and is in fact weaker than the other worthwhile thing Victor sells.

The big 'ol sword on the wall is the Great Sword Justice, the strongest weapon in the game! 560 crowns is more than worth it for this weapon.

Baccata has achieved his ultimate form, short of wielding two Great Sword Justices. More on that later.

Backing out and heading eastward again, we find another open door for us to venture into.


Inside is a stripped down abode with two items in it. The Torn Shirt is garbage, natch, but the Ace of Dominion is very interesting. This is a one-use item that casts the Hand of Fate Level 4 when used. We will be learning about that spell very soon.


Some of the doorways in Yvel just open up to small empty room like this, though thankfully there are only a few itemless dead ends in the city. Believe it or not, these empty rooms do actually have a potential use we'll be seeing later.

Now I haven't been showing off too much of my movement through the city because the overwhelming majority of doors in the city are boarded up like this one. The reason I'm taking time to show this one specifically though, is that it actually prompts a response if you click on it.


Click it a few times, and Ak'shel will manage to pry the boards off. Note that none of the other boarded doors have any kind of flavor text if you examine them, so to find this naturally you just need to click on every door you see in the vain hope one of them prompts a response. This is the only boarded door you can open.


It does contain some interesting items at least, a key for us to use and the second to last spell of the game, Hand of Fate!
Hand of Fate
Lv.1: 30 MP, Pushes the enemy 1 space back for no damage
Lv.2: 60 MP, Pushes the enemy 1 space back and can potentially deal 75 damage if they hit a wall
Lv.3: 90 MP, 125 Base DMG AoE
Lv.4: 120 MP, 175 Base DMG AoE
This is the weirdest spell in the game by far. Yes, Level 1 doesn't do any damage, and it's a pretty pointless effect most of the time because the enemy will just simply... step forward as soon as the spell hits. Level 2 has its damage dictated by RNG, while the succeeding levels are just non-elemental AoEs that even for Ak'Shel will drain your entire MP bar after one use. Most enemies on Ferocious mode at this point can survive the damage this spell dishes out, so it's definitely less appealing for the purposes of this LP. If you're wondering if the Level 1 variant is ever used in some kind of puzzle, it actually does get used in an optional one... that you're provided an infinite use artifact for that replicates the spell, meaning getting the spell itself is fairly pointless. The only other notable thing about it is that its name is another reference to the Legend of Kyrandia series, specifically the second entry: The Hand of Fate. Pretty on the nose.

Figured I'd provide a lay of the land so far so it's a bit clearer what this place is laid out like.


Beyond another open door, I find a Dwarvish Plate. Despite the fairly generic name, this is actually one of the strongest armors in the game. It's better than what Ak'shel has though I neglected to check that and put it on Paulson instead. I shuffle it around to Ak'shel later on.

Exploring some more, I come across another door that seems to have someone waiting behind it.
Music: Sadie's Shop


This is Sadie. She's not actually capable of reading with her eyes closed, I just caught her mid blink in my screenshots. She is remarkably unbothered by the thought of dying by starvation or dismemberment.
 : "Perhaps you could help us. We are seeking ingredients for an Elixir that can cure King Richard."
 : "What are you looking for?"
 : "I have a recipe that the Draracle gave me."
Remember how I said way back when that the Recipe Scroll and one of its deciphered clues is a key item for finishing the game?
Huh, it was only Update 10 I said that? Feels like it was a lot longer ago. But anyway, here's the pay off for that blunt bit of foreshadowing. Sadie is the Apothecary I alluded to, and she'll only give us the Earth Powder if we have the Riddle Scroll with the relevant clue deciphered. Obviously if you left the Scroll back by Gladstone, you now get to sink in despair as you realize you've rendered the game unwinnable. If you don't have the clue deciphered, on the other hand, thankfully you do not have to trek back to Dawn to get that cleared up. Someone else in the city can do that for you.CullenDaGaDee wrote:So we need dirt, got it. But not just any dirt, special medical dirt. Perhaps an apothecary would have that? It's important to note, this is the one clue in the game that you NEED to get deciphered. It's also the reason the riddle scroll is a key item necessary to win the game. Don't miss out on this clue!

Fortunately, neither of those are problems for me, so I can just present the scroll and get my dirt. Literal dirt, not blackmail material. (Although I wouldn't be opposed to having something on Geron...)


In a surprise twist that would leave M. Night Shyamalan in a state of orgasm, turns out Sadie is actually the aunt of Lora and I guess actually knew who we were the whole time? Since we did a solid for Lora, Sadie gives us the Earth Powder free of charge. Had you not rescued Lora, you would instead have to fork over a hefty 500 crowns to secure a vial of Instant Mud (Just Add Water!).
 : "Thank you so very much! All Gladstone thanks you!"
I like this game, but not enough to play 4 hours to see what indignant response your character gives if they have to pay for this ingredient because they didn't rescue Lora. That aside, Sadie actually has a wealth of flavor text in her humble home, the most we've seen in awhile.
When clicking on her mortar and pestle,
 : "I use this to crush the leaves."
When clicking on the dried herbs,
 : "I crush these dry leaves for my medicines."
When clicking on the closed book in the background,
 : "That's just a book of Grisbl History."
When clicking on the lantern,
 : "I need the light to read by."
When clicking on the jar to her right,
 : "You can get some ale at Bruno's Lodge."
Sadie spends her free time reading non-fiction and pounding back brewskis? Paulson, I think I've found your ideal woman.
When clicking her book,
 : "A book to pass the time with."
Sadie also has a couple services she can provide for us aside from the Earth Powder. Those flasks to her left are actually salves we can buy for 20 crowns. There is a very fringe case where buying one of these can actually be useful, though you have to be pretty dense to wander into it.

Sadie can also "diagnose your infirmities" for 50 crowns, which I assume means "heal the party if they are hurt for some reason." We can literally do that for free by resting in this city that has no threats present in it, but what the hell.

Charging ridiculous prices for medicine and an exam where she just tells us we're fine? I can tell the spirit of Sadie was carried on by the American health care system.
Let's get out of here.
 : "So long and good luck!"
We've covered quite a bit of ground, and there is still more to see! To start, I enter the door directly in front of me on the map.


This room contains a couple chests. This first one contains some crowns, some oil, a... Granite Rock? Yeah there's a couple of rocks in the game that arbitrarily have different names than just Rock. I'm not sure if these deal more damage when thrown or something. Trash to throw on the ground regardless. This chest also contains some bracers, but I already have a set for everyone so I can just drop them.


The other chest contains the next piece of the stealth equipment, the Silent Sandals. Like the Shield, it is complete trash.

So much so I don't even bother to take them. The chest also contains a 4 gem Bezel cup, which is much nicer!


In yet another room we come across, there is an Ace of Oblivion for us to pilfer. This is a one-time casing of Mist of Doom 4, another yet to be seen spell that'll take us a bit longer to get access to than Hand of Fate did. Granted, we also can access it through the Wand of Death, so we at least have more item options for it.


Trawling around, I come across a locked door that neither my Speckled Key nor my picks can actually opening. It's a bit weird for a residential door to have its lock embedded on the wall next to it now that I think about it.

In the northwest corner of the city, we come across the third occupied home of the city. Perhaps this place is more lively than I gave it credit for!

Sadly, the Yvel Fletcher isn't cool enough to get his own shop music and instead they just reused the Gorkha shop music. Guess the composer was running out of steam at this point.
 : "We as well, are glad to see you sir!"
Incidentally, this guy is a Draconoid like Ak'shel. Nice to know he's not alone in this land!(of lore)

We can sell our bows to him at full price. Unsurprisingly, Equalizer goes for a low amount. The nameless Arbalest on the other hand, fetches a nice 300 crowns! Now you might think this guy sells an ultimate weapon like Victor does... but in face the best thing he sells is a second copy of the Arbalest I just sold him. Instead, the effective ultimate bow of the game is found in a random home in the city. Because that's Lands of Lore.

You can click on his bird to make it squawk. The fletcher doesn't really seem to care that we're harassing his feather source. Like Sadie, the Fletcher also has a weirdly high amount of flavor text relative to what we've been able to glean from the environment as of late.
When clicking on the arrows on the table,
 : "A full supply goes with every bow sold."
When clicking on the spool,
 : "I go through three of these on a good day."
When clicking on the smaller, indistinct bows in the background,
 : "I can't be selling that now, can I?"
Kind of a weird comment, they don't look any different from the bows you do sell. Clearly this is outing me as a filthy casual with an untrained eye for the finer points of archery equipment.
When clicking on his window,
 : "Careful, that glass work is worth a fortune."
When clicking on the lamp in the background,
 : "If my window was a bit brighter, I wouldn't be needin' that."
Overpriced AND terrible at letting light in? I hope that came with the store and it wasn't a custom glass work order you made.
When clicking on him,
 : "The getting of the feathers 'tis the hardest part!"
I'm guessing that was what he was supposed to say about the bird before they decided to turn it into a squawk button.
This is getting kind of weird, let's dip.
 : "Good luck and happy hunting, my friends."
Fun fact, in the game even though the voice track says "My friends", the in game text transcribes it as "Me friends" like he's a pirate.

Would you believe me if I told you we still have more side rooms to explore?


There are a couple rooms by the Fletcher that contain Aegis Helms. These are weaker than the Helm Prentis, but are a single point upgrade over the Great Helm. Onto Baccata and Paulson they go.


In a secluded alley, we find yet another locked door. This one accepts our Speckled Key!


Beyond the now opened door, we find a Jade Key, a Kite Shield and a Plate Mail. Baccata actually didn't have a second Kite Shield, so I slapped that onto him. The Plate Mail is another Dwarvish Chain Mail sprite swap, but it does give me a good armor piece to slap onto Paulson while I give the superior Dwarvish Plate to Ak'shel.

In the same alley, there's another locked door, this one with a pickable lock.


Beyond the door, we find the Halberd's Widow and Sever. Sever is a fair deal weaker than what we currently have, while being slightly ahead of the Great Sword Trouble. Nothing good for Baccata at this point, he's quite happy dual wielding Thunder and Justice, but they could theoretically come in handy. We'll have the means to get a second Great Sword Justice in the very near future though, so I just plan to sell these.
Oh yeah I've been meaning to mention for like three updates that in this playthrough I got the extremely rare Halberd drop from the Pentrogs in Opinwood. You probably saw it in a handful of screens when I was sorting Baccata's equipment. This is the only playthrough where I got that drop of the 4 practice runs I did, so I have to imagine it's quite the rarity.

The map so far. This place is quite spacious! Now I know what you're thinking, what's that Jade Key we got open up? At least I'm assuming that's what you're thinking.


As it so happens, the Jade Key opens up that lock we came across previously with no option to open. That alley had quite the treasure trove in it, what fantastic treasures await us beyond this door!?!

Nothing! Trolled again....

We've almost fully explored the city at this point. Besides the door in front of me, that alley off to the west connects to the last three openable doors of the city, plus there's that door I neglected to open by the locked ones.

Behind the next door we search is the Arbalest "Redemption"! Redemption is the second strongest bow in the game and for all practical purposes, it is the best bow in the game. The true ultimate bow is at the tail end of the final dungeon, past when there's anything to use it on, and it's only marginally stronger than Redemption anyway. Redemption actually does have a pretty solid damage increase over the CBV, but it does not have the 100% accuracy so it's debatable if it's truly an upgrade. It's fun to have Baccata dual wield it with the CBV though!


Our next door to search has an Ace of Infinity in it! This one has a bit of an underwhelming effect, it's just a single use full heal for the character it's used on. Basically a Bezel cup with no animation.

In the furthest point north in the center of the map, another door holds some residents. Seems like a conference of some sort. Note there is another door immediately south of this one. It just has some oil in it, but it is important to keep that door in mind for later.

"Can I call it or what", I say, being the one who recorded the video for this.


Paulson makes Ak'shel sound his like cult master when he words it like that. By the way, this is the last plot relevant line you're guaranteed to hear from Paulson if memory serves me right. There is one moment where he might say a couple lines at the end of the game, but hilariously it's dictated by RNG if he says anything. Glad he used this opportunity to confirm his trip to the Urbish Mines was useless.

While Ak'shel and co. have been working on their Fighter, Rogue and Mage levels, Geron has been diligently training his Dickhead attribute in the interim, managing to get it to the level cap of 10.
This is the only opportunity I'll have in the game to mention the Level cap for any attribute is 10, which you will never get anywhere close to in a normal playthrough without hours of grinding. Disregarding that, we can click on some of these schlubs to get their thoughts on the current situation regarding the siege of Yvel. This conference would make more sense if the Great Orc hordes actually spawned in like they were supposed to earlier.

This guy has an excellent Seethe face to go with that comment. What about the guy next to him?

Gah Jesus fuck, Geron jumpscare! This is way more detail than I've ever wanted to see him in. He looks like that hyper realistic render of Mario.


Just sell a bunch of swords to Victor bro, he's got money to burn.

This is the one guy who actually has anything valuable to say here. Nice of Scotia to allow us to kill two birds with one stone like that. Cure Richard and then kill the witch in rapid succession.
Any other participants in the discussion prompts the Geron Jumpscare about their non-fluency in... English? So we'll just talk to the man himself now.

Geron you haven't done anything except lay down red tape.
To his credit, Geron is the one who will decipher the Earth Powder clue on the Riddle Scroll for you if you have yet to get that done by Dawn, saving you a trip back to her. Unfortunately, we've already accomplished that so all Geron can do is embody the classic D&D Alignment, Lawful Douchebag. Let's get out of here.

Nice to see he's worked on his people skills. I need a friggin drink, I can't even with this guy.

I imagine the others in attendance feel the same way, which is why they held the conference in a room that's just a few steps west of the local bar Bruno's Lodge!
Music: Bruno's Lodge

Quite the lively place! Well as lively as a bar with 4 people in it can be anyway. Bruno himself is another Draconoid! Must be a common demographic in Yvel. We see a handful of Thomgogs and Draconoids, but there aren't any other Hulines in the game besides Kieran. I guess they wanted to correct for that in Lands of Lore 2 because the first major place you go to in that game is the Huline village. They look nothing like Kieran and instead look like shitty furry cosplays made with supplies gotten at a Hobby Lobby.
Bruno's mug is blocking him, but a familiar face sits at the left end of the bar!

It's the Beggar! Glad to see he's doing well.
 : "I hope you are feeling better, sir."
 "Thank you! This will surely help us!"
No need to lie to the man Ak'shel. This is the final piece of the Stealth equipment and it is by far the worst piece. Body armor provides the bulk of your protection, and this piece of shit is barely better than a Leather Jerkin. If not for the fact it could be sold, the single crown you could take off the Beggar's corpse would be more valuable.
Speaking of, obviously the Beggar is not here if you had killed him in his encounter. I've read conflicting things on what happens if you didn't help him. I've heard he sells you the cloak instead if you never helped or encountered him, but the clue book doesn't list a price and implies he only gives it if you had helped him. Something I could have tested but just neglected to because the payoff is so far out from the trigger.

He just says this after you get the Whisper Cloak. Onto Bruno himself!

He's talking about the steins in the back.

This is in reference to the liquor bottles on the shelf. Let's click on Bruno himself next.

Sadie may have a disarming smile, but watch out boy she'll chew you up! Besides, I think Paulson has a shot, let him flex his game.
Yes the Whisper Cloak will be on your cursor until you leave this place. The only other thing Bruno has to say is what's in those kegs to the right of the bar. From right to left, they are Chateau Bruno's Table Red, Grisbl Cider, and Southlandia Ale. Thrilling. Let's hit up that Thomgog gentleman to the right!

Bruno takes his empty stein.

The text doesn't show it, but he also says "Hey baby" at the start of this. Gosh, I might blush, how can I turn him down?


Nah I'm just kidding.

He catches it and resumes imbibing libations. What if we refuse him?

Same again and same again. Note that he downs that shit in one gulp so you can just infinitely buy or refuse drinks for him, and someone is losing a ton of money either way. You lose 5 crowns every time you buy him a drink, for the record. Who's the hooded fellow hanging out in the back got to say?

Okay, FUCK transcribing what this guy has to say. You're getting a video and you're going to like it.
Thankfully you are not quizzed on this guy's (Lands of) lore dump. Youtube theory crafters love this guy, I'm sure.

With all that done, I take one last visit to Victor to liquidate the bulk of the useless crap we got in the city. I could totally buy the Jewelled Dagger if I wanted now, I just simply don't care to.

With everything in the city done, we can now leave Yvel and return to the White Tower to craft the Elixir! Thankfully, we only have to take a few steps into it to accomplish our goal.


Returning to the Altar de Blanca*, we have finally reached the moment the game has been building to since we finished the Draracle's Cave!

Hell yeah. Maybe Geron will finally recognize our abilities and actually help us for once? That will have to wait until next time though!
It'll be a little bit before the next update, I'll be going on vacation starting the weekend and won't be returning home until the following weekend. I'll definitely have enough time to get another update out for my other LP, but Lands of Lore likely won't see another one until close to the end of August. We're rapidly approaching end game though, so get excited for that!
*TL's Note: Blanca means "white".
Wait, Geron can actually do that?
I think I need to lie down, I clearly wasn't mentally prepared for a world where he was even theorhetically helpful.
I think I need to lie down, I clearly wasn't mentally prepared for a world where he was even theorhetically helpful.
Wow, they really make you do an entire dungeon again for some shitty ass rewards? Man these dungeon designers were dicks!
They did nail the vibe in Yvel though, the music, foggy streets and eerily empty and blocked up homes really sell the feeling of a deserted, desperate city.
Cool to see Victor back! Shame he's still stuck running a weapons store.
Hyper realistic Geron is quite scary indeed. Possibly the scariest thing this game has shown so far.
Wow Geron, you're totally not being suspicious with that request at all.
Not sure why they made the cup statue come to life and speak out the riddle, it sure is uncanny as heck.
Alright, I have returned from my vacation (after getting at least one obligatory flight delay) and am ready to resume LP updates! Conveniently, the last video I recorded had enough going on for two full updates, and I just got all the screens I needed captured and uploaded. Writing the actual updates has always been the most time consuming process of making this LP, so it'll probably be on Tuesday or Wednesday I get the next update completed. (Shout outs to PurpleXVI posting in the sandcastle and unintentionally revealing to me I could batch copy urls from ShareX and save them in a text file for later, that should save me about 15-20 minutes for every update going forward lol) There actually is not much left of the game to go. After Update 18, there will be two filler dungeons that have enough content to encompass their own updates, and then we have the fairly lengthy final dungeon of Castle Cimmeria. Depending on how I decide to break that up, I suspect the LP will be concluding on Update 24 or Update 25. We're in the homestretch now, and the game saves some of its most devious moments for last. Get excited!
Update 18, Streets of Rage
I was going to work on recording more footage for Persona 3 tonight, but it is way too damn hot for me to feel like sweating it out while talking into a microphone, so moving ahead with Lands of Lore it is!
Last time, we finally completed the Elixir of Tybal, a quest that has been spanning about a dozen updates thus far. All that remains is to find Richard and apply it to him (and kill Scotia after, but one step at a time). We'll also need the keys to Richard's shroud, so we better parlay with Geron to get his key before moving forward.
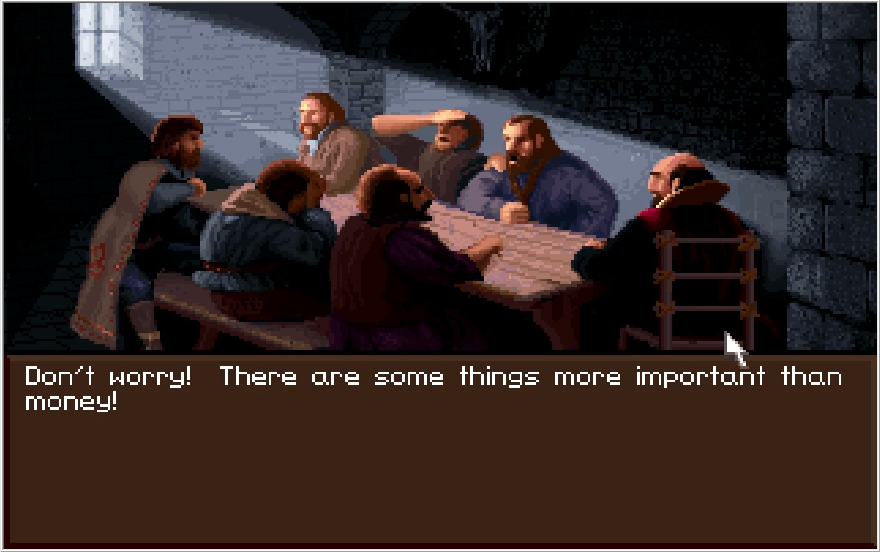
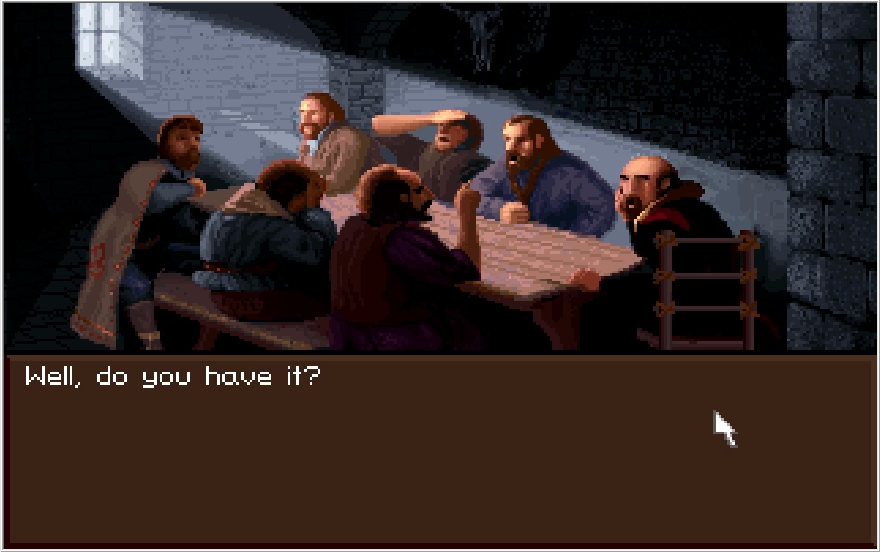
 : "We have the Elixir!"
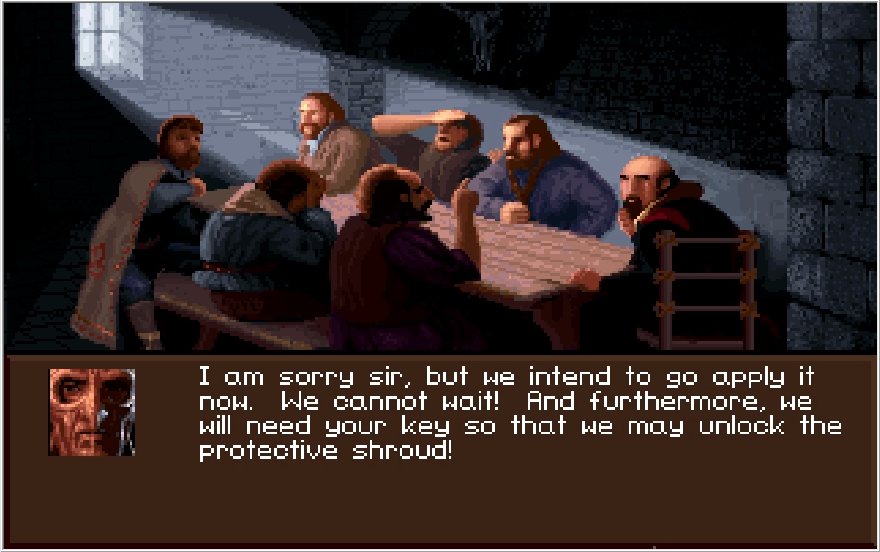
 : "Well, let me have it! I will apply it if the opportunity arises."
Geron this whole mess is partially your fault to begin with, why on God's green Earth would we trust you with the Elixir? Do you even know for sure where Richard is? Thankfully, Ak'shel promptly tells Geron to fuck off.
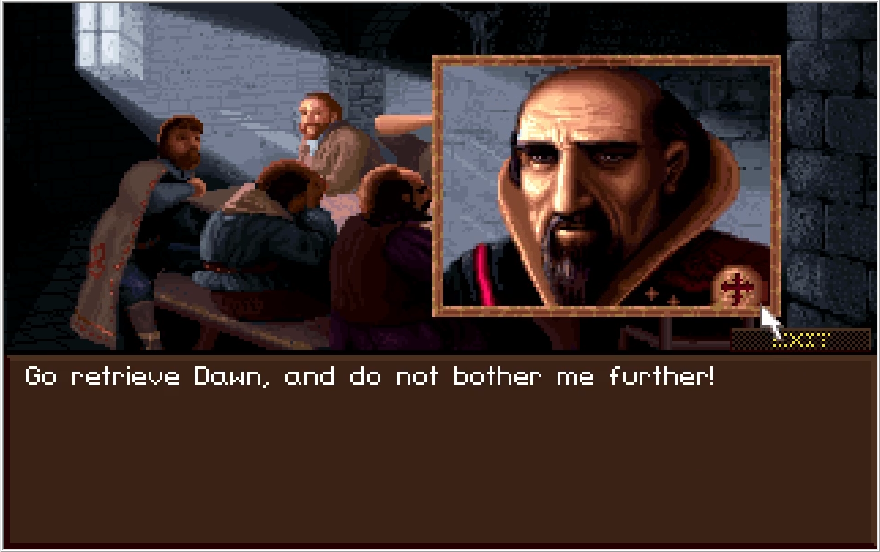
 : "I am sorry also! (No you're not) I will only give up my key to Dawn. Perhaps you could bring her here. She is the only hope for Richard!"
Geron refuses to play ball with us, leaving our only recourse to go and find her. She wanted to speak with us once we got the Elixir anyway, so we'd be returning to her sooner or later.
Attempting to further harass Geron just results in continued sass from him. Things don't get much better when we turn to leave.
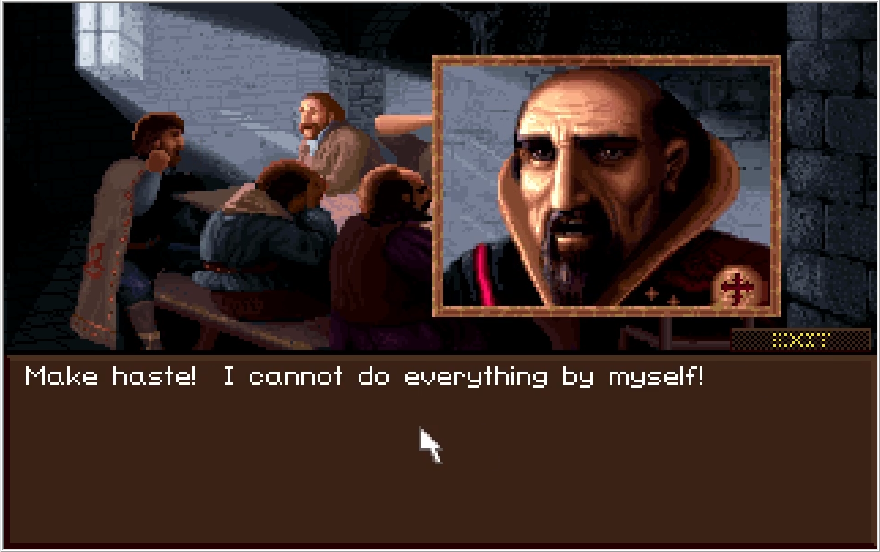
Geron is such a prick and is so useless to the cause of Gladstone, you'd think he was actively working against the kingdom. He isn't, he's just a dick.
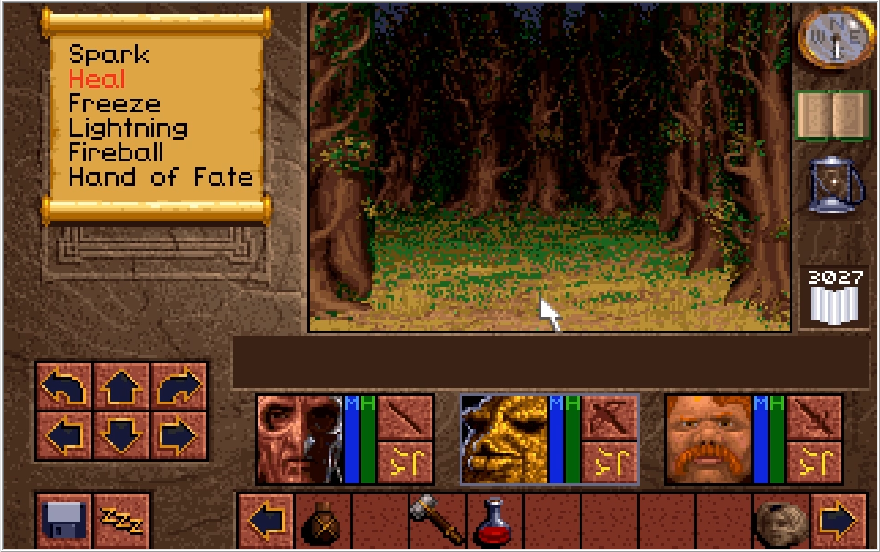
As stated previously, nothing to do at this point but return to Dawn. Quite the lengthy trek awaits us, we need to work our way back through Upper Opinwood, take the path through the mines, and work our way all the way back to Droek's wagon. Thankfully we're much stronger at this point, so any resistance we meet along the way should be no issue.
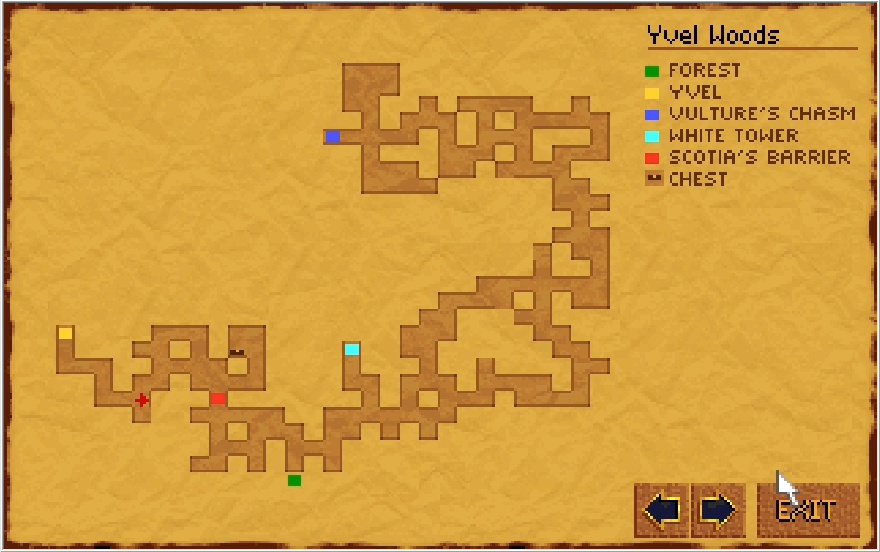
I would like to take this time to point out that the Yvel Woods map is weirdly spacious, seemingly dedicating a large chunk of the Atlas page to an empty void. There are actually some areas to this map that are completely inaccessible unless you no-clip into them. I just thought that was interesting. (There's an Ace of Oblivion in one of the sections if you're curious)
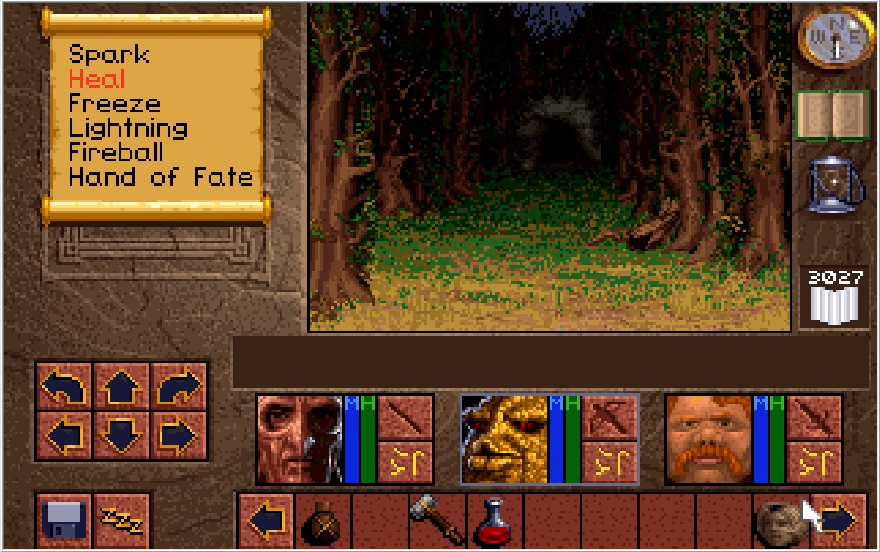
We work our way back to the cave to Upper Opinwood, but as soon as you turn to face it a cutscene will begin.
Music: Dawn Encounter
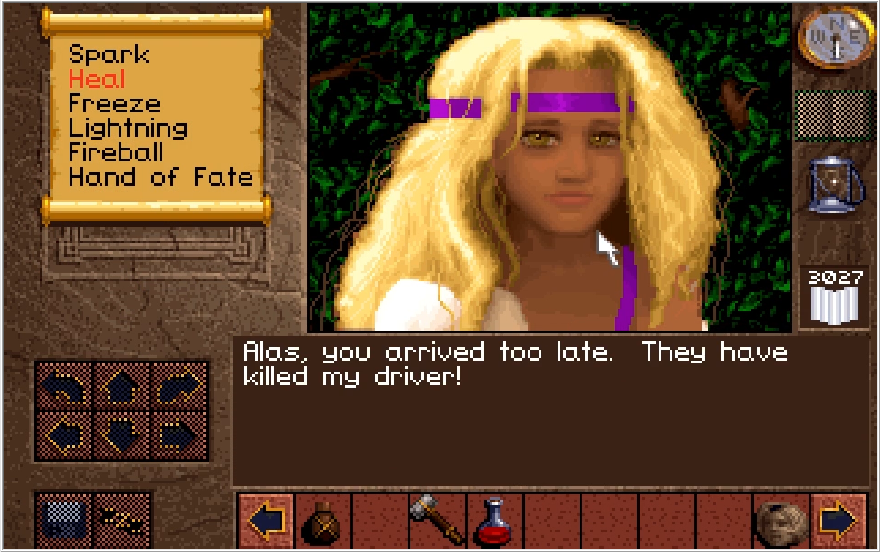
Hello to you too, Dawn. Perhaps I shouldn't joke, this sounds pretty dire. Poor Droek. I guess this saves us the trip if nothing else.... is it just me or is there something different about Dawn here?
 : "We have the Elixir! We only need two more keys and we can save King Richard."
Ak'shel is absolutely broken up about Droek's death, he's just good at hiding it.
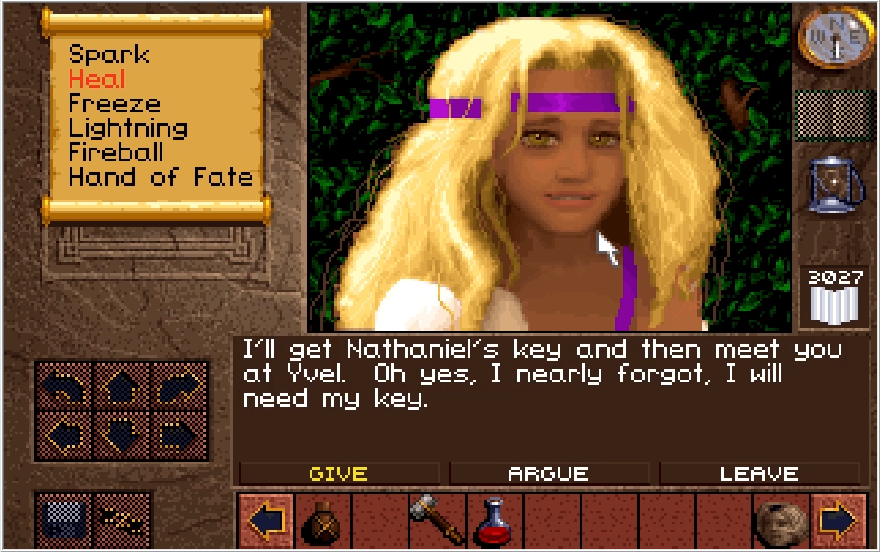
We are faced with several choices once again. I see no reason to deny Dawn possession of her own key though, let's hand it over!
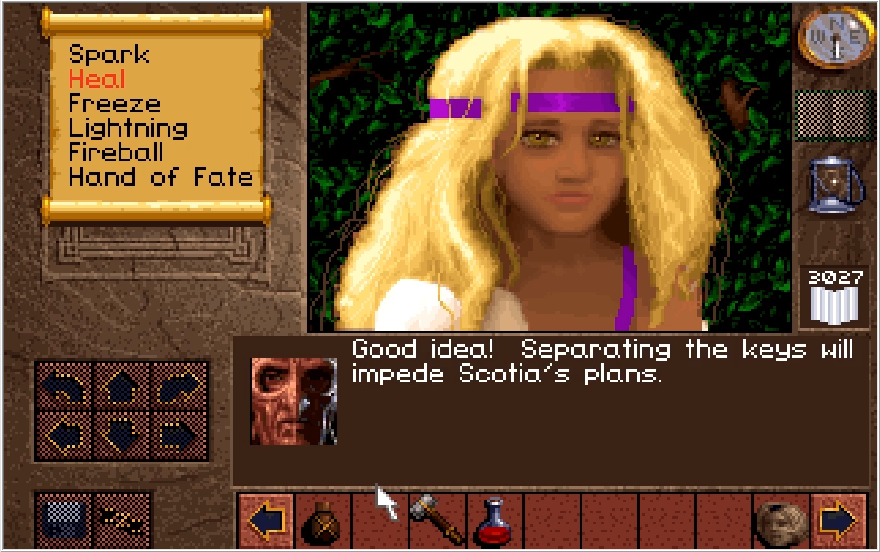
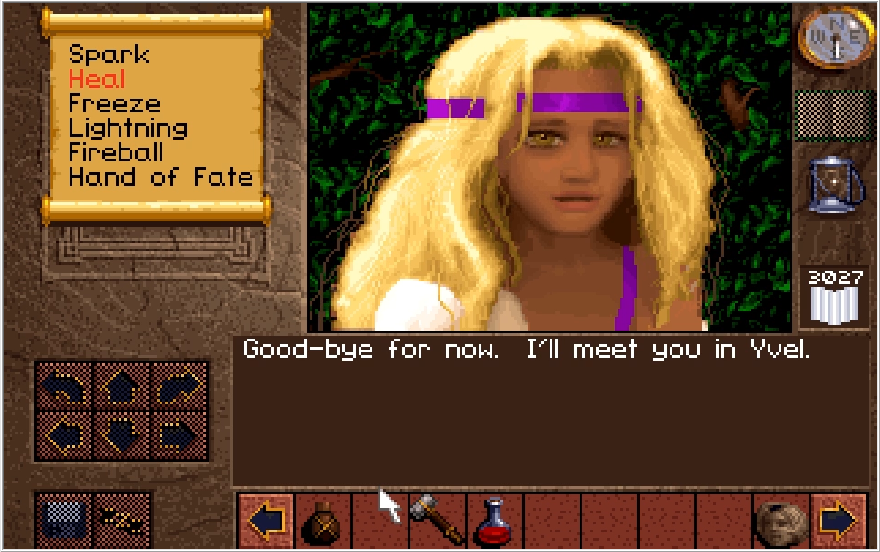
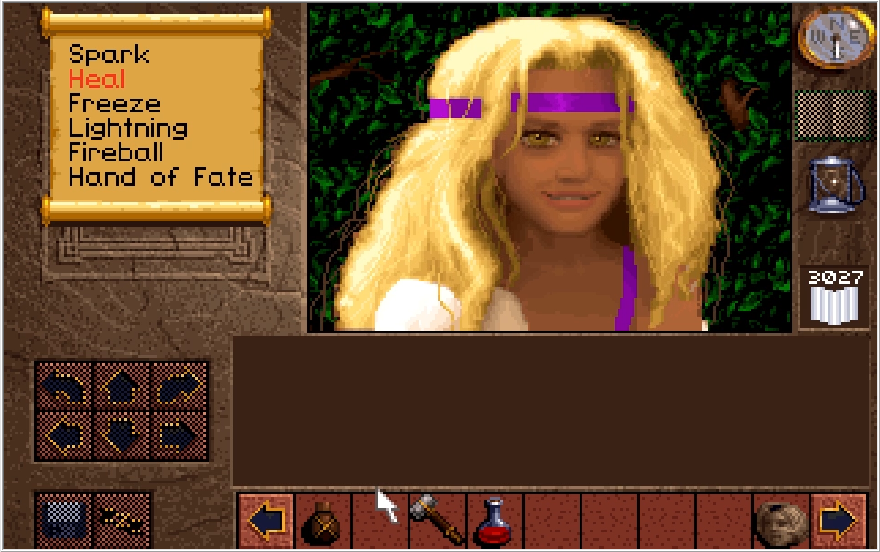
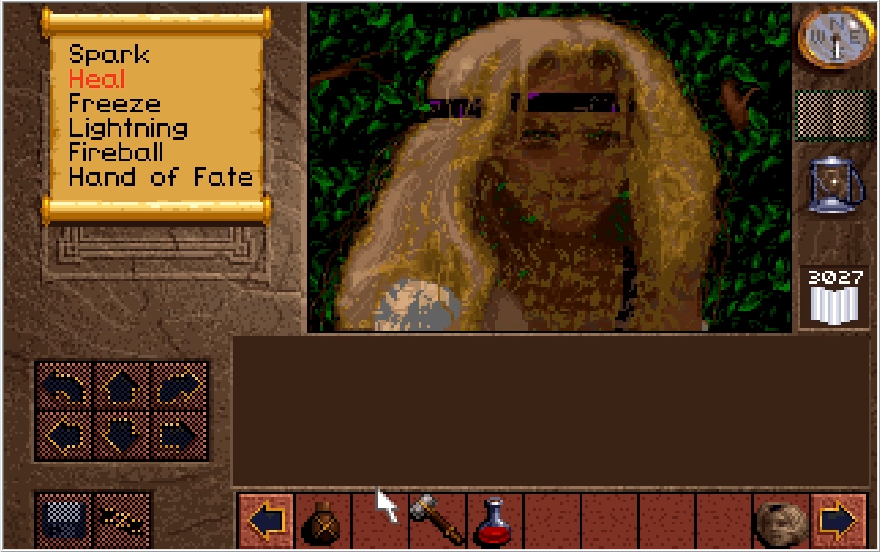
Huh, that was a really creepy grin that Dawn flashed at the end there. The way she disappeared was extra ominous too... Hey wait a second!
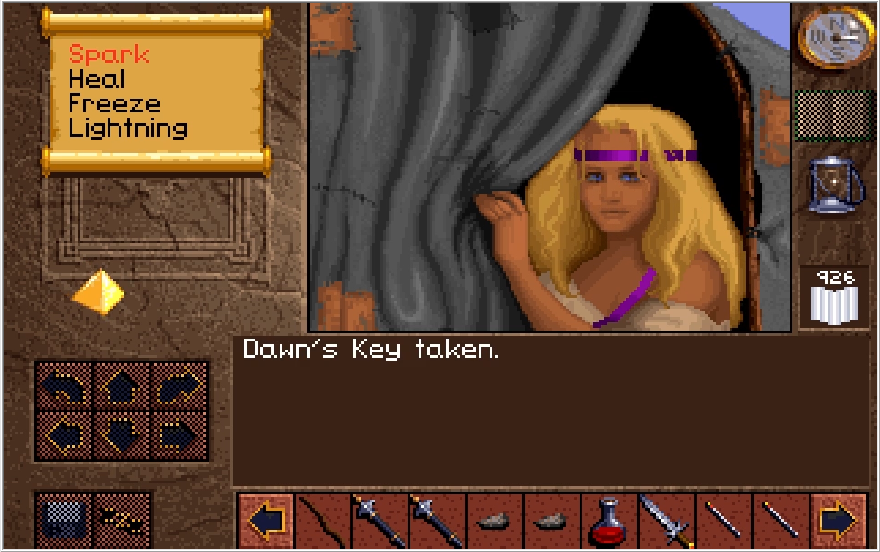
Dawn has blue eyes, not yellow! In fact the only person I know with distinct yellow eyes like that is... ah shit, we've just been had.
In case you hadn't figured it out (or didn't click the music link that unfortunately has a spoiler title for the actual track), this was not Dawn but Scotia in disguise. Should you hand the key over to her, it'll be gone from your inventory naturally and we will need to re-obtain it later. Funnily enough, this doesn't really impede the course of your journey at all since the story will proceed as normal regardless of if you hand the key over or not. I don't think there's even a moment where this trickery gets acknowledged beyond finding the key again in the final dungeon later.
It is worth noting that in the very first release of the floppy version of the game, handing the key over here actually made the game unwinnable. As mentioned previously, handing the key over means you need to find it in the final dungeon, but for the initial release of the game they just straight up forgot to implement this. Giving the key to Scotia caused it to disappear from the game altogether, rendering Richard's shroud permanently locked. You do need to free and cure Richard to defeat Scotia come the end of the game, so you'd be a dead man walking up until that point with no way of knowing it. The initial response was to accept save game mail-ins so they could train the key back into your inventory, and then every subsequent release of the game (floppy or CD) has the key appear where it's supposed to if you were tricked here. With that aside done, let's jerk Scotia's chain a little bit instead.
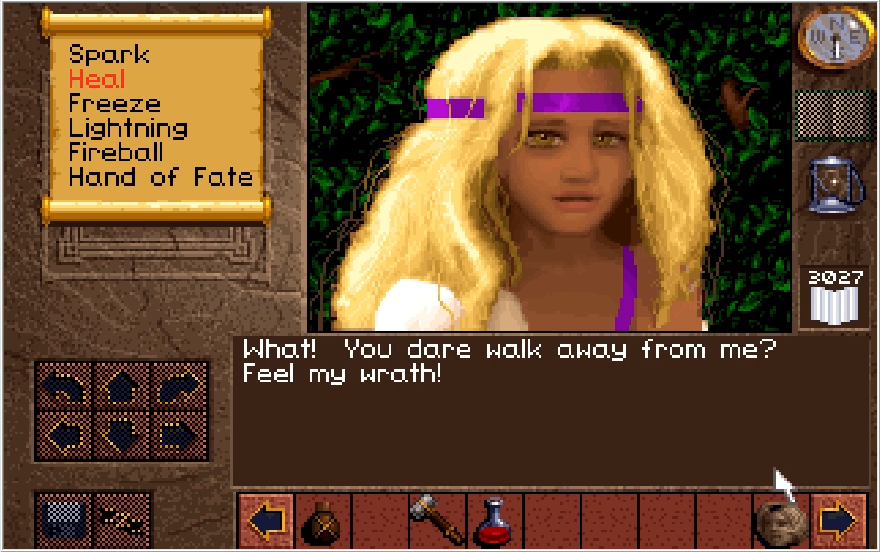
Should you choose to just leave, she gets pretty ass blasted about it. It's a little funny honestly. What if you argue instead?
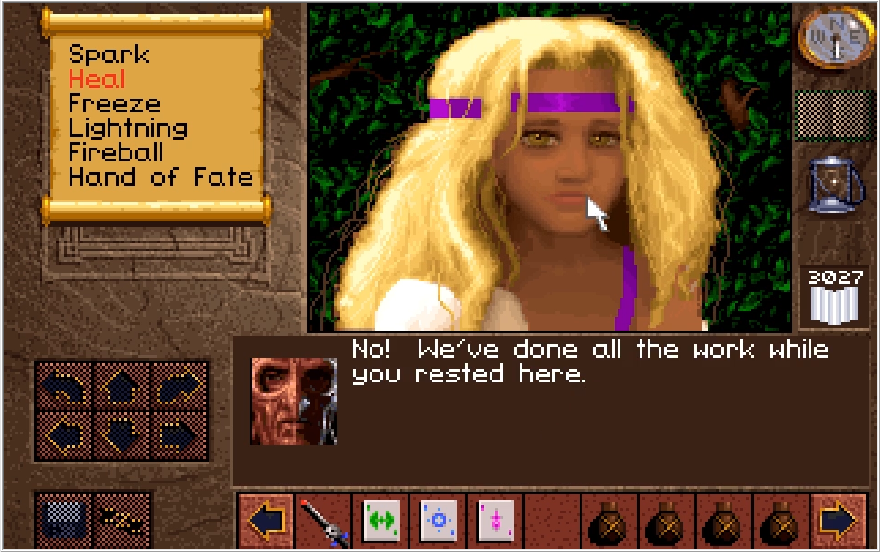
 "We will get Nathaniel and Geron's keys ourselves and save you the trouble."
It's not clear if Ak'shel smells something funny here or not, his reasoning is kind of strange if he's completely unaware that this is an impostor. Come to think of it, what has happened to Nathaniel? We haven't seen him since the creation of the shroud. Oh yeah and Scotia gets mad again.
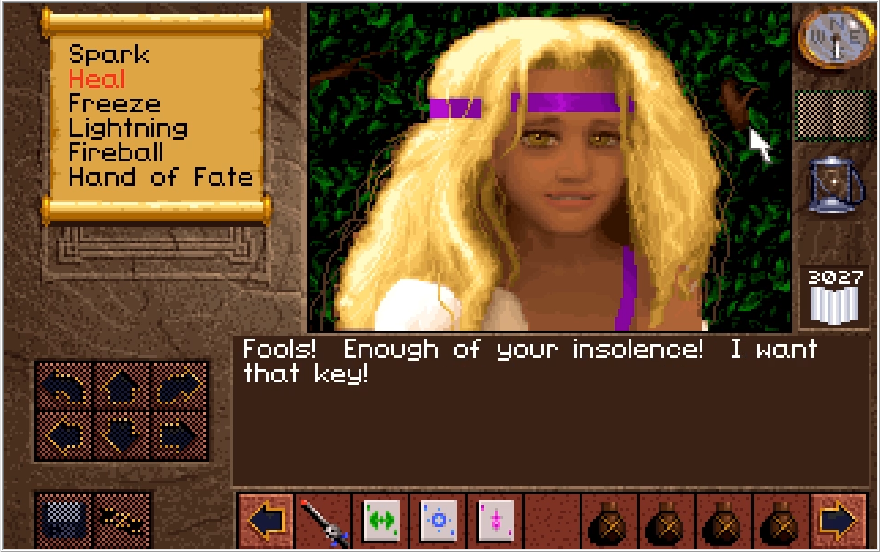
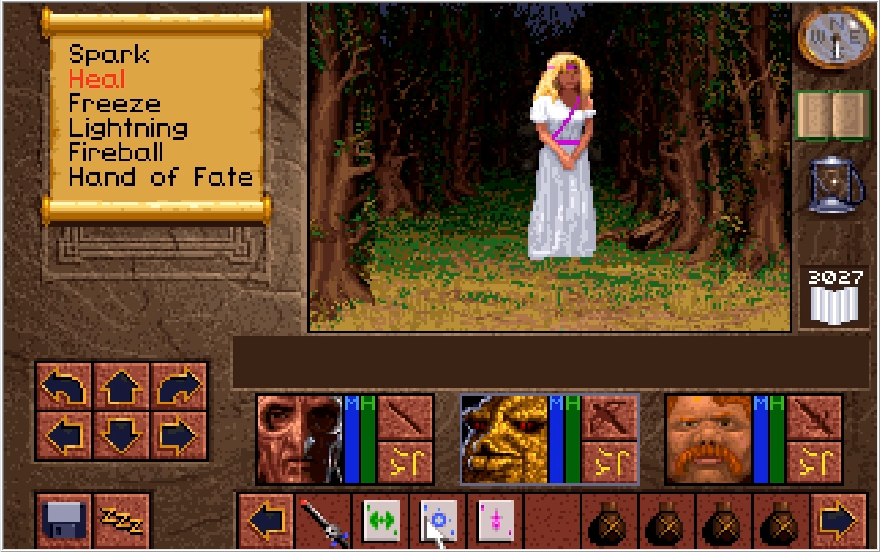

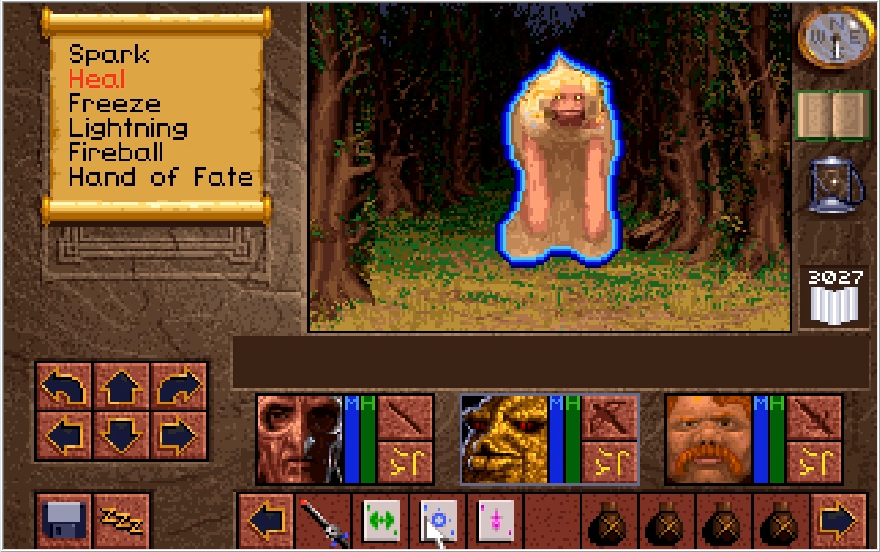
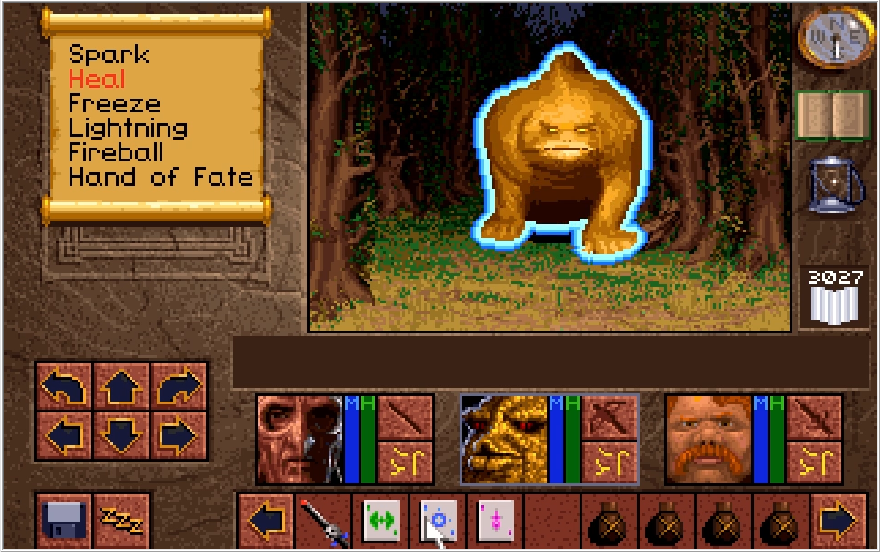
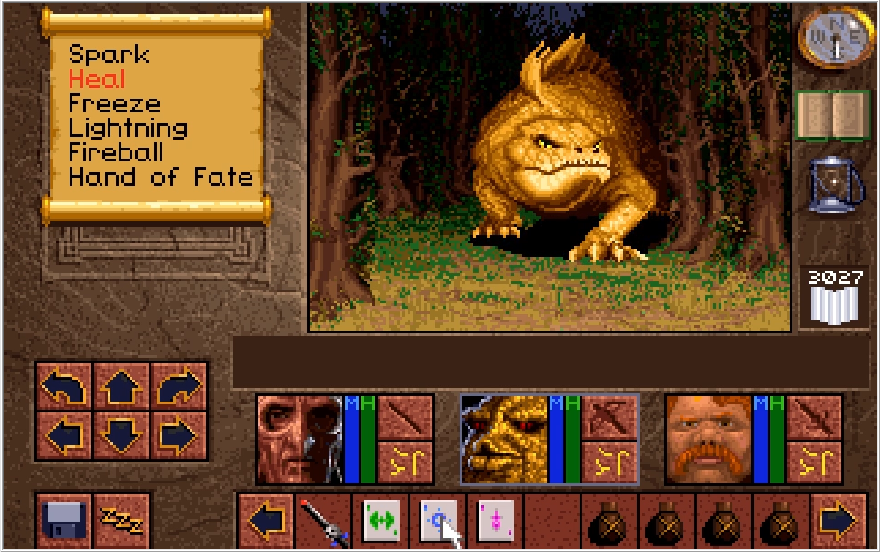
Using the limitless capabilities of the Nether Mask, Scotia transforms herself into... an early game giant lizard? Well yes, but she is actually quite a bit more dangerous than the lizards we fought way back in Update 3.
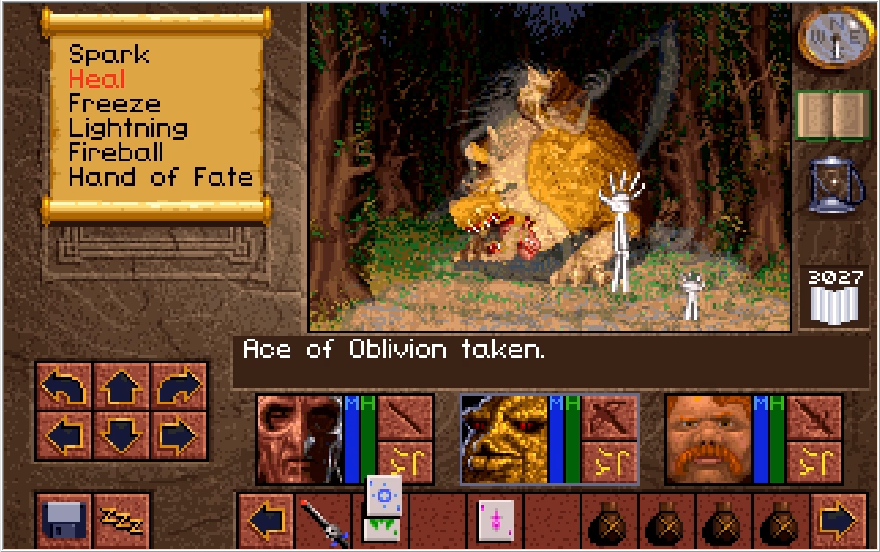
I was no time unloading with my newly obtained spell items. The Ace of Oblivion unleashes a hoard of apparitions that tear into your foes! This is the level 4 Mist of Doom spell, which we have yet to acquire. This is a one and done spell item, but it tears about a third of Scotia's health off in one blow. Well worth it, because this fight can quickly become perilous.
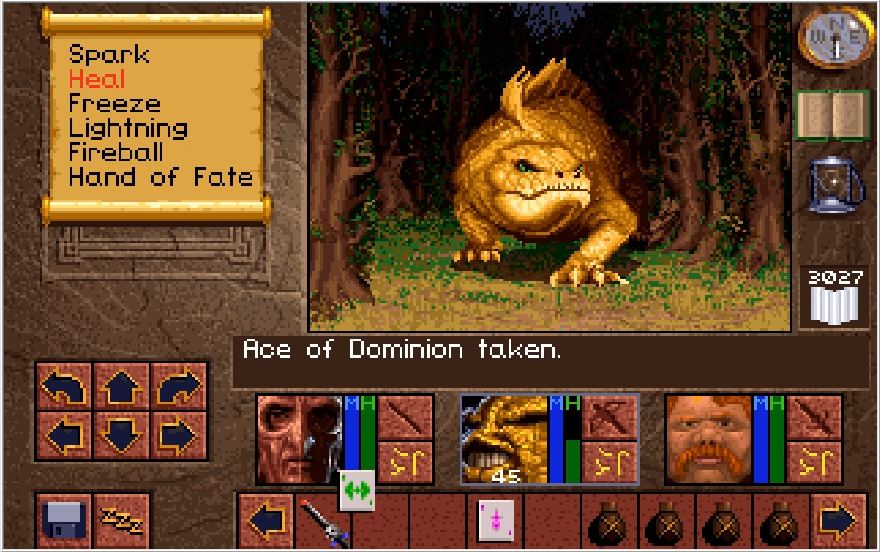
She may just look like an early game enemy, but her damage potential is well above what the typical giant lizard can dish out. This is actually the less threatening thing she can do though. We better tell her to talk to the hand before she can use her most damaging attack.
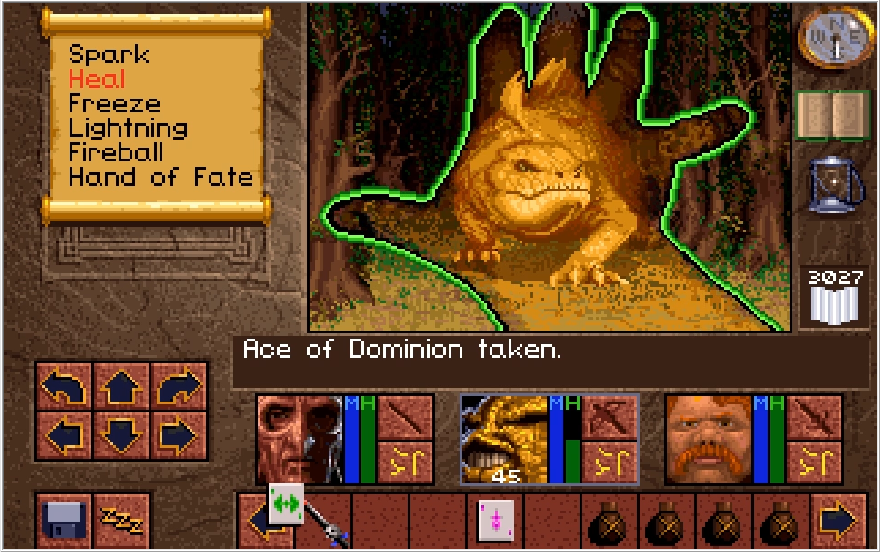
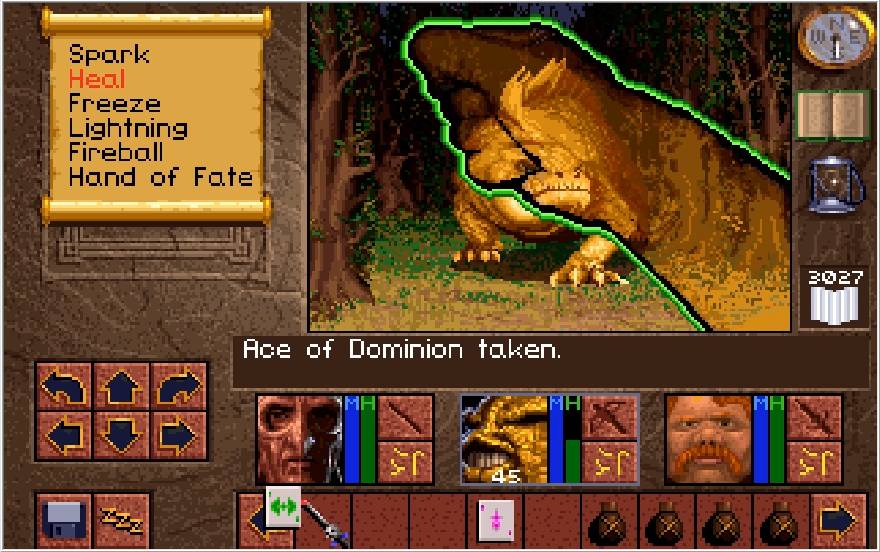
The Ace of Dominion tosses out a level 4 Hand of Fate for us. It's only a step below Mist of Doom in power, so Scotia is reeling after being hit by it. We just need to whomp her with some Fireball wand shots and this fight is in the bag!
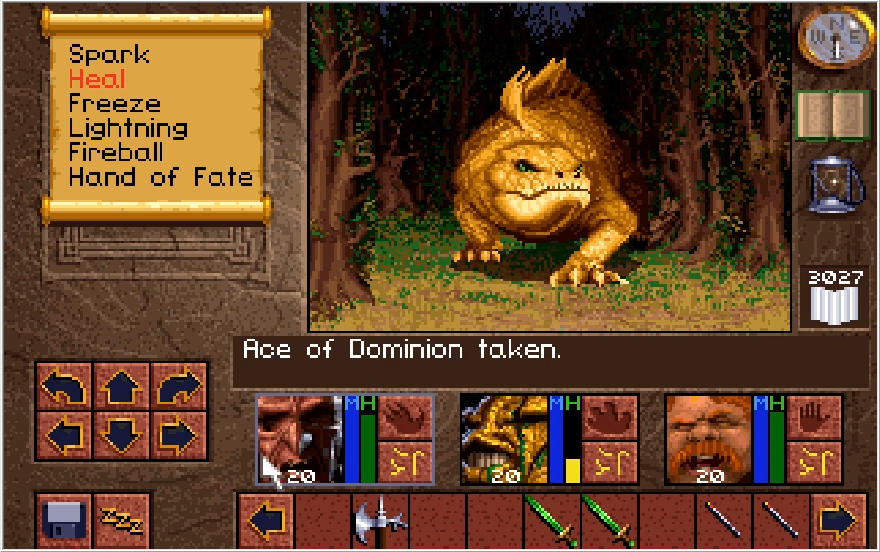
She's still got some fight in her though! Scotia's main damage dealing move in this fight is a quake attack! We haven't seen this since the Lahrkon, so in case you forget this is a 100% accurate attack that hits your entire team and forces them to drop a weapon when hit by it, and then a shield if hit by it again. (Since Baccata has 4 arms, he can take up to 4 quakes before being completely disarmed.) This is the main reason we want to fire away with spells/spell items, since Scotia can quickly disarm our entire party before we can launch any physical attacks and throwing our weapons isn't gonna cut it here.
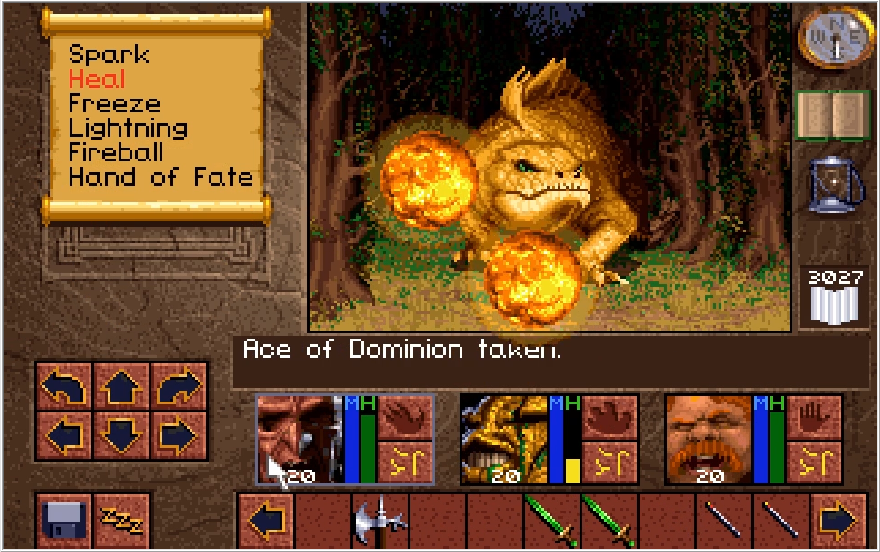
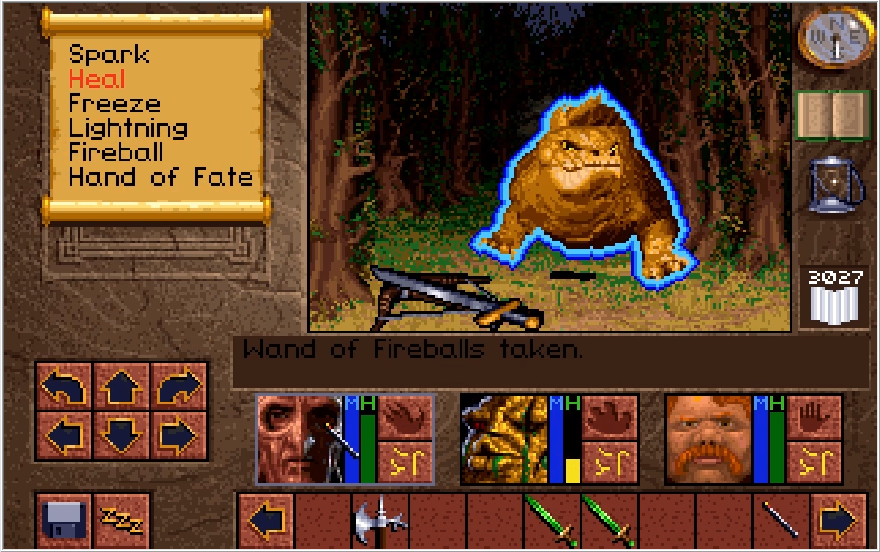
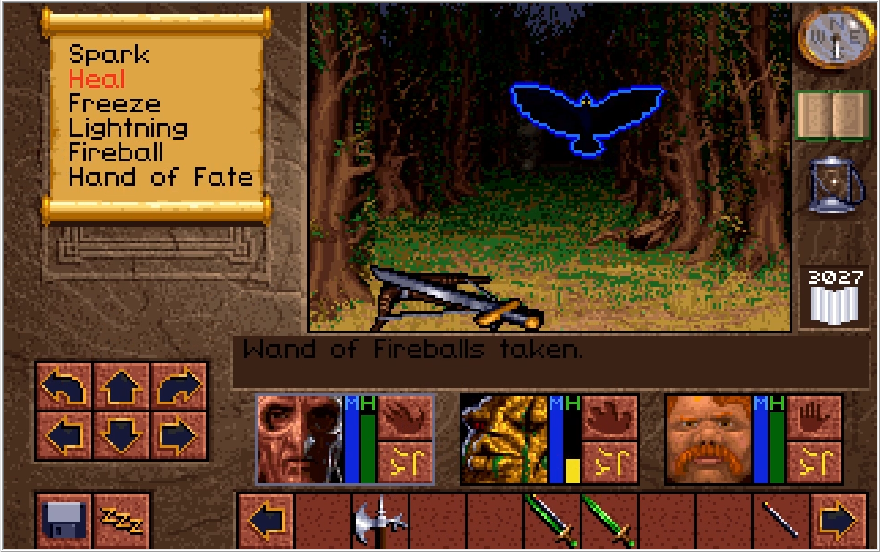
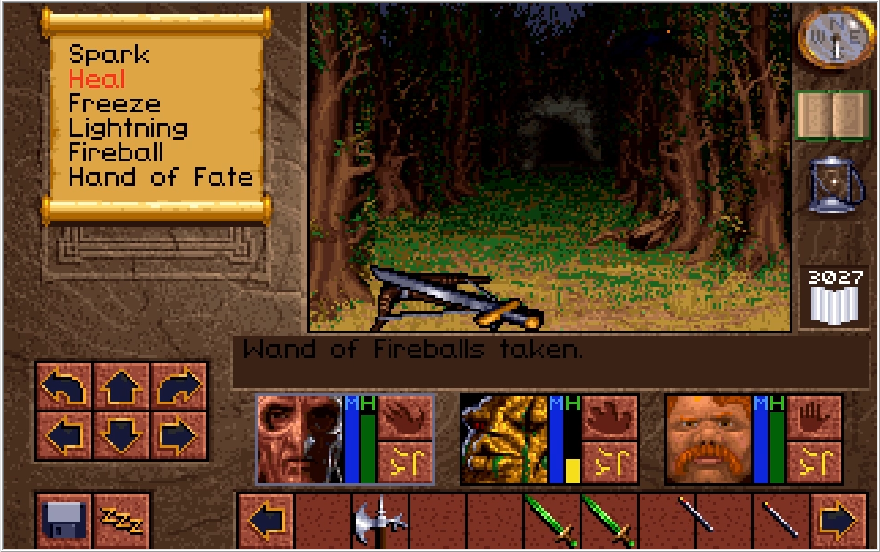
With the damage piled on from the Aces, I just need to blast Scotia twice with a Fireball wand, and she beats a hasty retreat with her classic bird transformation. Too bad we couldn't kill her here, she's becoming quite capable with the Mask. We were able to beat the transformation she took here, but who's to say she can't morph herself into something invincible?
No sense in worrying about that right now though. Her mentioning the wagon driver is concerning. The only way she could know Dawn was hiding out in a wagon is if she had discovered the wagon previously. We better head back to Droek and make sure her comment about the driver being killed was merely a misdirection.
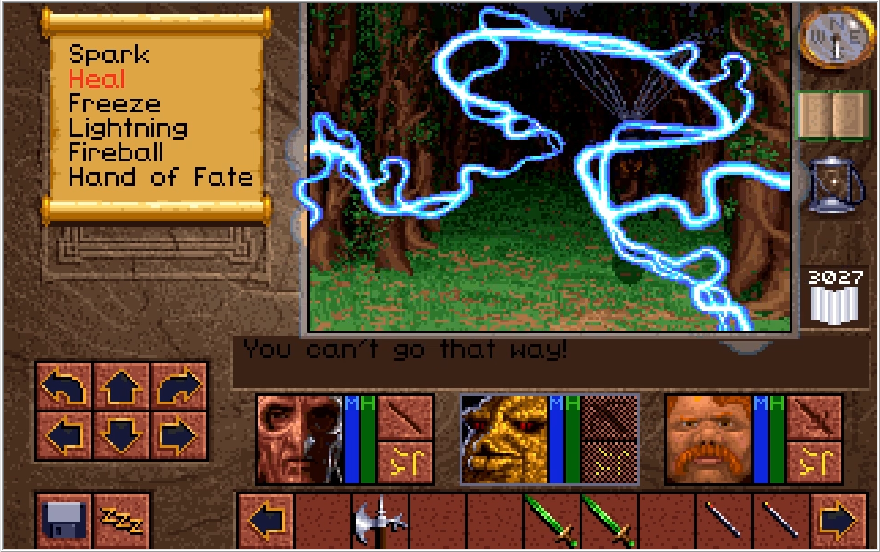
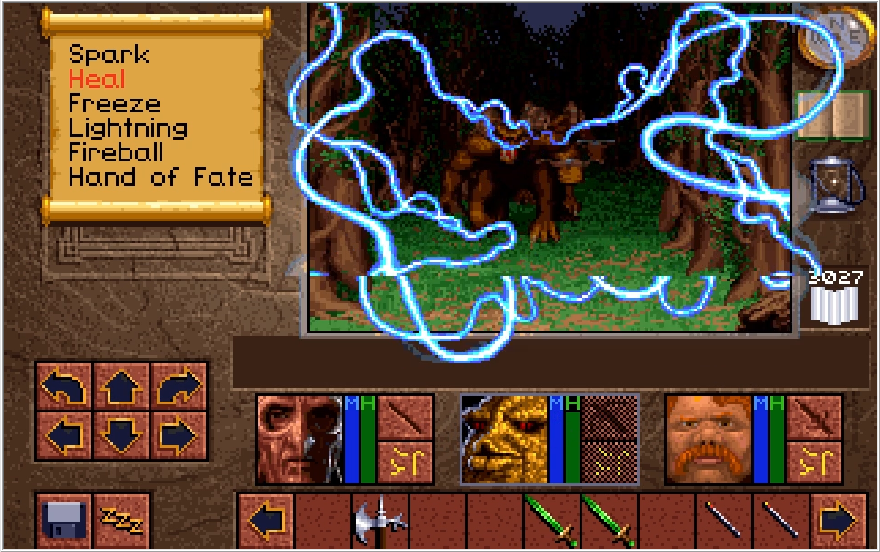
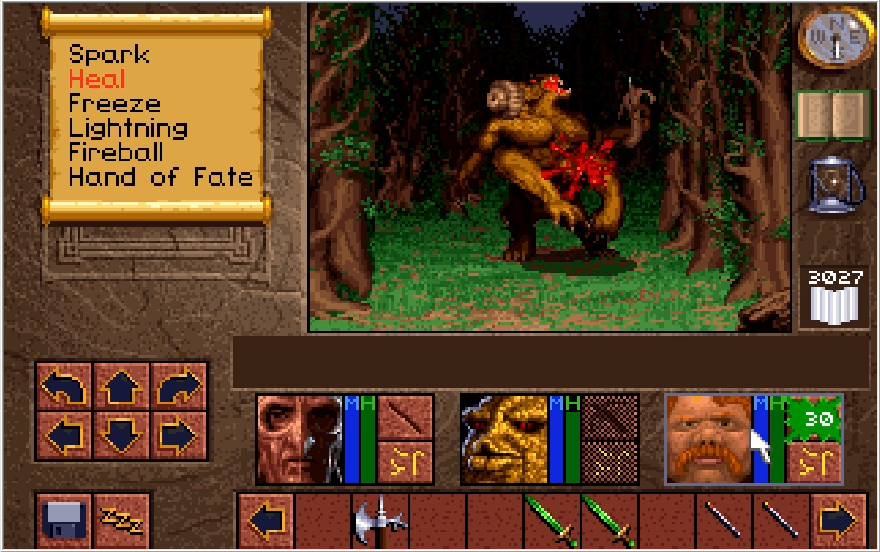
Working our way back through the Opinwood's is a lengthy trek, but the monsters that impede us are of no issue at least. With our new gear and honed skills, even the mighty Pentrogs fall before us without even so much as a chance to retaliate!
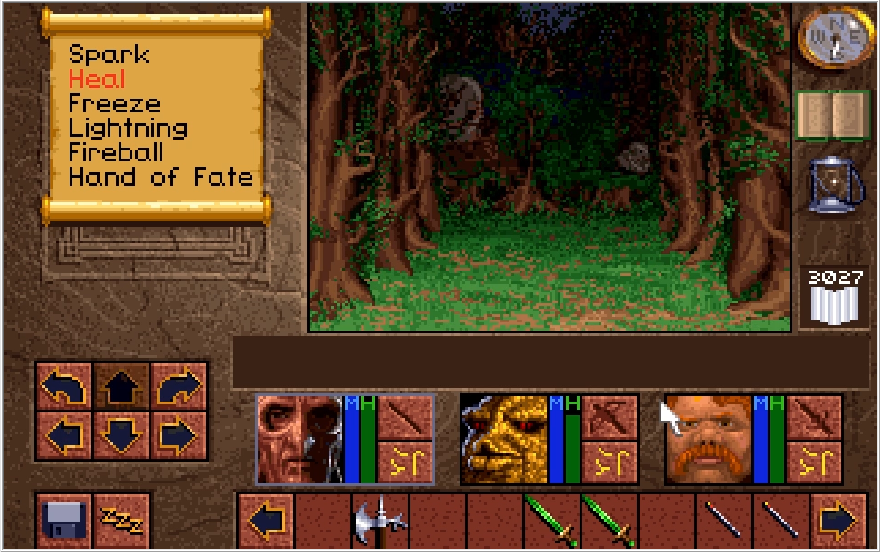
Alright, we're back at Droek's wagon. Fingers crossed he's okay and that Dawn is still here.
Music: Droek's Death (Shit)
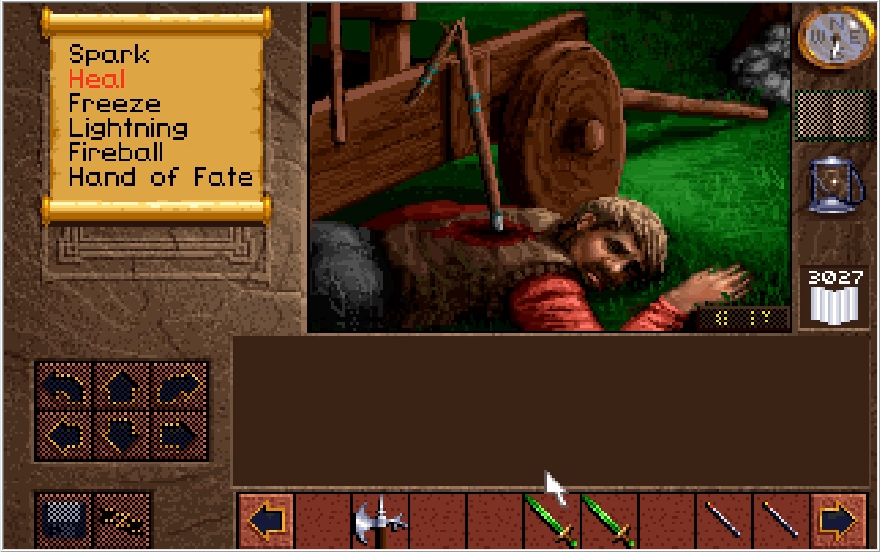
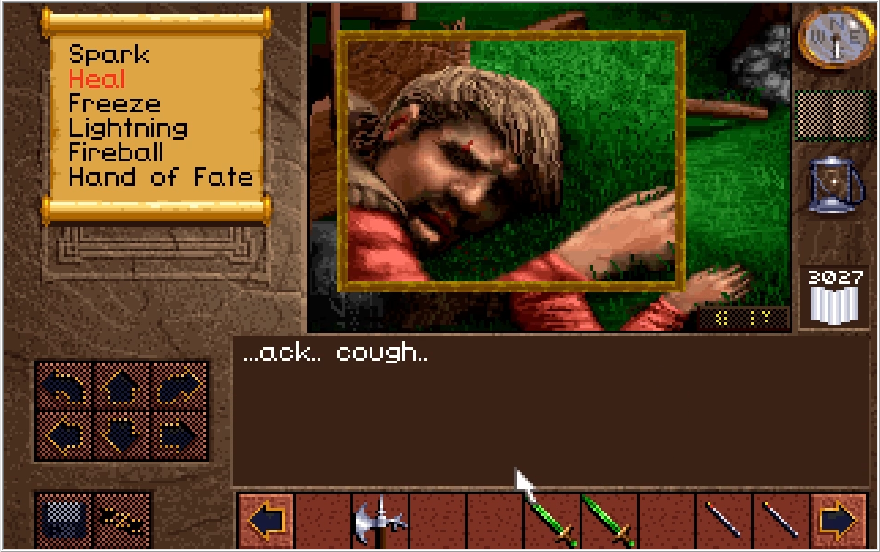
 : "Where is Dawn?"
Ak'shel I think Droek has his mind on things other than Dawn right now.
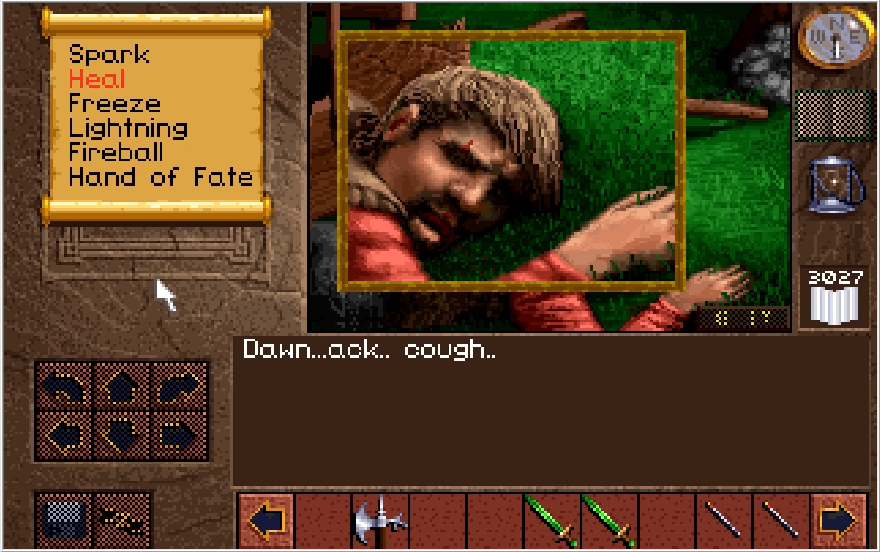
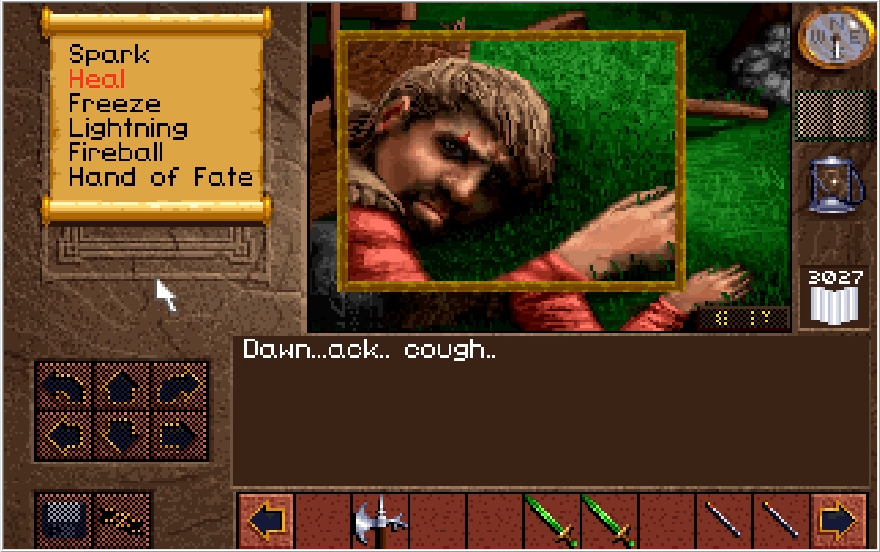
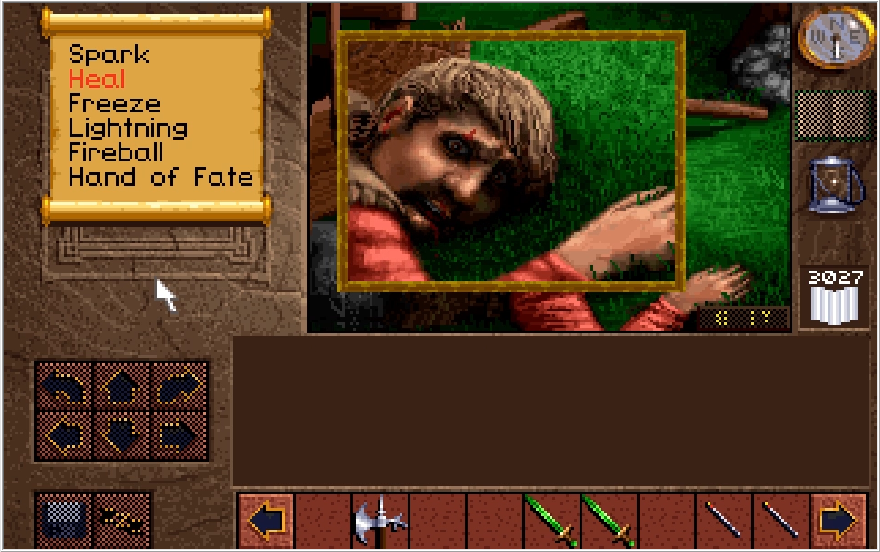
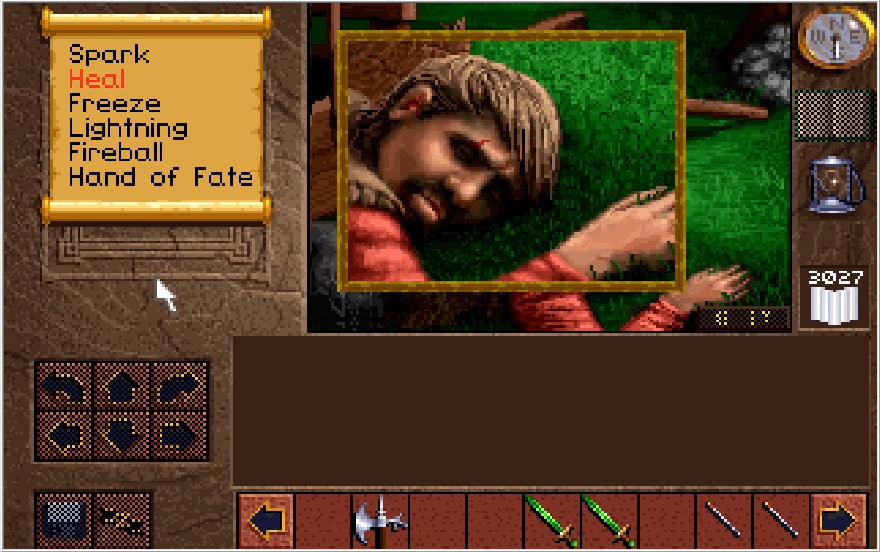
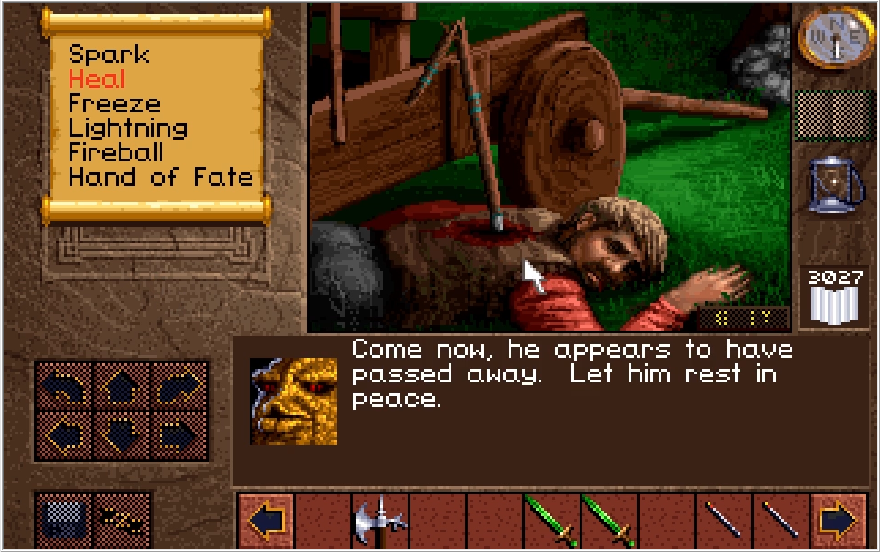
How embarrassing would you say this death is in comparison to Timothy's, Baccata?
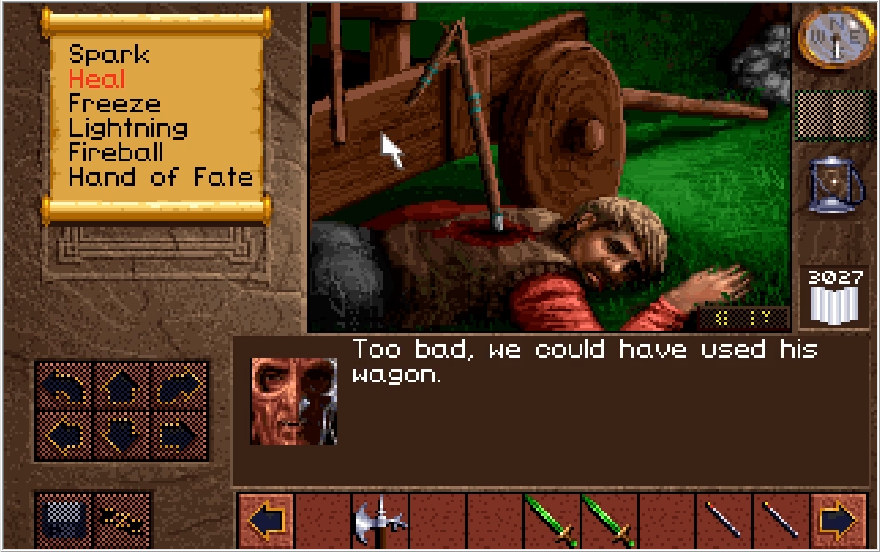
Ha ha Jesus Ak'shel. Can't even spare Droek a small eulogy before saying that? Anyway, Dawn's location is now up in the air. We've nothing to do but return to Geron and inform him of the bad news. I was on cloud nine when this update started, but now I'm just wondering how this day could possible get worse?

Returning to the conference room, it seems a charged discussion has broken out.
 : "The Dark Army is upon us, to arms!"

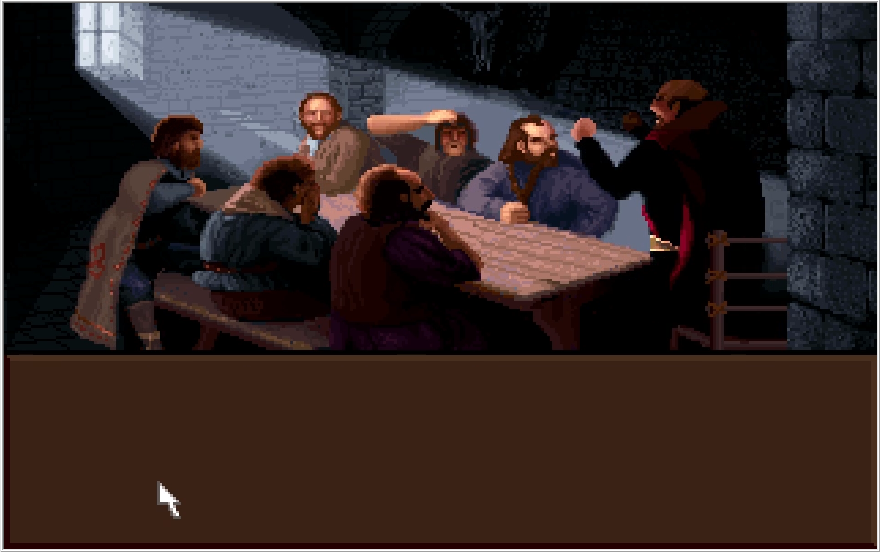
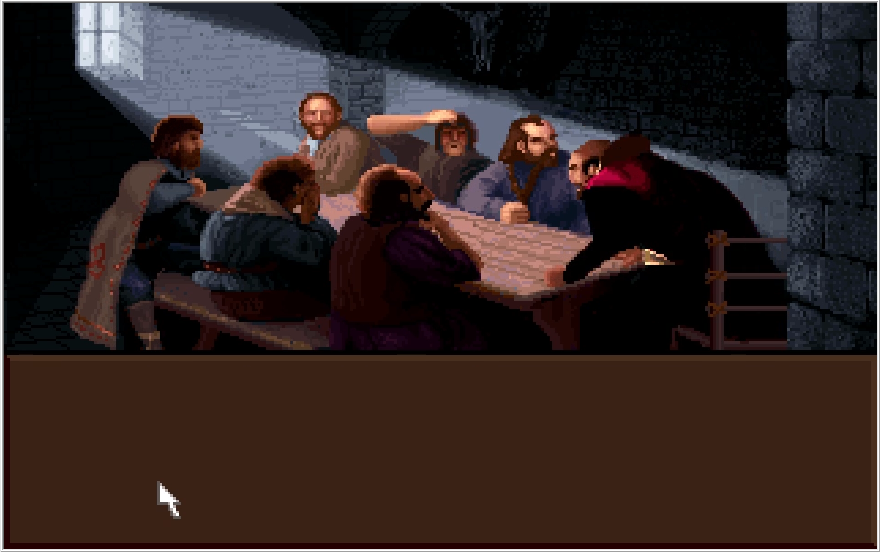
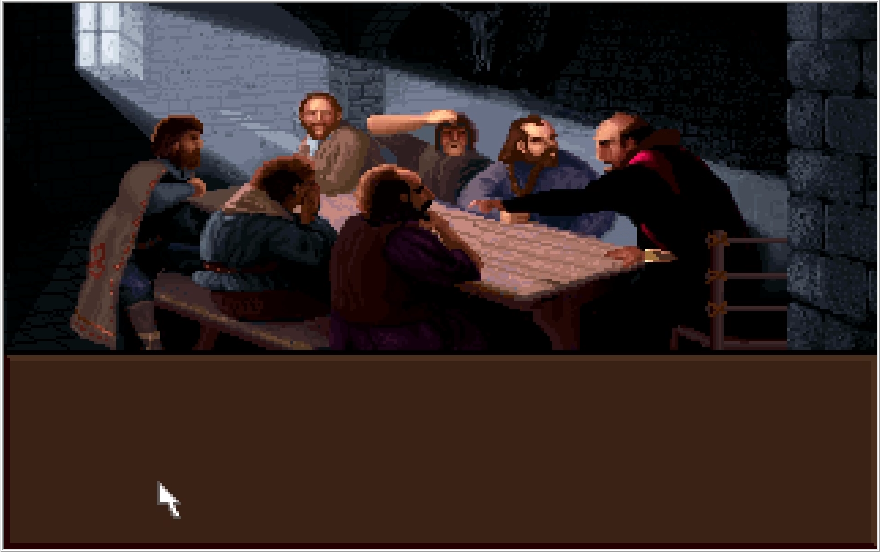
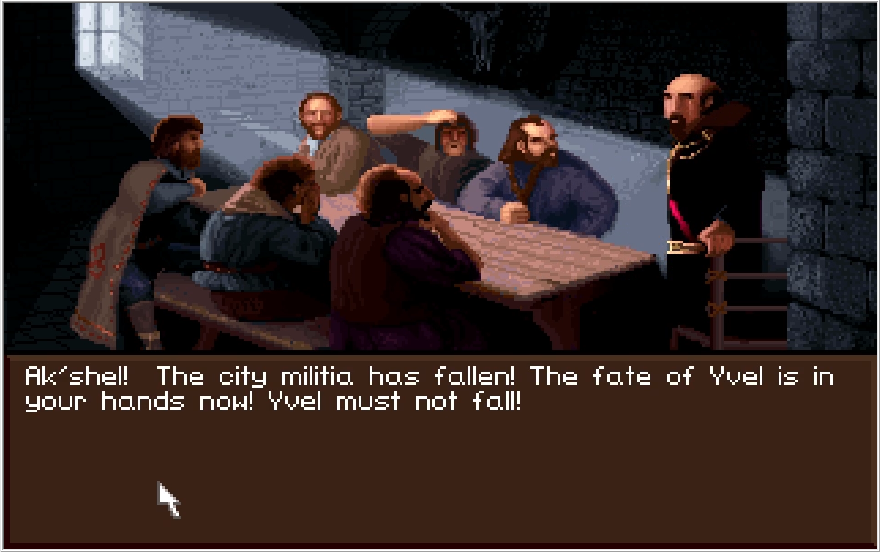
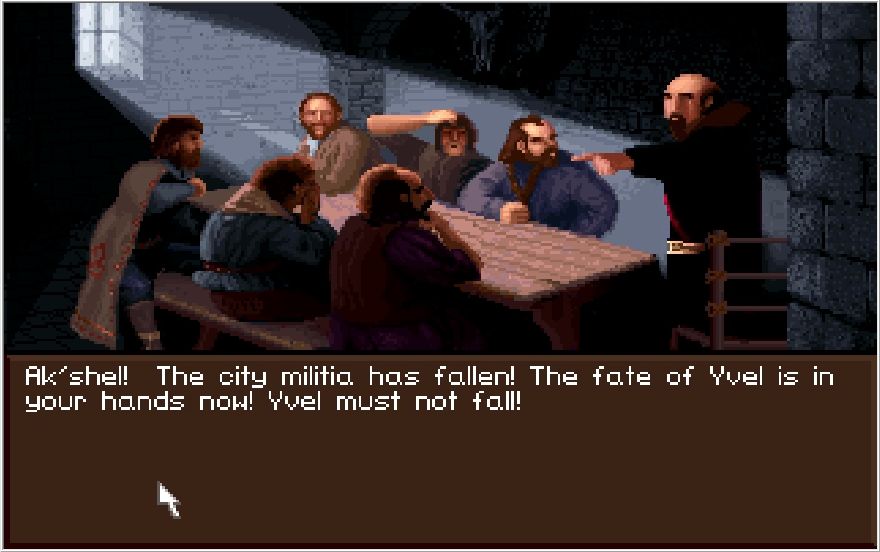
Oh thanks Geron, no pressure there. Incidentally, this scene plays out exactly the same regardless of if you gave the key to Scotia or not. You don't need to confirm Droek's death either, for that matter.
Music: Yvel Under Siege
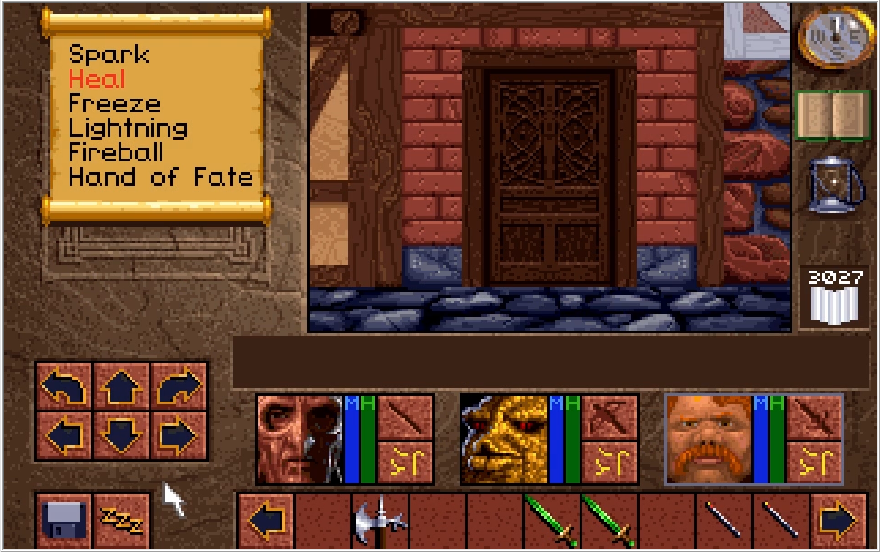
Well now. So apparently Yvel had a hitherto unmentioned and unseen militia, who have just been completely scuttled by the Dark Army. Since they've fallen, it's now up to 3 men to ward off the Dark Army horde that is about to flood the streets of Yvel in about 5 seconds.
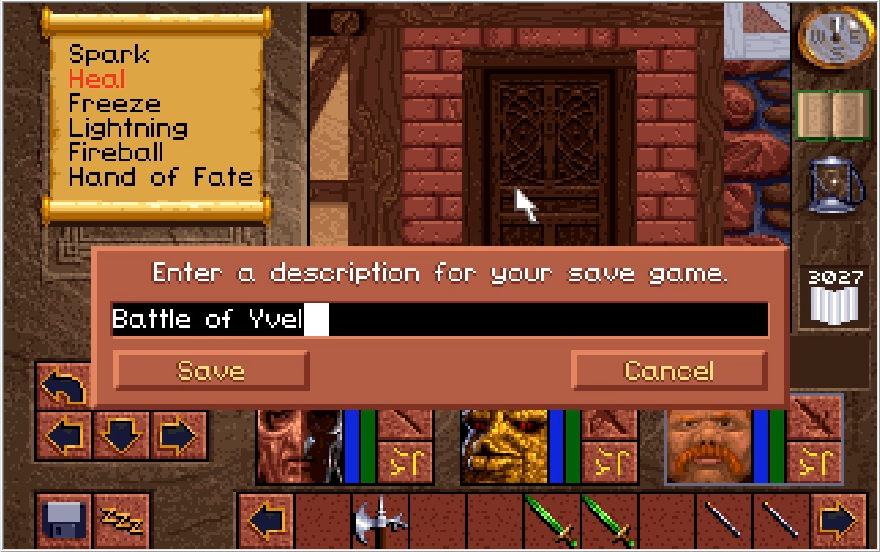
It's war time! Better save here. This section actually isn't too difficult, but mistakes can happen so better safe than sorry.
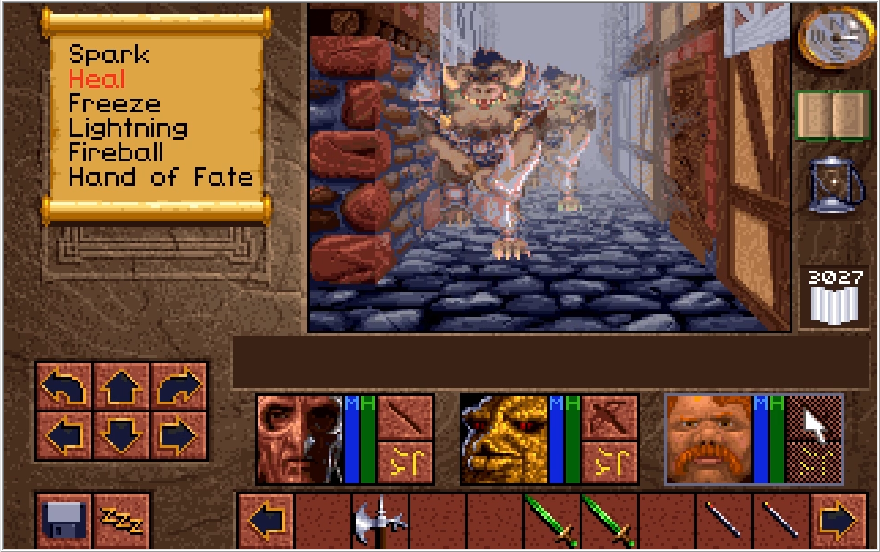
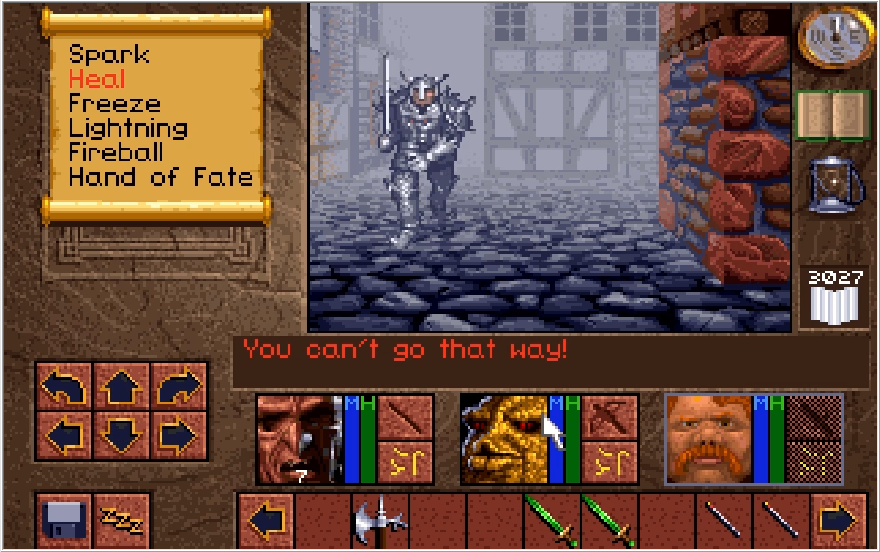
You have a moment to steel yourself before the fighting breaks out, but after about 10 seconds of downtime Great Orcs and Cabal Warriors (making their first appearance of the game) will pop in from nowhere and suddenly be all over the damn place. Great Orcs are as deadly as they were before, while amusingly the newly debuted Cabal Warriors are actually a fair deal weaker than them. That said, all enemies in the area will waste no time trying to box you in if you try to fight them in the open and you'll quickly find yourself taken down to the LA pound if you let that happen.
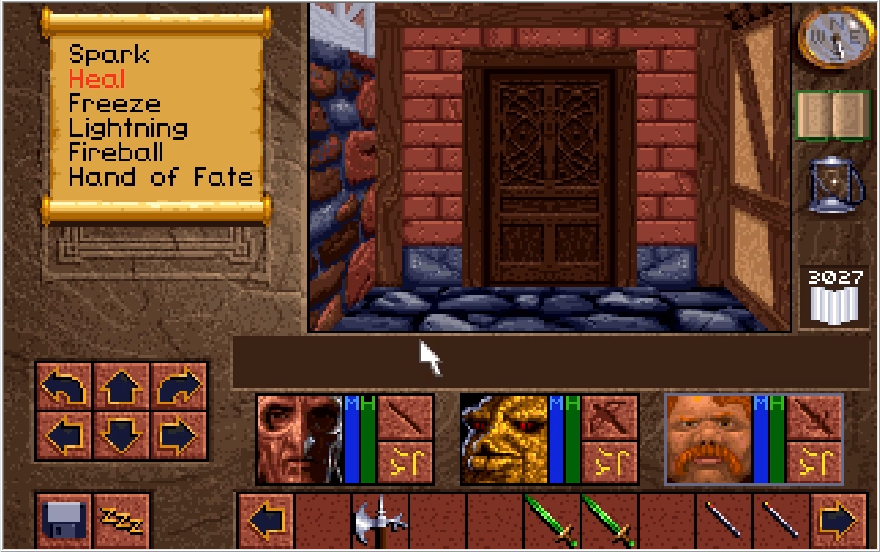
Remember how I made a point to mention there was a door directly south of the conference room when we first came upon it? As it so happens, this door is also situated in an alcove, making it a convenient spot to form a kill box for the initial wave of enemies. Being able to go in the door itself also has a critical use.
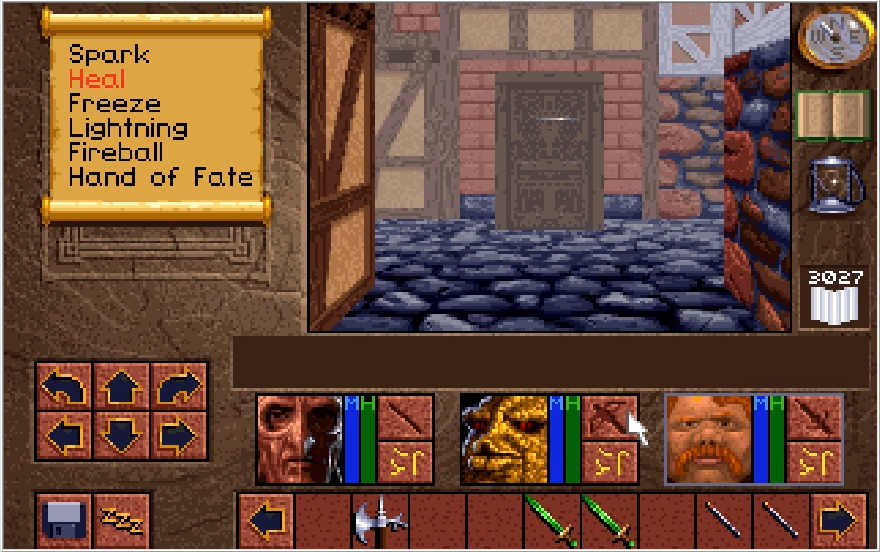
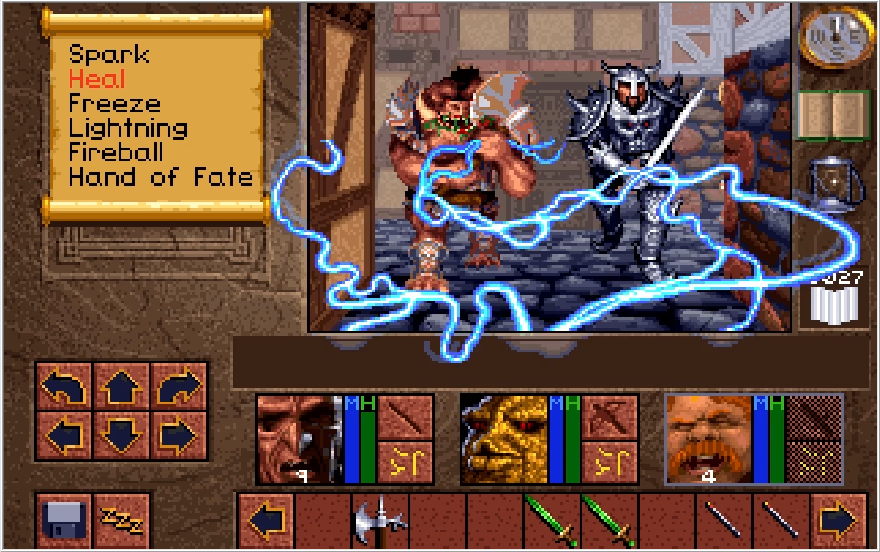
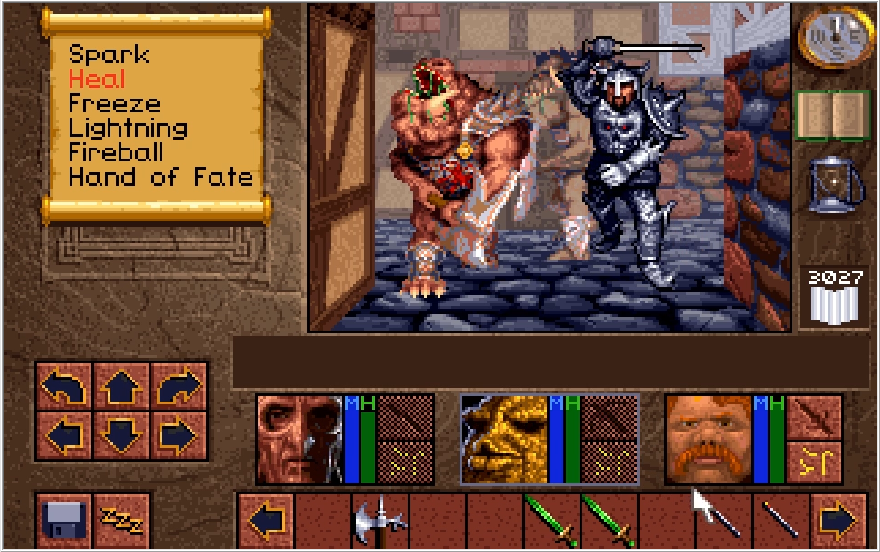
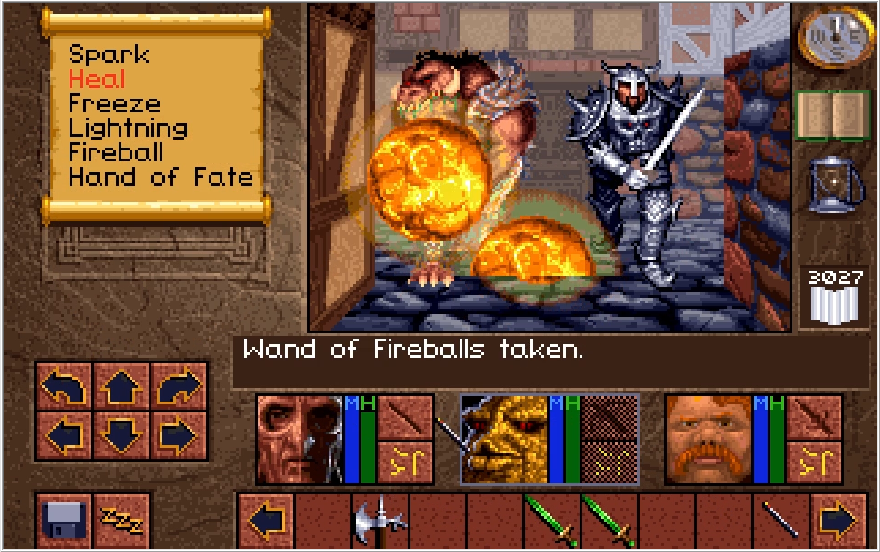
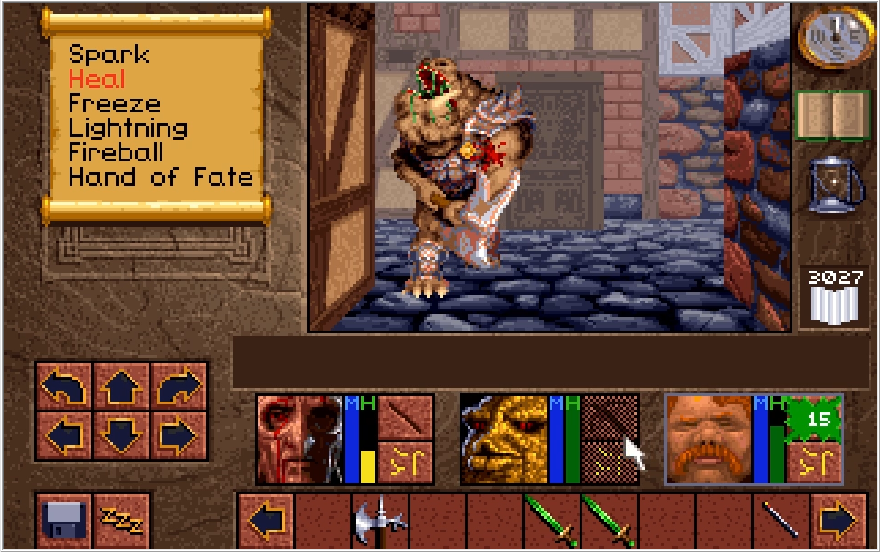
The Dark Army begins to pour into our kill box and for the next minute it is a flurry a lightning, fireballs, sword strikes and crossbow bolts! I blast and slash my way through about 15 enemies alone in this initial encounter. We need to kill A LOT of enemies before this battle in considered to be won. I'm not sure what the exact count is, but it's the most enemies that Lands of Lore ever asks you to subjugate at a single time, around 70 or 80 I think.
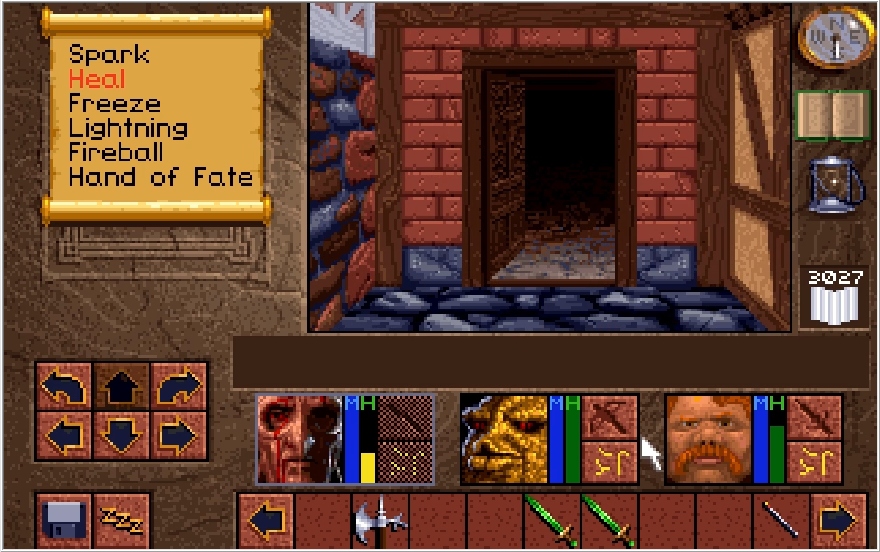

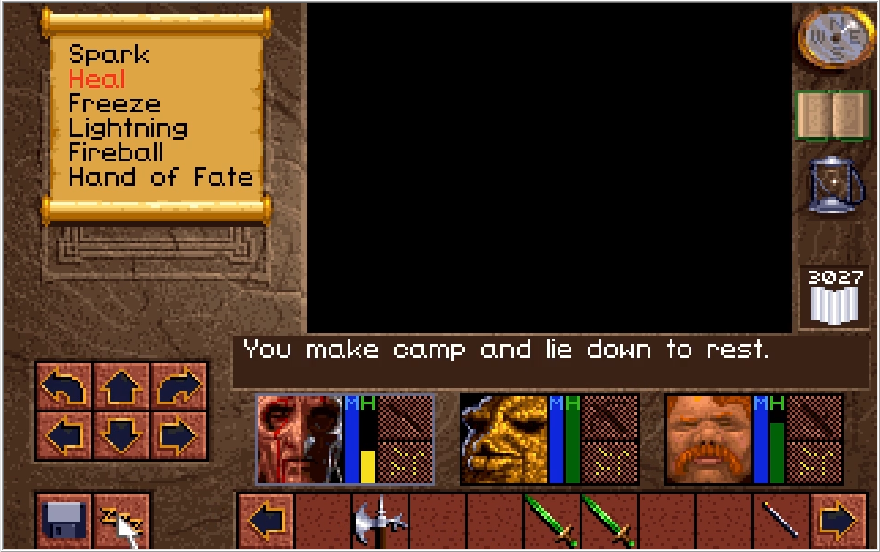
The city may be under siege, but Scotia neglected to train her soldiers in an important skill: Opening doors. Any residential dotted about Yvel can be ducked into and you can rest with no fear of being interrupted, making this section much more manageable than it would be otherwise. Do be mindful if you have to dive into a door while fighting the enemy in front of one though. If you do that, sometimes the enemy will crowd the door while you rest, and it creates a weird glitched state when you leave the room where you and the enemy are occupying the same square. In this situation, you can't hit the enemy (and they actually erase any projectiles you fire from existence to boot) but they can hit you. Obviously it's easily resolved by just moving off the square, but you can't exactly do this if more enemies pour in to block your front.
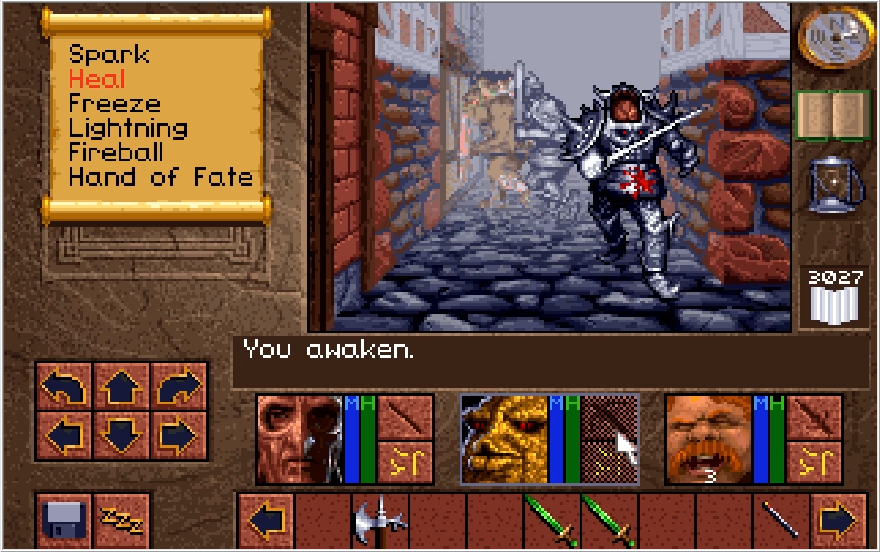
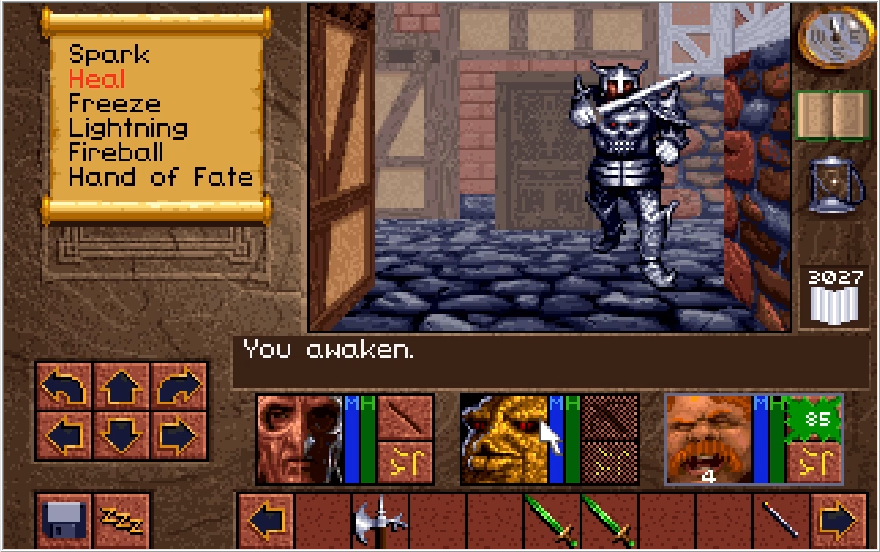
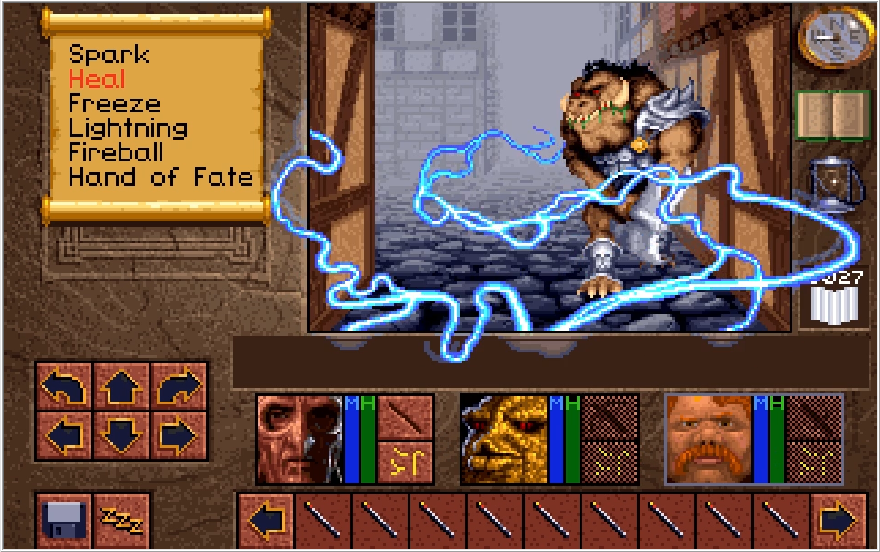
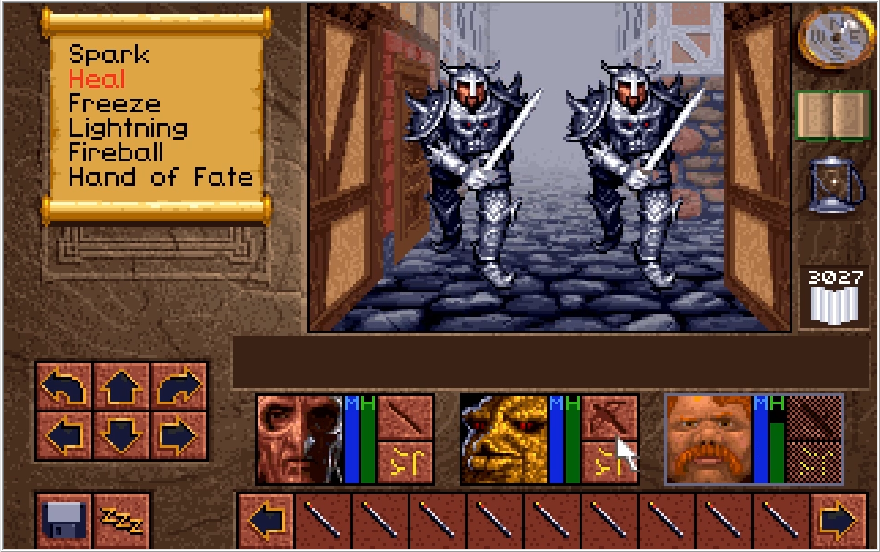
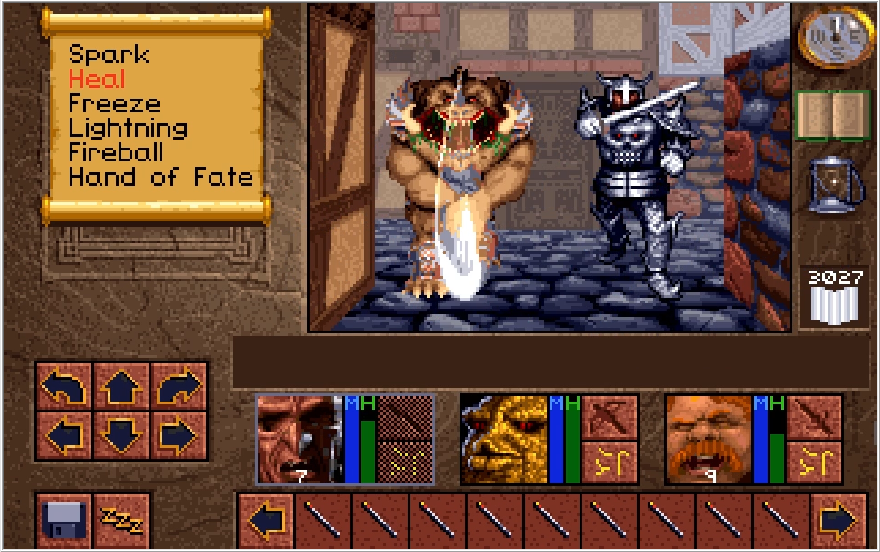
The action was slowing down by the conference room, so I tried to fan out and begin hunting down enemies, going on a more direct offensive. I quickly got overwhelmed and pushed back, however. We haven't thinned the initial horde nearly enough to start prowling the city again. I dive back into the alcove and resume the killbox strategy. When we're surrounded on 3 sides by walls like this, it means we can only be attacked by two enemies at a time. Neither the Great Orcs or the Cabal Warriors are considered double-wide enemies, so if we're lucky we can also lightning blast 4 of them at a time if they crowd a single square!
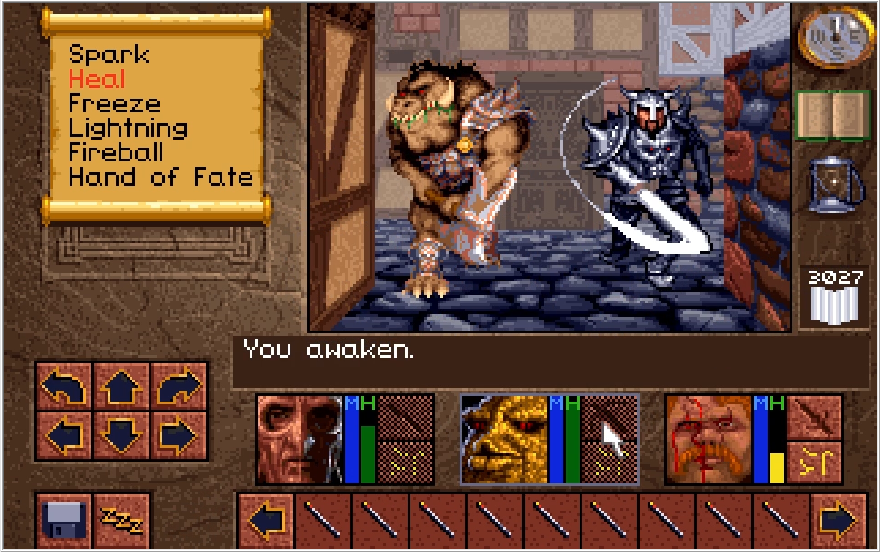
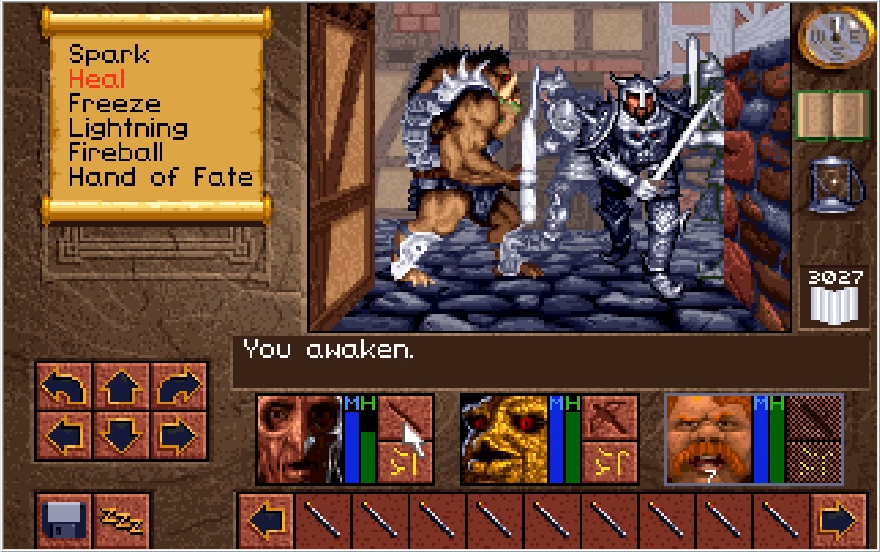
Now if you actually want to rest as a means to heal up, you absolutely want to hide in a residential to guarantee you can get that healing through. Resting can be used as a means to draw out enemies faster if you don't need the healing, though. Any enemies in the area will beeline to interrupt you in a hurry if you rest in their presence, which is an amusing way to speed up the process of clearing the streets. Also get used to seeing Paulson's beat up face, he had a really rough time getting bullied all throughout this sequence.
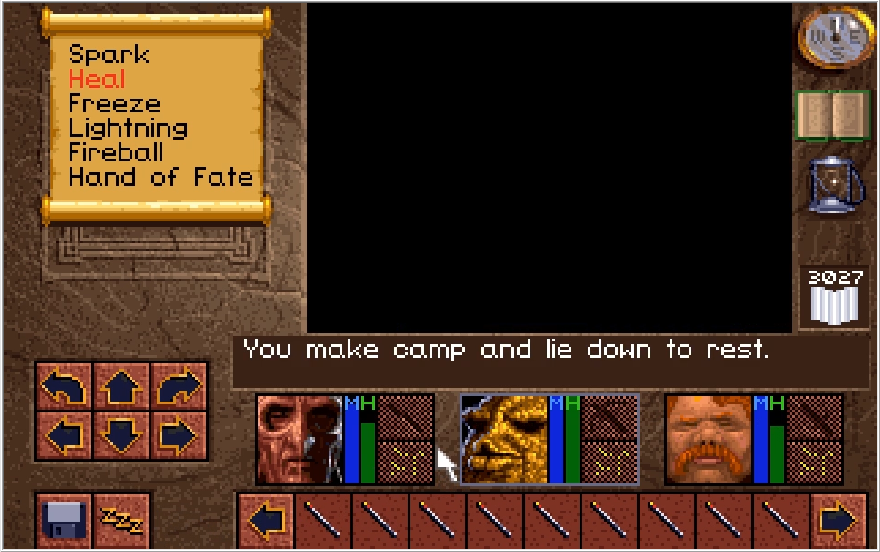
If you are able to rest up in the streets, then that means the section of the city you are currently in is mostly free of enemies. Some may pop in after enough time, but at this point we're better off going on a proper offensive and sweeping the city. I'd say I've killed about 40-45 enemies at this point
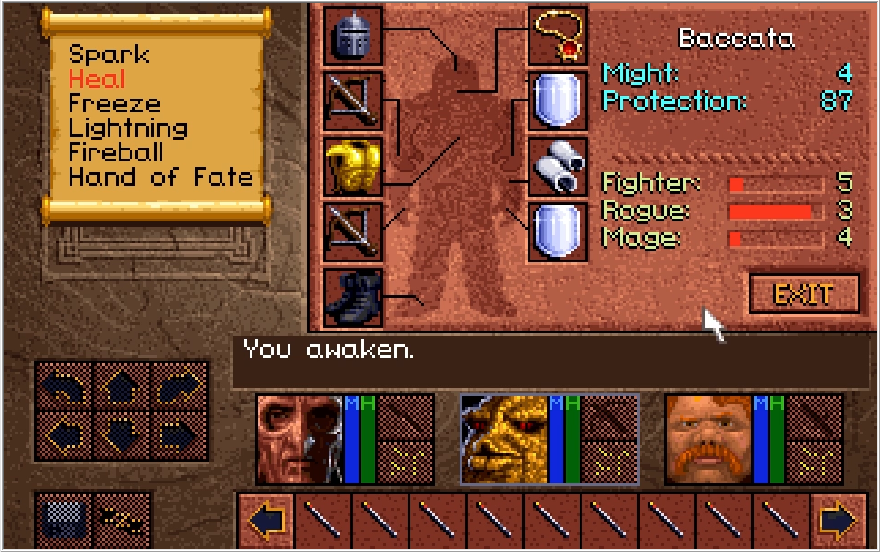
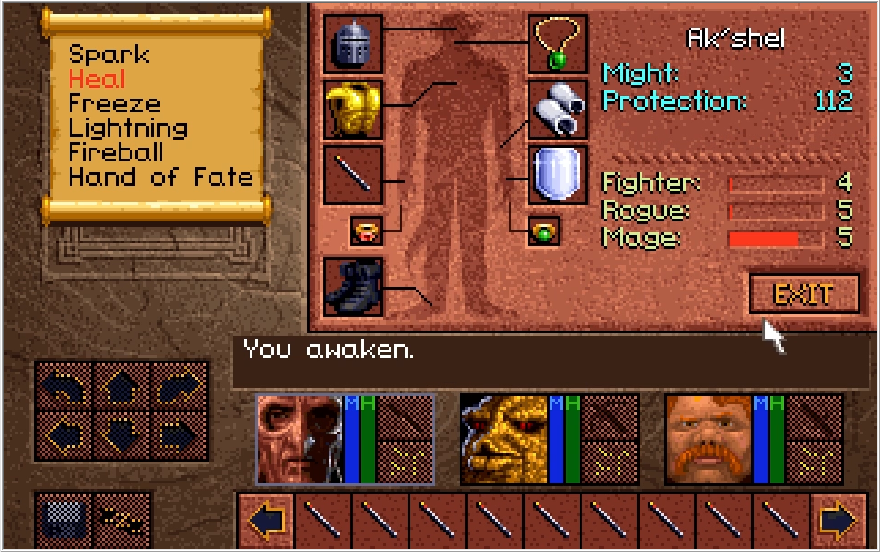
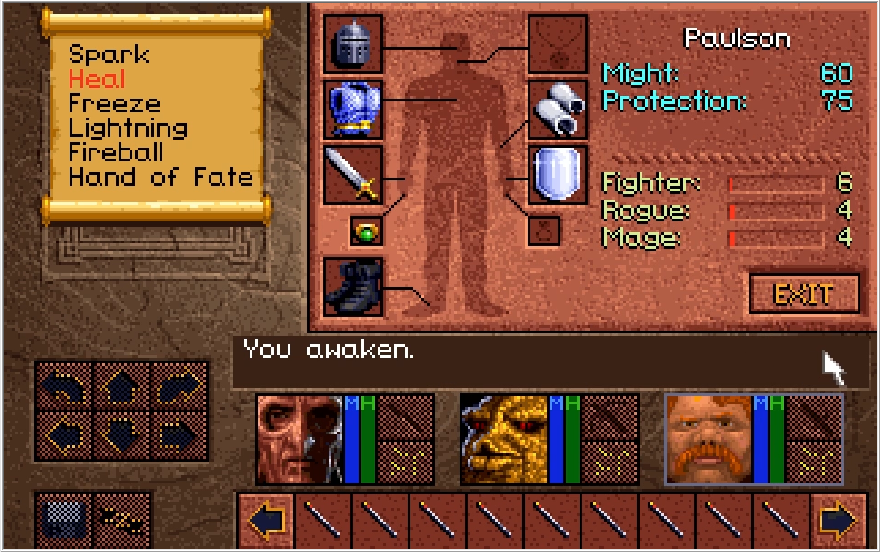
Ak'shel and Baccata have been making excellent progress on their Mage and Rogue levels respectively, this section is great for catching up underleveled attributes. Paulson, meanwhile, has mostly just been hitting air. As soon as Baccata hits Rogue 4, Paulson is taking back the CBV so he can at least notch a consistent small amount of damage if nothing else.
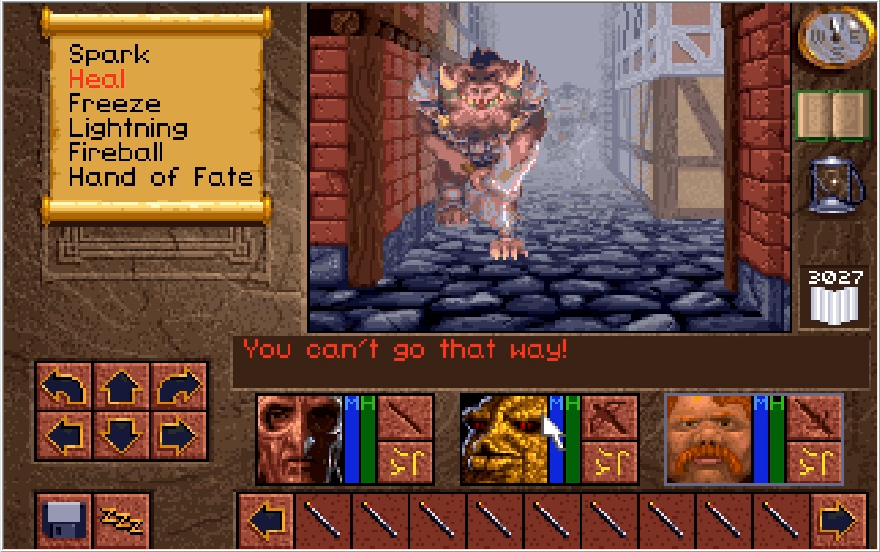
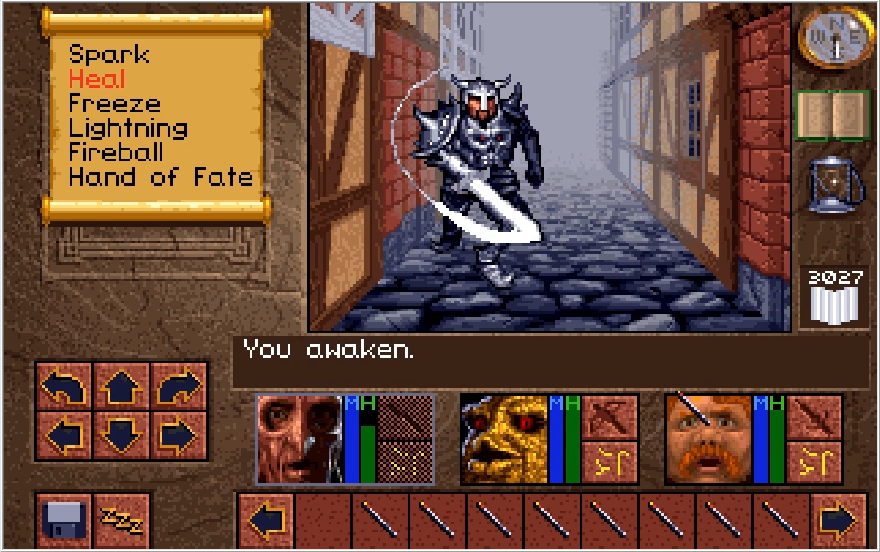
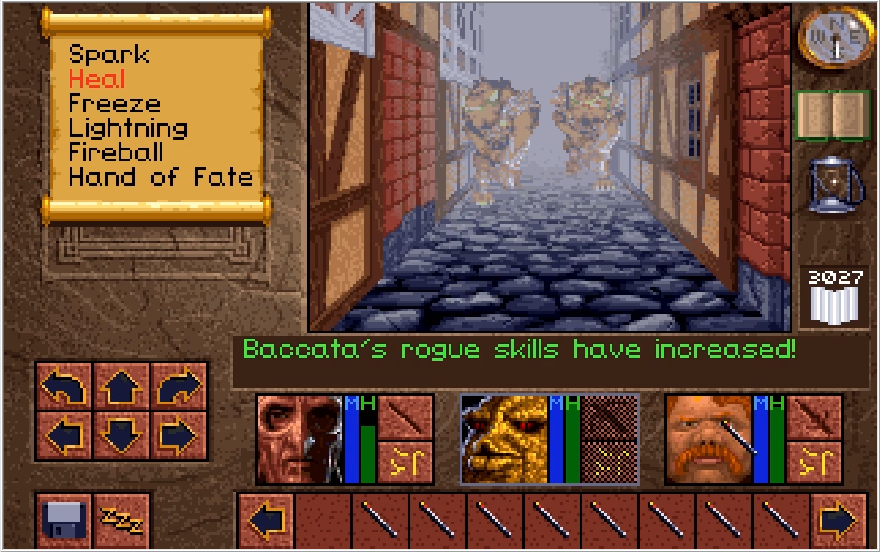
Speak of the devil!
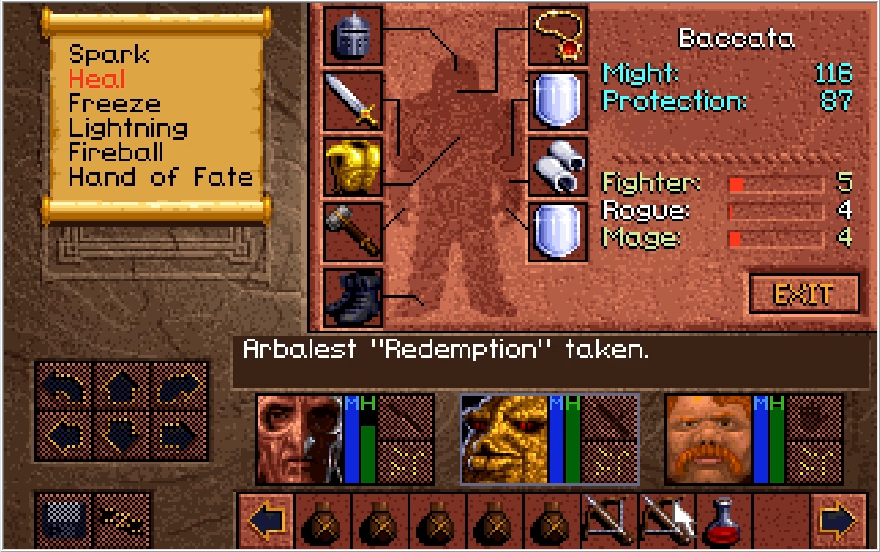
Hell yeah. Baccata can lay out some mighty blows with these weapons in tow. No other character in the game comes close to this tremendous Might score!
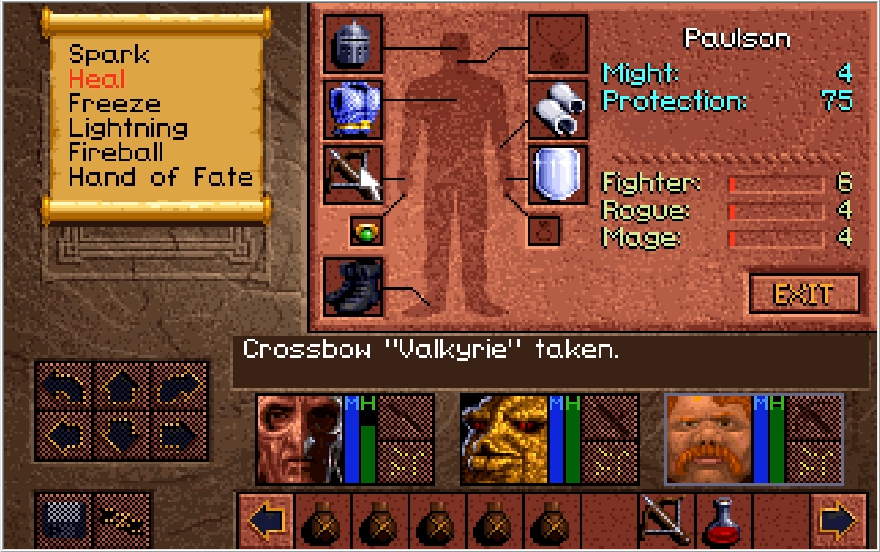
Paulson, meanwhile, is kind of just there.

Baccata immediately started laying out hits like this, while Paulson only lands a blow like this in about 1 in 20 attacks.
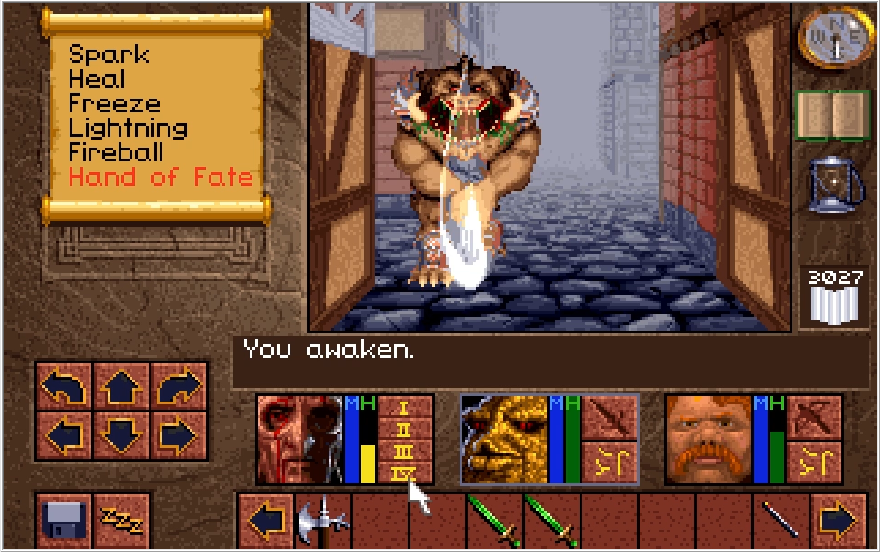
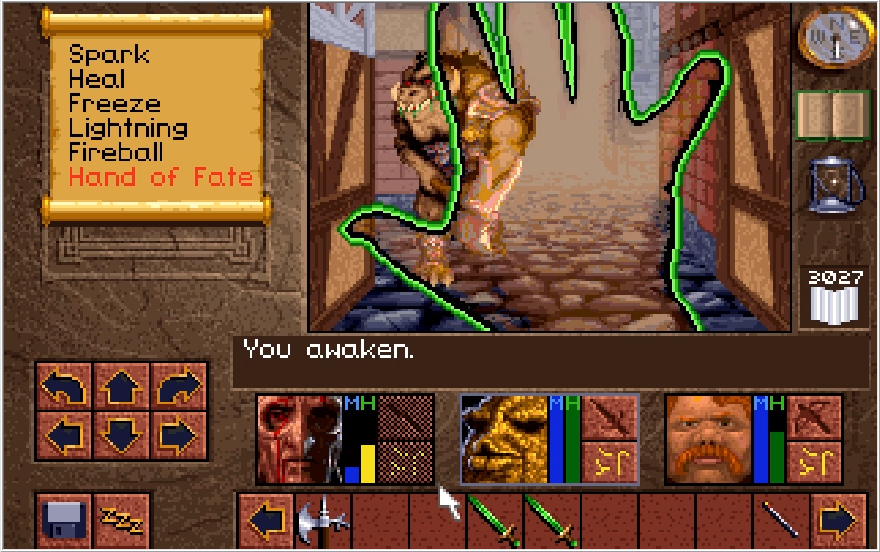
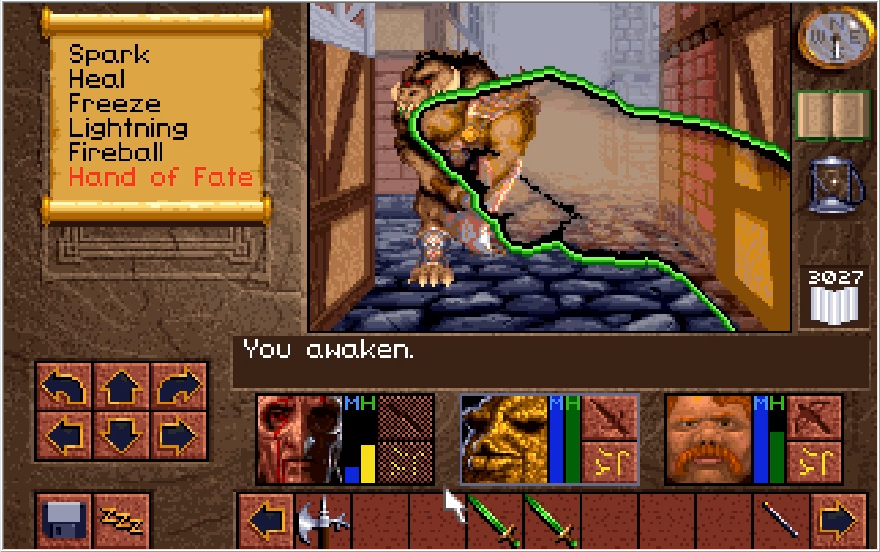

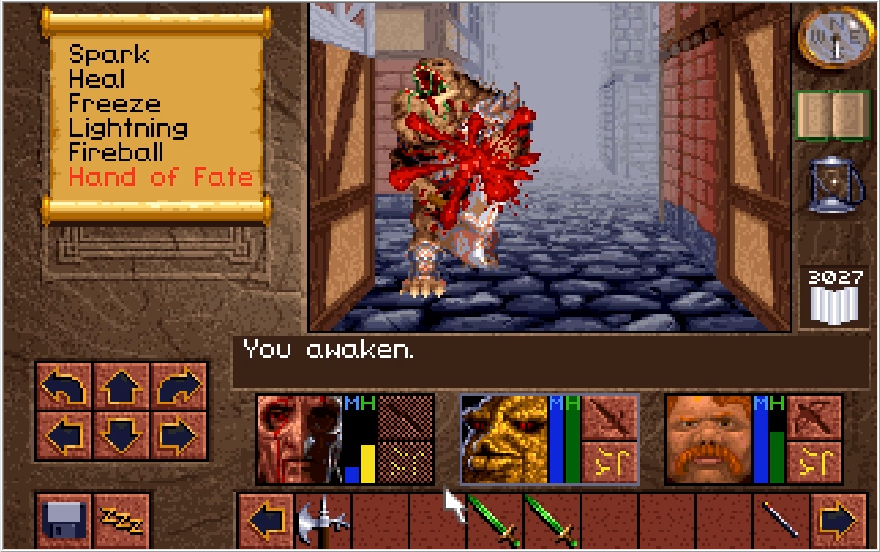
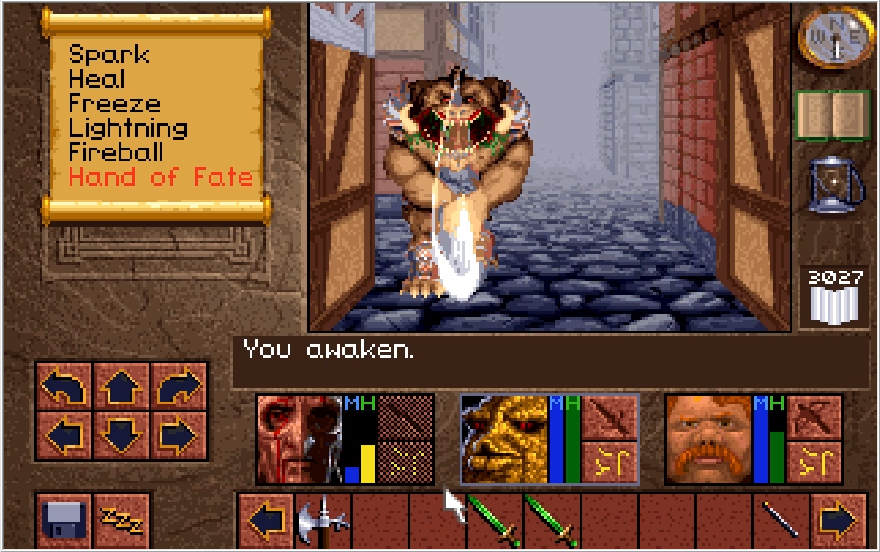
Just for fun, I decide to start tossing out Hand of Fate spells since we more or less have the battle completely under control now. For his entire MP bar, Ak'shel fails to kill a single Great Orc. Now is a good time to remind you that Ak'shel's main thing is that he has the most MP of any character. In fairness, this would kill pretty much anything but a boss on Normal mode, and it is wasteful to use it on a single enemy, but still. Magic in the late game is insanely undertuned and you'd need to do tons of grinding to get the MP to cast the high end spells more than once, especially if you're not Ak'shel.
Speaking of undertuned mechanics, this is as good a time as any to show something that's hard to demonstrate through screenshots.
That roaring that makes the screen shake? That's the Great Maul Thunder calling down a lightning strike... or trying to anyway. According to the clue book, this is supposed to do triple damage but I have never actually seen a roaring strike hit anything. The ability seems to be bugged, and instead of a 25% chance to do triple damage it's a 25% chance for an attack to do nothing on top of the already ridiculous whiff rate this game has. At least Baccata can still land a blow with his second weapon...
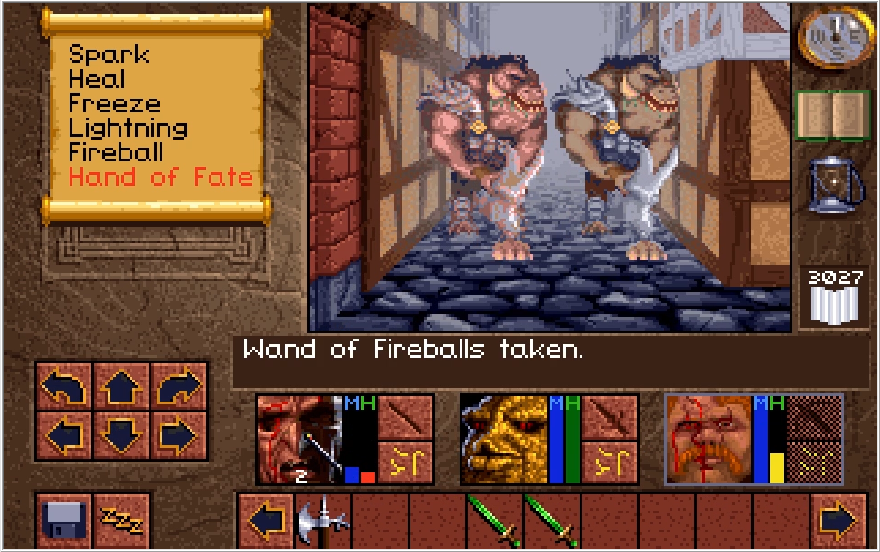
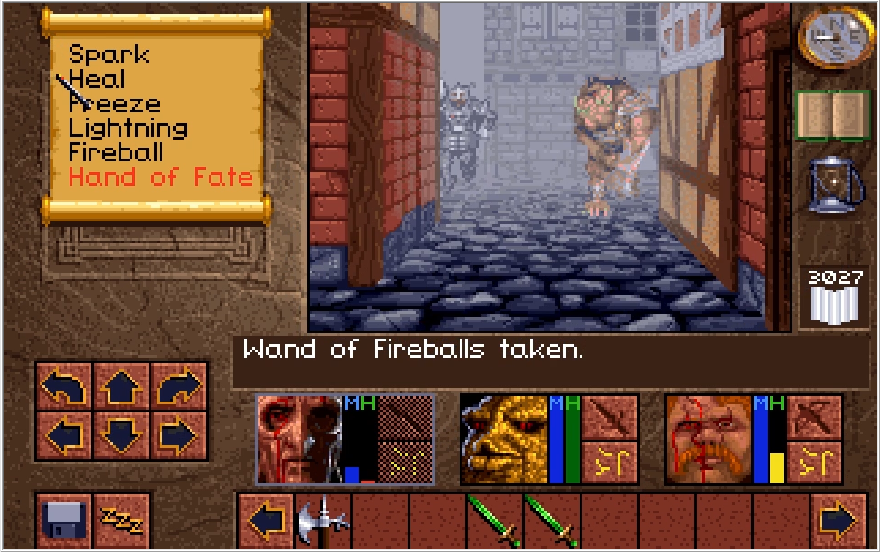
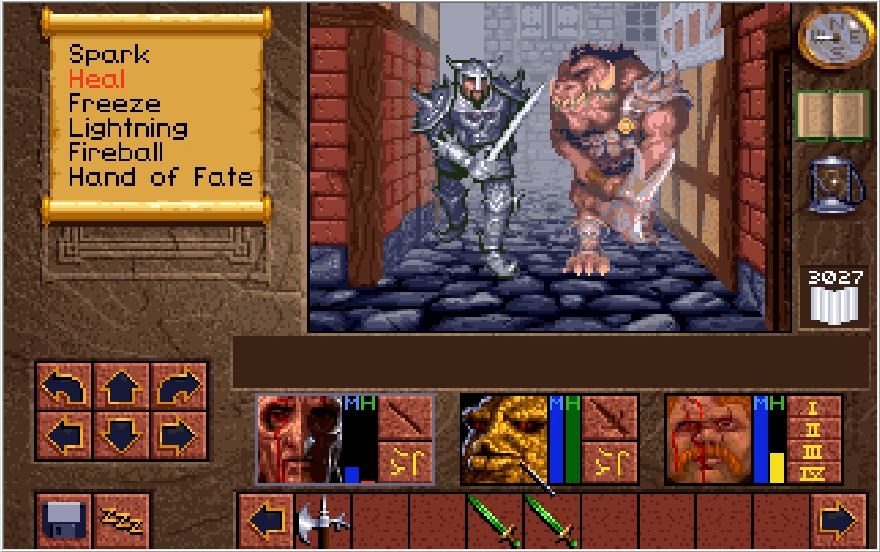
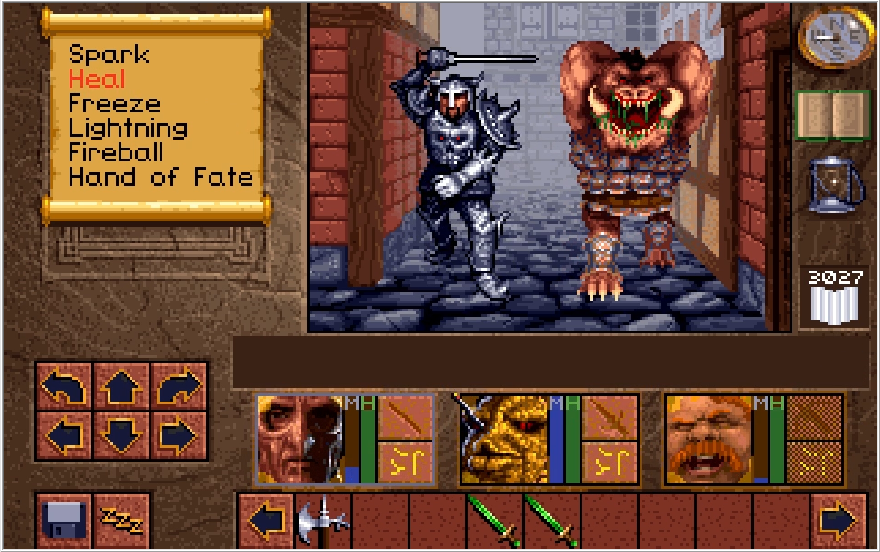
We've thinned the Dark Army enough that now I need to actively hunt them down. While I'm on the hunt, Paulson gets a chance to do something for once and Heal 4 the party. Granted, I could just hide and rest, but I like to make him feel important.
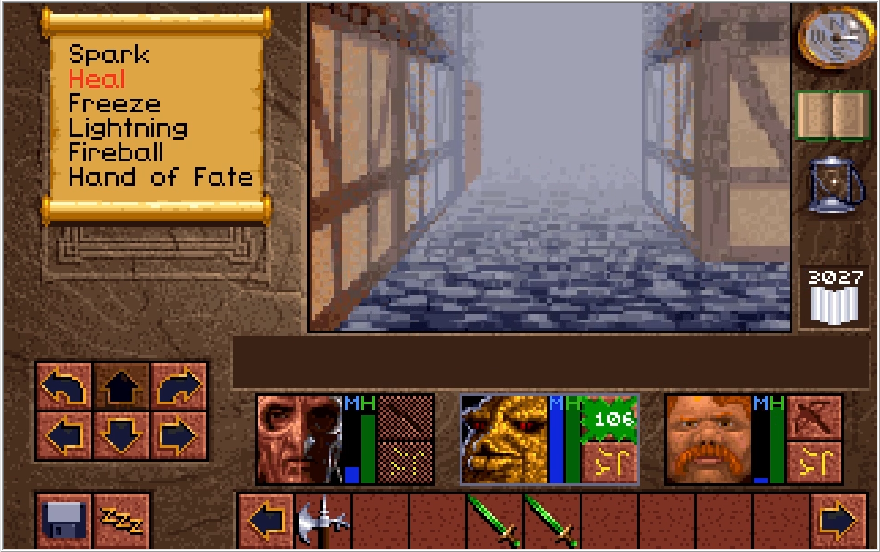
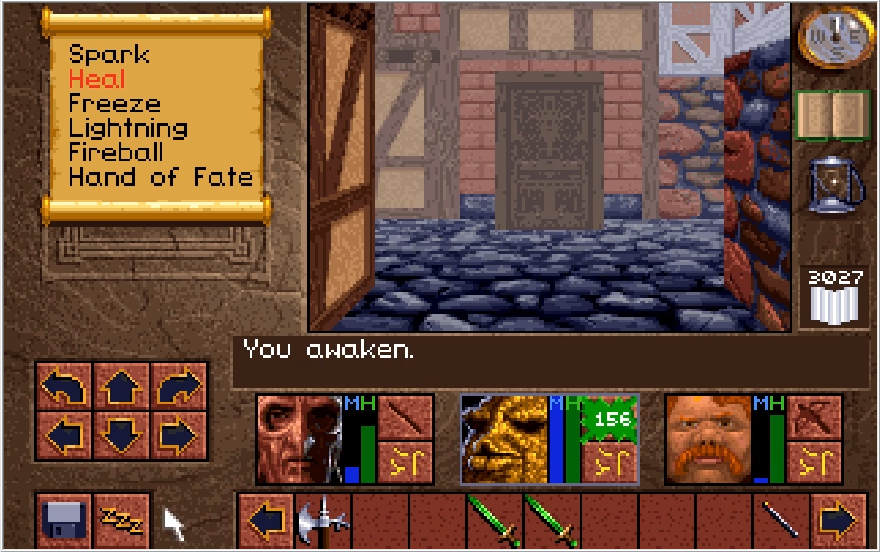
Baccata proving yet again why he's the best character in this game.
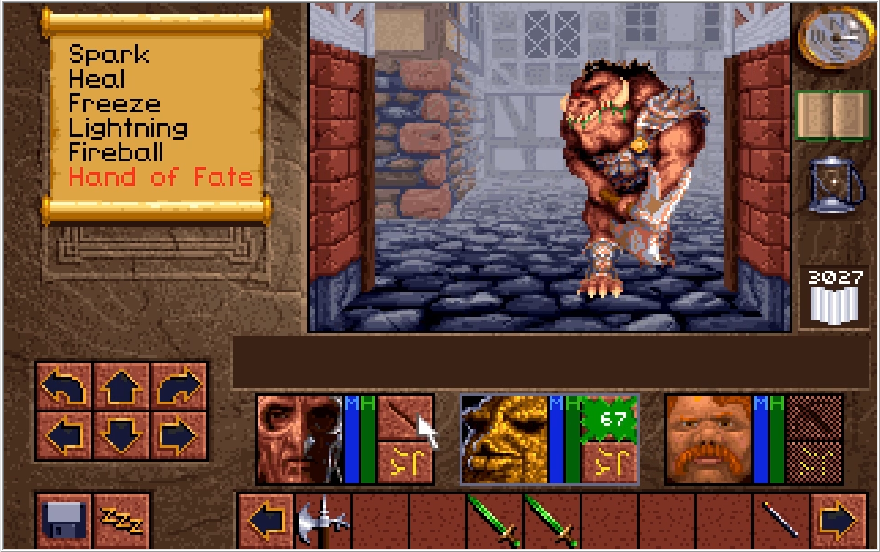
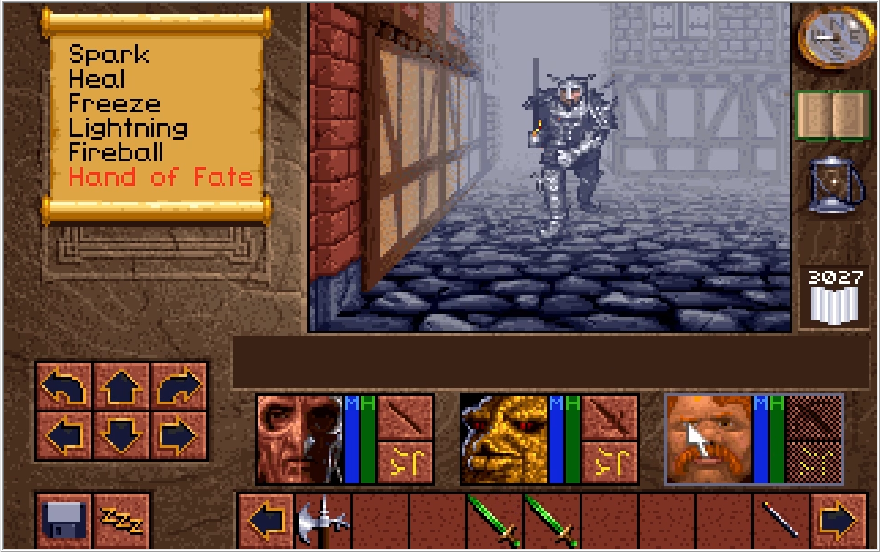
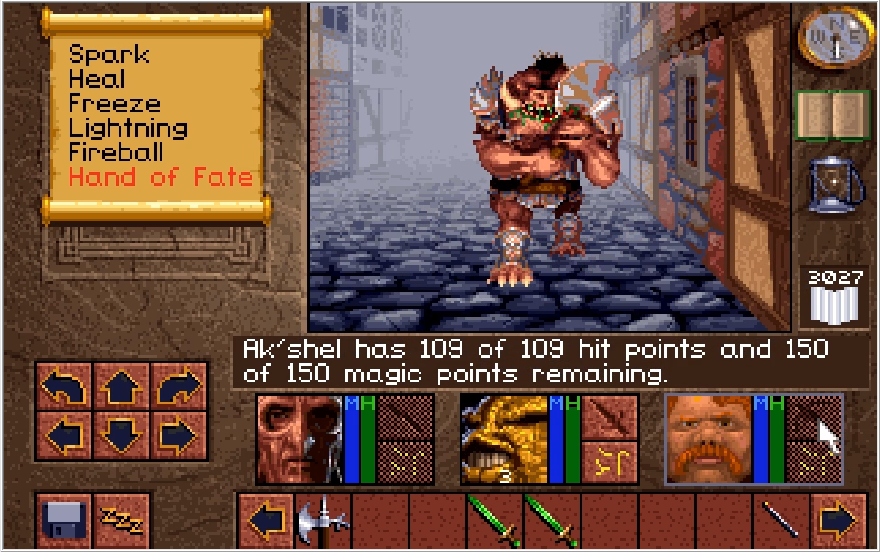
You know, I've been meaning to mention. Remember in Update 14 how I said we were supposed to get ambushed by a ton of Great Orcs after visiting Vulture's Chasm? Yvel Woods becomes absolutely flooded by Great Orcs after that event, and I've always had this theory that the barrier to Yvel wasn't placed by Scotia but was instead erected by the Yvelians to keep the Dark Army out. If that's the case, then the brawl happening right now is kind of our own fault. I hate it when self-destructive stupidity is the only way forward.
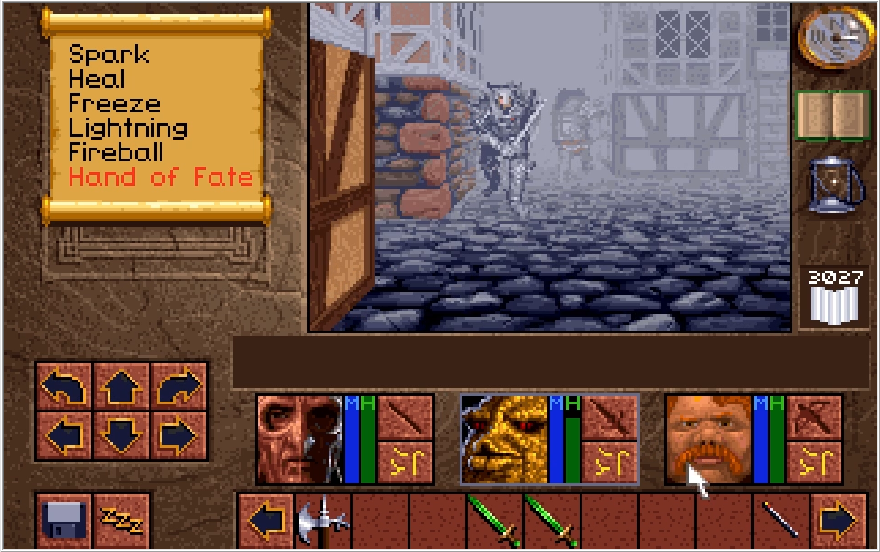
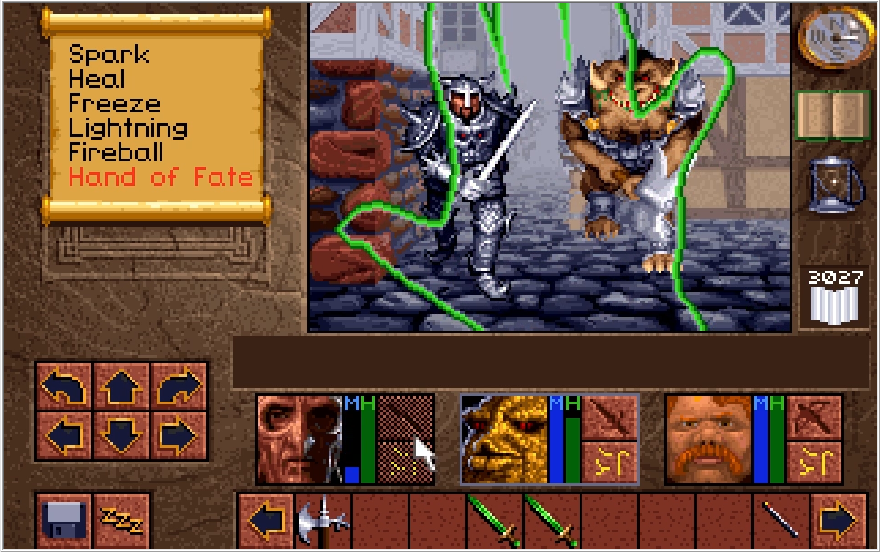
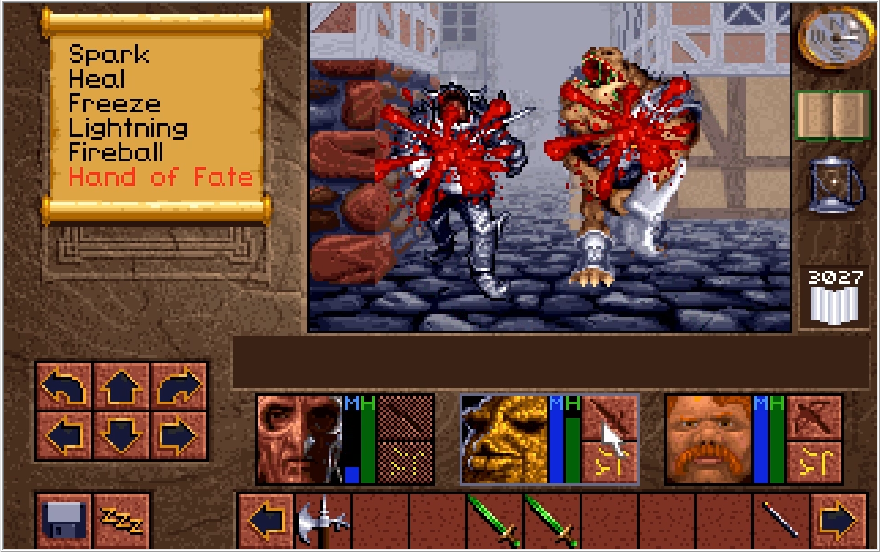
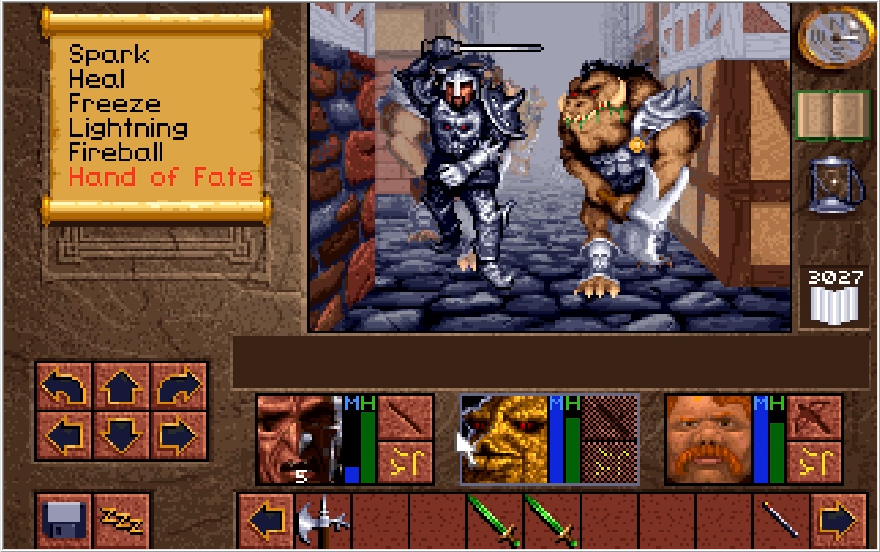
There are bad guys every which way in the city, I must've killed a hundred of these fuckers by now... hey wait!
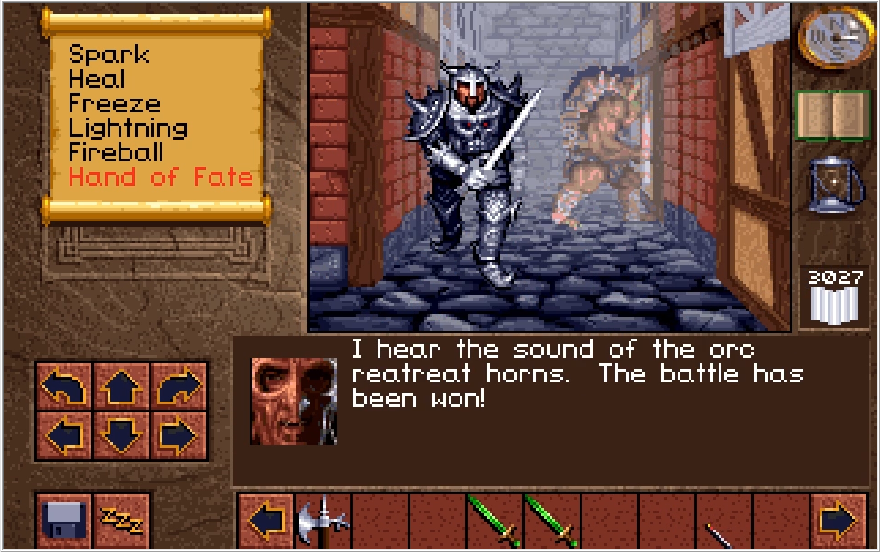
Once you've bathed both your party and the streets in enough blood, Ak'shel makes this declaration. Note that there is no sound of horns in the game. Now every enemy that has spawned into Yvel at this point will still persist, but once the retreat has sounded no new enemies will spawn in to replace the ones you've killed.
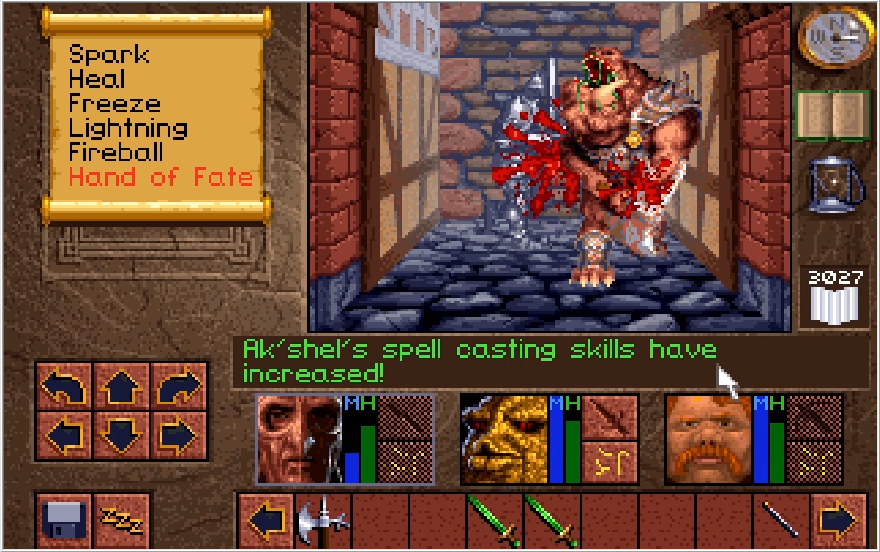
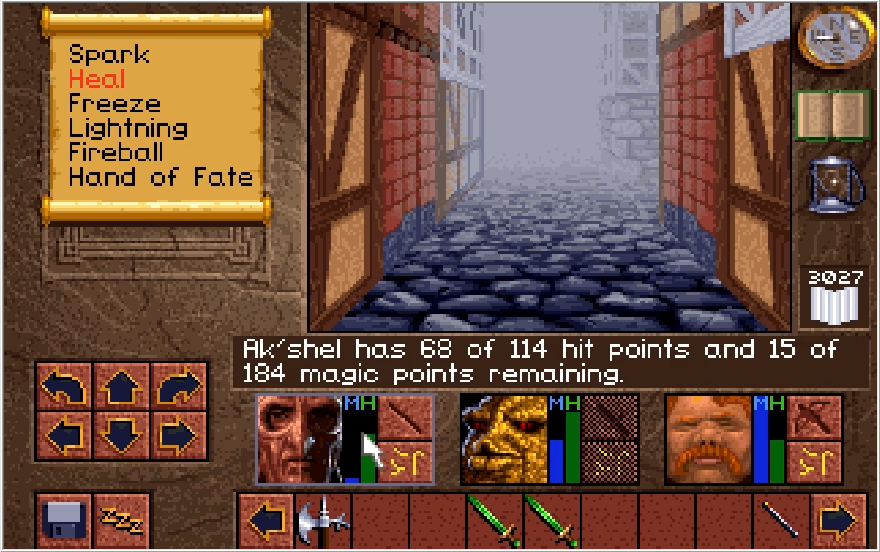
Since there's still some baddies roaming around, I elect to flash fry them and polish off Ak'shel's Mage Level. I don't normally get to Level 6 at this point in the game, so the Lightning Wand has really been a big help in developing my Mage skills further!
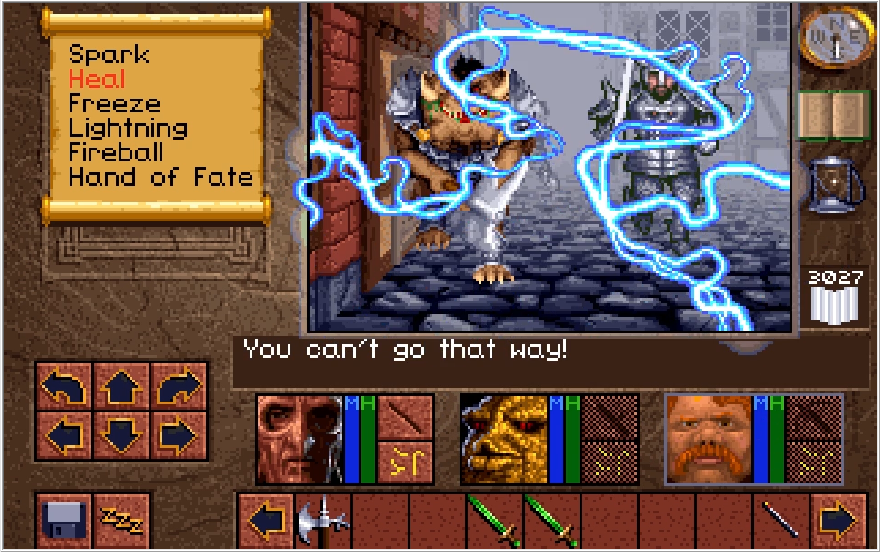
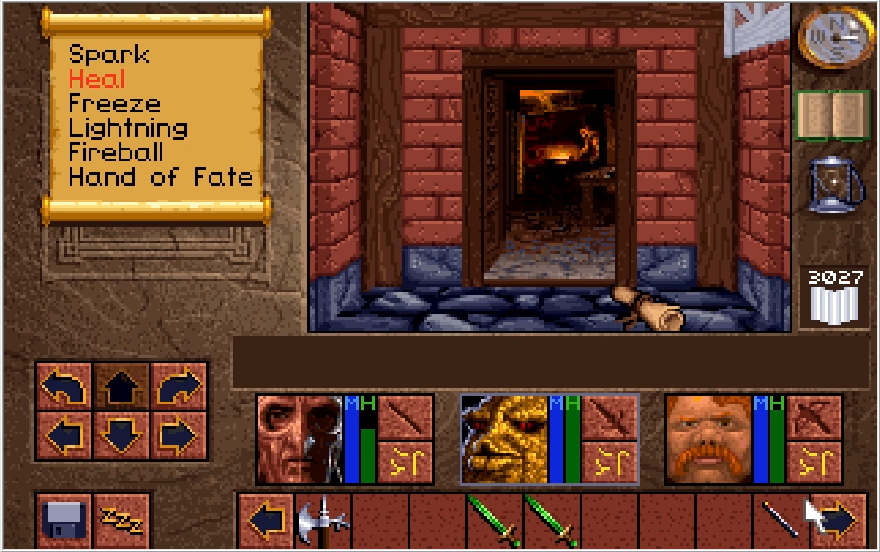
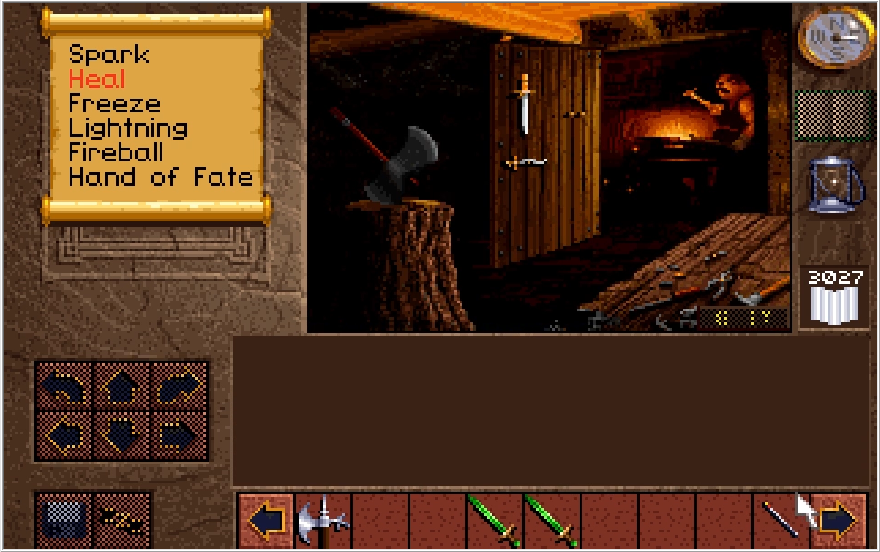
We can advance the game at this point, but I elect to do a little more cleanup and make a point to visit Victor one last time. I don't need anything from him, but it's important to note that this is your absolute last chance to buy anything from Victor or sell anything to him. Once we hit the next story trigger, Victor's store will no longer be open to us. If you haven't bought the Great Sword Justice (or the Jewelled Dagger if you wanted it I guess), be sure to get it now!
In case you're wondering, all vendor locations, the conference room, and Bruno's Lodge are sealed during the Battle of Yvel and cannot be entered. Hilariously, if you go to Bruno's Lodge once the battle finished but before getting the next story trigger, it'll be in the exact state it was before the battle began. The patrons are seemingly unperturbed by the literal war happening out in the streets of their city.
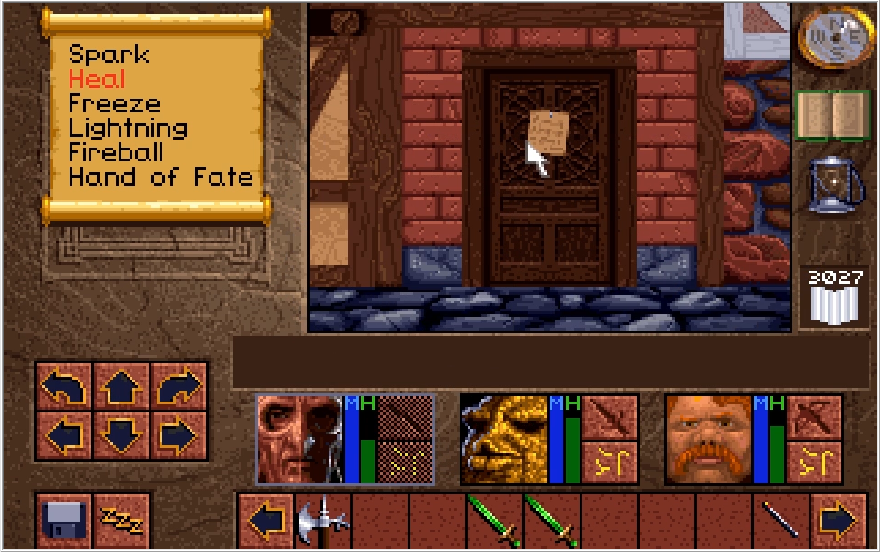
With all that addressed, to actually advance to plot we yet again need to return to the conference room. This time though, the door is sealed (as it was in the battle) and a note is plastered upon it. I'm guessing this isn't a decree from Martin Luther.
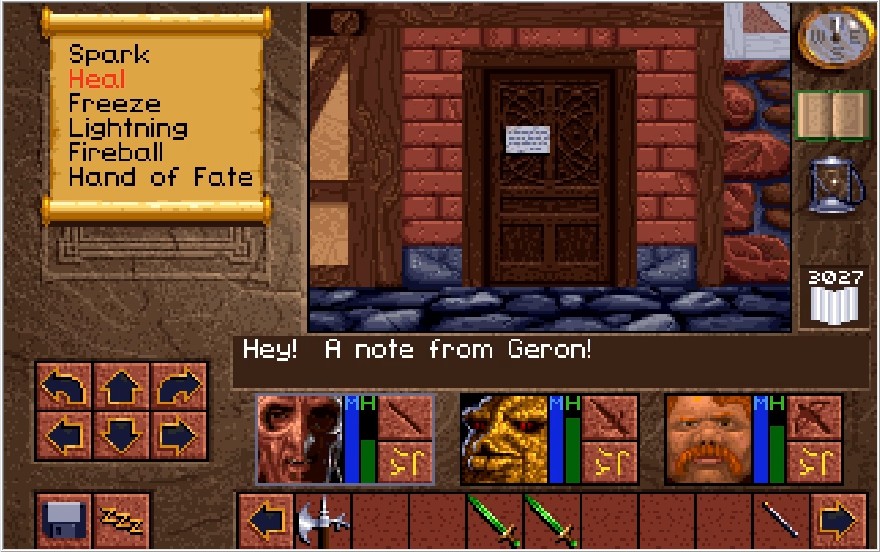
About as far removed as it could be, actually.
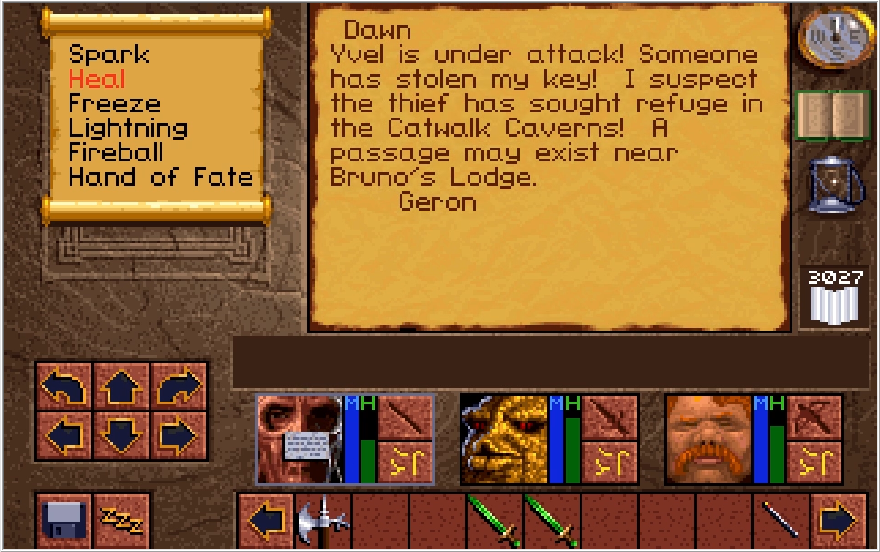
God could you imagine if we actually did give the Elixir to Geron when he asked. Dumbass can't even keep his own key secure, we'd have been fucked if the Elixir got stolen too.
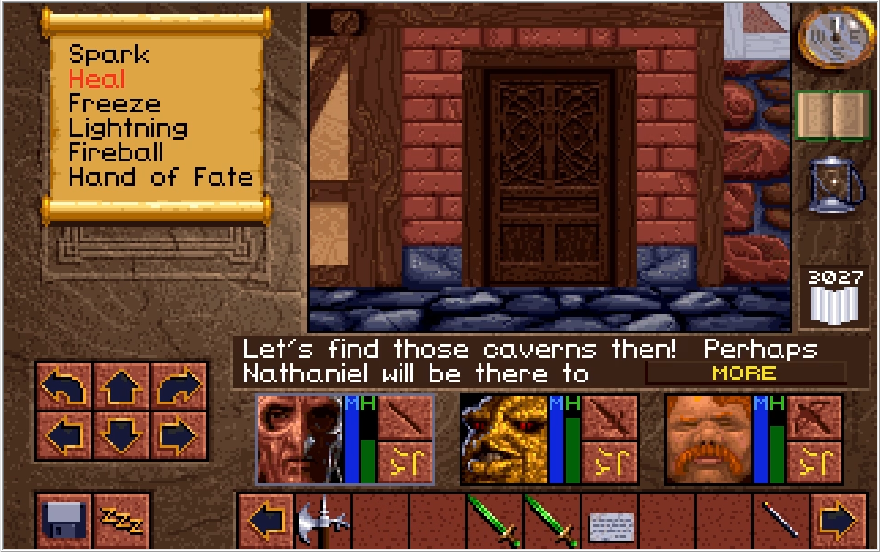
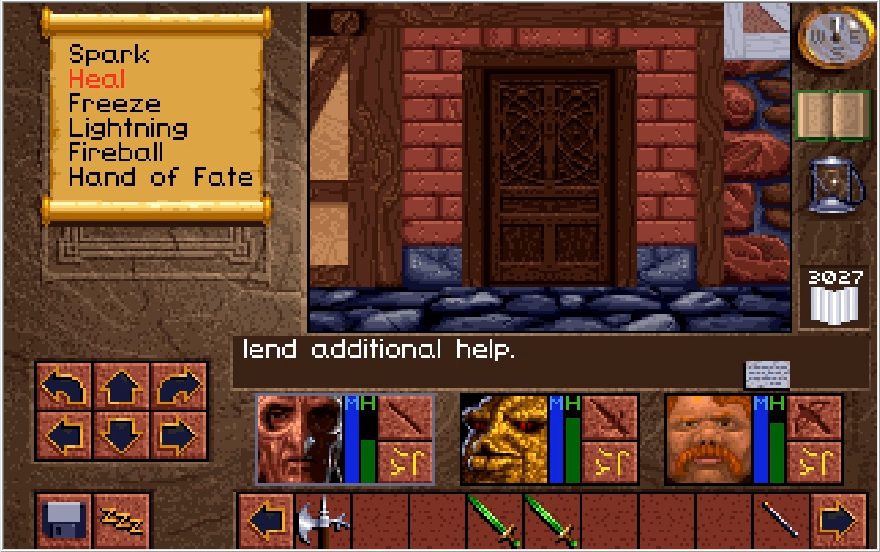
Baccata chimes in once you read the note, and for some reason the text box doesn't extend in this instance to fit his whole dialogue and you have to click that More button to advance the subtitles. Strange. That aside, this is the story trigger we needed to hit. At this point, Victor's shop and Bruno's Lodge will empty out. Sadie and the Fletcher are still available, but they sell precisely nothing that I care about.
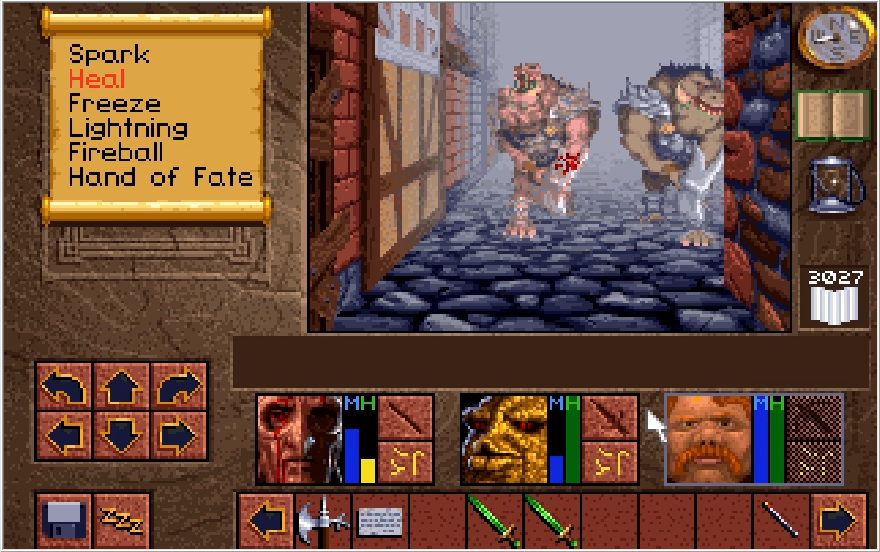
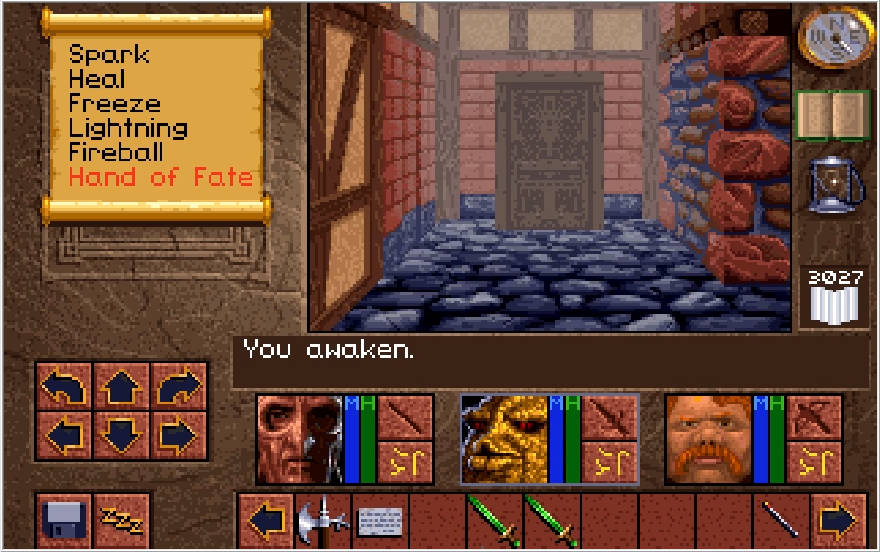
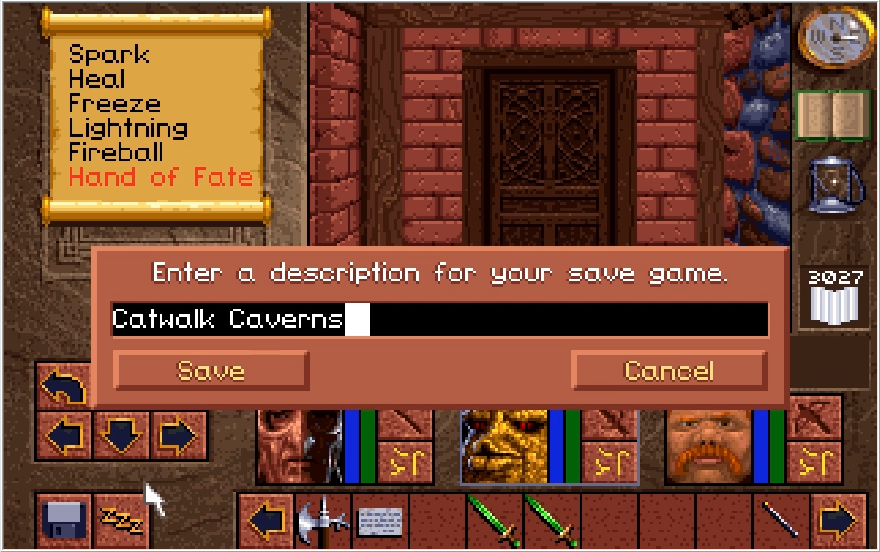
A few stragglers of the Dark Army occupy the area around Bruno's Lodge. We have a strict "Take no prisoners" policy, so I clear them out and post myself up in front of the lodge door. When we return, we will be entering the third to last dungeon, the Catwalk Caverns! We'll also be switching to our final champion, the canonical hero of Throne of Chaos, Kieran! He's tagging in for easily the most annoying and difficult section of the game, and since he's a low tier mess of a character we've got even more fun in store. I'm sure it'll be a blast.

I was going to work on recording more footage for Persona 3 tonight, but it is way too damn hot for me to feel like sweating it out while talking into a microphone, so moving ahead with Lands of Lore it is!
Last time, we finally completed the Elixir of Tybal, a quest that has been spanning about a dozen updates thus far. All that remains is to find Richard and apply it to him (and kill Scotia after, but one step at a time). We'll also need the keys to Richard's shroud, so we better parlay with Geron to get his key before moving forward.


 : "We have the Elixir!"
 : "Well, let me have it! I will apply it if the opportunity arises."
Geron this whole mess is partially your fault to begin with, why on God's green Earth would we trust you with the Elixir? Do you even know for sure where Richard is? Thankfully, Ak'shel promptly tells Geron to fuck off.

 : "I am sorry also! (No you're not) I will only give up my key to Dawn. Perhaps you could bring her here. She is the only hope for Richard!"
Geron refuses to play ball with us, leaving our only recourse to go and find her. She wanted to speak with us once we got the Elixir anyway, so we'd be returning to her sooner or later.

Attempting to further harass Geron just results in continued sass from him. Things don't get much better when we turn to leave.

Geron is such a prick and is so useless to the cause of Gladstone, you'd think he was actively working against the kingdom. He isn't, he's just a dick.


As stated previously, nothing to do at this point but return to Dawn. Quite the lengthy trek awaits us, we need to work our way back through Upper Opinwood, take the path through the mines, and work our way all the way back to Droek's wagon. Thankfully we're much stronger at this point, so any resistance we meet along the way should be no issue.
I would like to take this time to point out that the Yvel Woods map is weirdly spacious, seemingly dedicating a large chunk of the Atlas page to an empty void. There are actually some areas to this map that are completely inaccessible unless you no-clip into them. I just thought that was interesting. (There's an Ace of Oblivion in one of the sections if you're curious)

We work our way back to the cave to Upper Opinwood, but as soon as you turn to face it a cutscene will begin.
Music: Dawn Encounter

Hello to you too, Dawn. Perhaps I shouldn't joke, this sounds pretty dire. Poor Droek. I guess this saves us the trip if nothing else.... is it just me or is there something different about Dawn here?
 : "We have the Elixir! We only need two more keys and we can save King Richard."
Ak'shel is absolutely broken up about Droek's death, he's just good at hiding it.

We are faced with several choices once again. I see no reason to deny Dawn possession of her own key though, let's hand it over!


Huh, that was a really creepy grin that Dawn flashed at the end there. The way she disappeared was extra ominous too... Hey wait a second!

Dawn has blue eyes, not yellow! In fact the only person I know with distinct yellow eyes like that is... ah shit, we've just been had.
In case you hadn't figured it out (or didn't click the music link that unfortunately has a spoiler title for the actual track), this was not Dawn but Scotia in disguise. Should you hand the key over to her, it'll be gone from your inventory naturally and we will need to re-obtain it later. Funnily enough, this doesn't really impede the course of your journey at all since the story will proceed as normal regardless of if you hand the key over or not. I don't think there's even a moment where this trickery gets acknowledged beyond finding the key again in the final dungeon later.
It is worth noting that in the very first release of the floppy version of the game, handing the key over here actually made the game unwinnable. As mentioned previously, handing the key over means you need to find it in the final dungeon, but for the initial release of the game they just straight up forgot to implement this. Giving the key to Scotia caused it to disappear from the game altogether, rendering Richard's shroud permanently locked. You do need to free and cure Richard to defeat Scotia come the end of the game, so you'd be a dead man walking up until that point with no way of knowing it. The initial response was to accept save game mail-ins so they could train the key back into your inventory, and then every subsequent release of the game (floppy or CD) has the key appear where it's supposed to if you were tricked here. With that aside done, let's jerk Scotia's chain a little bit instead.

Should you choose to just leave, she gets pretty ass blasted about it. It's a little funny honestly. What if you argue instead?

 "We will get Nathaniel and Geron's keys ourselves and save you the trouble."
It's not clear if Ak'shel smells something funny here or not, his reasoning is kind of strange if he's completely unaware that this is an impostor. Come to think of it, what has happened to Nathaniel? We haven't seen him since the creation of the shroud. Oh yeah and Scotia gets mad again.


Using the limitless capabilities of the Nether Mask, Scotia transforms herself into... an early game giant lizard? Well yes, but she is actually quite a bit more dangerous than the lizards we fought way back in Update 3.

I was no time unloading with my newly obtained spell items. The Ace of Oblivion unleashes a hoard of apparitions that tear into your foes! This is the level 4 Mist of Doom spell, which we have yet to acquire. This is a one and done spell item, but it tears about a third of Scotia's health off in one blow. Well worth it, because this fight can quickly become perilous.

She may just look like an early game enemy, but her damage potential is well above what the typical giant lizard can dish out. This is actually the less threatening thing she can do though. We better tell her to talk to the hand before she can use her most damaging attack.


The Ace of Dominion tosses out a level 4 Hand of Fate for us. It's only a step below Mist of Doom in power, so Scotia is reeling after being hit by it. We just need to whomp her with some Fireball wand shots and this fight is in the bag!

She's still got some fight in her though! Scotia's main damage dealing move in this fight is a quake attack! We haven't seen this since the Lahrkon, so in case you forget this is a 100% accurate attack that hits your entire team and forces them to drop a weapon when hit by it, and then a shield if hit by it again. (Since Baccata has 4 arms, he can take up to 4 quakes before being completely disarmed.) This is the main reason we want to fire away with spells/spell items, since Scotia can quickly disarm our entire party before we can launch any physical attacks and throwing our weapons isn't gonna cut it here.


With the damage piled on from the Aces, I just need to blast Scotia twice with a Fireball wand, and she beats a hasty retreat with her classic bird transformation. Too bad we couldn't kill her here, she's becoming quite capable with the Mask. We were able to beat the transformation she took here, but who's to say she can't morph herself into something invincible?
No sense in worrying about that right now though. Her mentioning the wagon driver is concerning. The only way she could know Dawn was hiding out in a wagon is if she had discovered the wagon previously. We better head back to Droek and make sure her comment about the driver being killed was merely a misdirection.


Working our way back through the Opinwood's is a lengthy trek, but the monsters that impede us are of no issue at least. With our new gear and honed skills, even the mighty Pentrogs fall before us without even so much as a chance to retaliate!

Alright, we're back at Droek's wagon. Fingers crossed he's okay and that Dawn is still here.
Music: Droek's Death (Shit)


 : "Where is Dawn?"
Ak'shel I think Droek has his mind on things other than Dawn right now.


How embarrassing would you say this death is in comparison to Timothy's, Baccata?

Ha ha Jesus Ak'shel. Can't even spare Droek a small eulogy before saying that? Anyway, Dawn's location is now up in the air. We've nothing to do but return to Geron and inform him of the bad news. I was on cloud nine when this update started, but now I'm just wondering how this day could possible get worse?

Returning to the conference room, it seems a charged discussion has broken out.
 : "The Dark Army is upon us, to arms!"


Oh thanks Geron, no pressure there. Incidentally, this scene plays out exactly the same regardless of if you gave the key to Scotia or not. You don't need to confirm Droek's death either, for that matter.
Music: Yvel Under Siege

Well now. So apparently Yvel had a hitherto unmentioned and unseen militia, who have just been completely scuttled by the Dark Army. Since they've fallen, it's now up to 3 men to ward off the Dark Army horde that is about to flood the streets of Yvel in about 5 seconds.

It's war time! Better save here. This section actually isn't too difficult, but mistakes can happen so better safe than sorry.


You have a moment to steel yourself before the fighting breaks out, but after about 10 seconds of downtime Great Orcs and Cabal Warriors (making their first appearance of the game) will pop in from nowhere and suddenly be all over the damn place. Great Orcs are as deadly as they were before, while amusingly the newly debuted Cabal Warriors are actually a fair deal weaker than them. That said, all enemies in the area will waste no time trying to box you in if you try to fight them in the open and you'll quickly find yourself taken down to the LA pound if you let that happen.

Remember how I made a point to mention there was a door directly south of the conference room when we first came upon it? As it so happens, this door is also situated in an alcove, making it a convenient spot to form a kill box for the initial wave of enemies. Being able to go in the door itself also has a critical use.


The Dark Army begins to pour into our kill box and for the next minute it is a flurry a lightning, fireballs, sword strikes and crossbow bolts! I blast and slash my way through about 15 enemies alone in this initial encounter. We need to kill A LOT of enemies before this battle in considered to be won. I'm not sure what the exact count is, but it's the most enemies that Lands of Lore ever asks you to subjugate at a single time, around 70 or 80 I think.


The city may be under siege, but Scotia neglected to train her soldiers in an important skill: Opening doors. Any residential dotted about Yvel can be ducked into and you can rest with no fear of being interrupted, making this section much more manageable than it would be otherwise. Do be mindful if you have to dive into a door while fighting the enemy in front of one though. If you do that, sometimes the enemy will crowd the door while you rest, and it creates a weird glitched state when you leave the room where you and the enemy are occupying the same square. In this situation, you can't hit the enemy (and they actually erase any projectiles you fire from existence to boot) but they can hit you. Obviously it's easily resolved by just moving off the square, but you can't exactly do this if more enemies pour in to block your front.


The action was slowing down by the conference room, so I tried to fan out and begin hunting down enemies, going on a more direct offensive. I quickly got overwhelmed and pushed back, however. We haven't thinned the initial horde nearly enough to start prowling the city again. I dive back into the alcove and resume the killbox strategy. When we're surrounded on 3 sides by walls like this, it means we can only be attacked by two enemies at a time. Neither the Great Orcs or the Cabal Warriors are considered double-wide enemies, so if we're lucky we can also lightning blast 4 of them at a time if they crowd a single square!


Now if you actually want to rest as a means to heal up, you absolutely want to hide in a residential to guarantee you can get that healing through. Resting can be used as a means to draw out enemies faster if you don't need the healing, though. Any enemies in the area will beeline to interrupt you in a hurry if you rest in their presence, which is an amusing way to speed up the process of clearing the streets. Also get used to seeing Paulson's beat up face, he had a really rough time getting bullied all throughout this sequence.

If you are able to rest up in the streets, then that means the section of the city you are currently in is mostly free of enemies. Some may pop in after enough time, but at this point we're better off going on a proper offensive and sweeping the city. I'd say I've killed about 40-45 enemies at this point


Ak'shel and Baccata have been making excellent progress on their Mage and Rogue levels respectively, this section is great for catching up underleveled attributes. Paulson, meanwhile, has mostly just been hitting air. As soon as Baccata hits Rogue 4, Paulson is taking back the CBV so he can at least notch a consistent small amount of damage if nothing else.


Speak of the devil!

Hell yeah. Baccata can lay out some mighty blows with these weapons in tow. No other character in the game comes close to this tremendous Might score!

Paulson, meanwhile, is kind of just there.

Baccata immediately started laying out hits like this, while Paulson only lands a blow like this in about 1 in 20 attacks.


Just for fun, I decide to start tossing out Hand of Fate spells since we more or less have the battle completely under control now. For his entire MP bar, Ak'shel fails to kill a single Great Orc. Now is a good time to remind you that Ak'shel's main thing is that he has the most MP of any character. In fairness, this would kill pretty much anything but a boss on Normal mode, and it is wasteful to use it on a single enemy, but still. Magic in the late game is insanely undertuned and you'd need to do tons of grinding to get the MP to cast the high end spells more than once, especially if you're not Ak'shel.
Speaking of undertuned mechanics, this is as good a time as any to show something that's hard to demonstrate through screenshots.
That roaring that makes the screen shake? That's the Great Maul Thunder calling down a lightning strike... or trying to anyway. According to the clue book, this is supposed to do triple damage but I have never actually seen a roaring strike hit anything. The ability seems to be bugged, and instead of a 25% chance to do triple damage it's a 25% chance for an attack to do nothing on top of the already ridiculous whiff rate this game has. At least Baccata can still land a blow with his second weapon...


We've thinned the Dark Army enough that now I need to actively hunt them down. While I'm on the hunt, Paulson gets a chance to do something for once and Heal 4 the party. Granted, I could just hide and rest, but I like to make him feel important.


Baccata proving yet again why he's the best character in this game.


You know, I've been meaning to mention. Remember in Update 14 how I said we were supposed to get ambushed by a ton of Great Orcs after visiting Vulture's Chasm? Yvel Woods becomes absolutely flooded by Great Orcs after that event, and I've always had this theory that the barrier to Yvel wasn't placed by Scotia but was instead erected by the Yvelians to keep the Dark Army out. If that's the case, then the brawl happening right now is kind of our own fault. I hate it when self-destructive stupidity is the only way forward.


There are bad guys every which way in the city, I must've killed a hundred of these fuckers by now... hey wait!

Once you've bathed both your party and the streets in enough blood, Ak'shel makes this declaration. Note that there is no sound of horns in the game. Now every enemy that has spawned into Yvel at this point will still persist, but once the retreat has sounded no new enemies will spawn in to replace the ones you've killed.


Since there's still some baddies roaming around, I elect to flash fry them and polish off Ak'shel's Mage Level. I don't normally get to Level 6 at this point in the game, so the Lightning Wand has really been a big help in developing my Mage skills further!


We can advance the game at this point, but I elect to do a little more cleanup and make a point to visit Victor one last time. I don't need anything from him, but it's important to note that this is your absolute last chance to buy anything from Victor or sell anything to him. Once we hit the next story trigger, Victor's store will no longer be open to us. If you haven't bought the Great Sword Justice (or the Jewelled Dagger if you wanted it I guess), be sure to get it now!
In case you're wondering, all vendor locations, the conference room, and Bruno's Lodge are sealed during the Battle of Yvel and cannot be entered. Hilariously, if you go to Bruno's Lodge once the battle finished but before getting the next story trigger, it'll be in the exact state it was before the battle began. The patrons are seemingly unperturbed by the literal war happening out in the streets of their city.

With all that addressed, to actually advance to plot we yet again need to return to the conference room. This time though, the door is sealed (as it was in the battle) and a note is plastered upon it. I'm guessing this isn't a decree from Martin Luther.

About as far removed as it could be, actually.

God could you imagine if we actually did give the Elixir to Geron when he asked. Dumbass can't even keep his own key secure, we'd have been fucked if the Elixir got stolen too.


Baccata chimes in once you read the note, and for some reason the text box doesn't extend in this instance to fit his whole dialogue and you have to click that More button to advance the subtitles. Strange. That aside, this is the story trigger we needed to hit. At this point, Victor's shop and Bruno's Lodge will empty out. Sadie and the Fletcher are still available, but they sell precisely nothing that I care about.


A few stragglers of the Dark Army occupy the area around Bruno's Lodge. We have a strict "Take no prisoners" policy, so I clear them out and post myself up in front of the lodge door. When we return, we will be entering the third to last dungeon, the Catwalk Caverns! We'll also be switching to our final champion, the canonical hero of Throne of Chaos, Kieran! He's tagging in for easily the most annoying and difficult section of the game, and since he's a low tier mess of a character we've got even more fun in store. I'm sure it'll be a blast.
Last edited by Cullen on Tue Aug 27, 2024 11:16 am, edited 1 time in total.
Good, at least these heroes know not to fall into obvious traps.Cullen wrote: ↑Tue Aug 27, 2024 3:18 am
: "Well, let me have it! I will apply it if the opportunity arises."
Geron this whole mess is partially your fault to begin with, why on God's green Earth would we trust you with the Elixir? Do you even know for sure where Richard is? Thankfully, Ak'shel promptly tells Geron to fuck off.

Ah, so they had planned more for this area? That would make sense, it's certainly weird that Yvel exists only to be a glorified transition screen between the White Tower and Yvel itself.Cullen wrote: ↑Tue Aug 27, 2024 3:18 am
I would like to take this time to point out that the Yvel Woods map is weirdly spacious, seemingly dedicating a large chunk of the Atlas page to an empty void. There are actually some areas to this map that are completely inaccessible unless you no-clip into them. I just thought that was interesting. (There's an Ace of Oblivion in one of the sections if you're curious)
Okay maybe I gave these heroes too much credit.Cullen wrote: ↑Tue Aug 27, 2024 3:18 am
Music: Dawn Encounter
Hello to you too, Dawn. Perhaps I shouldn't joke, this sounds pretty dire. Poor Droek. I guess this saves us the trip if nothing else.... is it just me or is there something different about Dawn here?
: "We have the Elixir! We only need two more keys and we can save King Richard."
Ak'shel is absolutely broken up about Droek's death, he's just good at hiding it.
We are faced with several choices once again. I see no reason to deny Dawn possession of her own key though, let's hand it over!

Jokes aside this is a pretty cool scene actually, wish they leaned into the idea of shapeshifting causing deception and paranoia more.
Honestly it would be really funny(though rude) for Scotia to straight up destroy the keys to Richard's shroud, thereby making her effectively unbeatable.Cullen wrote: ↑Tue Aug 27, 2024 3:18 am
It is worth noting that in the very first release of the floppy version of the game, handing the key over here actually made the game unwinnable. As mentioned previously, handing the key over means you need to find it in the final dungeon, but for the initial release of the game they just straight up forgot to implement this. Giving the key to Scotia caused it to disappear from the game altogether, rendering Richard's shroud permanently locked. You do need to free and cure Richard to defeat Scotia come the end of the game, so you'd be a dead man walking up until that point with no way of knowing it. The initial response was to accept save game mail-ins so they could train the key back into your inventory, and then every subsequent release of the game (floppy or CD) has the key appear where it's supposed to if you were tricked here. With that aside done, let's jerk Scotia's chain a little bit instead.
Quite funny how blunt Ak'shel is about the Gladstonians(save Baccata) being largely useless in this quest.Cullen wrote: ↑Tue Aug 27, 2024 3:18 am
"We will get Nathaniel and Geron's keys ourselves and save you the trouble."
It's not clear if Ak'shel smells something funny here or not, he's reasoning is kind of strange if he's completely unaware that this is an impostor. Come to think of it, what has happened to Nathaniel? We haven't seen him since the creation of the shroud. Oh yeah and Scotia gets mad again.
Smashing people with oversized magical hands tends to do that.
RIP Droek. Who knew having a wagon in the middle of enemy territory wasn't safe?Cullen wrote: ↑Tue Aug 27, 2024 3:18 am
Alright, we're back at Droek's wagon. Fingers crossed he's okay and that Dawn is still here.
Music: Droek's Death (Shit)

Baccata always gets the best lines lol. Definitely the best character of this game.
Classic RPG heroes, always thinking about the phat loot.Cullen wrote: ↑Tue Aug 27, 2024 3:18 am
Ha ha Jesus Ak'shel. Can't even spare Droek a small eulogy before saying that? Anyway, Dawn's location is now up in the air. We've nothing to do but return to Geron and inform him of the bad news. I was on cloud nine when this update started, but now I'm just wondering how this day could possible get worse?
Welp that escalated quickly. Scotia isn't fucking around!
The momentous siege of Yvel, overcome by taking control of one passageway. Ah, video games.Cullen wrote: ↑Tue Aug 27, 2024 3:18 am
Remember how I made a point to mention there was a door directly south of the conference room when we first came upon it? As it so happens, this door is also situated in an alcove, making it a convenient spot to form a kill box for the initial wave of enemies. Being able to go in the door itself also has a critical use.
The Dark Army begins to pour into our kill box and for the next minute it is a flurry a lightning, fireballs, sword strikes and crossbow bolts! I blast and slash my way through about 15 enemies alone in this initial encounter. We need to kill A LOT of enemies before this battle in considered to be won. I'm not sure what the exact count is, but it's the most enemies that Lands of Lore ever asks you to subjugate at a single time, around 70 or 80 I think.
Or rather, by taking control of one house in the whole city.
Scotia is bad at sieges.
That's a shame. But hey, at least the spells look cool.Cullen wrote: ↑Tue Aug 27, 2024 3:18 am
Just for fun, I decide to start tossing out Hand of Fate spells since we more or less have the battle completely under control now. For his entire MP bar, Ak'shel fails to kill a single Great Orc. Now is a good time to remind you that Ak'shel's main thing is that he has the most MP of any character. In fairness, this would kill pretty much anything but a boss on Normal mode, and it is wasteful to use it on a single enemy, but still. Magic in the late game is insanely undertuned and you'd need to do tons of grinding to get the MP to cast the high end spells more than once, especially if you're not Ak'shel.
You know, that makes sense. That would also explain why one of her soldiers has a Vaelan's Cube - she figured out how to break the barrier and entrusted her soldiers with the appropriate tools. But they were just too lazy to actually get through before we arrived.Cullen wrote: ↑Tue Aug 27, 2024 3:18 am
You know, I've been meaning to mention. Remember in Update 14 how I said we were supposed to get ambushed by a ton of Great Orcs after visiting Vulture's Chasm? Yvel Woods becomes absolutely flooded by Great Orcs after that event, and I've always had this theory that the barrier to Yvel wasn't placed by Scotia but was instead erected by the Yvelians to keep the Dark Army out. If that's the case, then the brawl happening right now is kind of our own fault. I hate it when self-destructive stupidity is the only way forward.
Oops.
I love that he just knows this. Ak'shel, unrecognized master of Orcish battle tactics!
Geron is a complete waste of space. He really can't do anything right.
Or maybe that was Scotia, and the real Geron just showed up.
Hooray for getting to the endgame! Can't wait to see how it will go with the supposedly worst protagonist of this game!Cullen wrote: ↑Tue Aug 27, 2024 3:18 am
A few stragglers of the Dark Army occupy the area around Bruno's Lodge. We have a strict "Take no prisoners" policy, so I clear them out and post myself up in front of the lodge door. When we return, we will be entering the third to last dungeon, the Catwalk Caverns! We'll also be switching to our final champion, the canonical hero of Throne of Chaos, Kieran! He's tagging in for easily the most annoying and difficult section of the game, and since he's a low tier mess of a character we've got even more fun in store. I'm sure it'll be a blast.
I like how you know that Geron can't possibly be the traitor because that implies he would be purposefully useful to anyone, I've banged this drum enough but seriously what an utterly useless prick.
And yeah they overshot mp costs (or undershot spell damage, take your pick really) rather badly for this part of the game. Oh well, it's not like Ak'shel really needs anything at this point other than more casts of Heal 4 than anyone else, and hey now that Bacatta's achieved his final form maybe having Kieran around won't be that bad!
And yeah they overshot mp costs (or undershot spell damage, take your pick really) rather badly for this part of the game. Oh well, it's not like Ak'shel really needs anything at this point other than more casts of Heal 4 than anyone else, and hey now that Bacatta's achieved his final form maybe having Kieran around won't be that bad!
I've been getting the sneaking suspicion that the real problem with magic is that the game just ended up being much shorter then they initially intended. If you were able to get anywhere close to the level cap of 10 in an organic playthrough, everyone would have the MP to throw out powerful spells like Fireball 3 about a half dozen times. You come nowhere close to that, even with grinding, and as a result the end game magics are balanced around MP totals nobody in the game ever actually reaches.
Update 19, Cat Scratch Fever

I only promised this file would have a more inspired name, I did not necessarily say it would be clever.
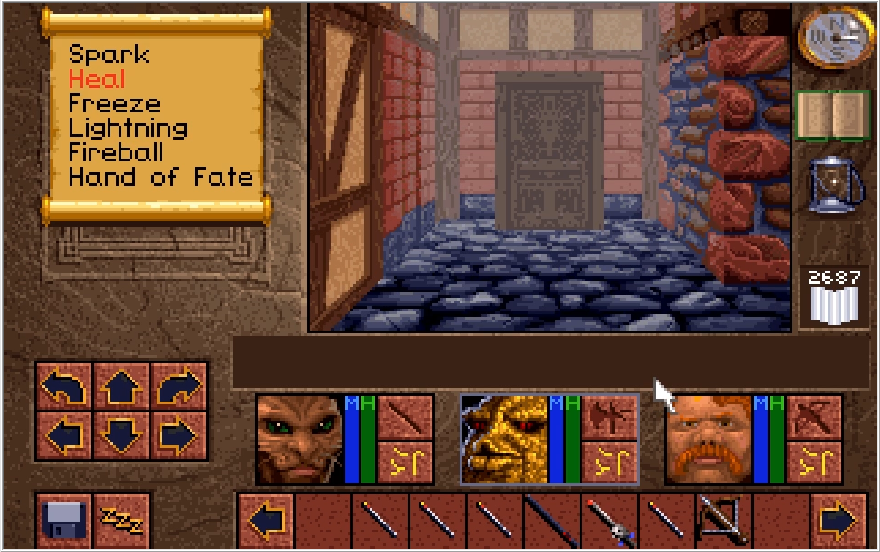
Last update, Ak'shel and his band of merry middle aged men fended off an entire army by themselves. Ak'shel has decided that was his breaking point and has left to do... something, I don't know any other Ak'shel's in media. Feel free to come up with your own head canon for what Ak'shel is doing now.
For the final act of the game, champion status has been bestowed upon Kieran! Not a moment too soon, as we're about to enter the Catwalk Caverns (Does this count as a micro-aggression?). Fun fact, as revealed in the sequel game Guardians of Destiny, Kieran is the canonical hero of the first game.
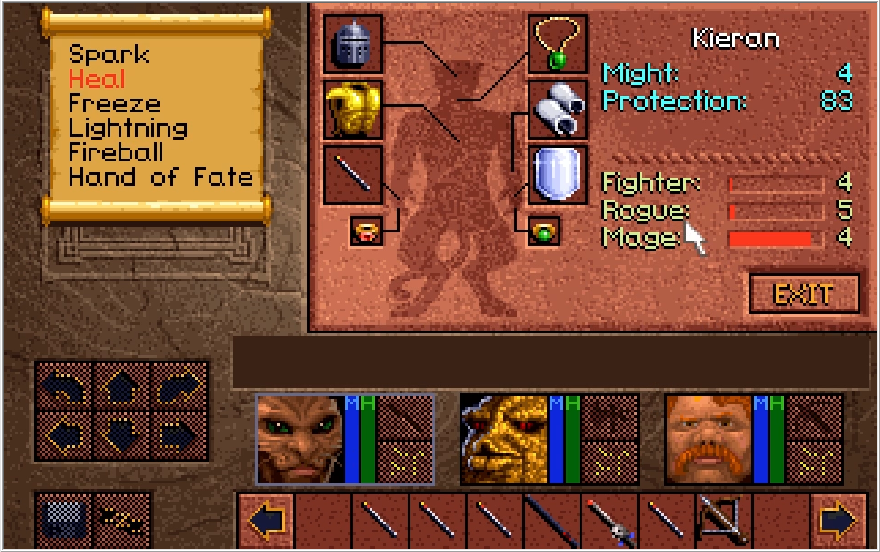
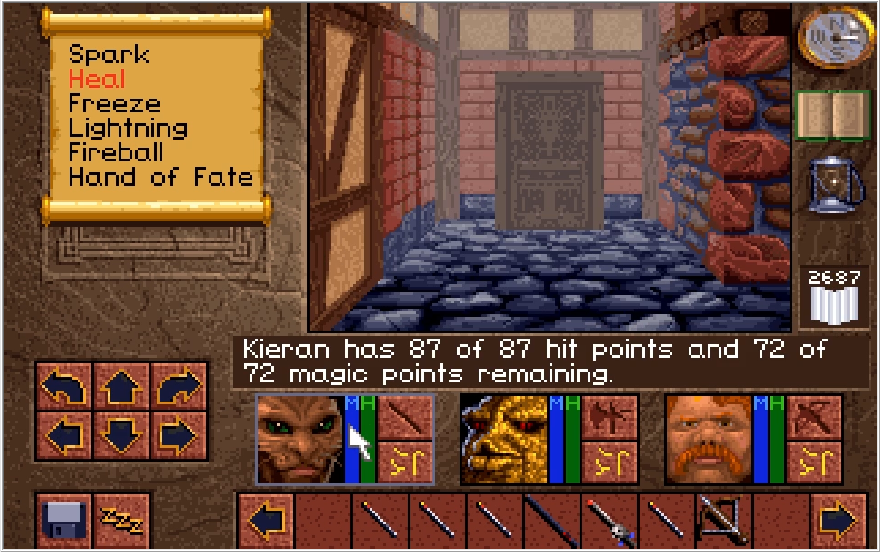
One can only imagine what the full story is there, as Kieran is quite bad. Going from Ak'shel to him, we've lost about 40 Protection and close to 30 hit points. Kieran's magic is also weak and grows slowly, so he can't cast many spells either. Kieran's main "perk" is that he has faster cooldown when he whiffs a strike (weapon only), which is phenomenally unhelpful. His Might is also god awful, topping out at a pathetic 52 if you give him the Great Sword Justice, though he at least seems to be more accurate than Ak'shel and his Fighter level grows faster. Things are going to be rough for the courageous catman, but with the Wand of Lightning at our disposal it should not be too bad. Oh yeah and Kieran can't wear shoes, so he loses like 8 protection from not having Dwarvish Boots. Whatever.
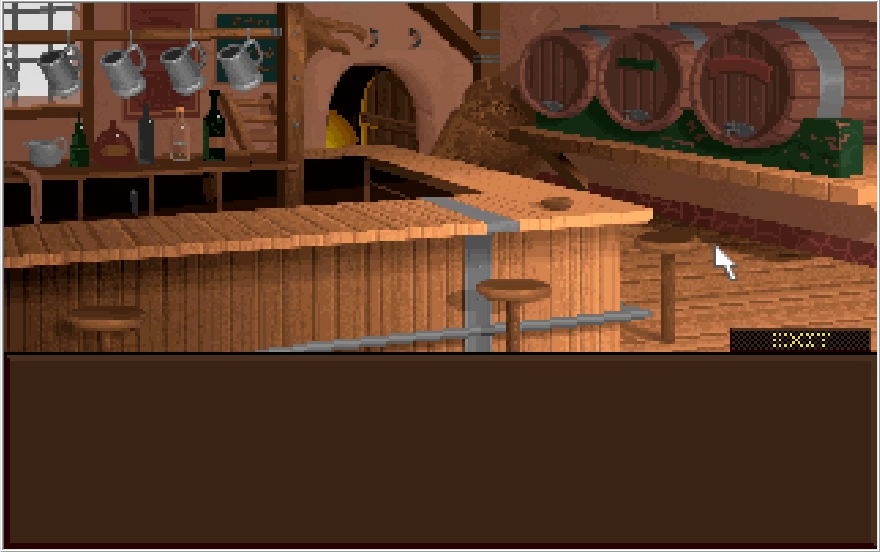
Entering Bruno's Lodge, we get a rather somber scene as it has emptied out entirely. This place was so lively before! Or as lively as a bard with 4 people in it can be anyway.
Nothing in here prompts a reaction from our crew save for the conspicuously open cellar door.
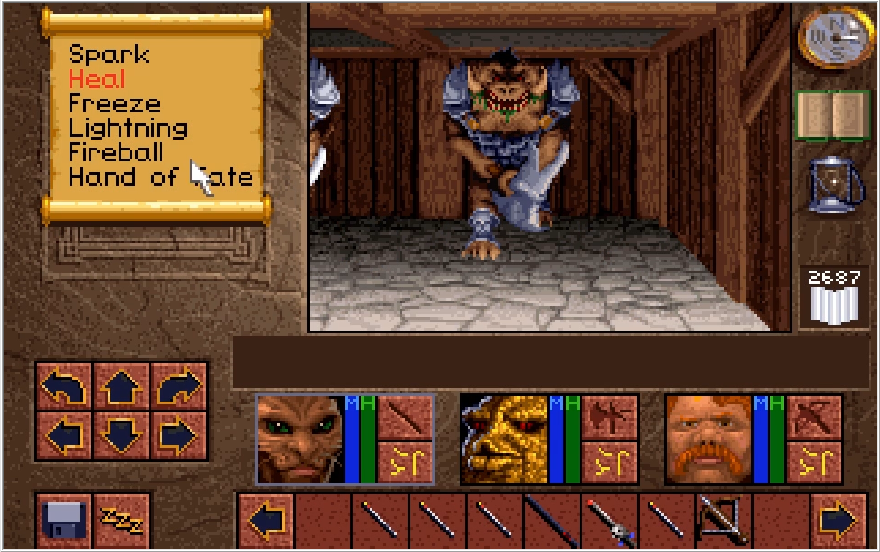
Clicking it dumps us in the basement where 4 Great Orcs proceed to bounce Kieran's ass around like he's a beach ball.
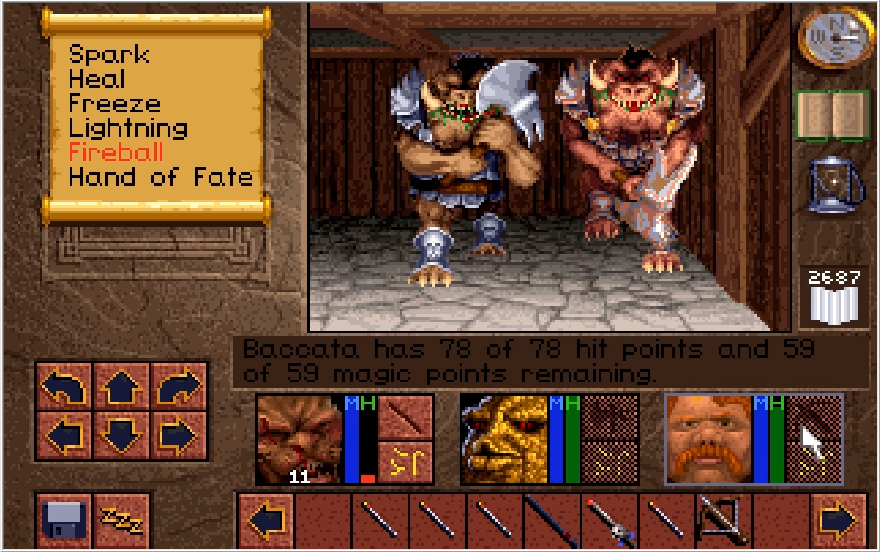
Kieran supposedly is more evasive than the other heroes, or at least that's how he bills himself. If there's any truth to that, it does not help nearly enough.
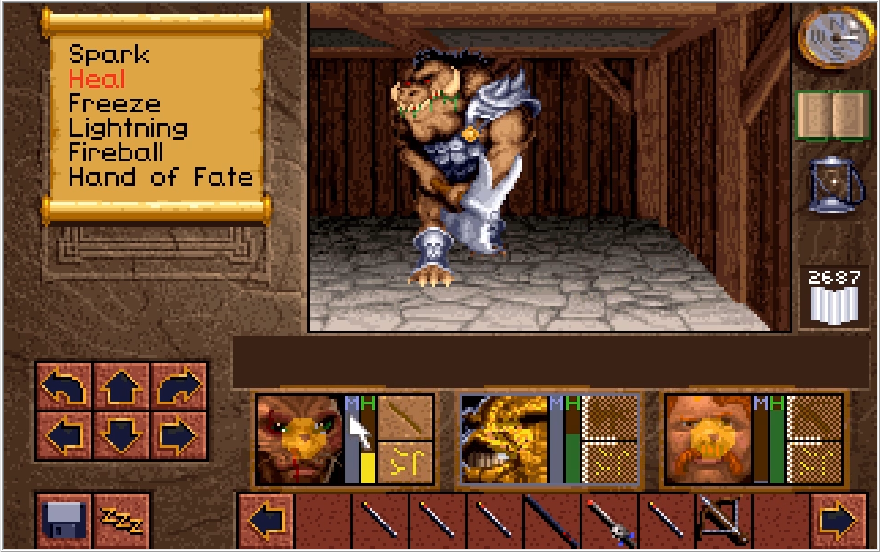
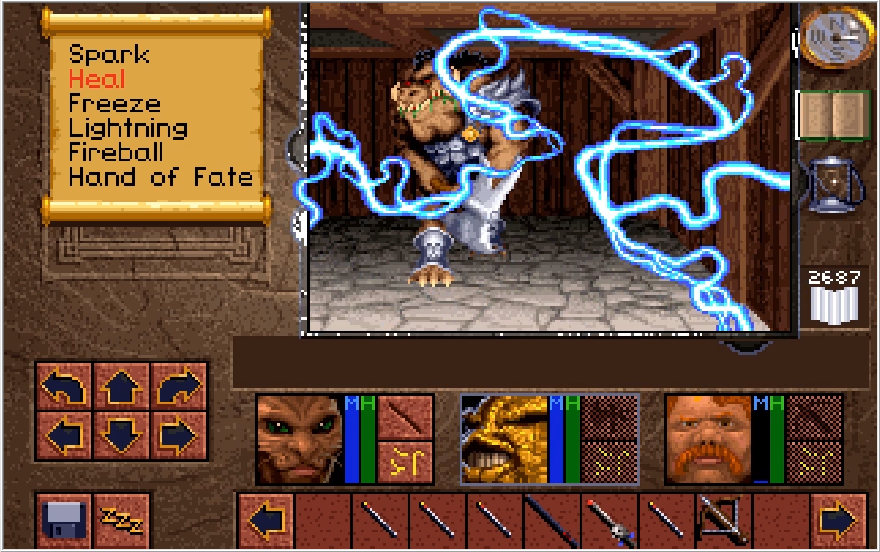
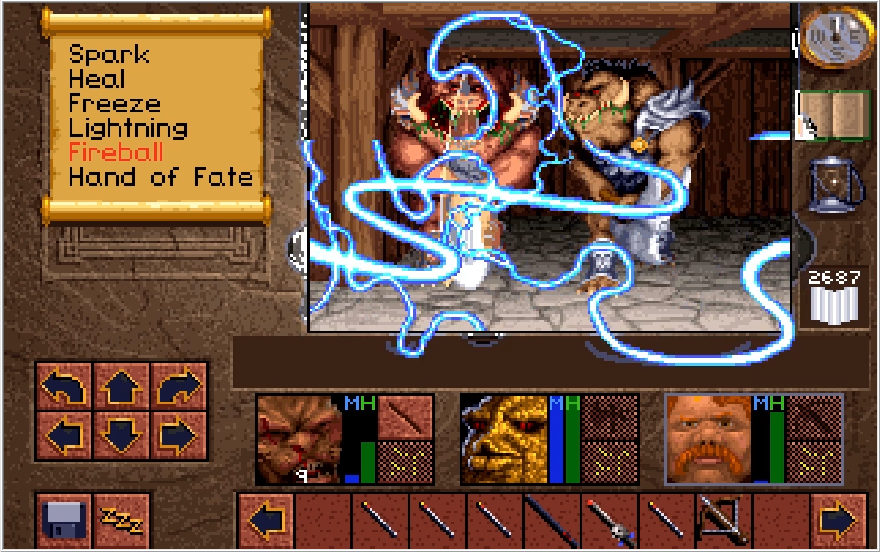

The situation becomes a little dicey, but we regain control and flash fry these roided out Pumba clones.
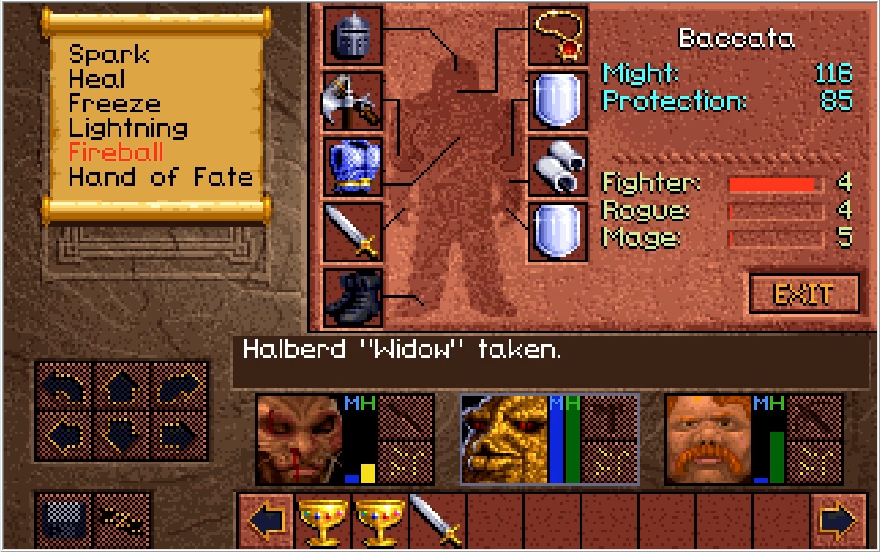
One thing I was doing slightly sub-optimally with Baccata during the battle of Yvel was keeping the Great Maul Thunder on him. Aside from having 25% chance of not doing damage, Great Orcs highly resist blunt type damage. Putting a Halberd alongside the Great Sword Justice actually wildly improves Baccata's damage against them, he can hit for up to 200 damage in one strike. That said, this is the last we see of Great Orcs, so now the Maul is just better.
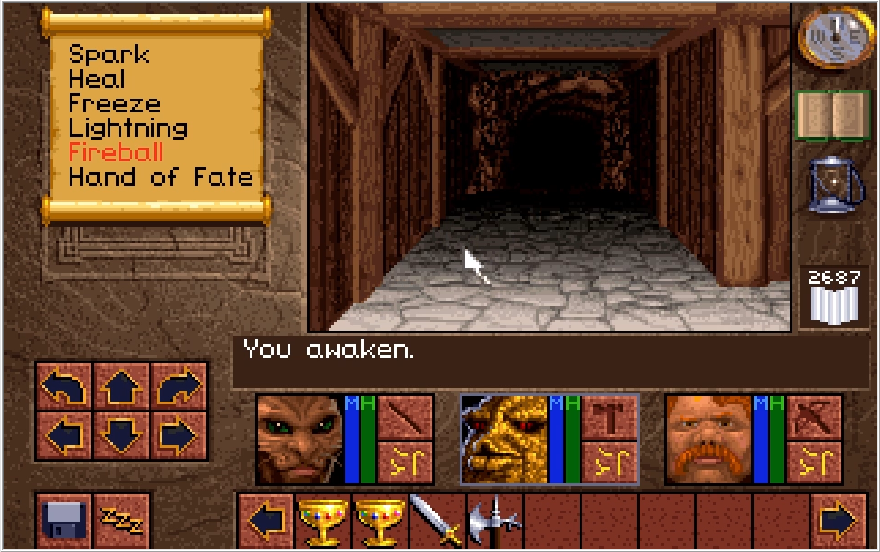
Once the Great Orcs are cleared, we can find a small button in the northwest corner of the cellar. Clicking it reveals the path to our next dungeon!
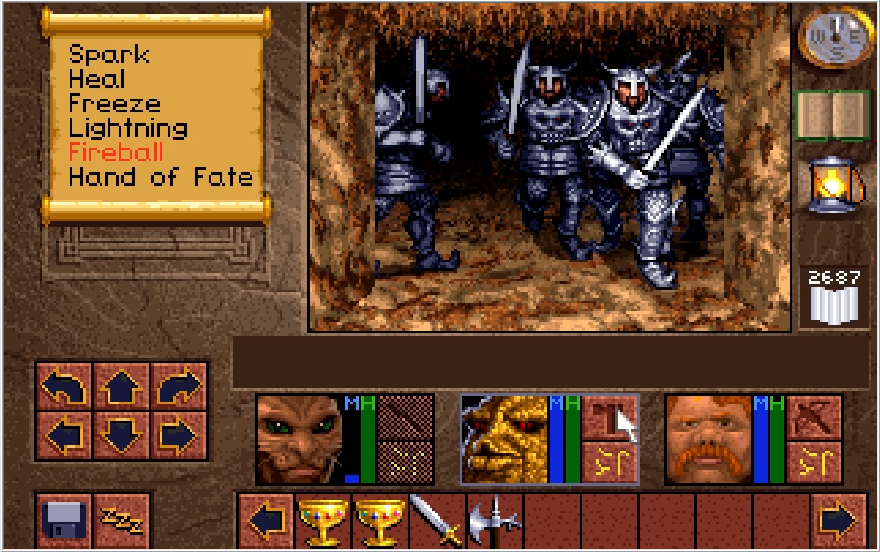
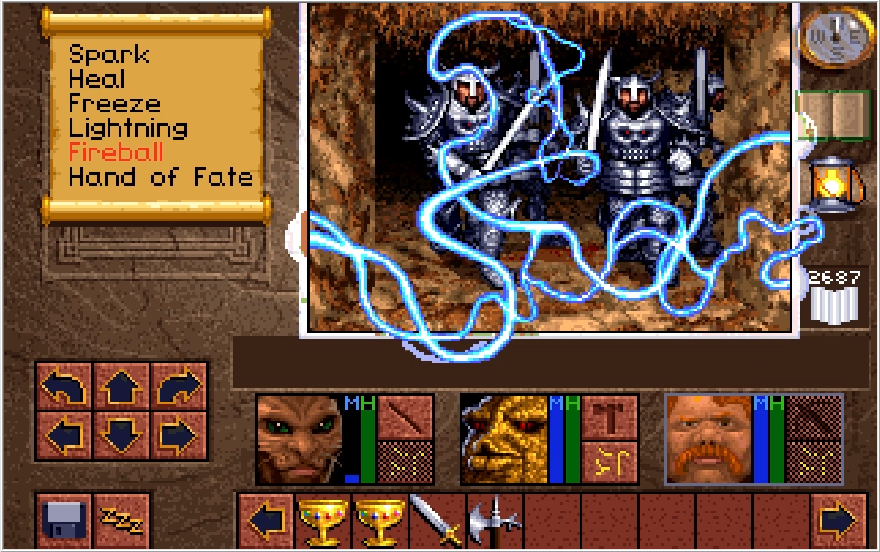
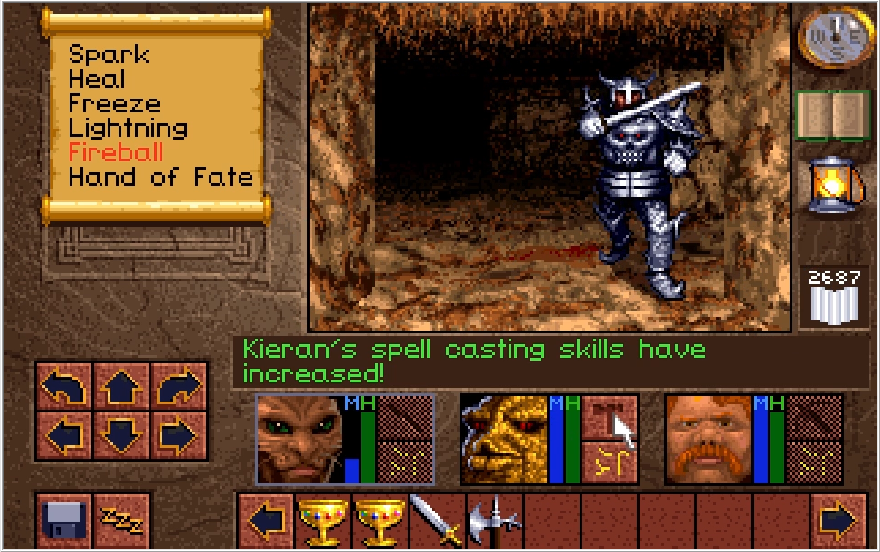
We're immediately aggressed on by a battalion of Cabal Warriors, but these guys are much less threatening than the Great Orcs. Kieran zaps a few and gains a Mage level for his troubles. There's about a dozen or so of these guys roaming the entrance of the Caverns, and they are little more than free EXP for us at this stage.
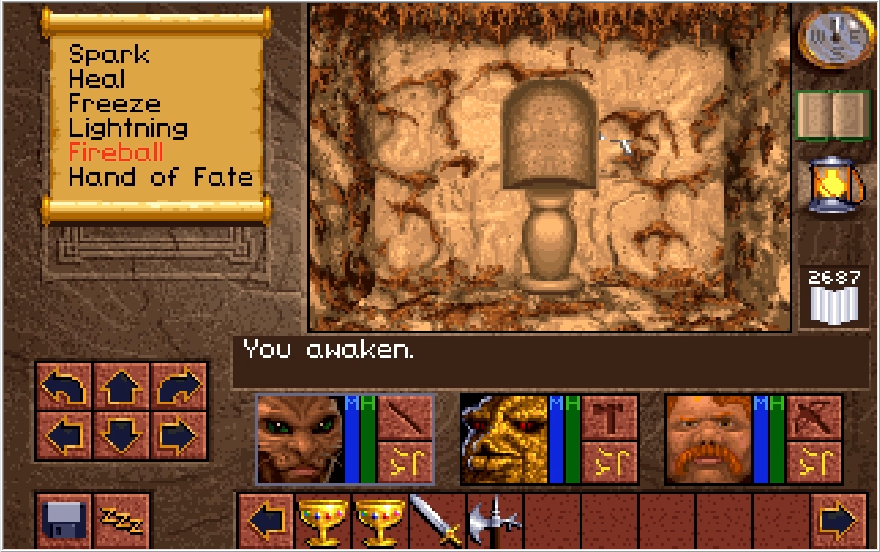
There's number of points of interest in the entry of the Caverns, the first of which is this pedestal. We don't have anything to place upon it quite yet, but keep it in mind.
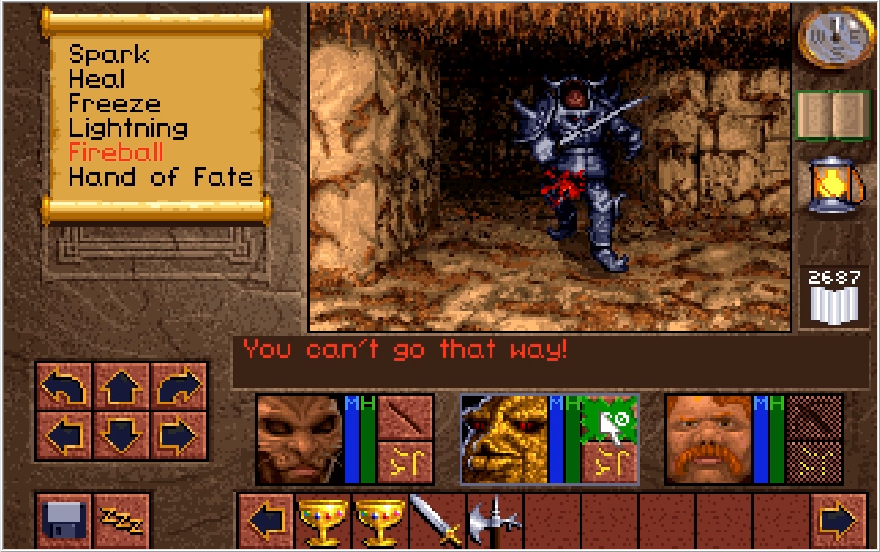
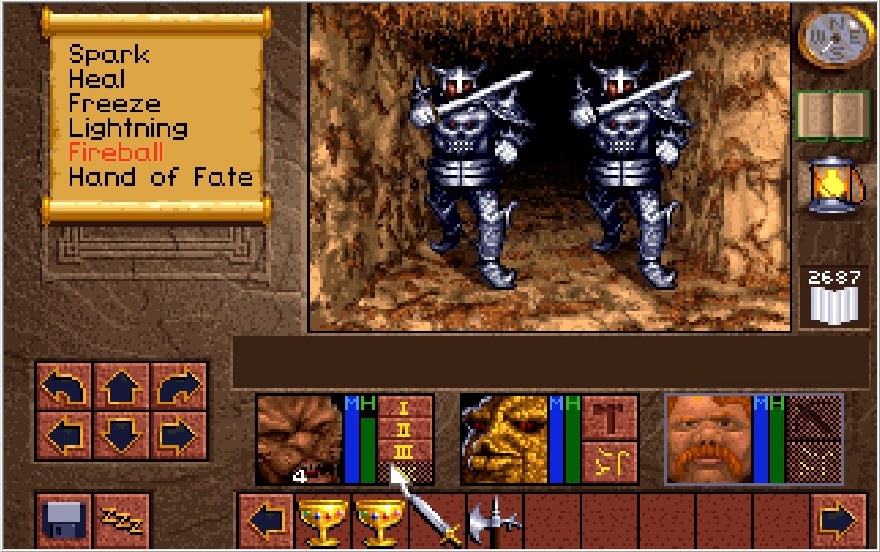
Past the pedestal is a handful of Cabal Warriors, but it otherwise looks like a dead end.
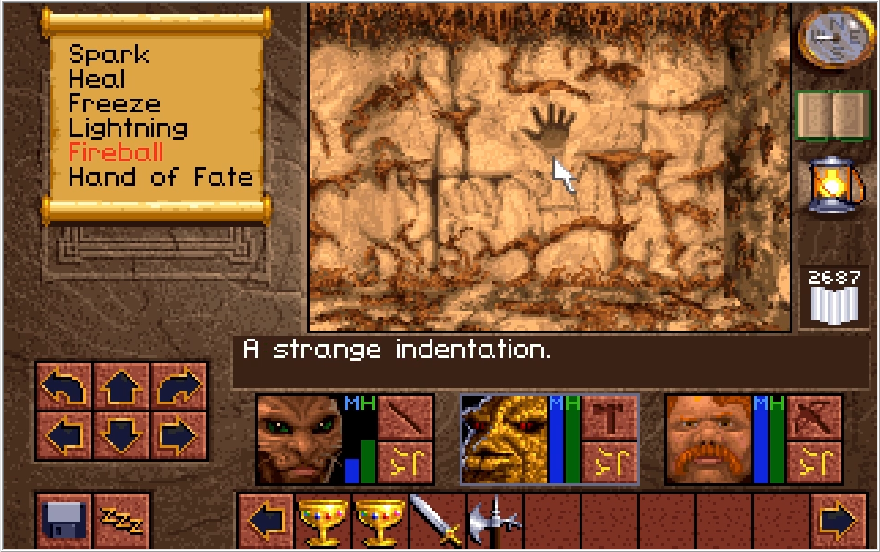
West from the pedestal at the opposite end of the cavern is a strange indentation. Looks like this wall could use a hand...
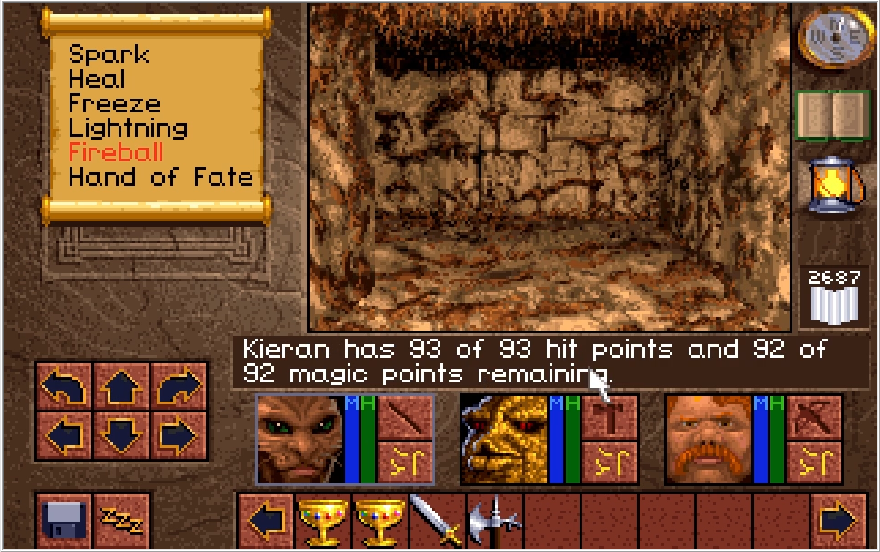
There was also a small corridor that I passed by to reach that indent, let's check out what awaits us around that corner. Oh yeah, and Kieran has 92 MP now, which actually is somewhat helpful.
Music: Commander Frendor
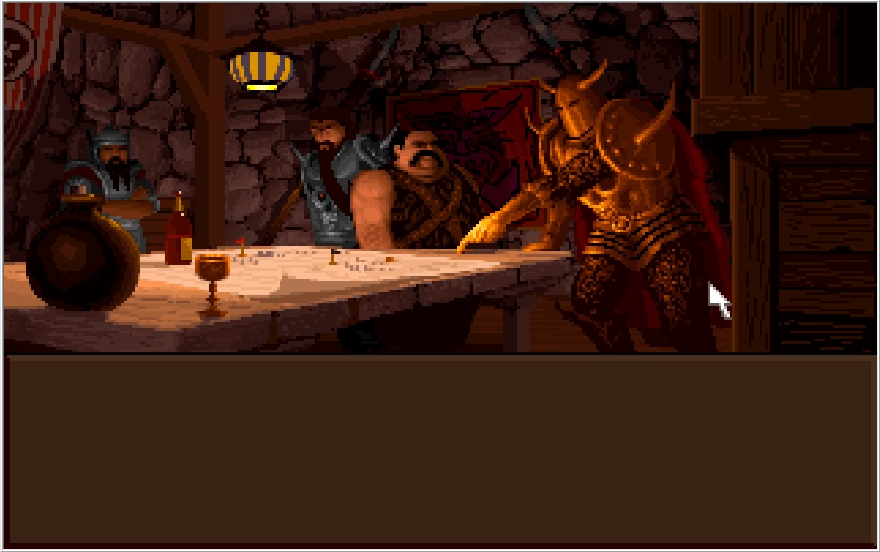

Wow the aesthetics of this place do not fit with the cavern we were just in whatsoever. Looks like we've got some more dark army soldiers and.... Victor!?!?
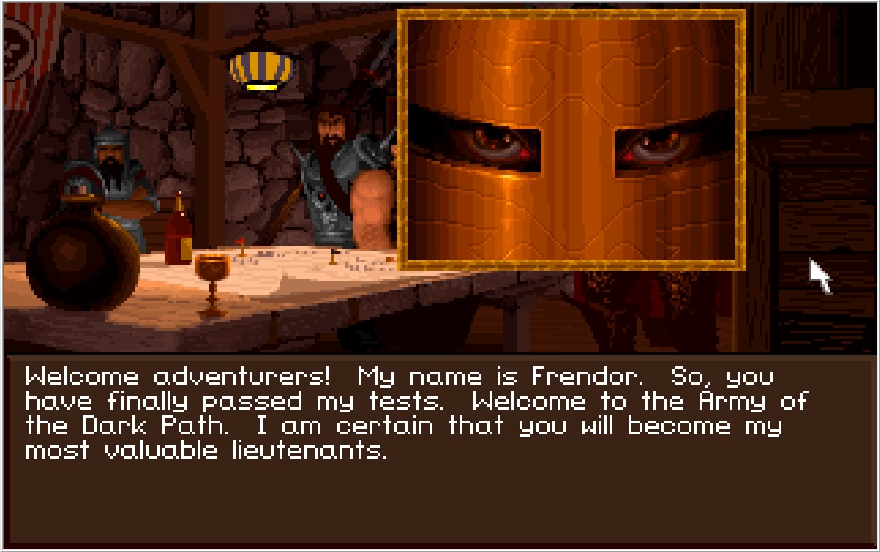
Before we can process that, Frendor butts in and welcomes us to theDark Army Army of the Dark Path. Frendor is the commander (I think?) and has the impressive ability to communicate only with his eyes. I'm not exactly sure what "tests" he's talking about, letting your entire army get butchered to recruit 3 guys seems like an inefficient plan. I guess he really believes in Quality over Quantity. Or he's just an advocate of Decimation.
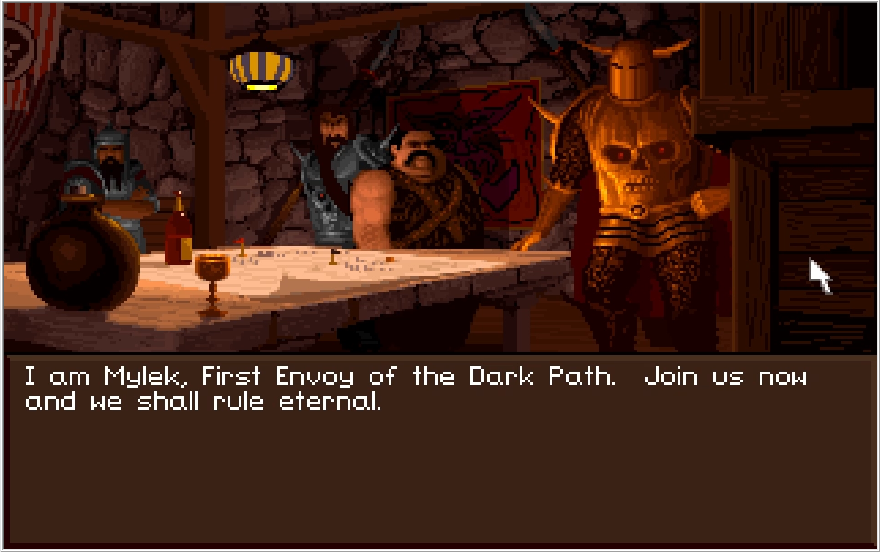
Mylek is the fellow to Victor's right. First Envoy is a flowery title, but since he doesn't have a higher res portrait I'm guessing he just works the mail room or something. The Viking looking dude in the corner of the room doesn't get to say anything at all.
Each of our party members drops a resolute refusal of Frendor, including Paulson who suddenly remembered he exists! I guess he did get another line in that I forgot. Kieran's making a good first impression, I admire his conviction!
So as it turns out, Victor was a traitor to the throne the whole time. He was not confident Gladstone could defeatThe Army of the Dark Path The Dark Army and he sold out the whole kingdom. While Scotia was able to take advantage of Geron's carelessness to poison Richard, we can assume Victor was the one who opened the gates for the orcish hordes to destroy the castle. Speaking of, it's likely Geron's general dickheadedness was a red herring to take suspicion off of Victor for the traitor reveal. We can presume the "commander" he spoke of when we first got to Yvel was Frendor.
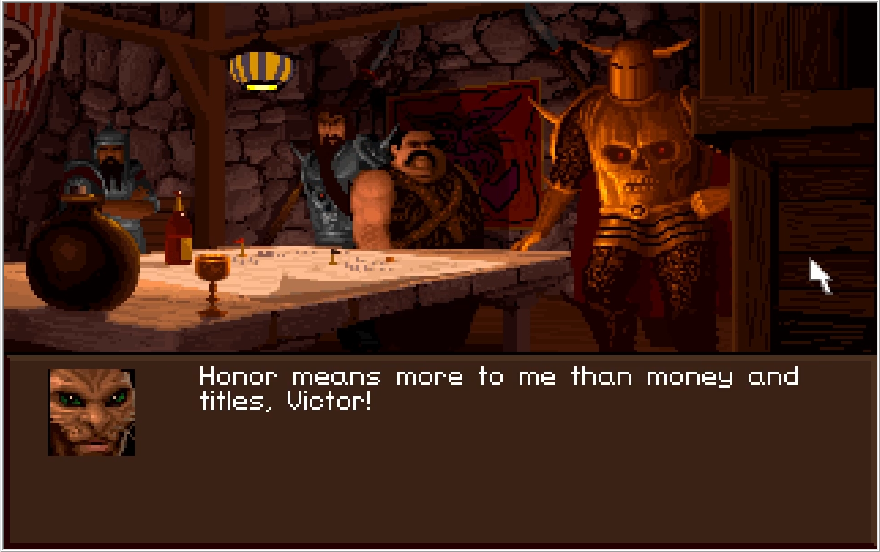
Spoken like a true hero!
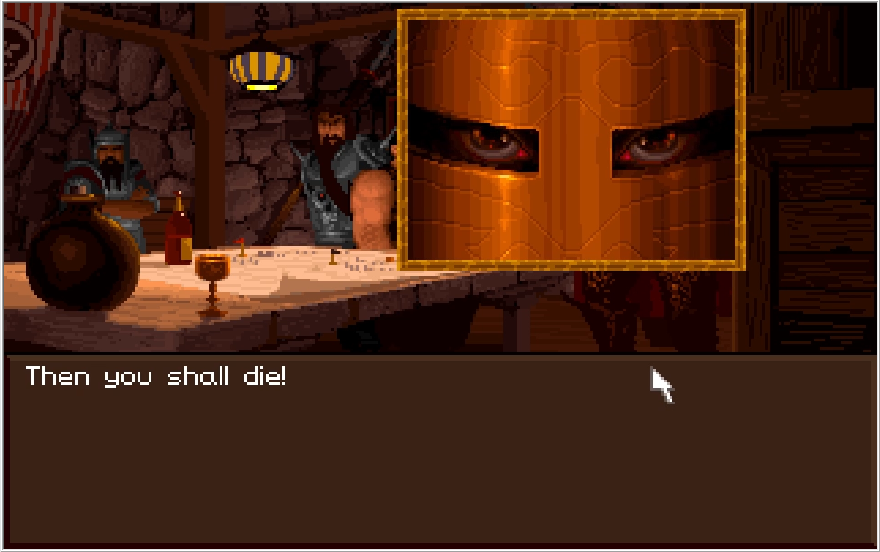
Frendor is salty. So I have a couple of theories about this scene, and I'll admit they're kind of tin foil hat style theories with no actual basis but I don't think they're completely impossible. My first theory is that this scene was meant to happen much later, after we had finished the Catwalk Caverns. There is something at the end that could conceivably serve as some kind of Test of the heroes for getting into the Dark Army and it puts us in Castle Cimmeria once it is done, which would be a much more fitting backdrop for this cobblestoned war room we are in. The other major theory I have is that this scene would have been the payoff for all the "evil" choices you could have made up to this point. Had you acted callous enough throughout the story, once you hit this scene you could renounce Gladstone and become a member of Scotia's army instead. There is nothing in the game to directly support this idea, but Guardians of Destiny does have a moral choice aspect with alternate endings depending on if your main character has been good or evil throughout, so it's not impossible they had the idea for that kind of thing while making this game and just couldn't do it justice at the time.
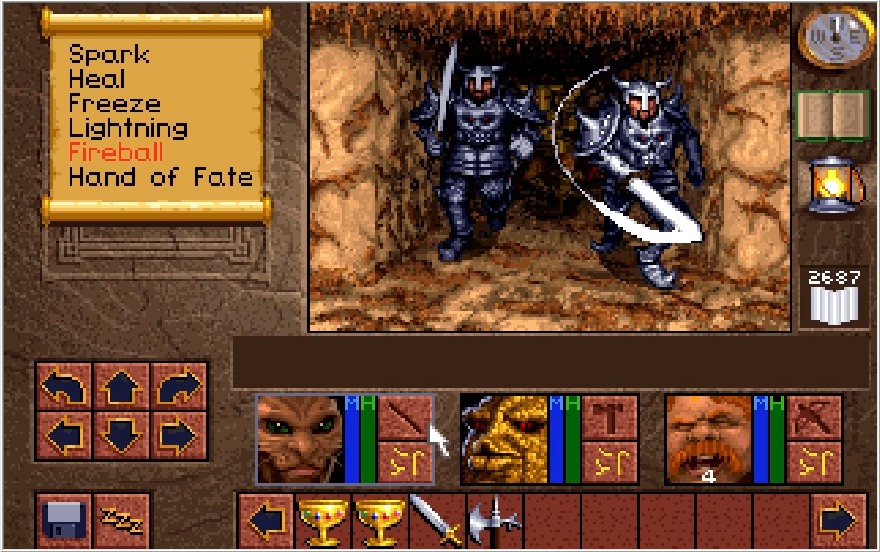
With that bit of conspiracy nonsense put out there, we get kicked out of the war room and find ourselves under attack by two useless Cabal Warriors and Frendor who's just awkwardly standing in the back. I'm guessing the front two are Mylek and nameless Viking. No sign of Victor.
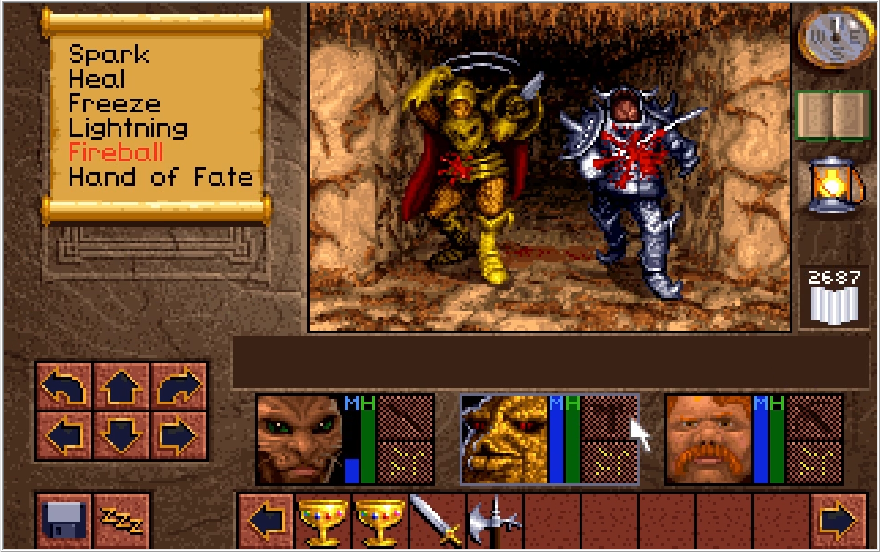
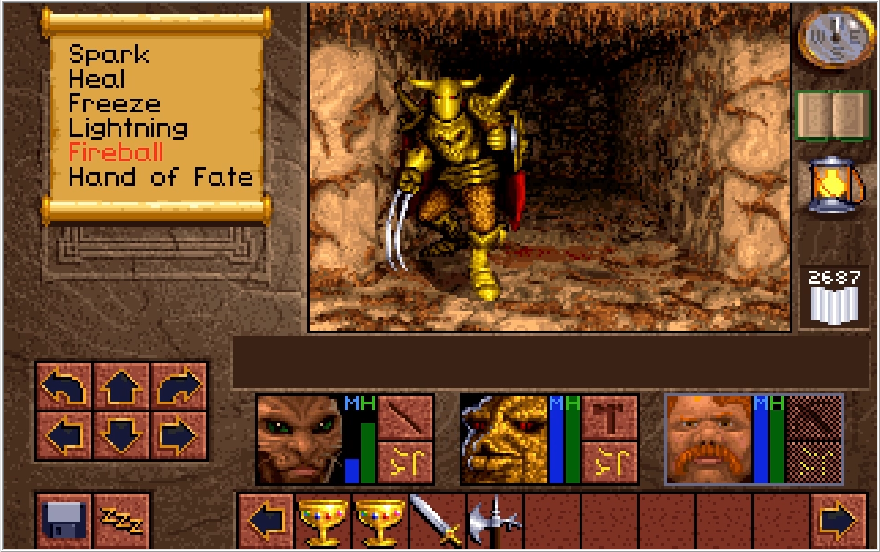
The Cabal Warriors fall quickly, leaving just Frendor to square off against our party.
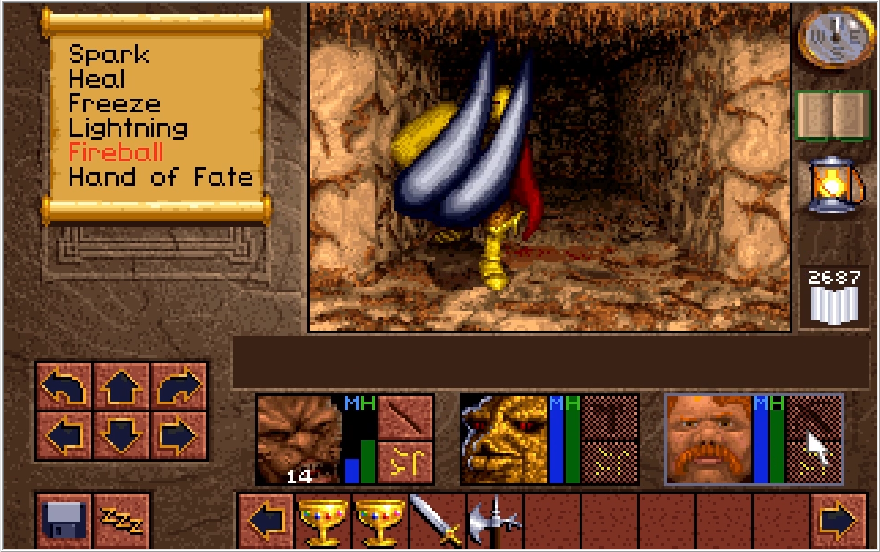
Frendor attacks by doing his best impression of the "Quieres?" meme with his claw.
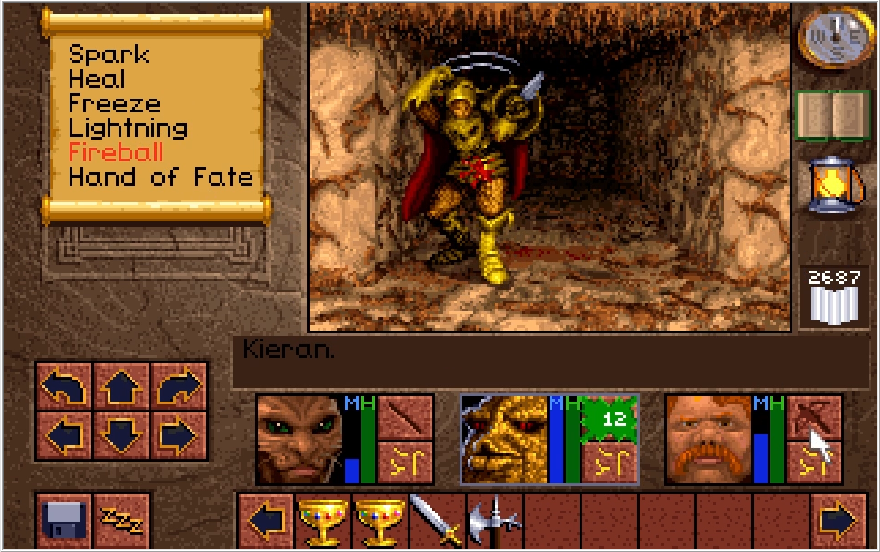
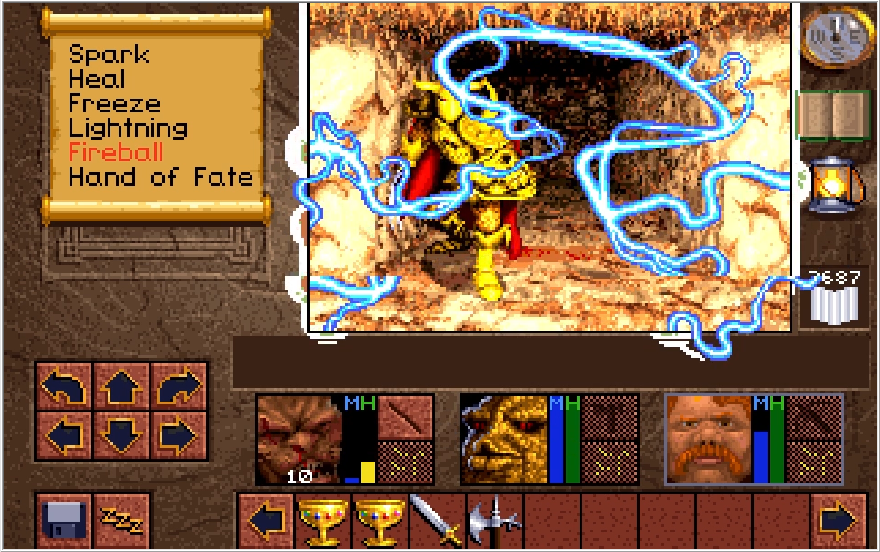
Frendor is fairly resistant to physical strikes, but he doesn't hit too hard himself and mostly just bullies Kieran while we shoot, slash, smash and sizzle him. Like pretty much all the boss fights in this game, there's about as much strategy going on as a Power Slap match and we hit with the strongest blows we can muster until Frendor falls flat.
Was his Frendship worth it, Victor? Once Frendor is dead, he drops a variety of key items for us to loot.
The Dark Gauntlet is a key item that will be seeing heavy use throughout the caverns, as we need it for a number of locks going forward. There's one other special property to it we will be seeing in a bit.
The statuette is for the pedestal we previously passed.
Finally, we have Geron's key. I guess Victor was the one who snatched it in all the confusion, and had just gotten done handing it over to Frendor.
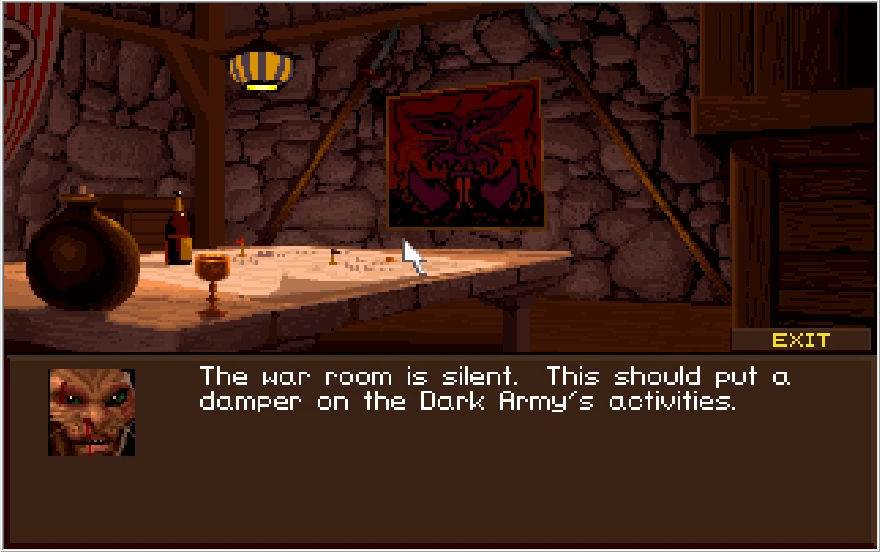
Strangely only the first sentence of this dialogue is voiced. There's nothing else that prompts a response in this room, Kieran says this for everything you could possibly click on. I'm not quite sure if the implication is supposed to be that we killed Victor here or that he merely fled during the fight, but regardless we never see Victor again. If you hadn't bought the Great Sword Justice at this point, tough luck!
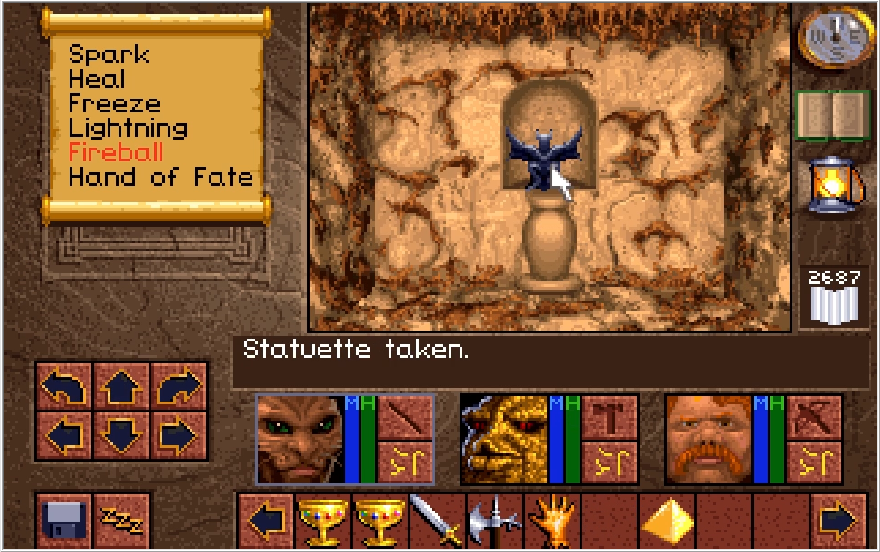
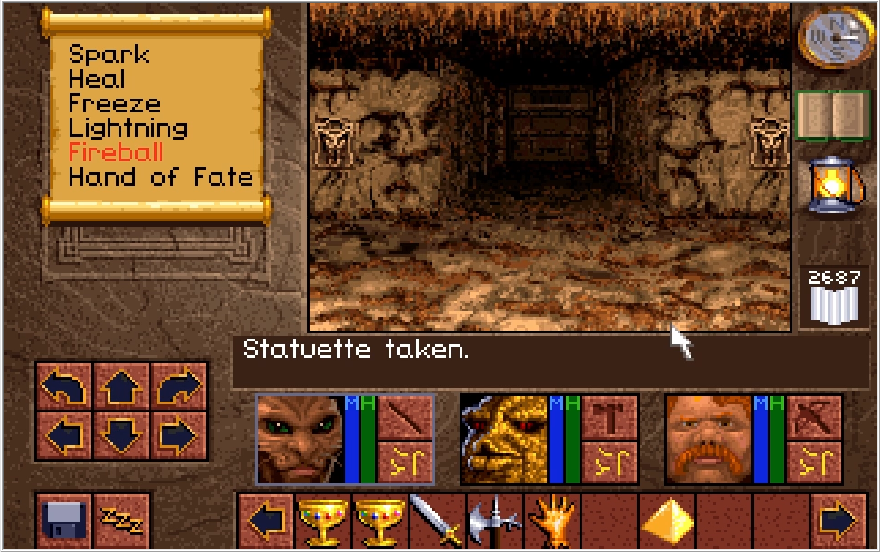
Moving on, placing the statuette on the pedestal opens up a room to the east with a door flanked by two locks. I like to imagine the party side eyeing Paulson as the feeling of deja vu sets in. Looks like we'll have to collect some keys. How unusual for the journey thus far.
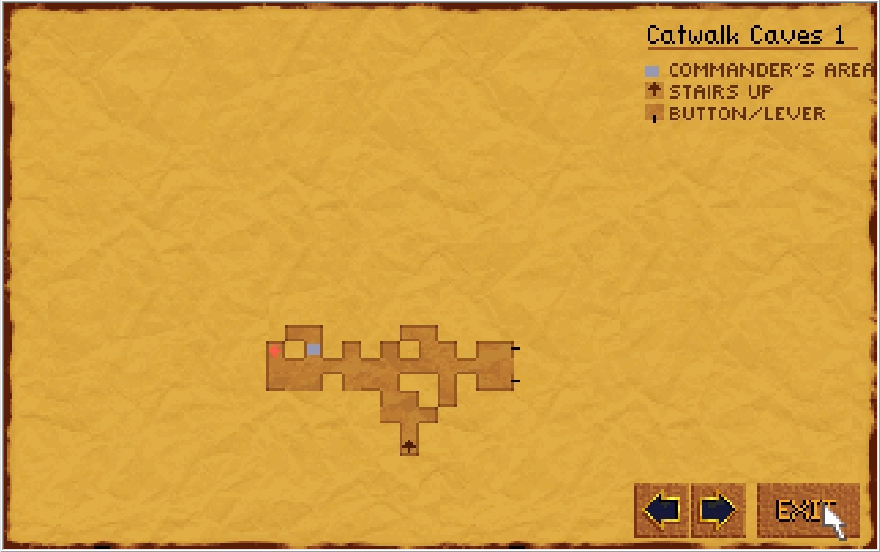
Nothing to do but return to that hand indent for now. For some reason, it isn't marked on the map like most locks usually are. This actually did cause me some confusion on my first playthrough, though not with this indent specifically.
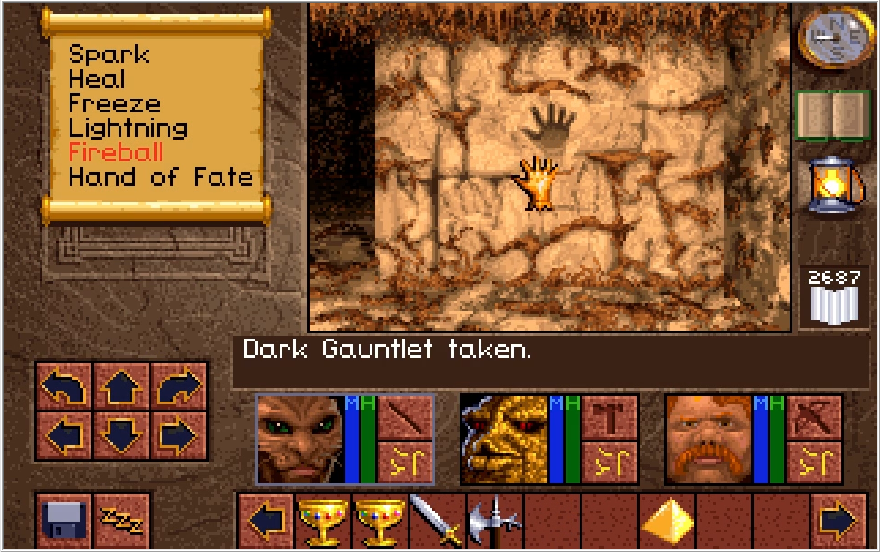
Naturally, the Dark Gauntlet fits the hand indents much like it fits our own handlike as a glove. Speaking of!
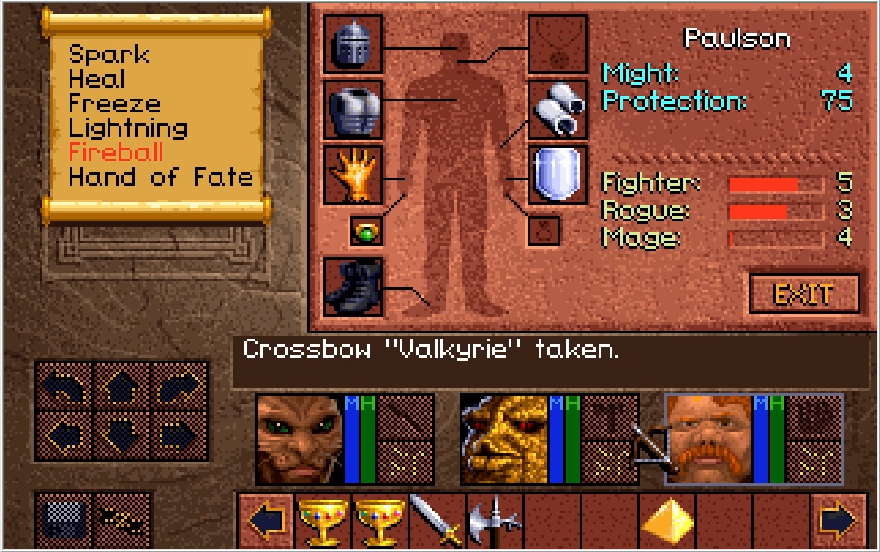
We can equip the Dark Gauntlet as a weapon! Although that might not be the best way to put it, as it can't actually deal damage. When used as a weapon, the Dark Gauntlet casts Hand of Fate Level 1, which can push enemies one space back though not damage them. This is mostly useless, but an optional puzzle in the caverns does pretty much require it.
Once you step through the opened path, it seals behind you. Looks like we're locked into our current course for now...
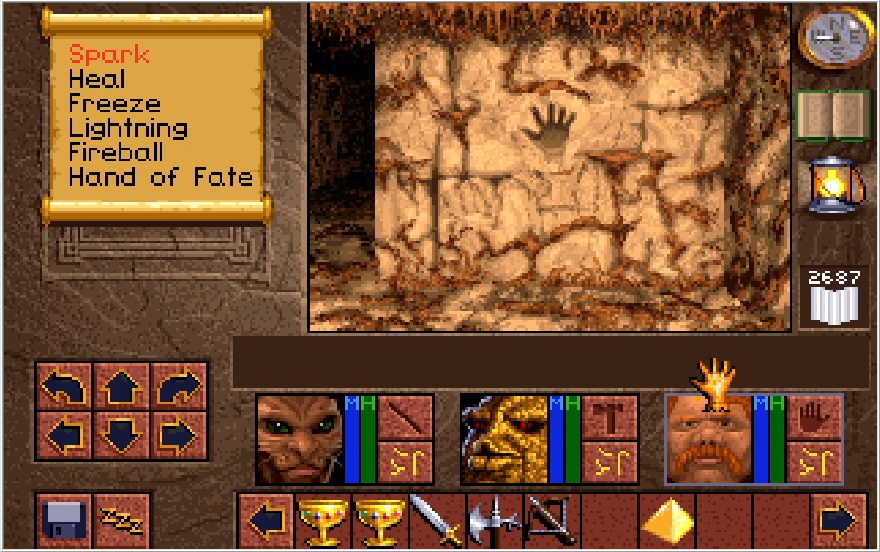
Winding through the hallway, we hit a room that has two hand indents in the corner, one on the north wall and one on the west. These indents open up separate paths deeper into the cavern, both containing a key we need to open that door from earlier. Incidentally, this is where I got confused on my first playthrough. Since the indents don't mark themselves on the map, I had no idea the North indent was there until I looked it up in a guide.
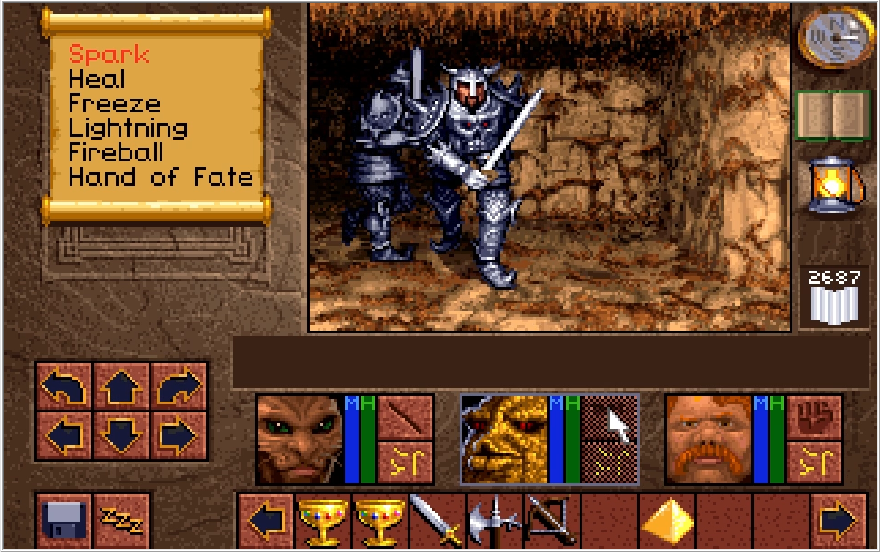
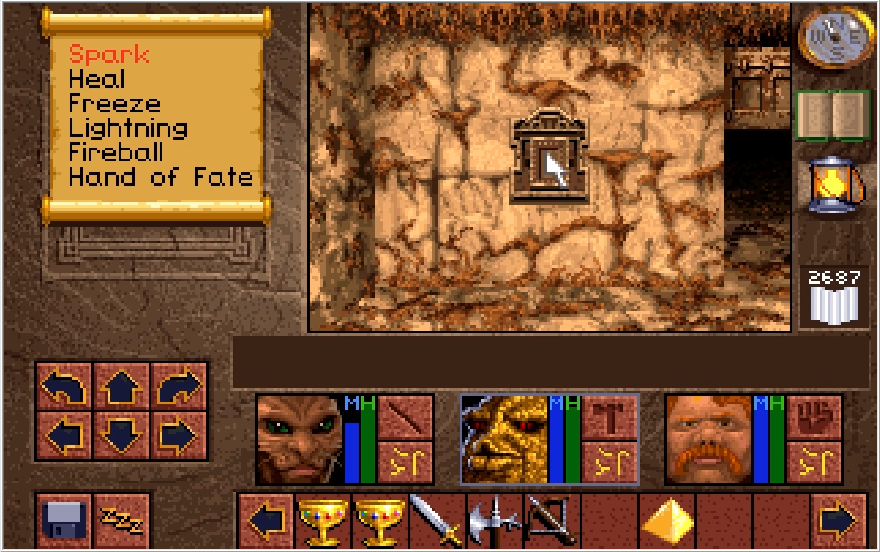
Like the previous indent path, you get sealed in once you step through the opening. Eventually both paths loop back to the cavern entrance, but we cannot retreat from the caverns until we fight our way through the entirety of our chosen path. Not that we'd have much reason to at this point. Cabal Warriors are stationed in the room our chosen path feeds into, but they aren't much issue. We open up the door at the end of the room and continue on.
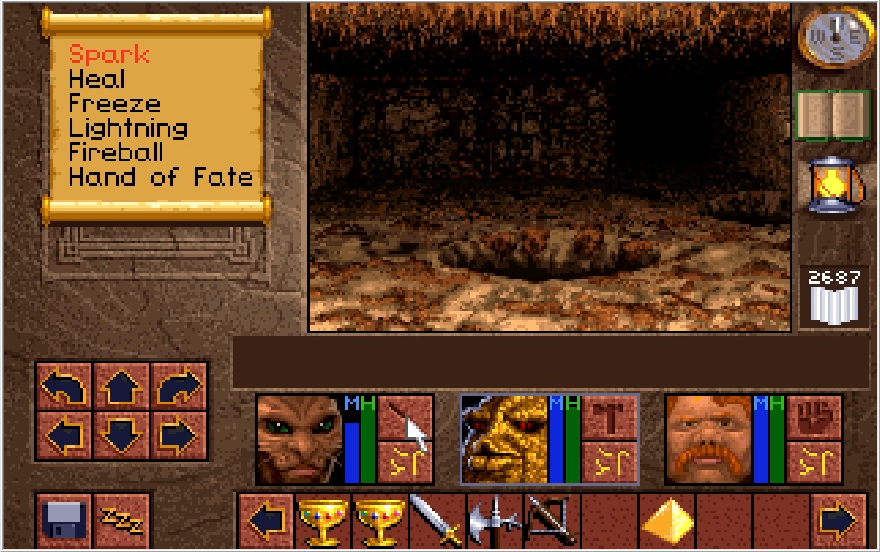
The door funnels us into a room loaded with pits. This is a very simple puzzle room though, we just need to hit 4 switches in order. Only one switch doesn't have a pit in front of it right now, and each switch you hit removes the pit blocking the next switch you need to flip, so you'd have to try pretty hard to screw this up.
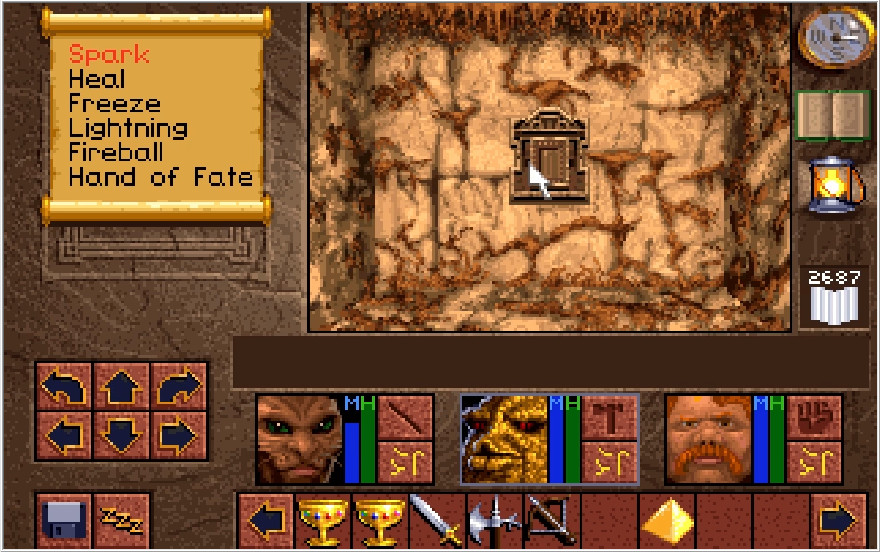
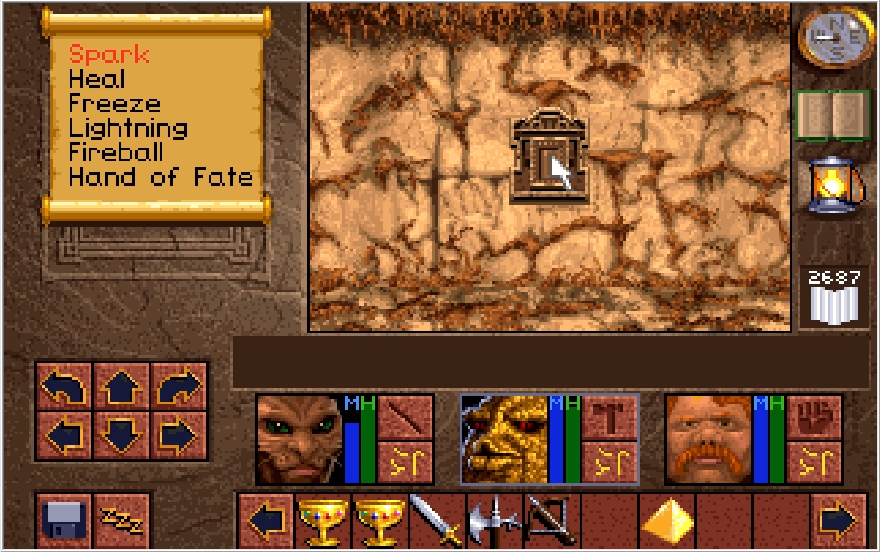
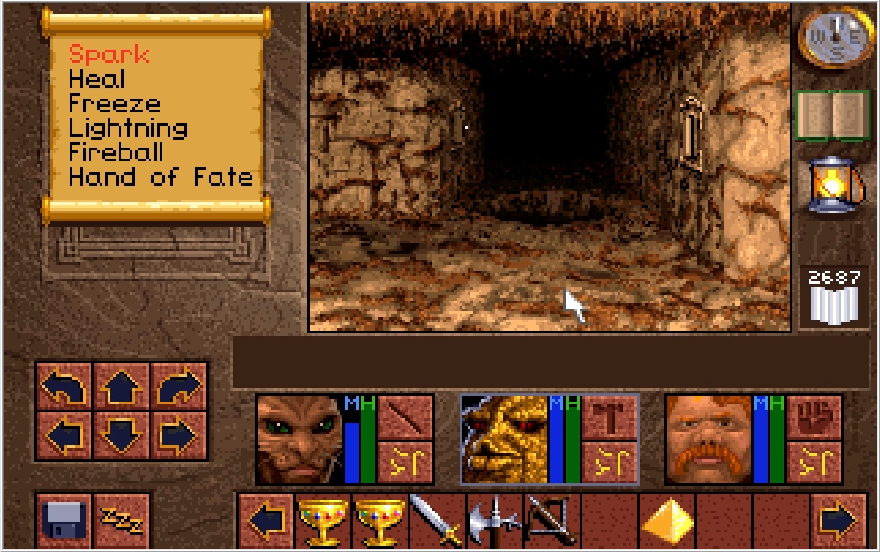
I go about hitting the switches when suddenly I'm blocked by an enemy. What's that? You don't see it?
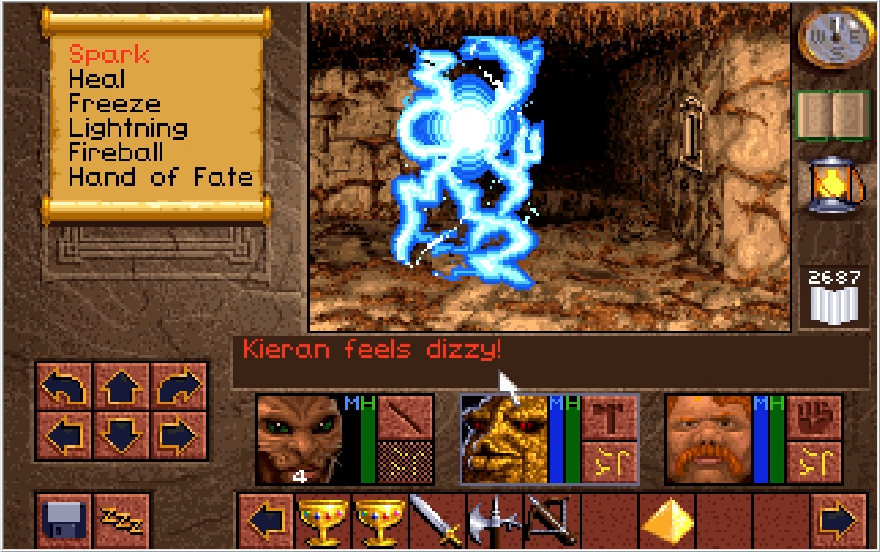
How about now? If you look really closely at the previous image, you'll see a tiny blue pixel a little bit up and left from the center. That is a Necrosap. These annoying little bastards don't hit too hard... against your HP. When they do decide to Sap you though, the targeted character loses their ENTIRE MP bar. What's more, they are immune to weapon damage and most spells save for two, so you can easily find yourself trapped with no MP to attack them with, which is a slow burning Game Over if it happens. The spells that work on them are pretty counter-intuitive.
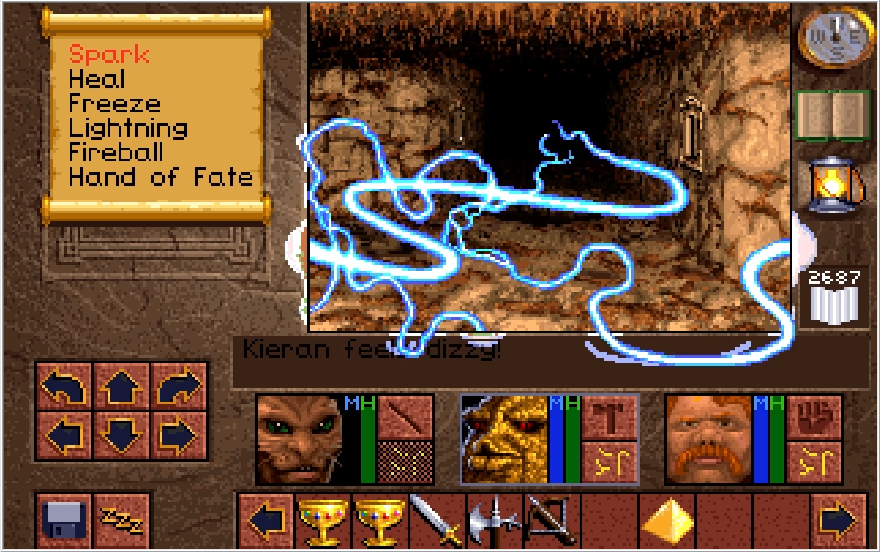
Despite seemingly being electrical creatures and making distinct sparking noises, Spark and Lightning are the only spells that work on them. Overloading them I guess? With the Lightning Wand equipped, these guys aren't much of a problem. If you don't have that though, then be very careful and save frequently. You do not want to be boxed in by these guys if you have no MP!
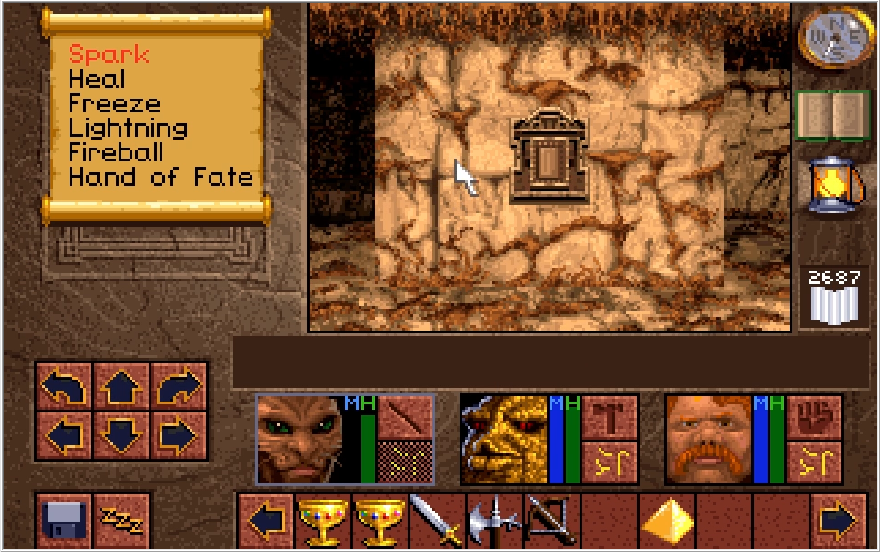
Continuing on, I hit the rest of the switches and make my way forward, blowing up some more Necrosaps along the way. Be sure to rest after every encounter if you don't have the Lightning Wand, you WILL be losing all your MP on at least one and usually two characters when fighting these things.
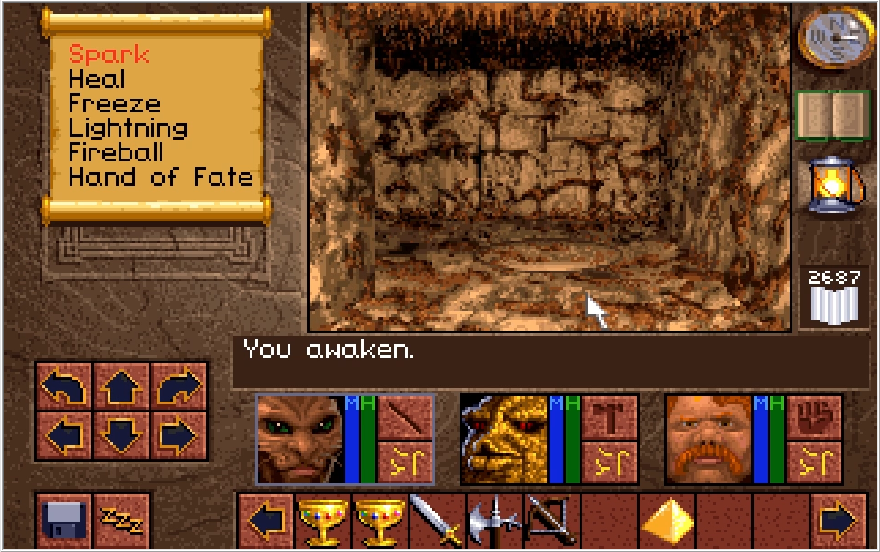
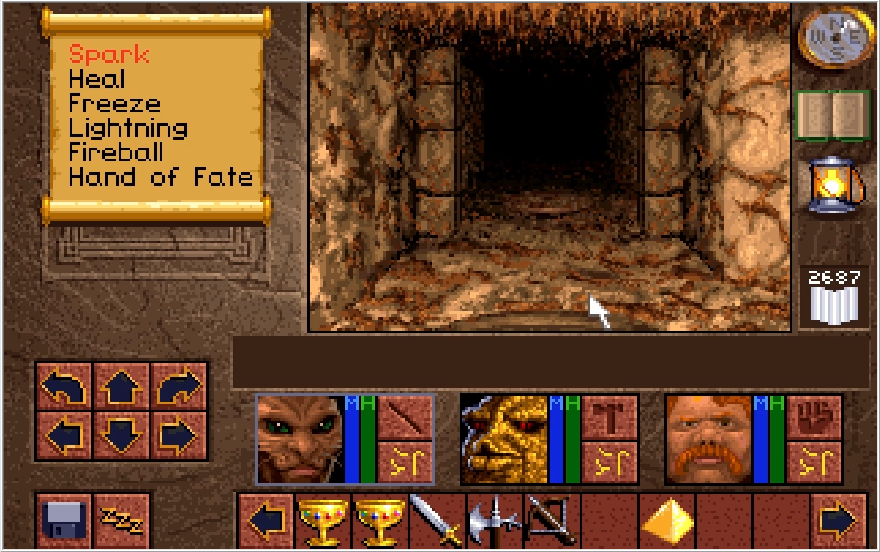
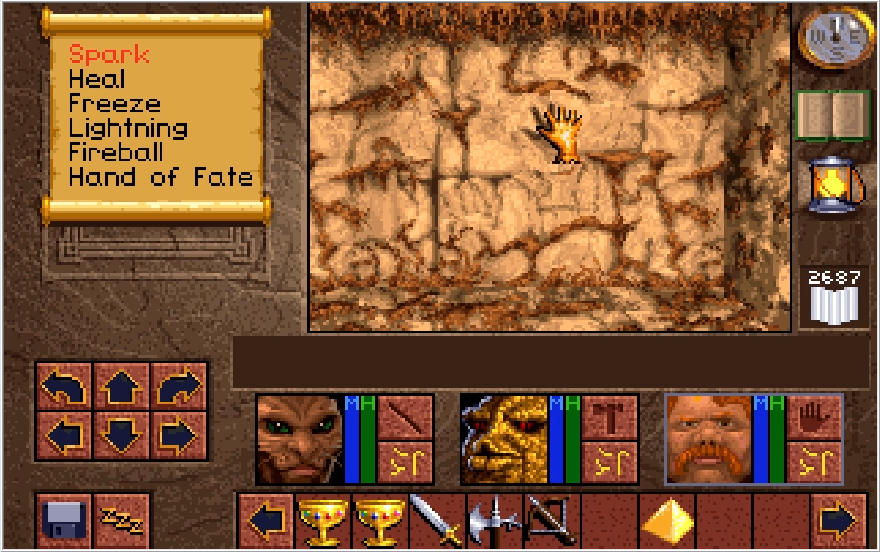
Yet another winding hall in the endless ocean of winding halls we've seen up this point. This one's a bit weird, pressure plates dotted along the hall open up the door in front of you, before you come across another plate after going through the door that closes it behind you. You can just step back onto the plates you walked over to reopen the doors, so I'm not sure what they were going for here. Another indent awaits us at the end.
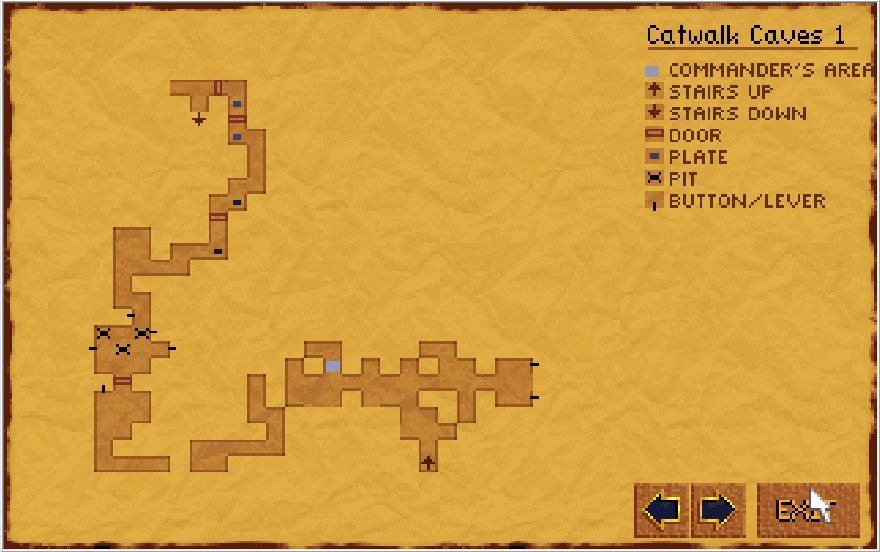
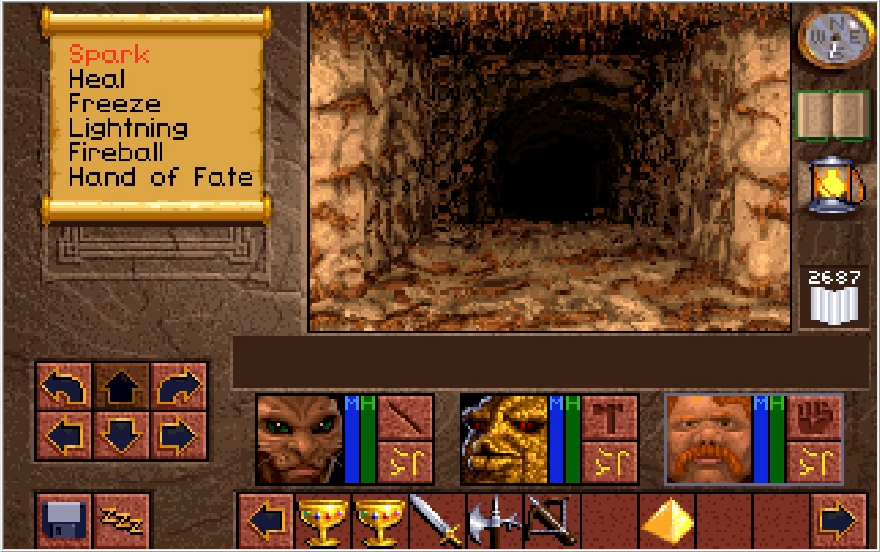
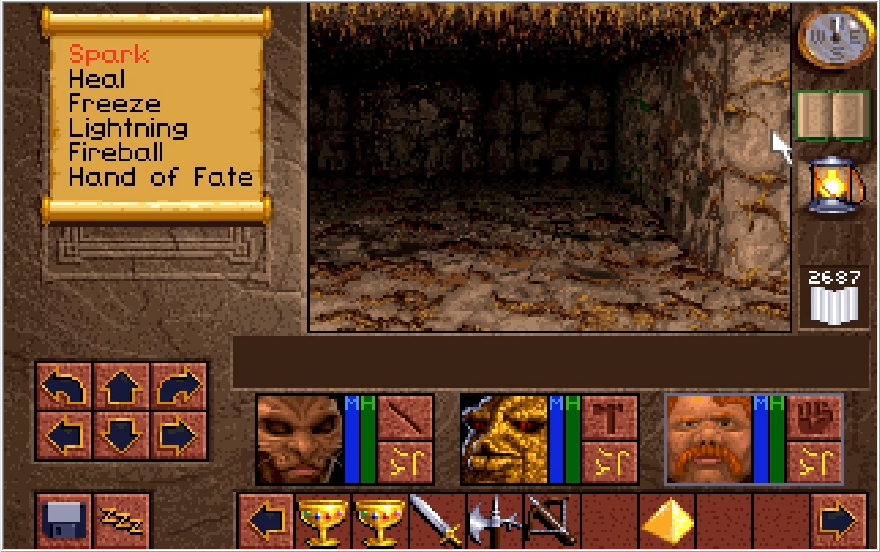
Heading through the path it opens, we find an entrance to the Catwalk Caverns Level 2. Level 2 in this dungeon has absolutely nothing in, it's purely a dumping ground for if you blunder into a pit carelessly.
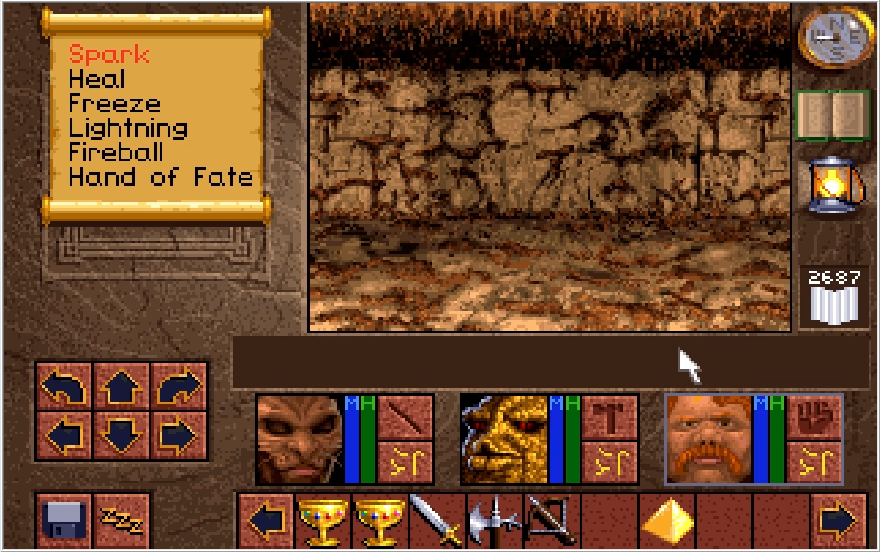
Returning to Level 1 and continuing on, we enter a wide open room with pressure plates running along the western wall. These ones work a little wierdly,
Stepping onto them causes a teleporter to appear.
Stepping off causes the teleporter to vanish, regardless of if you left anything behind to weigh the plate down.
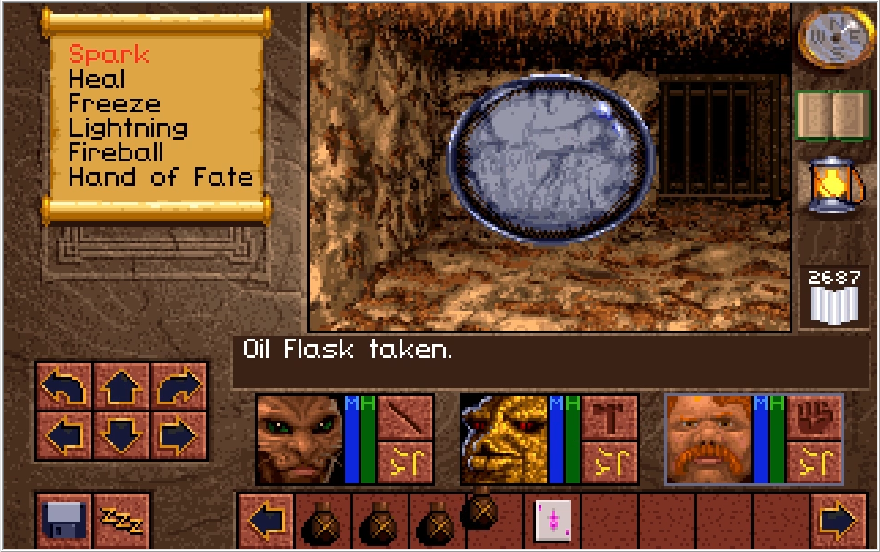
For some reason, the plate switches its state whenever any kind of weight change is made to it, regardless of logic. Thus, we have the odd occurrence where the plate presses in when weight is taken off of it. Scratching our heads over the bending of reality unfolding before us, we step through the teleporter. There is another plate-teleporter combo to the south, but that one just sends us in a circle. The north one lets us continue on.
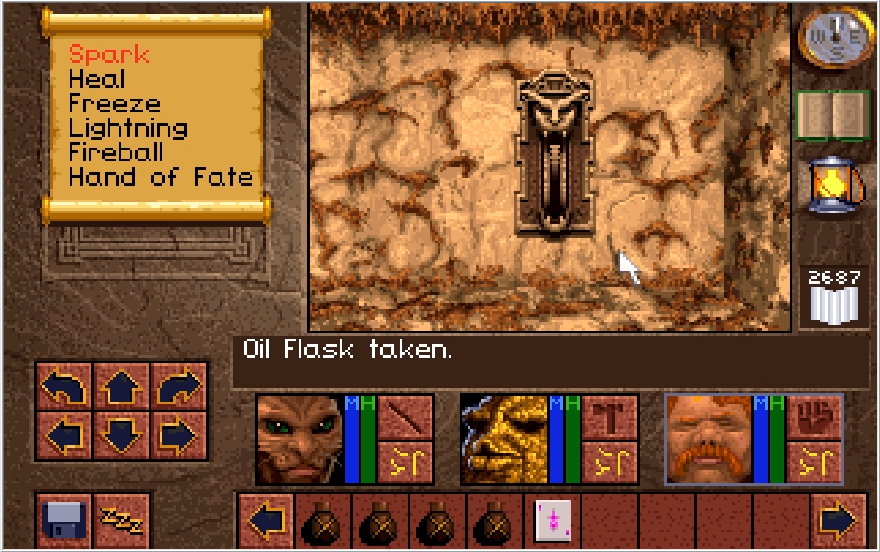
It plops us in front of a switch that rather uselessly opens up the door leading back into the plate-teleporter room. We can ignore that and just continue down the path to the west.
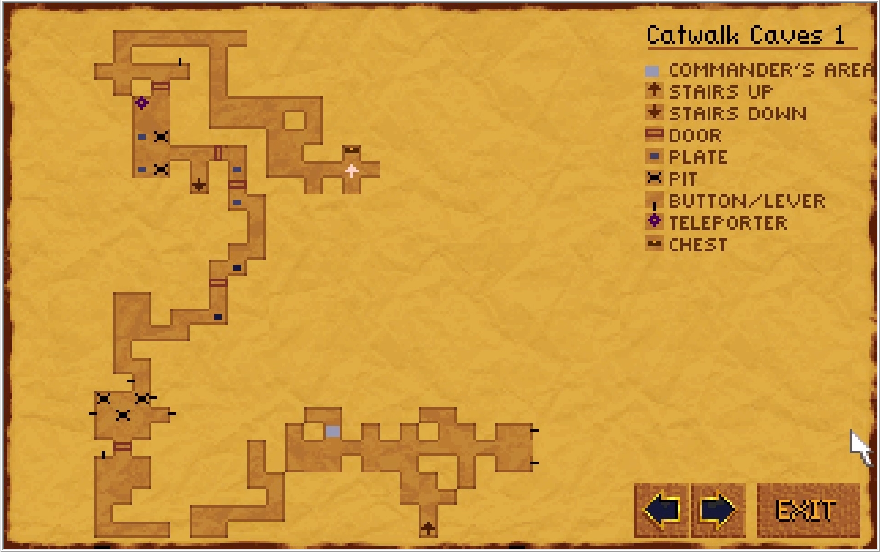
Following the hall along, we hit a fork in the path. We want to bear south first, which places us in front of a treasure chest after enough wandering.
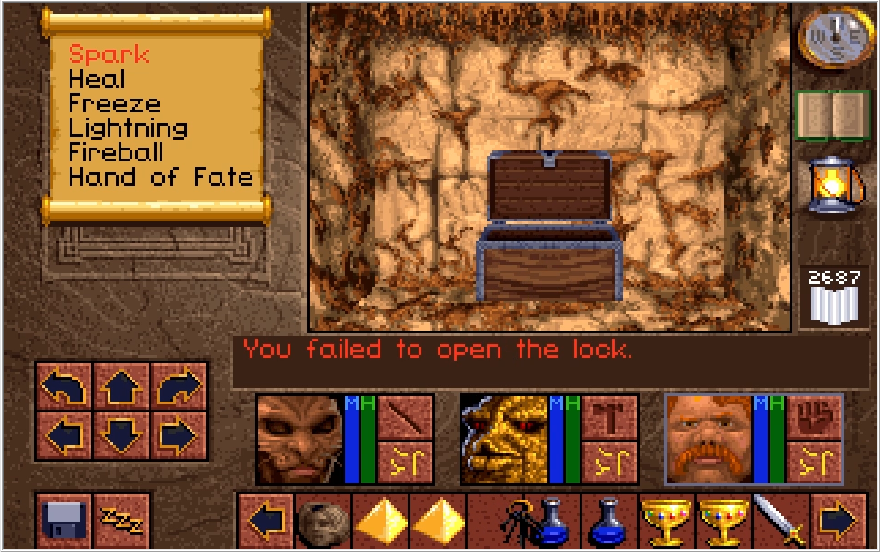
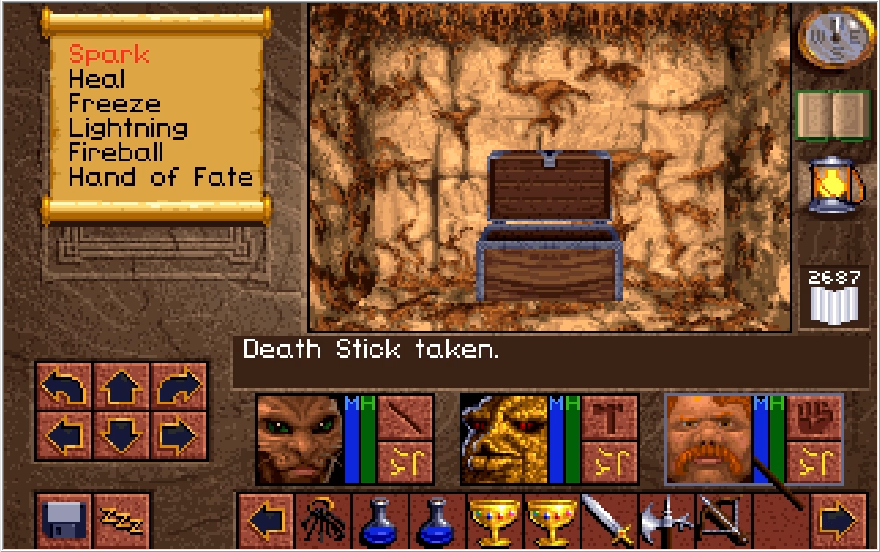
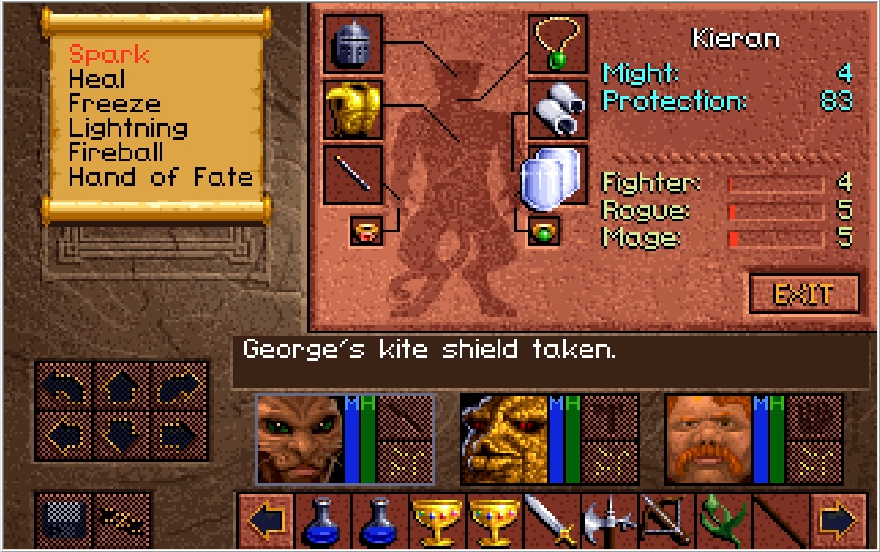
This chest has quite the haul of good and not so good items. For the not-so-good, we have the Death stick that according to the Clue Book has a 5% chance of dealing triple damage. Since it has a quarter of the Might the Great Sword Justice does, this is not much of an upgrade. We also get a random clove of Ginseng, which actually could potentially be useful to hang onto. For the good items, we get a Bannon's Reserve and George's Kite Shield. I have no idea who the fuck George is, but his shield takes Kieran's Protection from 83 to 85, so I guess I should give him a small thanks.
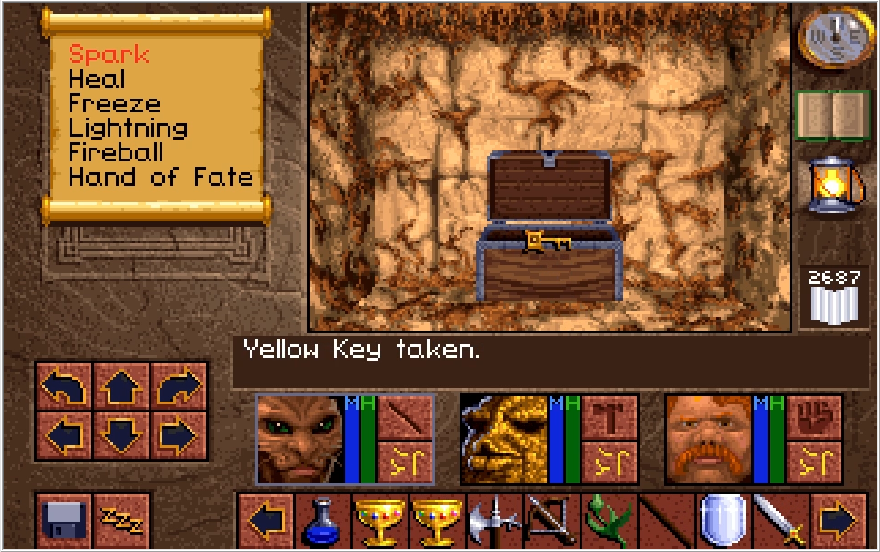
We also get a Yellow Key, one of the two keys we need for that door!
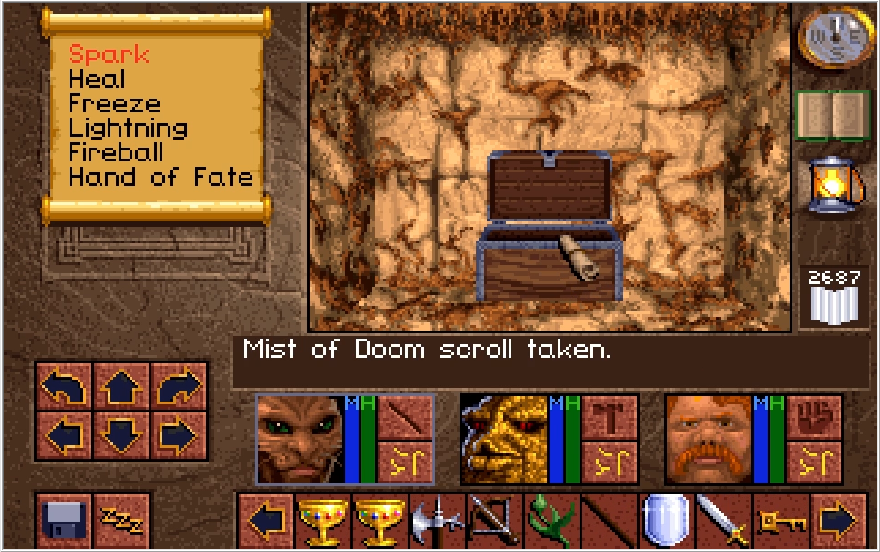
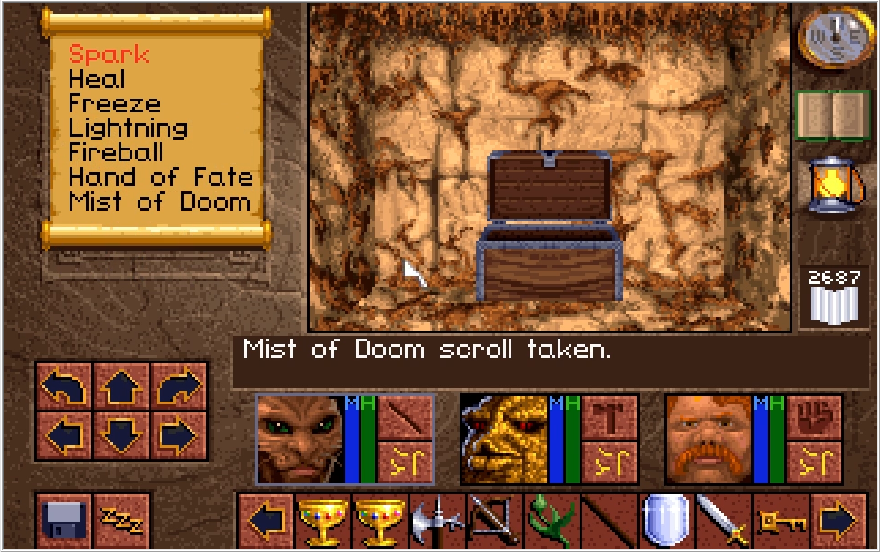
Finally, we get the final spell of the game: Mist of Doom!
Mist of Doom
Lv. 1: 30 MP, 30 Base DMG AoE
Lv. 2: 60 MP, 70 Base DMG AoE
Lv. 3: 90 MP, 110 Base DMG
Lv. 4: 150 MP, 200 Base DMG AoE
It's fine I guess. It is straight forwardly the strongest spell in the game, and nothing but Necrosaps really resist it. Still, that hefty MP cost means that only Ak'shel can realistically even use Level 4 without a ton of grinding, and even then only once. It's a shame, because this spell is quite mighty in Michael's hands, though Level 3 is nothing to sneeze at, at least. Since Kieran just passed the 90 MP threshold, he can cast Level 3 which could potentially come in handy later. Baccata will never even hope to cast anything beyond Level 1, and Paulson doesn't fare much better.
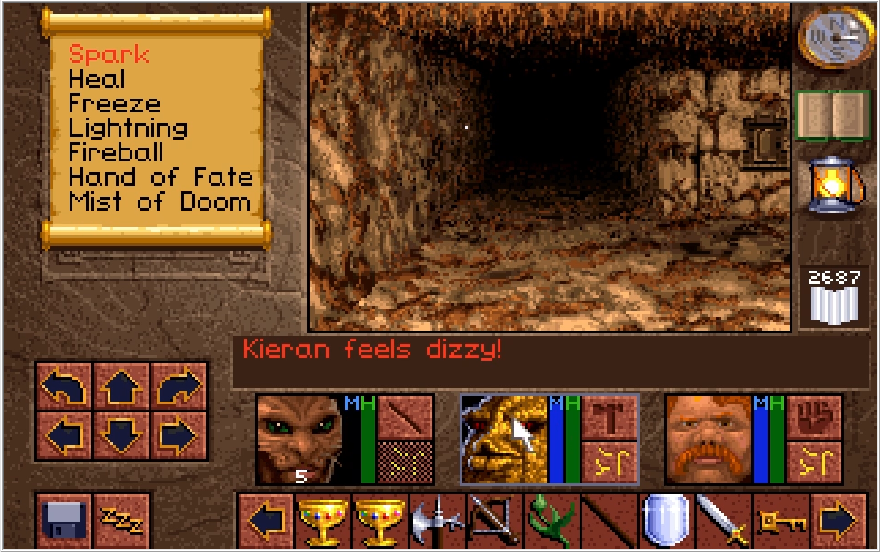
With that done, we double back and head east at the fork instead. Following the path east, we hit a huge circular (squareular) room that has a bunch of Necrosaps roaming it.
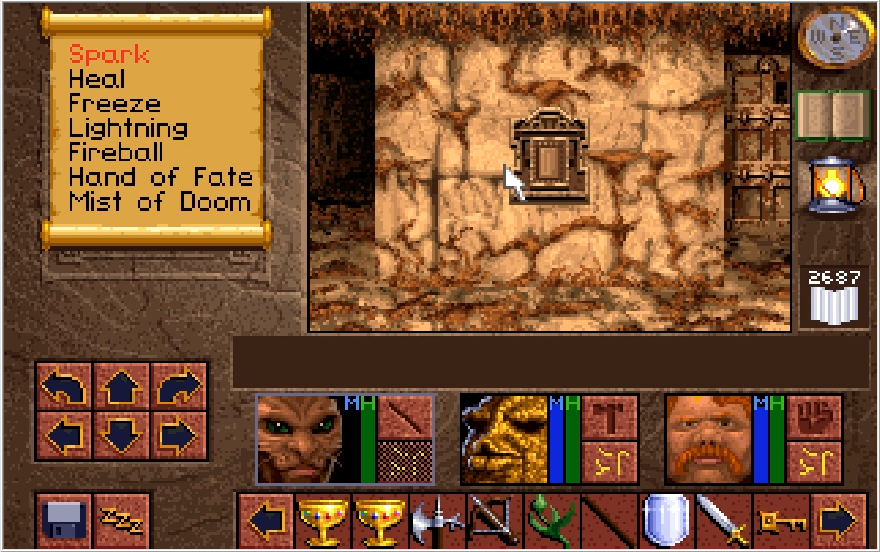
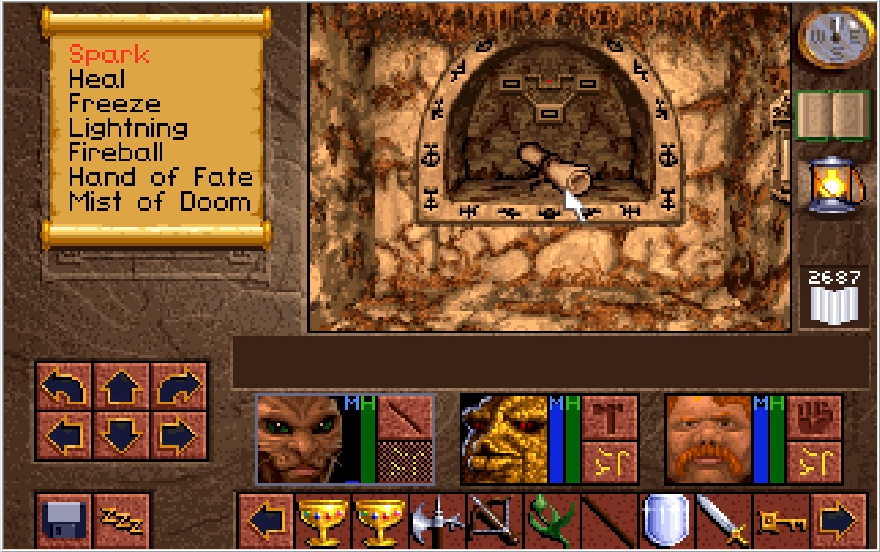
Off to the right from where we enter, there's a hall going through the center of this room that has a curious device with a note for us in it.
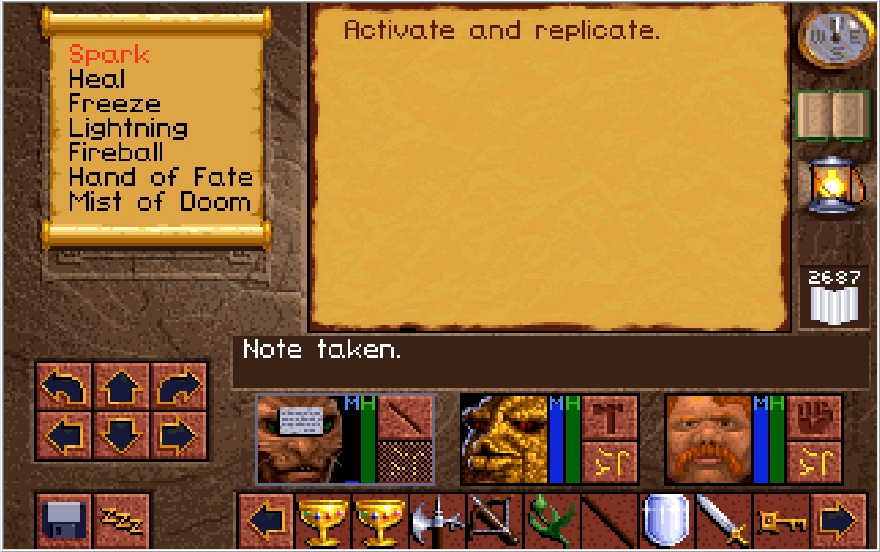
Interesting. This device is the replicator, and should we manage to power it, it has the unique effect of being able to duplicate any one item you provide to it. It can only do it once though. I also don't think it replicates Key items, though I've never actually tried. How do we power it though?
Say now, there's a lot of Necrosaps in this area...
The hall feeds into the opposite end of the room, with a pressure plate outside the door sealing it off. This actually makes it a good safe zone for resting without being harassed by Necrosaps if you need to.
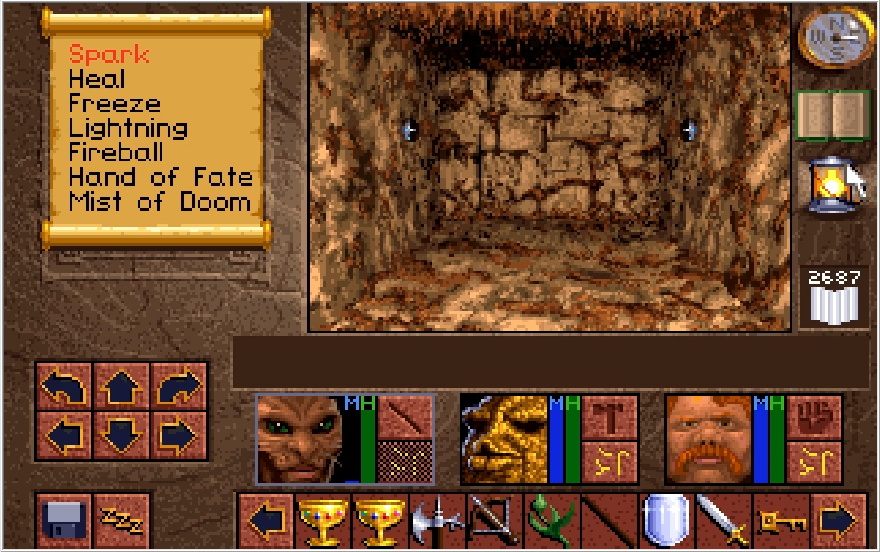
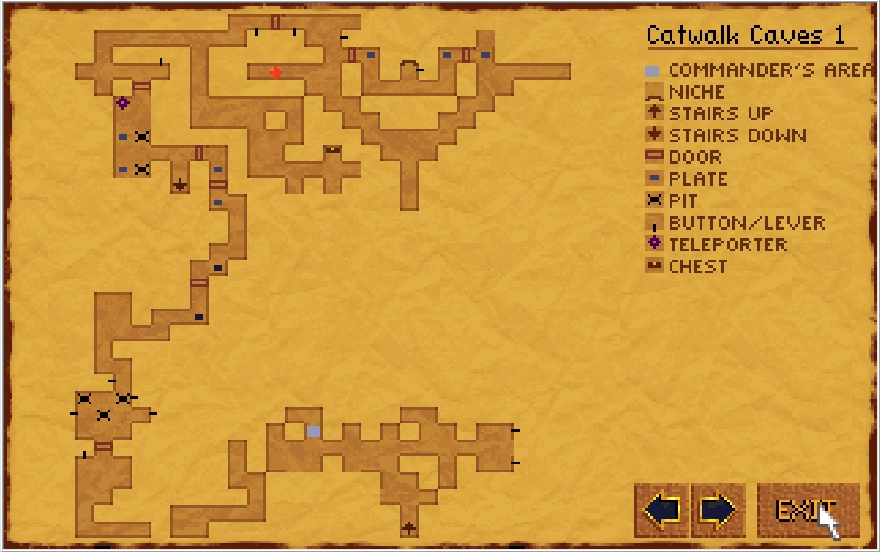
At the east, south, and west ends of the room are hallways that have these weird power couplings at the end. Perhaps if we push a Necrosap into them, it'll power up the replicator?
I decide to rest to try and bait some Necrosaps into approaching me, but I hear a curious noise while sleeping. Also, evil-doers beware, Kieran has trained himself to sleep with his eyes open.
It's a bit hard to tell, but two Necrosaps actually wandered into a power hall. Sometimes you get lucky like that! Sadly, both of them blundered into the same hall, so we still have to feed two of the couplings if we want to use the replicator.
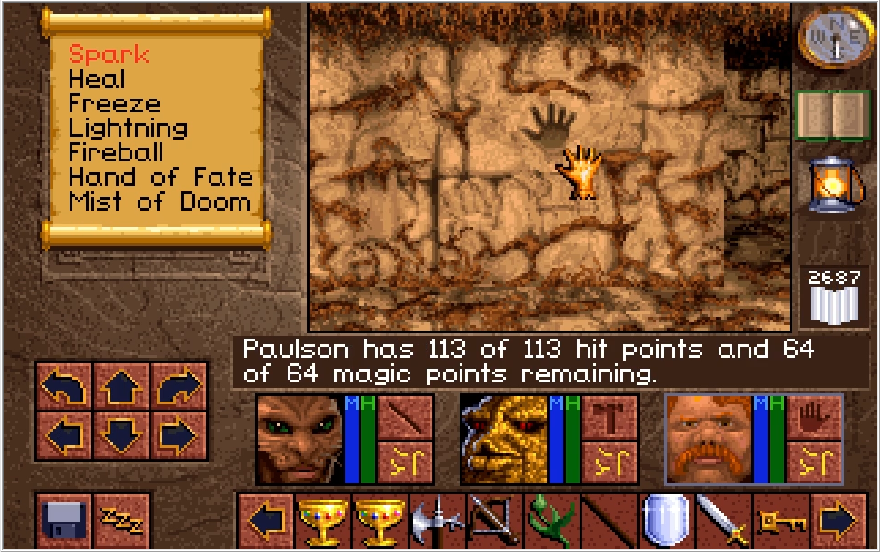
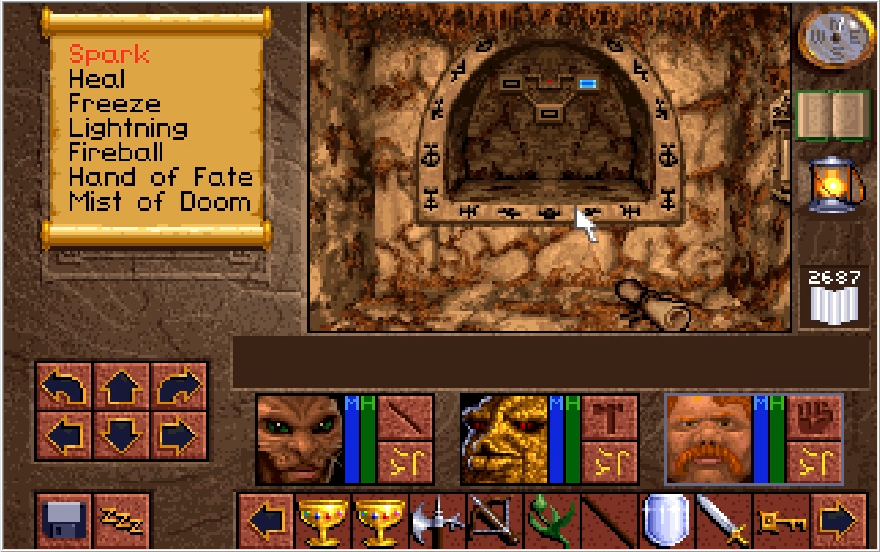
Usually these guys spawn for me ad-infinitum, but it took a lot of blundering from me before more Necrosaps eventually spawned in. I took the opportunity to open up the door out of here in the meantime. As you can see, the replicator has also lit up for the east power hall. After about two minutes of me doing laps, more Necrosaps FINALLY spawn in.
Corralling these little bastards is a bit tricky. Generally you want to aggro them and then have them chase you to a power hall, at which point your start slapping wildly with the Dark Gauntlet and try to push them into the hall.
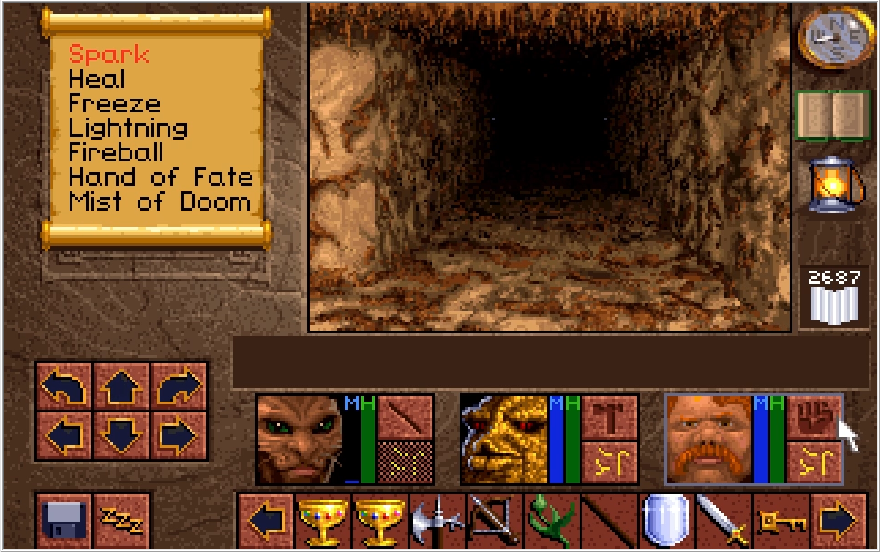
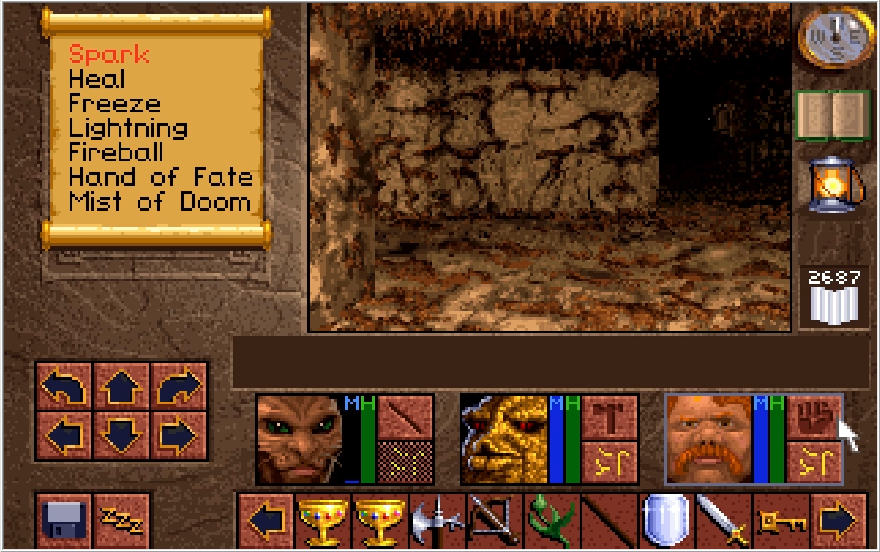
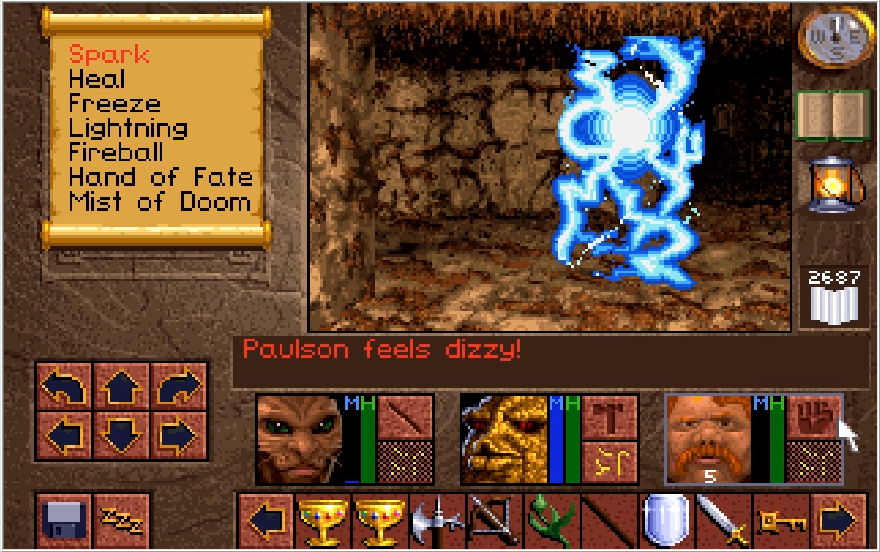
In a bit of mercy, the Necrosaps generally prefer to attack from our front, so we can back up from the power hall, slap it into a wall, and then quickly rush around to its side and try to push it into the coupling. Also, this area is by far the most likely place for you to be boxed in by these things, be very mindful of your MP. If you can't cast Spark 4 and they have you boxed in a corner, you're fucked.
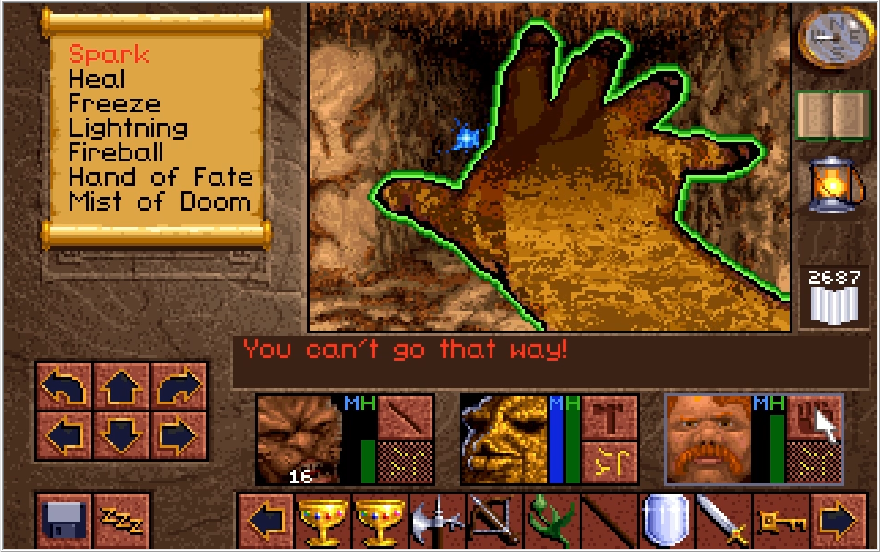
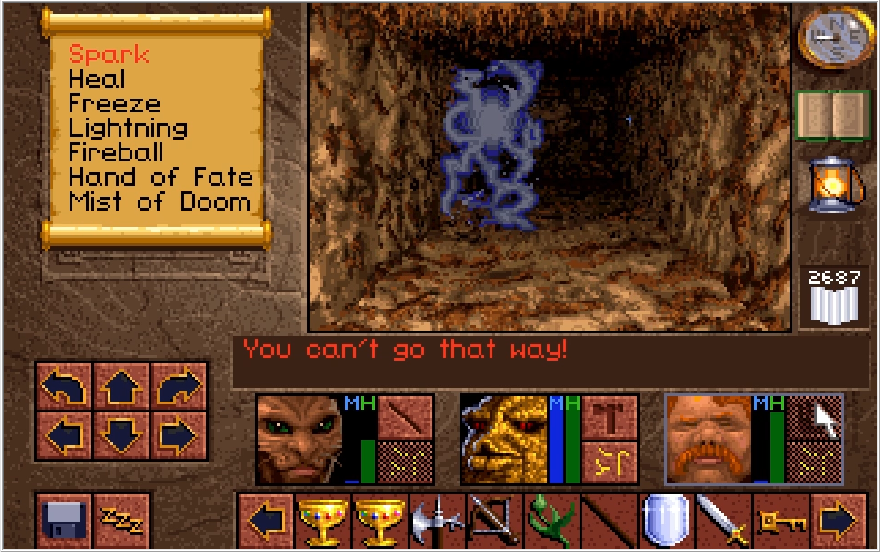
After some finagling, the west hall is powered! This is how it's supposed to look when these things hit the couplings.
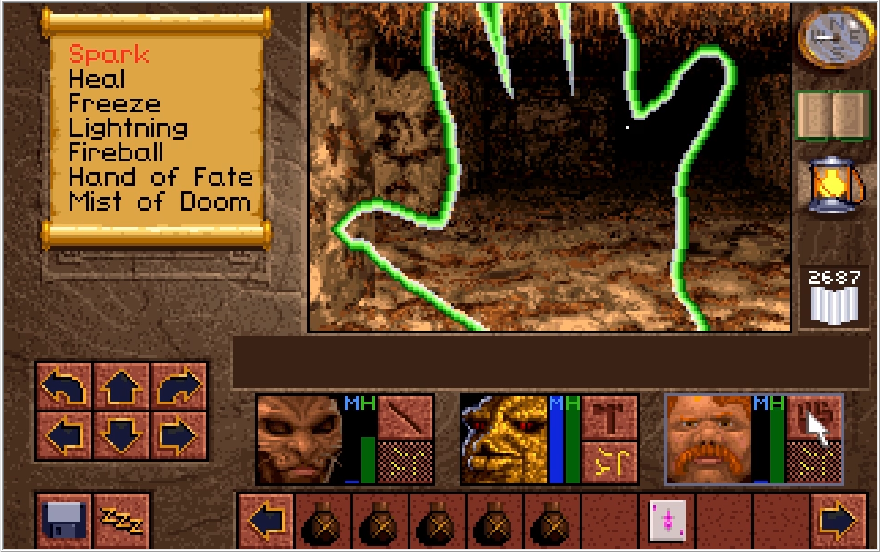
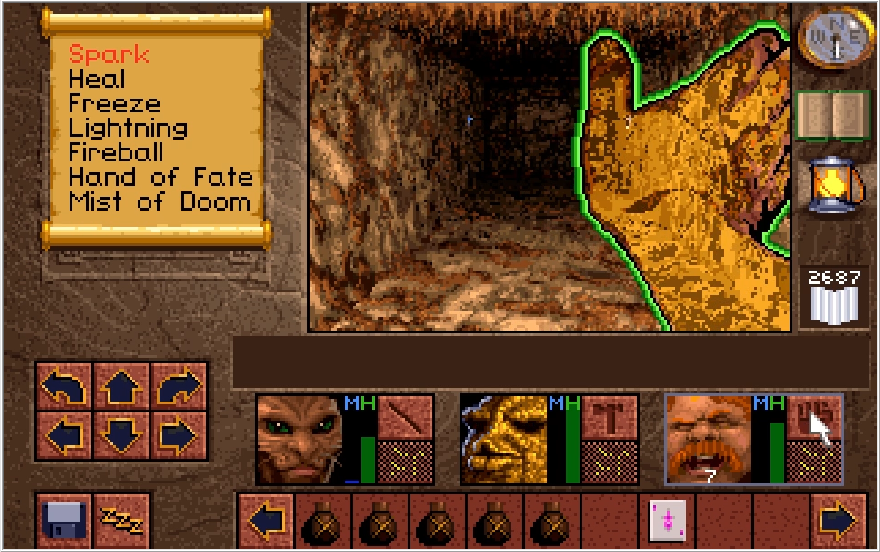
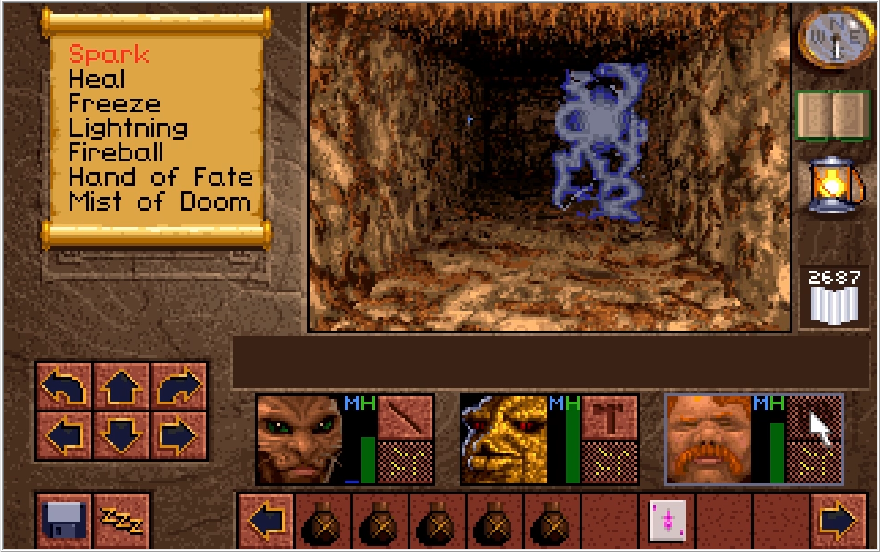
With a little bit of a effort, and a firm spectral pimp hand from Paulson, the south hall is also powered!
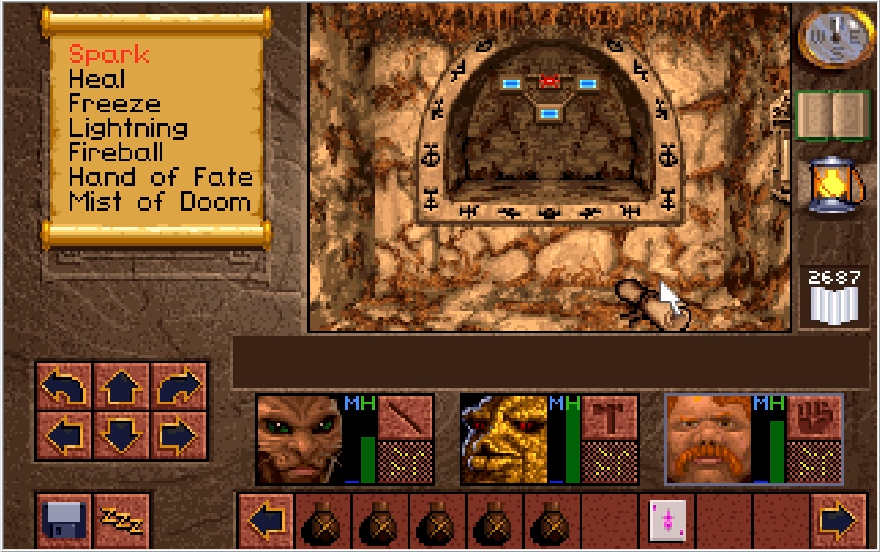
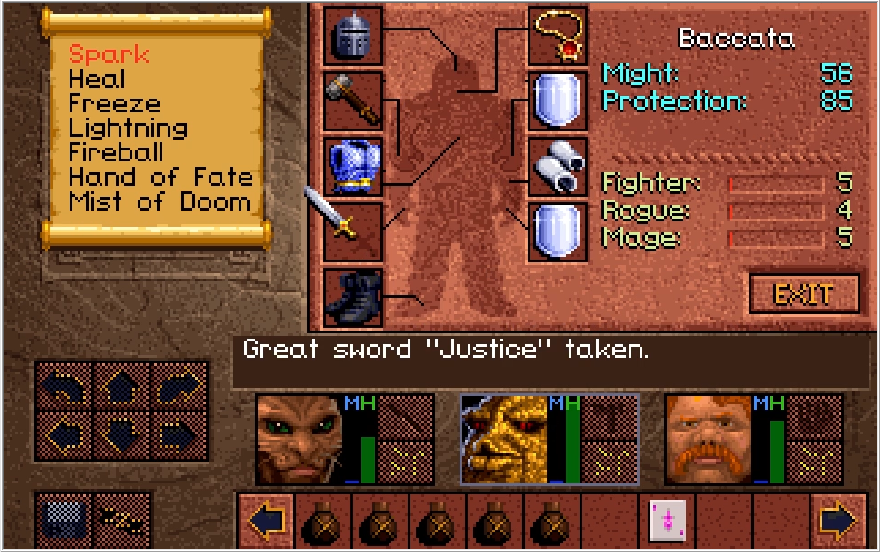
With the replicator fully powered, we now have the interesting option to duplicate any one item of our choosing. The Great Sword Justice is by far the most popular choice for this, since it is the strongest weapon in the game. Another interesting option is the CBV, giving Kieran and Paulson a reliable source of chip damage. But you know what?
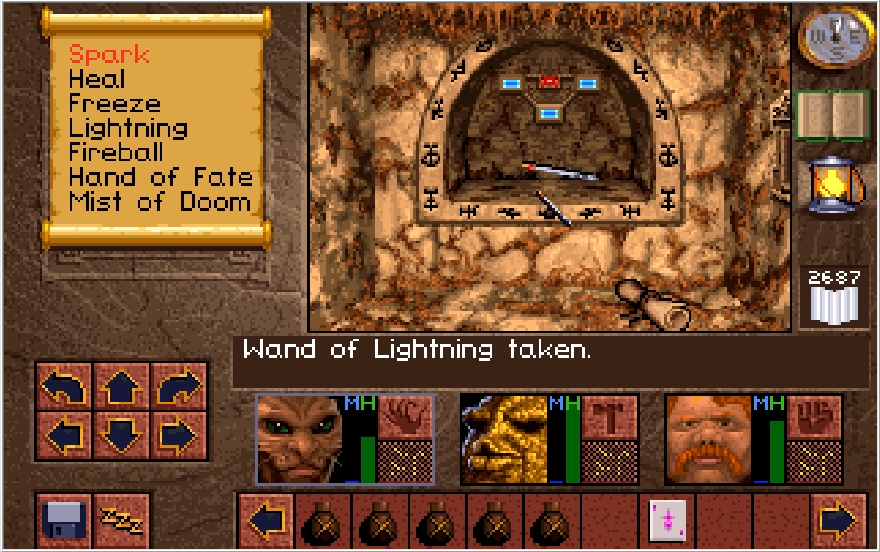
I think having Kieran and Paulson emulate Palpatine would immensely in the next area, so I decide to get a second Wand of Lightning.
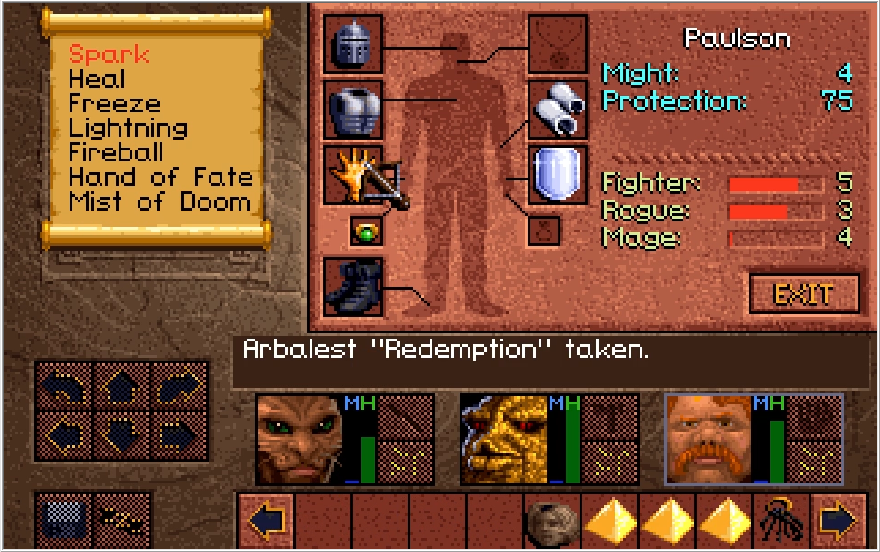
For now though, I still need to work on Paulson's Rogue skills in this file, so I figure he can take the Arbalest Redemption for a spin. This does much more damage than the CBV, but it's not 100% accurate so it's debatable how much of an upgrade it is.
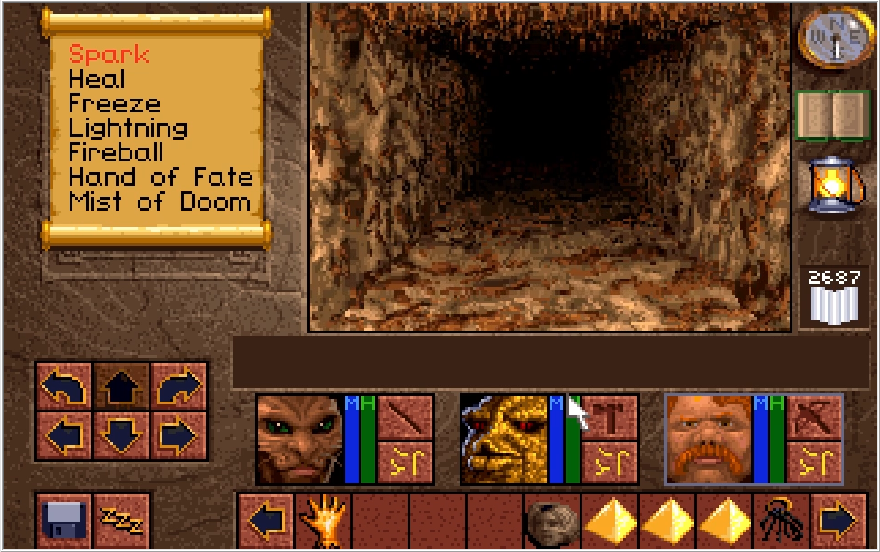
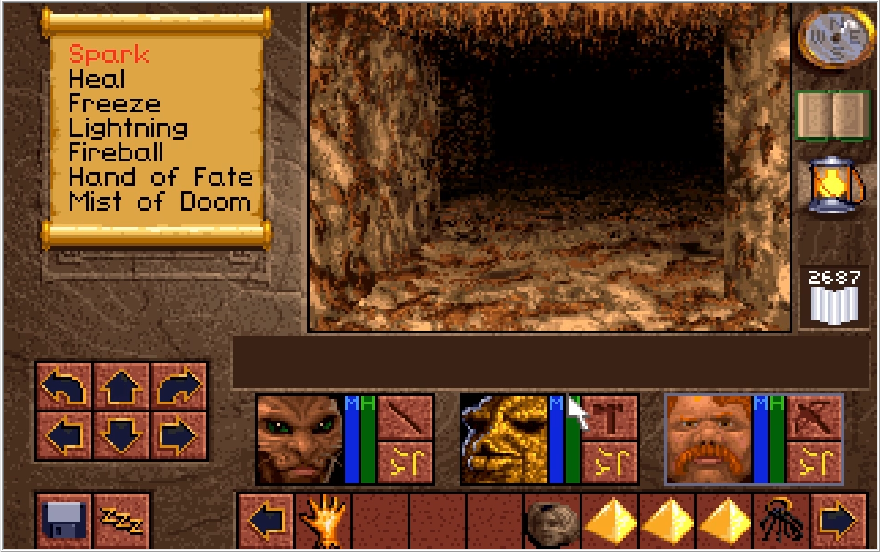
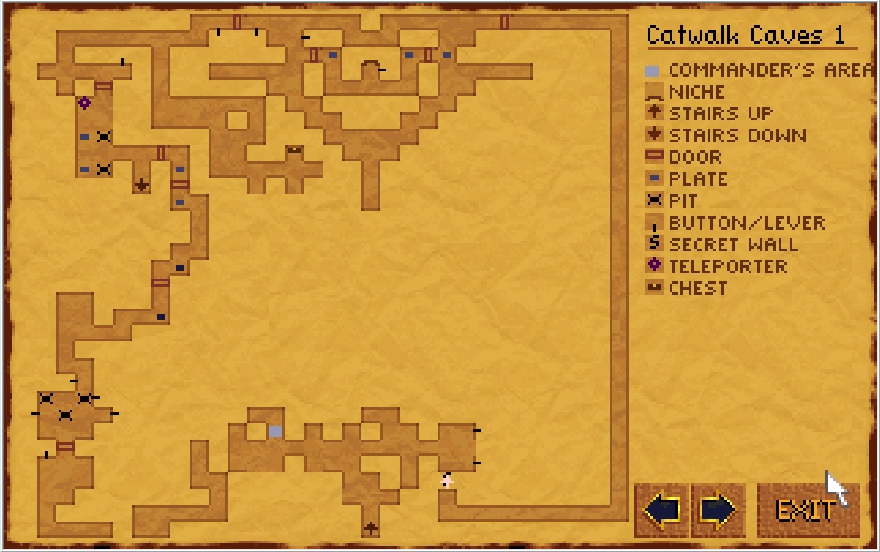
Returning to the indent door I opened, it feeds us into a ridiculously long hallway that covers the entirety of the western end of the caverns. Once you hit the end, you'll come across a one-way secret wall that dumps us back into the double locked door room. One-way secret walls is a trick this game uses surprisingly sparingly.
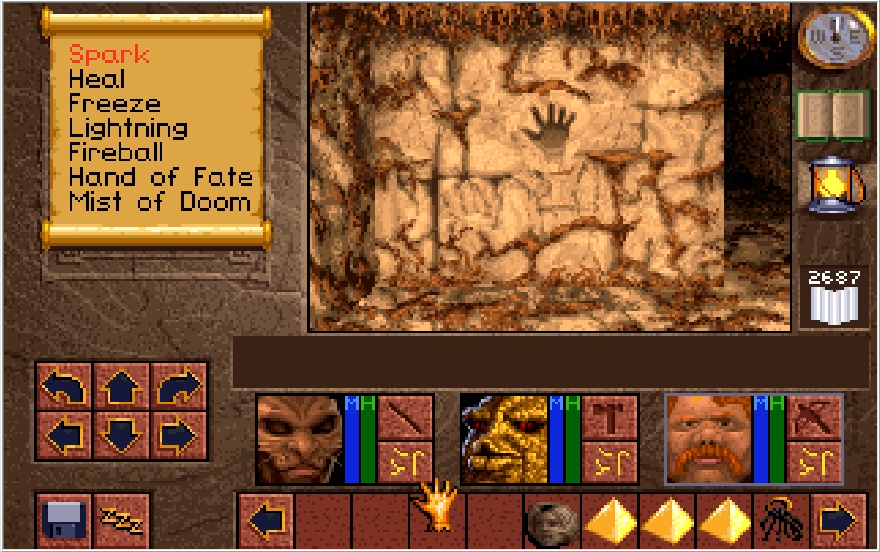
We're still one key short, so it's time to return to the 2-indent corner and take the northern path this time.
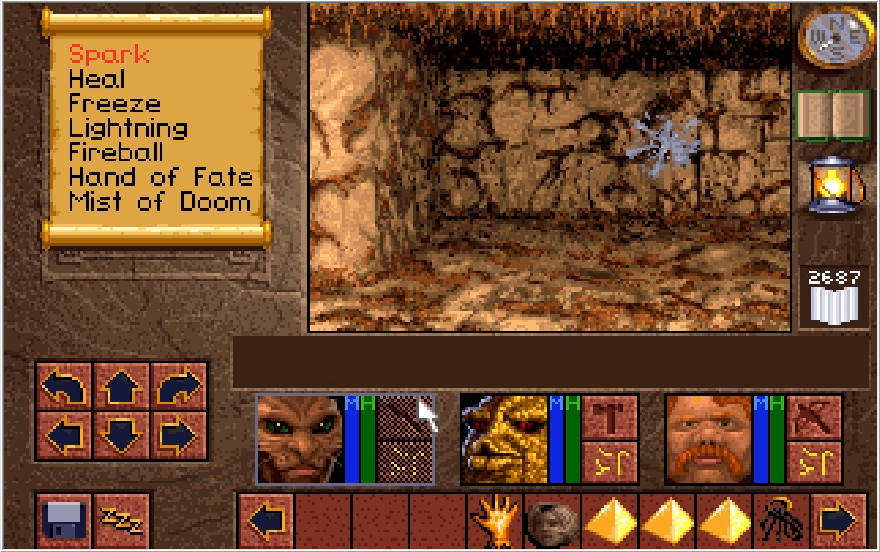
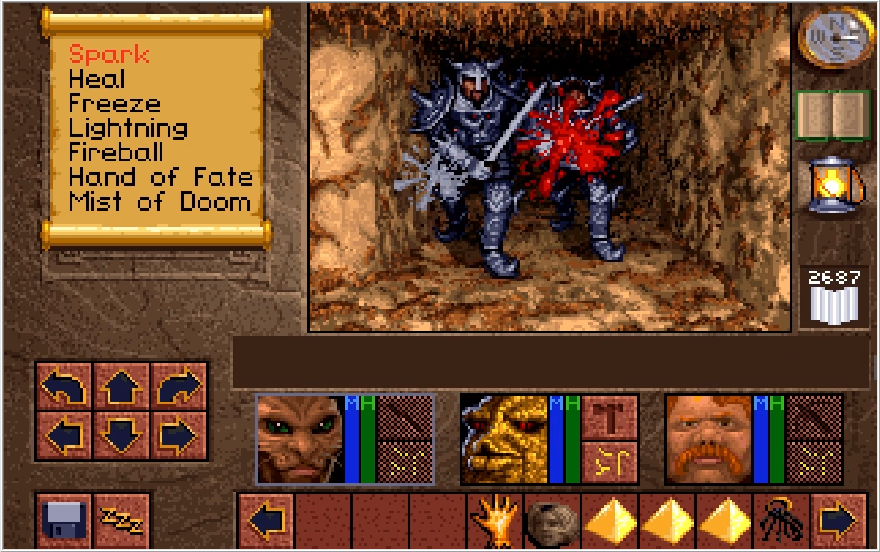
We encounter a couple Necrosaps along this path, but otherwise this area is mostly flooded with Cabal Warriors. More blood for our intrepid heroes!
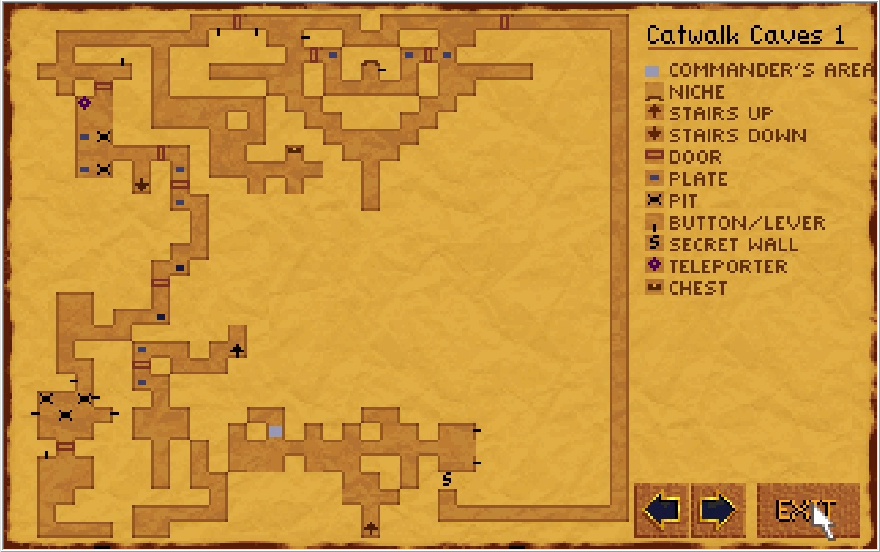
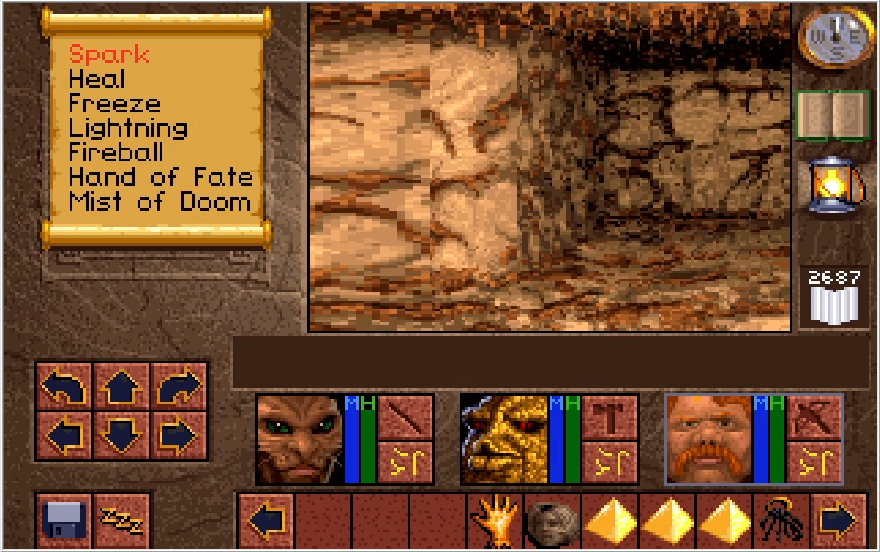
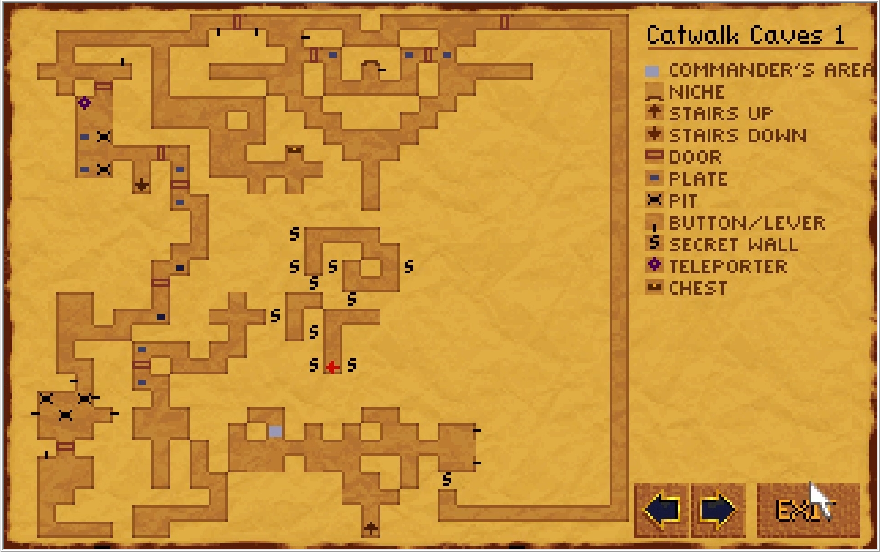
This area is pretty straightforward. We have a number of one-way secret walls that are often placed in front of Woah! tiles. Certain secret walls will allow you to progress, while others just loop you back to the start. Just keep an eye on your compass at all times and double check your Atlas if you lose track of which way you want to be facing. Granted, you kind of have to check the Atlas a lot anyway to more quickly identify secret walls, so all the Woah! tiles really do is induce motion sickness.
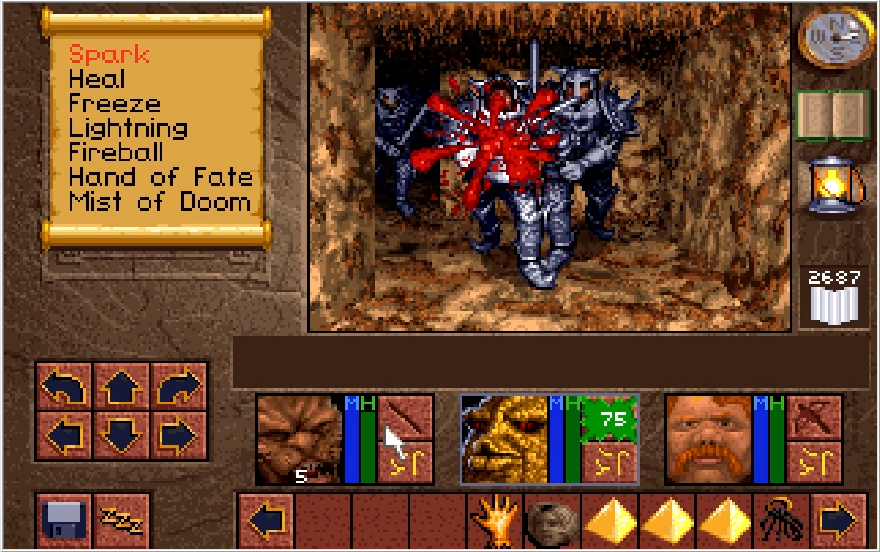
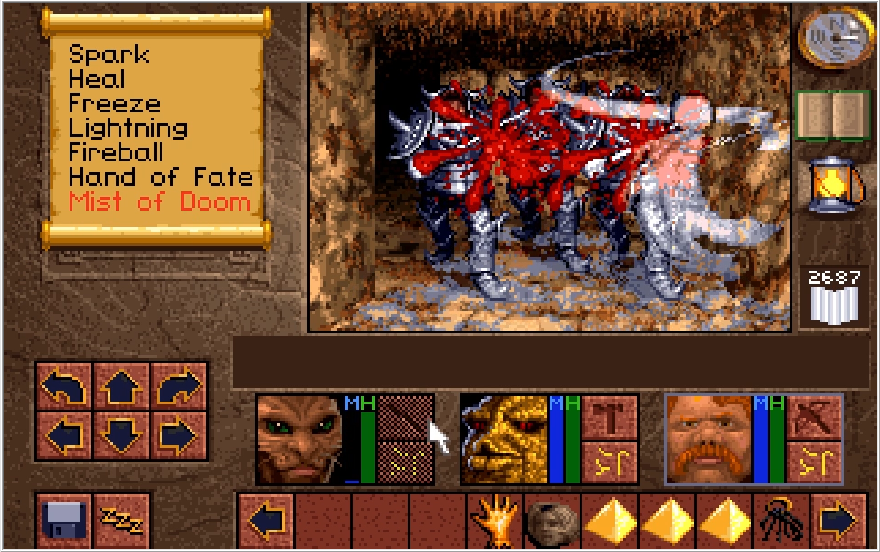
Eventually we hit another hall with and unfortunate horde of Cabal Warriors, who get to face down the admittedly awesome looking Mist of Doom spell.
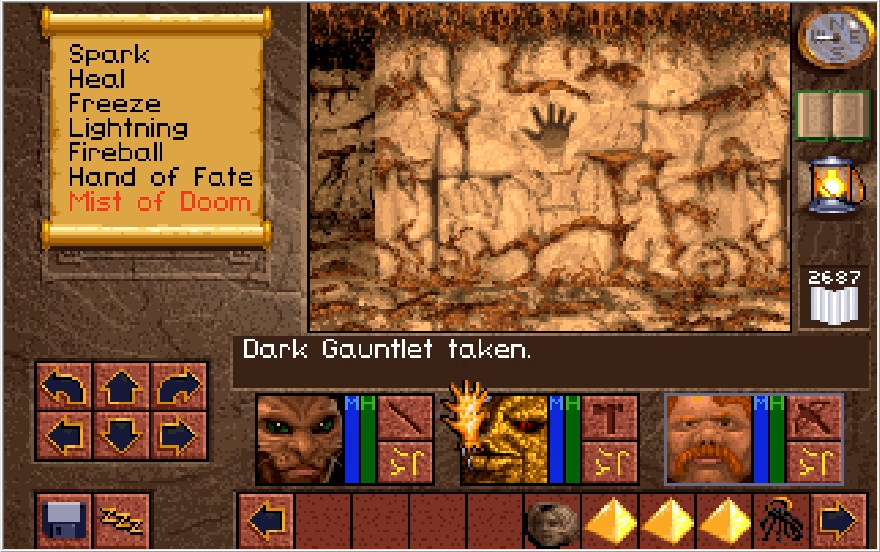
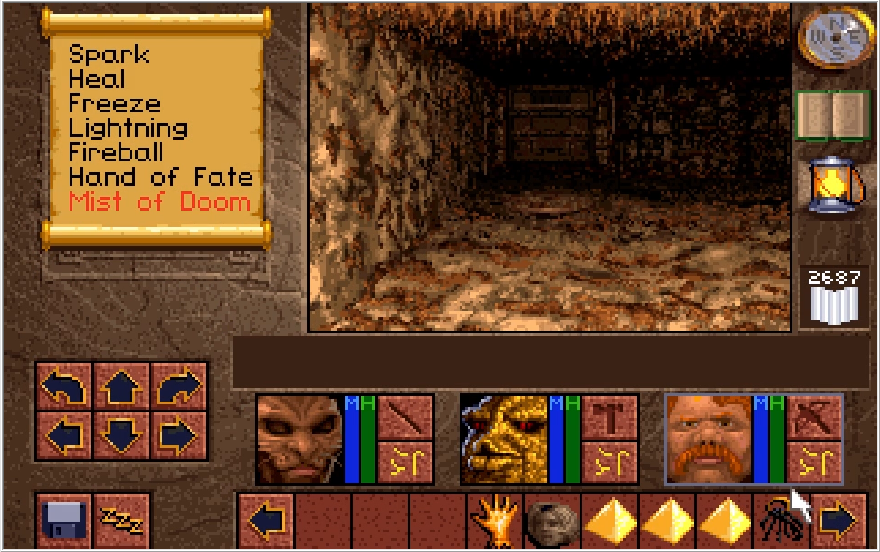
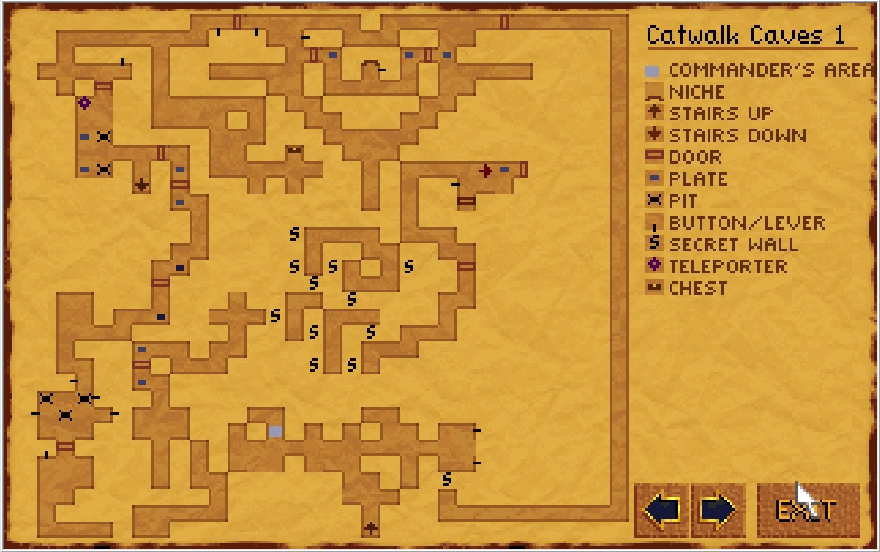
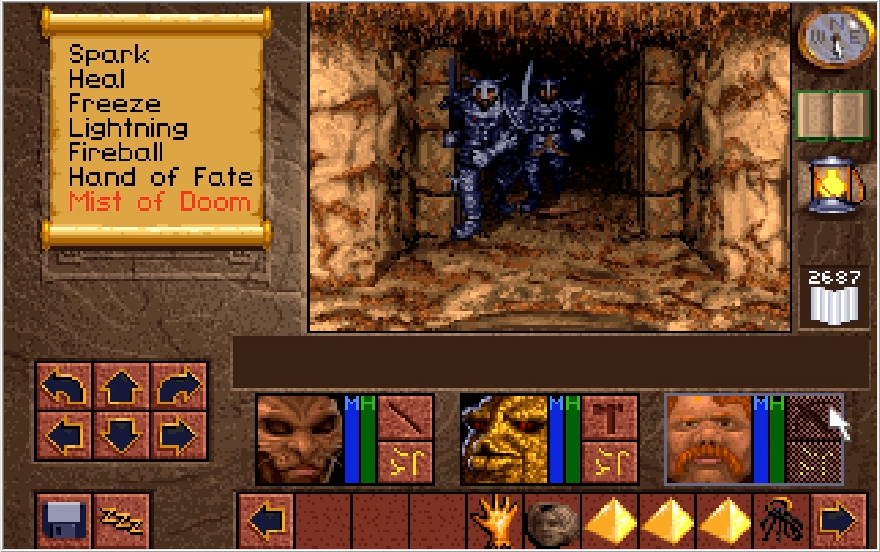
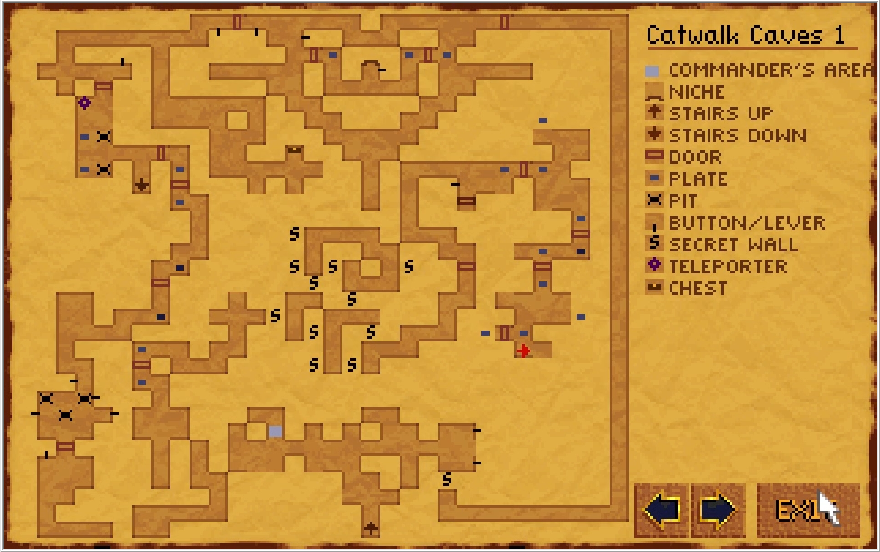
We're past all the secret walls at this point and can't be looped back to the start anymore. Opening up yet another indent path, we come across this strange area that is loaded with doors that have plates/switches to open and close them on both sides. There's about a dozen Cabal Warriors roaming this area, but only one of them has something we need.
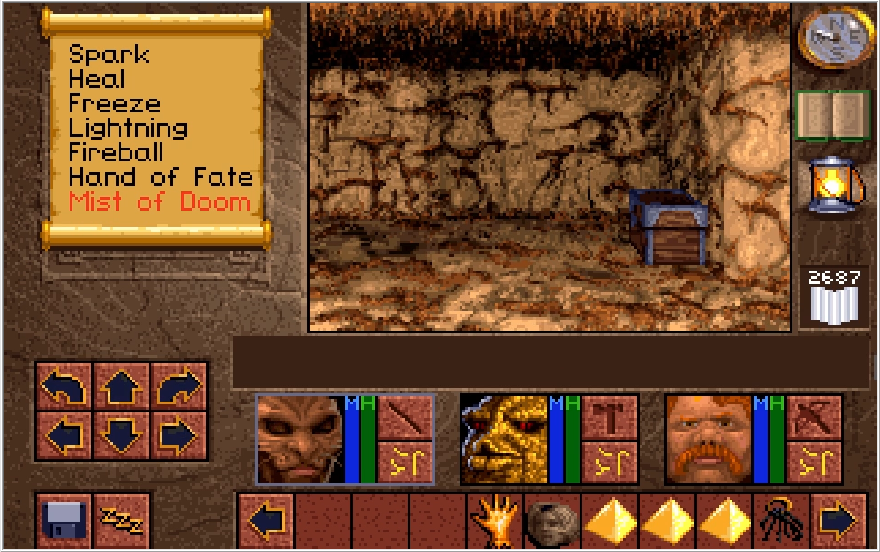
To the south, we find a chest that we actually cannot pick. It's been quite some time since we've seen one of these.
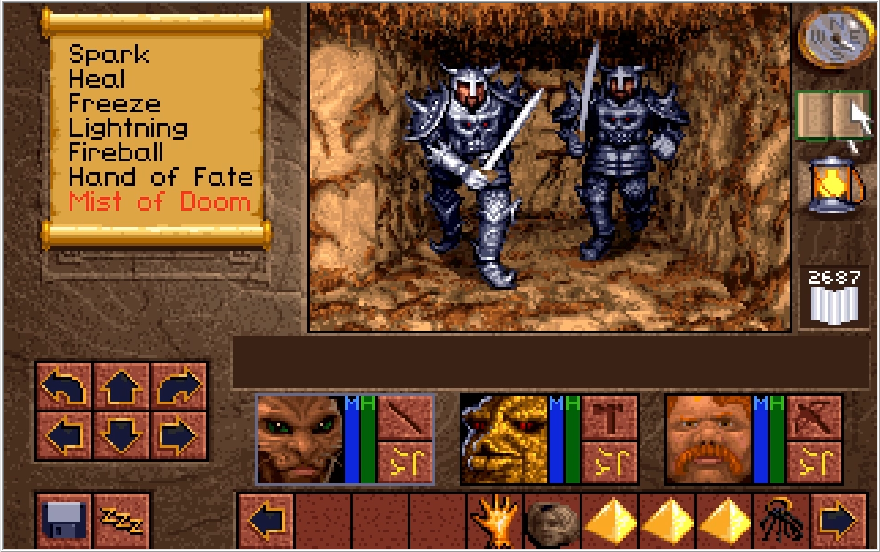
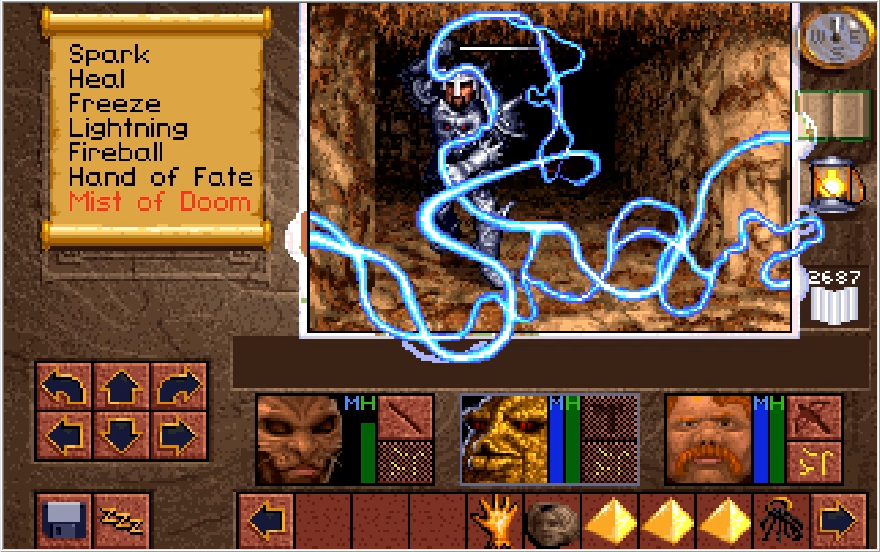
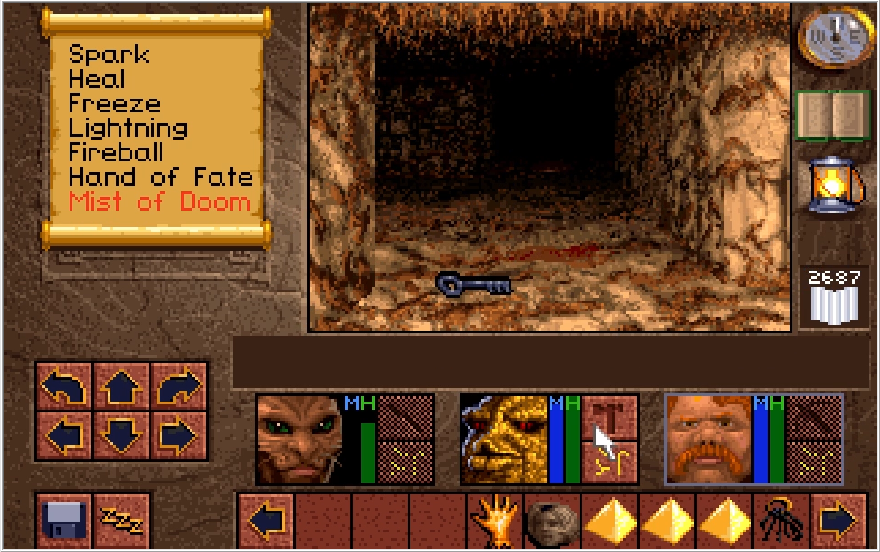
Heading a little west from the Chest, we find our next batch of warriors. Once they're slain, I am delighted to see one of them dropped a key!
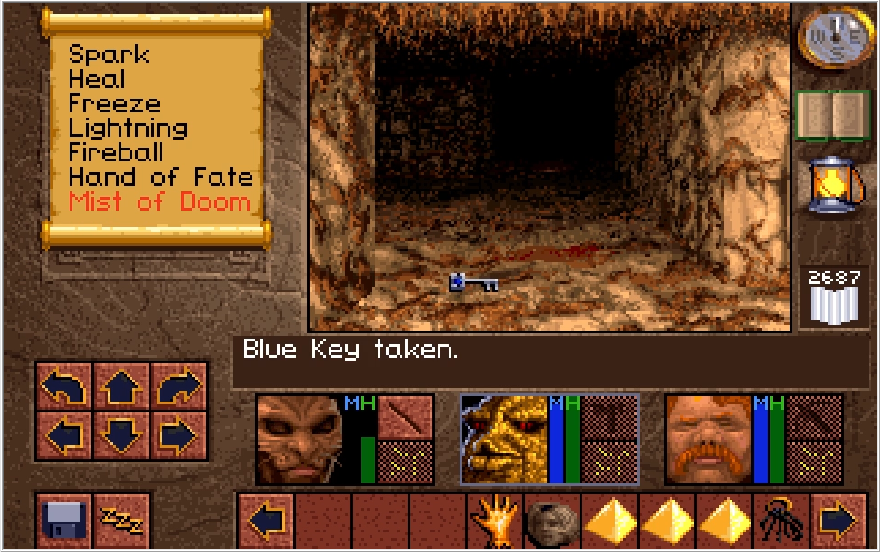
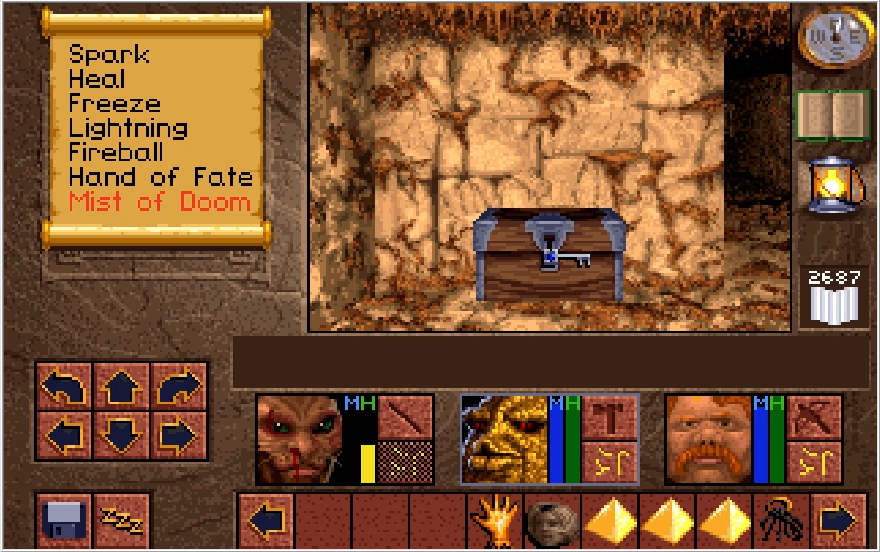
You would think this Blue Key would go with the Yellow Key and open up the double locks, but no. It's actually for this Chest, which can only be opened by this key.
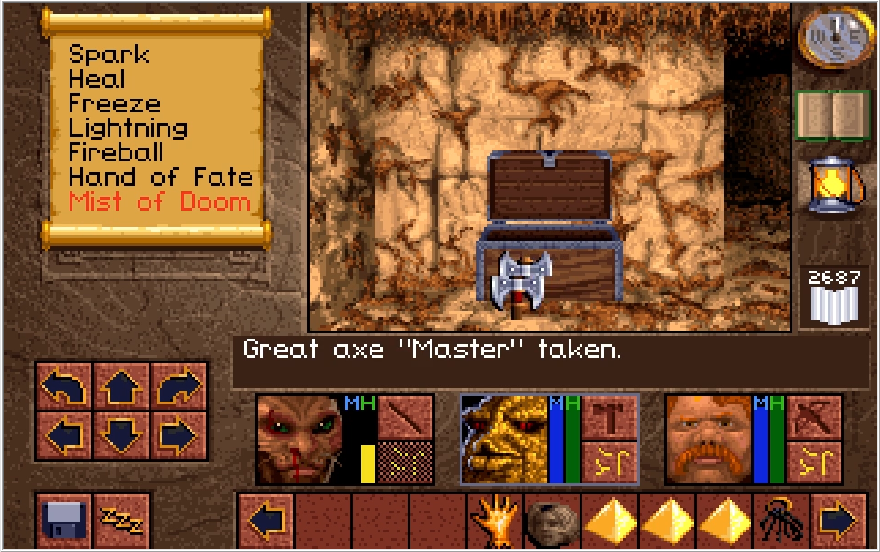
Another batch of interesting items awaits us in this chest!
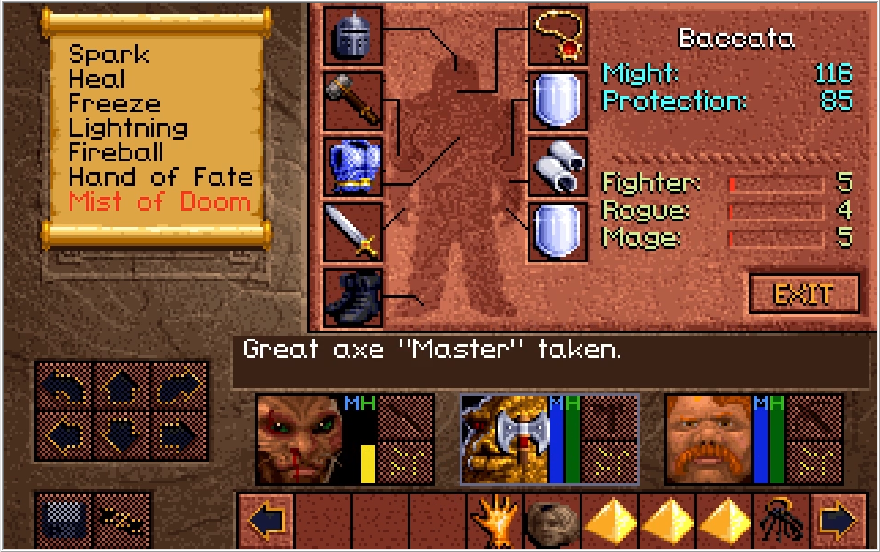
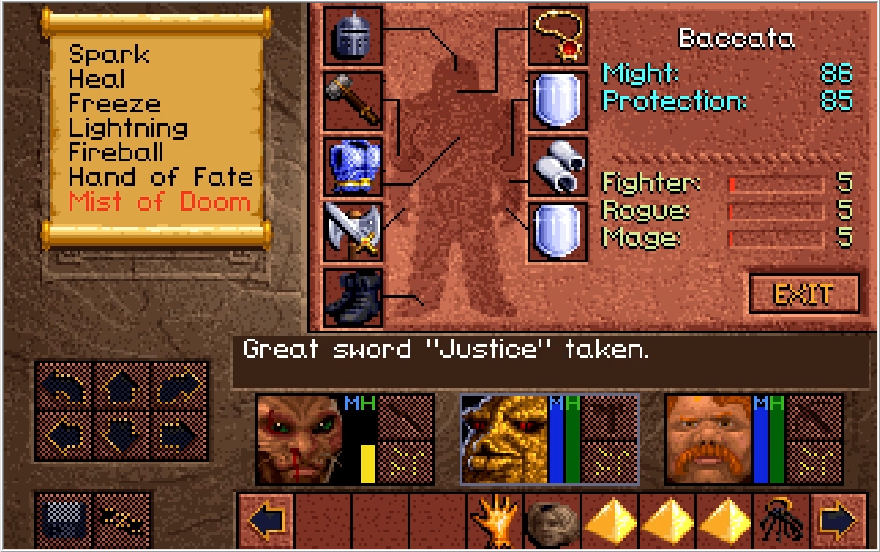
The Great Axe Master is pretty weak in comparison to our current weapons, but like the Jade Necklace it has the effect of increasing your Rogue level by 1! Handy if you hadn't been training it up till now.
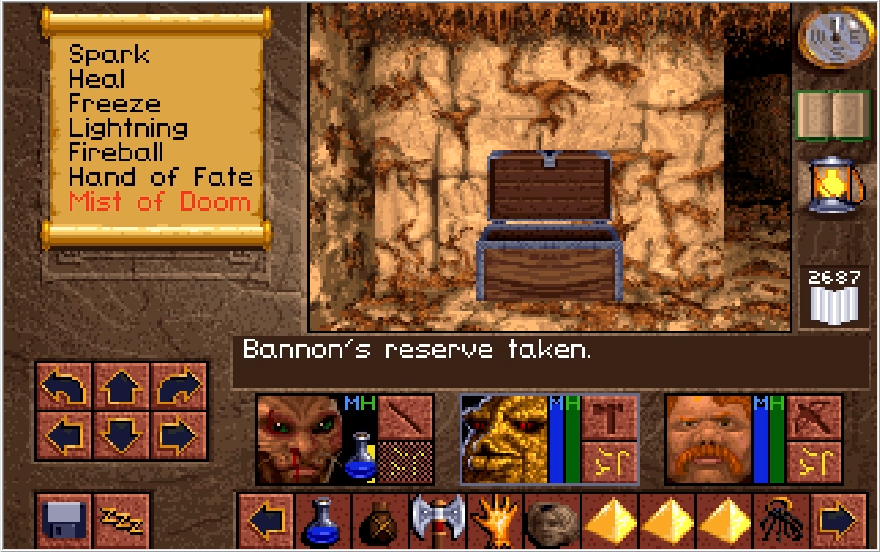
There's some oil and a Bannon's Reserve...
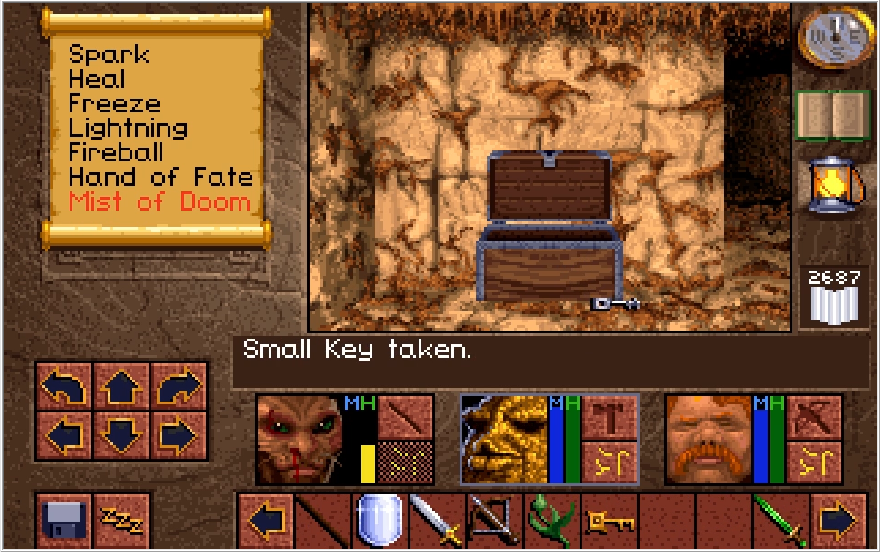
And a small key! This is the key for the double locks. I feel like they got the effect of this key and the Blue Key backwards and just decided to roll with it when they noticed that.
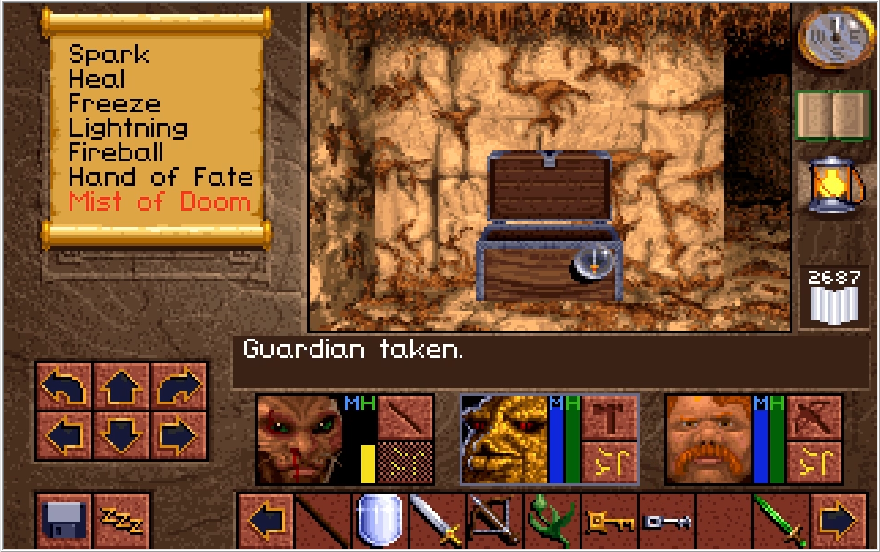
Finally, we have a Guardian! This is a single use spell item like the Aces, though unlike the Aces it has a completely unique spell tied to it! These are most commonly saved for the final boss, and truth be told they're not the helpful elsewhere so may as well. Guardian is the strongest spell in the game, but the one-shot nature of it does kind of make these feel too valuable to actually use.
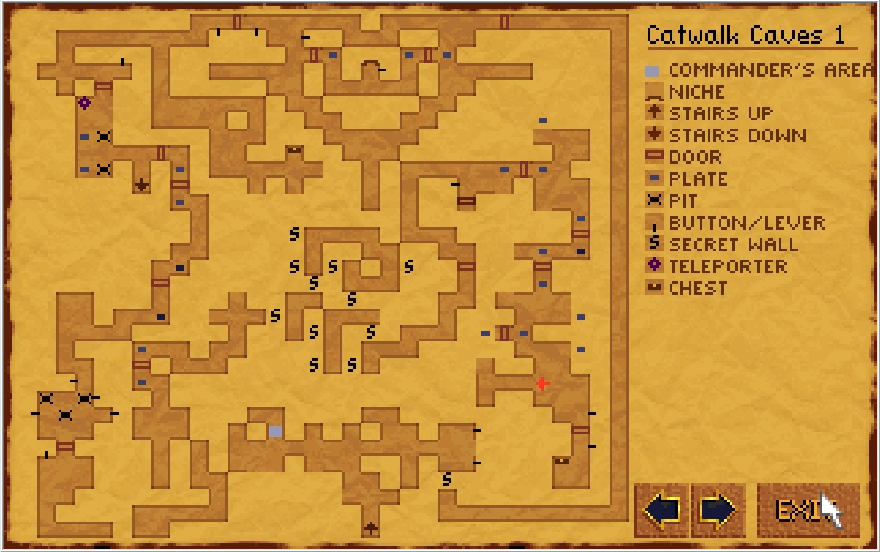
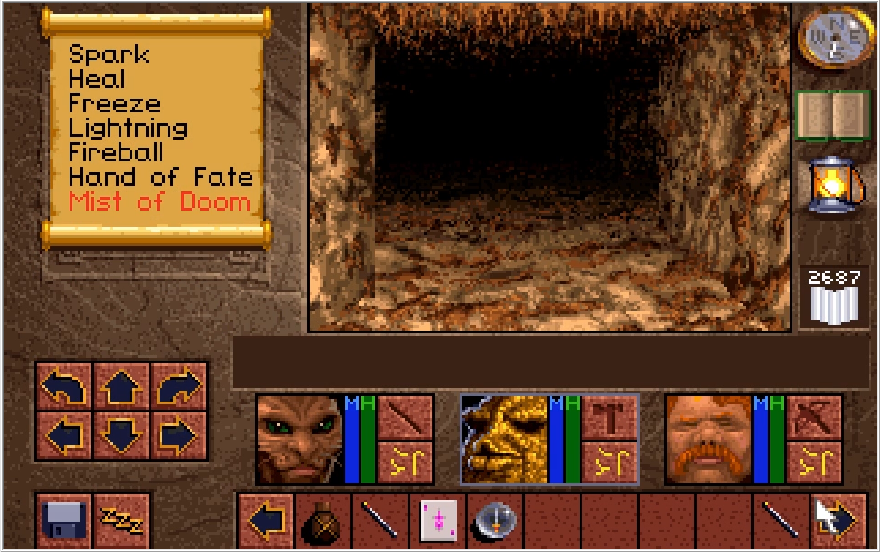
With that taken care of, the area where we got the Blue Key has a one-way secret wall that feeds back into the double lock room. Convenient!
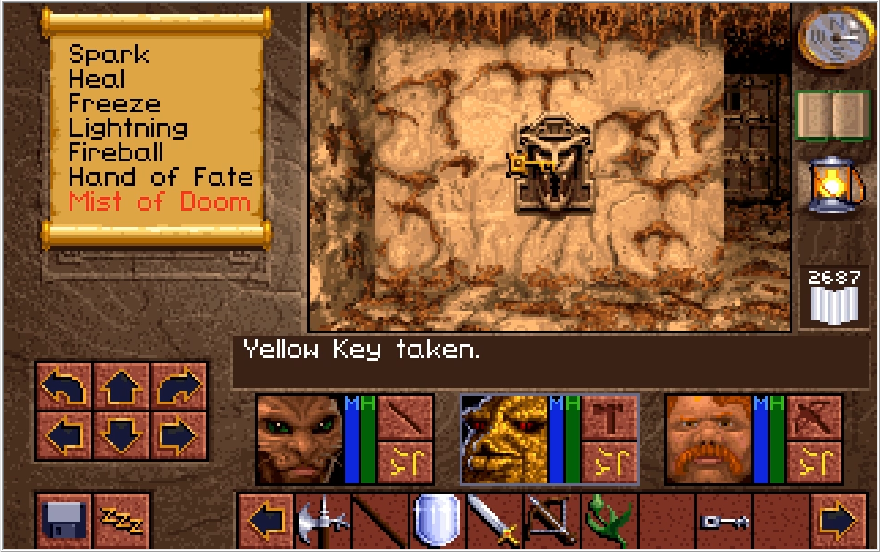
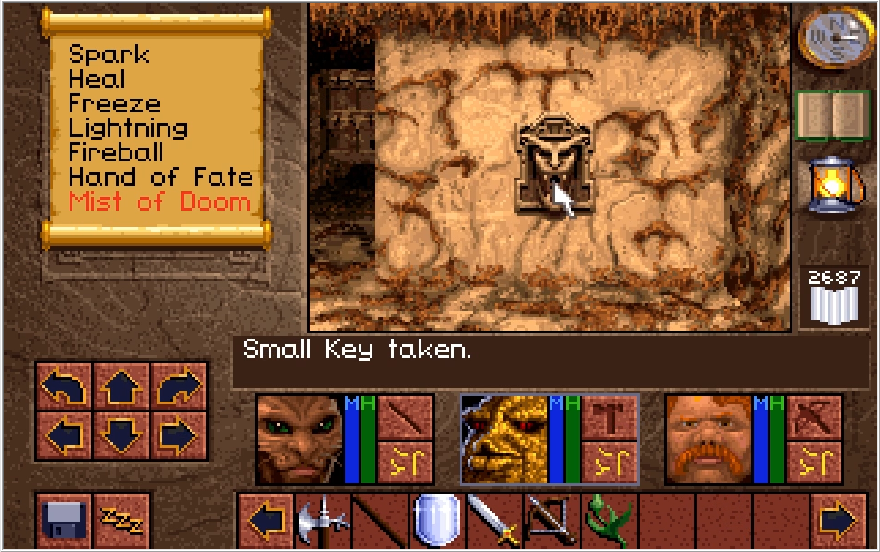
With the Yellow Key andBlue Key Small Key slotted in, the door to the end of the caverns opens itself for us. Now I'm going to be real here, screenshots cannot adequately convey how much of a non-sequitur what's about to happen is. Once again, I think it's time for a video.


I praised Kieran for his conviction earlier, but he finds himself questionably resigned to what just happened. Anyway, you know what time it is.
What is it with old-school dungeon crawlers and asking the player to conduct genocide anyway?
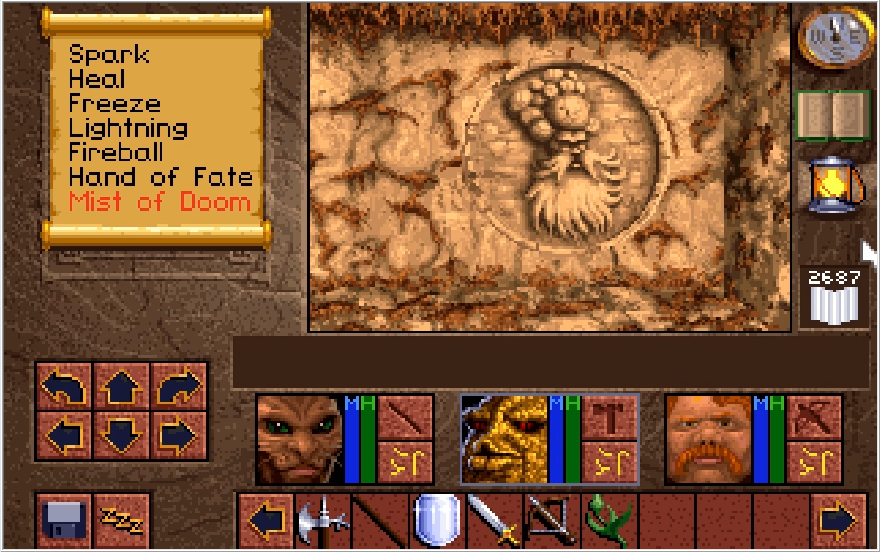
To the north, we have the symbol of the Knowles of Gortesh and a teleporter to the dreaded Dungeons. Entering here will mark us as the champion of the Knowles and will pits us against the Xeobs.
To the south is the symbol of the Xeobs. They don't seem to have an associated realm, they're just... the Xeobs. Anyways, entering the teleporter here would make us the champion of the Xeobs, pitting us against the Knowles. Their teleporter connects to... the dreaded Dungeons! Yeah despite what the cutscene implies, both teleporters take you to the same place. The only difference is what section you get dropped into and who you're fighting against. So yeah, very randomly we're tasked with genociding one race for the prosperity (or at least the satisfaction) of the other. There is technically a way to get out of this with completely annihilating one of the races, but it just puts you into conflict with the other one so there's no way to avoid bloodshed here. By the way, this is what I think Frendor's test would have been assuming I'm not reading way too deep into things. I feel like that scene would make much more sense after this upcoming ethnic cleansing than it does happening well before it.
So, do we get anything out of this aside from PTSD? Why yes actually! While the Knowles promised riches and the Xeobs promised lordship, the actual rewards are a bit more interesting in that. Should you choose to fight for the Knowles and kill the Xeobs, the Knowles will give you enough Mage EXP to level up your party once. This just fills up your current EXP gauges to the max, it does not allow you to quickly ascend to the succeeding level afterwards. They also give you a number of magic related items, but the only useful one is a Bannon's Reserve. Should you fight for the Xeobs and kill the Knowles, however, the rewards are different. The Xeobs will grant you a Fighter level (again achieved by maxing out your current EXP gauges) and a number of Fighter related items. The most prominent among them is a second Great Sword Justice! Of course, let's not lose track of the forest through the trees here.
The upcoming section is by far the hardest and most annoying portion of Lands of Lore. And unlike the White Tower Level 3, there's no easy level trick for it. Both the Xeobs and the Knowles are acid spitting enemies that can destroy your armor and they have an absurdly high success rate for doing so. You simply cannot fight them with your armor equipped or it WILL be destroyed. The amount of save scumming you'd have to do to keep your armor intact should you wear it would be ridiculous. What makes this extra painful is that the Xeobs and the Knowles are the strongest enemies in the game by a mile, hitting like trucks even if you do have armor on. If that wasn't enough, both have absolutely devastating projectile attacks they can nail you with, giving them a huge leg up in combat before you even get a chance to swing your swords. Are there any differences between the two in combat? Yes unfortunately. Xeobs are by far the most durable enemies in the game. They have like 300 HP on Ferocious and they resist every single type of magic, making every single fight against them a prayer session for hoping that Baccata lands enough critical strikes before he gets minced. The Knowles have much less HP and aren't resistant to magic (ironically enough)... but they have the fucking Quake ability meaning as soon as you get into melee range with them you will end up dropping all your weapons, followed by your shields shortly after for more pain. Most people prefer to fight the Xeobs because they're less annoying, but both of these tribes are just a nightmare to deal with.
That's why I'm leaving it up to you to decide who I should eradicate! Post Knowles if you want me to stuff those nerds into Davy Jones' Locker or post Xeobs if you want me to send them to a home of their own (in hell). I'll keep the unofficial poll open until Friday so I can mentally prepare myself for the pain this upcoming weekend.

I only promised this file would have a more inspired name, I did not necessarily say it would be clever.

Last update, Ak'shel and his band of merry middle aged men fended off an entire army by themselves. Ak'shel has decided that was his breaking point and has left to do... something, I don't know any other Ak'shel's in media. Feel free to come up with your own head canon for what Ak'shel is doing now.
For the final act of the game, champion status has been bestowed upon Kieran! Not a moment too soon, as we're about to enter the Catwalk Caverns (Does this count as a micro-aggression?). Fun fact, as revealed in the sequel game Guardians of Destiny, Kieran is the canonical hero of the first game.


One can only imagine what the full story is there, as Kieran is quite bad. Going from Ak'shel to him, we've lost about 40 Protection and close to 30 hit points. Kieran's magic is also weak and grows slowly, so he can't cast many spells either. Kieran's main "perk" is that he has faster cooldown when he whiffs a strike (weapon only), which is phenomenally unhelpful. His Might is also god awful, topping out at a pathetic 52 if you give him the Great Sword Justice, though he at least seems to be more accurate than Ak'shel and his Fighter level grows faster. Things are going to be rough for the courageous catman, but with the Wand of Lightning at our disposal it should not be too bad. Oh yeah and Kieran can't wear shoes, so he loses like 8 protection from not having Dwarvish Boots. Whatever.

Entering Bruno's Lodge, we get a rather somber scene as it has emptied out entirely. This place was so lively before! Or as lively as a bard with 4 people in it can be anyway.
Nothing in here prompts a reaction from our crew save for the conspicuously open cellar door.

Clicking it dumps us in the basement where 4 Great Orcs proceed to bounce Kieran's ass around like he's a beach ball.

Kieran supposedly is more evasive than the other heroes, or at least that's how he bills himself. If there's any truth to that, it does not help nearly enough.


The situation becomes a little dicey, but we regain control and flash fry these roided out Pumba clones.

One thing I was doing slightly sub-optimally with Baccata during the battle of Yvel was keeping the Great Maul Thunder on him. Aside from having 25% chance of not doing damage, Great Orcs highly resist blunt type damage. Putting a Halberd alongside the Great Sword Justice actually wildly improves Baccata's damage against them, he can hit for up to 200 damage in one strike. That said, this is the last we see of Great Orcs, so now the Maul is just better.


Once the Great Orcs are cleared, we can find a small button in the northwest corner of the cellar. Clicking it reveals the path to our next dungeon!


We're immediately aggressed on by a battalion of Cabal Warriors, but these guys are much less threatening than the Great Orcs. Kieran zaps a few and gains a Mage level for his troubles. There's about a dozen or so of these guys roaming the entrance of the Caverns, and they are little more than free EXP for us at this stage.

There's number of points of interest in the entry of the Caverns, the first of which is this pedestal. We don't have anything to place upon it quite yet, but keep it in mind.


Past the pedestal is a handful of Cabal Warriors, but it otherwise looks like a dead end.

West from the pedestal at the opposite end of the cavern is a strange indentation. Looks like this wall could use a hand...

There was also a small corridor that I passed by to reach that indent, let's check out what awaits us around that corner. Oh yeah, and Kieran has 92 MP now, which actually is somewhat helpful.
Music: Commander Frendor


Wow the aesthetics of this place do not fit with the cavern we were just in whatsoever. Looks like we've got some more dark army soldiers and.... Victor!?!?

Before we can process that, Frendor butts in and welcomes us to the

Mylek is the fellow to Victor's right. First Envoy is a flowery title, but since he doesn't have a higher res portrait I'm guessing he just works the mail room or something. The Viking looking dude in the corner of the room doesn't get to say anything at all.


Each of our party members drops a resolute refusal of Frendor, including Paulson who suddenly remembered he exists! I guess he did get another line in that I forgot. Kieran's making a good first impression, I admire his conviction!

So as it turns out, Victor was a traitor to the throne the whole time. He was not confident Gladstone could defeat

Spoken like a true hero!

Frendor is salty. So I have a couple of theories about this scene, and I'll admit they're kind of tin foil hat style theories with no actual basis but I don't think they're completely impossible. My first theory is that this scene was meant to happen much later, after we had finished the Catwalk Caverns. There is something at the end that could conceivably serve as some kind of Test of the heroes for getting into the Dark Army and it puts us in Castle Cimmeria once it is done, which would be a much more fitting backdrop for this cobblestoned war room we are in. The other major theory I have is that this scene would have been the payoff for all the "evil" choices you could have made up to this point. Had you acted callous enough throughout the story, once you hit this scene you could renounce Gladstone and become a member of Scotia's army instead. There is nothing in the game to directly support this idea, but Guardians of Destiny does have a moral choice aspect with alternate endings depending on if your main character has been good or evil throughout, so it's not impossible they had the idea for that kind of thing while making this game and just couldn't do it justice at the time.

With that bit of conspiracy nonsense put out there, we get kicked out of the war room and find ourselves under attack by two useless Cabal Warriors and Frendor who's just awkwardly standing in the back. I'm guessing the front two are Mylek and nameless Viking. No sign of Victor.


The Cabal Warriors fall quickly, leaving just Frendor to square off against our party.

Frendor attacks by doing his best impression of the "Quieres?" meme with his claw.


Frendor is fairly resistant to physical strikes, but he doesn't hit too hard himself and mostly just bullies Kieran while we shoot, slash, smash and sizzle him. Like pretty much all the boss fights in this game, there's about as much strategy going on as a Power Slap match and we hit with the strongest blows we can muster until Frendor falls flat.

Was his Frendship worth it, Victor? Once Frendor is dead, he drops a variety of key items for us to loot.

The Dark Gauntlet is a key item that will be seeing heavy use throughout the caverns, as we need it for a number of locks going forward. There's one other special property to it we will be seeing in a bit.

The statuette is for the pedestal we previously passed.

Finally, we have Geron's key. I guess Victor was the one who snatched it in all the confusion, and had just gotten done handing it over to Frendor.

Strangely only the first sentence of this dialogue is voiced. There's nothing else that prompts a response in this room, Kieran says this for everything you could possibly click on. I'm not quite sure if the implication is supposed to be that we killed Victor here or that he merely fled during the fight, but regardless we never see Victor again. If you hadn't bought the Great Sword Justice at this point, tough luck!


Moving on, placing the statuette on the pedestal opens up a room to the east with a door flanked by two locks. I like to imagine the party side eyeing Paulson as the feeling of deja vu sets in. Looks like we'll have to collect some keys. How unusual for the journey thus far.

Nothing to do but return to that hand indent for now. For some reason, it isn't marked on the map like most locks usually are. This actually did cause me some confusion on my first playthrough, though not with this indent specifically.

Naturally, the Dark Gauntlet fits the hand indents much like it fits our own hand

We can equip the Dark Gauntlet as a weapon! Although that might not be the best way to put it, as it can't actually deal damage. When used as a weapon, the Dark Gauntlet casts Hand of Fate Level 1, which can push enemies one space back though not damage them. This is mostly useless, but an optional puzzle in the caverns does pretty much require it.

Once you step through the opened path, it seals behind you. Looks like we're locked into our current course for now...


Winding through the hallway, we hit a room that has two hand indents in the corner, one on the north wall and one on the west. These indents open up separate paths deeper into the cavern, both containing a key we need to open that door from earlier. Incidentally, this is where I got confused on my first playthrough. Since the indents don't mark themselves on the map, I had no idea the North indent was there until I looked it up in a guide.


Like the previous indent path, you get sealed in once you step through the opening. Eventually both paths loop back to the cavern entrance, but we cannot retreat from the caverns until we fight our way through the entirety of our chosen path. Not that we'd have much reason to at this point. Cabal Warriors are stationed in the room our chosen path feeds into, but they aren't much issue. We open up the door at the end of the room and continue on.

The door funnels us into a room loaded with pits. This is a very simple puzzle room though, we just need to hit 4 switches in order. Only one switch doesn't have a pit in front of it right now, and each switch you hit removes the pit blocking the next switch you need to flip, so you'd have to try pretty hard to screw this up.


I go about hitting the switches when suddenly I'm blocked by an enemy. What's that? You don't see it?

How about now? If you look really closely at the previous image, you'll see a tiny blue pixel a little bit up and left from the center. That is a Necrosap. These annoying little bastards don't hit too hard... against your HP. When they do decide to Sap you though, the targeted character loses their ENTIRE MP bar. What's more, they are immune to weapon damage and most spells save for two, so you can easily find yourself trapped with no MP to attack them with, which is a slow burning Game Over if it happens. The spells that work on them are pretty counter-intuitive.


Despite seemingly being electrical creatures and making distinct sparking noises, Spark and Lightning are the only spells that work on them. Overloading them I guess? With the Lightning Wand equipped, these guys aren't much of a problem. If you don't have that though, then be very careful and save frequently. You do not want to be boxed in by these guys if you have no MP!


Continuing on, I hit the rest of the switches and make my way forward, blowing up some more Necrosaps along the way. Be sure to rest after every encounter if you don't have the Lightning Wand, you WILL be losing all your MP on at least one and usually two characters when fighting these things.


Yet another winding hall in the endless ocean of winding halls we've seen up this point. This one's a bit weird, pressure plates dotted along the hall open up the door in front of you, before you come across another plate after going through the door that closes it behind you. You can just step back onto the plates you walked over to reopen the doors, so I'm not sure what they were going for here. Another indent awaits us at the end.


Heading through the path it opens, we find an entrance to the Catwalk Caverns Level 2. Level 2 in this dungeon has absolutely nothing in, it's purely a dumping ground for if you blunder into a pit carelessly.


Returning to Level 1 and continuing on, we enter a wide open room with pressure plates running along the western wall. These ones work a little wierdly,

Stepping onto them causes a teleporter to appear.

Stepping off causes the teleporter to vanish, regardless of if you left anything behind to weigh the plate down.


For some reason, the plate switches its state whenever any kind of weight change is made to it, regardless of logic. Thus, we have the odd occurrence where the plate presses in when weight is taken off of it. Scratching our heads over the bending of reality unfolding before us, we step through the teleporter. There is another plate-teleporter combo to the south, but that one just sends us in a circle. The north one lets us continue on.


It plops us in front of a switch that rather uselessly opens up the door leading back into the plate-teleporter room. We can ignore that and just continue down the path to the west.

Following the hall along, we hit a fork in the path. We want to bear south first, which places us in front of a treasure chest after enough wandering.


This chest has quite the haul of good and not so good items. For the not-so-good, we have the Death stick that according to the Clue Book has a 5% chance of dealing triple damage. Since it has a quarter of the Might the Great Sword Justice does, this is not much of an upgrade. We also get a random clove of Ginseng, which actually could potentially be useful to hang onto. For the good items, we get a Bannon's Reserve and George's Kite Shield. I have no idea who the fuck George is, but his shield takes Kieran's Protection from 83 to 85, so I guess I should give him a small thanks.

We also get a Yellow Key, one of the two keys we need for that door!


Finally, we get the final spell of the game: Mist of Doom!
Mist of Doom
Lv. 1: 30 MP, 30 Base DMG AoE
Lv. 2: 60 MP, 70 Base DMG AoE
Lv. 3: 90 MP, 110 Base DMG
Lv. 4: 150 MP, 200 Base DMG AoE
It's fine I guess. It is straight forwardly the strongest spell in the game, and nothing but Necrosaps really resist it. Still, that hefty MP cost means that only Ak'shel can realistically even use Level 4 without a ton of grinding, and even then only once. It's a shame, because this spell is quite mighty in Michael's hands, though Level 3 is nothing to sneeze at, at least. Since Kieran just passed the 90 MP threshold, he can cast Level 3 which could potentially come in handy later. Baccata will never even hope to cast anything beyond Level 1, and Paulson doesn't fare much better.


With that done, we double back and head east at the fork instead. Following the path east, we hit a huge circular (squareular) room that has a bunch of Necrosaps roaming it.


Off to the right from where we enter, there's a hall going through the center of this room that has a curious device with a note for us in it.

Interesting. This device is the replicator, and should we manage to power it, it has the unique effect of being able to duplicate any one item you provide to it. It can only do it once though. I also don't think it replicates Key items, though I've never actually tried. How do we power it though?

Say now, there's a lot of Necrosaps in this area...


The hall feeds into the opposite end of the room, with a pressure plate outside the door sealing it off. This actually makes it a good safe zone for resting without being harassed by Necrosaps if you need to.


At the east, south, and west ends of the room are hallways that have these weird power couplings at the end. Perhaps if we push a Necrosap into them, it'll power up the replicator?

I decide to rest to try and bait some Necrosaps into approaching me, but I hear a curious noise while sleeping. Also, evil-doers beware, Kieran has trained himself to sleep with his eyes open.

It's a bit hard to tell, but two Necrosaps actually wandered into a power hall. Sometimes you get lucky like that! Sadly, both of them blundered into the same hall, so we still have to feed two of the couplings if we want to use the replicator.


Usually these guys spawn for me ad-infinitum, but it took a lot of blundering from me before more Necrosaps eventually spawned in. I took the opportunity to open up the door out of here in the meantime. As you can see, the replicator has also lit up for the east power hall. After about two minutes of me doing laps, more Necrosaps FINALLY spawn in.

Corralling these little bastards is a bit tricky. Generally you want to aggro them and then have them chase you to a power hall, at which point your start slapping wildly with the Dark Gauntlet and try to push them into the hall.


In a bit of mercy, the Necrosaps generally prefer to attack from our front, so we can back up from the power hall, slap it into a wall, and then quickly rush around to its side and try to push it into the coupling. Also, this area is by far the most likely place for you to be boxed in by these things, be very mindful of your MP. If you can't cast Spark 4 and they have you boxed in a corner, you're fucked.


After some finagling, the west hall is powered! This is how it's supposed to look when these things hit the couplings.


With a little bit of a effort, and a firm spectral pimp hand from Paulson, the south hall is also powered!


With the replicator fully powered, we now have the interesting option to duplicate any one item of our choosing. The Great Sword Justice is by far the most popular choice for this, since it is the strongest weapon in the game. Another interesting option is the CBV, giving Kieran and Paulson a reliable source of chip damage. But you know what?

I think having Kieran and Paulson emulate Palpatine would immensely in the next area, so I decide to get a second Wand of Lightning.

For now though, I still need to work on Paulson's Rogue skills in this file, so I figure he can take the Arbalest Redemption for a spin. This does much more damage than the CBV, but it's not 100% accurate so it's debatable how much of an upgrade it is.


Returning to the indent door I opened, it feeds us into a ridiculously long hallway that covers the entirety of the western end of the caverns. Once you hit the end, you'll come across a one-way secret wall that dumps us back into the double locked door room. One-way secret walls is a trick this game uses surprisingly sparingly.

We're still one key short, so it's time to return to the 2-indent corner and take the northern path this time.


We encounter a couple Necrosaps along this path, but otherwise this area is mostly flooded with Cabal Warriors. More blood for our intrepid heroes!


This area is pretty straightforward. We have a number of one-way secret walls that are often placed in front of Woah! tiles. Certain secret walls will allow you to progress, while others just loop you back to the start. Just keep an eye on your compass at all times and double check your Atlas if you lose track of which way you want to be facing. Granted, you kind of have to check the Atlas a lot anyway to more quickly identify secret walls, so all the Woah! tiles really do is induce motion sickness.


Eventually we hit another hall with and unfortunate horde of Cabal Warriors, who get to face down the admittedly awesome looking Mist of Doom spell.


We're past all the secret walls at this point and can't be looped back to the start anymore. Opening up yet another indent path, we come across this strange area that is loaded with doors that have plates/switches to open and close them on both sides. There's about a dozen Cabal Warriors roaming this area, but only one of them has something we need.

To the south, we find a chest that we actually cannot pick. It's been quite some time since we've seen one of these.


Heading a little west from the Chest, we find our next batch of warriors. Once they're slain, I am delighted to see one of them dropped a key!


You would think this Blue Key would go with the Yellow Key and open up the double locks, but no. It's actually for this Chest, which can only be opened by this key.

Another batch of interesting items awaits us in this chest!


The Great Axe Master is pretty weak in comparison to our current weapons, but like the Jade Necklace it has the effect of increasing your Rogue level by 1! Handy if you hadn't been training it up till now.

There's some oil and a Bannon's Reserve...

And a small key! This is the key for the double locks. I feel like they got the effect of this key and the Blue Key backwards and just decided to roll with it when they noticed that.

Finally, we have a Guardian! This is a single use spell item like the Aces, though unlike the Aces it has a completely unique spell tied to it! These are most commonly saved for the final boss, and truth be told they're not the helpful elsewhere so may as well. Guardian is the strongest spell in the game, but the one-shot nature of it does kind of make these feel too valuable to actually use.


With that taken care of, the area where we got the Blue Key has a one-way secret wall that feeds back into the double lock room. Convenient!


With the Yellow Key and


I praised Kieran for his conviction earlier, but he finds himself questionably resigned to what just happened. Anyway, you know what time it is.

What is it with old-school dungeon crawlers and asking the player to conduct genocide anyway?


To the north, we have the symbol of the Knowles of Gortesh and a teleporter to the dreaded Dungeons. Entering here will mark us as the champion of the Knowles and will pits us against the Xeobs.


To the south is the symbol of the Xeobs. They don't seem to have an associated realm, they're just... the Xeobs. Anyways, entering the teleporter here would make us the champion of the Xeobs, pitting us against the Knowles. Their teleporter connects to... the dreaded Dungeons! Yeah despite what the cutscene implies, both teleporters take you to the same place. The only difference is what section you get dropped into and who you're fighting against. So yeah, very randomly we're tasked with genociding one race for the prosperity (or at least the satisfaction) of the other. There is technically a way to get out of this with completely annihilating one of the races, but it just puts you into conflict with the other one so there's no way to avoid bloodshed here. By the way, this is what I think Frendor's test would have been assuming I'm not reading way too deep into things. I feel like that scene would make much more sense after this upcoming ethnic cleansing than it does happening well before it.
So, do we get anything out of this aside from PTSD? Why yes actually! While the Knowles promised riches and the Xeobs promised lordship, the actual rewards are a bit more interesting in that. Should you choose to fight for the Knowles and kill the Xeobs, the Knowles will give you enough Mage EXP to level up your party once. This just fills up your current EXP gauges to the max, it does not allow you to quickly ascend to the succeeding level afterwards. They also give you a number of magic related items, but the only useful one is a Bannon's Reserve. Should you fight for the Xeobs and kill the Knowles, however, the rewards are different. The Xeobs will grant you a Fighter level (again achieved by maxing out your current EXP gauges) and a number of Fighter related items. The most prominent among them is a second Great Sword Justice! Of course, let's not lose track of the forest through the trees here.
The upcoming section is by far the hardest and most annoying portion of Lands of Lore. And unlike the White Tower Level 3, there's no easy level trick for it. Both the Xeobs and the Knowles are acid spitting enemies that can destroy your armor and they have an absurdly high success rate for doing so. You simply cannot fight them with your armor equipped or it WILL be destroyed. The amount of save scumming you'd have to do to keep your armor intact should you wear it would be ridiculous. What makes this extra painful is that the Xeobs and the Knowles are the strongest enemies in the game by a mile, hitting like trucks even if you do have armor on. If that wasn't enough, both have absolutely devastating projectile attacks they can nail you with, giving them a huge leg up in combat before you even get a chance to swing your swords. Are there any differences between the two in combat? Yes unfortunately. Xeobs are by far the most durable enemies in the game. They have like 300 HP on Ferocious and they resist every single type of magic, making every single fight against them a prayer session for hoping that Baccata lands enough critical strikes before he gets minced. The Knowles have much less HP and aren't resistant to magic (ironically enough)... but they have the fucking Quake ability meaning as soon as you get into melee range with them you will end up dropping all your weapons, followed by your shields shortly after for more pain. Most people prefer to fight the Xeobs because they're less annoying, but both of these tribes are just a nightmare to deal with.
That's why I'm leaving it up to you to decide who I should eradicate! Post Knowles if you want me to stuff those nerds into Davy Jones' Locker or post Xeobs if you want me to send them to a home of their own (in hell). I'll keep the unofficial poll open until Friday so I can mentally prepare myself for the pain this upcoming weekend.
Last edited by Cullen on Tue Sep 03, 2024 2:51 am, edited 1 time in total.
The one time I saw anyone try to do the necrosap puzzle it crashed the game in rather spectacular fashion.
As for our options I'm rather torn, on the one hand I've never actually sided with the Xeobs so I was rather curious as to what the Knowles are capable of doing. On the other hand, knowing in advance that you'd have to put up with quake bullshit on top of the acid bullshit you'd otherwise have to deal with (neither of which are mentioned in the hint guide, because of course) is satisfaction enough, and besides, it's not like Bacatta *really needs* to achieve his final form that badly, so yeah, kill the Xeobs.
As for our options I'm rather torn, on the one hand I've never actually sided with the Xeobs so I was rather curious as to what the Knowles are capable of doing. On the other hand, knowing in advance that you'd have to put up with quake bullshit on top of the acid bullshit you'd otherwise have to deal with (neither of which are mentioned in the hint guide, because of course) is satisfaction enough, and besides, it's not like Bacatta *really needs* to achieve his final form that badly, so yeah, kill the Xeobs.
Wow jeez, that does look like awful numbers indeed. Didn't realize the catboy was that bad. And he's the official protagonist of this game? Sheesh.
He's tanking for your more worthwhile characters, clearly. Okay, more like character, singular.
They look a lot cooler though.
Clearly, he's talking about the test of finding the secret evil lair.Cullen wrote: ↑Mon Sep 02, 2024 8:32 pm
Before we can process that, Frendor butts in and welcomes us to theDark ArmyArmy of the Dark Path. Frendor is the commander (I think?) and has the impressive ability to communicate only with his eyes. I'm not exactly sure what "tests" he's talking about, letting your entire army get butchered to recruit 3 guys seems like an inefficient plan.
Also amazing that this city didn't get raided sooner, considering the evil lair was right under it all along.
Lol goddamn. Didn't expect that! Why Victor, of all people?!
That's a shame, would have loved to see an "evil" route in this game lol.Cullen wrote: ↑Mon Sep 02, 2024 8:32 pm
So I have a couple of theories about this scene, and I'll admit they're kind of tin foil hat style theories with no actual basis but I don't think they're completely impossible. My first theory is that this scene was meant to happen much later, after we had finished the Catwalk Caverns. There is something at the end that could conceivably serve as some kind of Test of the heroes for getting into the Dark Army and it puts us in Castle Cimmeria once it is done, which would be a much more fitting backdrop for this cobblestoned war room we are in. The other major theory I have is that this scene would have been the payoff for all the "evil" choices you could have made up to this point. Had you acted callous enough throughout the story, once you hit this scene you could renounce Gladstone and become a member of Scotia's army instead. There is nothing in the game to directly support this idea, but Guardians of Destiny does have a moral choice aspect with alternate endings depending on if your main character has been good or evil throughout, so it's not impossible they had the idea for that kind of thing while making this game and just couldn't do it justice at the time.
Seems like a theme with the bosses in this game. Gotta wonder how much of a wimp Scotia will be.Cullen wrote: ↑Mon Sep 02, 2024 8:32 pm
Frendor is fairly resistant to physical strikes, but he doesn't hit too hard himself and mostly just bullies Kieran while we shoot, slash, smash and sizzle him. Like pretty much all the boss fights in this game, there's about as much strategy going on as a Power Slap match and we hit with the strongest blows we can muster until Frendor falls flat.
Ah nice, now we really can slap enemies with our own hands.Cullen wrote: ↑Mon Sep 02, 2024 8:32 pm
We can equip the Dark Gauntlet as a weapon! Although that might not be the best way to put it, as it can't actually deal damage. When use as a weapon, the Dark Gauntlet casts Hand of Fate Level 1, which can push enemies one space back though not damage them. This is mostly useless, but an option puzzle in the caverns makes use of it.
Ah, we found the bats of this game. At least they can't shove your team into pits I hope.Cullen wrote: ↑Mon Sep 02, 2024 8:32 pm
I go about hitting the switches when suddenly I'm blocked by an enemy. What's that? You don't see it?
How about now? If you look really closely at the previous image, you'll see a tiny blue pixel a little bit up and left from the center. That is a Necrosap. These annoying little bastards don't hit too hard... against your HP. When they do decide to Sap you though, the targeted character loses their ENTIRE MP bar. What's more, they are immune to weapon damage and most spells save for two, so you can easily find yourself trapped with no MP to attack them with, which is a slow burning Game Over if it happens.
Unlimited Power.gifCullen wrote: ↑Mon Sep 02, 2024 8:32 pm
With the replicator fully powered, we now have the interesting option to duplicate any one item of our choosing. The Great Sword Justice is by far the most popular choice for this, since it is the strongest weapon in the game. Another interesting option is the CBV, giving Kieran and Paulson a reliable source of chip damage. But you know what?
I think having Kieran and Paulson emulate Palpatine would immensely in the next area, so I decide to get a second Wand of Lightning.
Love that goofy ass hallway in the right, lol.
This, though, just looks like a huge pain.
What the hell, indeed.Cullen wrote: ↑Mon Sep 02, 2024 8:32 pm
With the Yellow Key andBlue KeySmall Key slotted in, the door to the end of the caverns opens itself for us. Now I'm going to be real here, screenshots cannot adequately convey how much of a non-sequitur what's about to happen is. Once again, I think it's time for a video.
I would vote skipping this quest, but if I had to choose, Knowles. Never trust nerds, especially not in fantasy settings!Cullen wrote: ↑Mon Sep 02, 2024 8:32 pm
That's why I'm leaving it up to you to decide who I should eradicate! Post Knowles if you want me to stuff those nerds into Davy Jones' Locker or post Xeobs if you want me to send them to a home of their own (in hell). I'll keep the unofficial poll open until Friday so I can mentally prepare myself for the pain this upcoming weekend.
Current thread preference for Genocide is the Knowles, leading with 6 votes against 3. Their self-aggrandizing nature has won them several detractors within the threads and the fact the don't even offer lordship to sweeten the pot like the Xeobs probably doesn't help. If you'd rather see the blobby yet regal Xeobs wiped out instead though, be sure to get your vote in before Friday!
Looks like we'll be killing the Knowles! I'll make sure to show off a little bit of what happens if you side with them instead, but the bulk of the next update will be taking them down a peg and the reward from the Xeobs is what we will be carrying to the end of the game. I should have the next update ready on Sunday!
Alright, I've recorded the next section of the game and should be able to make time to capture images and write the next update tomorrow. I decided to pull out a few key moments of the session to show why this section of the game is so reviled.
The raw video is a grueling 36 minutes that's a combination of this bullshit and wandering aimlessly through one of the biggest mazes in the game looking for the next thing to kill. There's a reason this level has an entire video dedicated to it even though it will only be one update.
The raw video is a grueling 36 minutes that's a combination of this bullshit and wandering aimlessly through one of the biggest mazes in the game looking for the next thing to kill. There's a reason this level has an entire video dedicated to it even though it will only be one update.
Before: alright im gonna fight knowles
After: damn knowles gothands quake bs
After: damn knowles got
Update 20, Alright Already, We All Float On
Okay, deep breaths. We got this. The thread has decided we should ally ourselves with the Xeobs and annihilate the Knowles, and by golly that's what we're gonna do. All truth be told, the Xeobs are actually probably the harder species to war with, but the Knowles are extremely annoying to fight for reasons we'll get into momentarily. We steel ourselves, and step into the portal by the Xeobs' crest.
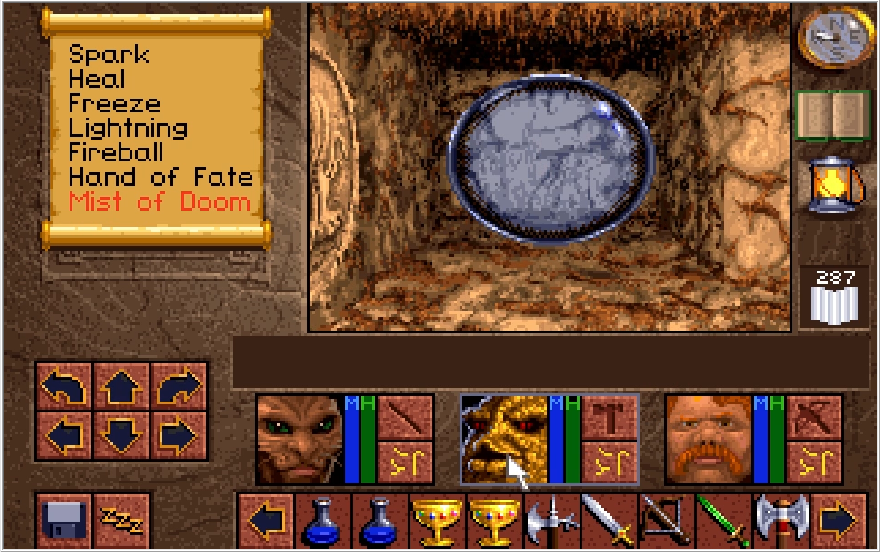
Music: Dungeons-Castle Cimmeria (Get used to this song, it's the main one you'll be hearing for the next two hours in game)
Stepping into the portal, we immediately find ourselves deposited into a crimson cobblestoned prison. Christ we haven't even started and I'm already seeing red! I immediately save my game, and believe me that you want to save often here. Save after every encounter you get into, you do not want to have to repeat any fights you get into.
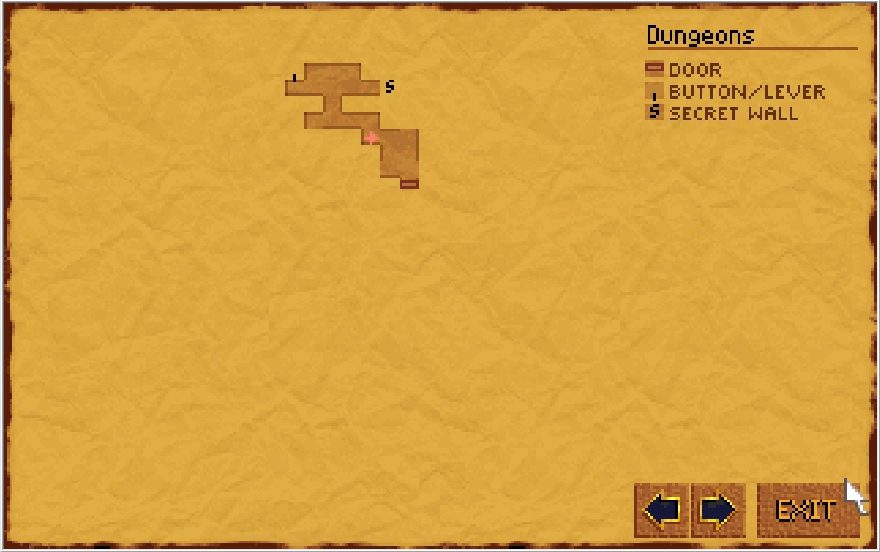
As mentioned previously, both portals for the Xeobs and the Knowles dump us into the same place, but there are two main differences beyond what enemies we will be fighting. The first one is where we start. Allying ourselves with the Xeobs places us in the northeastern section of the Dungeons. Should we have allied with the Knowles instead, we'd find ourselves in the southwestern section. As a random aside, I've always kind of considered this place to be its own thing due to the unique objective and visuals, but I suppose you could consider this place either the end of the Catwalk Caverns or the beginning of the Final Dungeon. I'll leave that classification up to you.
Moving on, we start very close to a secret wall and switch, so why don't we investigate those to start with?
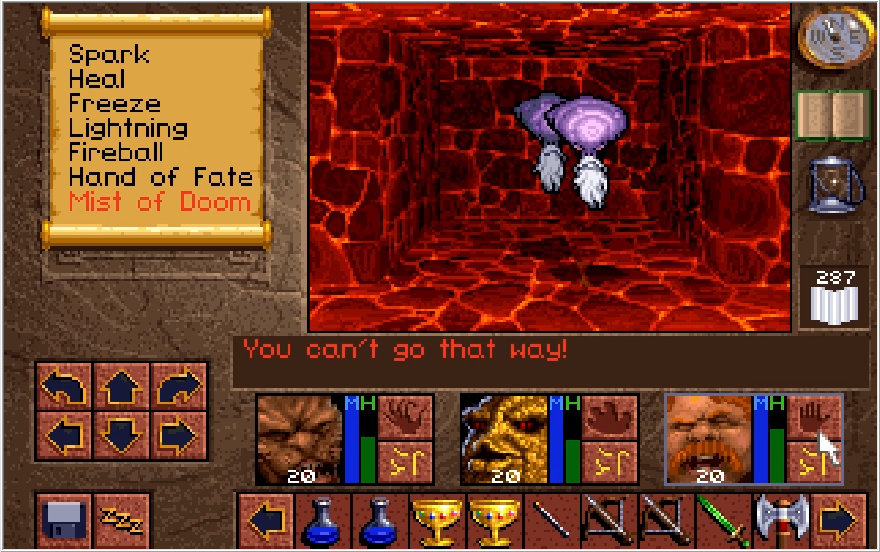
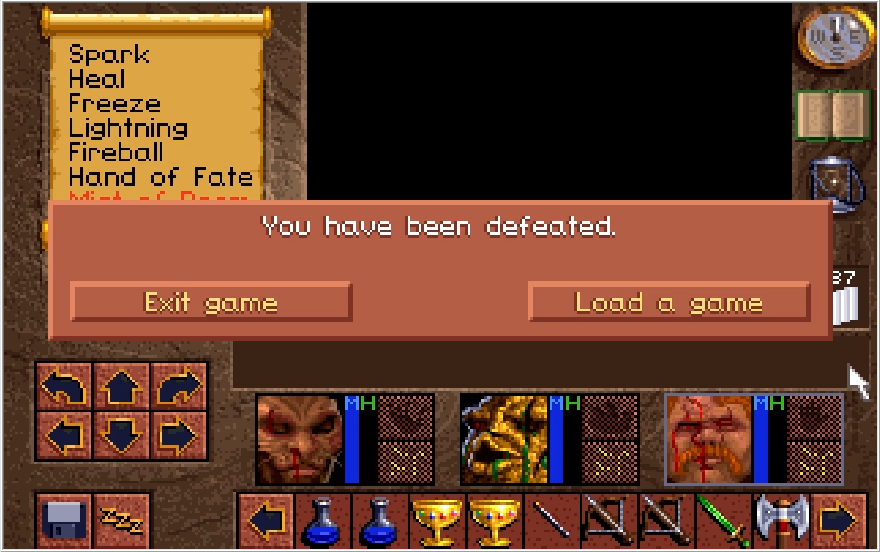
Heading into the secret wall, I immediately slam into 5 Knowles, getting quaked and fire balled into dust in the process. We'll have to approach that with more care. One thing we have in our favor is that the Knowles and Xeobs cannot see you through secret walls and will generally stay behind them, though their random pathing can result in them wandering beyond the wall every now and again. Let's investigate that switch first instead.
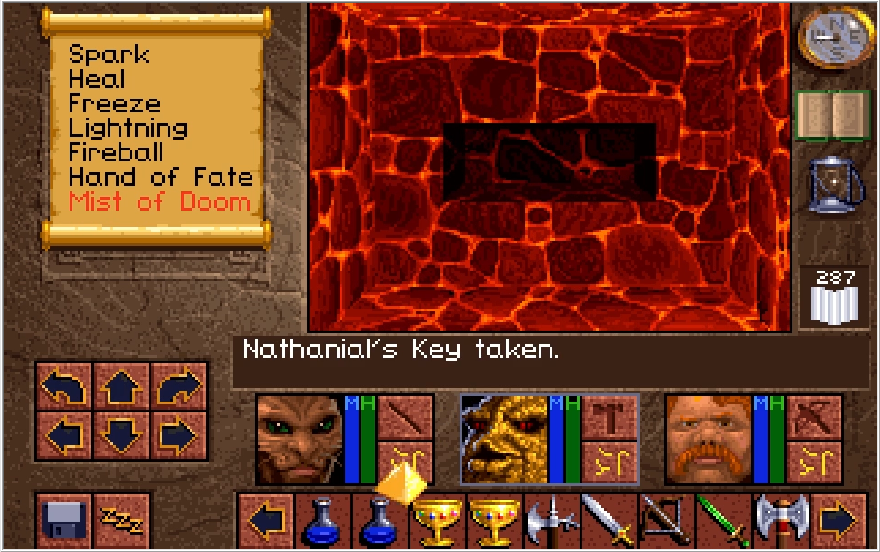
Somewhat randomly, the switch opens up a wall leading to an alcove with Nathaniel's key! Remember Nathaniel? The really nervous guy who ran the herborium? Well for some reason his key is here and we need to collect it if we want to beat the game. I'm not sure if this is meant to indicate that he's been killed and his key was stolen and sequestered in these dungeons. We never actually see Nathaniel or learn of his fate. I do have a theory that the "score" Victor talked about settling, assuming it wasn't just meant to make him seem more trustworthy, was actually tracking down and killing Nathaniel for his key. Nothing in the game supports that though, so more likely they just forgot or didn't care to provide an explanation for this.
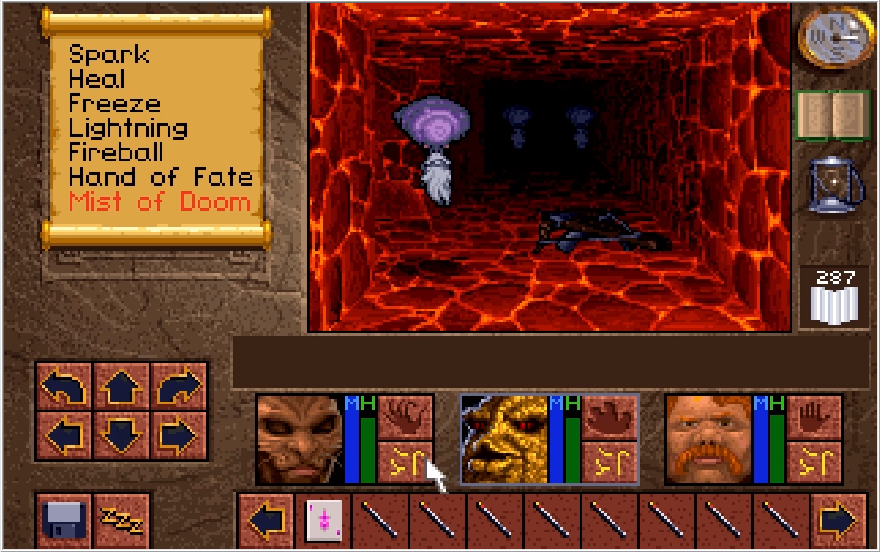
Returning to the Knowle Party Hall, I bait them and let them quake me. I have to leave my gear where it lies for a moment, but we don't want to get caught in a pincer by these guys. As you can see, I took the downtime waiting for the vote to return to the Gorkha Swamp and loaded the fuck up on Fireball Wands. The Knowles are not immune to fire magic and actually take pretty good damage from it. If I had Michael, he could probably fry the Knowles in two blasts of the wand.
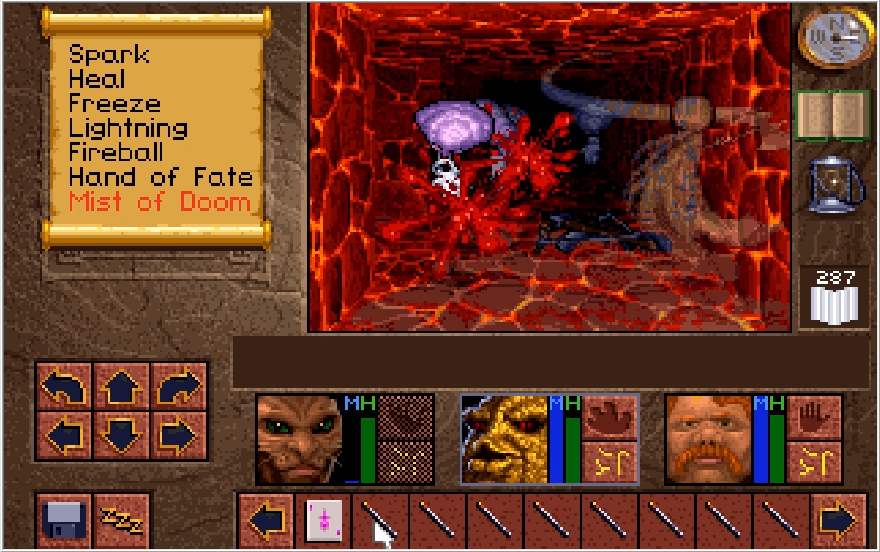
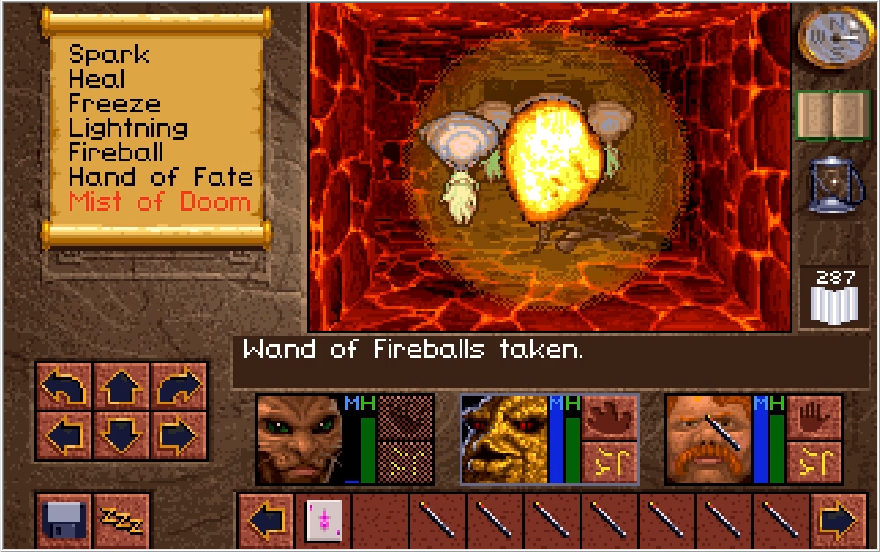
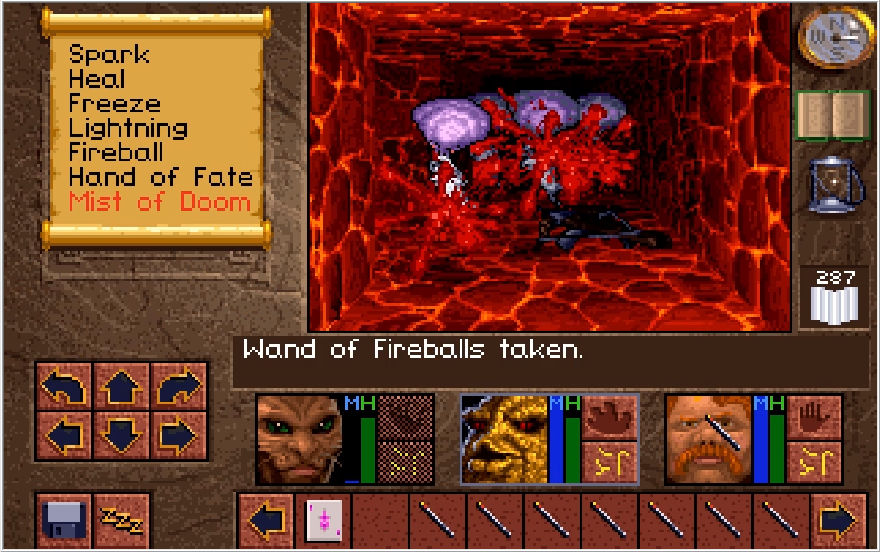
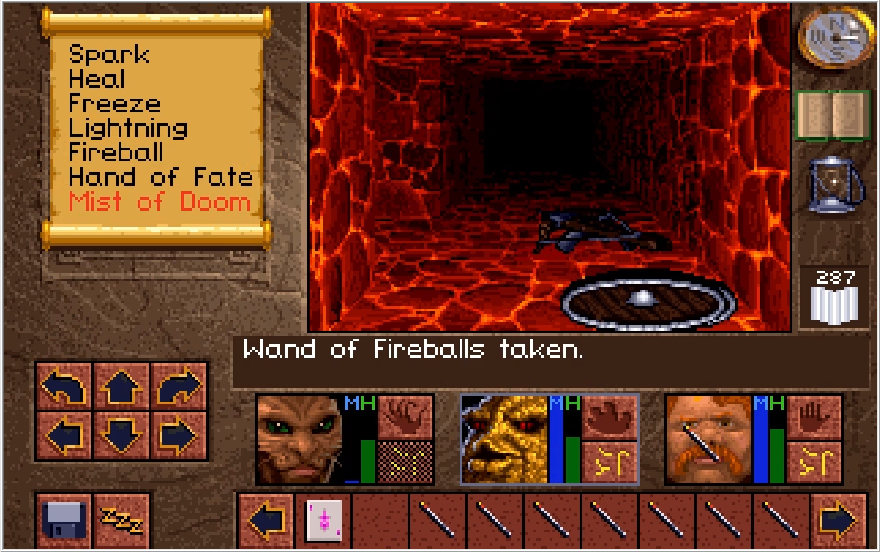
Sadly, we aren't exactly wizards on par with Gandalf the White or even the Grey, so Knowles take 3 blasts from the Fireball wands regardless of who I use them with. It's worth it though. I also mix in some Mists of Doom just for flavor, though I probably should save my MP just for healing. It hasn't really come up all that much, but do be mindful that you need a weapon to actually deal melee damage to enemies. If you're relying on weapon damage exclusively and get quaked, you are up the creek against the Knowles. Baccata can still attack at half effectiveness at least since he has two weapons and needs to be quaked 3 times to be completely disarmed, but everyone else needs to either pick up and throw/re-equip their weapons or find something else to do.
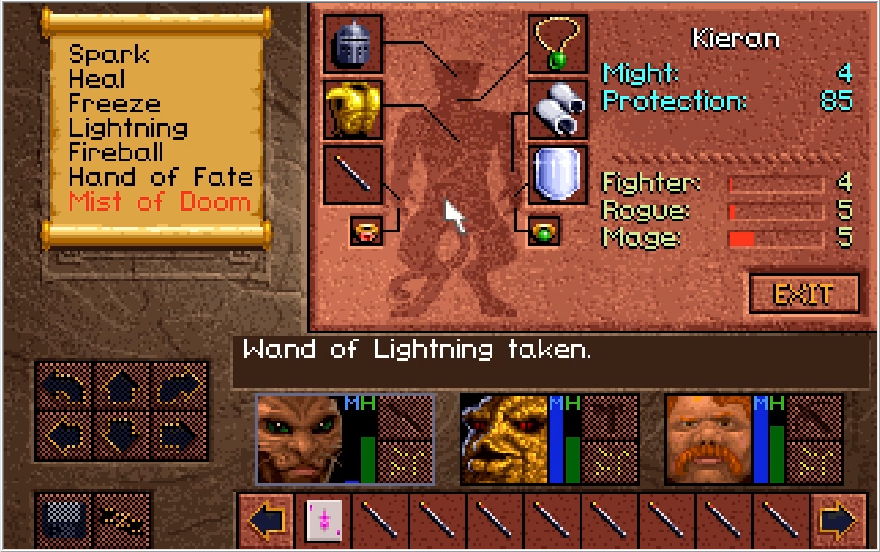
Speaking of, I grab all my dropped shit and slap it back on. I think if I timed the video for all the time I spent re-equipping myself after a fight, the overall time would be somewhere between 4-5 minutes of a 36 minute recording. This is the reason the Knowles are so irritating to fight.
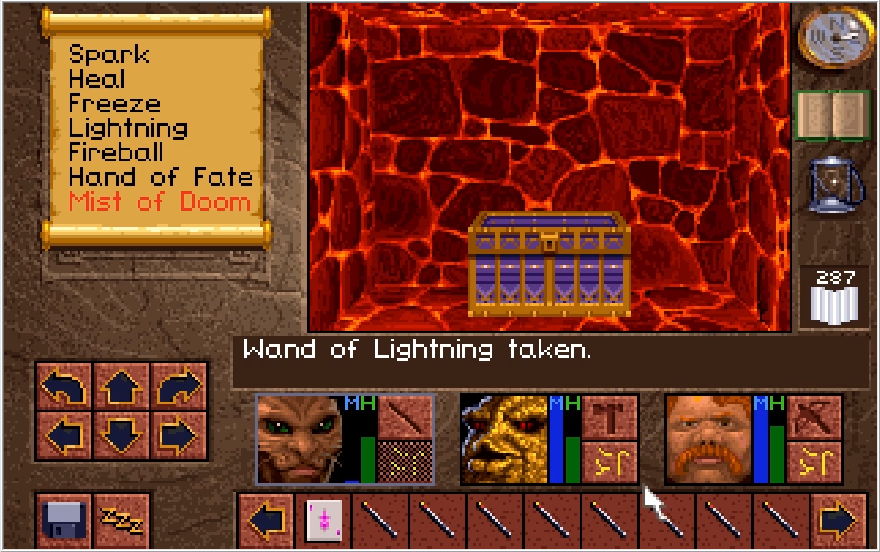
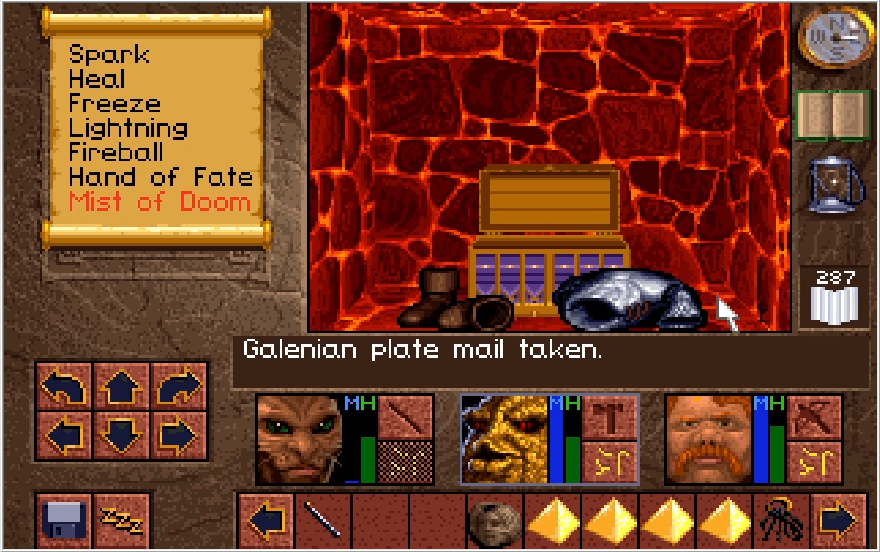
Moving past the Knowles, we find a chest containing some Dwarvish Boots and Galenian Plate Mail, stuff that is not better than anything we already have. This does remind me of another thing we should take care of real quick.
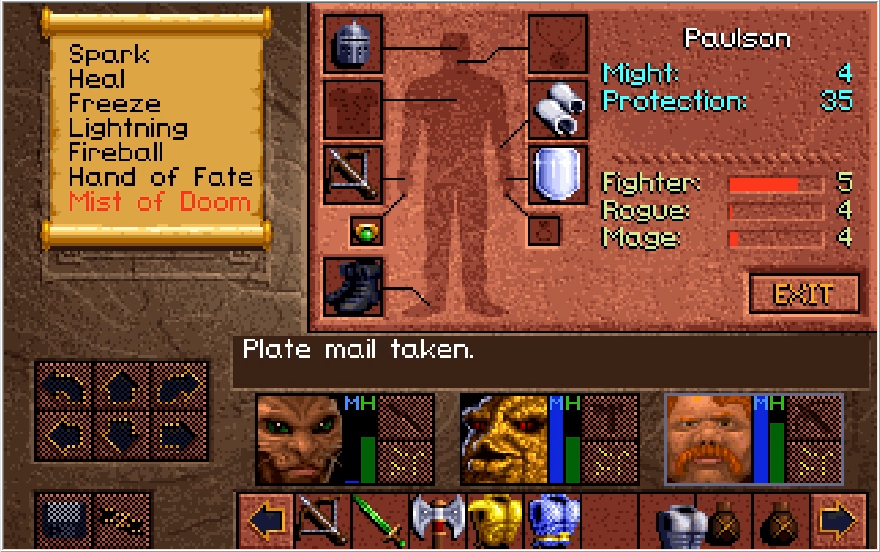
Remove all your body armor! Though they don't look like they could, the Knowles are acid spitting enemies and can destroy your armor with their melee strikes. We are going to be fighting way too many of them for it to be practical to keep our armor on, I'd be save scumming constantly if I did. In one of the few mercies I got here, this actually does not affect us too badly against the Knowles. The Knowles have pathetic melee hits that only deal like 2 damage even without armor. Quakes always deal 20 damage to your party, and the fireball projectiles they launch just seem to deal random damage between 20-60. This is a much bigger problem against the Xeobs, who are also acid spitting and have devastatingly strong melee strikes. I've lost 75 HP to a single hit against them, WITH armor on and often the armor gets destroyed in the process.
Now that we've cleared this secret hall, it's a perfectly safe place to rest. Be mindful of where you might be able to rest! Getting ambushed in your sleep here really sucks. One problem unique to the Knowles is that they make no noise when they move, while the Xeobs do have a distinct noise they make when they are nearby. The sneaky nature of the Knowles is annoying for two reasons, and we'll get to the second one later. Just know that they are very annoying to track by anything other than sight.
Leaving the secret hall and bearing west, I find a Gold Key. This is the key to the room containing the portal to the realm of the Xeobs, which as it turns out they actually do have and just didn't feel the need to mention it in their introduction. This key is here regardless of who you ally with, but it only actually serves any purpose if you're fighting for the Xeobs.
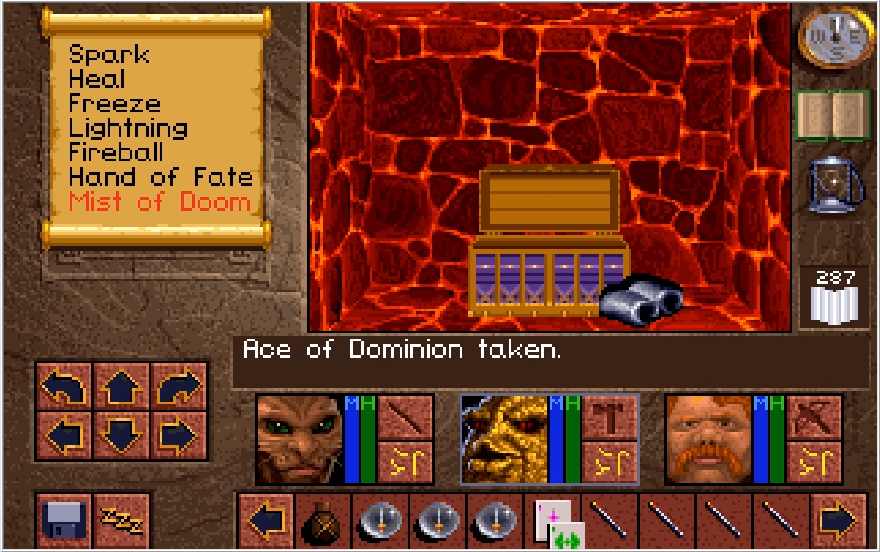
Also nearby is a chest containing some serious loot! The Steel Bracers give Kieran 4 more protection over the vanilla Bracers, so I immediately slap those on. We also get two Guardians and an Ace of Dominion! The former will come in handy for the final boss fight.
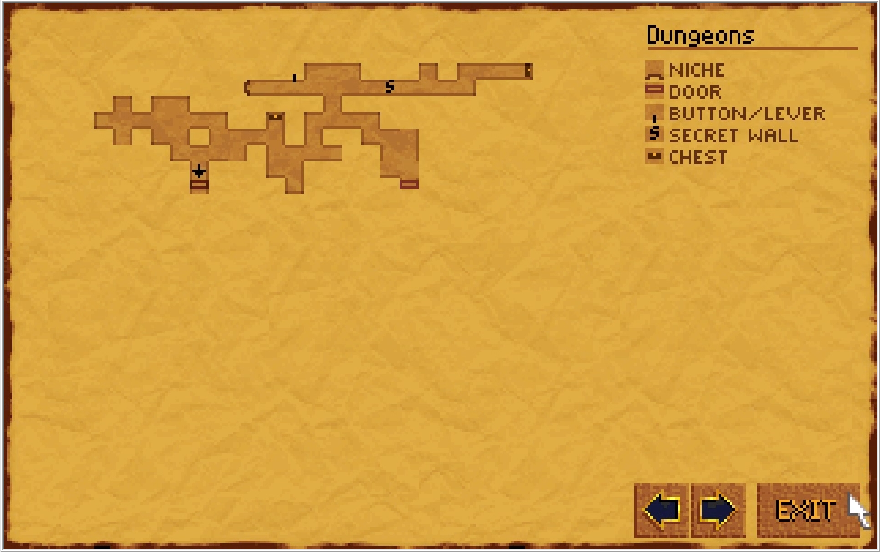
Exploring more of this area, I stumble across a fairly unthreatening projectile trap and a door leading southward. I found myself a little indecisive on where I wanted to go and meandered around for a little bit.

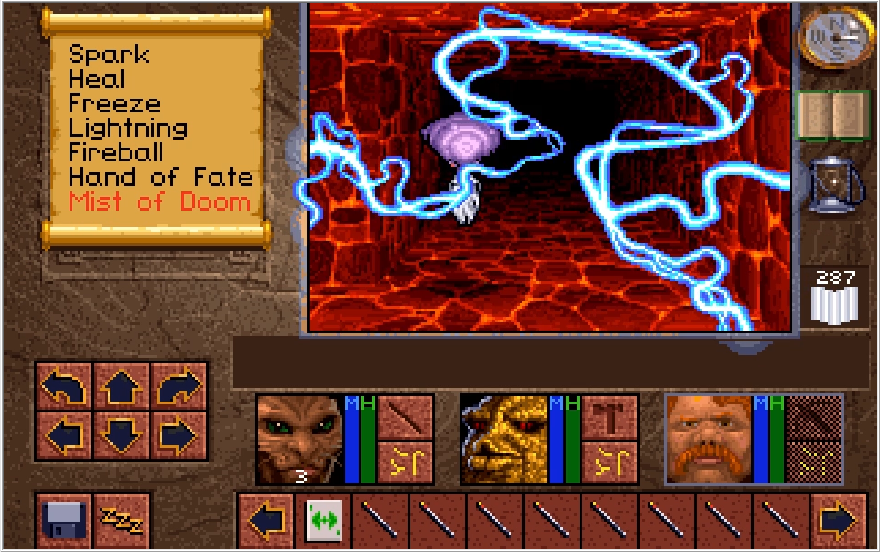
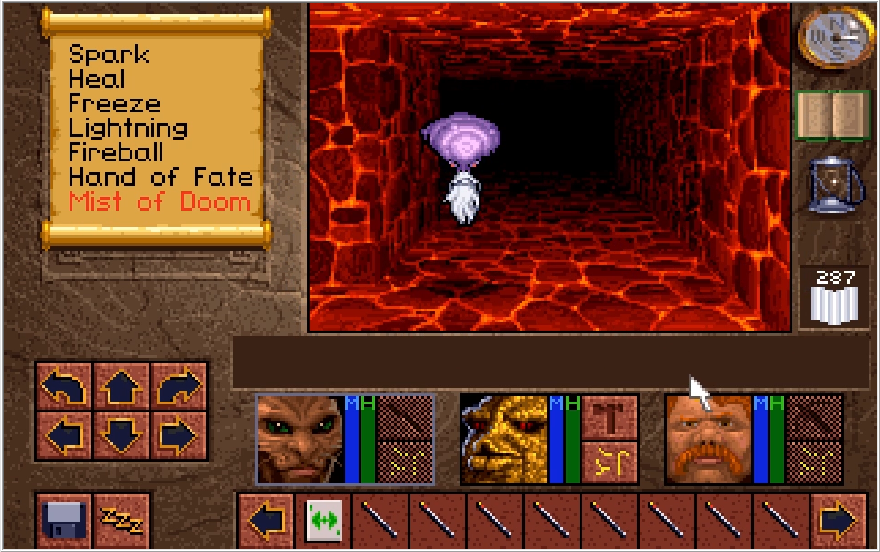
Bumping into another Knowle, I learn something absolutely crushing: they're immune to Lightning! This means that duping the Lightning Wand was for naught, though it would have worked against the Xeobs. Not that it mattered either way, because reviewing my inventory I realized this was the playthrough where I got the randomly dropped Lightning Wand in Yvel Woods. Whoops. When you do 4 practice runs of a game, they start to blend together and you forget which one you did what in.
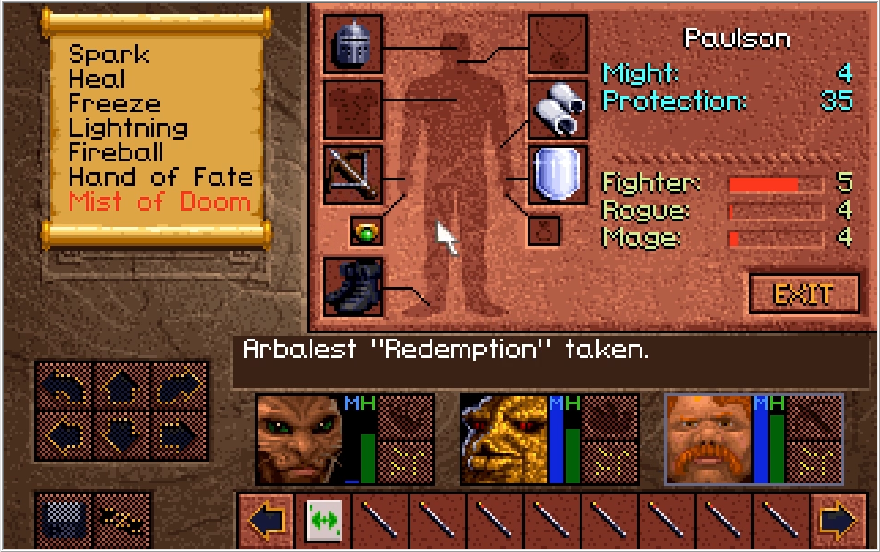
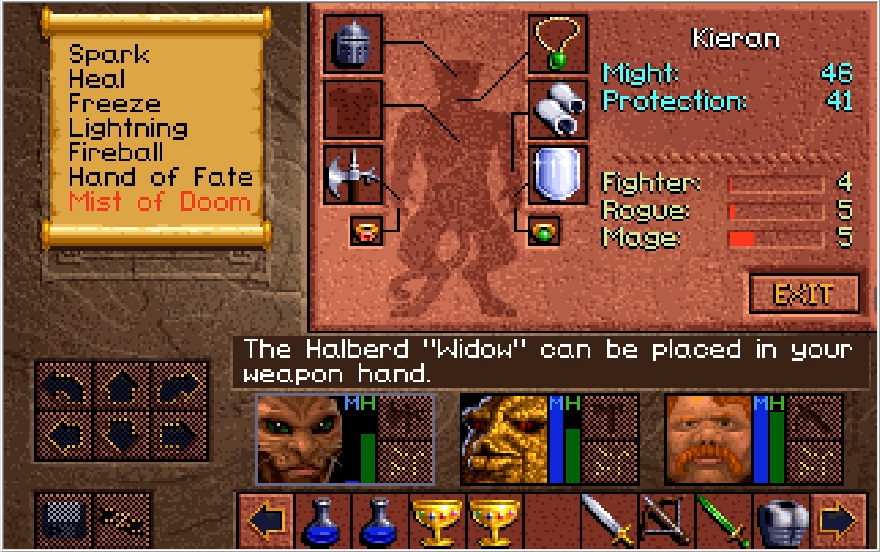
I have to re-equip myself after the fight (get used to it), and I opt to give Kieran the Halberd Widow. May as well be able to do something with his weapon hand. Kicking myself for not getting the Great Sword Justice duped now, but hey we'll get a second one later regardless.
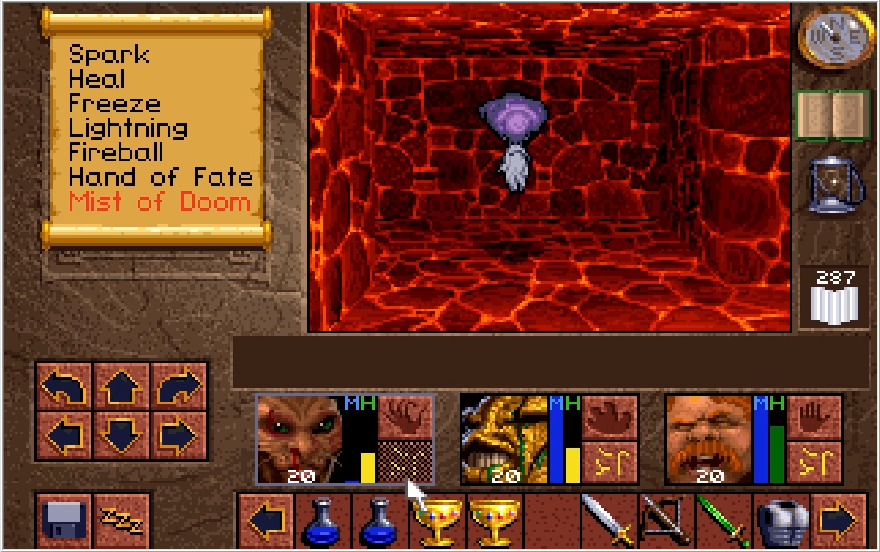
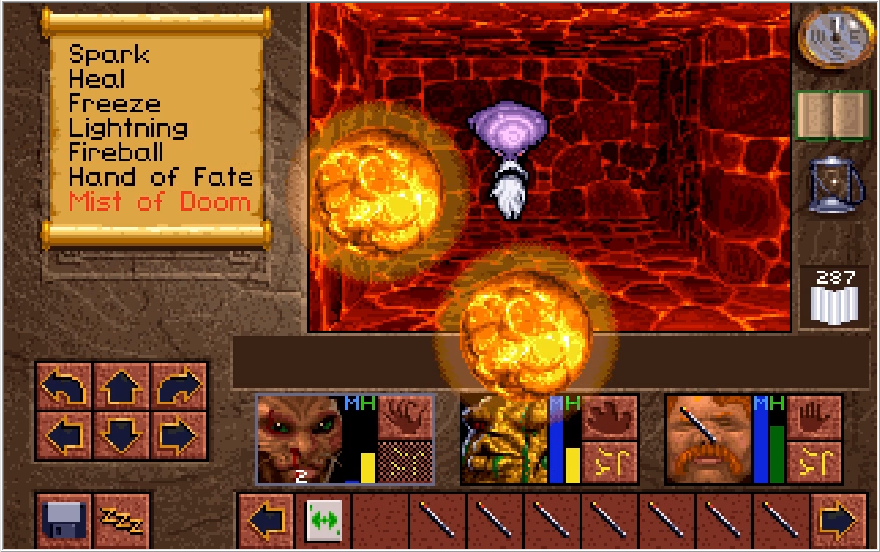
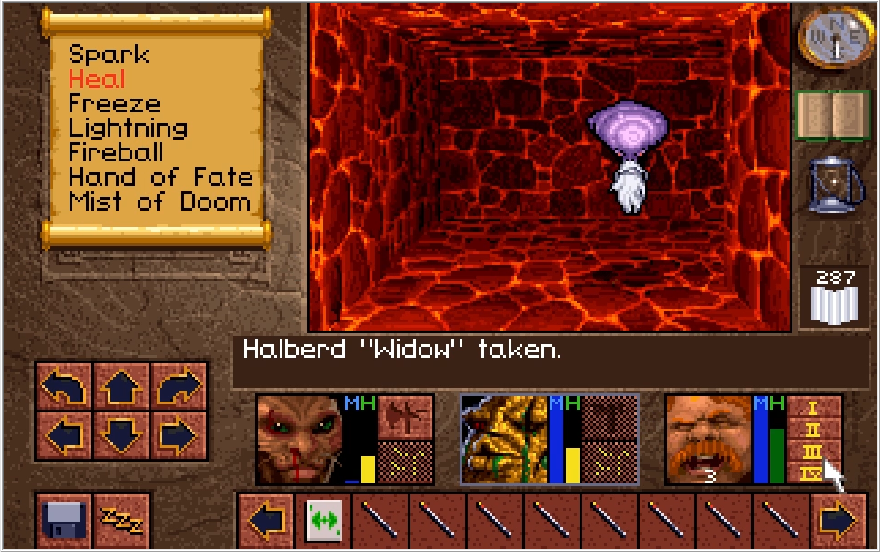
Keep your healing magic at the ready! These guys hit hard and suddenly being unable to fight back means you need to scramble for anything you can do to stay on top in an encounter. This is another area where Ak'shel's MP advantage really comes in handy. You can easily have him at Mage 6 and he'll be able to cast Heal 4 up to 3 times. The fact Ak'shel himself is also surprisingly sturdy is just icing for that. Also you can see the pathetic melee damage these guys deal on Kieran there.
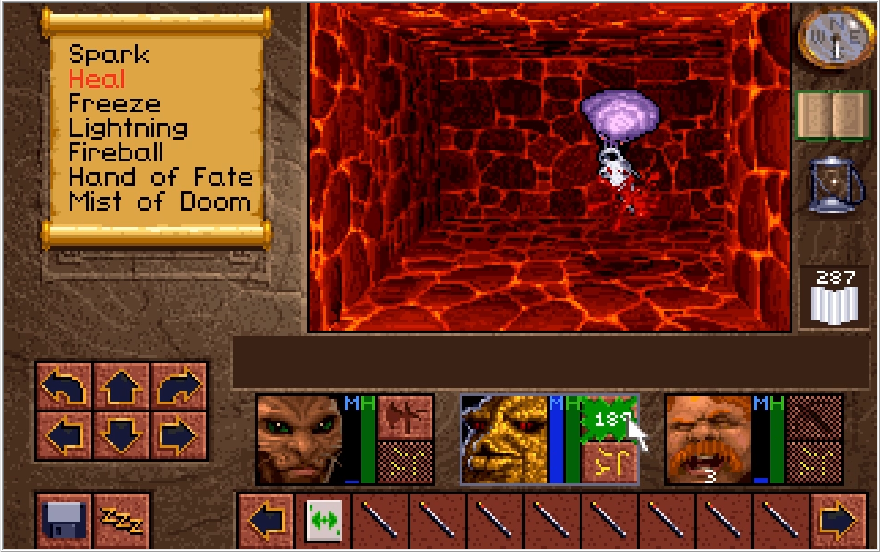
And of course, every now and again they'll be late on the draw with their quakes and Baccata will just absolutely bulldoze them. Love ya buddy.
I decide that I need rest and look for the first alcove I can protect my back and sides in. Unsurprisingly, I get an extremely rude awakening that half kills my entire party. These projectiles are nasty!
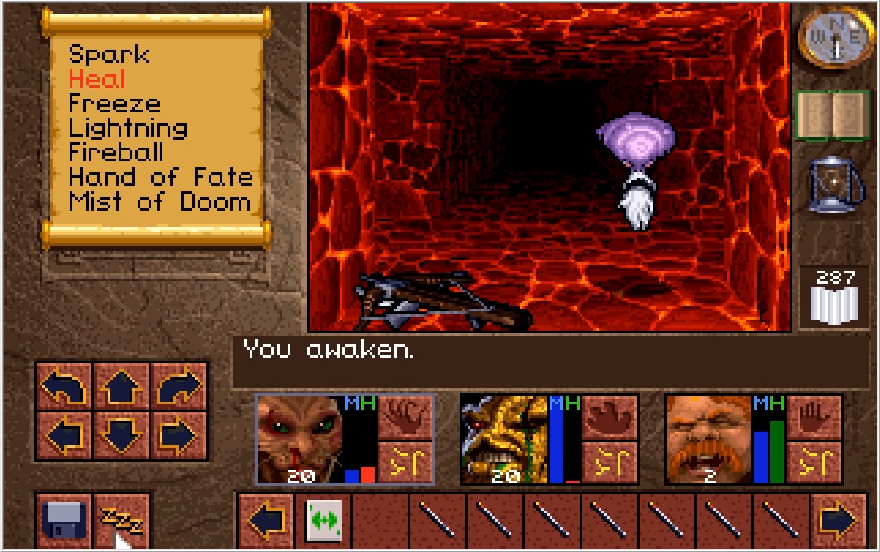
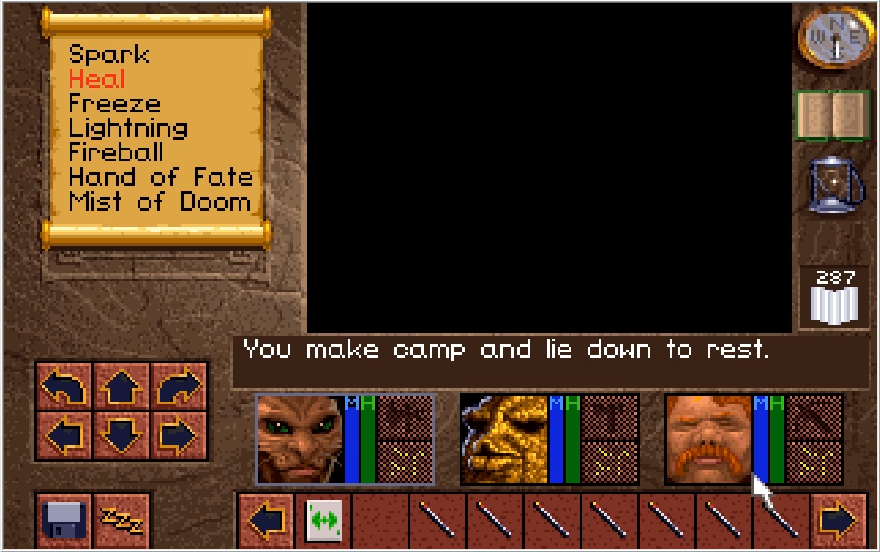
I get interrupted like 4 times before I can actually finish my rest, and as you can see it gets pretty close. Also be sure to save before resting!
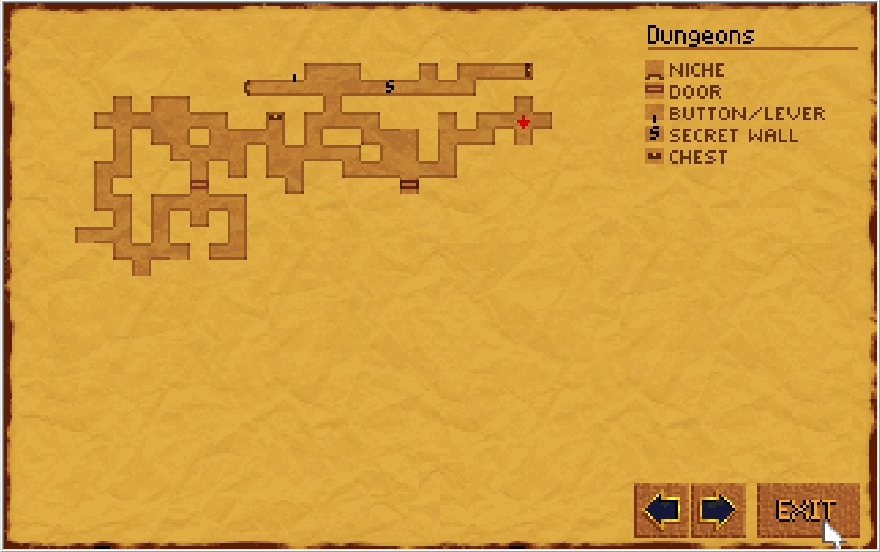
No wonders I was having problems, there's like 3 patrols of Knowles in this particular area! Generally speaking, all the Knowles and Xeobs have little clusters that occupy specific halls of the Dungeons that they don't wander too far from. Resting nearby is just the thing to get their attention though.
You're probably curious to know this now, the Knowles and Xeobs are oddly small for a species. There's only like 40 of them wandering these Dungeons, though of course that's more than enough of them to ruin your day. Maybe these wars are a regular thing...
I decide to head toward that central door on the map.
As I investigate the halls it leads to, a Knowle floats into my path and has its day ruined as I unleash fiery death on it.
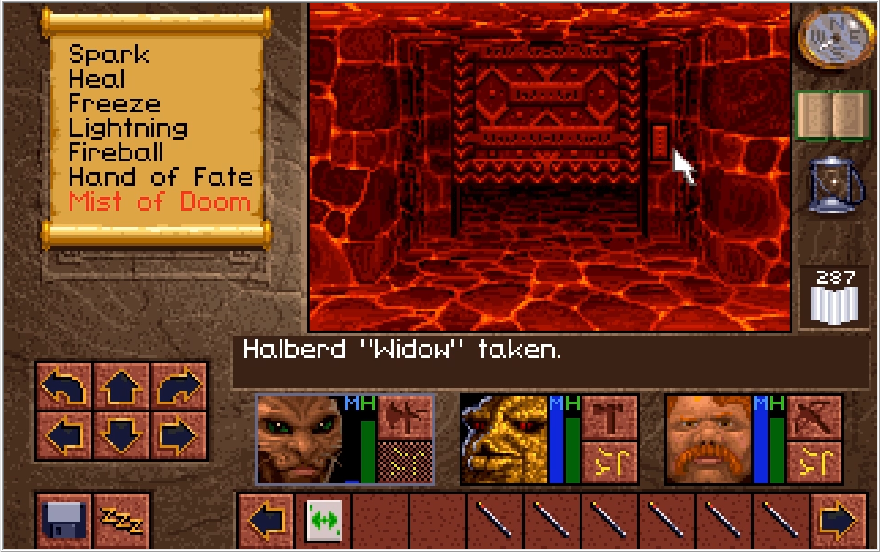
There's a couple doors leading to short hallways in this area. These halls are actually quite helpful, as the Xeobs and Knowles cannot open doors! Another section of the Dungeons where we can rest safely.
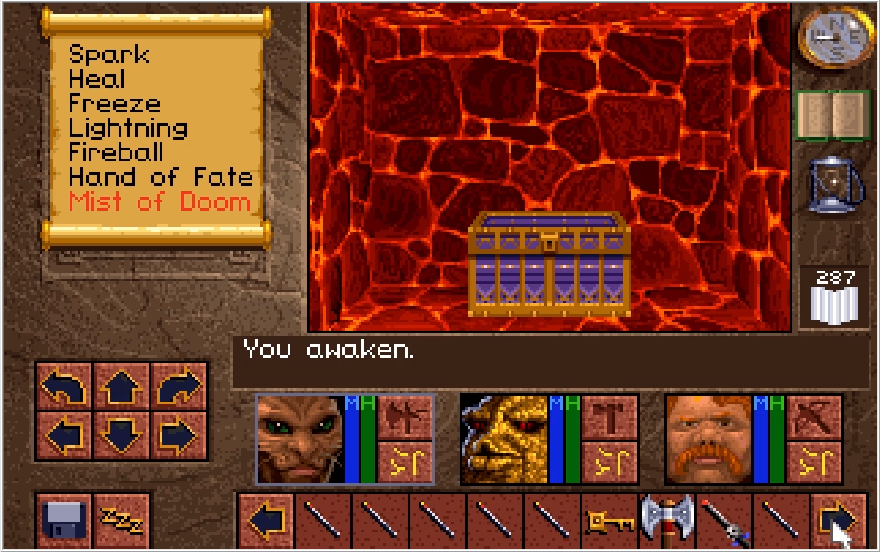
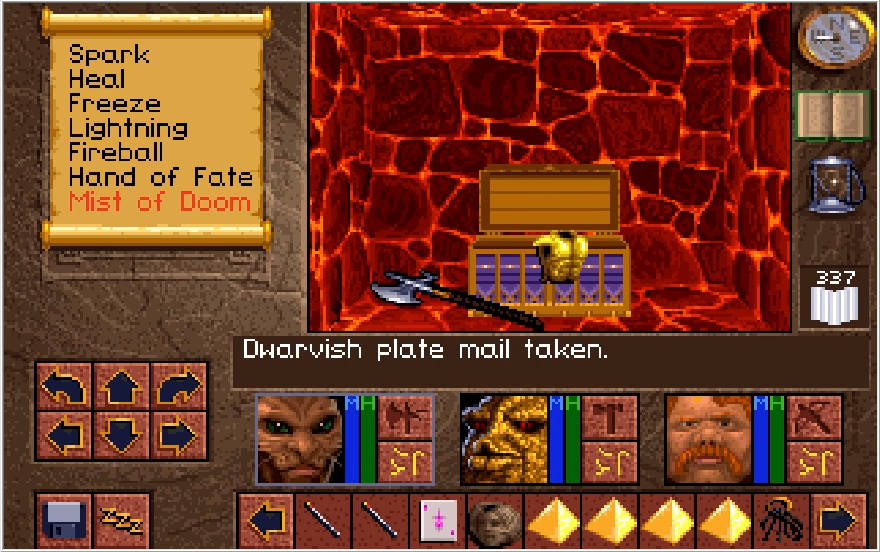
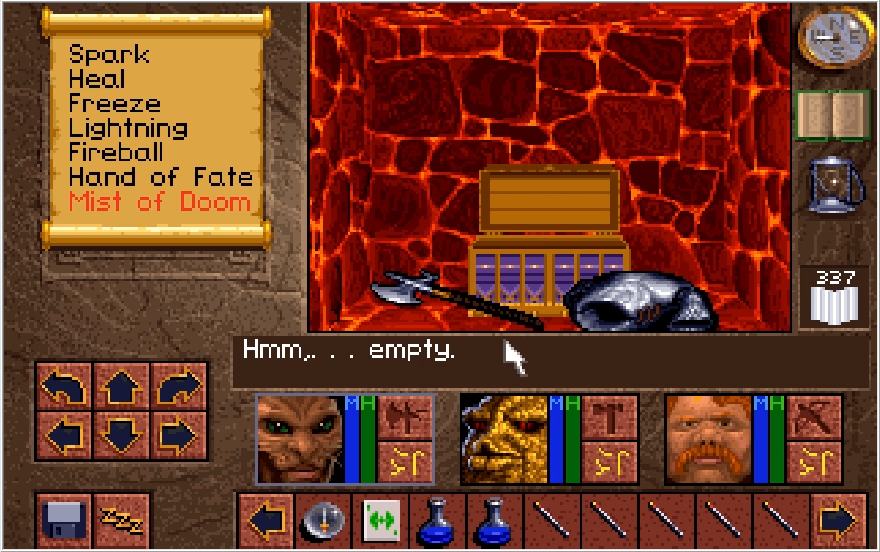
This specific hall I entered has a chest! It contains a Trident "Mandible" (shocker, it's marginally stronger trident with no special effect that's weaker than everything we have), a Dwarvish Plate Mail (one of the strongest armors in the game! Too bad we can't wear it now) and a couple Bannon's Reserves. Pretty good haul in the hall overall.
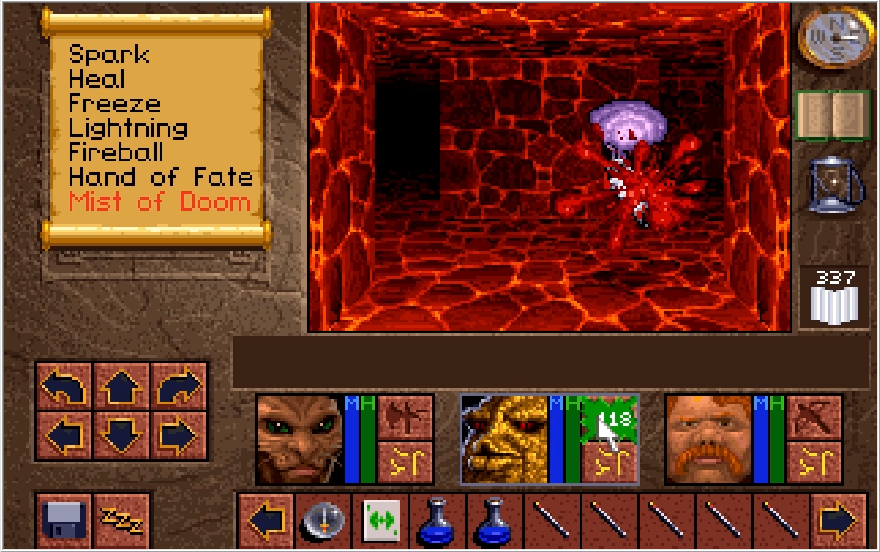
Baccata has had it with these nerds. There is a second hall adjacent to the one with the chest, but it has nothing in it.
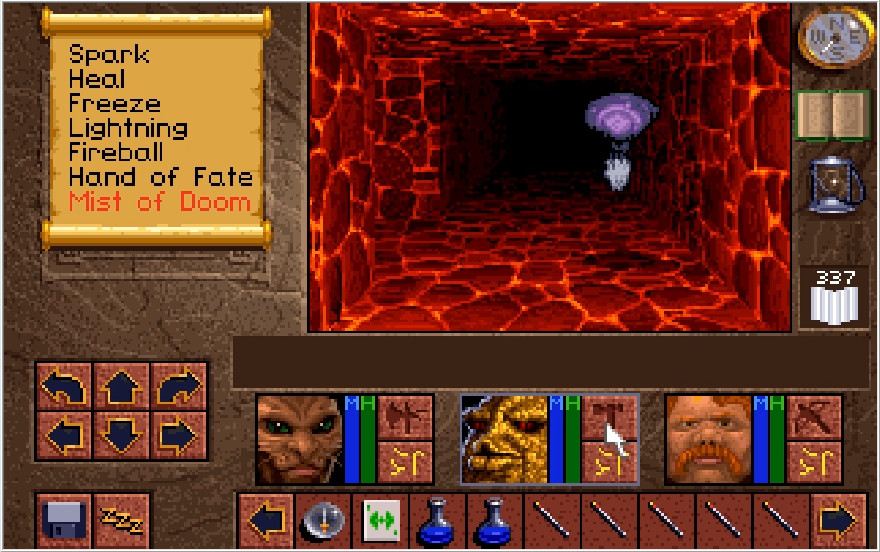
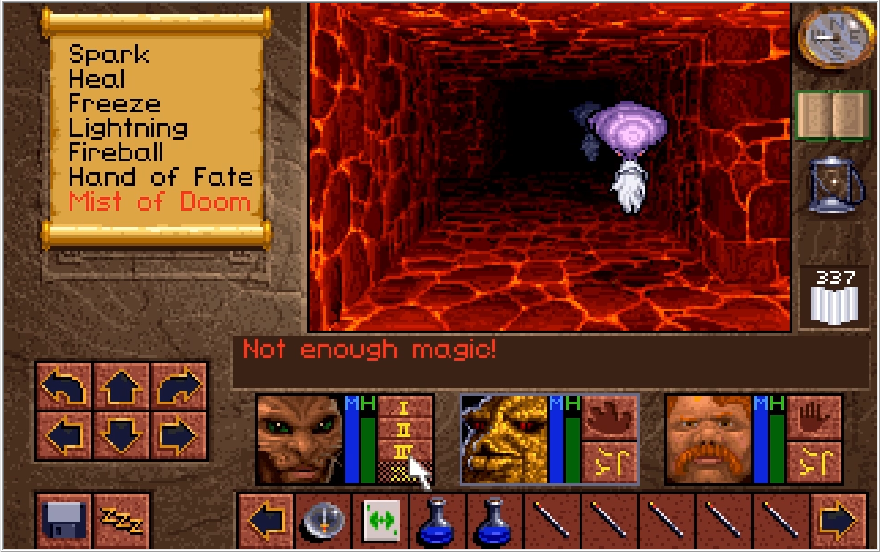
Continuing my exploration, I encounter a Knowle that actually runs from me. He was setting me up though, as soon as I rounded the corner he quaked me and he has friends joining the fray!
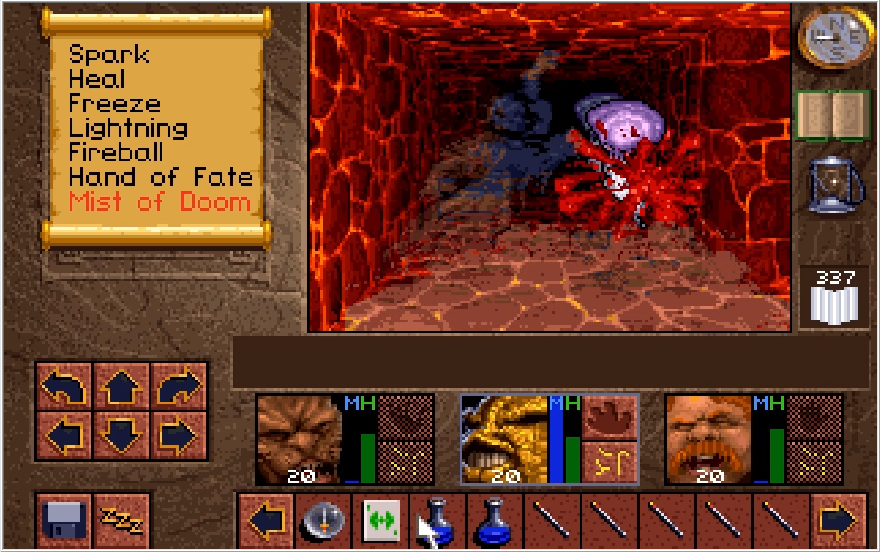
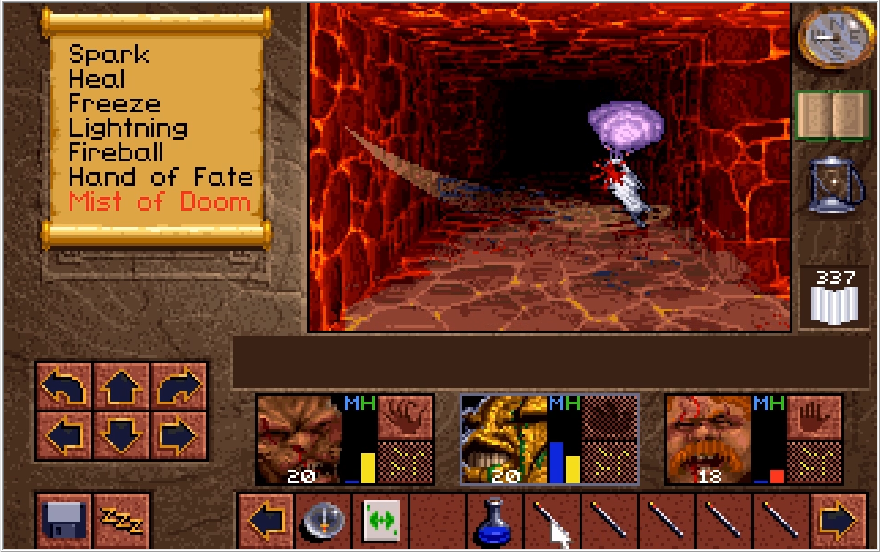
Just for fun, I decided to try and win by casting Mist of Doom with everyone, but that was a huge mistake. I got my ass beat while doing this.
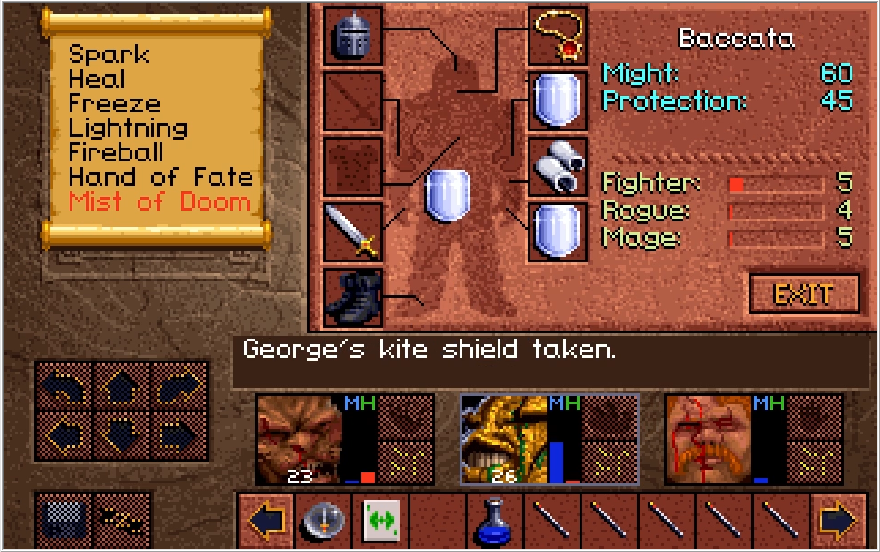
And while I was re-equipping for the 50th time, I got my ass roasted with a fireball.
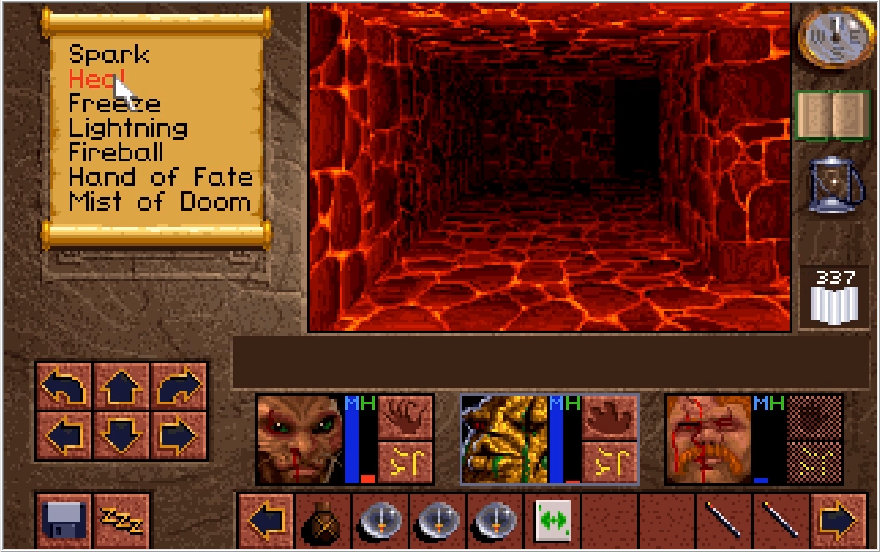
I retreat and give Kieran a Bannon's Reserve since I can't really expect to rest right now.
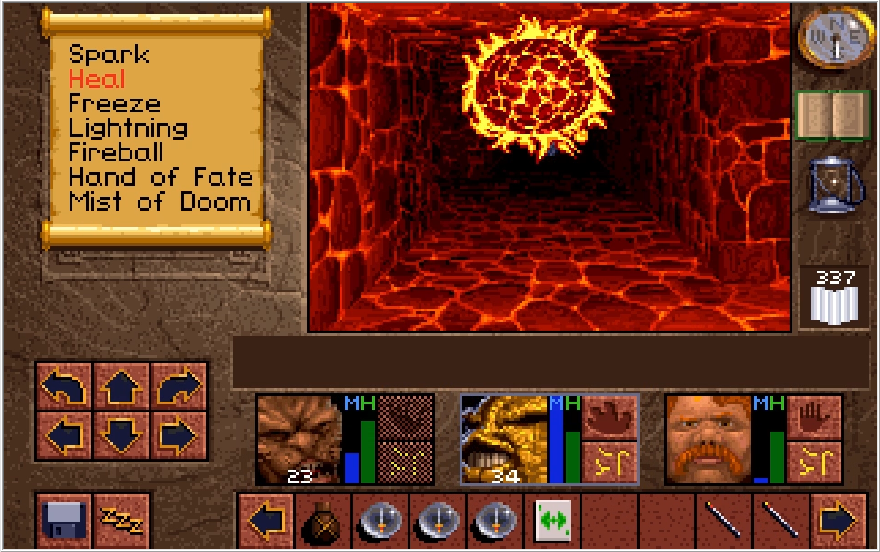
I cast Heal 4 and head back towards where I got cooked before. I actually casted it at just the right time, before I stepped around this corner. Had I taken one more step before healing, the party would have fried even before reaching hell.
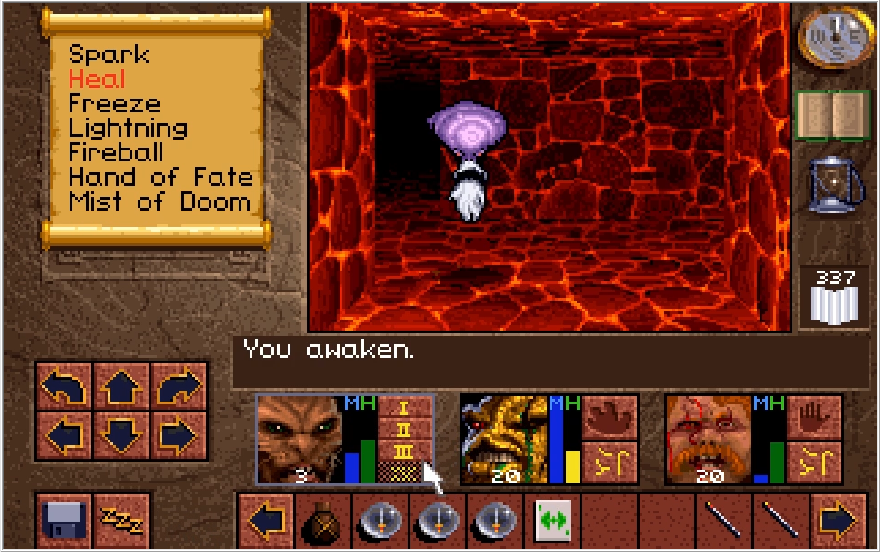
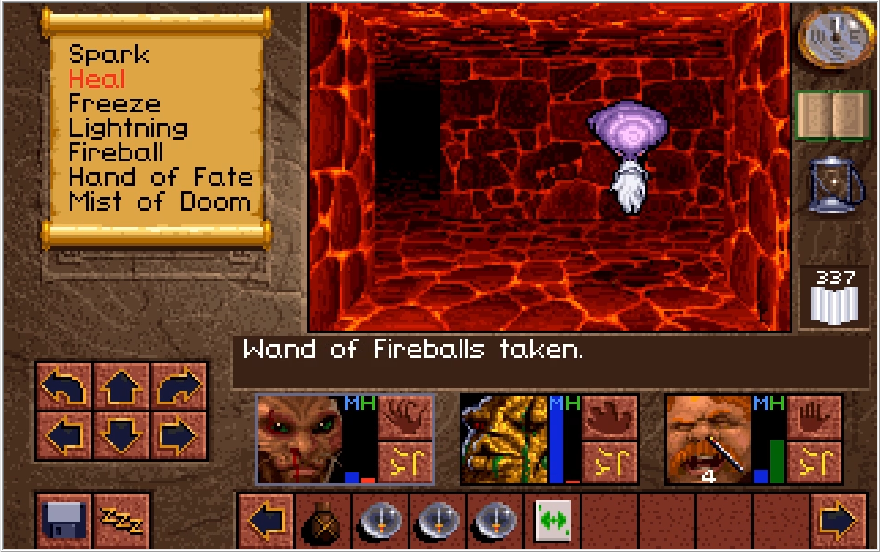
They're crawling (floating?) out of the masonry!
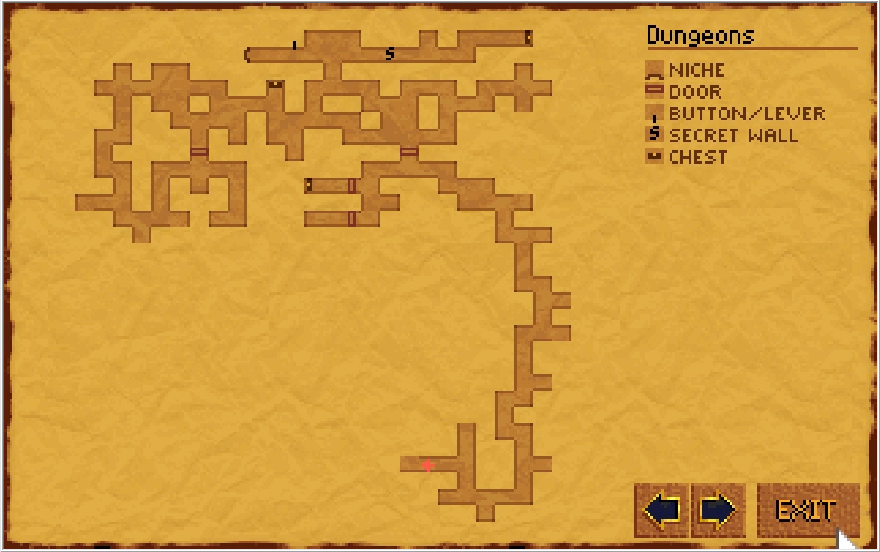
We've explored quite a bit so far. This place is pretty big and sprawling, so it's easy to get lost. Could you imagine having to explore here without a map? It'd be a nightmare! yes this is foreshadowing a potential trap you can fall into.
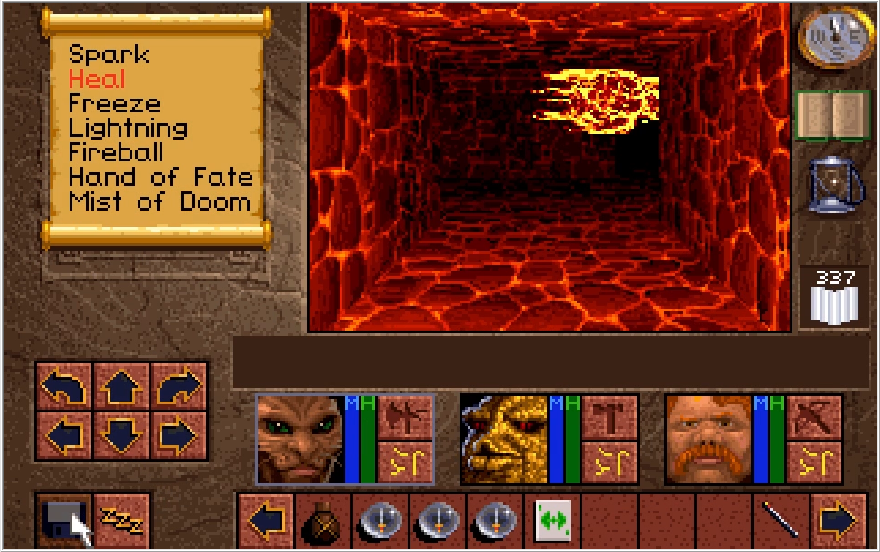
Moving westward, I duck into a side hall and find that I narrowly avoided taking a face full of fireballs.
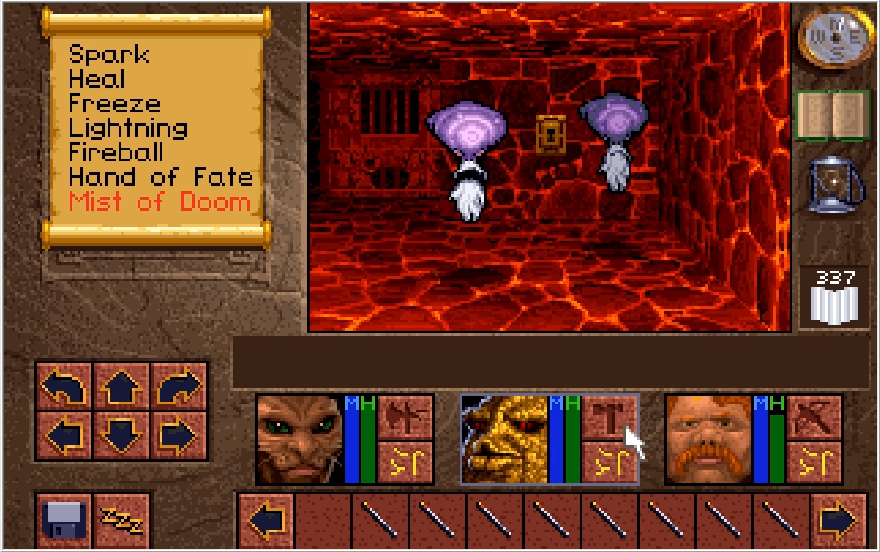
I address the Knowles that attempted to barbeque me, and then make my way into this little corner room in the southwest. That's an interesting lock these Knowles are guarding, let's clear them out of the way and investigate!
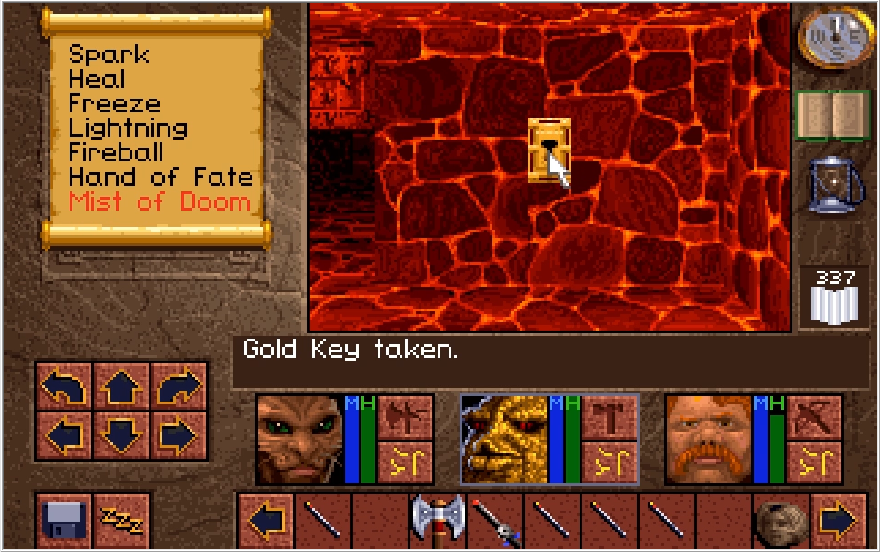
Perhaps unsurprisingly, our Gold Key opens the Gold Lock. Now this lock can be opened whether you fight for the Xeobs or the Knowles, but it only serves a purpose if you're on the Xeobs side. Curiously, this is actually not the case for the equivalent lock with the Knowles. That lock leads to a couple of goodies even if you're fighting the Knowles.
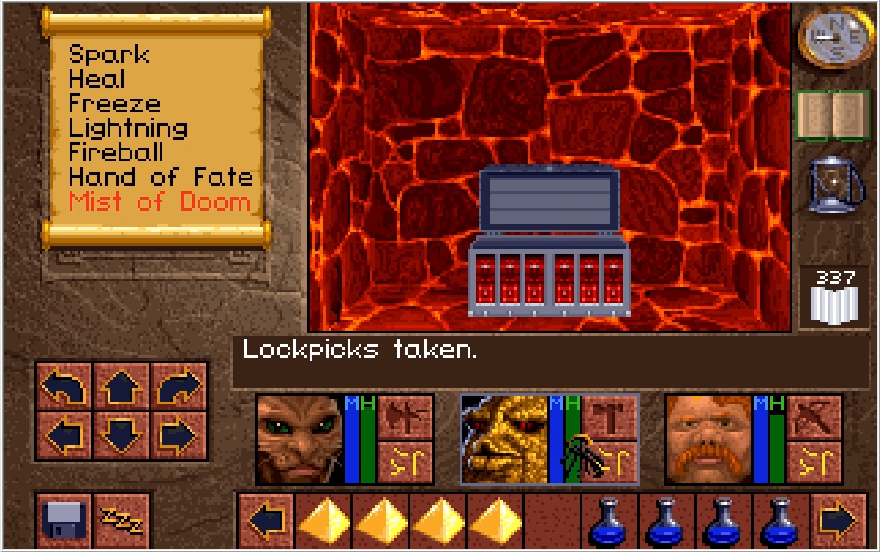
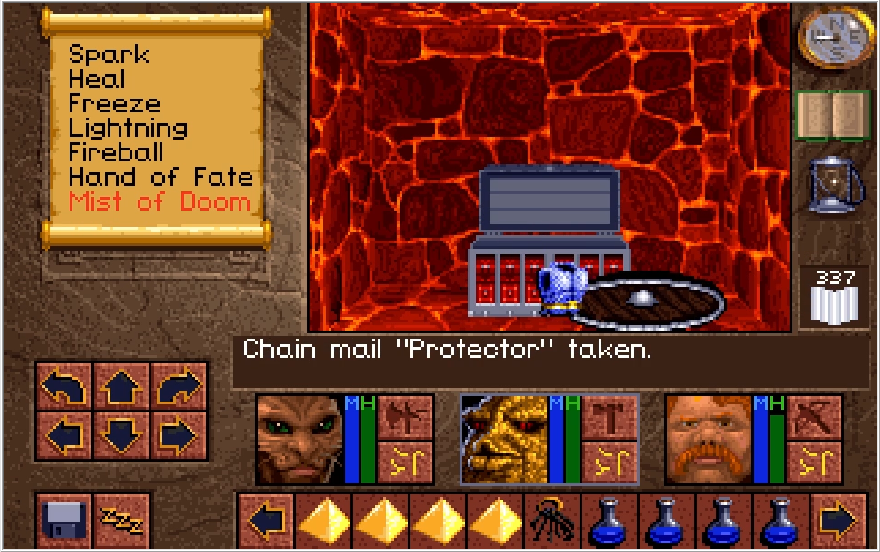
There's also a chest containing a Chain Mail Protector, which is equivalent to the Dwarvish Plate Mail in Protection, and another George's Kite Shield. George must have been an enthusiast! I give Baccata the shield cause lord knows Paulson isn't worth the best stuff.
Returning to the Gold Lock door, we find it contains a portal! This is only here if you're allied with the Xeobs, otherwise this room contains nothing. Let's step on in.
Music: Knowles and Xeobs
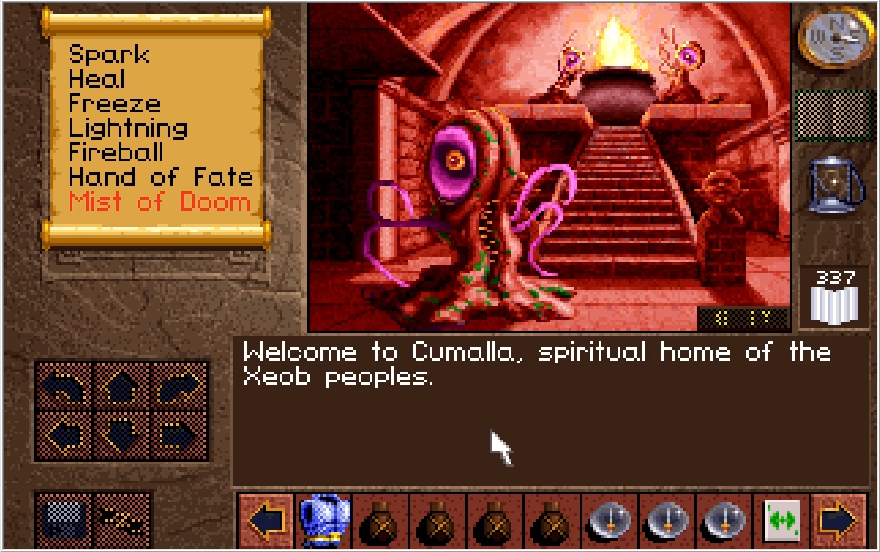
....Cumalla?

We have a couple options here. We could uselessly discuss our ethnic cleansing with our benefactors, we could betray them which does allow us to escape from the Dungeons faster at the cost of losing the normal rewards, or we could just leave and continue our killing spree. Let's chat for now.
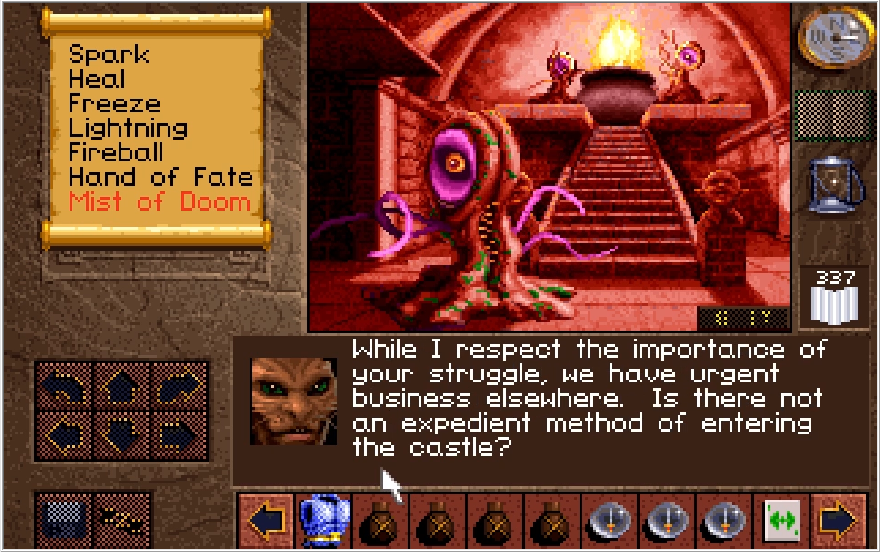

Unsurprisingly, we just get blown off and told to continue the bloodshed. The Knowles say exactly the same thing for the record. When you choose to Discuss though, you do get to click around for some extra dialogue.
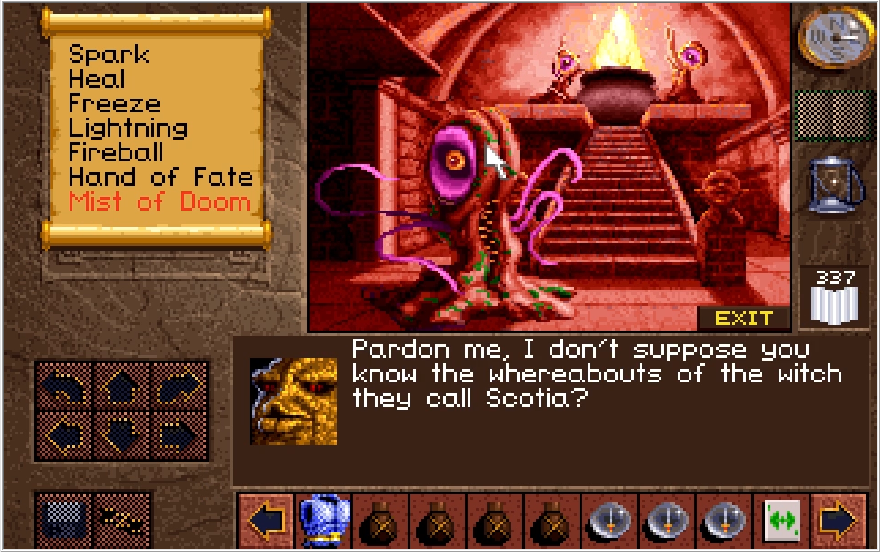
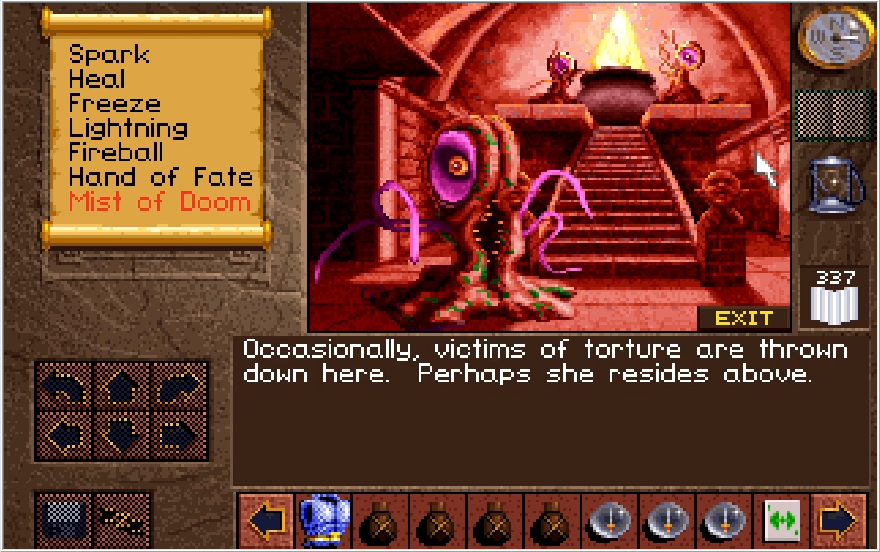
Incidentally, in several sections of the Dungeons you can spot holes running along the ceiling. Makes sense I guess.
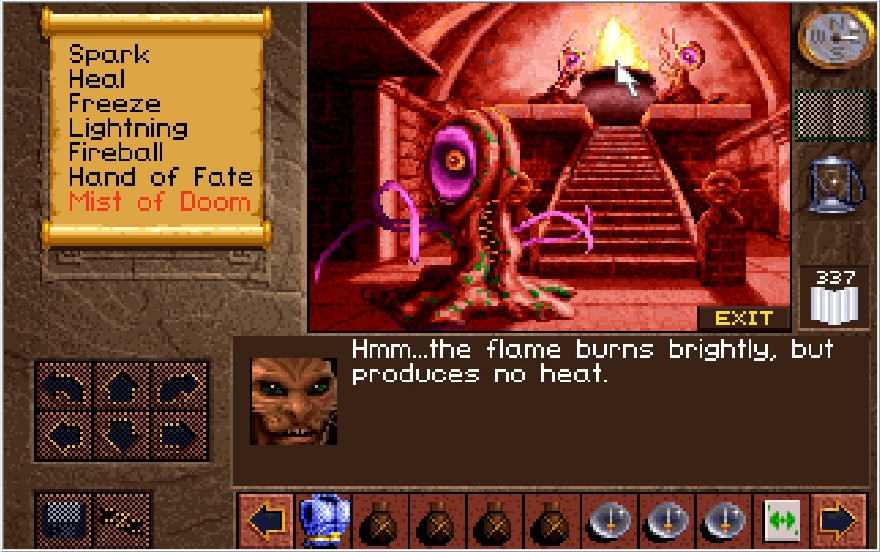
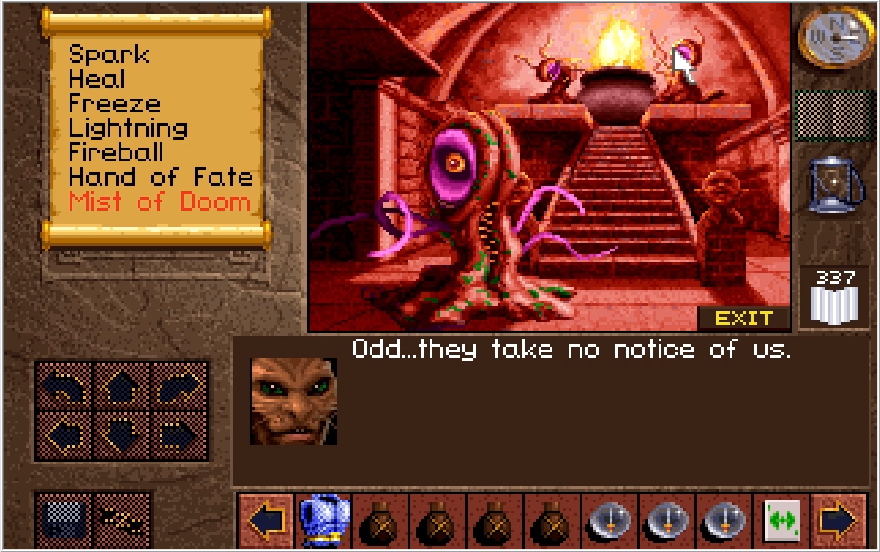
The Xeobs are just grooving too hard man. Odd that the fire has produces no hear though, I wonder why that is...
Anyway, let's fuck over the Xeobs real quick just to see what happens.
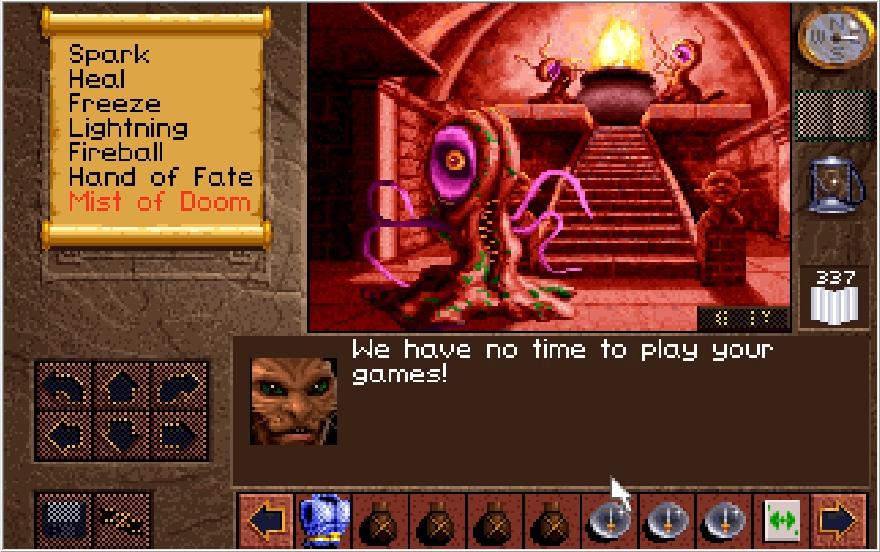
"I only killed the Knowles I came across so far because I felt like it!"
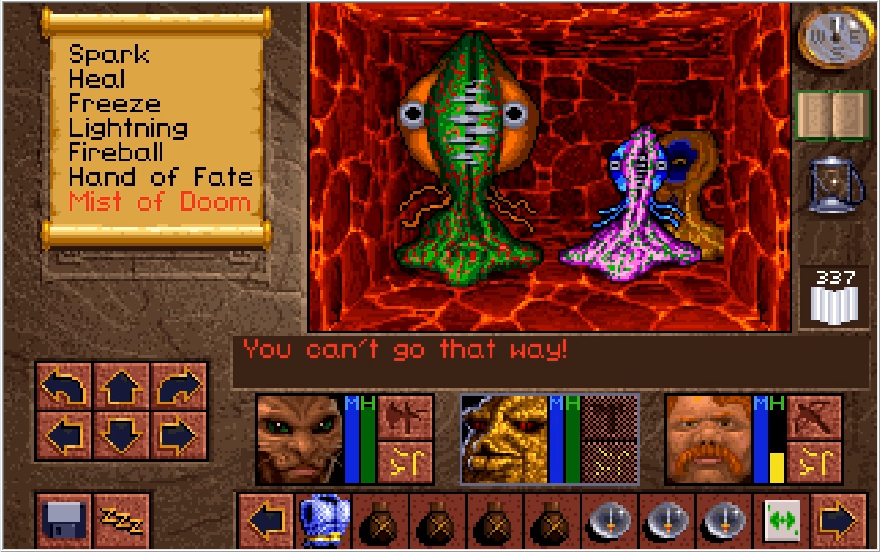
Naturally this prompts a scuffle with the Xeobs. Paulson's health bar there? I did not enter the fight like that, that's legitimately the damage he took from one Xeobs' bite. Need I remind you that the Xeobs attack at a rate of about 2 times per second?
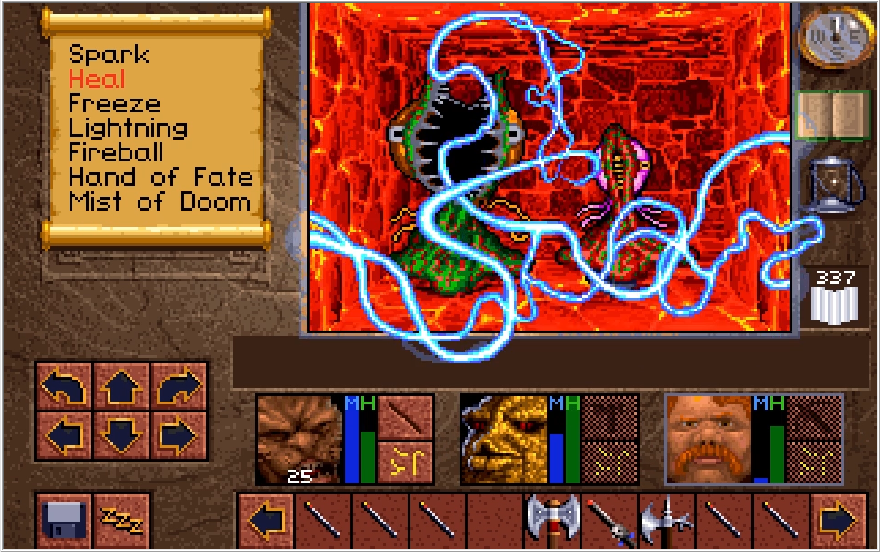
Thankfully, while they are resistant to it Lightning does damage the Xeobs! This is a nice consistent bit of AoE damage against them, which makes fighting them a little more tolerable.
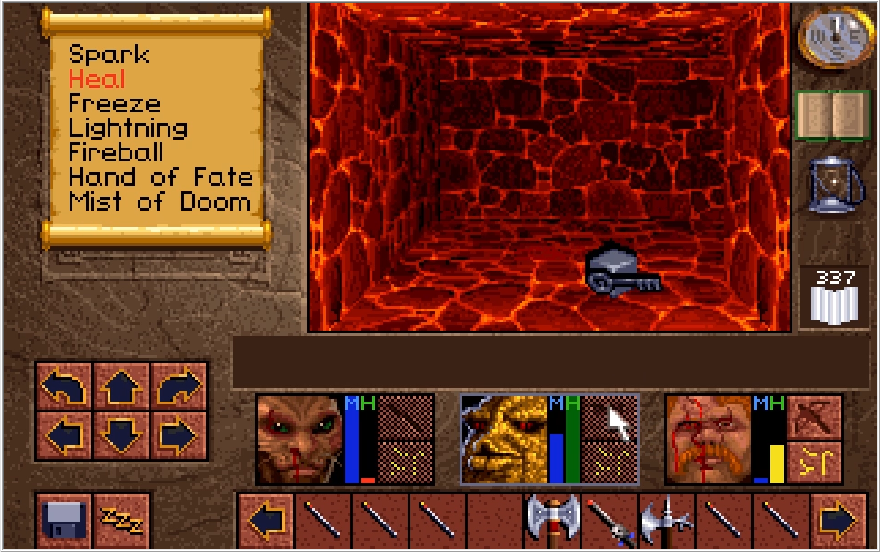
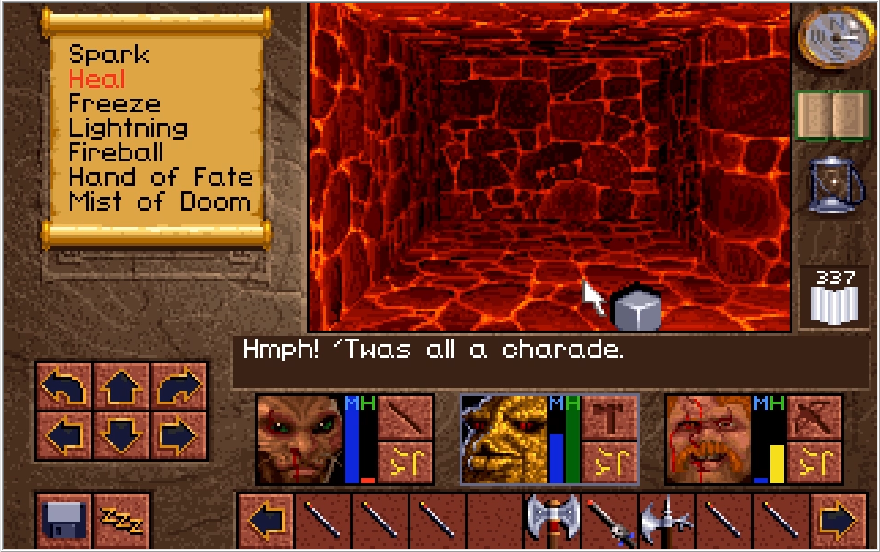
We get roughed up, but we do win. The Xeobs drop a key, which allows us to escape the dungeons, and a Vaelan's Cube. That second one is curious to say the least, I wonder what possible reason there could be for that being here? Stepping into where the portal was, Paulson actually points out something interesting. There was no Xeobs' layer, the whole thing was an illusion! Presumably everything we're fighting here is an illusion (though they're real enough to kick our collective ass) and the whole scenario is just to bog us down and waste time. I like to imagine Scotia concocted this scenario expecting our heroes to be a bit more stalwart. "Mwa ha ha ha, so Richard has dispatched a band of do gooders to stop me eh? Well I know a way to stop his champions, such paragons could never bring themselves to... wait they did what?"
Now at this point we could escape from the Dungeons. The Knowles are still roaming the area, however, and we lose out on the fantastic rewards from the Xeobs if we betray them, so let's reload our save and continue our genocide sidequest.
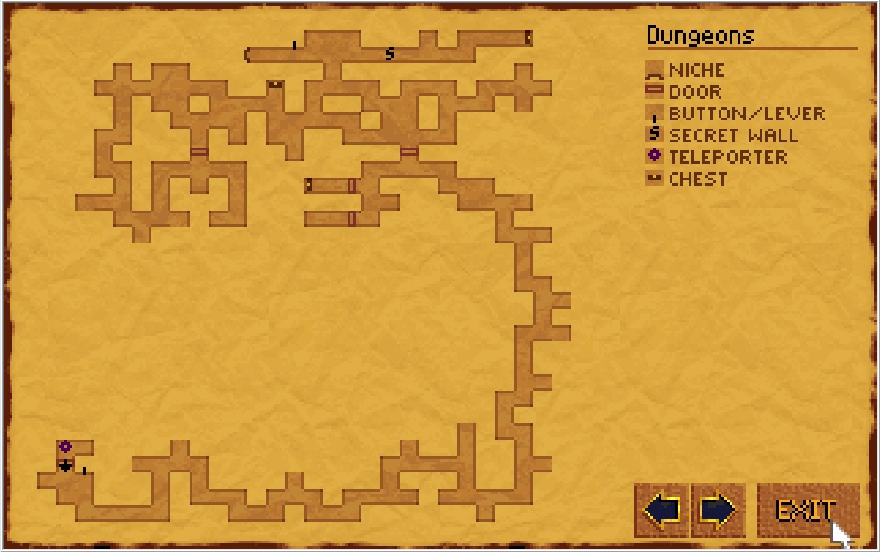
There's still a bit to see in the east, but my initial plan was to explore the western section we're closer to.
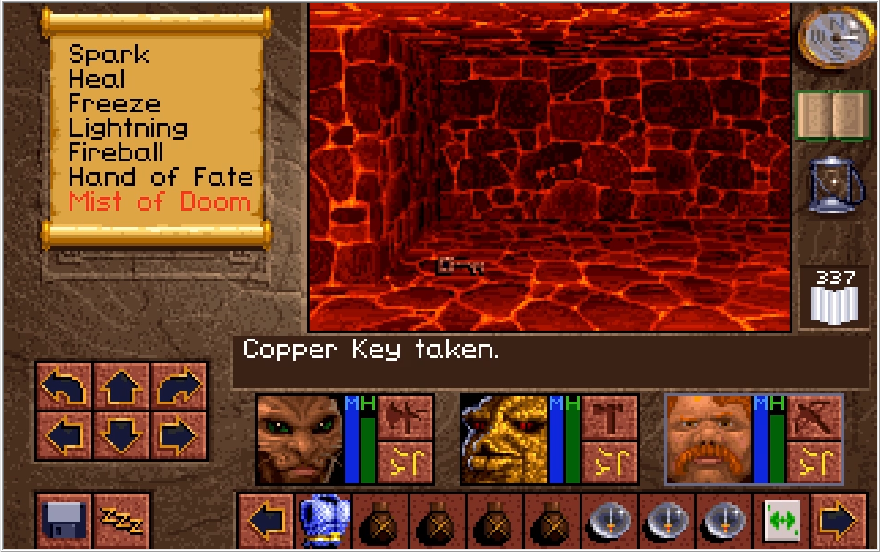
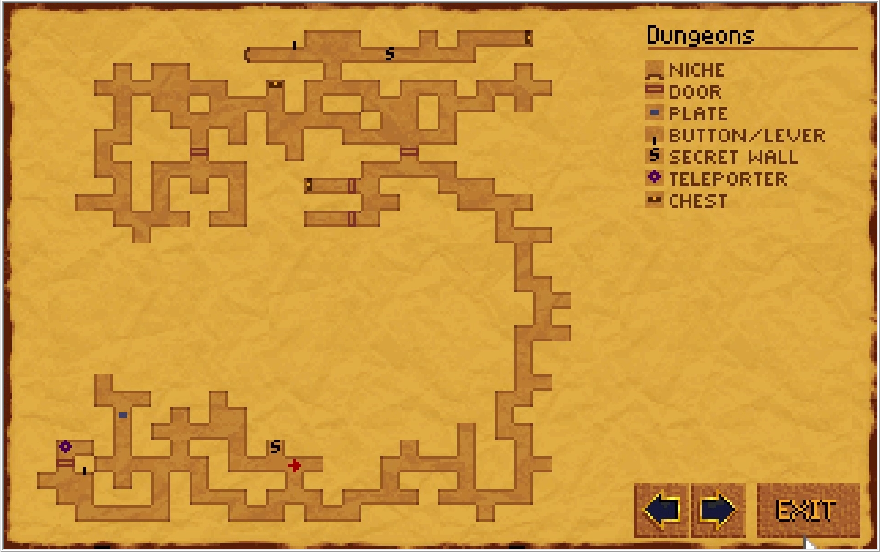
I found the Copper key though and figured "eh what the hell, I'll show what this does first." This is the Knowles' equivalent to the Gold Key. Remarkably shabby looking thing, methinks the Knowles are just putting on airs of elegance. Anyway, moving back towards the east I pass a secret wall, and decide to dip into it first.
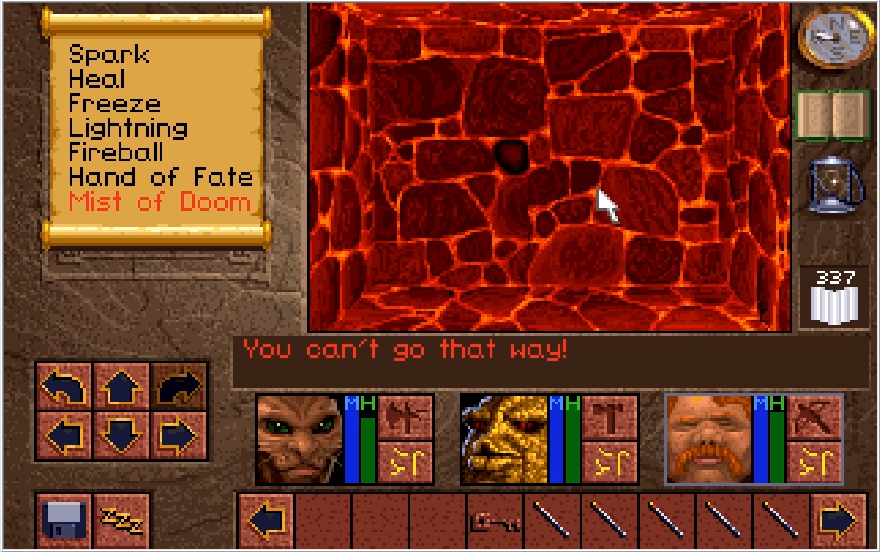
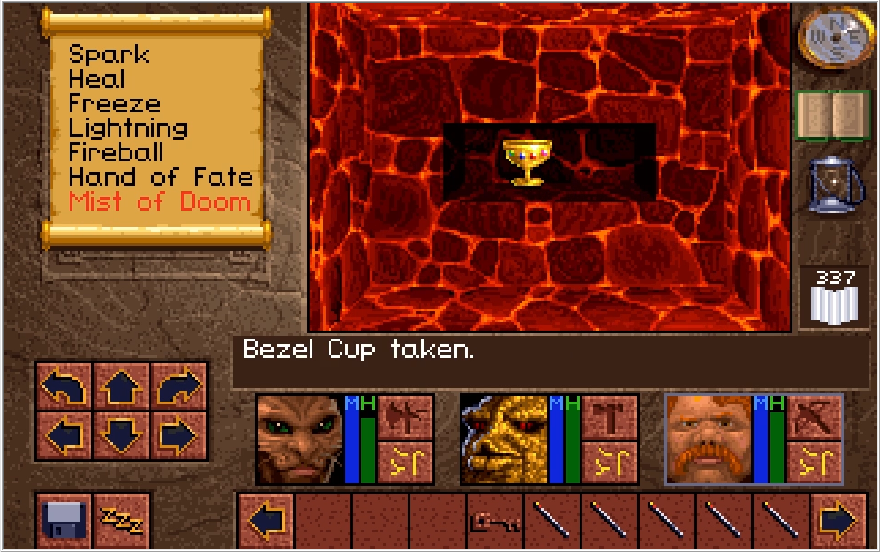
Flipping a switch gets us a 4 gem Bezel cup! Another one to add to the collection. I should say though that we do need an HP restoring item in the future, so be sure to hang onto at least one,
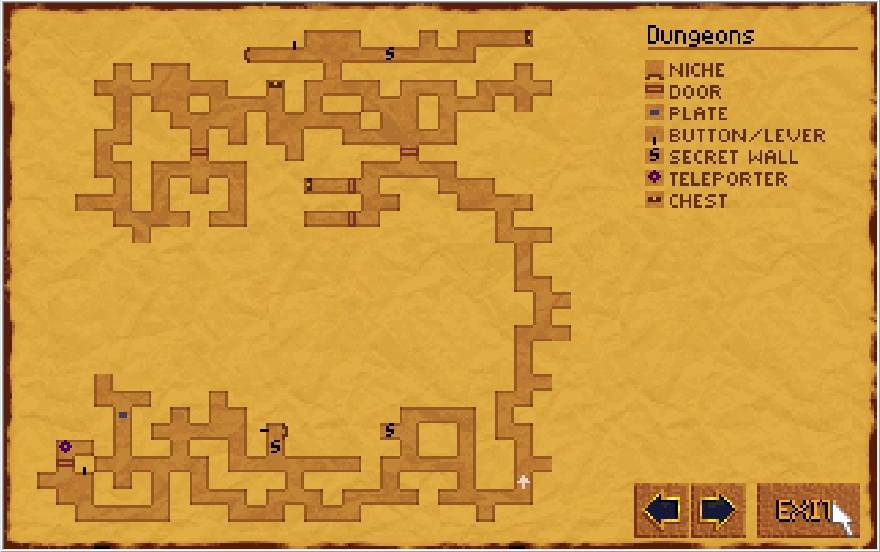
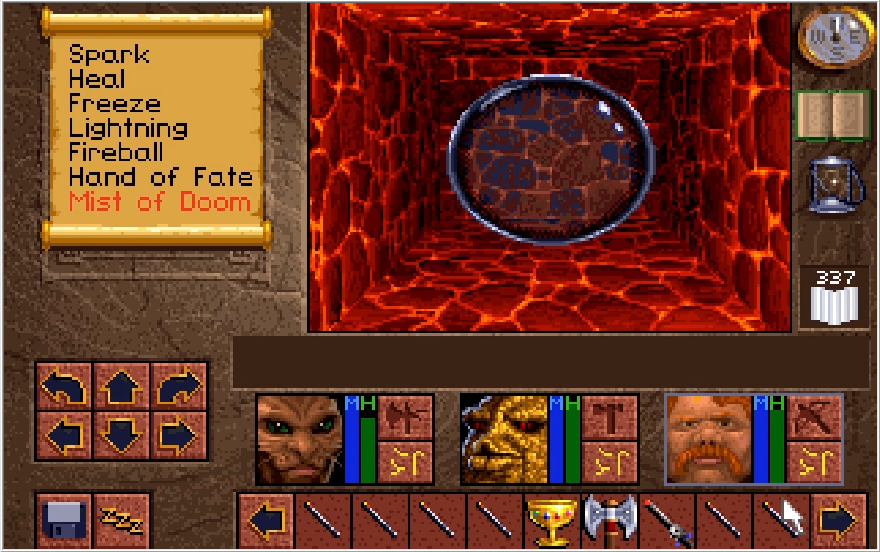
Heading as far east as we can go and then north, we find a portal. This one will take us back to the Catwalk Caverns if we need to resupply or go sell off any goods (more just to clear space than any practical need really). Note that once you ally yourself with either the Xeobs or the Knowles, the portal for the opposing faction disappears and you can only return via your sponsor's portal.
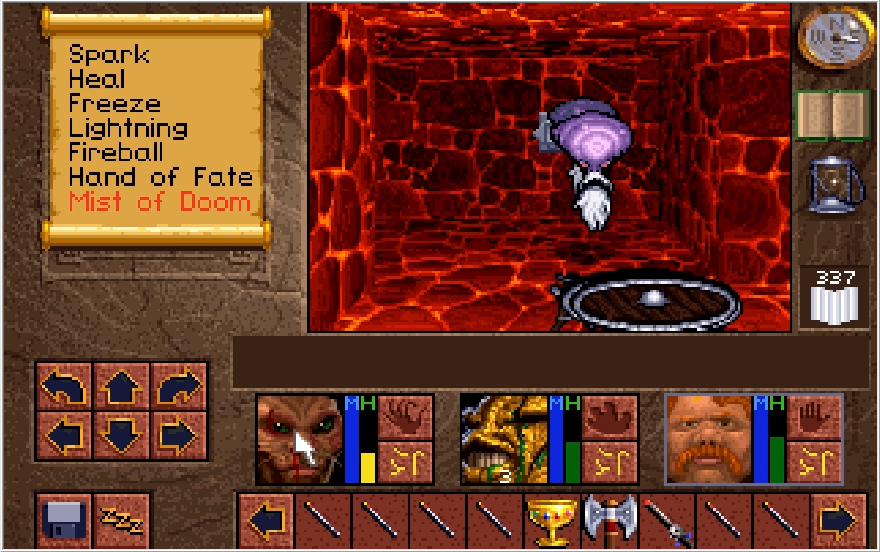
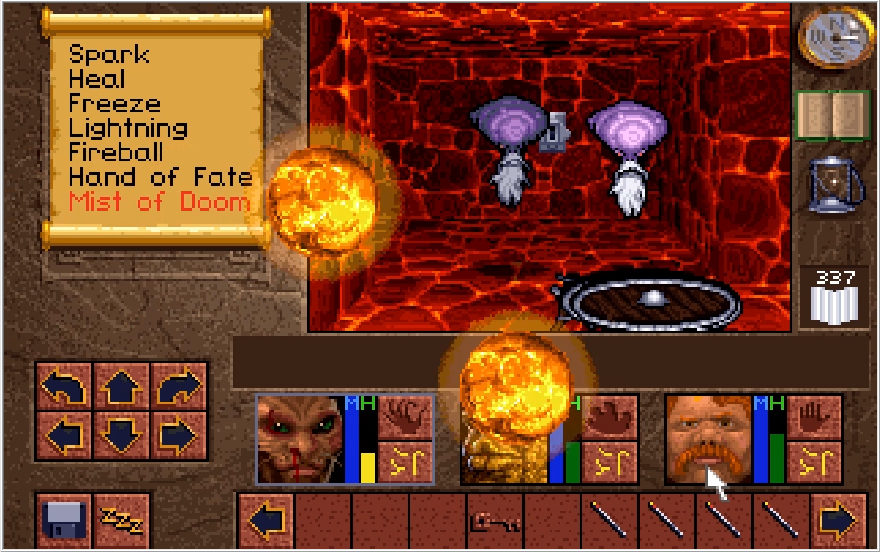
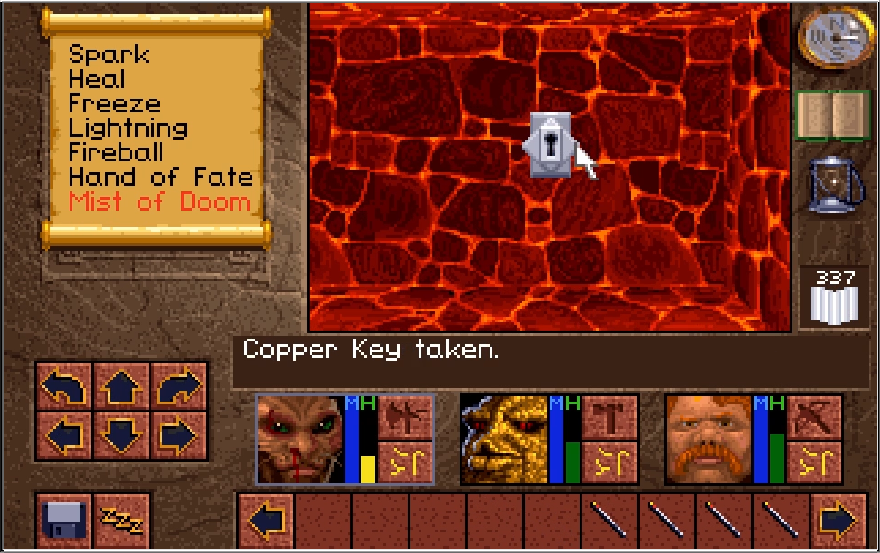
Around this area also is aCopper Silver lock that accepts our Copper Key.
Were we on the side of the Knowles, this would contain the portal to their realm. Since we're against them, it mostly has nothing but there is a little cubby hole on the west wall with some bones, a Bannon's Reserve and an Ace of Oblivion. Until I recorded this video, I had assumed these items were part of the Knowles reward for allying with them, but nah they're just always here.
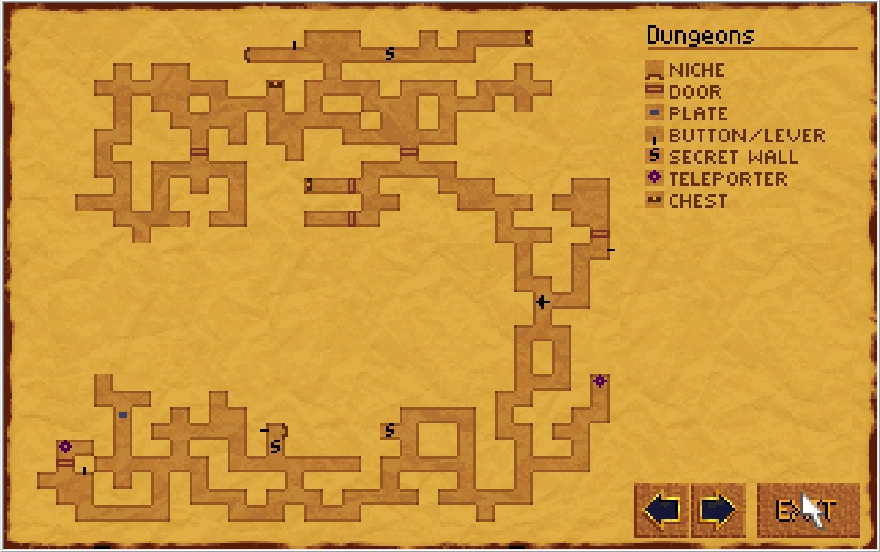
We've pretty much seen everything in the eastern portion of the Dungeons save for that secret wall. We'll come back for that later. I headed North and trekked back through our starting point of the dungeon, because I had a sneaking suspicion I had missed some Knowles here.
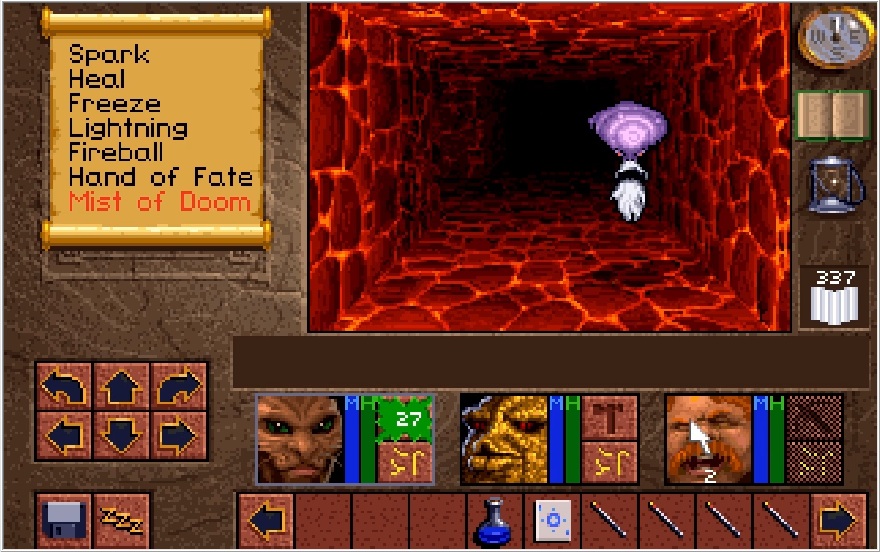
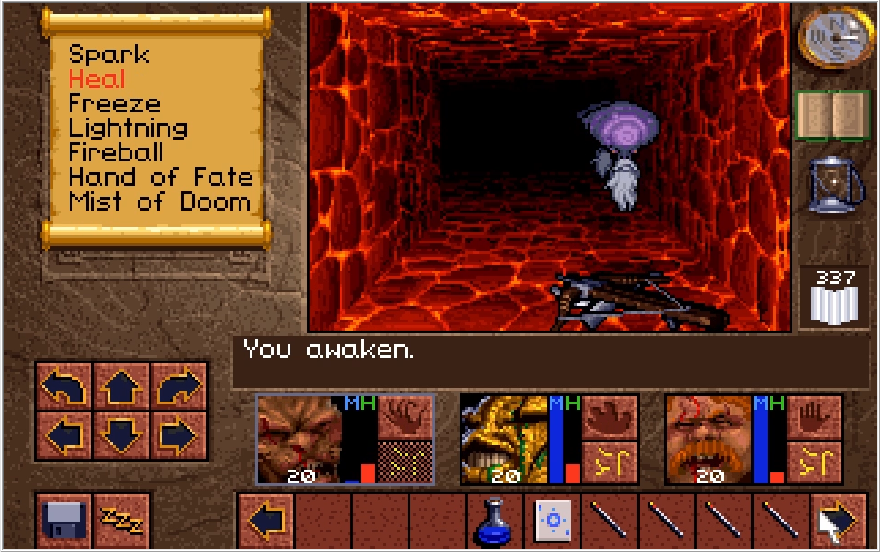
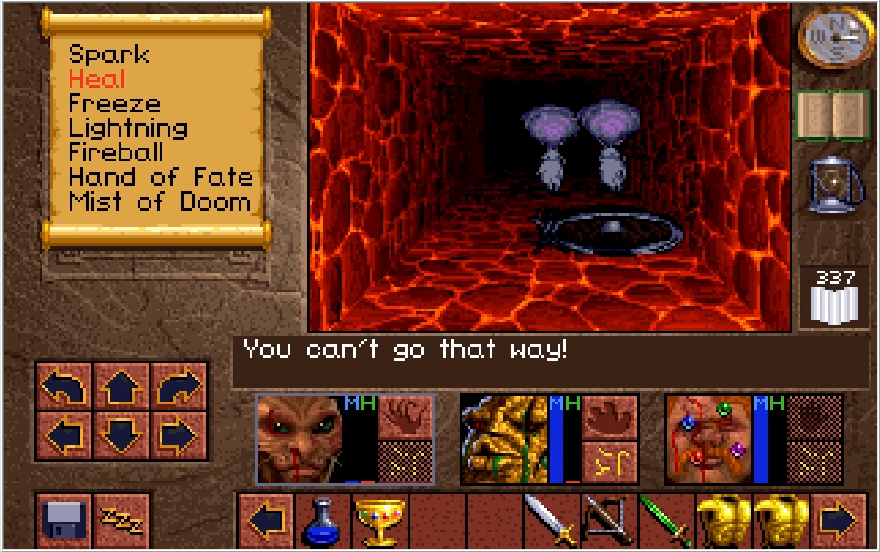
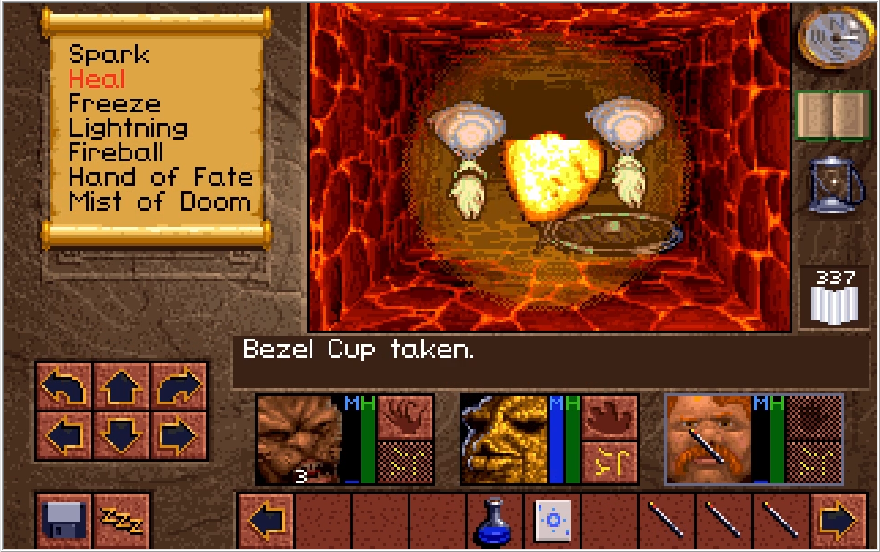
I was right. Another minute spent re-equipping myself.
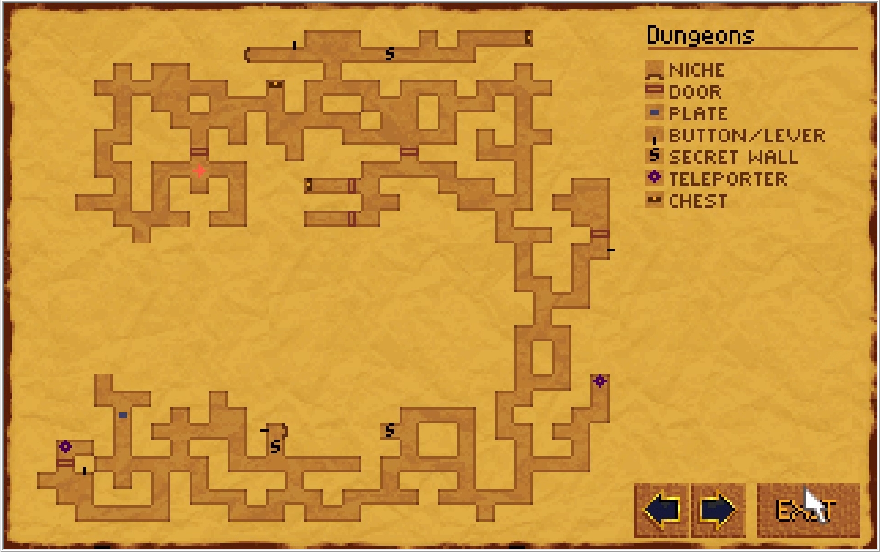
I have conquered my ADHD and have finally returned to investigate the area beyond the door we saw like 80 images ago.
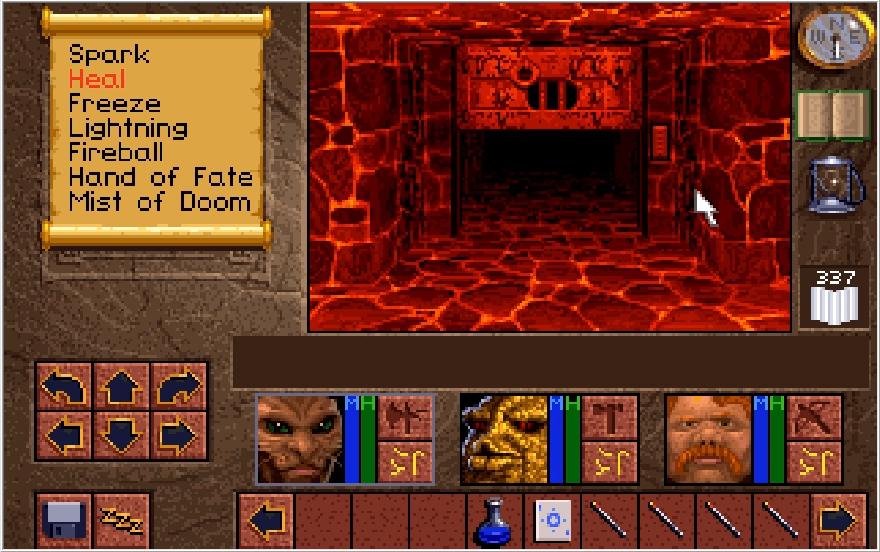
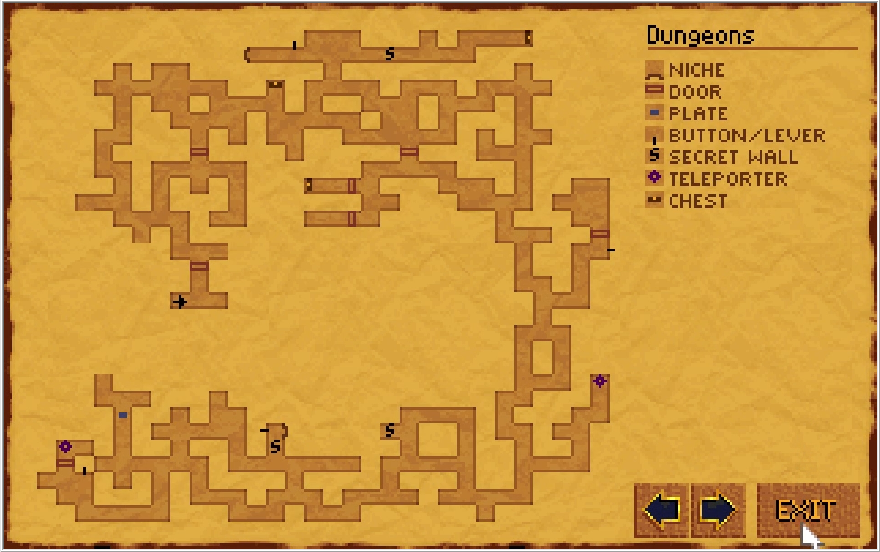
What follows seems to be an honest to god prison portion of the Dungeons, which is a novel concept really. The first door I check has nothing in it.
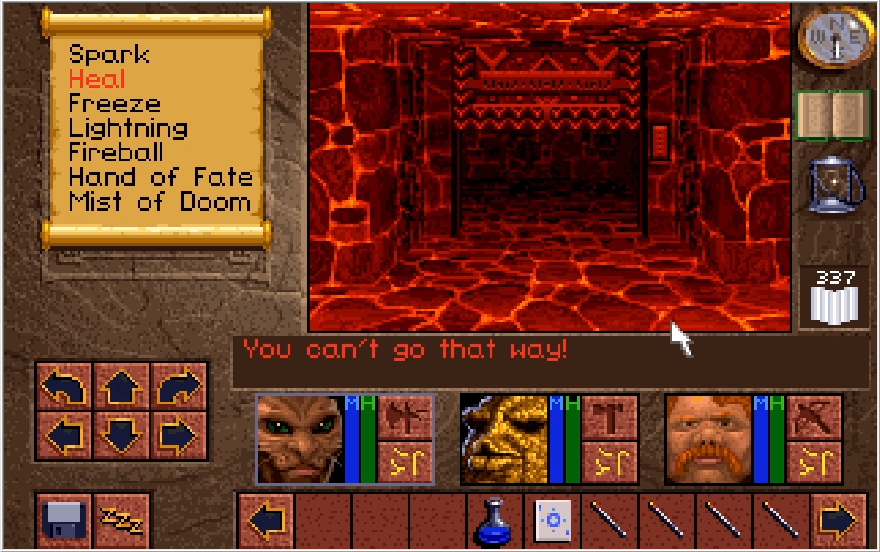
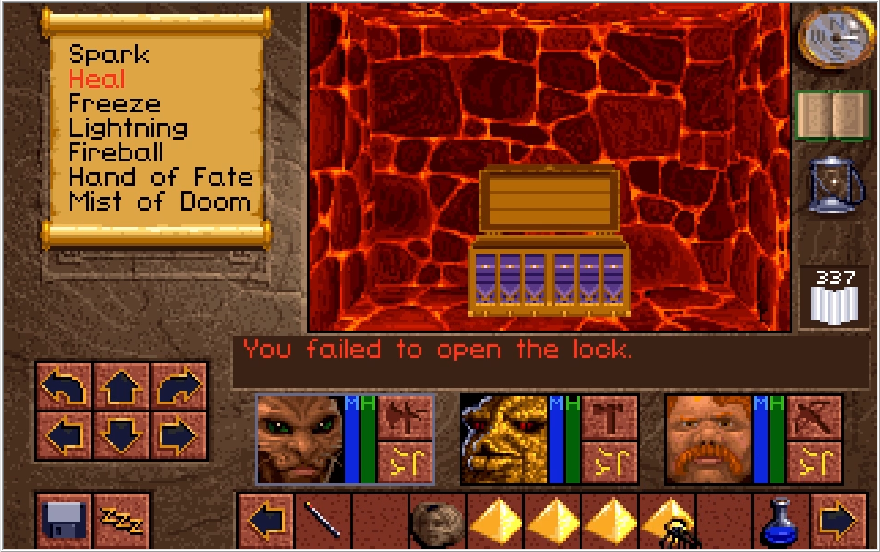
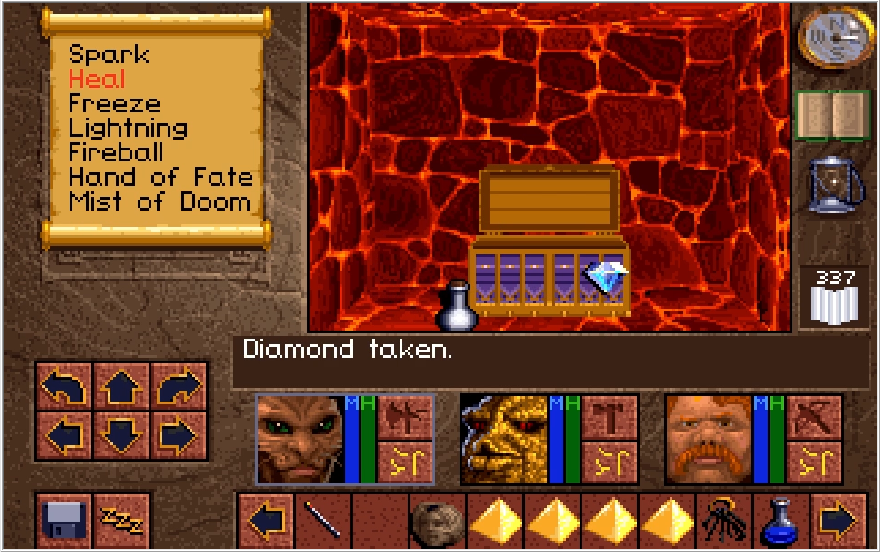
The next door I come across has a chest that contains a useless Salve. It contains one other item though, a Diamond! This is an incredibly important item... is what I would say if the side objective it was tied to actually did anything. The Diamond is a key of sorts, but opening the associated "lock" for it yields absolutely nothing and is completely optional, because the reward it would have yielded was cut from the game late in development. Lores of my Land I tell ya.
Continuing down the hall, there's a lever that... doesn't seem to do anything when I pull it.
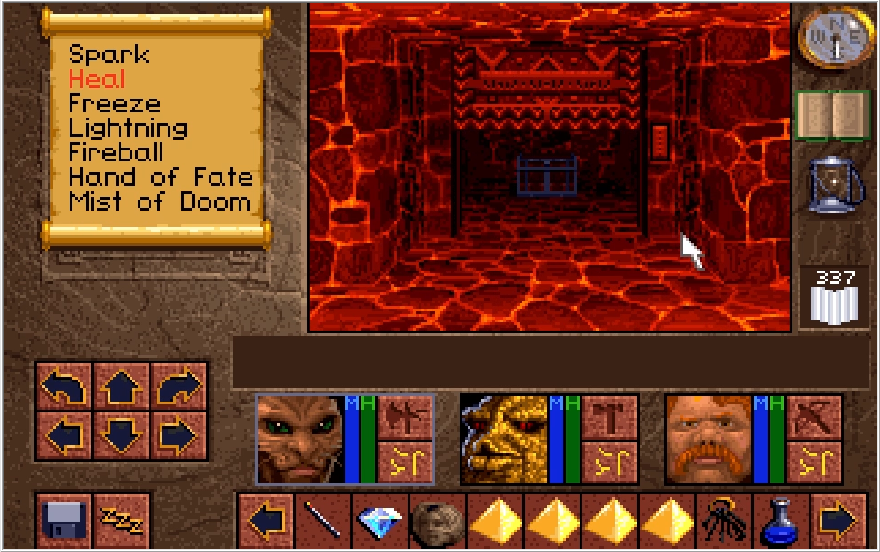
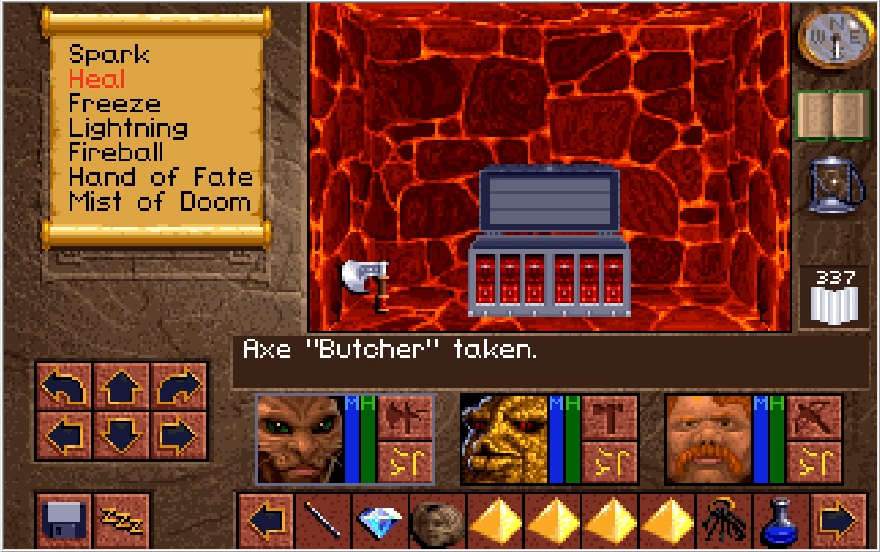
The door beside it though has a chest, which holds within the Axe "Butcher". This is an incredibly powerful unique axe with the special effect of ha ha no I'm just fucking with you. It's a vanilla beat stick that is barely stronger than the Axes we found in the Draracle's Cave at the start of the game. The chest also contains an Oil Flask. The Catwalk Caverns were the last time in the game the Lantern is used.
Now onto something a little more interesting, there's a switch next to the chest that when flipped while the door to the room is open...
Opens up a hallway loaded with pressure plates that trigger a fireball trap. Should you walk through the hall, you'll find a 4th Guardian at the end, AKA the thing we need to kill Scotia without swinging our swords a single time. There also some side rooms in the hall, but none of them have anything in them. I think they're intended to let you dodge the fireball traps, but the doors to them take way too long to open before you get hit.
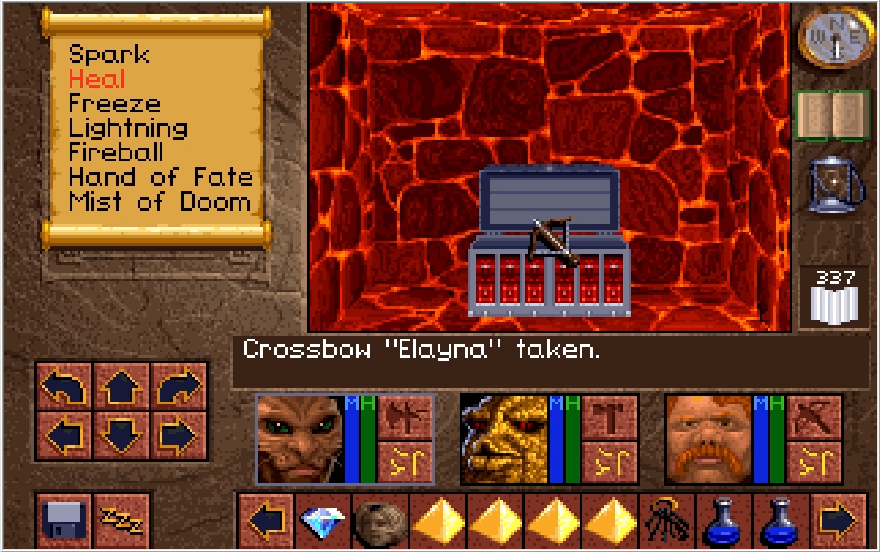
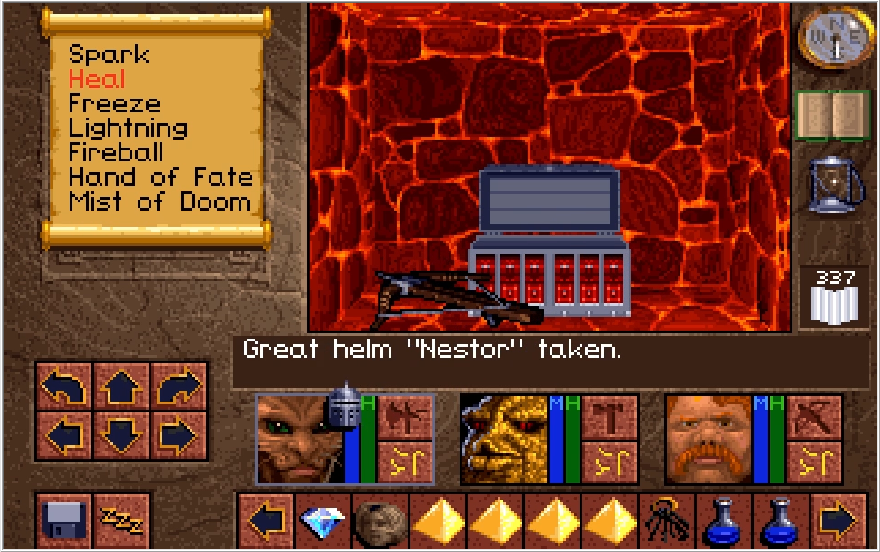
Moving on, there's another empty room and another room with a chest. This chest is a bit special in that it has a unique and very bizarre booby trap that can spring if you fail to pick it. Kieran gets it on the first try though and we get the Crossbow "Elayna" and the Great helm "Nestor". Both of these are worse than gear we already have, though the Great Helm Nestor at least has the perk of making you funky at bowling. More on the booby trap on the chest in a second.
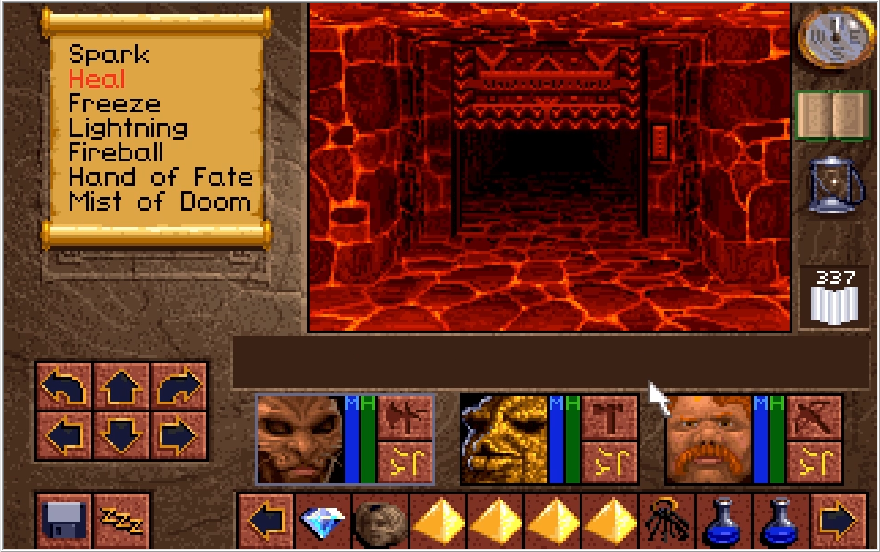
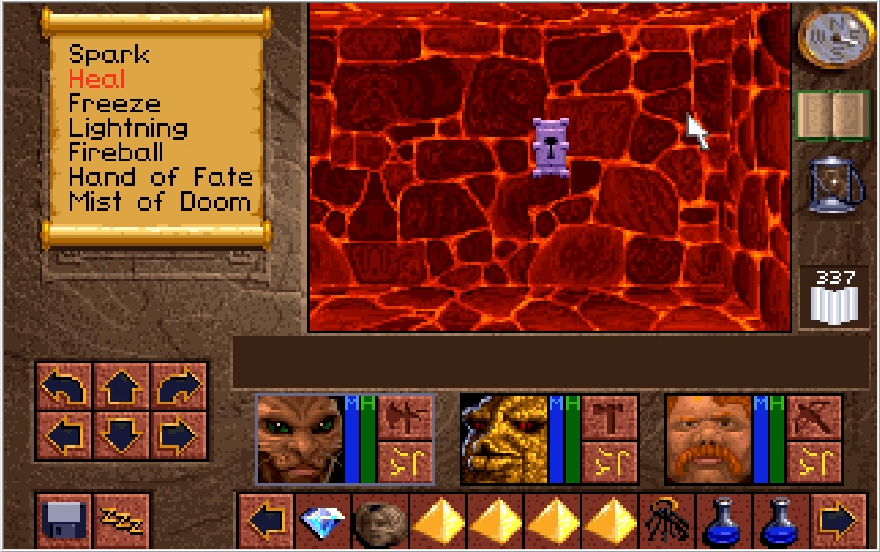
There are two more rooms in this prison hall, the first is empty. Before I check out the second, I get distracted by this distinct looking lock at the end of the hall. We can't pick it and don't have a key for it, but keep it in mind.
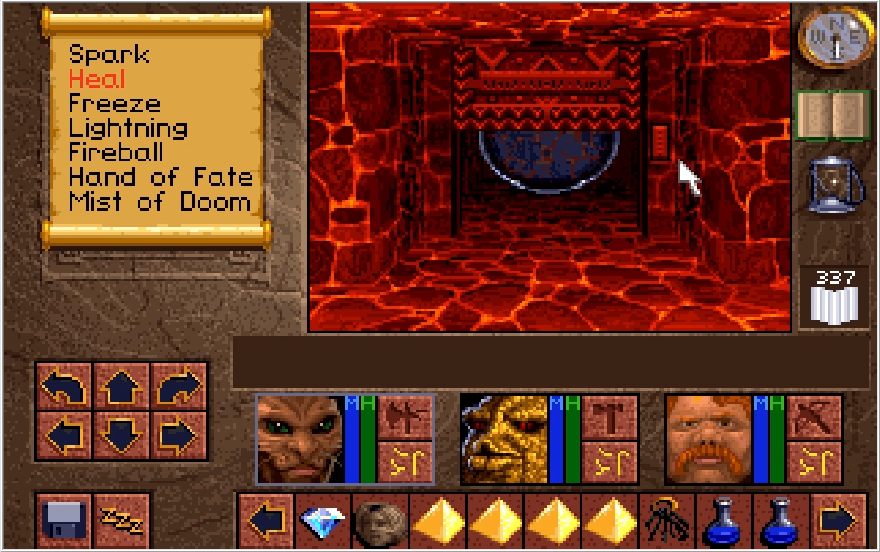
The final door in this hall has a portal for us, which will take us to another section of the Dungeons. Now the booby trap on the chest we just opened has the very strange effect of activating this portal and sending you to the room it normally sends you to. Since you have to go in this portal anyway, I'm honestly not sure what they were going for with that. It might be a bug.
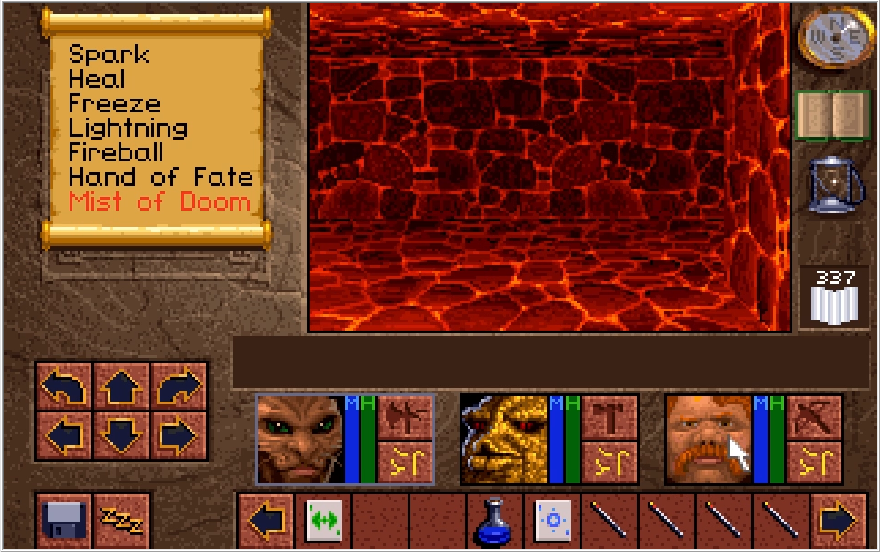
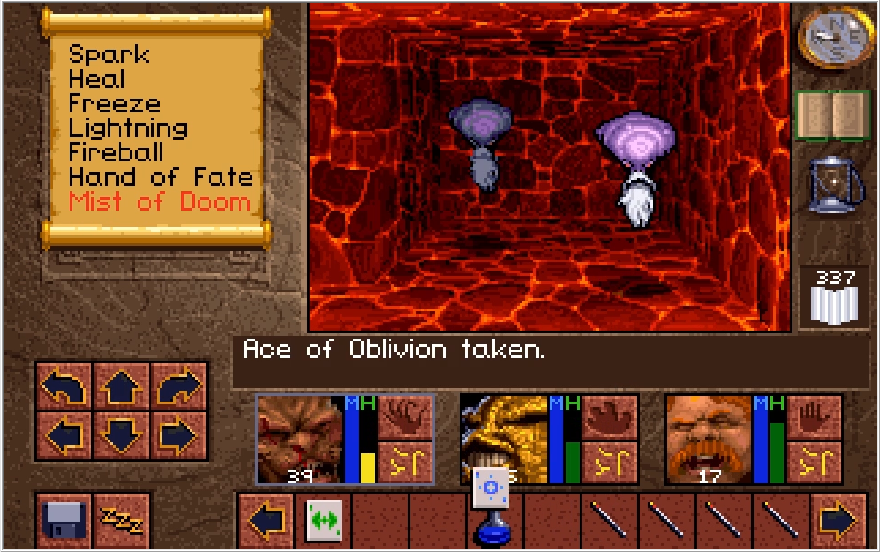
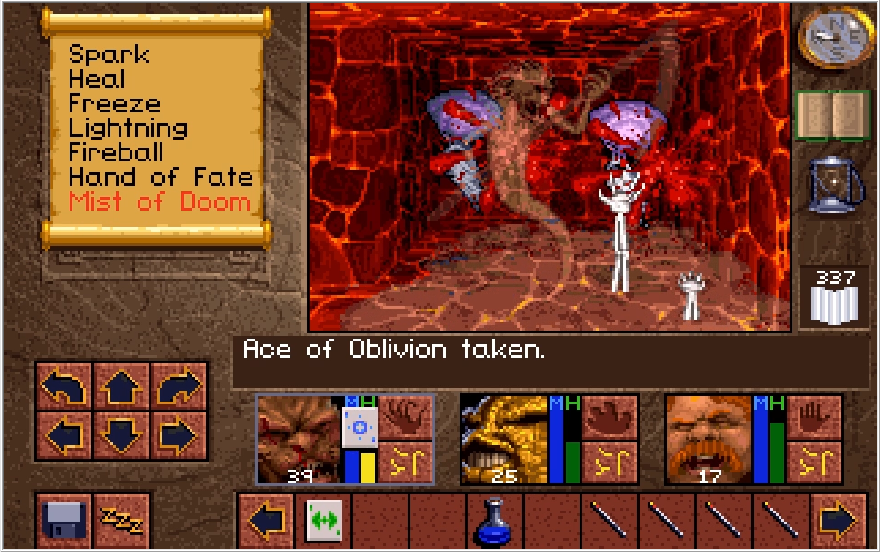
Leaving the room we get dropped into, we come across more Knowles that I decide to style on with the Ace of Oblivion. I'd seldom find any other chances to use it, we're dealing with the toughest enemies in the game already.
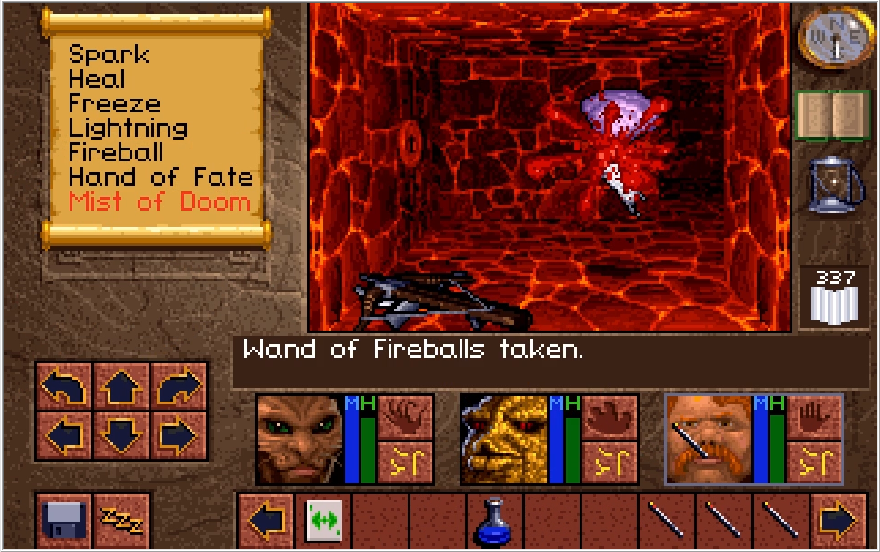
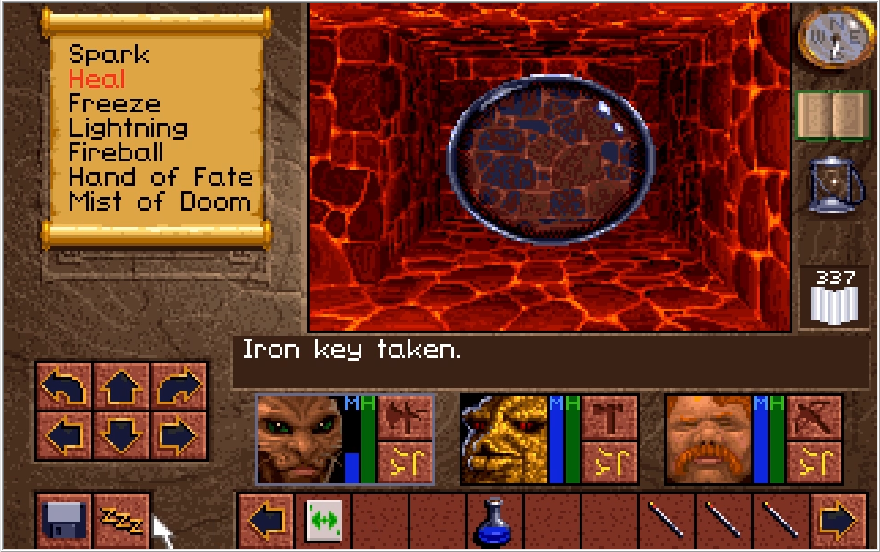
Leaving that room, we come across more Knowles who eagerly force me to re-equip my gear for the five thousandth time. Upon their incineration, they drop an Iron Key that allows us to escape this room and return to the prison with another portal.
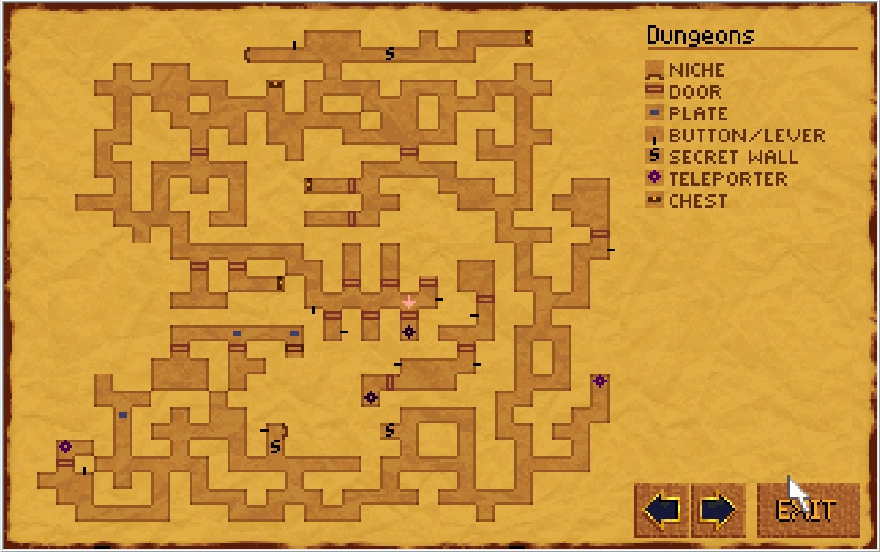
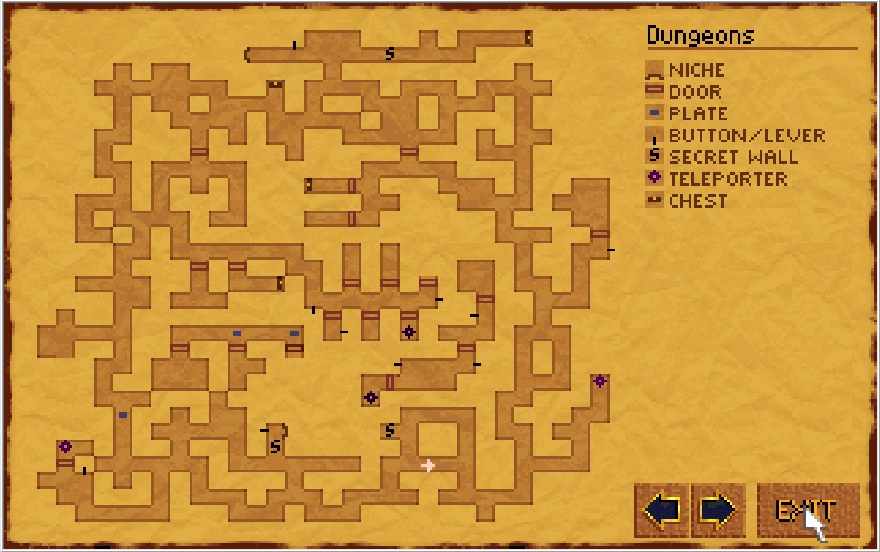
Nothing much left to this place, I think it's time to check out that secret wall I passed over!
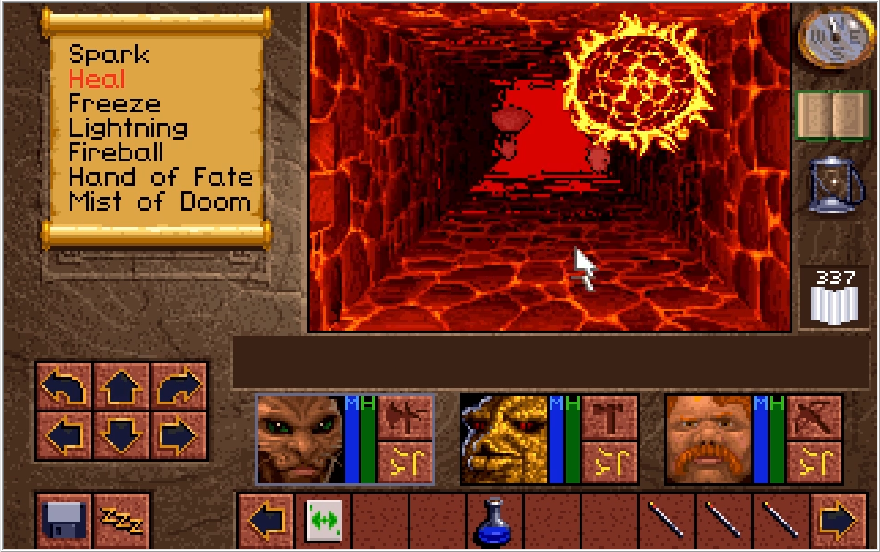
Beyond the wall is a switch that when flipped, immediately opens up a wall with Knowles in the middle of spitting fireballs at me. Thanks game.
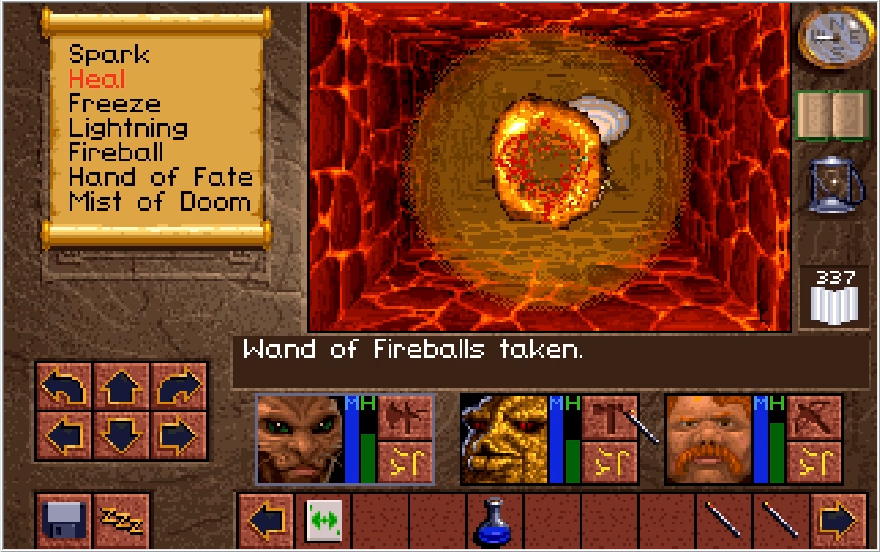
You know what they say, share and share alike. There's definitely no caring involved with this sharing, sorry Elize.
The switch also opens up an alcove, but this one's a bit of a cruel trick. If you place an item in this alcove (which the genre savvy among you may think to do) it disappears and takes the item with it! You can get the item back later, but why go through the hassle?
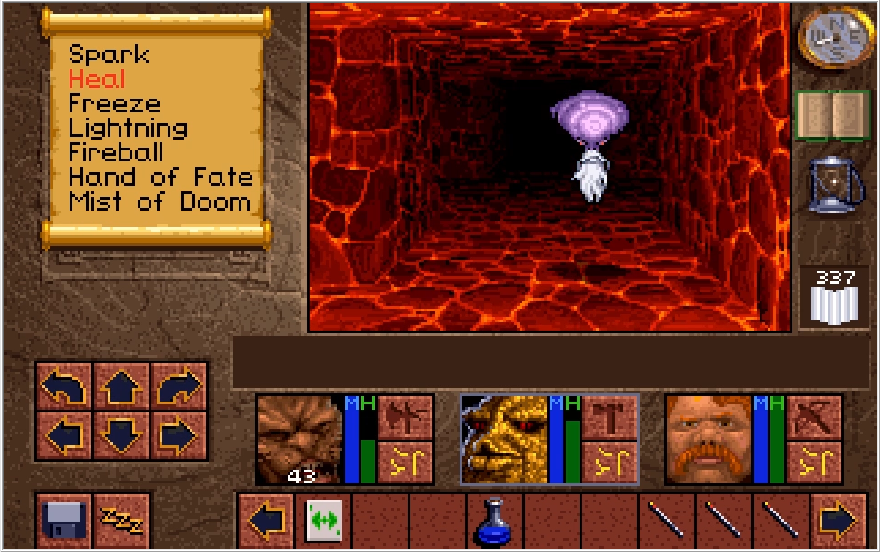
I decide to head back to the Xeobs at this point and swat a Knowle along the way. Very annoyingly, nothing tells you when you've actually successfully killed all the Xeobs or Knowles. You seriously just have to return to your sponsor after you think you might have killed all of the opposition and see if they give you your reward.
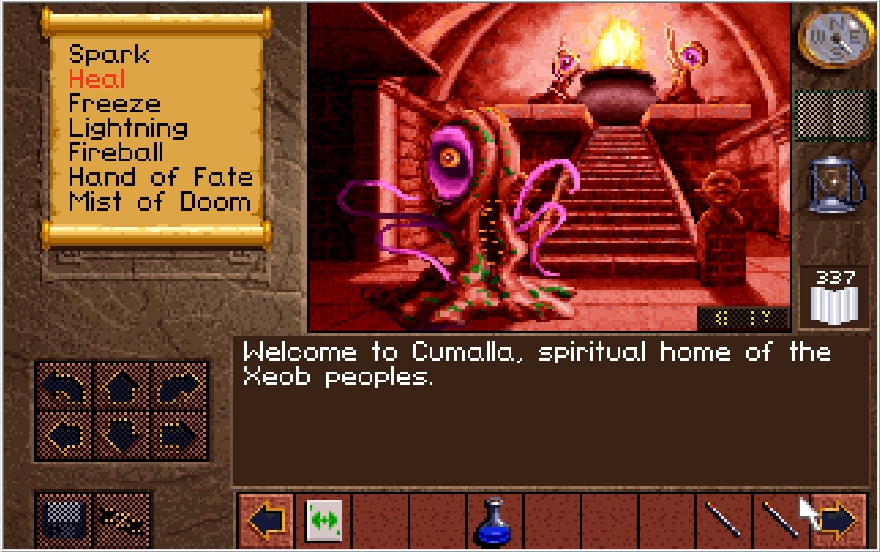
If they give their introduction, you have not killed all of the Knowles/Xeobs. Damn, now I have to hunt down whatever could possibly remain. Remember how I said the Knowles travel completely silently?
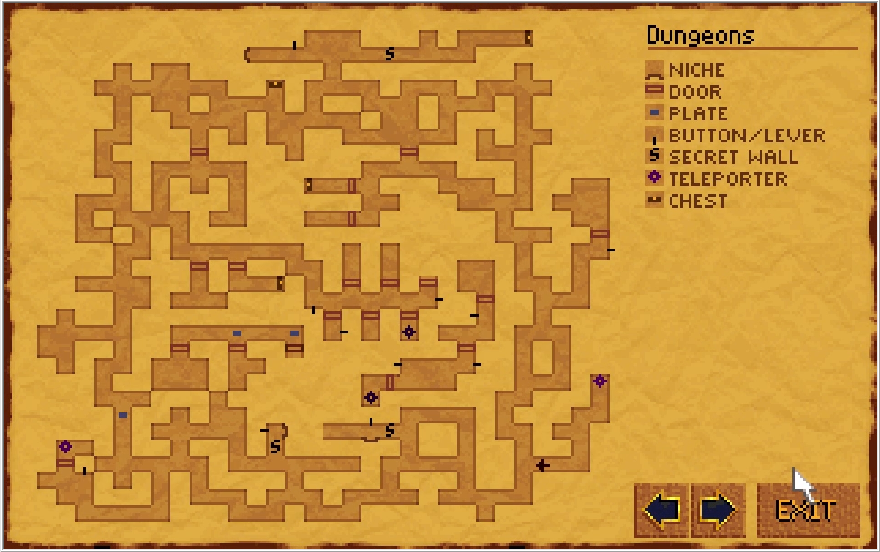
Yeah, I had to do an entire lap around the Dungeons just to find the one Knowle I missed. I hate this place.
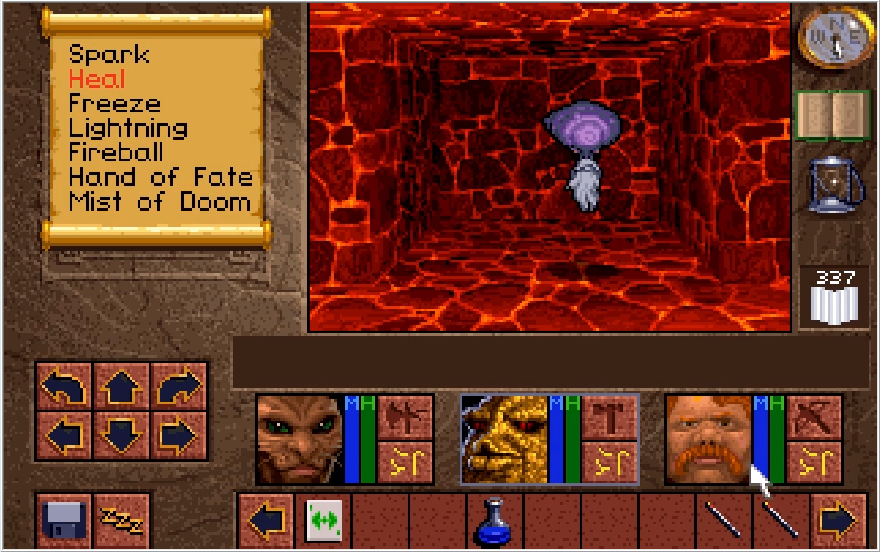
I waste no time burning this guy to a crisp once I find him.
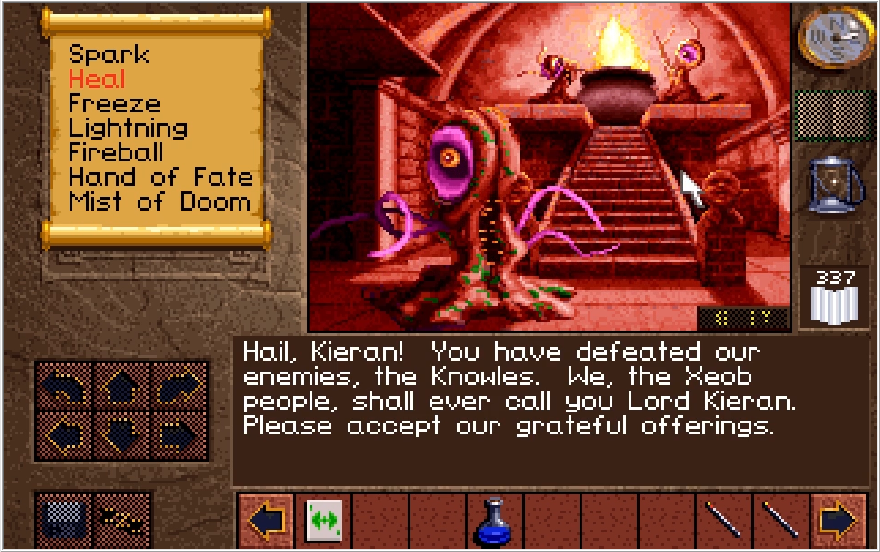
Hell yeah, bow down to your lord and master!
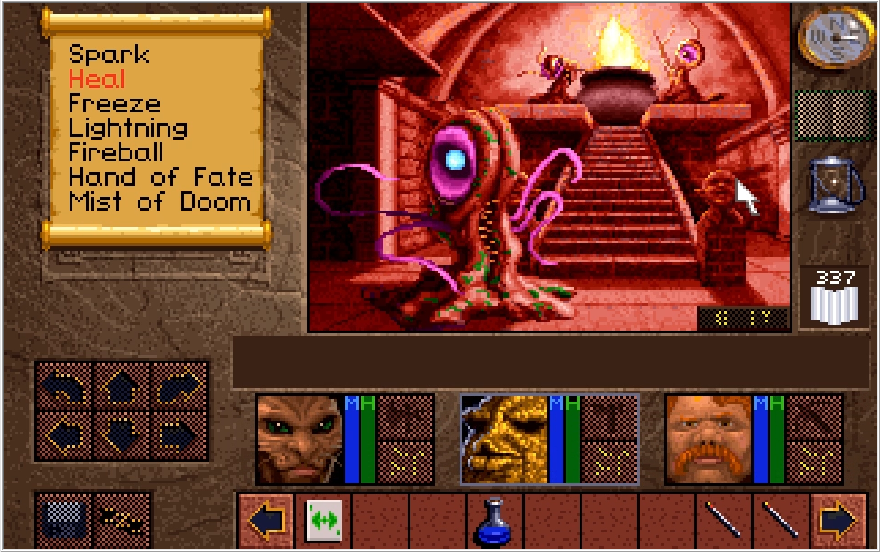
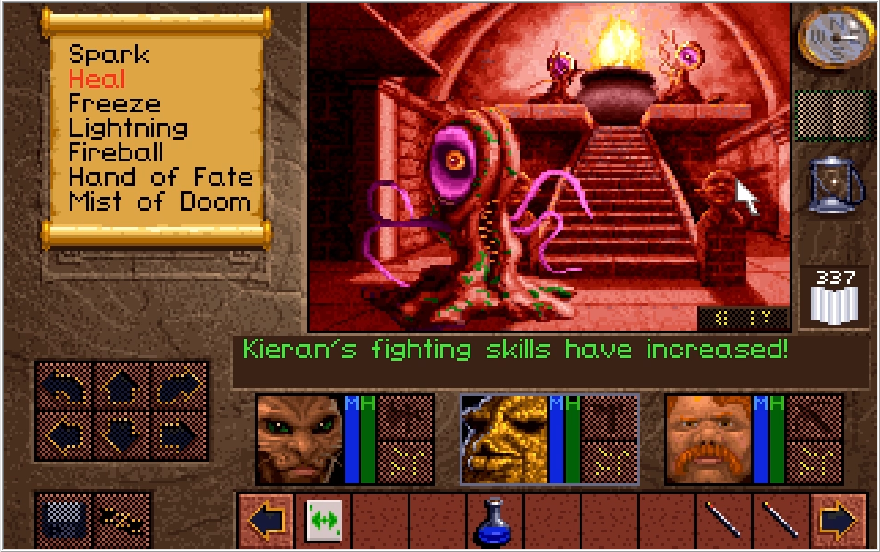
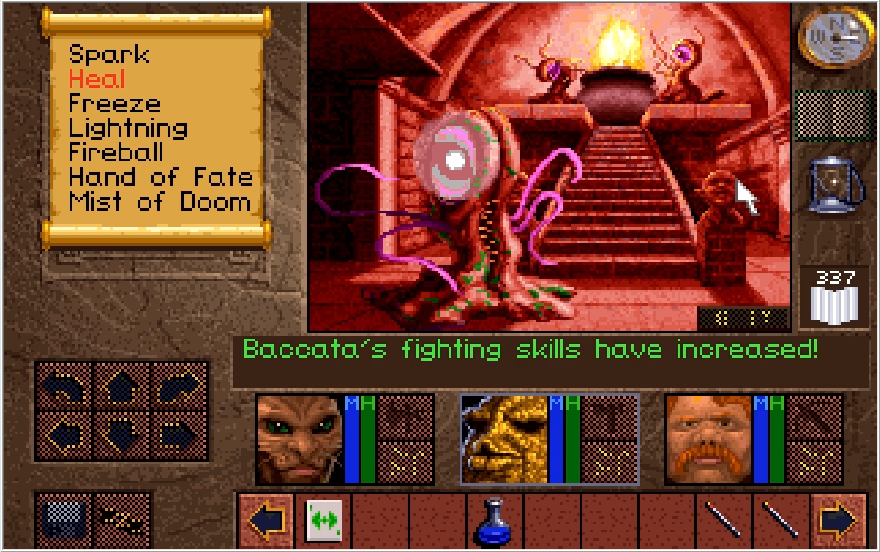
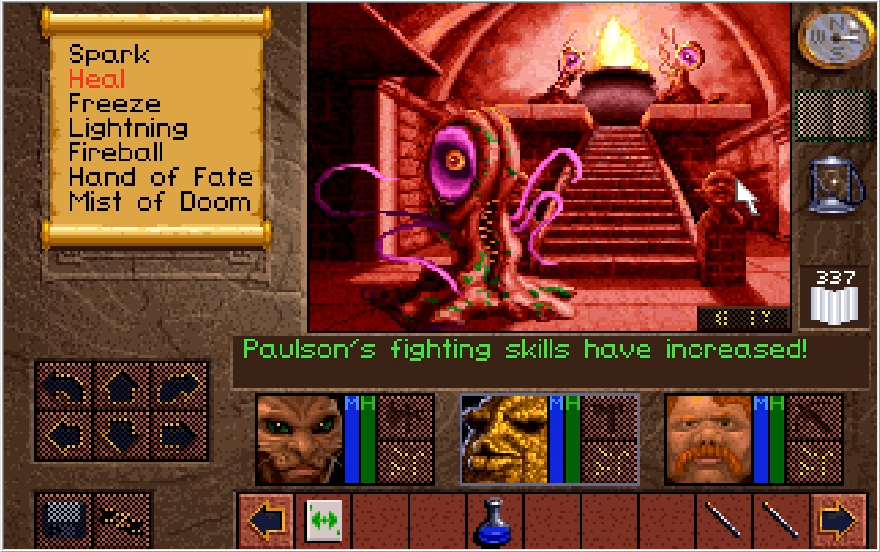
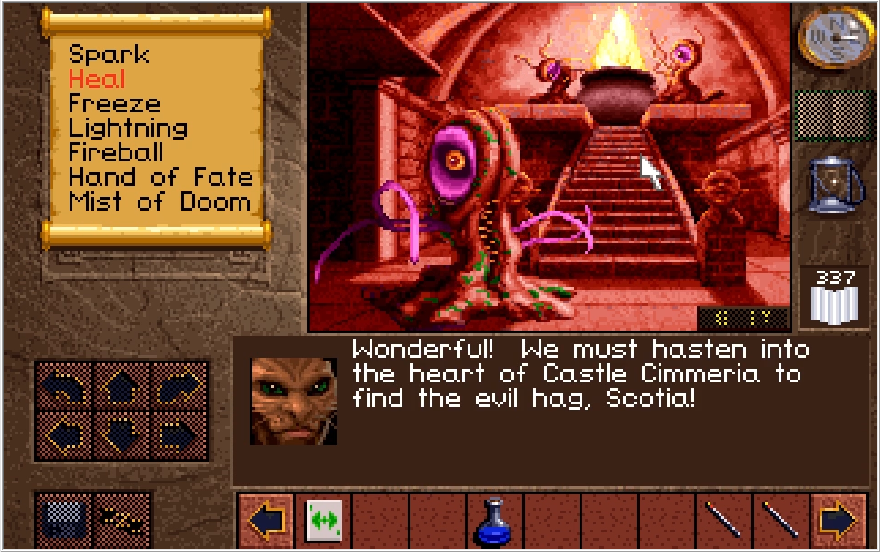
With a twinkle in their eye, our Xeobs benefactor makes us all one Fighter level stronger! A lot of people prefer the Mage level from the Knowles, but honestly the Xeobs' reward is probably the better one overall. I could see the HP being more useful than the extra MP in most cases. That said, another reason people prefer to help the Knowles is that the Xeobs don't force you to rearm yourselves every 5 nanoseconds.
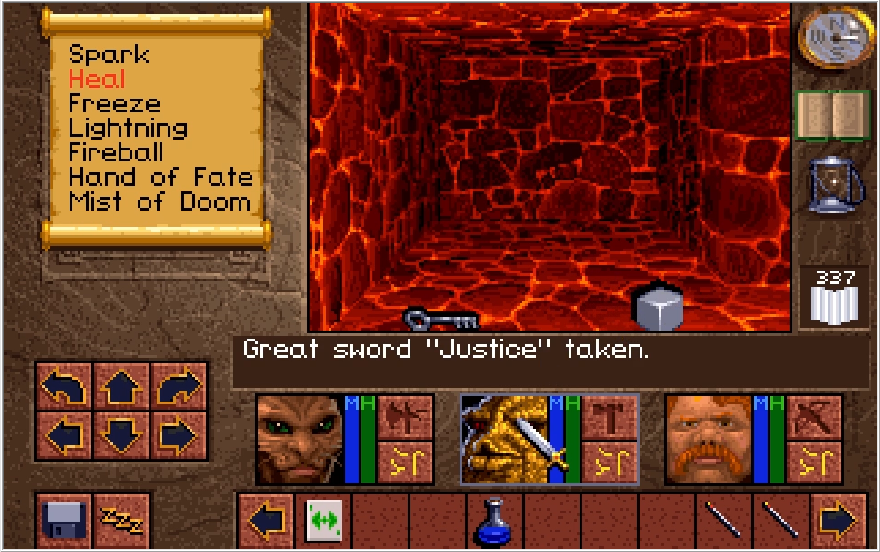
We never do realize that the Xeobs and Knowles were just an illusion if we complete their war, but hey we also get a Great Sword Justice for our efforts. Ignorance certainly is bliss! Baccata has now attained his final form, dual wielding the Great Sword Justice for the highest possible might score in the game, 120! Well I think it's neat anyway.
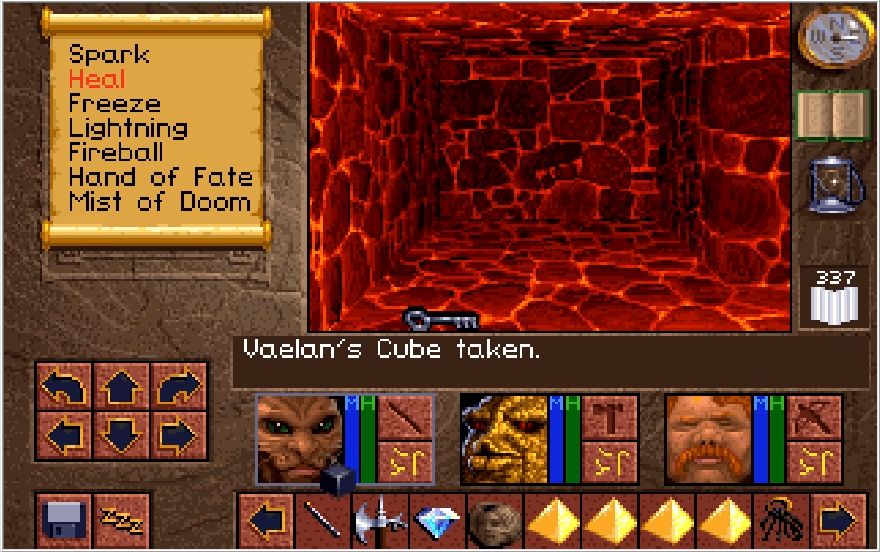
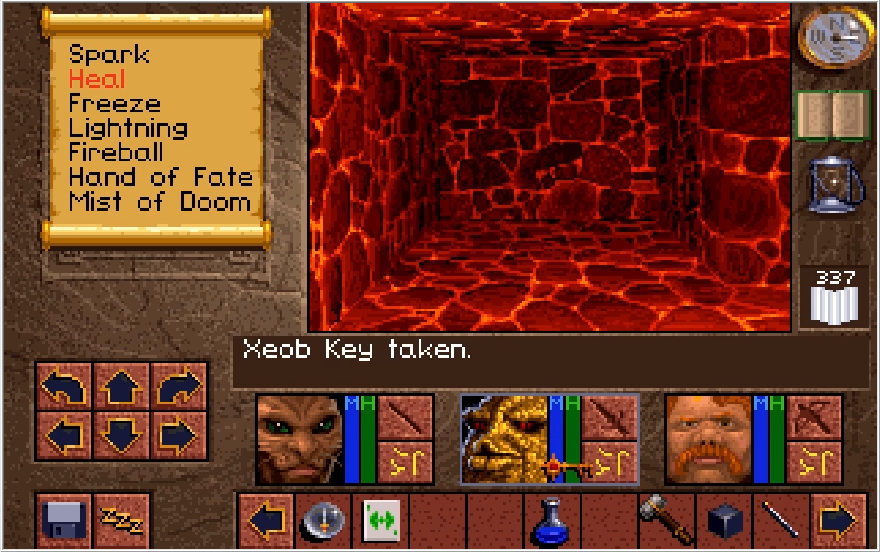
We also secure the Vaelan's Cube and Xeobs Key! Cool looking design on that key, I gotta say. What do we do with it though?
Well there was one lock we couldn't open before...
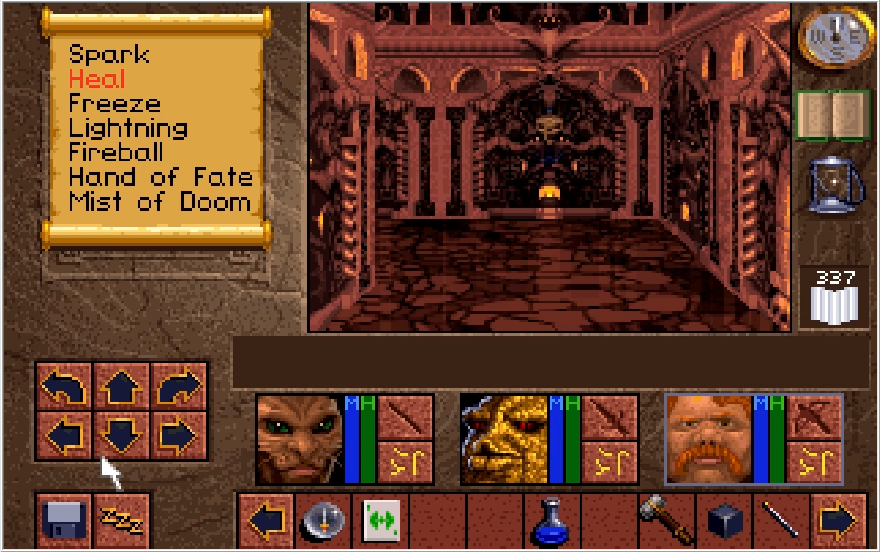
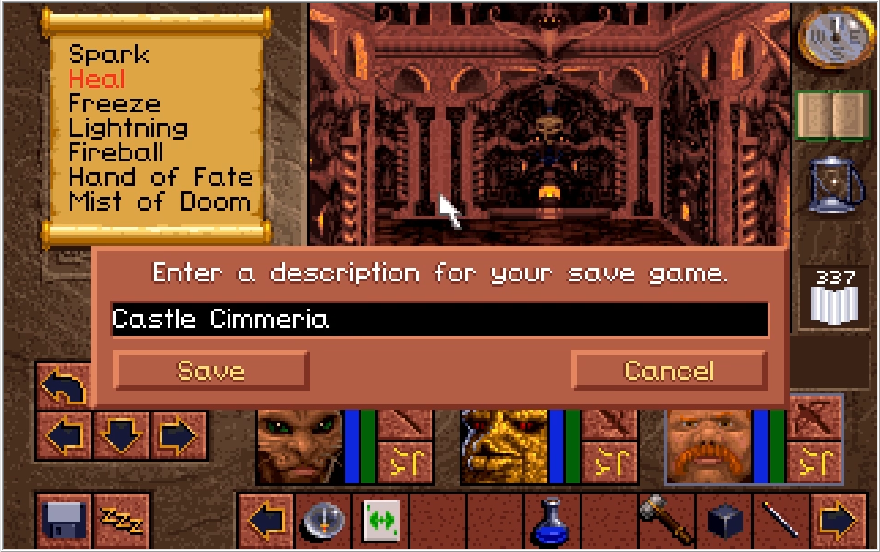
A stairway is revealed, and ascending it places us in Castle Cimmeria, the final dungeon of Lands of Lore! This place is massive and contains some of the most devious puzzles and challenges in the game. We're closing in on the end of this ride, but it is not slowing down by any means and we still have a lot we need to do before we can truly consider ourselves heroes of the Lands. Genocidal Heroes. I'd be remiss if I didn't show off at least a little of siding with the Knowles though, so let's roll back the clock and check that out before finishing off this update.
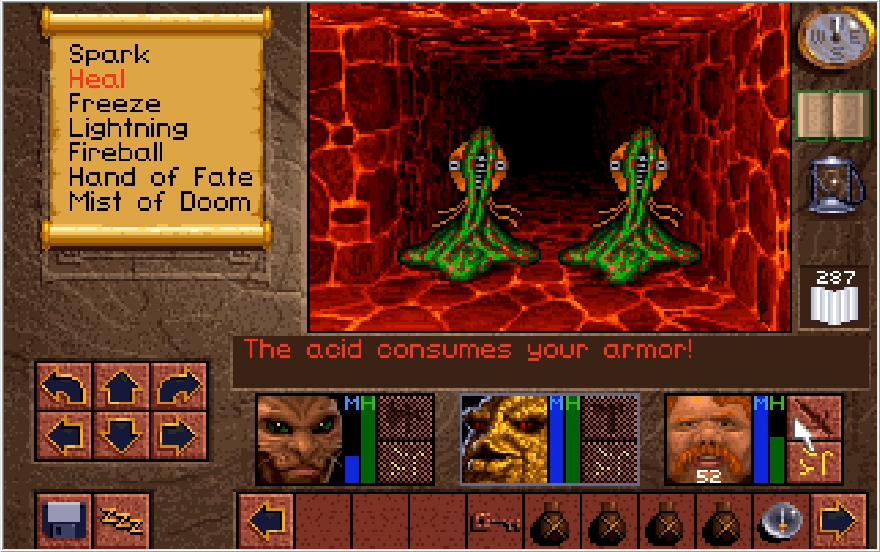
First and foremost, I'd just like to reiterate that if you fight the Xeobs with your armor on, you'll likely see this message within a couple seconds of starting the fight. Christ, that's the damage Paulson was taking with his armor on.
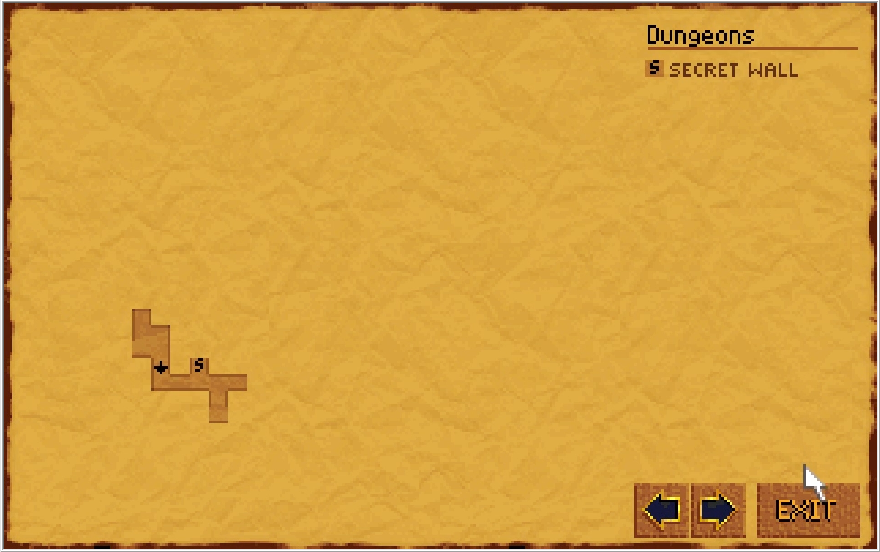
As mentioned at the start, siding with the Knowles starts you in the southwestern corner of the Dungeons. All this really means is that it is a longer walk to grab Nathaniel's key. Also you start right by the Xeobs' layer and it is very easy to saunter over to it and find yourself pincered by like 5 Xeobs. I didn't get a chance to show this, but the Xeobs also have projectiles that are just as deadly as the Knowles fireballs. If I had been fighting the Xeobs, I could have expected at least a half dozen game overs compared to the one I got against the Knowles. (And truthfully, I was purposefully trying to demonstrate what happens when you fight them half cocked and unprepared there)
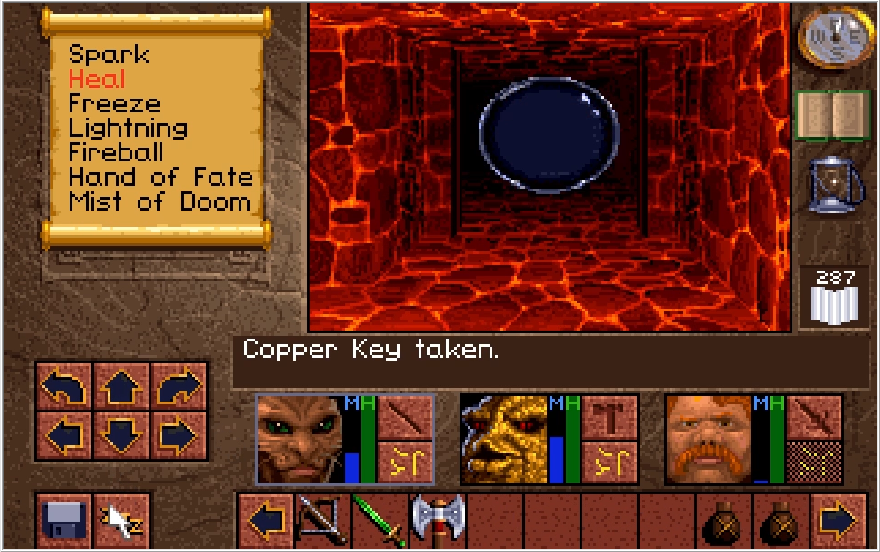
Since we're on the Knowles side, their chamber contains a portal to their realm.
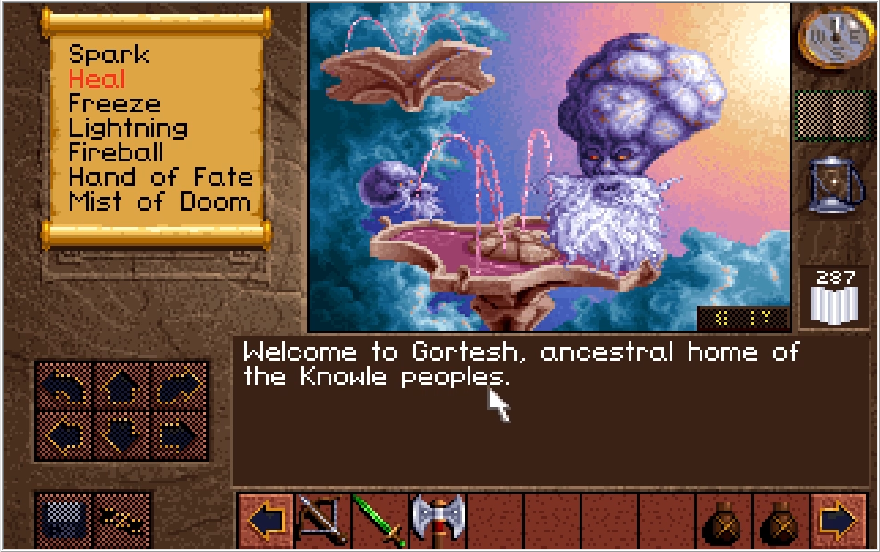
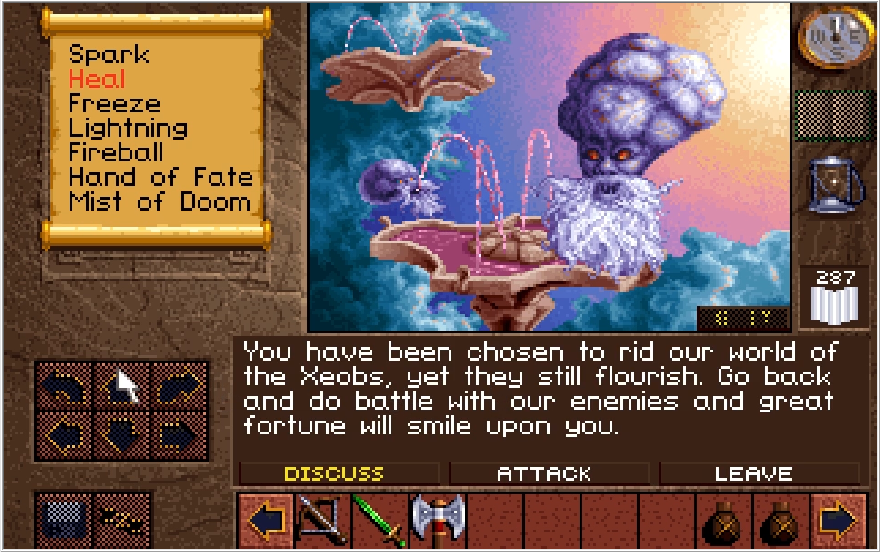
They mostly have the same dialogue as the Xeobs, but their words about Scotia are slightly different.
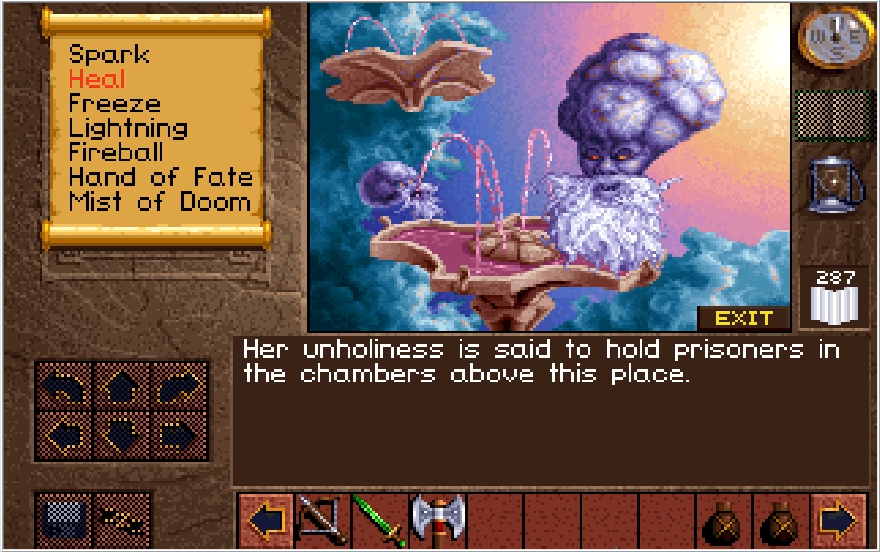
Also for some reason, the flavor text in Gortesh makes it much more explicit that this is all an illusion. As in, Baccata literally says it's all an illusion.
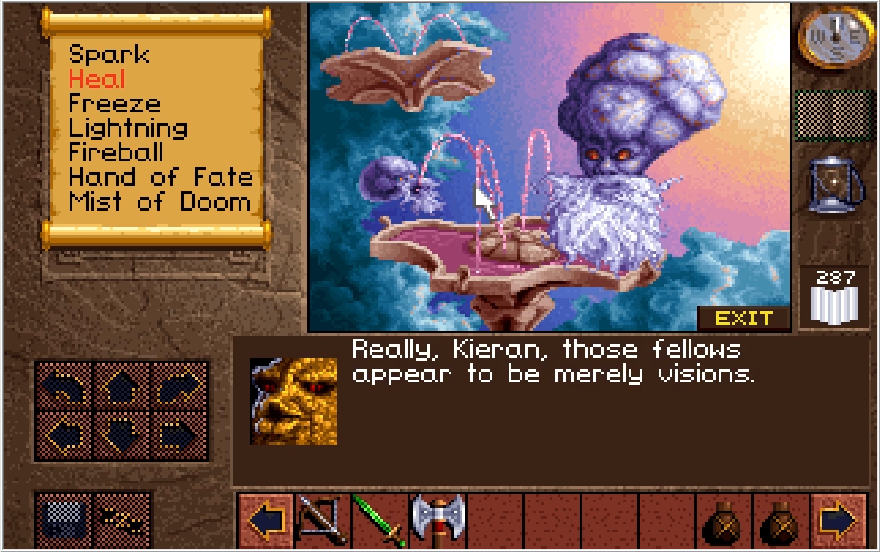
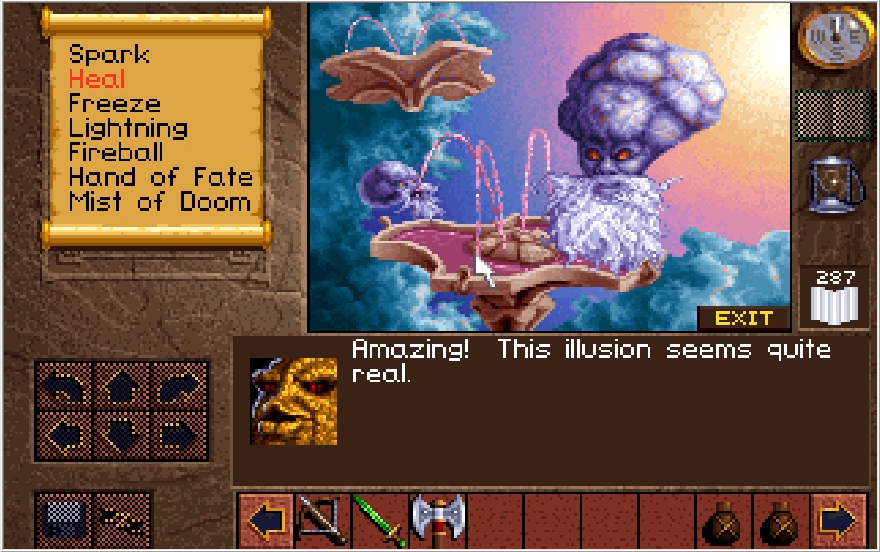
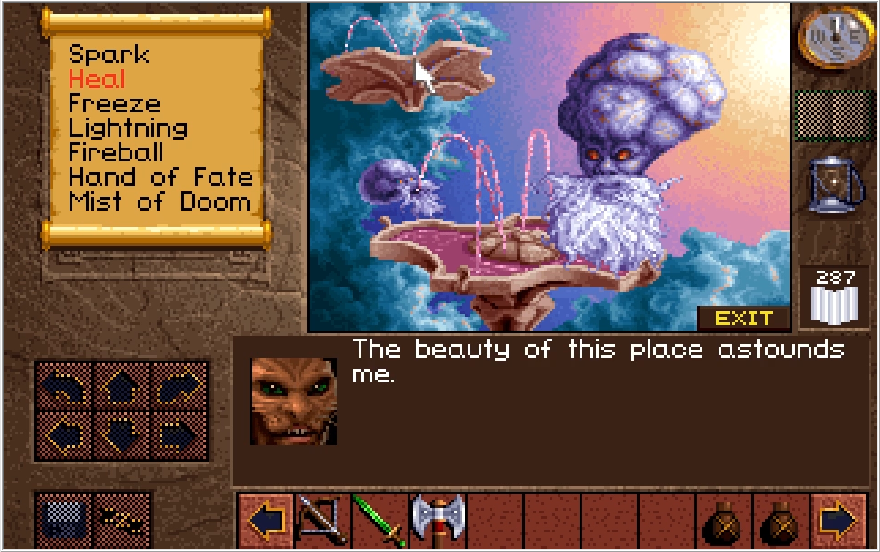
"But it's so pretty, Baccata!"
Anyways time to back.... uhhh, brainstab? The Knowles.
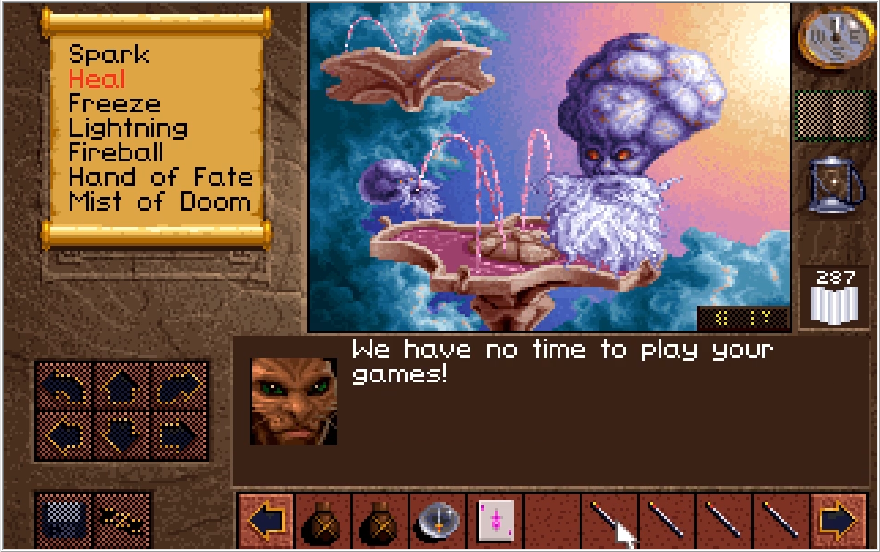
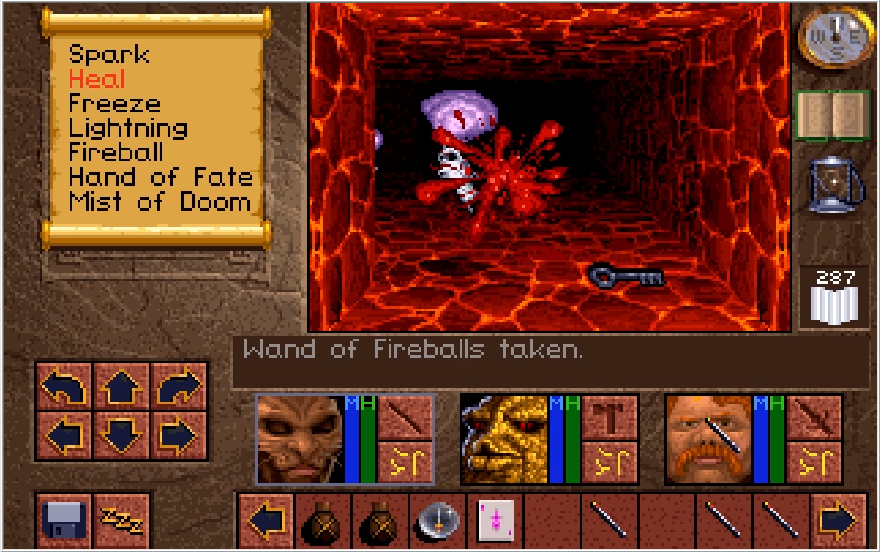
Fuck all y'all.
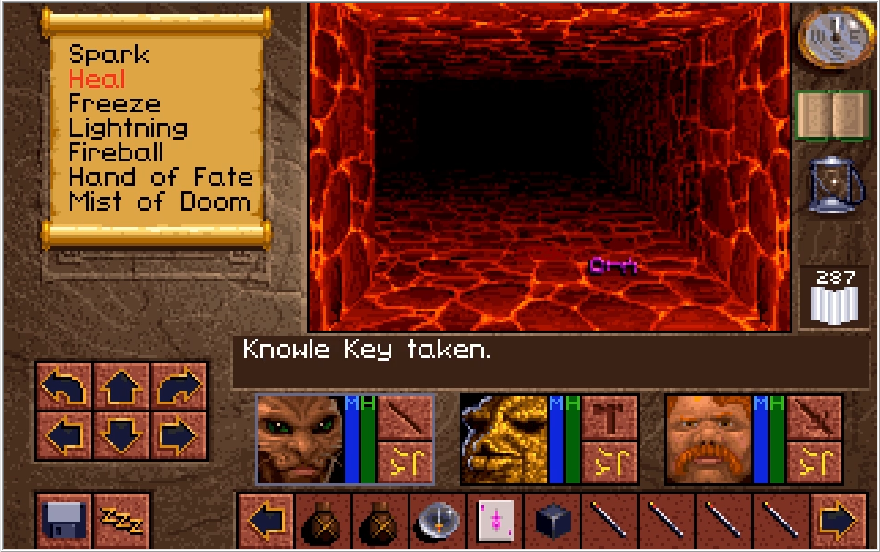
The Knowles have their own key to escape the Dungeons, plus a Vaelan's Cube. Honestly, I kind of wonder if the devs also intended you to side with the Knowles, this key lines up more with the lock to escape the Dungeons than the Xeobs' key does.
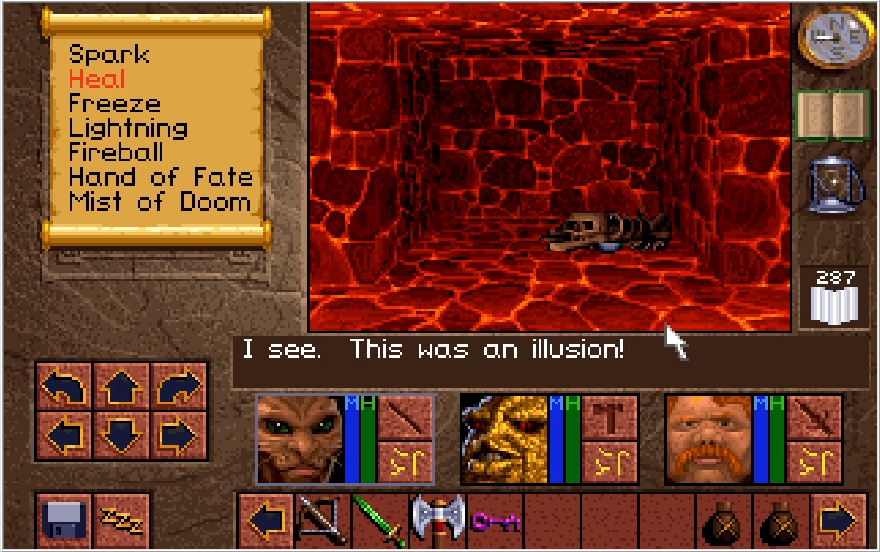
And Baccata once again points out the illusion and all the stuff I grabbed earlier is here. At this point, you can weather the storm of pissed off Xeobs and make your way into Castle Cimmeria if you so desire. Aside from the Mage levels, the only other thing you get if you help the Knowles is a Death Stick. Love how the stuff that is always here is better than the actual reward you only get for helping them. With all that done, see you next time for the first floor of Castle Cimmeria and the worst puzzle in the entire game!

Okay, deep breaths. We got this. The thread has decided we should ally ourselves with the Xeobs and annihilate the Knowles, and by golly that's what we're gonna do. All truth be told, the Xeobs are actually probably the harder species to war with, but the Knowles are extremely annoying to fight for reasons we'll get into momentarily. We steel ourselves, and step into the portal by the Xeobs' crest.

Music: Dungeons-Castle Cimmeria (Get used to this song, it's the main one you'll be hearing for the next two hours in game)


Stepping into the portal, we immediately find ourselves deposited into a crimson cobblestoned prison. Christ we haven't even started and I'm already seeing red! I immediately save my game, and believe me that you want to save often here. Save after every encounter you get into, you do not want to have to repeat any fights you get into.

As mentioned previously, both portals for the Xeobs and the Knowles dump us into the same place, but there are two main differences beyond what enemies we will be fighting. The first one is where we start. Allying ourselves with the Xeobs places us in the northeastern section of the Dungeons. Should we have allied with the Knowles instead, we'd find ourselves in the southwestern section. As a random aside, I've always kind of considered this place to be its own thing due to the unique objective and visuals, but I suppose you could consider this place either the end of the Catwalk Caverns or the beginning of the Final Dungeon. I'll leave that classification up to you.
Moving on, we start very close to a secret wall and switch, so why don't we investigate those to start with?


Heading into the secret wall, I immediately slam into 5 Knowles, getting quaked and fire balled into dust in the process. We'll have to approach that with more care. One thing we have in our favor is that the Knowles and Xeobs cannot see you through secret walls and will generally stay behind them, though their random pathing can result in them wandering beyond the wall every now and again. Let's investigate that switch first instead.


Somewhat randomly, the switch opens up a wall leading to an alcove with Nathaniel's key! Remember Nathaniel? The really nervous guy who ran the herborium? Well for some reason his key is here and we need to collect it if we want to beat the game. I'm not sure if this is meant to indicate that he's been killed and his key was stolen and sequestered in these dungeons. We never actually see Nathaniel or learn of his fate. I do have a theory that the "score" Victor talked about settling, assuming it wasn't just meant to make him seem more trustworthy, was actually tracking down and killing Nathaniel for his key. Nothing in the game supports that though, so more likely they just forgot or didn't care to provide an explanation for this.


Returning to the Knowle Party Hall, I bait them and let them quake me. I have to leave my gear where it lies for a moment, but we don't want to get caught in a pincer by these guys. As you can see, I took the downtime waiting for the vote to return to the Gorkha Swamp and loaded the fuck up on Fireball Wands. The Knowles are not immune to fire magic and actually take pretty good damage from it. If I had Michael, he could probably fry the Knowles in two blasts of the wand.


Sadly, we aren't exactly wizards on par with Gandalf the White or even the Grey, so Knowles take 3 blasts from the Fireball wands regardless of who I use them with. It's worth it though. I also mix in some Mists of Doom just for flavor, though I probably should save my MP just for healing. It hasn't really come up all that much, but do be mindful that you need a weapon to actually deal melee damage to enemies. If you're relying on weapon damage exclusively and get quaked, you are up the creek against the Knowles. Baccata can still attack at half effectiveness at least since he has two weapons and needs to be quaked 3 times to be completely disarmed, but everyone else needs to either pick up and throw/re-equip their weapons or find something else to do.

Speaking of, I grab all my dropped shit and slap it back on. I think if I timed the video for all the time I spent re-equipping myself after a fight, the overall time would be somewhere between 4-5 minutes of a 36 minute recording. This is the reason the Knowles are so irritating to fight.


Moving past the Knowles, we find a chest containing some Dwarvish Boots and Galenian Plate Mail, stuff that is not better than anything we already have. This does remind me of another thing we should take care of real quick.

Remove all your body armor! Though they don't look like they could, the Knowles are acid spitting enemies and can destroy your armor with their melee strikes. We are going to be fighting way too many of them for it to be practical to keep our armor on, I'd be save scumming constantly if I did. In one of the few mercies I got here, this actually does not affect us too badly against the Knowles. The Knowles have pathetic melee hits that only deal like 2 damage even without armor. Quakes always deal 20 damage to your party, and the fireball projectiles they launch just seem to deal random damage between 20-60. This is a much bigger problem against the Xeobs, who are also acid spitting and have devastatingly strong melee strikes. I've lost 75 HP to a single hit against them, WITH armor on and often the armor gets destroyed in the process.

Now that we've cleared this secret hall, it's a perfectly safe place to rest. Be mindful of where you might be able to rest! Getting ambushed in your sleep here really sucks. One problem unique to the Knowles is that they make no noise when they move, while the Xeobs do have a distinct noise they make when they are nearby. The sneaky nature of the Knowles is annoying for two reasons, and we'll get to the second one later. Just know that they are very annoying to track by anything other than sight.


Leaving the secret hall and bearing west, I find a Gold Key. This is the key to the room containing the portal to the realm of the Xeobs, which as it turns out they actually do have and just didn't feel the need to mention it in their introduction. This key is here regardless of who you ally with, but it only actually serves any purpose if you're fighting for the Xeobs.


Also nearby is a chest containing some serious loot! The Steel Bracers give Kieran 4 more protection over the vanilla Bracers, so I immediately slap those on. We also get two Guardians and an Ace of Dominion! The former will come in handy for the final boss fight.


Exploring more of this area, I stumble across a fairly unthreatening projectile trap and a door leading southward. I found myself a little indecisive on where I wanted to go and meandered around for a little bit.


Bumping into another Knowle, I learn something absolutely crushing: they're immune to Lightning! This means that duping the Lightning Wand was for naught, though it would have worked against the Xeobs. Not that it mattered either way, because reviewing my inventory I realized this was the playthrough where I got the randomly dropped Lightning Wand in Yvel Woods. Whoops. When you do 4 practice runs of a game, they start to blend together and you forget which one you did what in.


I have to re-equip myself after the fight (get used to it), and I opt to give Kieran the Halberd Widow. May as well be able to do something with his weapon hand. Kicking myself for not getting the Great Sword Justice duped now, but hey we'll get a second one later regardless.


Keep your healing magic at the ready! These guys hit hard and suddenly being unable to fight back means you need to scramble for anything you can do to stay on top in an encounter. This is another area where Ak'shel's MP advantage really comes in handy. You can easily have him at Mage 6 and he'll be able to cast Heal 4 up to 3 times. The fact Ak'shel himself is also surprisingly sturdy is just icing for that. Also you can see the pathetic melee damage these guys deal on Kieran there.

And of course, every now and again they'll be late on the draw with their quakes and Baccata will just absolutely bulldoze them. Love ya buddy.


I decide that I need rest and look for the first alcove I can protect my back and sides in. Unsurprisingly, I get an extremely rude awakening that half kills my entire party. These projectiles are nasty!


I get interrupted like 4 times before I can actually finish my rest, and as you can see it gets pretty close. Also be sure to save before resting!

No wonders I was having problems, there's like 3 patrols of Knowles in this particular area! Generally speaking, all the Knowles and Xeobs have little clusters that occupy specific halls of the Dungeons that they don't wander too far from. Resting nearby is just the thing to get their attention though.
You're probably curious to know this now, the Knowles and Xeobs are oddly small for a species. There's only like 40 of them wandering these Dungeons, though of course that's more than enough of them to ruin your day. Maybe these wars are a regular thing...

I decide to head toward that central door on the map.

As I investigate the halls it leads to, a Knowle floats into my path and has its day ruined as I unleash fiery death on it.


There's a couple doors leading to short hallways in this area. These halls are actually quite helpful, as the Xeobs and Knowles cannot open doors! Another section of the Dungeons where we can rest safely.


This specific hall I entered has a chest! It contains a Trident "Mandible" (shocker, it's marginally stronger trident with no special effect that's weaker than everything we have), a Dwarvish Plate Mail (one of the strongest armors in the game! Too bad we can't wear it now) and a couple Bannon's Reserves. Pretty good haul in the hall overall.


Baccata has had it with these nerds. There is a second hall adjacent to the one with the chest, but it has nothing in it.


Continuing my exploration, I encounter a Knowle that actually runs from me. He was setting me up though, as soon as I rounded the corner he quaked me and he has friends joining the fray!


Just for fun, I decided to try and win by casting Mist of Doom with everyone, but that was a huge mistake. I got my ass beat while doing this.

And while I was re-equipping for the 50th time, I got my ass roasted with a fireball.

I retreat and give Kieran a Bannon's Reserve since I can't really expect to rest right now.

I cast Heal 4 and head back towards where I got cooked before. I actually casted it at just the right time, before I stepped around this corner. Had I taken one more step before healing, the party would have fried even before reaching hell.


They're crawling (floating?) out of the masonry!

We've explored quite a bit so far. This place is pretty big and sprawling, so it's easy to get lost. Could you imagine having to explore here without a map? It'd be a nightmare! yes this is foreshadowing a potential trap you can fall into.

Moving westward, I duck into a side hall and find that I narrowly avoided taking a face full of fireballs.

I address the Knowles that attempted to barbeque me, and then make my way into this little corner room in the southwest. That's an interesting lock these Knowles are guarding, let's clear them out of the way and investigate!

Perhaps unsurprisingly, our Gold Key opens the Gold Lock. Now this lock can be opened whether you fight for the Xeobs or the Knowles, but it only serves a purpose if you're on the Xeobs side. Curiously, this is actually not the case for the equivalent lock with the Knowles. That lock leads to a couple of goodies even if you're fighting the Knowles.


There's also a chest containing a Chain Mail Protector, which is equivalent to the Dwarvish Plate Mail in Protection, and another George's Kite Shield. George must have been an enthusiast! I give Baccata the shield cause lord knows Paulson isn't worth the best stuff.

Returning to the Gold Lock door, we find it contains a portal! This is only here if you're allied with the Xeobs, otherwise this room contains nothing. Let's step on in.
Music: Knowles and Xeobs

....Cumalla?

We have a couple options here. We could uselessly discuss our ethnic cleansing with our benefactors, we could betray them which does allow us to escape from the Dungeons faster at the cost of losing the normal rewards, or we could just leave and continue our killing spree. Let's chat for now.


Unsurprisingly, we just get blown off and told to continue the bloodshed. The Knowles say exactly the same thing for the record. When you choose to Discuss though, you do get to click around for some extra dialogue.


Incidentally, in several sections of the Dungeons you can spot holes running along the ceiling. Makes sense I guess.


The Xeobs are just grooving too hard man. Odd that the fire has produces no hear though, I wonder why that is...

Anyway, let's fuck over the Xeobs real quick just to see what happens.

"I only killed the Knowles I came across so far because I felt like it!"

Naturally this prompts a scuffle with the Xeobs. Paulson's health bar there? I did not enter the fight like that, that's legitimately the damage he took from one Xeobs' bite. Need I remind you that the Xeobs attack at a rate of about 2 times per second?

Thankfully, while they are resistant to it Lightning does damage the Xeobs! This is a nice consistent bit of AoE damage against them, which makes fighting them a little more tolerable.


We get roughed up, but we do win. The Xeobs drop a key, which allows us to escape the dungeons, and a Vaelan's Cube. That second one is curious to say the least, I wonder what possible reason there could be for that being here? Stepping into where the portal was, Paulson actually points out something interesting. There was no Xeobs' layer, the whole thing was an illusion! Presumably everything we're fighting here is an illusion (though they're real enough to kick our collective ass) and the whole scenario is just to bog us down and waste time. I like to imagine Scotia concocted this scenario expecting our heroes to be a bit more stalwart. "Mwa ha ha ha, so Richard has dispatched a band of do gooders to stop me eh? Well I know a way to stop his champions, such paragons could never bring themselves to... wait they did what?"
Now at this point we could escape from the Dungeons. The Knowles are still roaming the area, however, and we lose out on the fantastic rewards from the Xeobs if we betray them, so let's reload our save and continue our genocide sidequest.

There's still a bit to see in the east, but my initial plan was to explore the western section we're closer to.


I found the Copper key though and figured "eh what the hell, I'll show what this does first." This is the Knowles' equivalent to the Gold Key. Remarkably shabby looking thing, methinks the Knowles are just putting on airs of elegance. Anyway, moving back towards the east I pass a secret wall, and decide to dip into it first.


Flipping a switch gets us a 4 gem Bezel cup! Another one to add to the collection. I should say though that we do need an HP restoring item in the future, so be sure to hang onto at least one,


Heading as far east as we can go and then north, we find a portal. This one will take us back to the Catwalk Caverns if we need to resupply or go sell off any goods (more just to clear space than any practical need really). Note that once you ally yourself with either the Xeobs or the Knowles, the portal for the opposing faction disappears and you can only return via your sponsor's portal.


Around this area also is a


Were we on the side of the Knowles, this would contain the portal to their realm. Since we're against them, it mostly has nothing but there is a little cubby hole on the west wall with some bones, a Bannon's Reserve and an Ace of Oblivion. Until I recorded this video, I had assumed these items were part of the Knowles reward for allying with them, but nah they're just always here.

We've pretty much seen everything in the eastern portion of the Dungeons save for that secret wall. We'll come back for that later. I headed North and trekked back through our starting point of the dungeon, because I had a sneaking suspicion I had missed some Knowles here.


I was right. Another minute spent re-equipping myself.

I have conquered my ADHD and have finally returned to investigate the area beyond the door we saw like 80 images ago.


What follows seems to be an honest to god prison portion of the Dungeons, which is a novel concept really. The first door I check has nothing in it.


The next door I come across has a chest that contains a useless Salve. It contains one other item though, a Diamond! This is an incredibly important item... is what I would say if the side objective it was tied to actually did anything. The Diamond is a key of sorts, but opening the associated "lock" for it yields absolutely nothing and is completely optional, because the reward it would have yielded was cut from the game late in development. Lores of my Land I tell ya.

Continuing down the hall, there's a lever that... doesn't seem to do anything when I pull it.


The door beside it though has a chest, which holds within the Axe "Butcher". This is an incredibly powerful unique axe with the special effect of ha ha no I'm just fucking with you. It's a vanilla beat stick that is barely stronger than the Axes we found in the Draracle's Cave at the start of the game. The chest also contains an Oil Flask. The Catwalk Caverns were the last time in the game the Lantern is used.

Now onto something a little more interesting, there's a switch next to the chest that when flipped while the door to the room is open...


Opens up a hallway loaded with pressure plates that trigger a fireball trap. Should you walk through the hall, you'll find a 4th Guardian at the end, AKA the thing we need to kill Scotia without swinging our swords a single time. There also some side rooms in the hall, but none of them have anything in them. I think they're intended to let you dodge the fireball traps, but the doors to them take way too long to open before you get hit.


Moving on, there's another empty room and another room with a chest. This chest is a bit special in that it has a unique and very bizarre booby trap that can spring if you fail to pick it. Kieran gets it on the first try though and we get the Crossbow "Elayna" and the Great helm "Nestor". Both of these are worse than gear we already have, though the Great Helm Nestor at least has the perk of making you funky at bowling. More on the booby trap on the chest in a second.


There are two more rooms in this prison hall, the first is empty. Before I check out the second, I get distracted by this distinct looking lock at the end of the hall. We can't pick it and don't have a key for it, but keep it in mind.

The final door in this hall has a portal for us, which will take us to another section of the Dungeons. Now the booby trap on the chest we just opened has the very strange effect of activating this portal and sending you to the room it normally sends you to. Since you have to go in this portal anyway, I'm honestly not sure what they were going for with that. It might be a bug.


Leaving the room we get dropped into, we come across more Knowles that I decide to style on with the Ace of Oblivion. I'd seldom find any other chances to use it, we're dealing with the toughest enemies in the game already.


Leaving that room, we come across more Knowles who eagerly force me to re-equip my gear for the five thousandth time. Upon their incineration, they drop an Iron Key that allows us to escape this room and return to the prison with another portal.


Nothing much left to this place, I think it's time to check out that secret wall I passed over!


Beyond the wall is a switch that when flipped, immediately opens up a wall with Knowles in the middle of spitting fireballs at me. Thanks game.

You know what they say, share and share alike. There's definitely no caring involved with this sharing, sorry Elize.

The switch also opens up an alcove, but this one's a bit of a cruel trick. If you place an item in this alcove (which the genre savvy among you may think to do) it disappears and takes the item with it! You can get the item back later, but why go through the hassle?

I decide to head back to the Xeobs at this point and swat a Knowle along the way. Very annoyingly, nothing tells you when you've actually successfully killed all the Xeobs or Knowles. You seriously just have to return to your sponsor after you think you might have killed all of the opposition and see if they give you your reward.

If they give their introduction, you have not killed all of the Knowles/Xeobs. Damn, now I have to hunt down whatever could possibly remain. Remember how I said the Knowles travel completely silently?

Yeah, I had to do an entire lap around the Dungeons just to find the one Knowle I missed. I hate this place.

I waste no time burning this guy to a crisp once I find him.

Hell yeah, bow down to your lord and master!


With a twinkle in their eye, our Xeobs benefactor makes us all one Fighter level stronger! A lot of people prefer the Mage level from the Knowles, but honestly the Xeobs' reward is probably the better one overall. I could see the HP being more useful than the extra MP in most cases. That said, another reason people prefer to help the Knowles is that the Xeobs don't force you to rearm yourselves every 5 nanoseconds.

We never do realize that the Xeobs and Knowles were just an illusion if we complete their war, but hey we also get a Great Sword Justice for our efforts. Ignorance certainly is bliss! Baccata has now attained his final form, dual wielding the Great Sword Justice for the highest possible might score in the game, 120! Well I think it's neat anyway.


We also secure the Vaelan's Cube and Xeobs Key! Cool looking design on that key, I gotta say. What do we do with it though?

Well there was one lock we couldn't open before...


A stairway is revealed, and ascending it places us in Castle Cimmeria, the final dungeon of Lands of Lore! This place is massive and contains some of the most devious puzzles and challenges in the game. We're closing in on the end of this ride, but it is not slowing down by any means and we still have a lot we need to do before we can truly consider ourselves heroes of the Lands. Genocidal Heroes. I'd be remiss if I didn't show off at least a little of siding with the Knowles though, so let's roll back the clock and check that out before finishing off this update.

First and foremost, I'd just like to reiterate that if you fight the Xeobs with your armor on, you'll likely see this message within a couple seconds of starting the fight. Christ, that's the damage Paulson was taking with his armor on.

As mentioned at the start, siding with the Knowles starts you in the southwestern corner of the Dungeons. All this really means is that it is a longer walk to grab Nathaniel's key. Also you start right by the Xeobs' layer and it is very easy to saunter over to it and find yourself pincered by like 5 Xeobs. I didn't get a chance to show this, but the Xeobs also have projectiles that are just as deadly as the Knowles fireballs. If I had been fighting the Xeobs, I could have expected at least a half dozen game overs compared to the one I got against the Knowles. (And truthfully, I was purposefully trying to demonstrate what happens when you fight them half cocked and unprepared there)

Since we're on the Knowles side, their chamber contains a portal to their realm.


They mostly have the same dialogue as the Xeobs, but their words about Scotia are slightly different.

Also for some reason, the flavor text in Gortesh makes it much more explicit that this is all an illusion. As in, Baccata literally says it's all an illusion.


"But it's so pretty, Baccata!"
Anyways time to back.... uhhh, brainstab? The Knowles.


Fuck all y'all.

The Knowles have their own key to escape the Dungeons, plus a Vaelan's Cube. Honestly, I kind of wonder if the devs also intended you to side with the Knowles, this key lines up more with the lock to escape the Dungeons than the Xeobs' key does.

And Baccata once again points out the illusion and all the stuff I grabbed earlier is here. At this point, you can weather the storm of pissed off Xeobs and make your way into Castle Cimmeria if you so desire. Aside from the Mage levels, the only other thing you get if you help the Knowles is a Death Stick. Love how the stuff that is always here is better than the actual reward you only get for helping them. With all that done, see you next time for the first floor of Castle Cimmeria and the worst puzzle in the entire game!
That sure is a lot of bullshit you had to put up with. Who in the world saw this and went, "Looks good, ship it!"? Kinda interesting that both of them are illusionary creatures, though that doesn't really explain how they can hurt you or why they give you tangible rewards. Also hilarious that Nathaniel just dropped off the face of the earth, despite being supposedly a very important person. Even the devs forgot all about him. Oh, and the music is pretty cool, but definitely not enough to make up for the...well, everything else, lol.
Hyped to see this all end, hopefully nothing in the future is as bad as this dungeon!
Hyped to see this all end, hopefully nothing in the future is as bad as this dungeon!
Good news! The worst part of the game is over! Bad news is there's still some more clearly unfinished stuff and also that one trap.
Update 21, Cat's Cradle
Music: Castle Cimmeria (Again, get used to this song.)
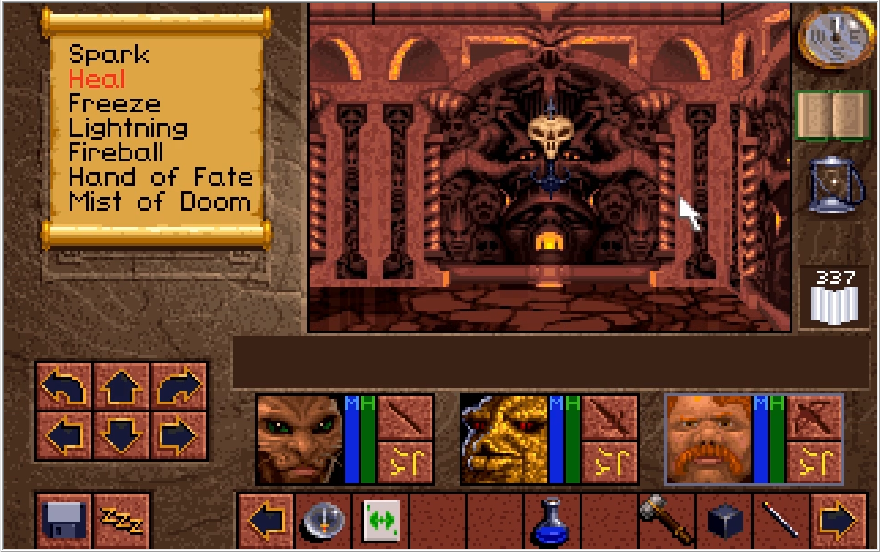
Well we've finally made it to the final dungeon, Castle Cimmeria! Funny, although we've made progress on getting the cure for Richard, it really doesn't feel like we've made much headway on the whole killing Scotia thing. But this is where the game comes to a head, as somewhat random feeling as it is. Starting things out, I'd just like to point out these skull fixtures on the wall are not actually levers despite looking like it. They are purely decorative skulls installed to suit Scotia's sense of goth aesthetics.
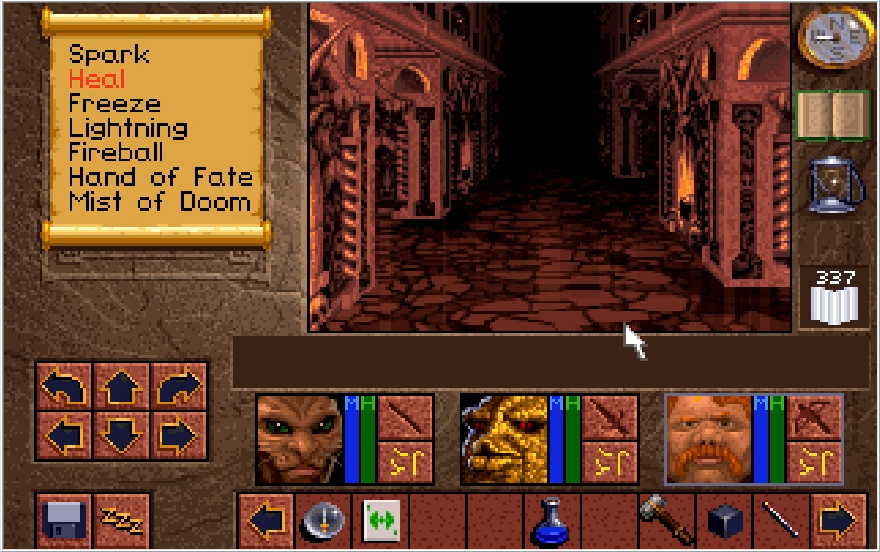
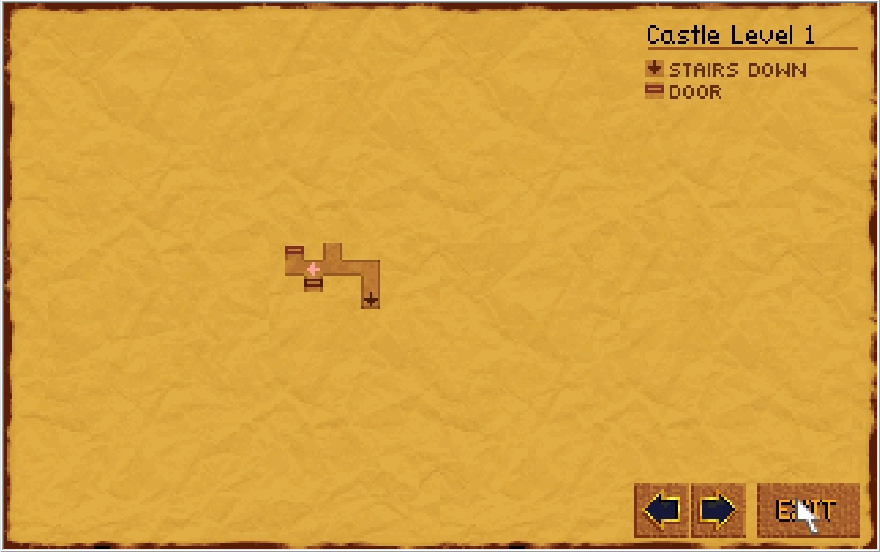
The first floor of Castle Cimmeria is simplistically laid out.... at first. From the entry stairs, we have a huge square hallway with numerous doors dotted along the path. Most of these have jack shit in them, but I am committed to showing as much as I feel is worth it. There are also quite a few devious tricks meant to trip up those who flip every switch they come across, which I guess is fitting for the fortress of evil.
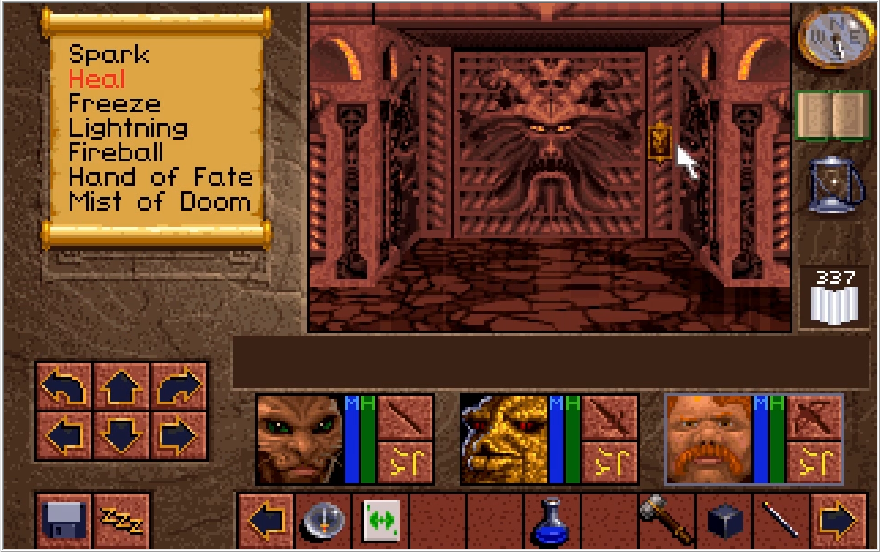
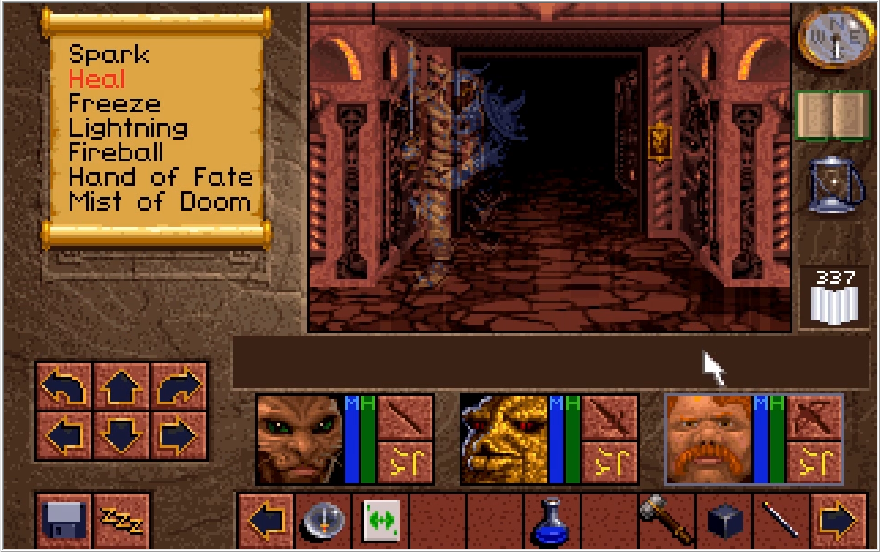
Starting things out, I am immediately accosted by the first major enemy of this floor when I open a door: Ghost Cabal Warriors! The employment contract for Scotia encompasses life and death I suppose. I revisit the first update to reiterate my comment about how the forces of evil should bring up some concerns with demon HR. It'd be a little funny if all of these guys where the same warriors we've been killing up to this point, it would be like the fight against The Sorrow without the pathos.
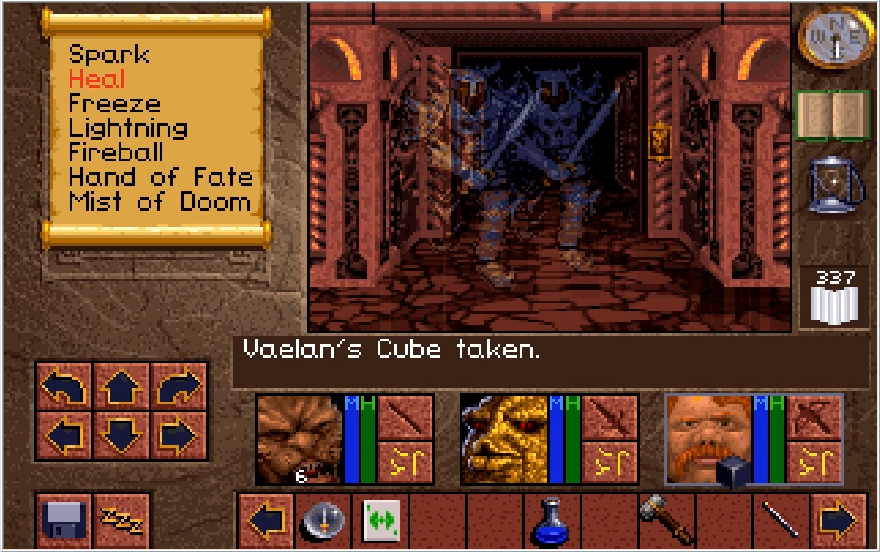
In straight combat, these guys are more on par with the Wraith Wizards than the Wraith Warriors. Like the Wizards though, they have a nasty trick that they can use if they engage you at a range. These guys are the reason we got a spare Vaelan's Cube, saving me the effort of having to engage them in pure melee with Emerald Blades. These guys are nowhere near as numerous as the Wraiths nor do they infinitely respawn, so that's not as tall an ask as it was in the White Tower at least.
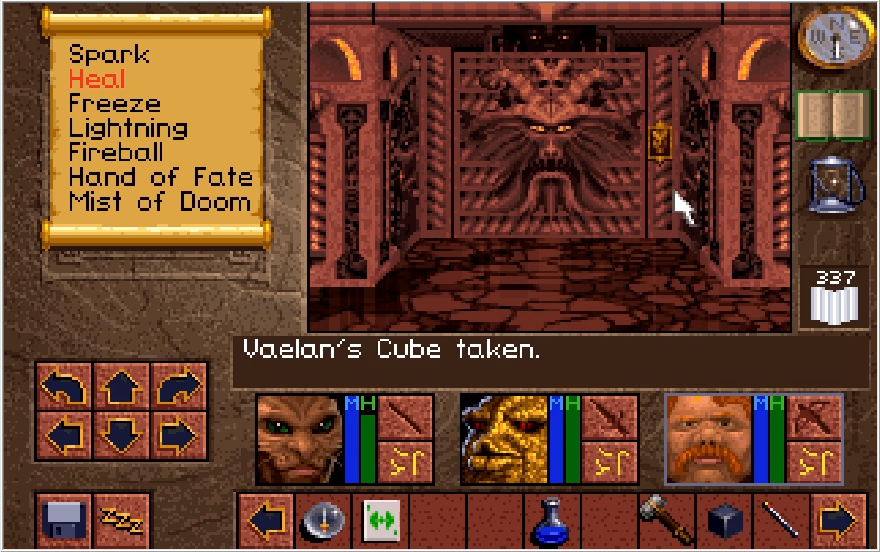
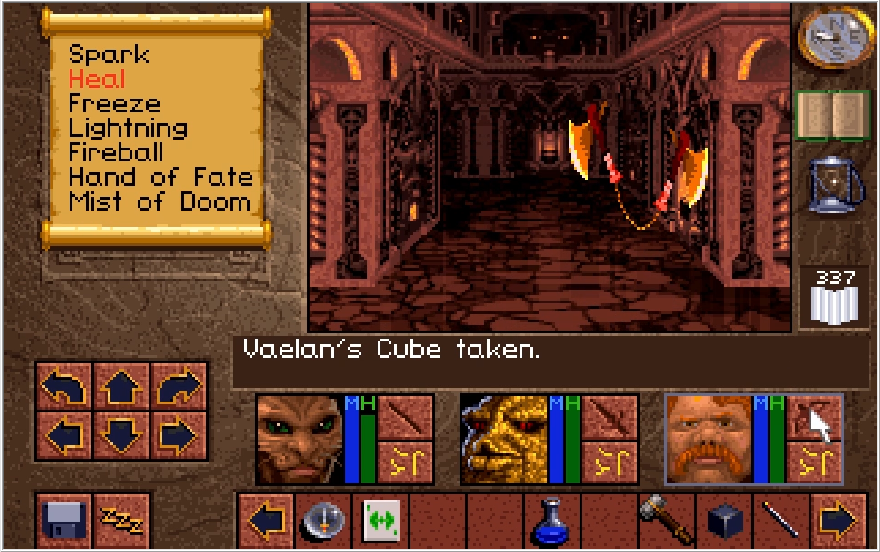
Cleaning up those guys and stepping into the newly opened hall immediately puts us face to face (literally) with another door, followed by the other major enemy of this floor. These floating axes are highly evasive, though if Baccata is able to land a melee blow on them they will die in a single hit. For the most part, you want to stick to Spark 4 to deal with them since they'll usually die in one cast and definitely in two casts. It's hilarious how the magic system is so poorly balanced in this game, the spell we start the game with is the most consistently useful attacking magic.
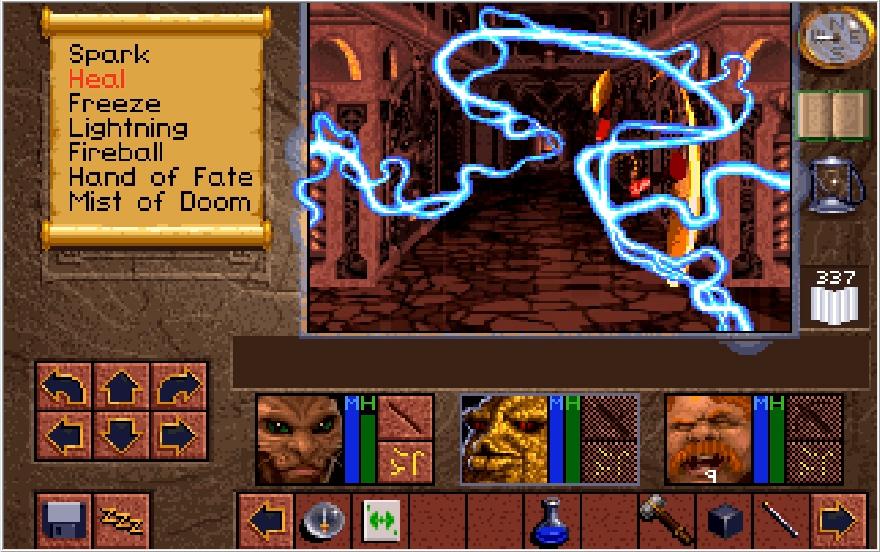
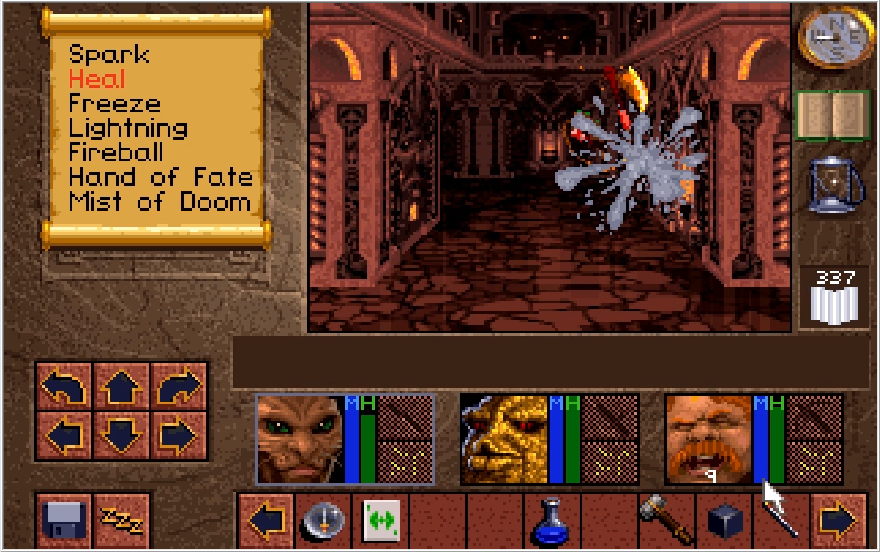
Of course, when it comes to electrical attacking magic, I discovered a far better alternative over the course of doing this LP.
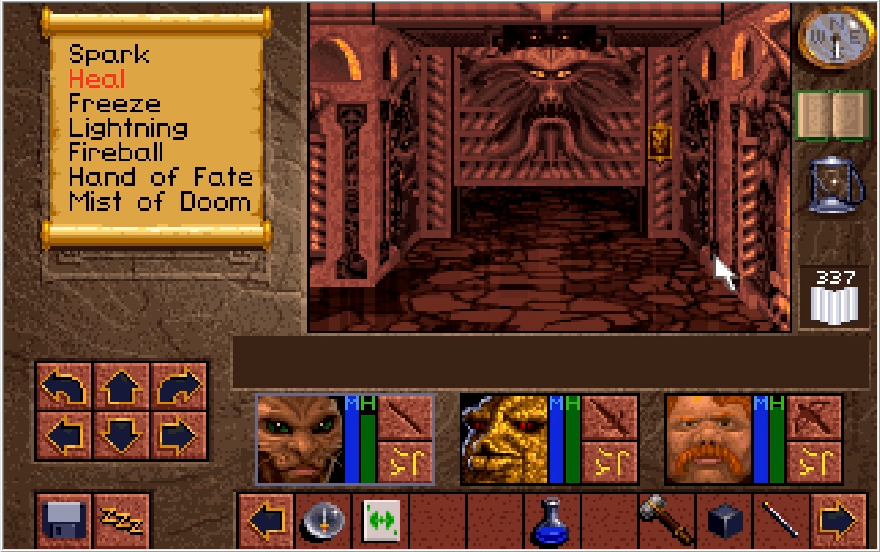
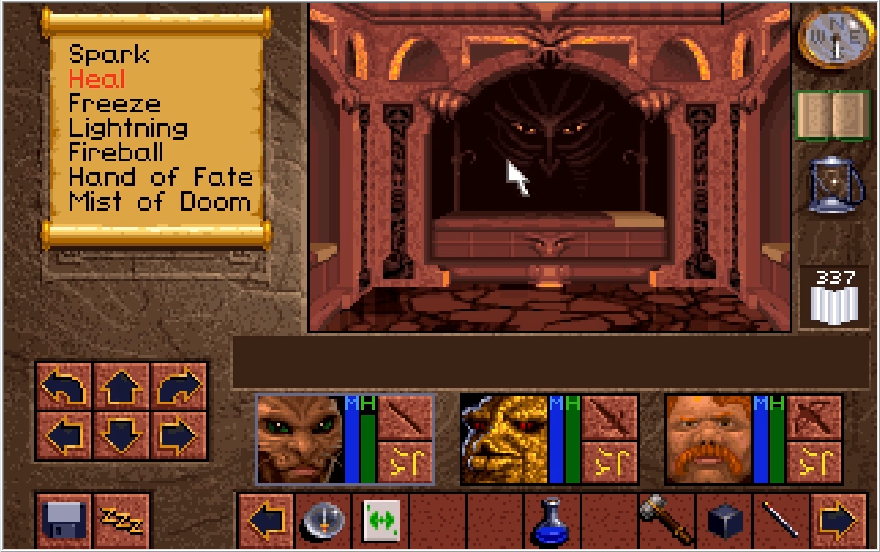
There are in fact two doors in this initial side hall, both of them leading to these altars that to my knowledge serve no function other than to look creepy. We come across quite a few of these face altars on the first floor and they never have anything in them.
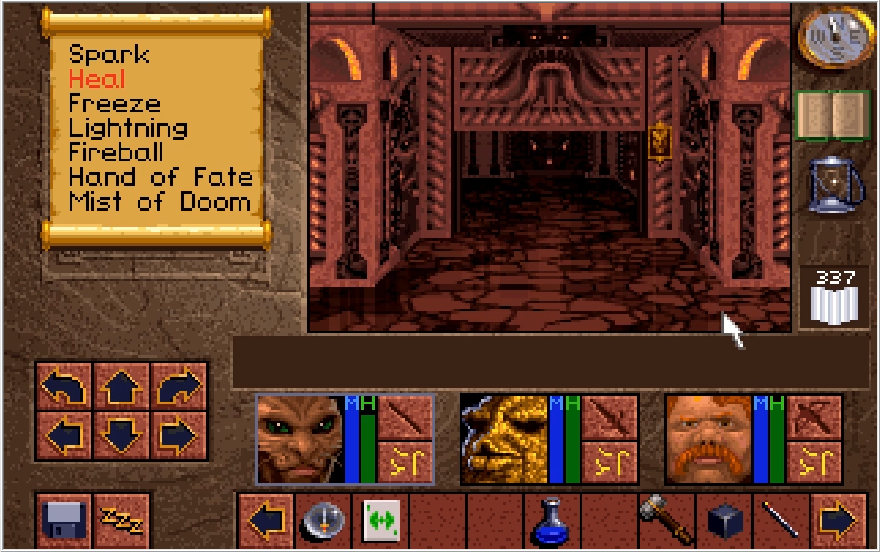
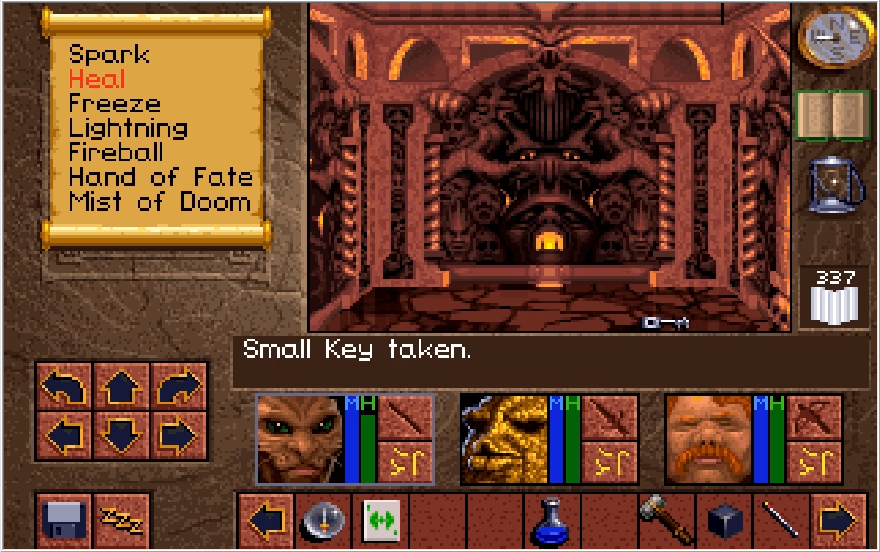
The next room we come across has a small key in it. As far as I'm aware, this key does not actually work with anything. You can really tell the devs were under pressure to wrap up the game quickly at this point, because there are many aspects of Castle Cimmeria that are blatantly unfinished. The official clue book marks the location of this key, but the footnote for it is conspicuously absent from the explanations showing that not even the writes of the official guide knew what this was supposed to be for. This is the first of many unimplemented features we'll see.
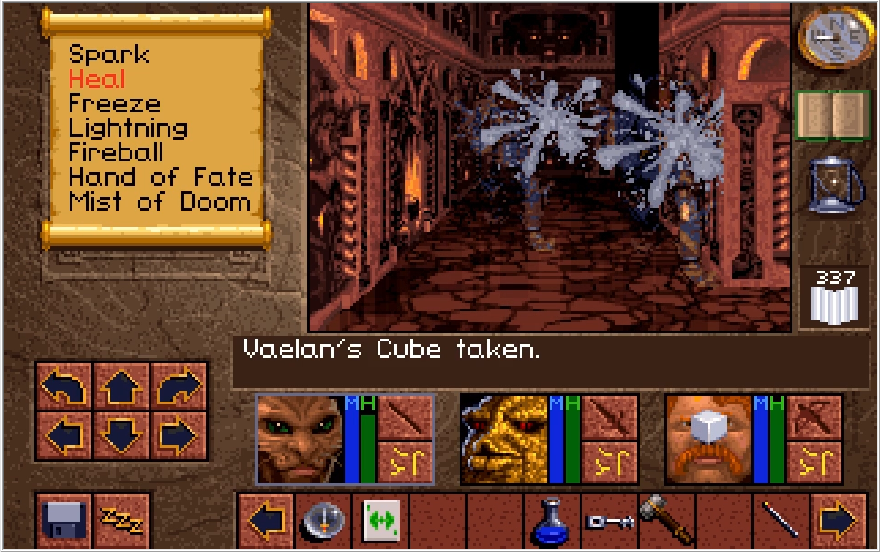
Moving along and waxing any ghosts we come across, the next room I enter has this switch. When you flip it, you hear the same woman screaming bloody murder that you did in the basement of the White Tower.
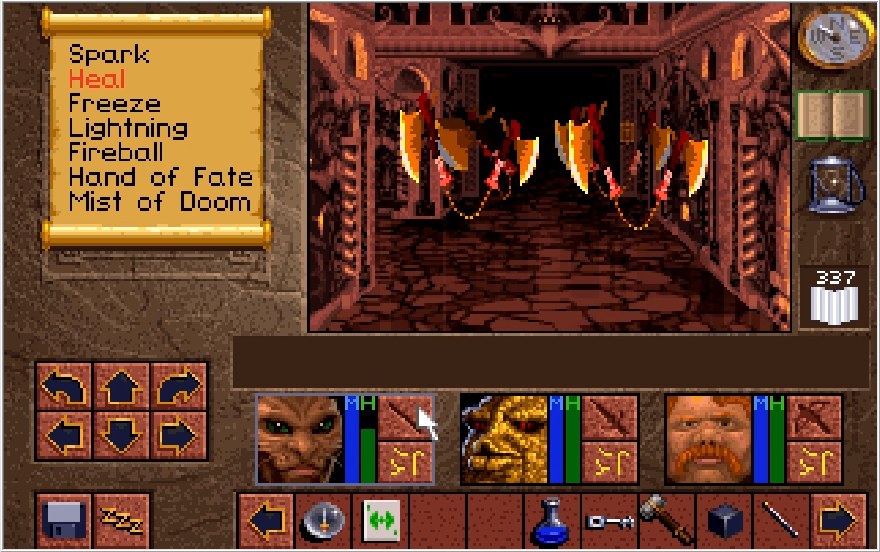
And suddenly 5 floating axes will pop out of the ether to try and wreck your shit.
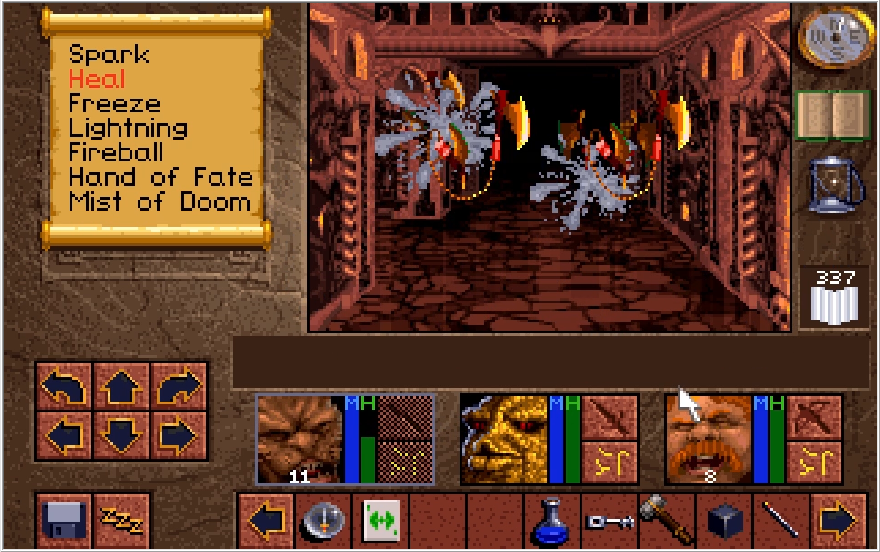
Key word is being "try".
A room with nothing but useless face alters. Scotia was down bad for this bit of architecture.
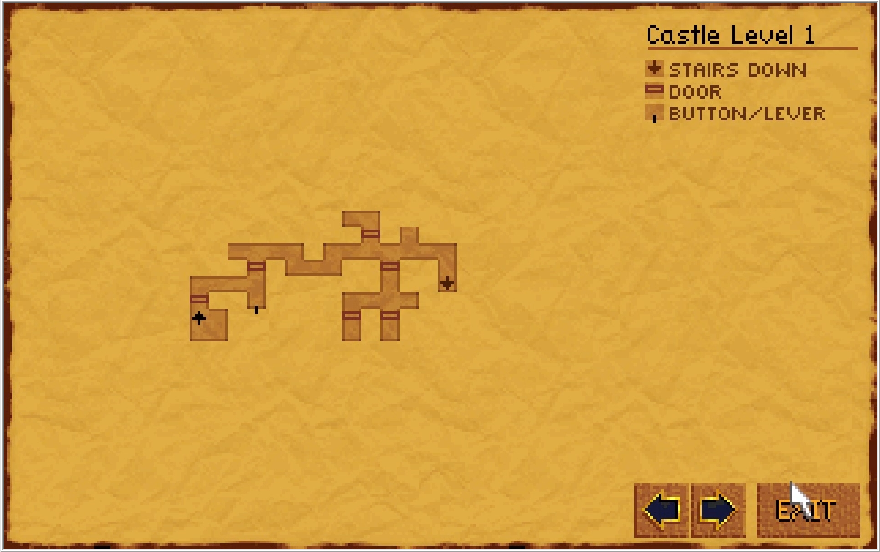
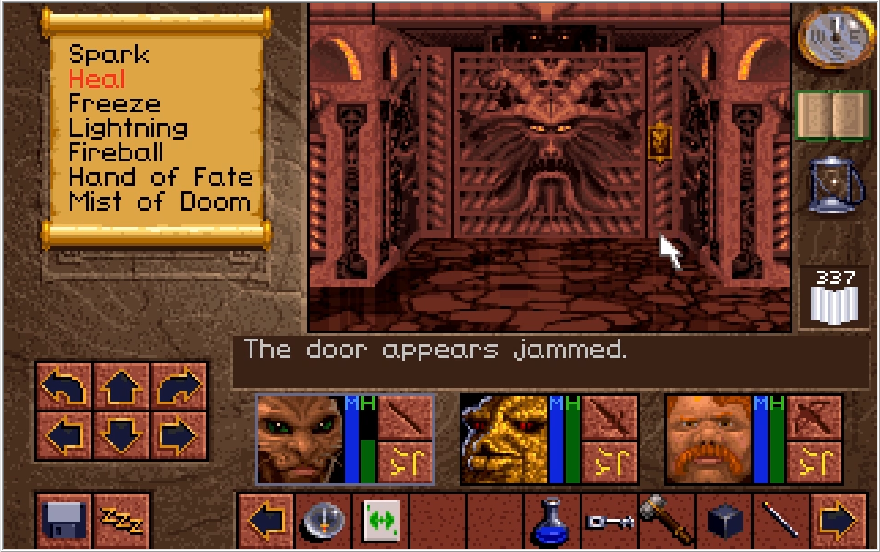
The next room we come across has a jammed door that can never be opened. If you enable no-clip, there is actually a hall behind this door but it has nothing in it.
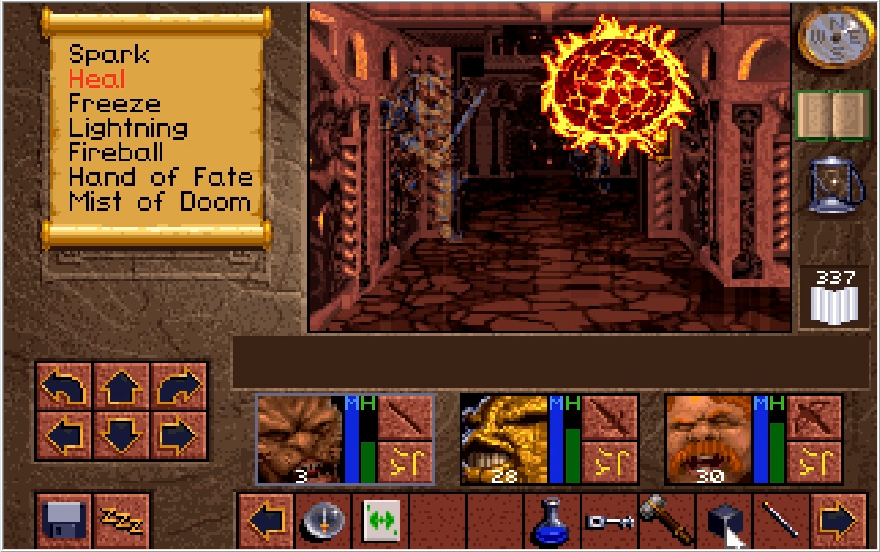
Aaaaand here's the nasty trick the ghost Cabal Warriors have. Why do so many things in this game just shit fireballs at you? Anyway, this is by far the more threatening thing these guys can do, which makes sense at least. There is one area where this attack can be a disaster waiting to happen to you, but in these normal halls it just means I have to cast Heal 4 and then sap the MP back with Vaelan's Cube.
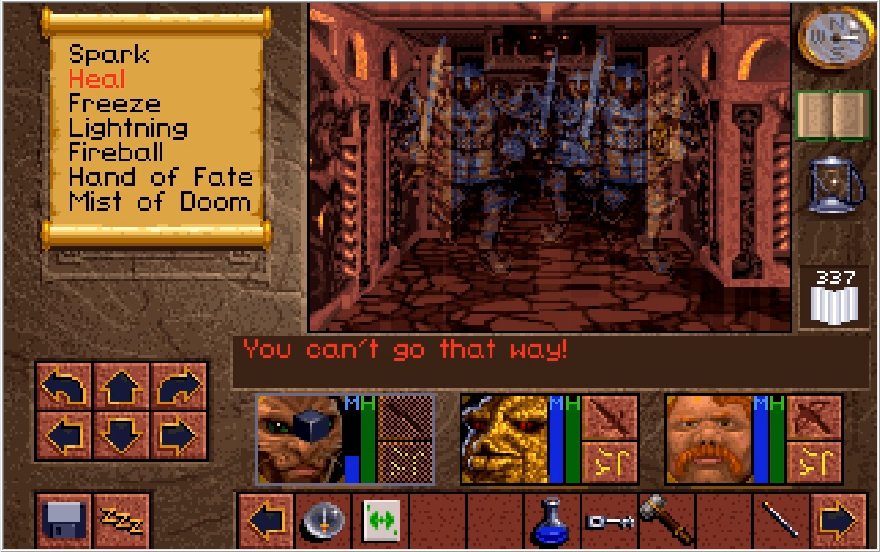
Like so. Sometimes these guys can converge in the walls and then jump out all at once.
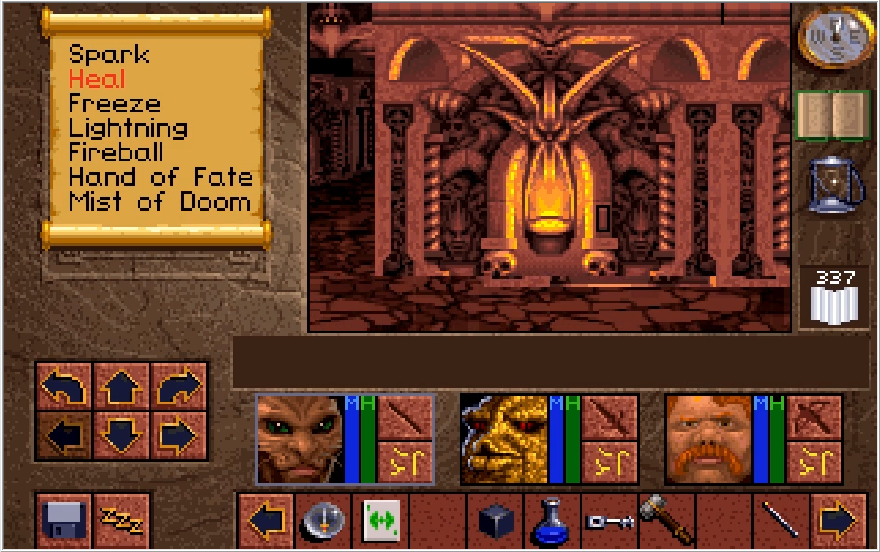
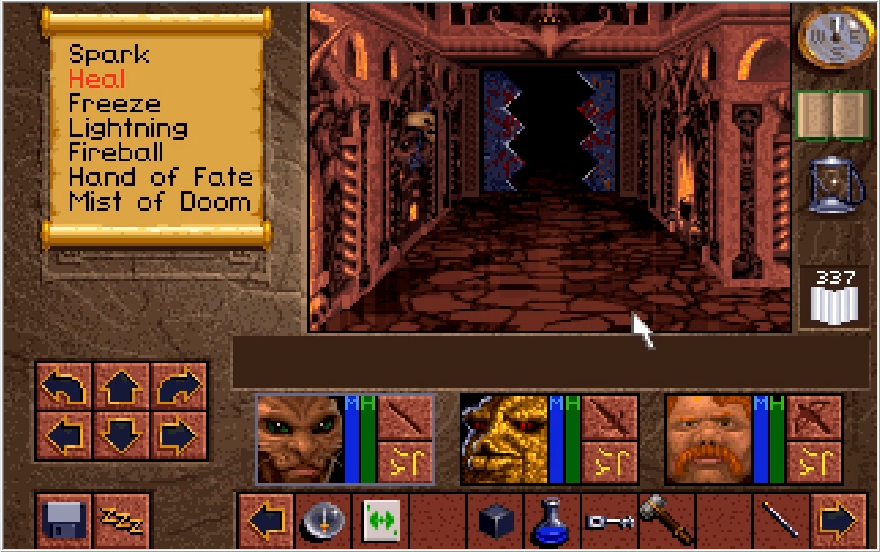
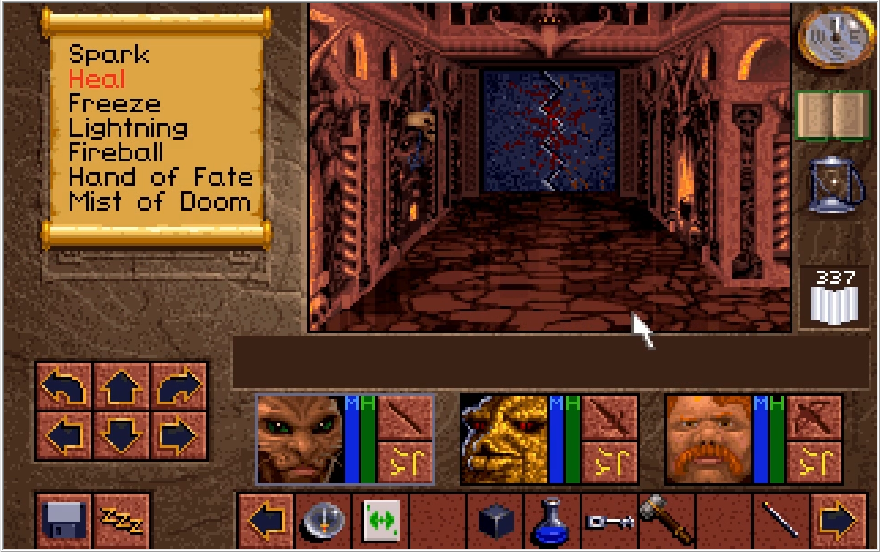
Heading up to the next corner, we come across something interesting. These Iron Tooth Doors rhythmically slam and if you try to walk through when they are closed, you obviously won't be able to. This is hard to demonstrate in screenshots, but they open and close very quickly, it's like a one second cycle. That switch is supposed to stop the doors.... but they reactivate as soon as you walk on the tile after the switch. Not sure what the point of it is.
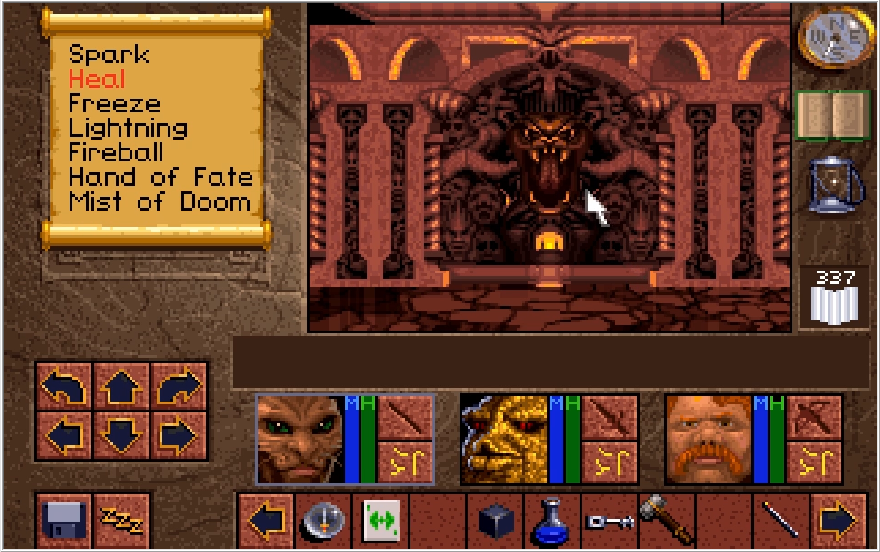
Fortunately the actual solution is simple, you just need to step through when the doors are opening. You can even just mash against the door until you step through. That tongue lever is what actually shuts them down, though be mindful you don't pull it when the doors are closed. If you're curious, no you cannot be hurt by stepping into the doors as they close. They just stop moving when you're standing on their tile. Methinks another unimplemented feature.
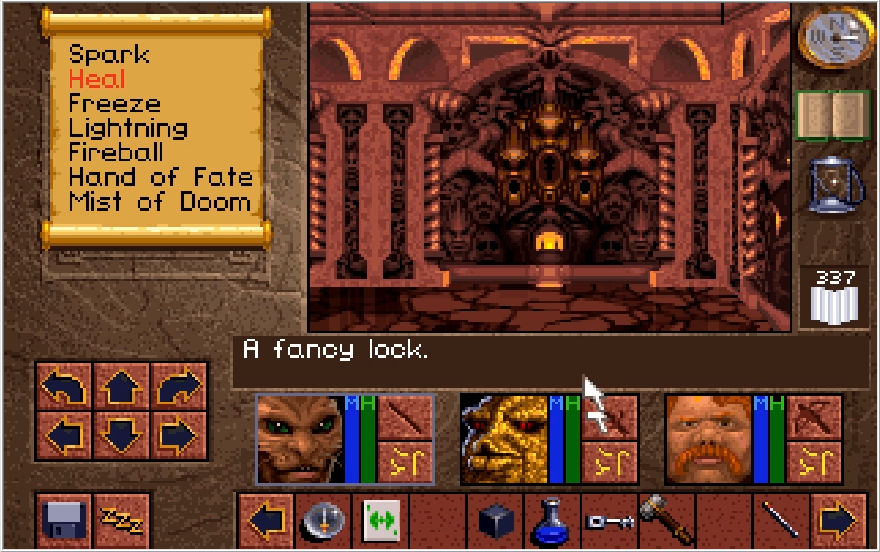
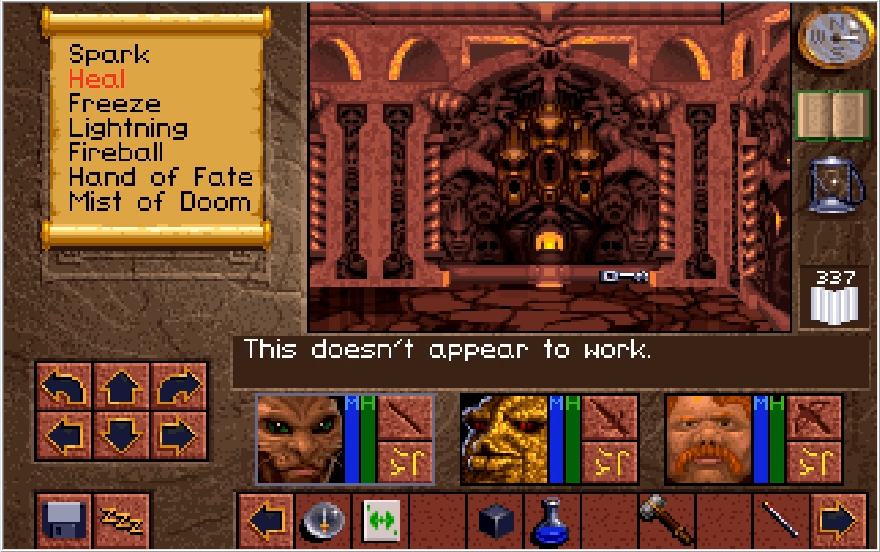
What I know is an unimplemented feature is this lock. Examining it prompts a unique message, but nothing in your inventory will ever open it whether it's the lockpicks or any keys you find. The key that does go to it, the Blood Key, exists in the game's files.... but exists nowhere in the actual game world. Were you to no-clip through the door, you'd be surprised to find it actually does have a chest behind it. The major item it has is a unique ring, the Zephyr Ring. From what I've seen of videos going over it, the Zephyr Ring reduces your action cooldown to almost zero when equipped, meaning you can swing your sword and cast magic at the speed of Kenshiro. I'm not sure if this cooldown reduction is for if you only miss, since no videos really explore how this ring works in full, but I'm guessing they sealed it off because they considered it too powerful. Or they just straight forgot to make it obtainable, either or.
Next room I come across is another useless dead end with a weak enemy in it.
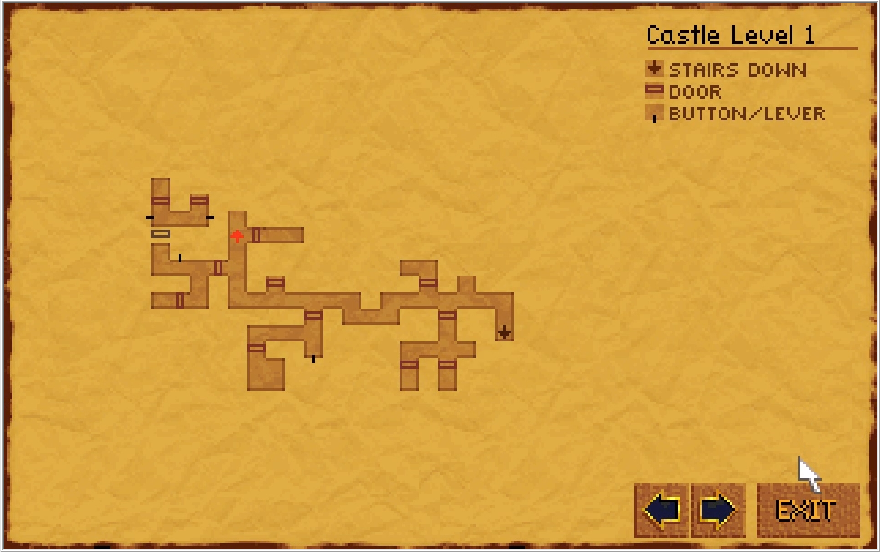
We're closing in on the major thing we need to get from this path. Believe it or not, there is a room we need to check out this way!
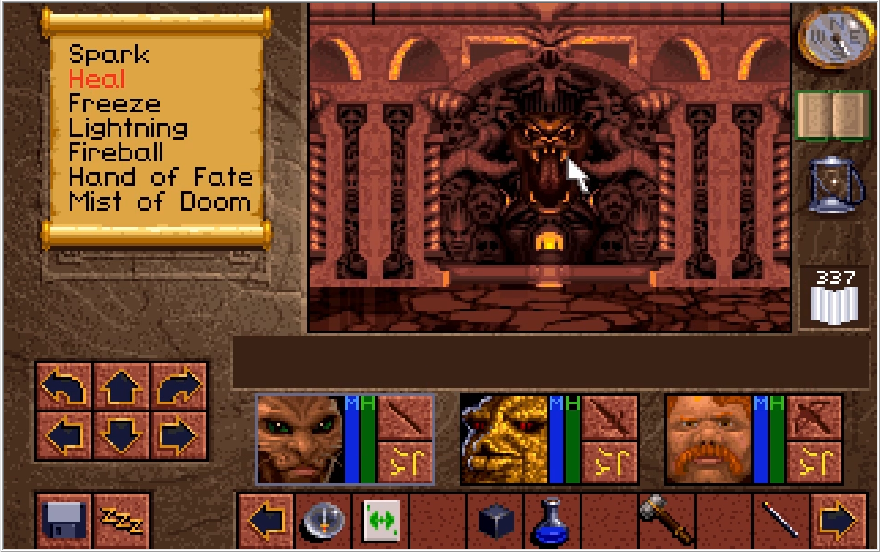
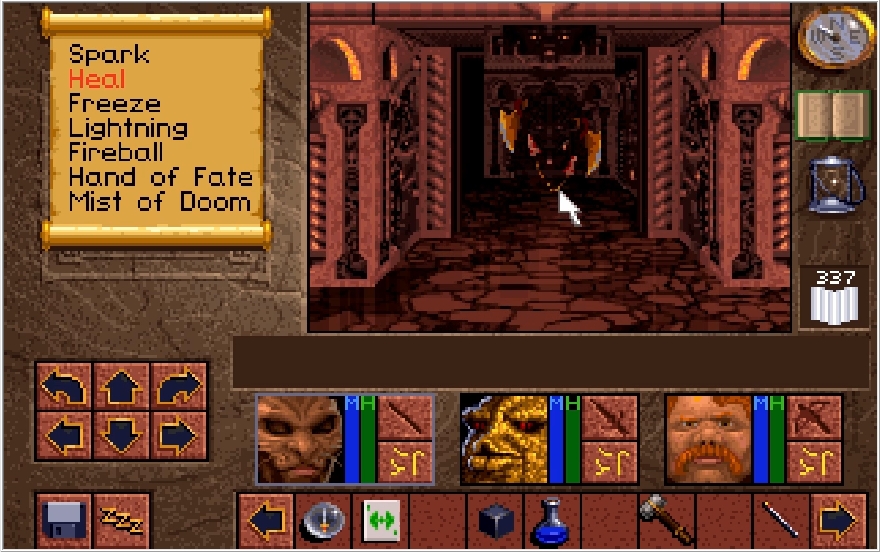
Flipping this tongue lever opens the door to the one thing we actually need to get from this route. And another pair of floating axes, that too.
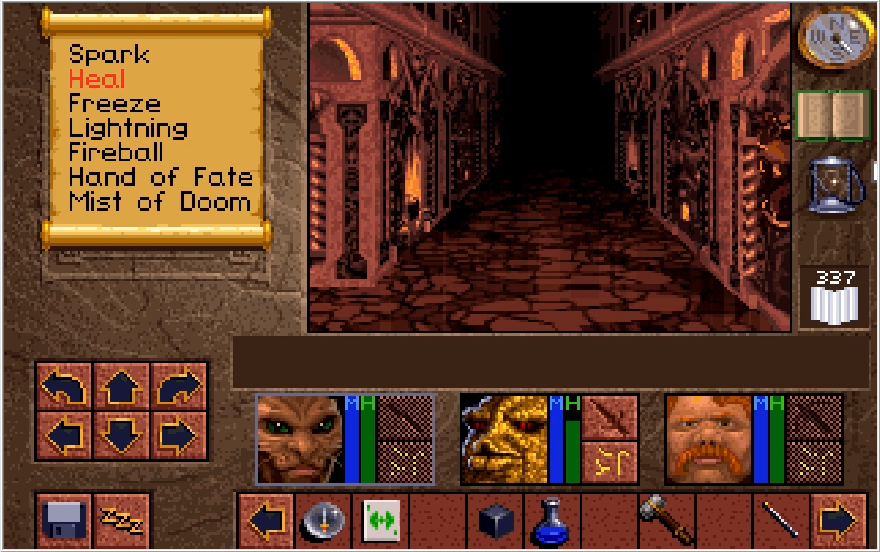
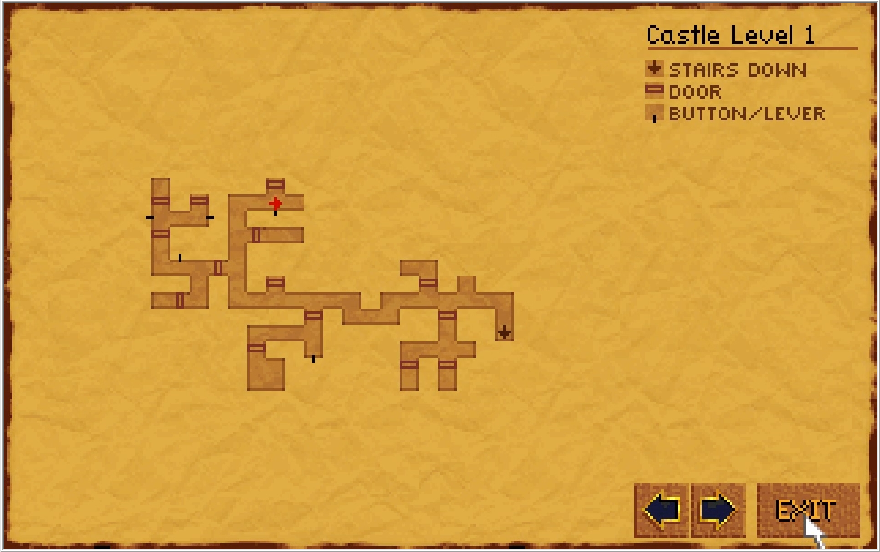
Take note of where we are standing. Were I to take one more step forward...
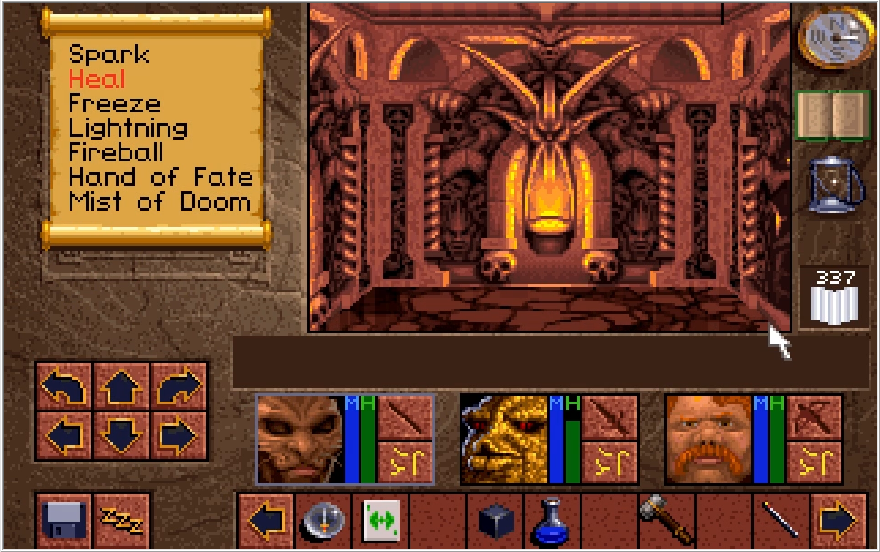
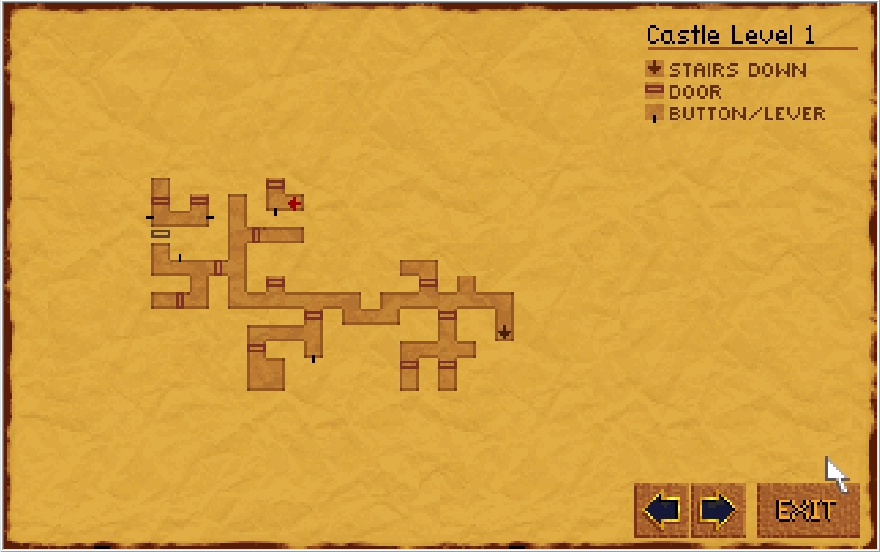
This section of Castle Cimmeria becomes sealed off! We cannot return to the start of the dungeon this way, and our only recourse to escape is to dive into a pit in the room I just opened and work our way back through the Dungeons. Not a huge deal, but this is the first of many tricks in Cimmeria that can waste a huge chunk of your time if you blunder into them. Save often so you can reload and not have to deal with any of that hooey regarding these traps.
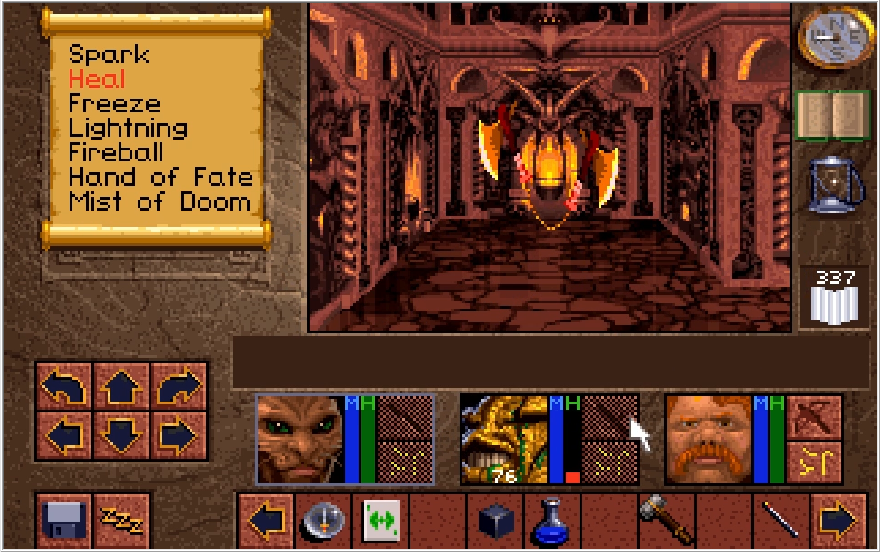
These axes usually only hit for less than 10 damage, but sometimes they will hit like a semi truck and totally annihilate the person they are targeting. Critical hits can often hurt you as much as they help you.
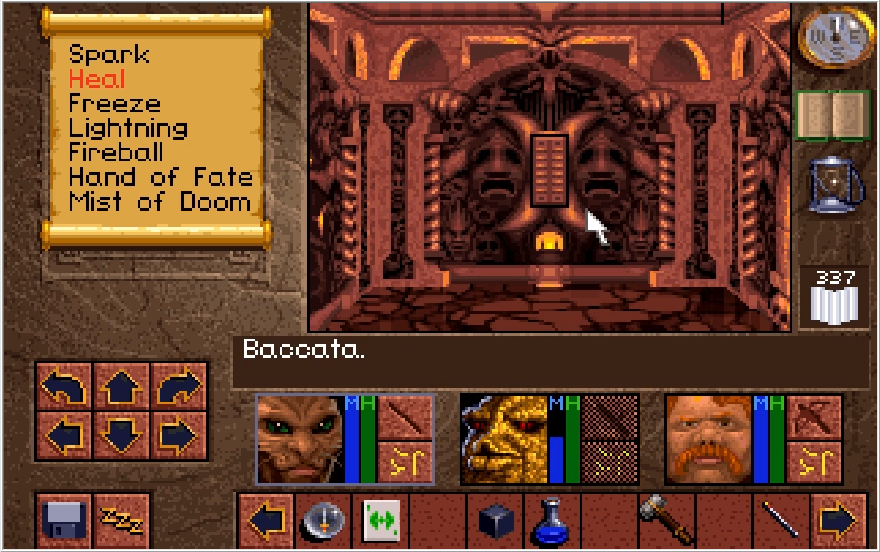
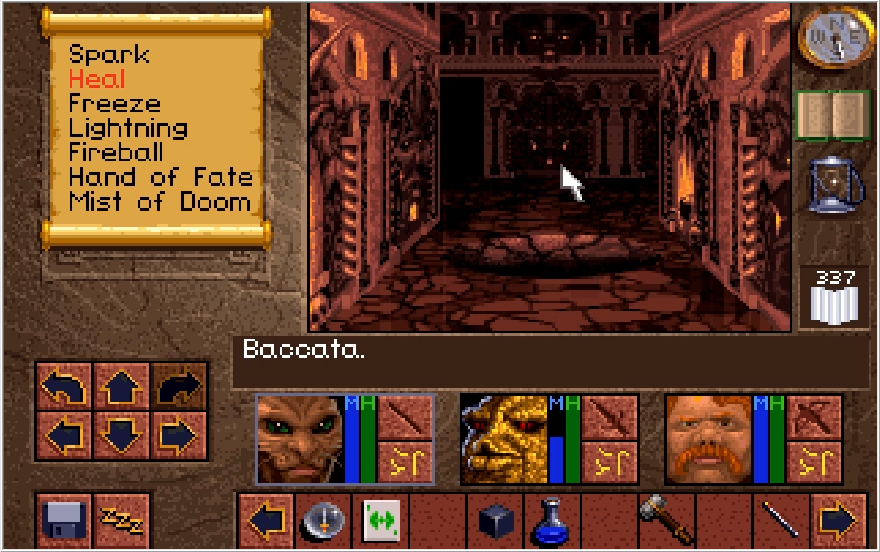
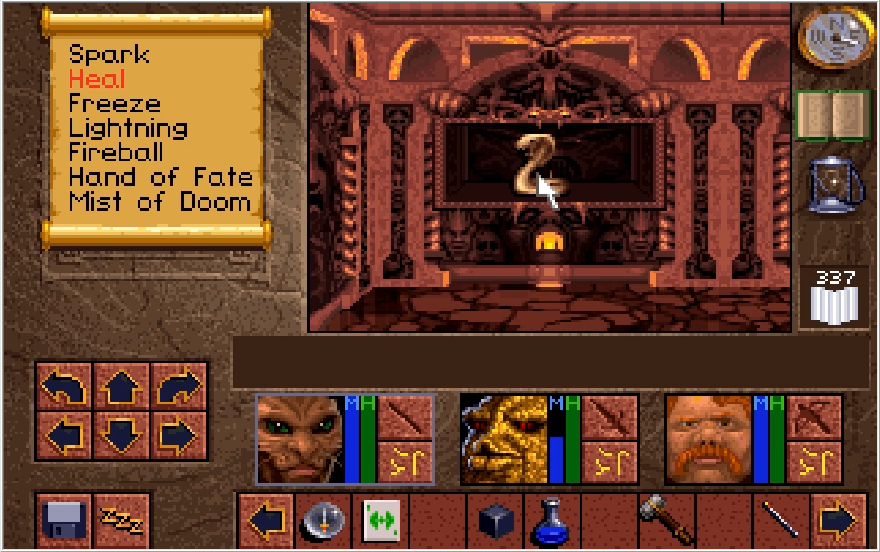
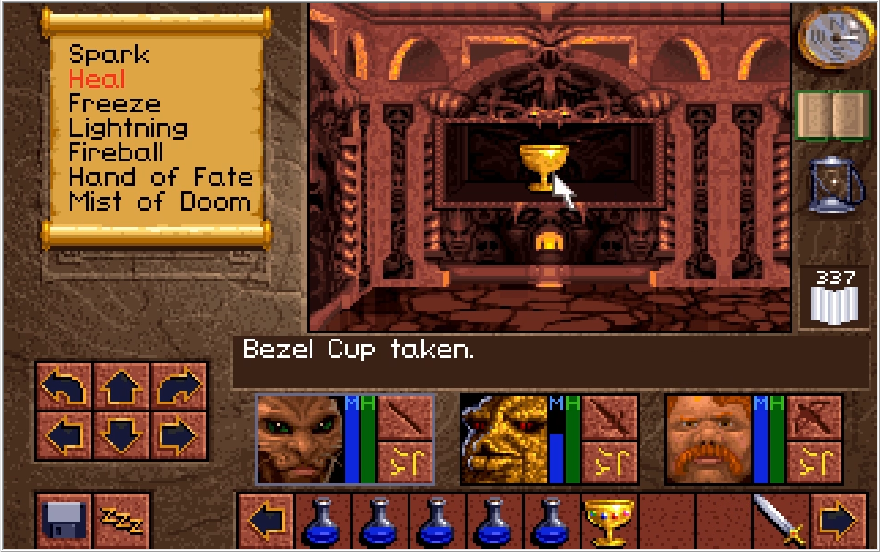
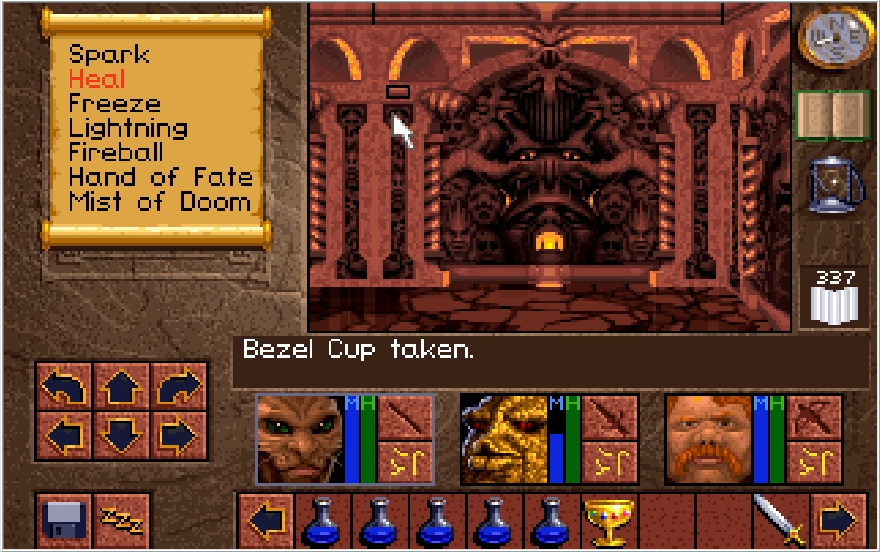
Now the reason we came this way is for an important key item. Stepping into this hall, a pit opens up behind us and there are a couple of switches to hit. Hitting the one on the north wall opens an alcove in the east wall with a Cobra Figurine. We'll need this for later, so grab it. I place a Bezel cup in the alcove because there's one instance where you might have to potentially swap an item, but in this case it wasn't necessary and I just needed to hit the switch in the west wall after getting the figure to close the pit. Sometimes I get confused about the switch puzzles in this place, there's a handful of them.

I reloaded a save I made before sealing off the northwest corner so I didn't have to trek back through the dungeons. Let's explore the east section of the first floor now.
Stepping into the first room we come across, we're immediately faced once again with another door. This one won't open for some reason.
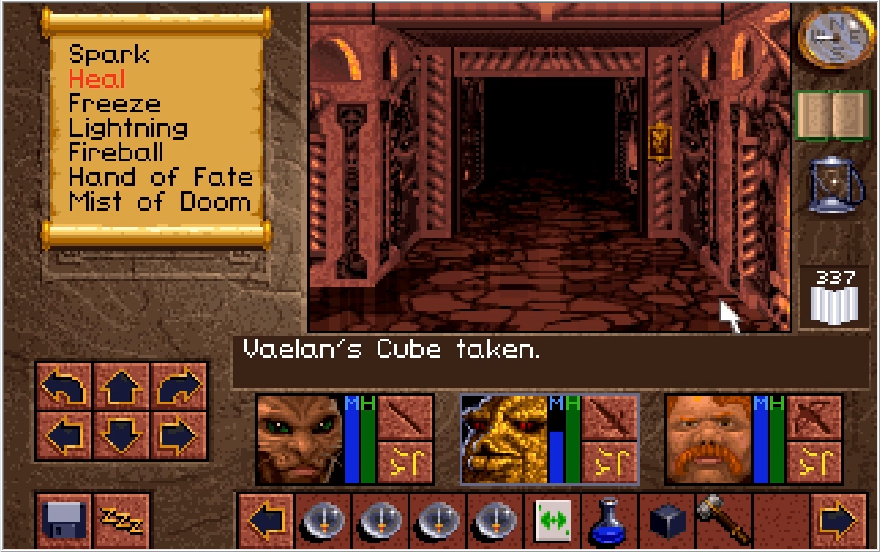
In this instance, you need to close the door you just stepped through....
At which point the second door will open up. Haven't had a lock system like this since the Urbish Mines, it's almost nostalgic at this point.
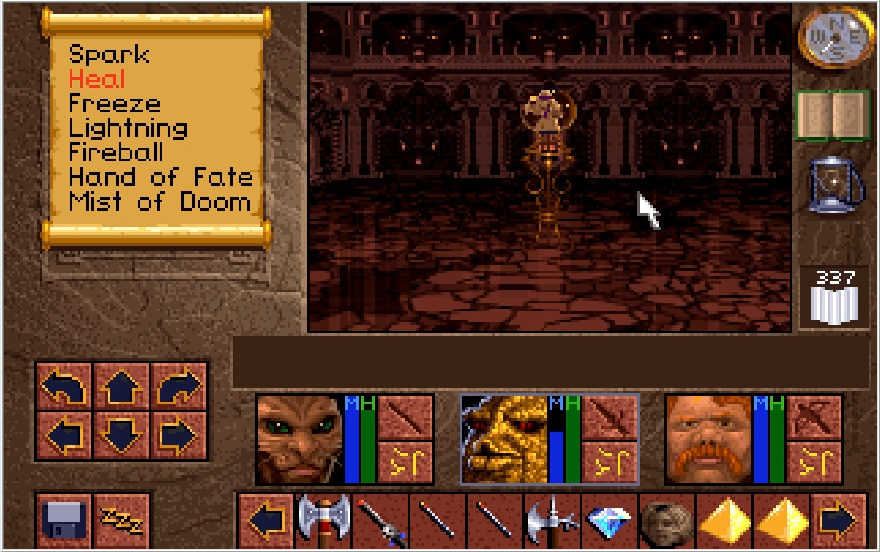
Stepping into this room, we find a curious glass orb. Hey, it looks like there's a person in there!
Music: Dawn in The Crystal Ball
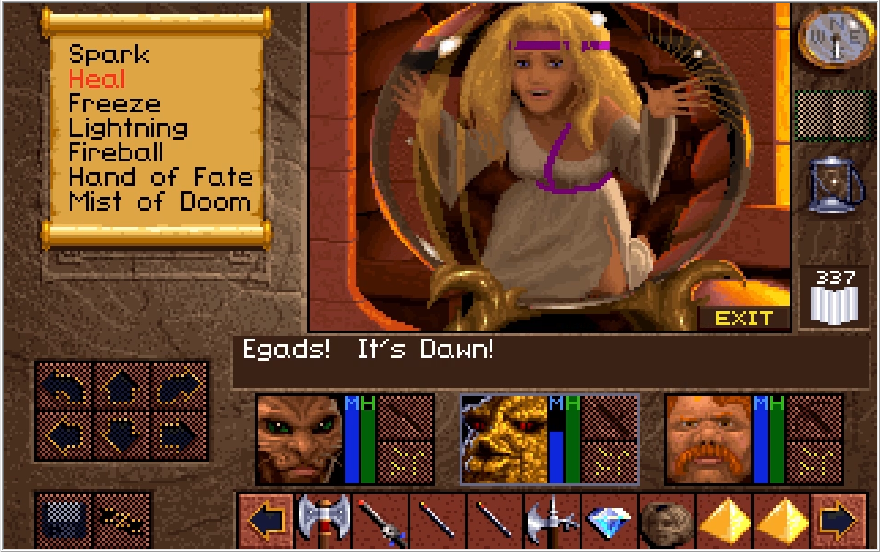
Thank god Scotia trapped her in a sealed orb rather than a glass jar I suppose. But yes, this is where Dawn has been since her driver was killed. She's still fighting the good fight the only way that Dawn can.
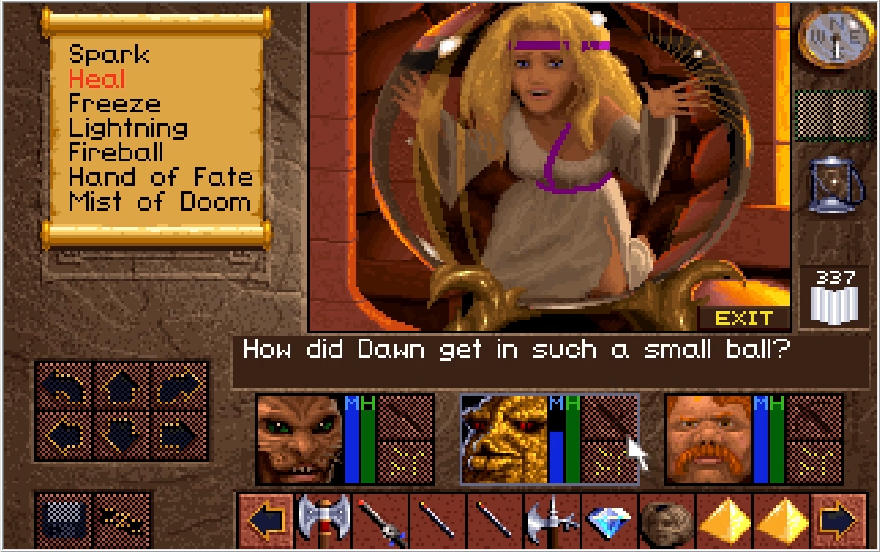
I can just hear the gears grinding in Kieran's brain as he contemplates this.
Absolutely nothing in the game tells you this, but the Diamond you found in the Dungeons is actually the key to this orb. Use it on the orb, and...

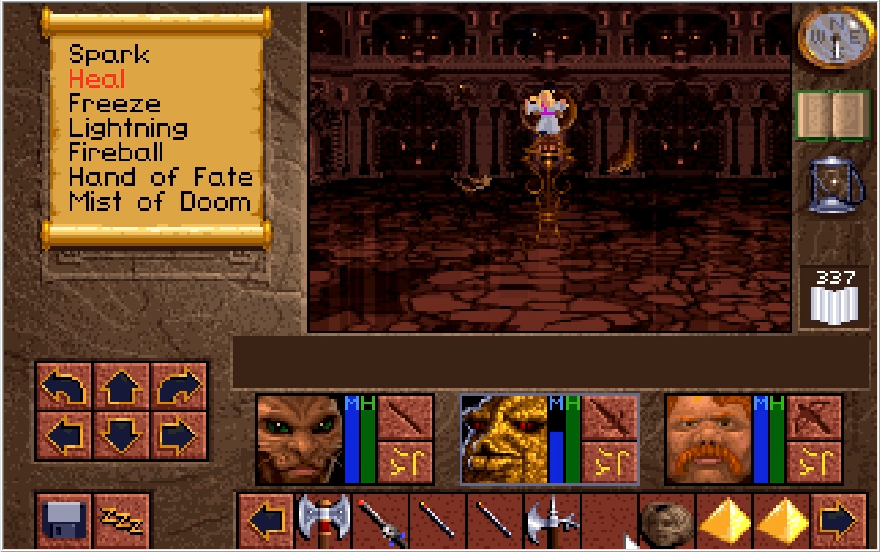
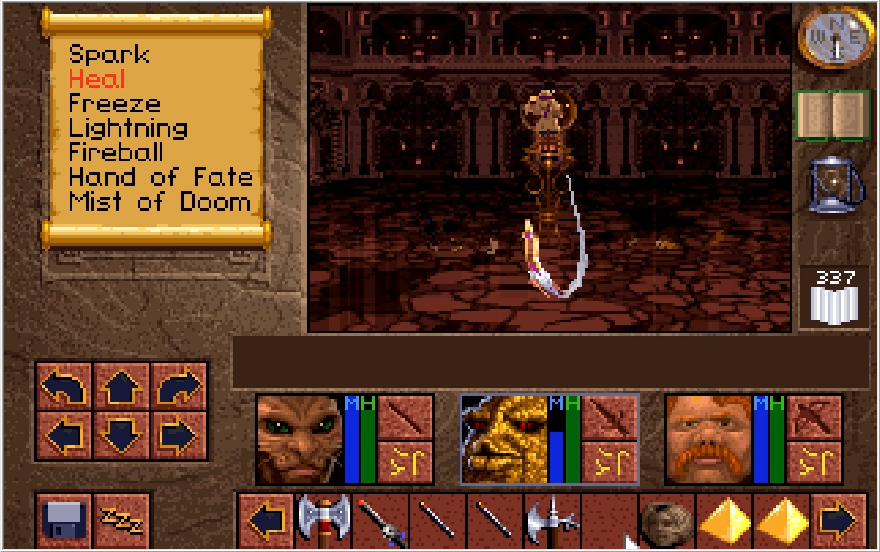
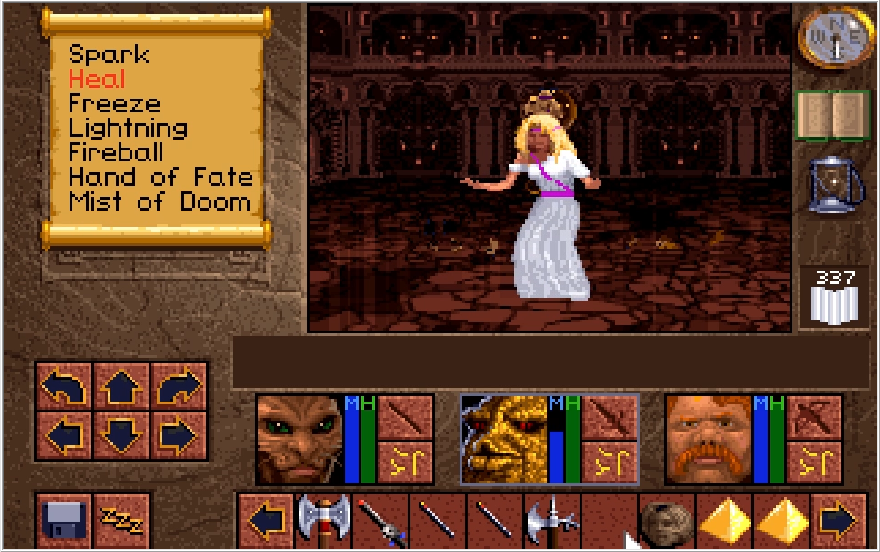
The orb shatters, and Dawn gets pooped back into the Lands. Of Lore.
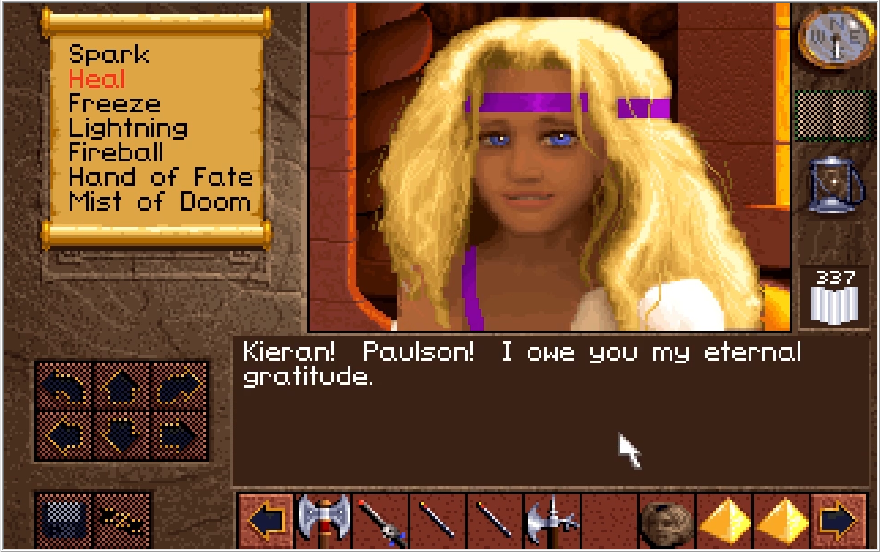
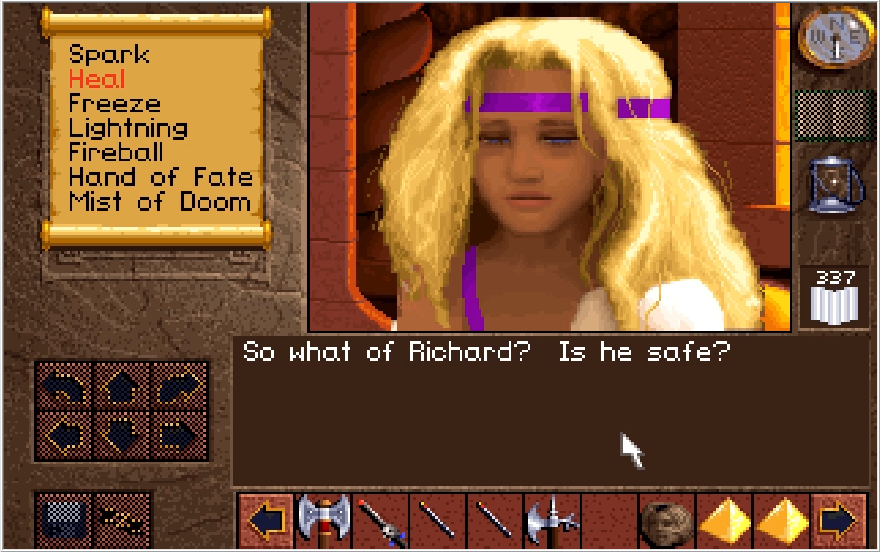
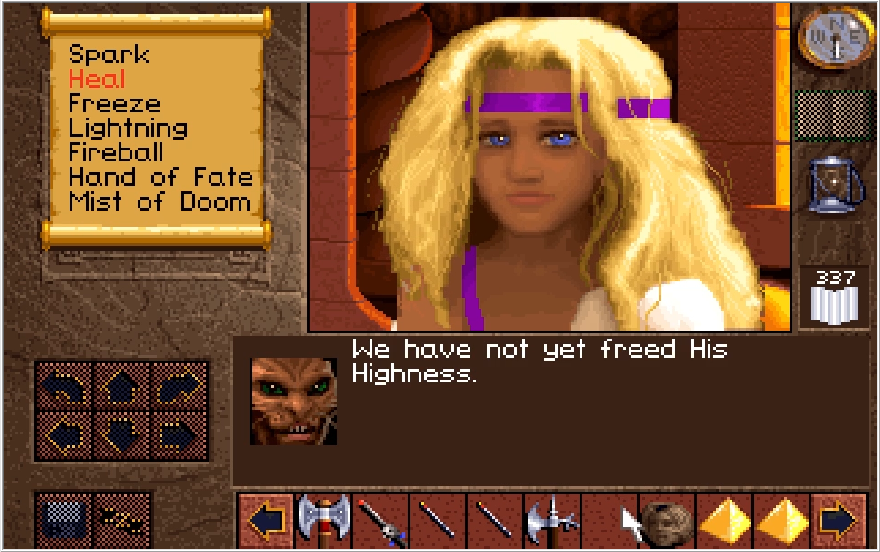
I believe if you've freed Richard at this point, Dawn gives you a hint on what you need to do for the final boss. Of course if you haven't, then you're just shit out of luck on that front.

And then Dawn vanishes from the game. Now, Dawn's comment here was intended to be a literal declaration that she'd join your party after a point. Dawn was meant to be the final party member, presumably a pure Mage since otherwise you don't get a party member like that if you're not Ak'shel, but for one reason or another this just got cut. Dawn made it far enough into development that portrait sprites exist for her, as seen on the game's Cutting Room Floor page, but I don't know if any actual stats exist for her. Why she got cut is anyone's guess. Maybe they just couldn't find a way to accommodate 4 party members with the UI they made, maybe they had intended a party switching mechanic that they felt was pointless at this stage of the game, perhaps they just realized it was far too late in the game for Dawn to make any meaningful contributions. Whatever the case, Dawn made it to the finished product doing almost nothing meaningful the entire game. Fun fact, you don't even have to save her here! If you forget to/just decide not to save Dawn, it does not affect the story at all and she still appears in the ending no worse for the wear. What a disappointment. Let's get back to exploration.
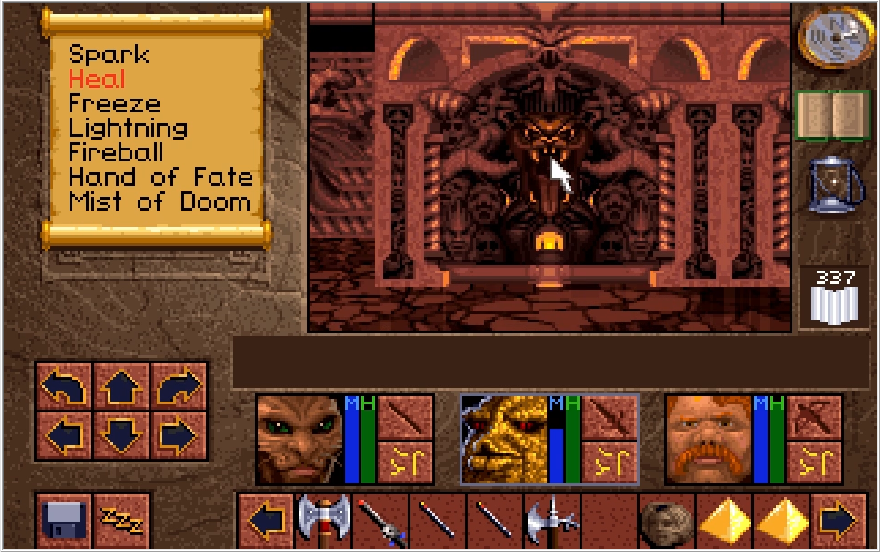
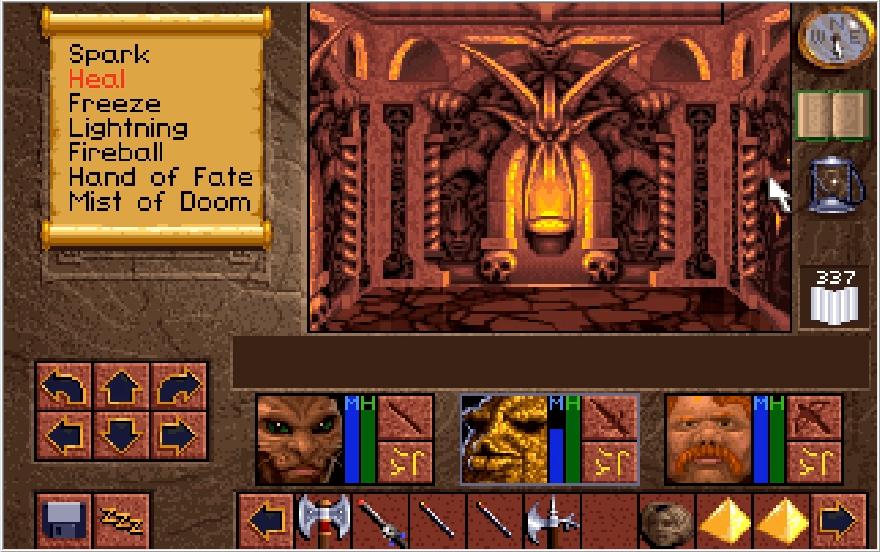
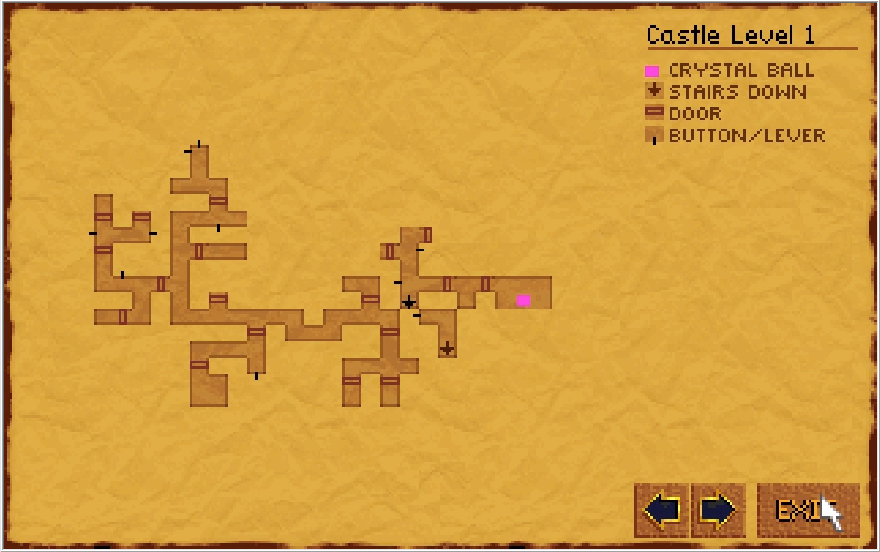
Moving along in the hall, we come across a trick lever that seals off this section of the floor from the rest of it. Do note that if we follow the hall and loop around to where the Cobra figure was, that also activates the sealing trap in the northwest corner, once again leaving us no choice but to fall back into the Dungeons. I don't have to load save to undo this at this point, but I do anyway just to spite Scotia.
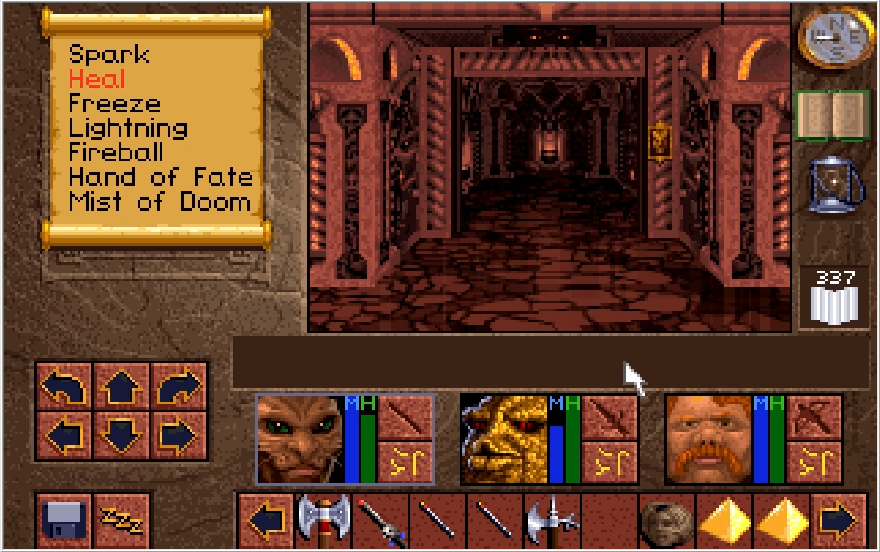
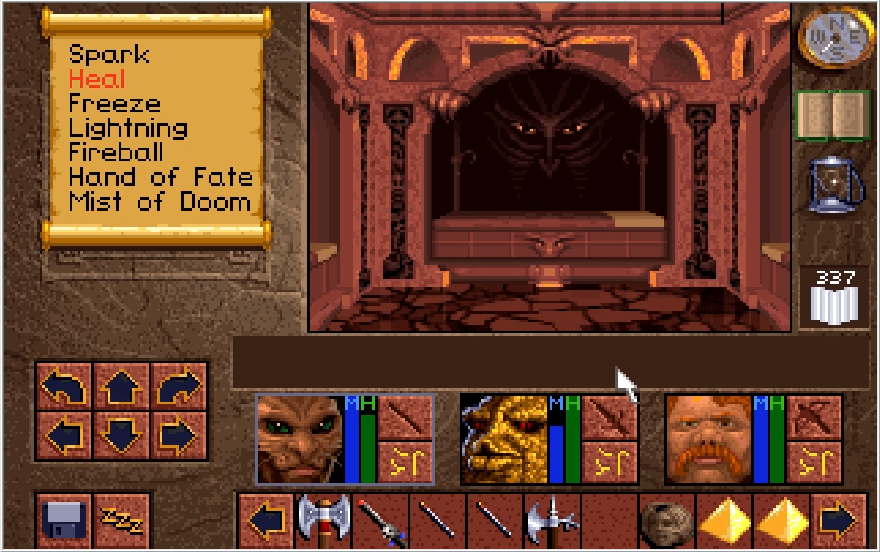
Scotia and these altars, I swear. Is this like the face of an ex she just can't get over or something?
Okay, so now this is weird. We have these gates that if you get close, you can see a switch on the other side. Trying to throw something through the gate to hit the switch just results in the item bonking off the gate and hitting the floor.
Now the clue book says you need to throw an item, but what you actually need to do, for the only time in the game that you can do this, is shoot an arrow through the gate to hit the switch. This never works anywhere else... and due to a bug half the time it does nothing here either. There is something we can do to fix this though.
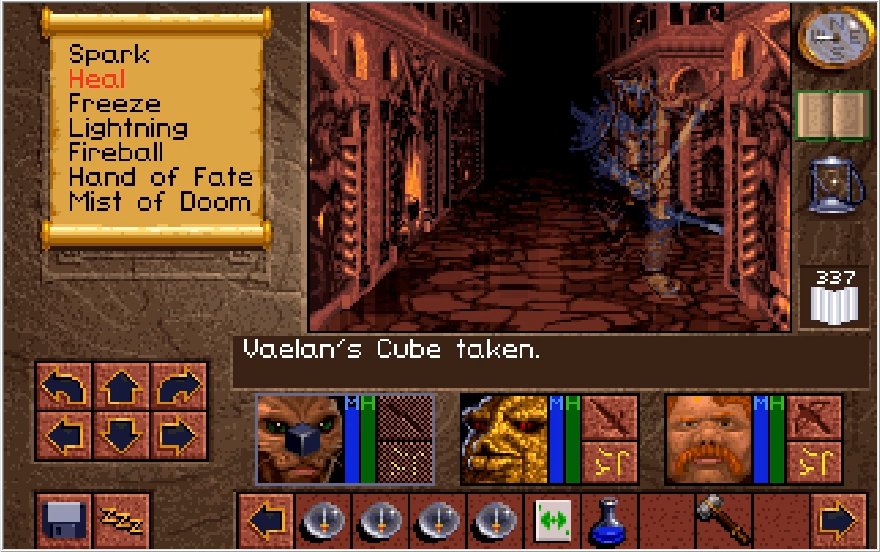
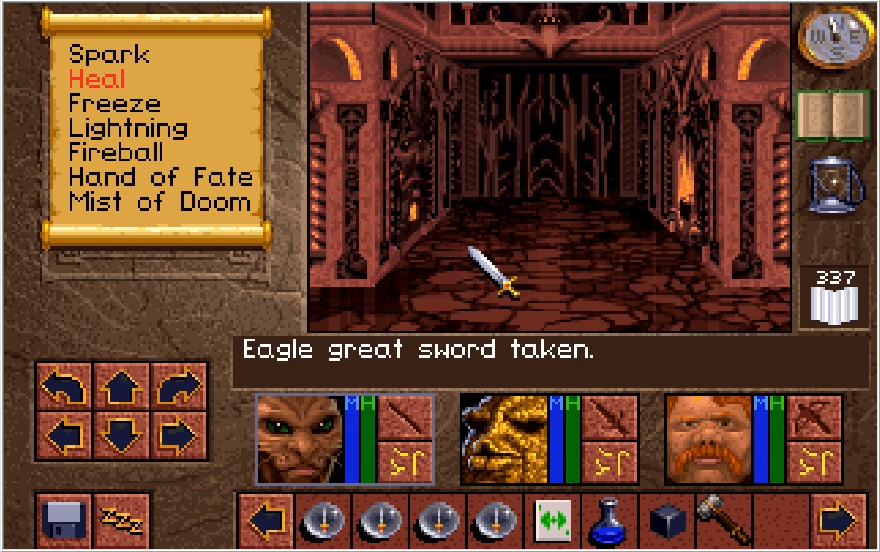
Before that though, I get attacked by some Ghost Cabal and get a rare drop! The Great Eagle Sword... is worse than the best weapons I have, it's the same stats as the Halberd Widow. At least it gives me an item to place on a pressure plate if nothing else.
Anyway, if you save and load your game in front of this gate....
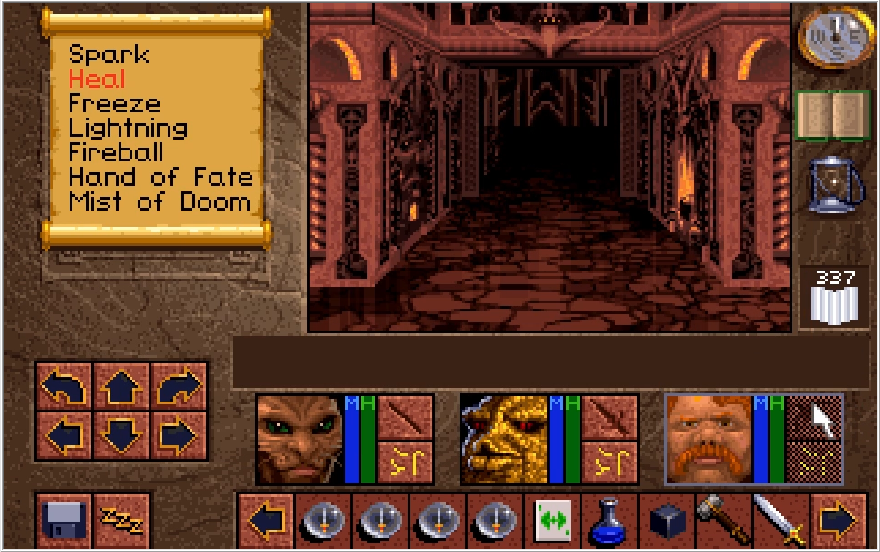
The moment you load back in, shooting the switch will now work! The video I watched explaining this also said you need to have a high enough rogue level for this to work, though what the minimum is I don't have a clue. The guy demonstrating this had done the insane grind of getting his Rogue level to 10, which is definitely way overkill because all my Rogue levels are only 4 without Rogue boosting equipment.
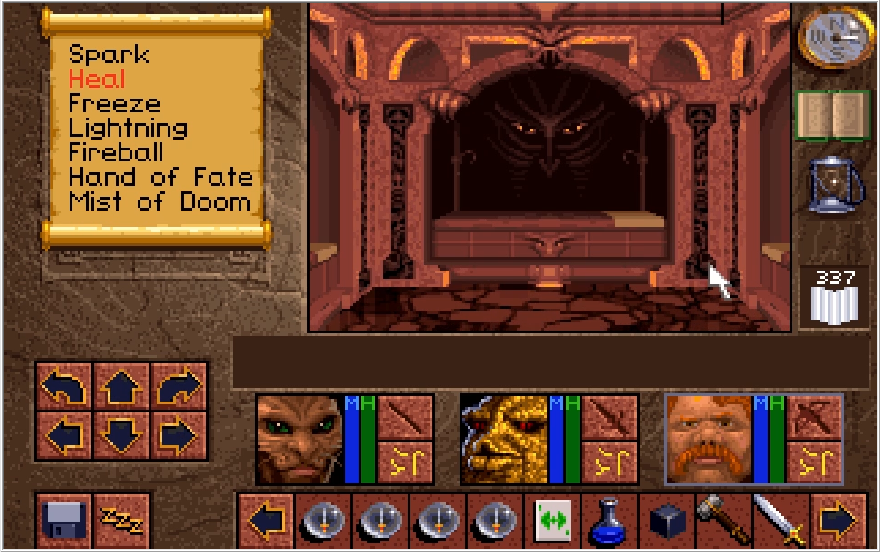
Now this gate just has another useless altar past it. However!

There is a second gate that actually does lead to something interesting. I also had to reload a save again to get this one to work. I'm wondering if there's some kind of weird object limit error going on here? Did I mention this area is kind of jank and unfinished?
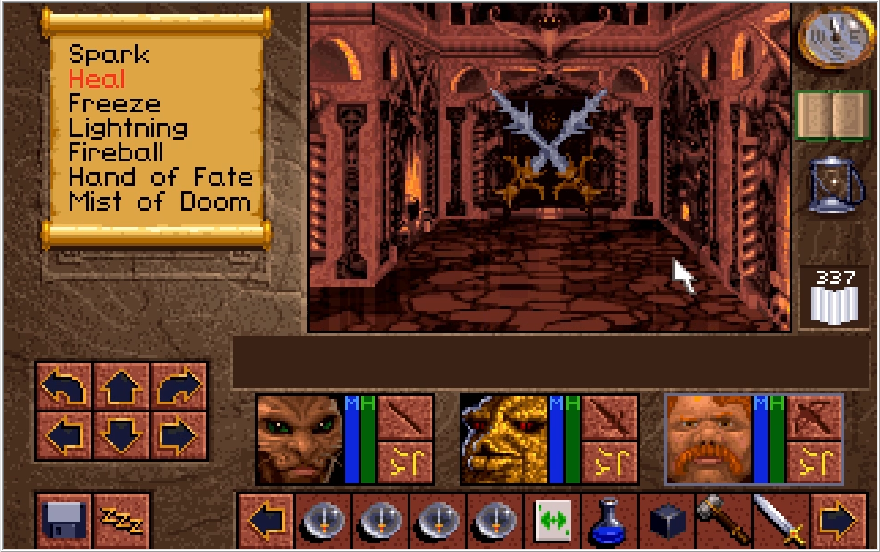
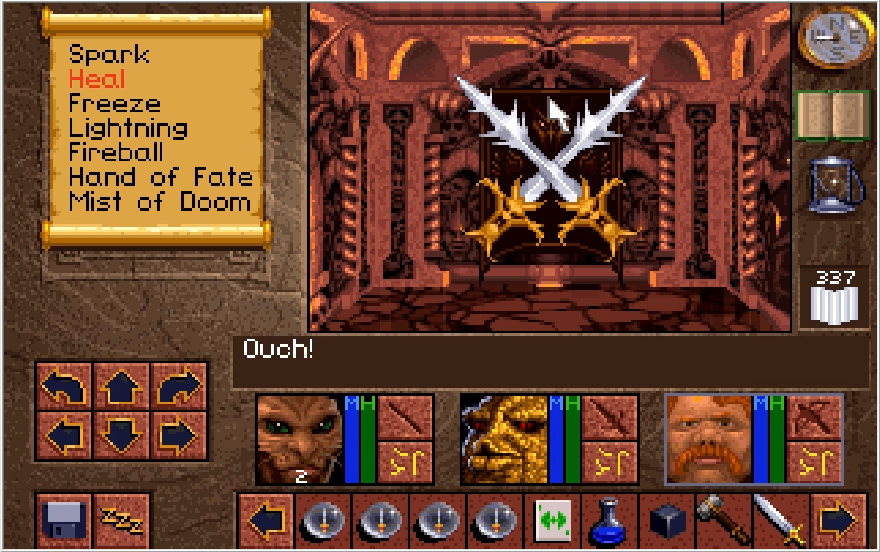
We find these interesting decorative swords past the second gate. Clicking them shows that Kieran has no compulsion against massaging the sharp edge of a blade if you tell him to.

I'm not sure if it's an RNG check or if you need to click a specific spot, but after enough instances of Kieran working through his temporary emotional problems with a permanent solution, we get the Great Sword Doom! Awesome name, but it is weaker than the Great Sword Justice, an effective and subtle communication to the player that Justice always prevails. That said, it is equal in Might to the Great Maul Thunder without the drawback of doing no damage 25% of the time, so it is actually a pretty good find if you didn't get the two Justices that I did. That is, if you can figure out how the hell to get it because I certainly couldn't without watching a video on how to do it.
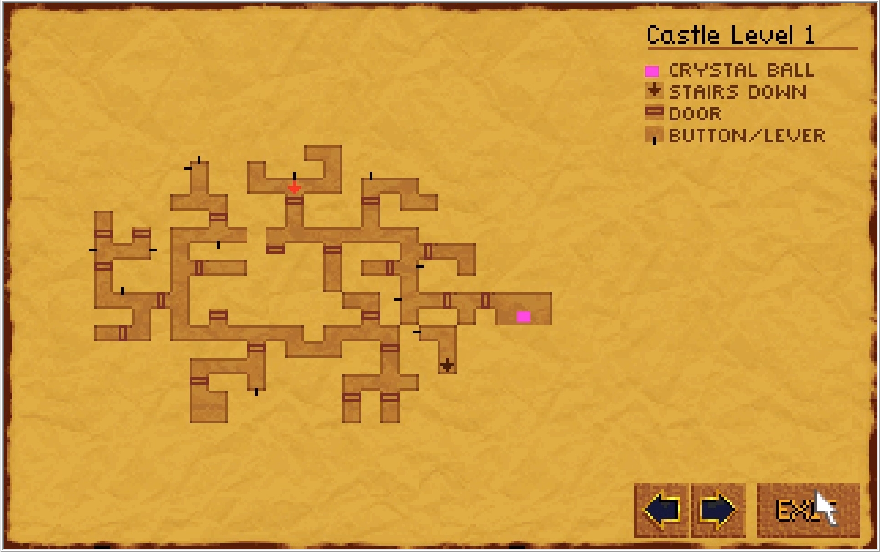
We're just about done with this section. As mentioned previously, stepping over the line to the northwest corner with the Cobra figure will activate the sealing trap so we just want to stop at the one door we haven't opened.
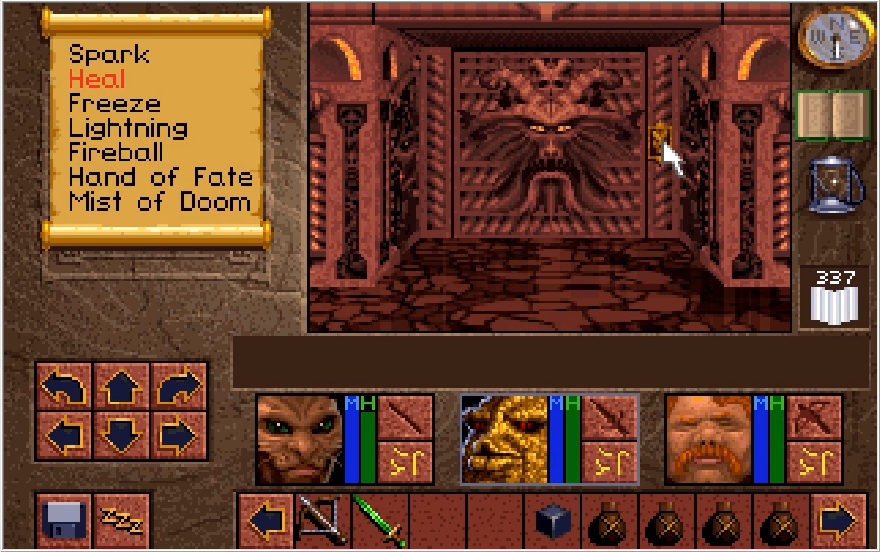
Perhaps in an active effort to befuddle the player, for some reason this door requires you to press the switch twice in order for it to open with no indication that is the case. Probably something you could easily figure out unintentionally if you just spam click by default, but a weird design choice nonetheless.
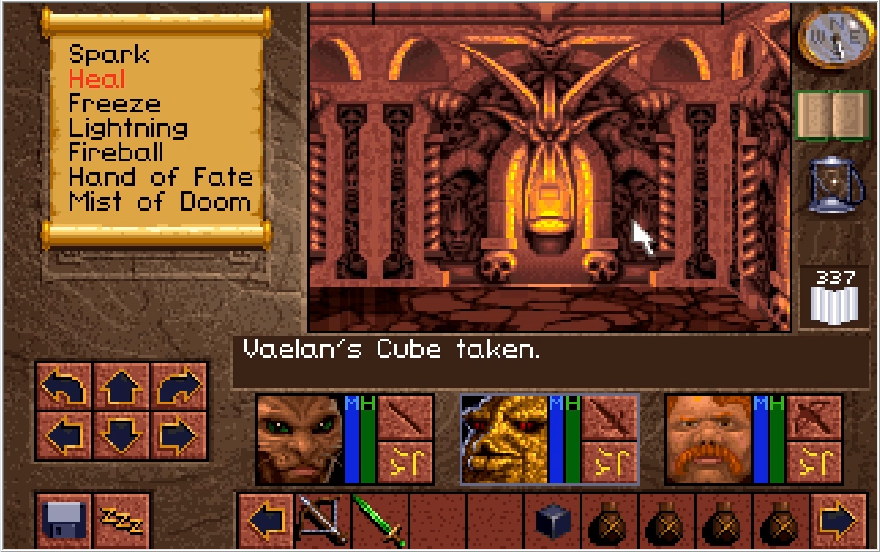
Reader challenge time! There's a secret switch on this wall. Can you spot it?
It's right above the fire. I'll admit the first time I played through this area it took me awhile to spot the switch here. In my defense, we haven't seen too many of these torch walls up to this point.
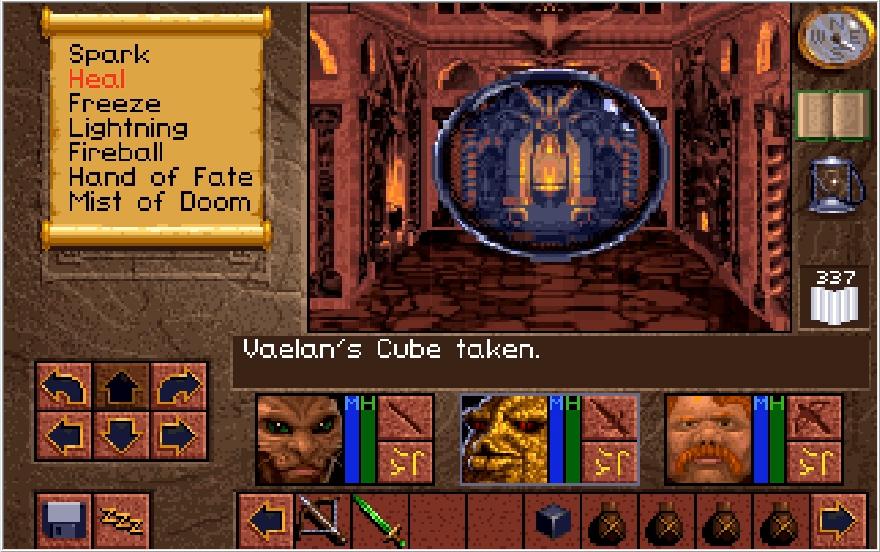
Clicking it spawns in a portal that will whisk us to the next section of the first floor.
Stepping through, we find ourselves faced with more altars! I'm gonna see these eyes in my dreams, I swear.
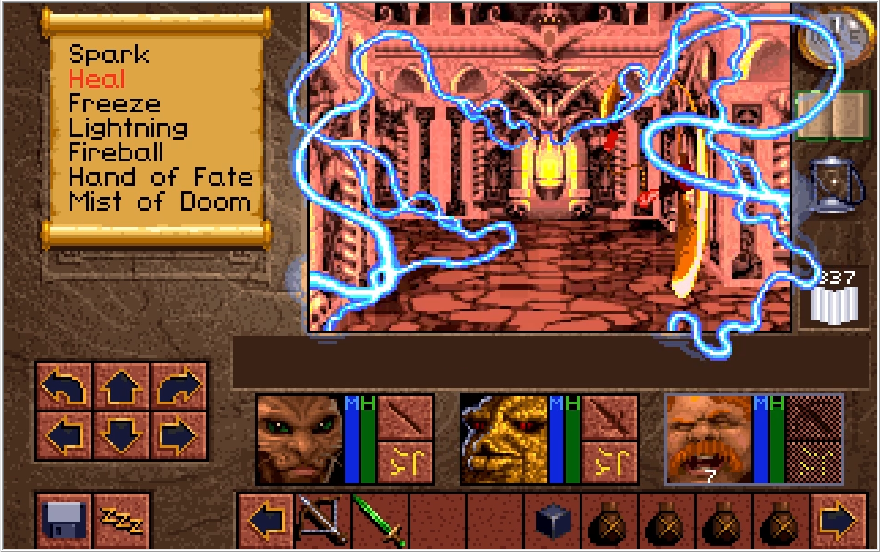
There's also more floating axes in this area, but dealing with them is just a matter of course at this point.
Now there's not too much to remark on in this area. I could just make my way to where we need to be, but I decided to explore a little.
And in a careless bit of strafing, I rounded a corner and fell into a pit for my efforts. I didn't feel like trekking back through the Dungeons, so I reloaded a save... before I got the Great Sword Doom. That was two minutes of my life wasted, save often people!
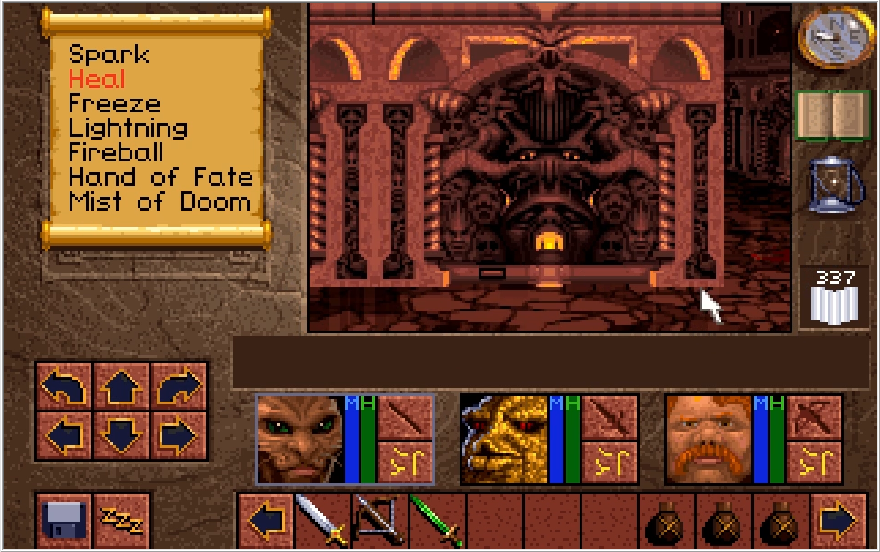
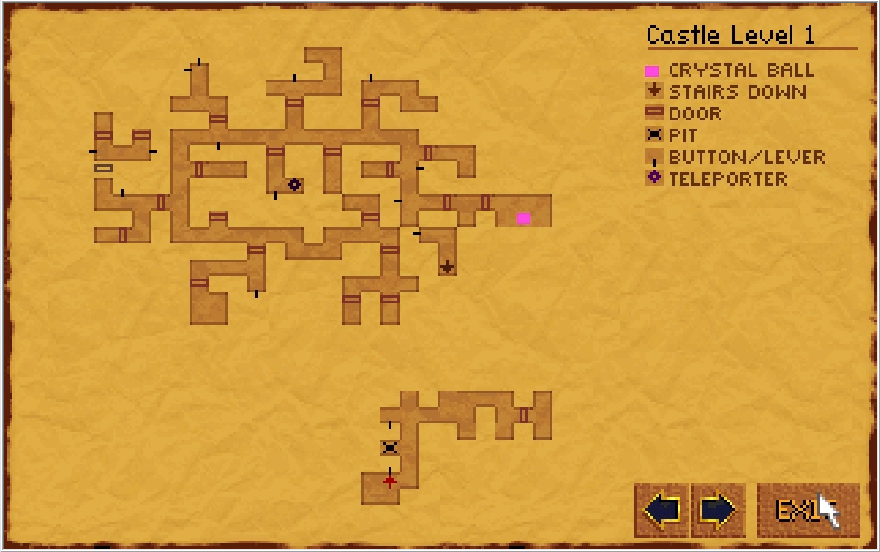
The only thing of note aside from the direction we need to go in are these two switches that seemingly do nothing. There's a combination that you need to hit the switches in (that you have to find out through trial and error, natch) that will remove the pit I blundered into. Past that pit is a second pit you need to drop an item into to close it. If you some how divined all that, you'll find an alcove with a switch next to it. Place an item in the alcove and hit the switch, and it'll turn the item into crowns! There are no stores in the Castle Cimmeria and crowns are useless if you don't feel like trekking back to the Gorkha Swamp to buy more Fireball Wands. I do not feel like trekking back to the Gorkha Swamp to buy more Fireball Wands.
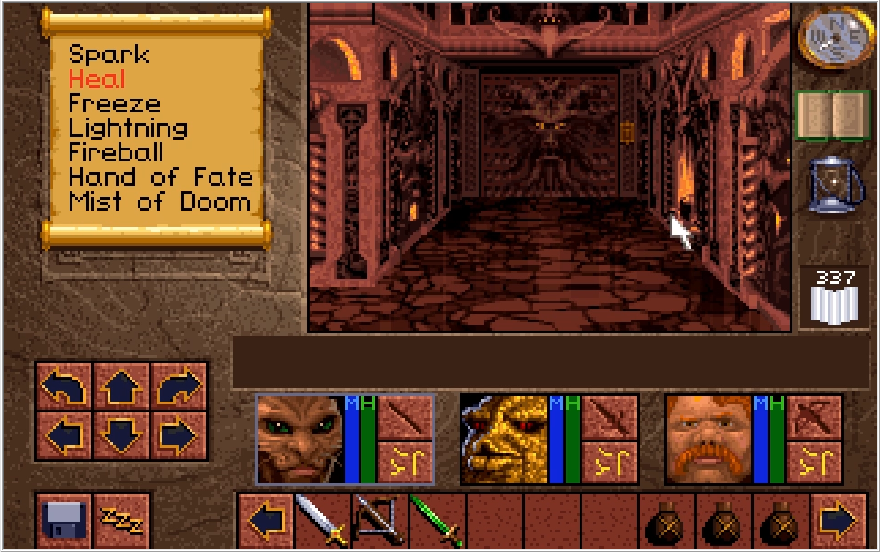
The amount of half baked and unfinished ideas in this place is exhausting man. Let's just get on with the mandatory parts of the dungeon.
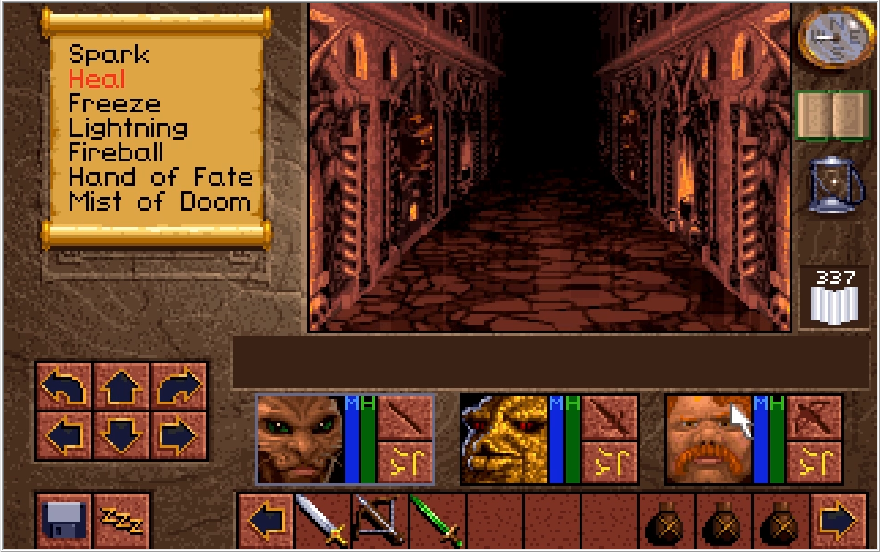
Opening the door and stepping into the hall, we find a number of tongue levers dotting the walls along the way. DO NOT, AND I REPEAT, DO NOT PULL ANY OF THESE LEVERS. You will regret it if you do not have a recent save to load up.
Stepping into the hall, you will feel your heart sink into your stomach as suddenly your Magic Atlas disappears. I think anybody would realize that only bad things will be in your future.
Taking another couple steps will teleport us into the center of a room filled with pits. This is where we need to be. If you pulled any of the levers in that previous hall, you will instead be teleported to a random ass room on this floor. Without your Atlas. If you pulled ALL the levers, you get teleported into the Dungeons. Without your Atlas.

Reminder that this is what the Dungeons look like. Have fun navigating it without your Atlas!
As if things couldn't keep getting worse, our Compass is also non-functional in this area, so we have literally no way of knowing what direction we are facing. Oh I'm sorry, did I say "As if things couldn't keep getting worse"? Silly me, they do keep getting worse!
On top of the mounting list of problems, these pits also send you on a delightful trip to the Dungeons. Without your Atlas. Now I know what you're thinking, "well how hard can navigating around the pits in this room be?" Oh you sweet Summer child.
Welcome to the Woah! Field mother fuckers!
Now this is a bit of the game that's pretty much impossible to communicate just how annoying it is in screenshot form, so watch the video to get an idea of how painful this might be for a new player. I make this look A LOT easier than it is, since I've beaten the game 4 times in quick succession and did a refresher run before doing this recording. I actually had to double check to make sure I was cutting the right pieces of footage when I saw I cleared this nonsense in two minutes.
So the Woah! Field has spin tiles everywhere. This is a disaster since we have no way of determining what direction we are facing unless we pay hawk-like attention to the number of spins we make, which is a quick way to make yourself motion sick. The excessive number of pits means that we also cannot strafe carelessly or we'll find ourselves in the Dungeons with almost the same level of navigation problems we're facing here. In a moment of mercy, these are step based spin tiles, meaning we can at least turn to get our immediate bearings without being spun again. Another frustrating thing to contend with actually comes from graphical limitations. The game isn't able to render pits in your line of sight diagonally. Basically, you'll be stepping towards an area that looks clear of pits to your right or left, only to find it's actually a boxed in space and the game just simply couldn't show you the pits that were there.
Despite all this, the goal here is simple albeit slightly unintuitive.
In the four corners of the room, there are pressure plates. Most of them are surrounded by pits, but one will have a clear path to it if you can finagle your way through all the Woah! tiles to reach it. Weighing it down with a useless item, like the oil flasks I've been holding for this occasion, will clear up some of the pits surrounding another one of the plates.
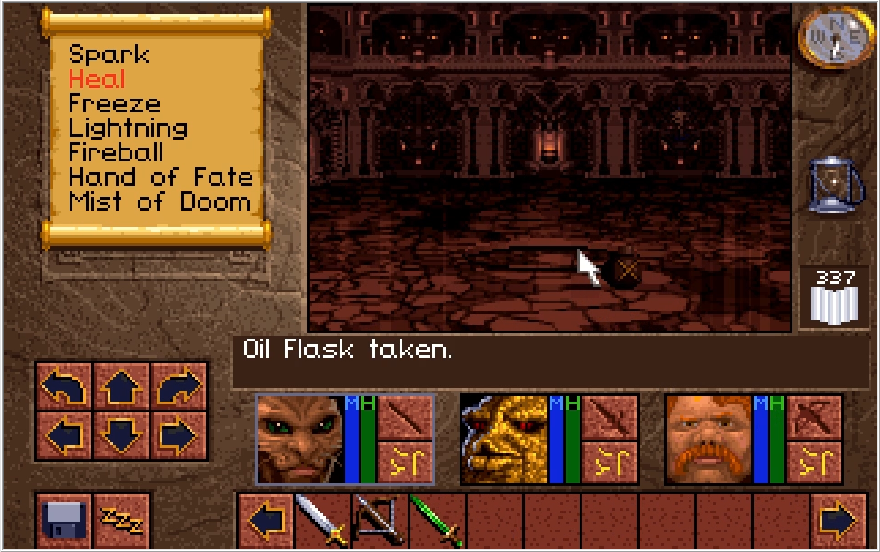
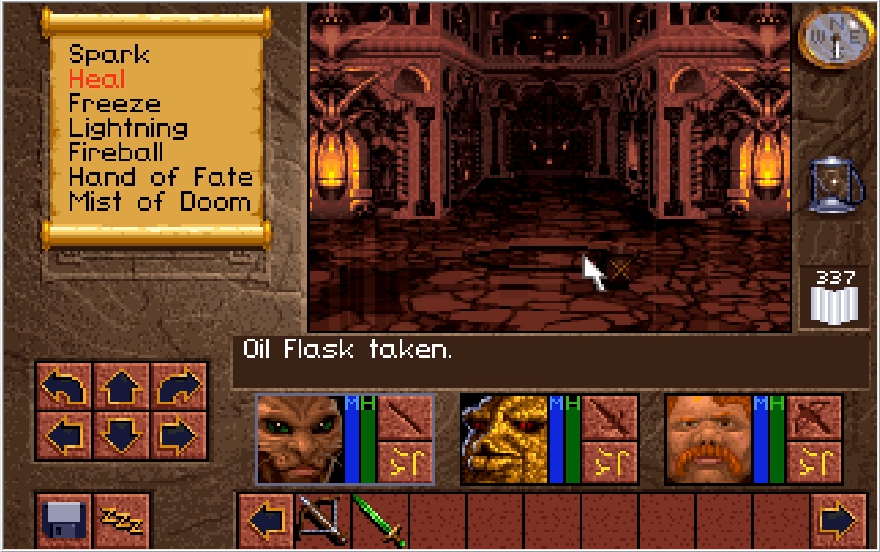
You just weigh down all the plates in the room in the correct sequence, and all the pits that block the areas you need to go to will be removed. As stated, I make this look WAY easier than it actually is in the video. The first couple playthroughs I did, I easily spent 15-20 minutes on this section because of how disorienting all the spin tiles are and how dependent I was on the Atlas for navigation. Shout outs to the one complete walkthrough for this game on GameFaqs I consulted for my first couple playthroughs that stupidly did not give instructions on how to get through this area because "if you didn't follow the instructions exactly they would become useless." No shit?
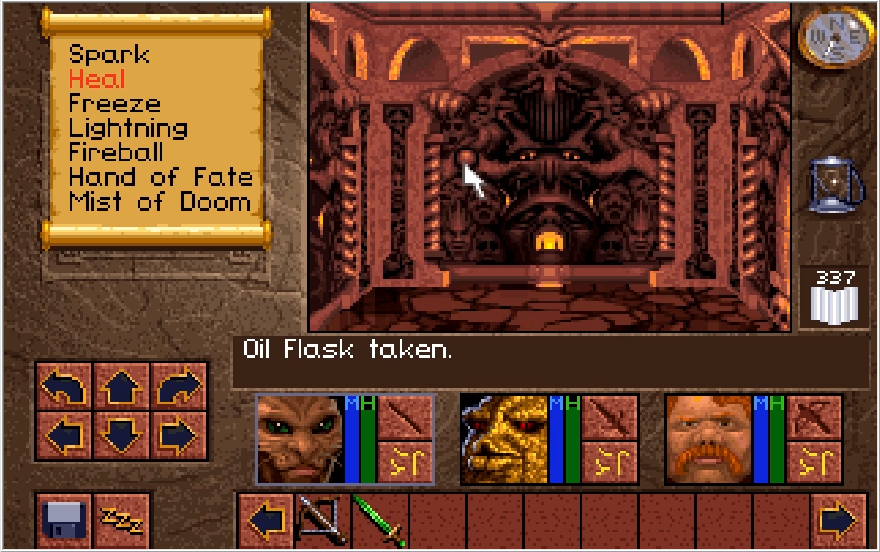
Anyway, the final plate also just so happens to place us in front of a small alcove with a switch. We need to head this way as there is a key item here.
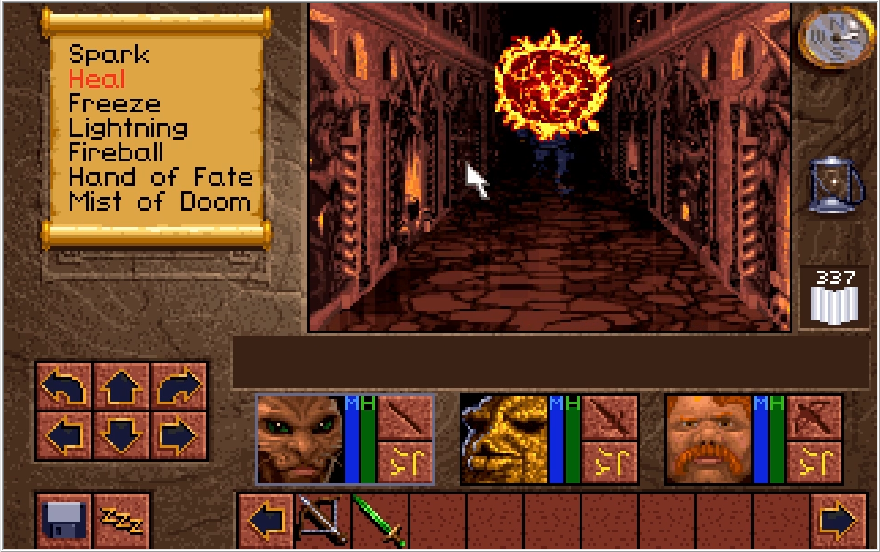
And a fireball flung directly at my face as soon as I open the path. Remember how I said these projectiles could potentially be a disaster earlier? Yeah if a Ghost Cabal follows you into the Woah! field (which they CAN do), good fucking luck dealing with it. It is almost impossible to zero in on it with all the pits and spin tiles, and you just have to pray it decides to walk towards you instead.
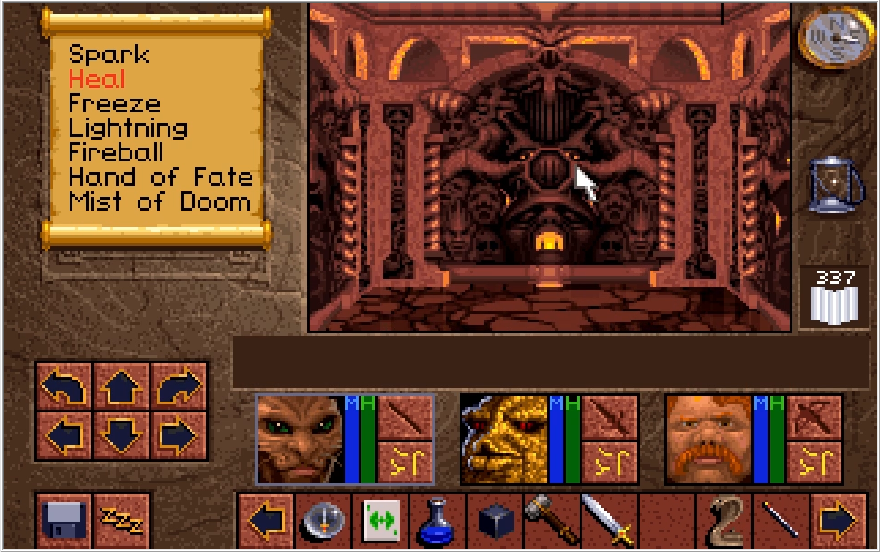
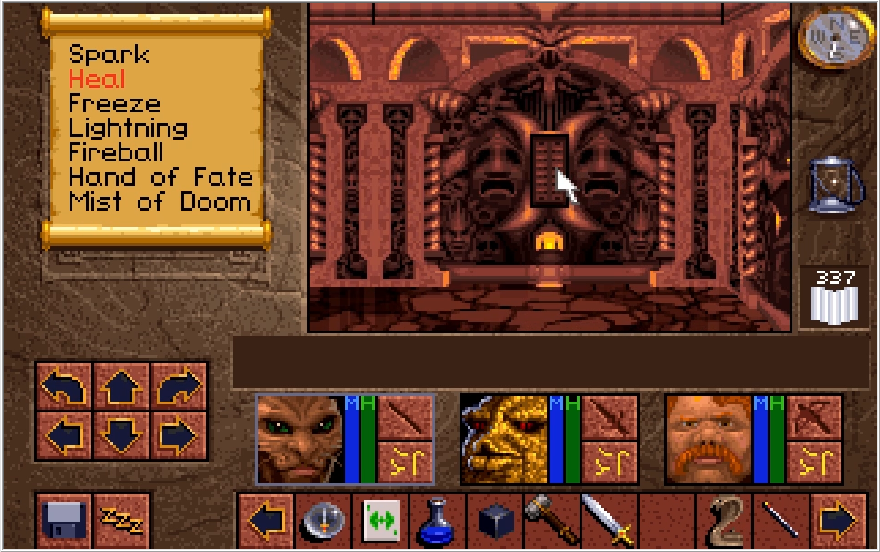
At the end of the hall we just opened, there are a couple switches. Hitting them in the correct order will open up an alcove with another figure, the Dragon Figurine, and allow us to escape with no problem. If you hit the switches in the wrong order, you need to place an item in the alcove and hit the switch that opened it to reopen the wall that would have sealed you in this area.
Fortunately I hit them in the correct order so I didn't have to sacrifice another Bezel cup. Now how the hell do we get out of here? Well if you step out back onto the pressure plate in front of that hall, and then take two steps to the left...
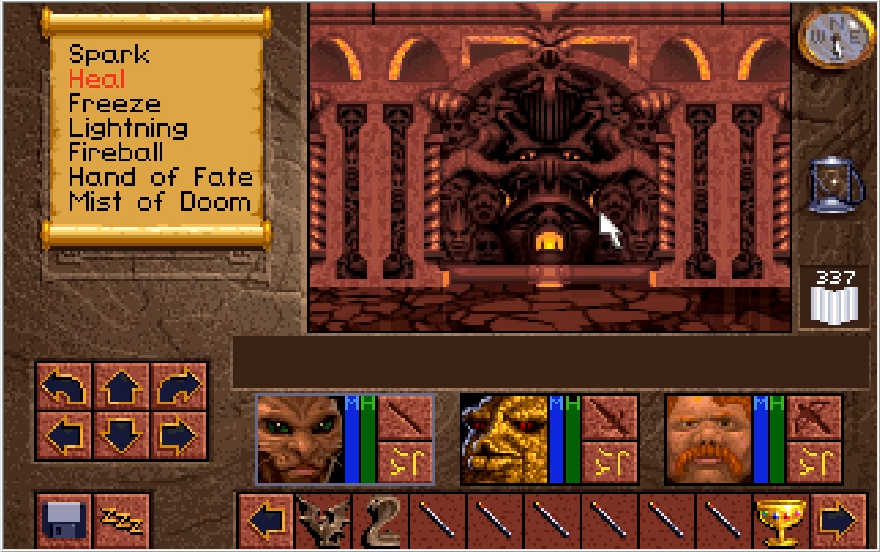
You'll find a secret wall that leads to the stairs to floor 2. This one is just cruel, how the fuck are you supposed to know this is here if you don't have the Atlas that normally shows you where secret walls are!?!? You'd just have to guess that there was a secret wall and brush up against every wall on the perimeter of this room until you found it. This is the worst puzzle room in the game by a mile.
Mercifully, the space in front of the stairs is the trigger to restore our Atlas. Once we're out of this area, our Compass will function normally again as well. Magnetic interference, I guess?
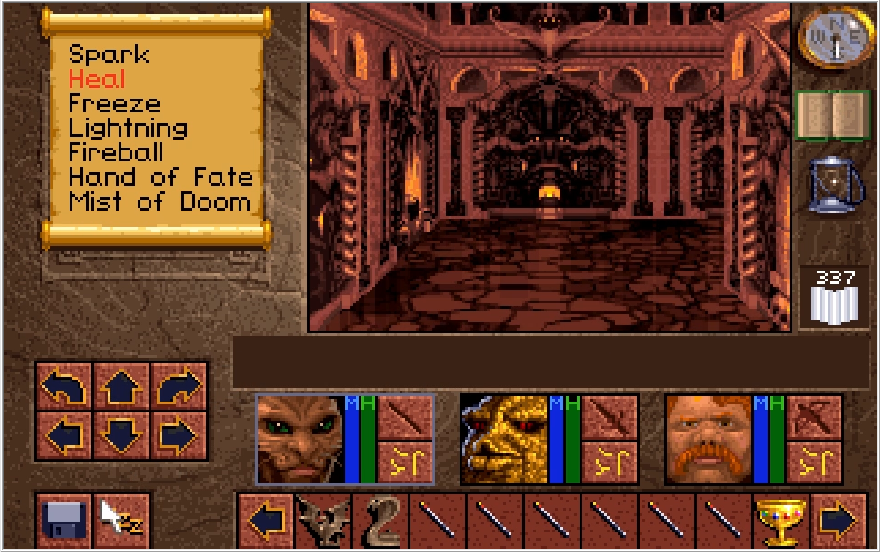
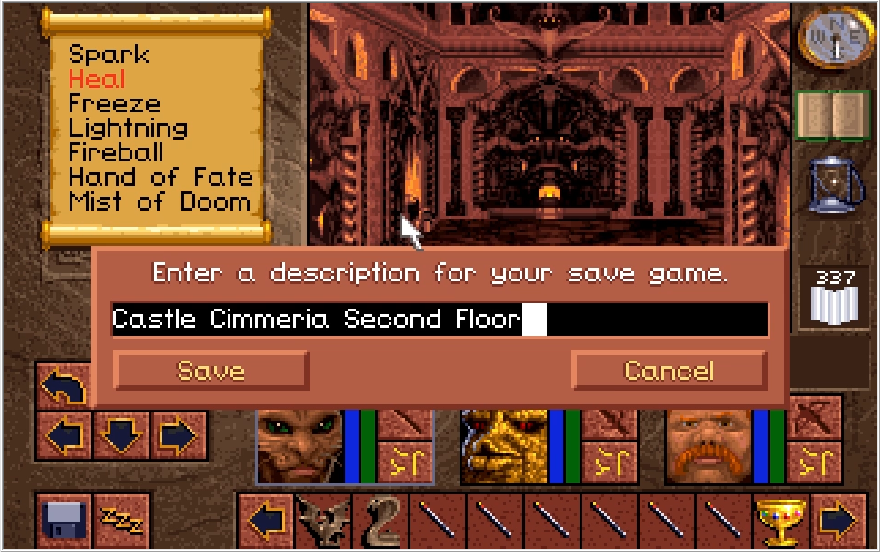
With all that nonsense done and dusted, we are done with Floor 1 and are ready for the Second Floor of Castle Cimmeria! Thankfully this floor isn't nearly as bad or jank as the previous one, though there are still plenty of headaches waiting for us along the way. I can see why some people just bounced off of the game at this point if they made it through the Dungeons, Castle Cimmeria blows as a final area.
Music: Castle Cimmeria (Again, get used to this song.)

Well we've finally made it to the final dungeon, Castle Cimmeria! Funny, although we've made progress on getting the cure for Richard, it really doesn't feel like we've made much headway on the whole killing Scotia thing. But this is where the game comes to a head, as somewhat random feeling as it is. Starting things out, I'd just like to point out these skull fixtures on the wall are not actually levers despite looking like it. They are purely decorative skulls installed to suit Scotia's sense of goth aesthetics.


The first floor of Castle Cimmeria is simplistically laid out.... at first. From the entry stairs, we have a huge square hallway with numerous doors dotted along the path. Most of these have jack shit in them, but I am committed to showing as much as I feel is worth it. There are also quite a few devious tricks meant to trip up those who flip every switch they come across, which I guess is fitting for the fortress of evil.


Starting things out, I am immediately accosted by the first major enemy of this floor when I open a door: Ghost Cabal Warriors! The employment contract for Scotia encompasses life and death I suppose. I revisit the first update to reiterate my comment about how the forces of evil should bring up some concerns with demon HR. It'd be a little funny if all of these guys where the same warriors we've been killing up to this point, it would be like the fight against The Sorrow without the pathos.

In straight combat, these guys are more on par with the Wraith Wizards than the Wraith Warriors. Like the Wizards though, they have a nasty trick that they can use if they engage you at a range. These guys are the reason we got a spare Vaelan's Cube, saving me the effort of having to engage them in pure melee with Emerald Blades. These guys are nowhere near as numerous as the Wraiths nor do they infinitely respawn, so that's not as tall an ask as it was in the White Tower at least.


Cleaning up those guys and stepping into the newly opened hall immediately puts us face to face (literally) with another door, followed by the other major enemy of this floor. These floating axes are highly evasive, though if Baccata is able to land a melee blow on them they will die in a single hit. For the most part, you want to stick to Spark 4 to deal with them since they'll usually die in one cast and definitely in two casts. It's hilarious how the magic system is so poorly balanced in this game, the spell we start the game with is the most consistently useful attacking magic.


Of course, when it comes to electrical attacking magic, I discovered a far better alternative over the course of doing this LP.


There are in fact two doors in this initial side hall, both of them leading to these altars that to my knowledge serve no function other than to look creepy. We come across quite a few of these face altars on the first floor and they never have anything in them.


The next room we come across has a small key in it. As far as I'm aware, this key does not actually work with anything. You can really tell the devs were under pressure to wrap up the game quickly at this point, because there are many aspects of Castle Cimmeria that are blatantly unfinished. The official clue book marks the location of this key, but the footnote for it is conspicuously absent from the explanations showing that not even the writes of the official guide knew what this was supposed to be for. This is the first of many unimplemented features we'll see.


Moving along and waxing any ghosts we come across, the next room I enter has this switch. When you flip it, you hear the same woman screaming bloody murder that you did in the basement of the White Tower.

And suddenly 5 floating axes will pop out of the ether to try and wreck your shit.

Key word is being "try".


A room with nothing but useless face alters. Scotia was down bad for this bit of architecture.


The next room we come across has a jammed door that can never be opened. If you enable no-clip, there is actually a hall behind this door but it has nothing in it.

Aaaaand here's the nasty trick the ghost Cabal Warriors have. Why do so many things in this game just shit fireballs at you? Anyway, this is by far the more threatening thing these guys can do, which makes sense at least. There is one area where this attack can be a disaster waiting to happen to you, but in these normal halls it just means I have to cast Heal 4 and then sap the MP back with Vaelan's Cube.

Like so. Sometimes these guys can converge in the walls and then jump out all at once.


Heading up to the next corner, we come across something interesting. These Iron Tooth Doors rhythmically slam and if you try to walk through when they are closed, you obviously won't be able to. This is hard to demonstrate in screenshots, but they open and close very quickly, it's like a one second cycle. That switch is supposed to stop the doors.... but they reactivate as soon as you walk on the tile after the switch. Not sure what the point of it is.


Fortunately the actual solution is simple, you just need to step through when the doors are opening. You can even just mash against the door until you step through. That tongue lever is what actually shuts them down, though be mindful you don't pull it when the doors are closed. If you're curious, no you cannot be hurt by stepping into the doors as they close. They just stop moving when you're standing on their tile. Methinks another unimplemented feature.


What I know is an unimplemented feature is this lock. Examining it prompts a unique message, but nothing in your inventory will ever open it whether it's the lockpicks or any keys you find. The key that does go to it, the Blood Key, exists in the game's files.... but exists nowhere in the actual game world. Were you to no-clip through the door, you'd be surprised to find it actually does have a chest behind it. The major item it has is a unique ring, the Zephyr Ring. From what I've seen of videos going over it, the Zephyr Ring reduces your action cooldown to almost zero when equipped, meaning you can swing your sword and cast magic at the speed of Kenshiro. I'm not sure if this cooldown reduction is for if you only miss, since no videos really explore how this ring works in full, but I'm guessing they sealed it off because they considered it too powerful. Or they just straight forgot to make it obtainable, either or.

Next room I come across is another useless dead end with a weak enemy in it.

We're closing in on the major thing we need to get from this path. Believe it or not, there is a room we need to check out this way!


Flipping this tongue lever opens the door to the one thing we actually need to get from this route. And another pair of floating axes, that too.


Take note of where we are standing. Were I to take one more step forward...


This section of Castle Cimmeria becomes sealed off! We cannot return to the start of the dungeon this way, and our only recourse to escape is to dive into a pit in the room I just opened and work our way back through the Dungeons. Not a huge deal, but this is the first of many tricks in Cimmeria that can waste a huge chunk of your time if you blunder into them. Save often so you can reload and not have to deal with any of that hooey regarding these traps.

These axes usually only hit for less than 10 damage, but sometimes they will hit like a semi truck and totally annihilate the person they are targeting. Critical hits can often hurt you as much as they help you.


Now the reason we came this way is for an important key item. Stepping into this hall, a pit opens up behind us and there are a couple of switches to hit. Hitting the one on the north wall opens an alcove in the east wall with a Cobra Figurine. We'll need this for later, so grab it. I place a Bezel cup in the alcove because there's one instance where you might have to potentially swap an item, but in this case it wasn't necessary and I just needed to hit the switch in the west wall after getting the figure to close the pit. Sometimes I get confused about the switch puzzles in this place, there's a handful of them.

I reloaded a save I made before sealing off the northwest corner so I didn't have to trek back through the dungeons. Let's explore the east section of the first floor now.


Stepping into the first room we come across, we're immediately faced once again with another door. This one won't open for some reason.

In this instance, you need to close the door you just stepped through....

At which point the second door will open up. Haven't had a lock system like this since the Urbish Mines, it's almost nostalgic at this point.

Stepping into this room, we find a curious glass orb. Hey, it looks like there's a person in there!
Music: Dawn in The Crystal Ball

Thank god Scotia trapped her in a sealed orb rather than a glass jar I suppose. But yes, this is where Dawn has been since her driver was killed. She's still fighting the good fight the only way that Dawn can.

I can just hear the gears grinding in Kieran's brain as he contemplates this.

Absolutely nothing in the game tells you this, but the Diamond you found in the Dungeons is actually the key to this orb. Use it on the orb, and...


The orb shatters, and Dawn gets pooped back into the Lands. Of Lore.


I believe if you've freed Richard at this point, Dawn gives you a hint on what you need to do for the final boss. Of course if you haven't, then you're just shit out of luck on that front.

And then Dawn vanishes from the game. Now, Dawn's comment here was intended to be a literal declaration that she'd join your party after a point. Dawn was meant to be the final party member, presumably a pure Mage since otherwise you don't get a party member like that if you're not Ak'shel, but for one reason or another this just got cut. Dawn made it far enough into development that portrait sprites exist for her, as seen on the game's Cutting Room Floor page, but I don't know if any actual stats exist for her. Why she got cut is anyone's guess. Maybe they just couldn't find a way to accommodate 4 party members with the UI they made, maybe they had intended a party switching mechanic that they felt was pointless at this stage of the game, perhaps they just realized it was far too late in the game for Dawn to make any meaningful contributions. Whatever the case, Dawn made it to the finished product doing almost nothing meaningful the entire game. Fun fact, you don't even have to save her here! If you forget to/just decide not to save Dawn, it does not affect the story at all and she still appears in the ending no worse for the wear. What a disappointment. Let's get back to exploration.


Moving along in the hall, we come across a trick lever that seals off this section of the floor from the rest of it. Do note that if we follow the hall and loop around to where the Cobra figure was, that also activates the sealing trap in the northwest corner, once again leaving us no choice but to fall back into the Dungeons. I don't have to load save to undo this at this point, but I do anyway just to spite Scotia.


Scotia and these altars, I swear. Is this like the face of an ex she just can't get over or something?


Okay, so now this is weird. We have these gates that if you get close, you can see a switch on the other side. Trying to throw something through the gate to hit the switch just results in the item bonking off the gate and hitting the floor.

Now the clue book says you need to throw an item, but what you actually need to do, for the only time in the game that you can do this, is shoot an arrow through the gate to hit the switch. This never works anywhere else... and due to a bug half the time it does nothing here either. There is something we can do to fix this though.


Before that though, I get attacked by some Ghost Cabal and get a rare drop! The Great Eagle Sword... is worse than the best weapons I have, it's the same stats as the Halberd Widow. At least it gives me an item to place on a pressure plate if nothing else.


Anyway, if you save and load your game in front of this gate....

The moment you load back in, shooting the switch will now work! The video I watched explaining this also said you need to have a high enough rogue level for this to work, though what the minimum is I don't have a clue. The guy demonstrating this had done the insane grind of getting his Rogue level to 10, which is definitely way overkill because all my Rogue levels are only 4 without Rogue boosting equipment.

Now this gate just has another useless altar past it. However!

There is a second gate that actually does lead to something interesting. I also had to reload a save again to get this one to work. I'm wondering if there's some kind of weird object limit error going on here? Did I mention this area is kind of jank and unfinished?


We find these interesting decorative swords past the second gate. Clicking them shows that Kieran has no compulsion against massaging the sharp edge of a blade if you tell him to.

I'm not sure if it's an RNG check or if you need to click a specific spot, but after enough instances of Kieran working through his temporary emotional problems with a permanent solution, we get the Great Sword Doom! Awesome name, but it is weaker than the Great Sword Justice, an effective and subtle communication to the player that Justice always prevails. That said, it is equal in Might to the Great Maul Thunder without the drawback of doing no damage 25% of the time, so it is actually a pretty good find if you didn't get the two Justices that I did. That is, if you can figure out how the hell to get it because I certainly couldn't without watching a video on how to do it.

We're just about done with this section. As mentioned previously, stepping over the line to the northwest corner with the Cobra figure will activate the sealing trap so we just want to stop at the one door we haven't opened.

Perhaps in an active effort to befuddle the player, for some reason this door requires you to press the switch twice in order for it to open with no indication that is the case. Probably something you could easily figure out unintentionally if you just spam click by default, but a weird design choice nonetheless.

Reader challenge time! There's a secret switch on this wall. Can you spot it?

It's right above the fire. I'll admit the first time I played through this area it took me awhile to spot the switch here. In my defense, we haven't seen too many of these torch walls up to this point.

Clicking it spawns in a portal that will whisk us to the next section of the first floor.

Stepping through, we find ourselves faced with more altars! I'm gonna see these eyes in my dreams, I swear.

There's also more floating axes in this area, but dealing with them is just a matter of course at this point.

Now there's not too much to remark on in this area. I could just make my way to where we need to be, but I decided to explore a little.

And in a careless bit of strafing, I rounded a corner and fell into a pit for my efforts. I didn't feel like trekking back through the Dungeons, so I reloaded a save... before I got the Great Sword Doom. That was two minutes of my life wasted, save often people!


The only thing of note aside from the direction we need to go in are these two switches that seemingly do nothing. There's a combination that you need to hit the switches in (that you have to find out through trial and error, natch) that will remove the pit I blundered into. Past that pit is a second pit you need to drop an item into to close it. If you some how divined all that, you'll find an alcove with a switch next to it. Place an item in the alcove and hit the switch, and it'll turn the item into crowns! There are no stores in the Castle Cimmeria and crowns are useless if you don't feel like trekking back to the Gorkha Swamp to buy more Fireball Wands. I do not feel like trekking back to the Gorkha Swamp to buy more Fireball Wands.

The amount of half baked and unfinished ideas in this place is exhausting man. Let's just get on with the mandatory parts of the dungeon.

Opening the door and stepping into the hall, we find a number of tongue levers dotting the walls along the way. DO NOT, AND I REPEAT, DO NOT PULL ANY OF THESE LEVERS. You will regret it if you do not have a recent save to load up.


Stepping into the hall, you will feel your heart sink into your stomach as suddenly your Magic Atlas disappears. I think anybody would realize that only bad things will be in your future.


Taking another couple steps will teleport us into the center of a room filled with pits. This is where we need to be. If you pulled any of the levers in that previous hall, you will instead be teleported to a random ass room on this floor. Without your Atlas. If you pulled ALL the levers, you get teleported into the Dungeons. Without your Atlas.

Reminder that this is what the Dungeons look like. Have fun navigating it without your Atlas!

As if things couldn't keep getting worse, our Compass is also non-functional in this area, so we have literally no way of knowing what direction we are facing. Oh I'm sorry, did I say "As if things couldn't keep getting worse"? Silly me, they do keep getting worse!


On top of the mounting list of problems, these pits also send you on a delightful trip to the Dungeons. Without your Atlas. Now I know what you're thinking, "well how hard can navigating around the pits in this room be?" Oh you sweet Summer child.

Welcome to the Woah! Field mother fuckers!
Now this is a bit of the game that's pretty much impossible to communicate just how annoying it is in screenshot form, so watch the video to get an idea of how painful this might be for a new player. I make this look A LOT easier than it is, since I've beaten the game 4 times in quick succession and did a refresher run before doing this recording. I actually had to double check to make sure I was cutting the right pieces of footage when I saw I cleared this nonsense in two minutes.
So the Woah! Field has spin tiles everywhere. This is a disaster since we have no way of determining what direction we are facing unless we pay hawk-like attention to the number of spins we make, which is a quick way to make yourself motion sick. The excessive number of pits means that we also cannot strafe carelessly or we'll find ourselves in the Dungeons with almost the same level of navigation problems we're facing here. In a moment of mercy, these are step based spin tiles, meaning we can at least turn to get our immediate bearings without being spun again. Another frustrating thing to contend with actually comes from graphical limitations. The game isn't able to render pits in your line of sight diagonally. Basically, you'll be stepping towards an area that looks clear of pits to your right or left, only to find it's actually a boxed in space and the game just simply couldn't show you the pits that were there.
Despite all this, the goal here is simple albeit slightly unintuitive.

In the four corners of the room, there are pressure plates. Most of them are surrounded by pits, but one will have a clear path to it if you can finagle your way through all the Woah! tiles to reach it. Weighing it down with a useless item, like the oil flasks I've been holding for this occasion, will clear up some of the pits surrounding another one of the plates.


You just weigh down all the plates in the room in the correct sequence, and all the pits that block the areas you need to go to will be removed. As stated, I make this look WAY easier than it actually is in the video. The first couple playthroughs I did, I easily spent 15-20 minutes on this section because of how disorienting all the spin tiles are and how dependent I was on the Atlas for navigation. Shout outs to the one complete walkthrough for this game on GameFaqs I consulted for my first couple playthroughs that stupidly did not give instructions on how to get through this area because "if you didn't follow the instructions exactly they would become useless." No shit?

Anyway, the final plate also just so happens to place us in front of a small alcove with a switch. We need to head this way as there is a key item here.

And a fireball flung directly at my face as soon as I open the path. Remember how I said these projectiles could potentially be a disaster earlier? Yeah if a Ghost Cabal follows you into the Woah! field (which they CAN do), good fucking luck dealing with it. It is almost impossible to zero in on it with all the pits and spin tiles, and you just have to pray it decides to walk towards you instead.


At the end of the hall we just opened, there are a couple switches. Hitting them in the correct order will open up an alcove with another figure, the Dragon Figurine, and allow us to escape with no problem. If you hit the switches in the wrong order, you need to place an item in the alcove and hit the switch that opened it to reopen the wall that would have sealed you in this area.

Fortunately I hit them in the correct order so I didn't have to sacrifice another Bezel cup. Now how the hell do we get out of here? Well if you step out back onto the pressure plate in front of that hall, and then take two steps to the left...


You'll find a secret wall that leads to the stairs to floor 2. This one is just cruel, how the fuck are you supposed to know this is here if you don't have the Atlas that normally shows you where secret walls are!?!? You'd just have to guess that there was a secret wall and brush up against every wall on the perimeter of this room until you found it. This is the worst puzzle room in the game by a mile.


Mercifully, the space in front of the stairs is the trigger to restore our Atlas. Once we're out of this area, our Compass will function normally again as well. Magnetic interference, I guess?


With all that nonsense done and dusted, we are done with Floor 1 and are ready for the Second Floor of Castle Cimmeria! Thankfully this floor isn't nearly as bad or jank as the previous one, though there are still plenty of headaches waiting for us along the way. I can see why some people just bounced off of the game at this point if they made it through the Dungeons, Castle Cimmeria blows as a final area.
While I don't recall ever having actually struggled with that room (then again, god help you if you don't have the hint guide) it's hard to deny that it's just the worst. Also kicking myself for the trick door thing, I did try shooting through them once but since it didn't work I assumed it was just never fully implemented, reloading to fix it never occured to me (not that it's much of a loss but it's the principle of the thing.)
I know at least one person has managed to put Dawn in the party through hex editing but I don't recall seeing any specifics beyond having done so. Her stint as a PC getting cut was probably late-to-last minute thing though since I distinctly recall one of images on the box having her in the party in an area that definitely looked like Castle Cimmeria so I assumed she would've booted Bacatta and that got nixed because the devs decided a last minute party change would've been exceedingly lame.
I know at least one person has managed to put Dawn in the party through hex editing but I don't recall seeing any specifics beyond having done so. Her stint as a PC getting cut was probably late-to-last minute thing though since I distinctly recall one of images on the box having her in the party in an area that definitely looked like Castle Cimmeria so I assumed she would've booted Bacatta and that got nixed because the devs decided a last minute party change would've been exceedingly lame.
I think it was the Neoseeker walkthrough that mentioned hex editing Dawn in? It was very much a "trust me bro" account that didn't provide any other proof, and I feel like SOMEONE would have made a video if that was actually a thing you could do. Granted I haven't looked too hard, but I did come across a number of videos of people using trainers for the game and that wasn't something they did so I'm tempted to say it's not actually a thing
Well I saw it on gamefaqs and not neoseeker but the trust me bro energy was still there.
I had thought it was on Gamefaqs too, but I wasn’t able to find it when I looked while in the prep phases for this LP. I did find the Keep Lora glitch story, which I’m also pretty skeptical of but that one is hard to disprove without tweaking the DOSBox settings since I’m positive the default settings have fast enough load speeds to keep the described method from working.
Well that was...uh...a puzzle. I guess.
Funny that the very last dungeon has enemies weaker than the dungeon immediately before it, and weaker than most late game enemies, even. At least it's cool that they tied in the Cabal Warriors to it. Really gotta wonder what sort of dev time they had originally scheduled for this game, and why it got shortened so much. It's really amazing how they let so much blatantly unfinished stuff just...lie in the open.
But hey at least the final dungeon has a cool tileset, and cool music to go with it! That's something right?
Update 22, Hot Wheels

Floor 2, large wheels, stunning bugs and projectile traps! I'm pleased to say that Castle Cimmeria Level 2 isn't quite as annoying or unfinished as Level 1. It does have its own share of hardships for us, but it is all within the realm of the kind of trials we've dealt with up until this point in the game.
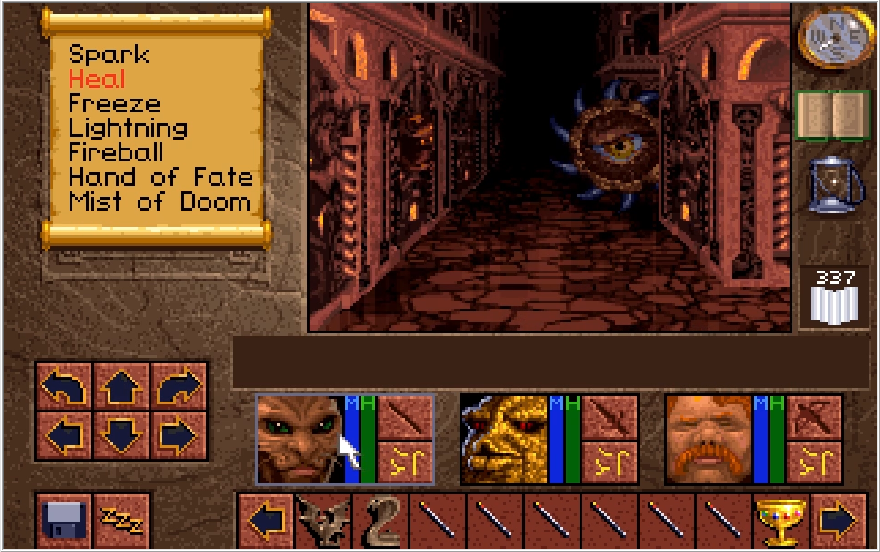
Right out of the gate, we come across the first of the two types of enemies found on this floor.
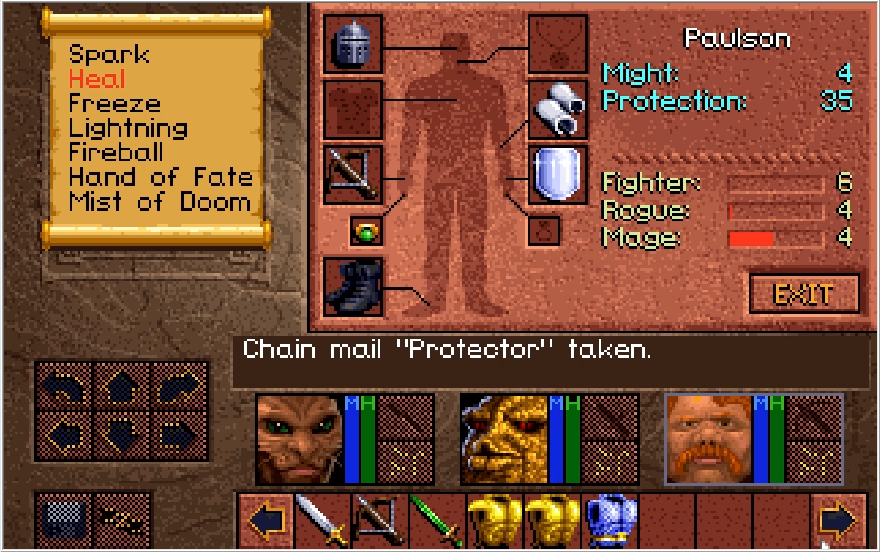
It is with great displeasure that I have to inform you these standing Beyblades are the final enemy type in the game that can burn our armor, and like the Xeobs/Knowles they attack at a fever pitch with high odds of the burn proccing. UNLIKE the Xeobs, at least, these things deal scratch damage. The other enemy type in this floor is also doublewide, so if you keep combat to your frontside, you don't necessarily need to stay naked all the time. That said, these guys love to slide in after you successfully kill another enemy, so I'd recommend keeping your armor off if you're not sure if the area is clear of these guys.
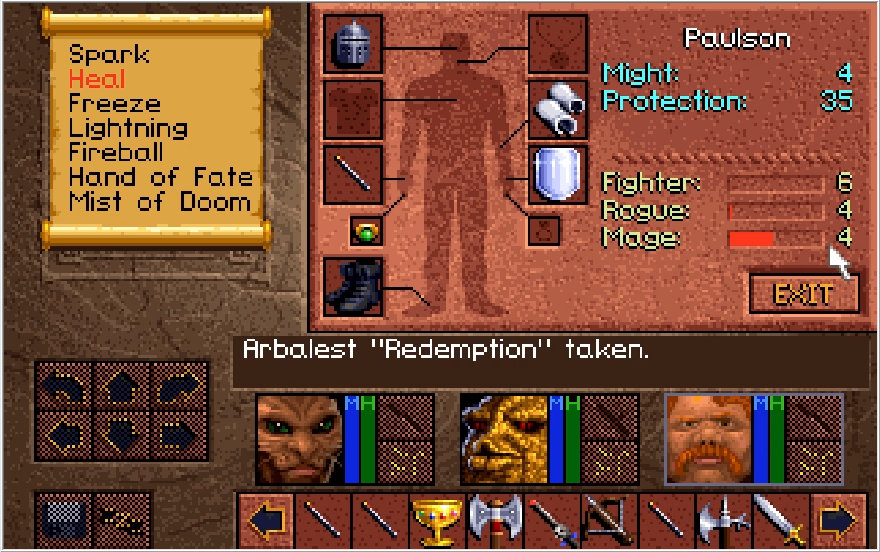
I also slap a Lightning Wand into Paulson's hands. It's just vastly superior to the Redemption, AND it has the 100% accuracy of magic like the CBV. There isn't anything left in the game immune to Lightning, so may as well just stick to this.
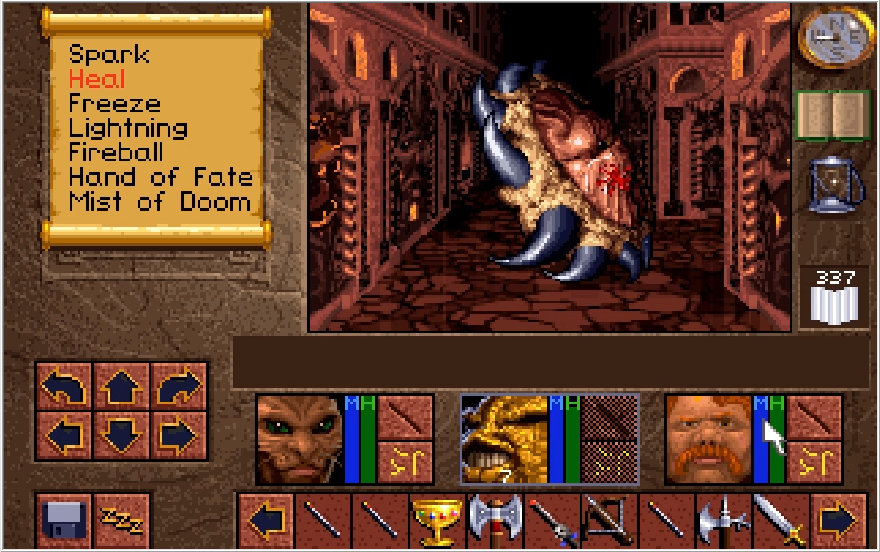
Like I said, scratch damage. A couple lightning blasts send this thing packing.
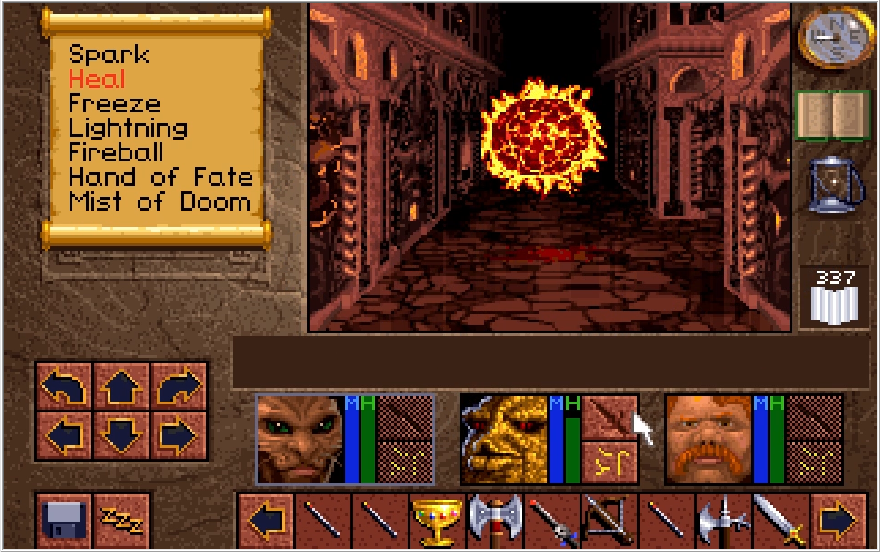
Just in time for a fireball trap to whomp us! This one works weirdly, the tile in front of us functions as a trigger for it. As long as you're standing on it, the trap just keeps firing.
The astute among you probably noticed the tongue lever off to the left.
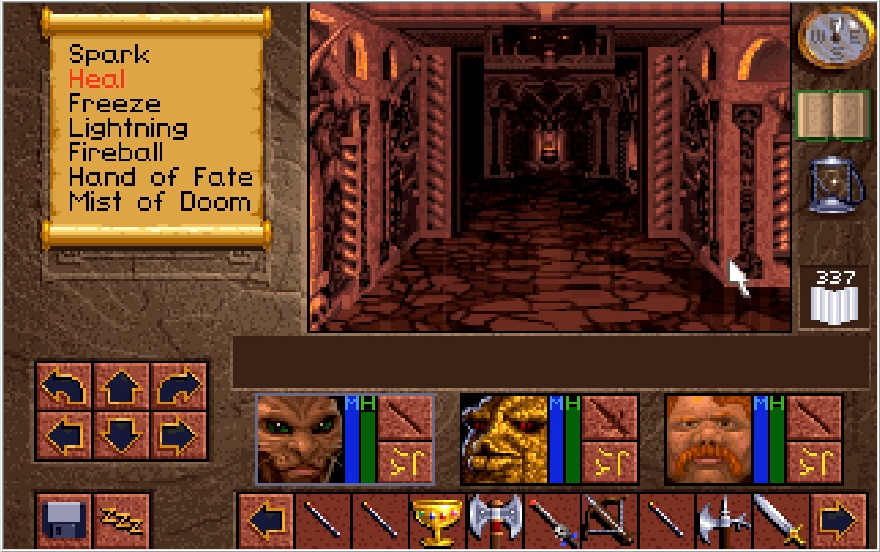
This pops open the first door of many on this floor.
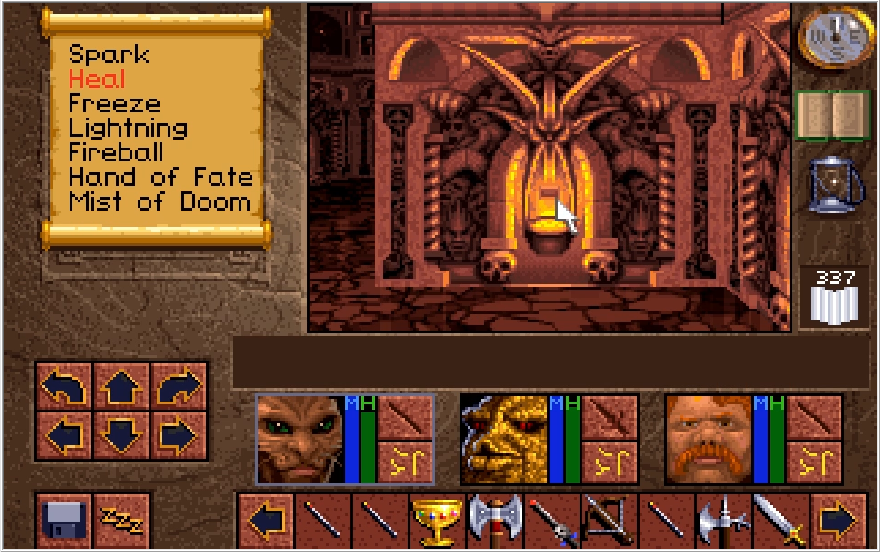
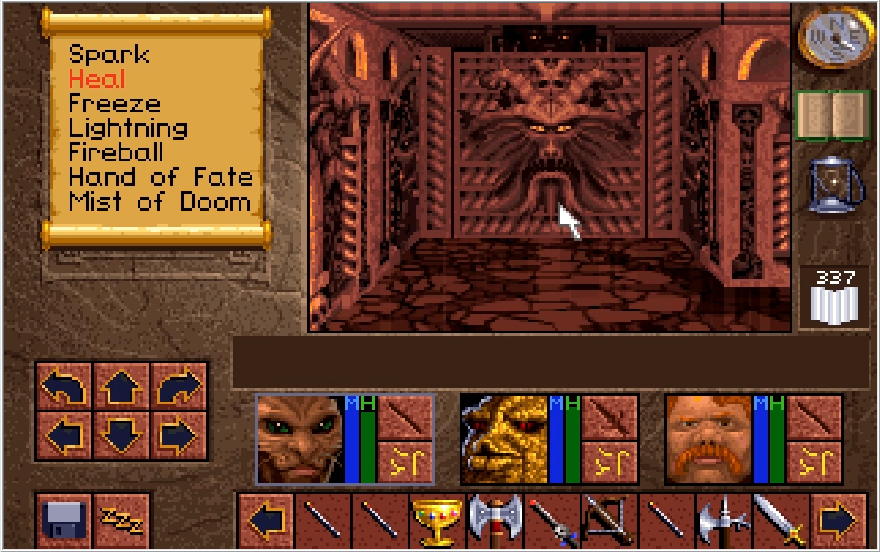
Just past it is a switch hidden in a flame basin that shuts the door behind us. Believe it or not, it's actually a pretty good idea to shut this door once you step beyond it. We'll discuss why later.
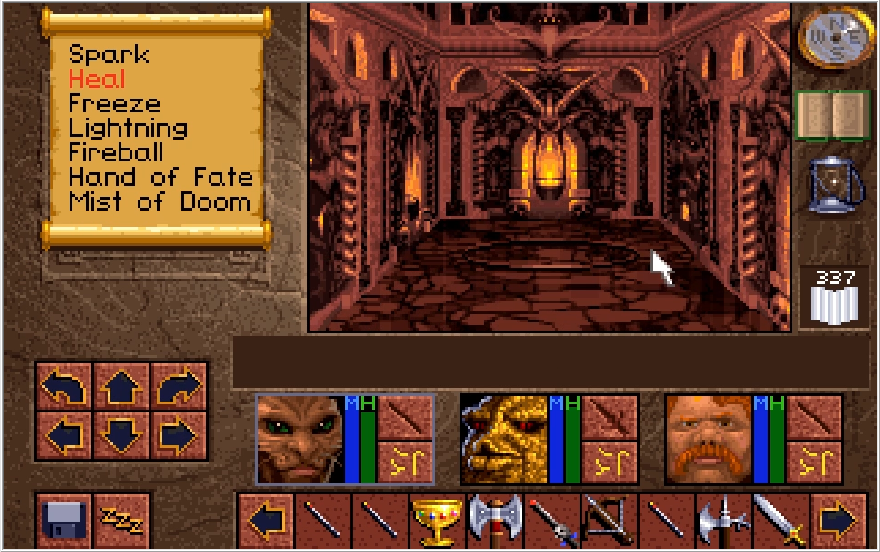
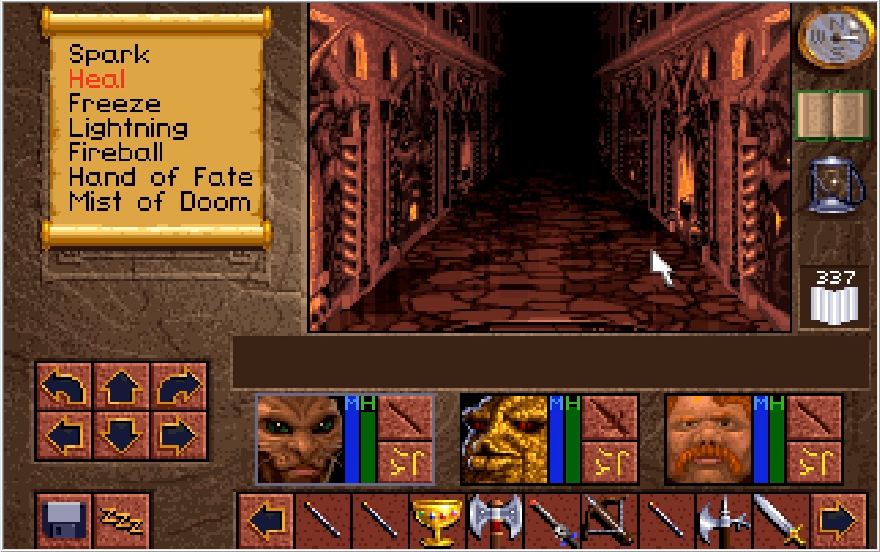
Taking the right just past the switch and continuing east, we reach a pressure plate that opens the wall in front of us to reveal a new path. Thankfully, we don't need to weigh down the plate to step through. I'm pretty light on junk items to use as ballast at this point.
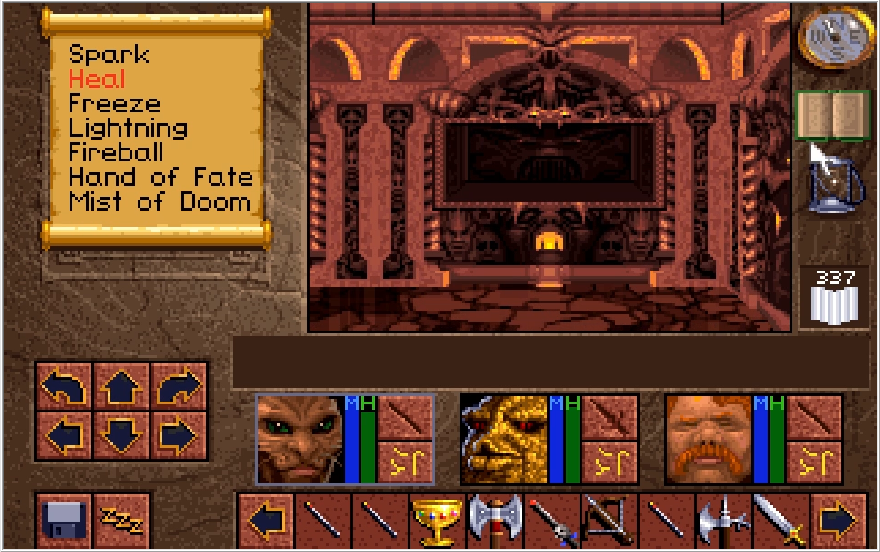
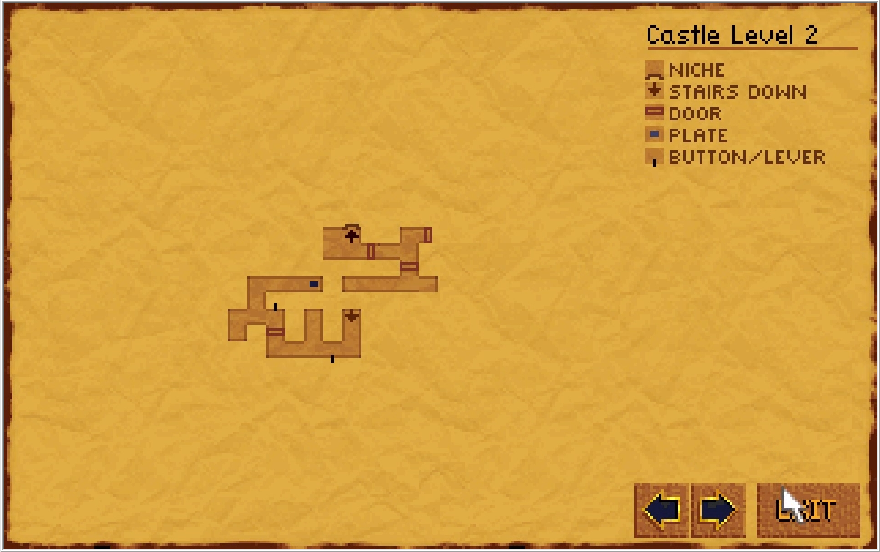
The path closes behind us, but we have no reason to return to the first floor so no skin off my nose. This first alcove we come across has nada in it. If you place an item in it, the item will disappear and be whisked to a different section of the floor. Not worth the time, obviously.
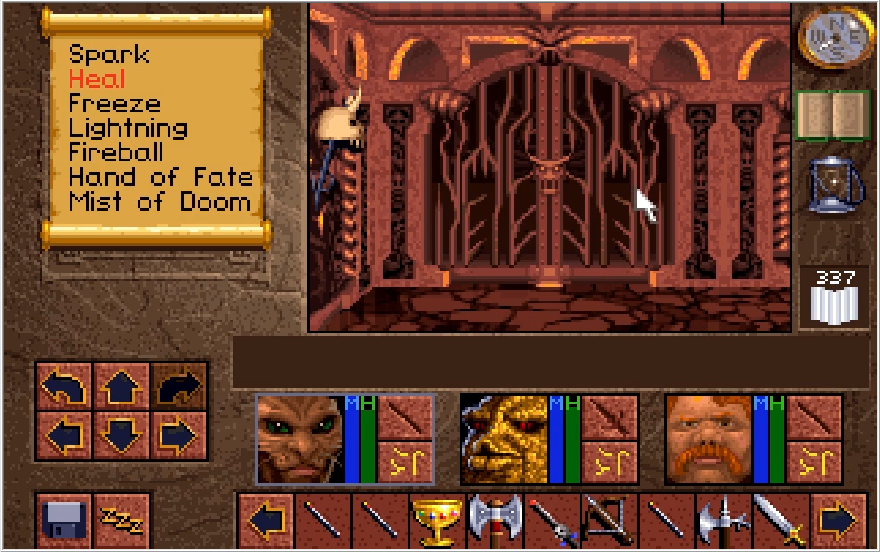
There's a lot of details on the walls that feel like they're supposed to have function, but alas they are purely form.
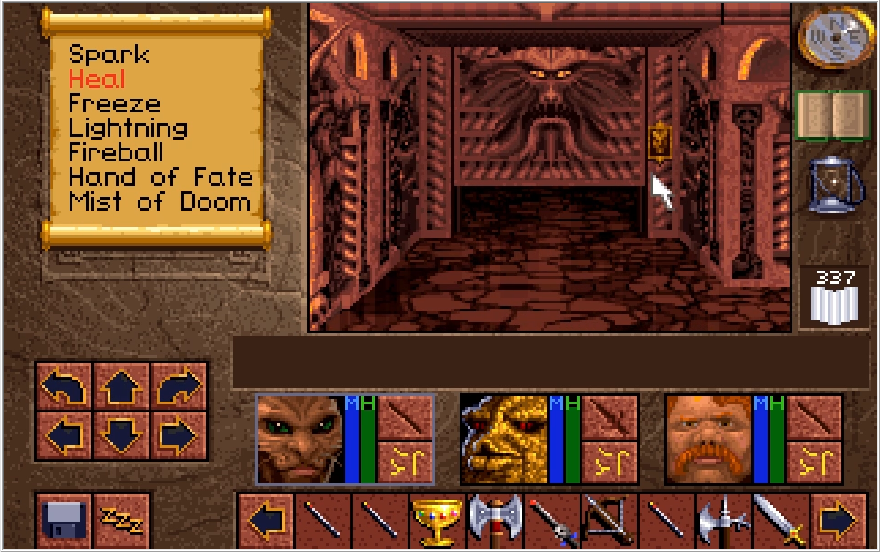
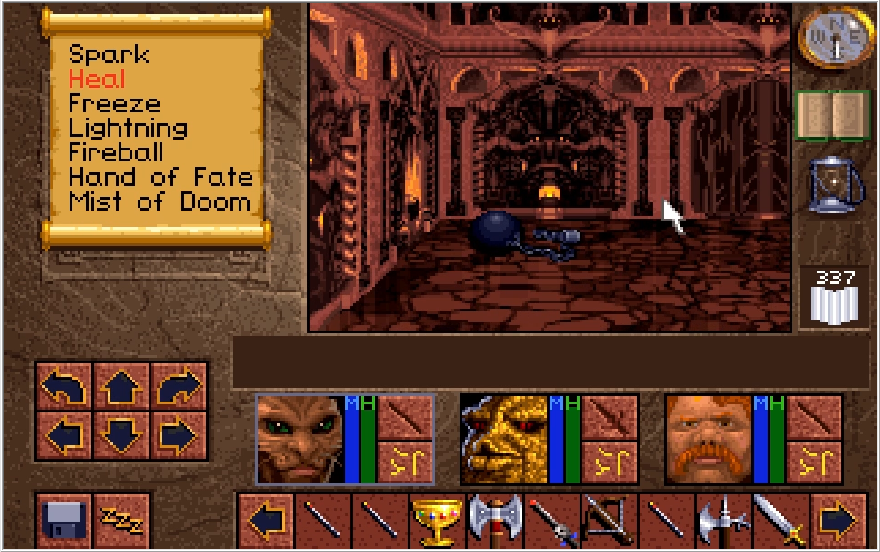
Apparently Scotia keeps her prisoners in ball and chain, like she runs a Loony Tunes prison or something.
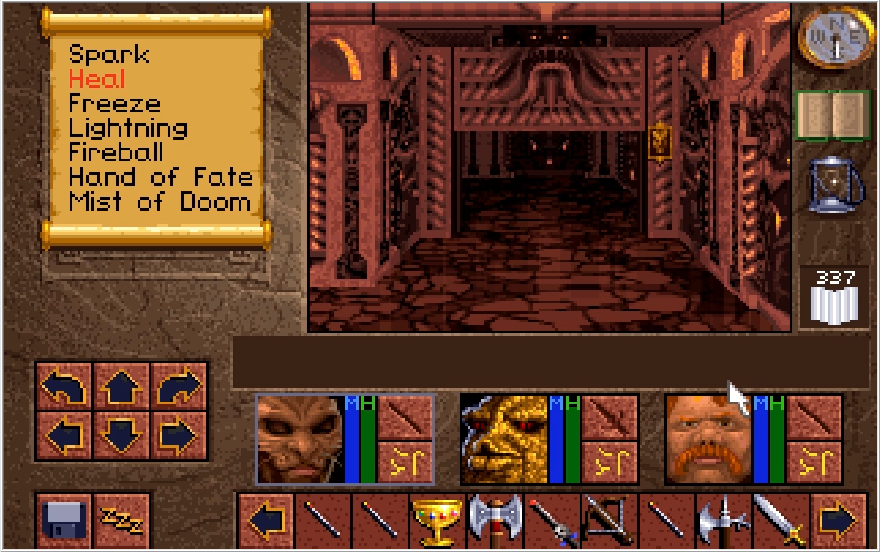
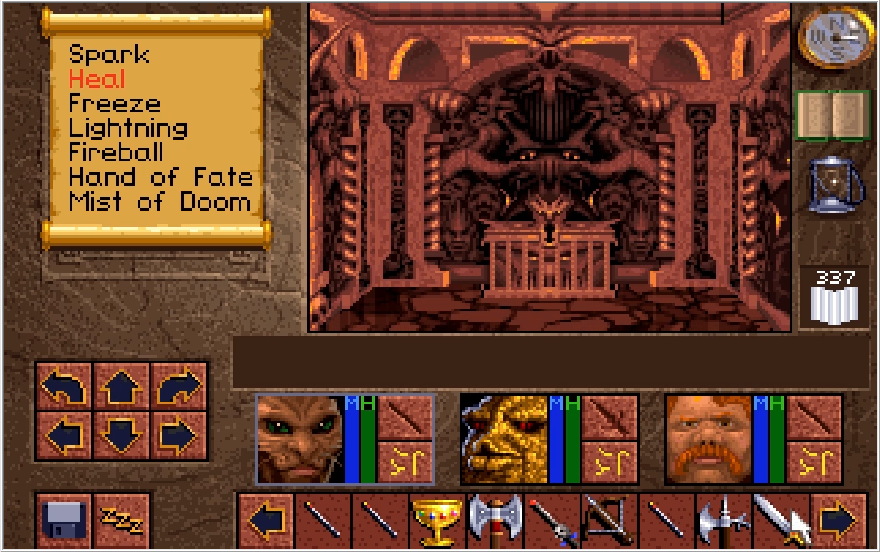
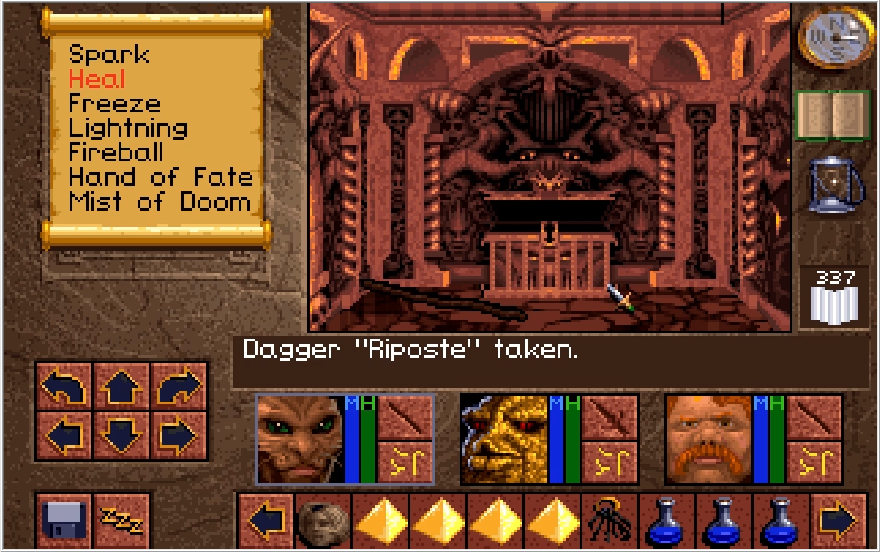
The first chest we come across on this floor does not impress, with a Staff Gustav and a Dagger Riposte. Naturally, both much weaker than the weaponry we already have. The Dagger Riposte gives a sizable boost to your Protection stat, but not enough for me to want to dedicate my weapon slot to it.
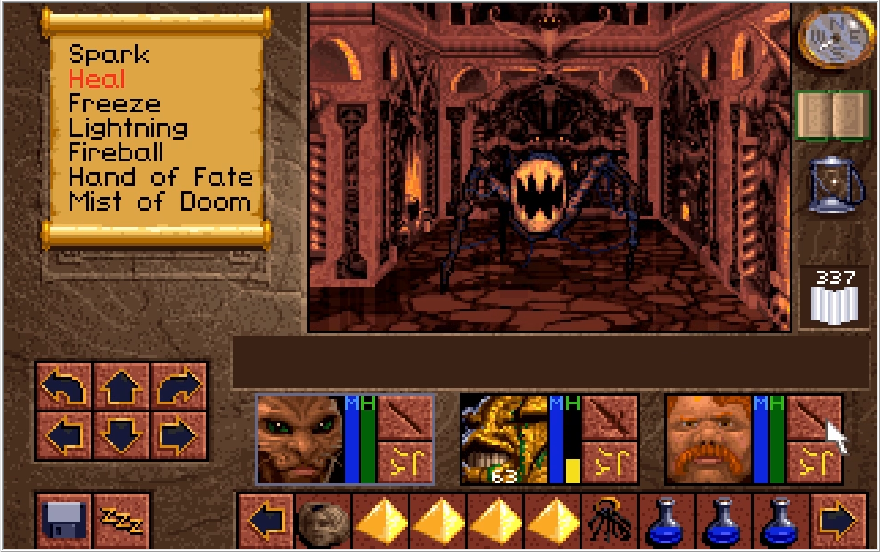
Oh hey it's our second enemy! And boy do they hit hard when your armor is off!
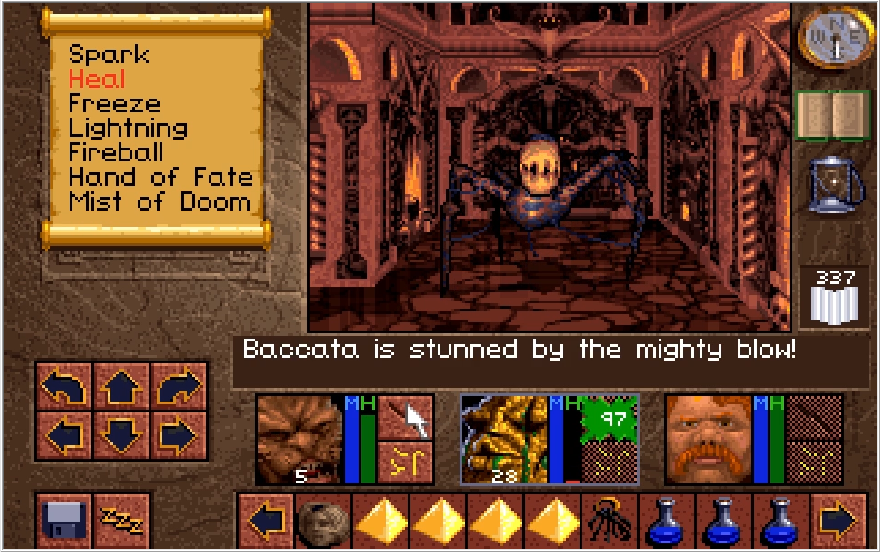
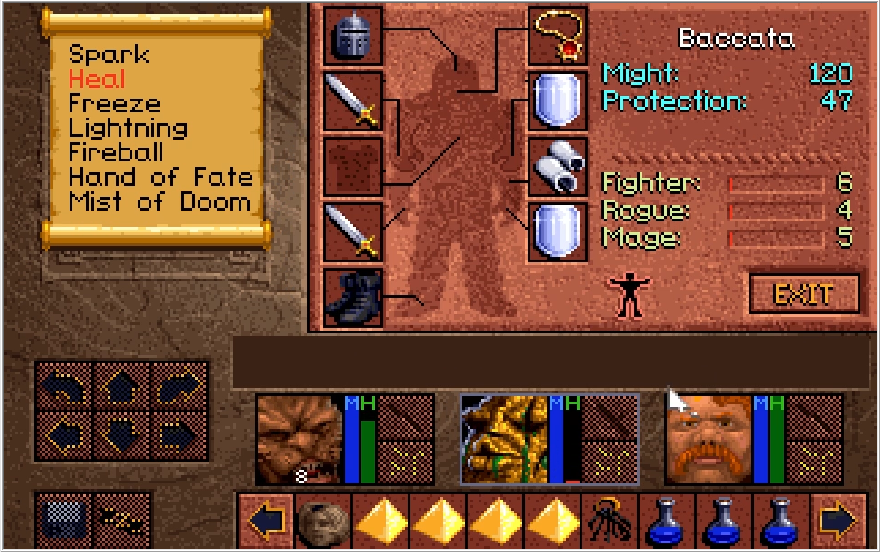
That's not all though, they have a random chance of stunning you when they connect with their strikes! Stun is a bit of an inaccurate name for this status, since really the afflicted character is just completely knocked the fuck out. The key difference between this and the seldom seen Sleep status though is that being hit while stunned does not cause the afflicted character to awaken. Stun will purge either after enough time passes (Like 12 or so seconds) or if the affected character dies. This is the only enemy in the game that can stun you. Saving the best for last!
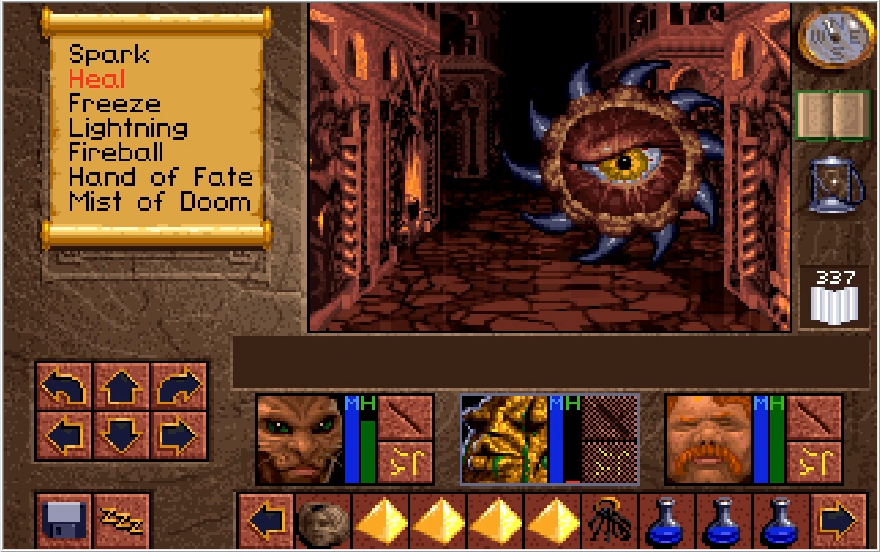
While I was dealing with that nuisance, this guy snuck up from behind. This is exactly the dilemma you face when it comes to whether or not you should keep your armor on for this floor. It helps a lot against the stun bugs, but there's always a chance one of the wheels will roll on in a melt an armor piece before you could even realize they were there. That said, save scumming is much less of an ordeal here than it was in The Dungeons, so keep that in mind.
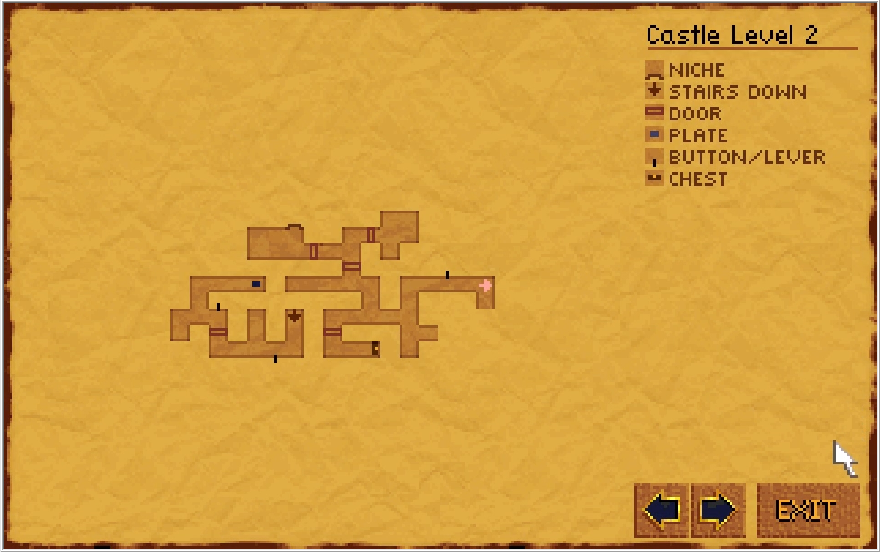
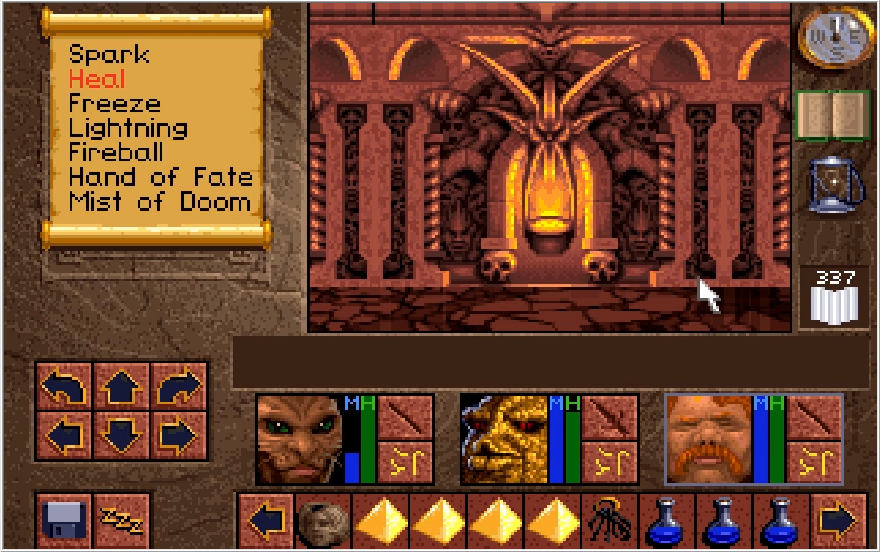
Here's a weird little moment. I notice I passed a switch on the map, so I doubled back to hit it. I did not get the wrong screenshot for the wall we're looking at, when you hit the switch it just does nothing and outright disappears. Now as far as I can tell, this isn't a trick but rather cut content. You can actually no-clip through this wall (unlike the Ornate Lock where you can train the required key into your inventory, no-clip is mandatory here) and find a hall with a chest at the end. This chest contains a handful of items, most notably another jewelry piece in the Clouded Ring. Not sure what this ring actually does but it has a blue gem embedded in it so I'm going to guess it's magic related.
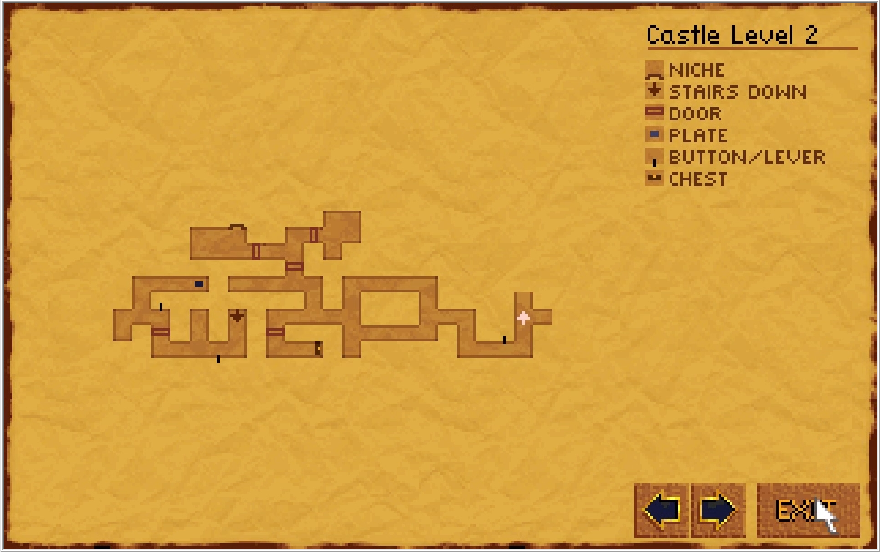
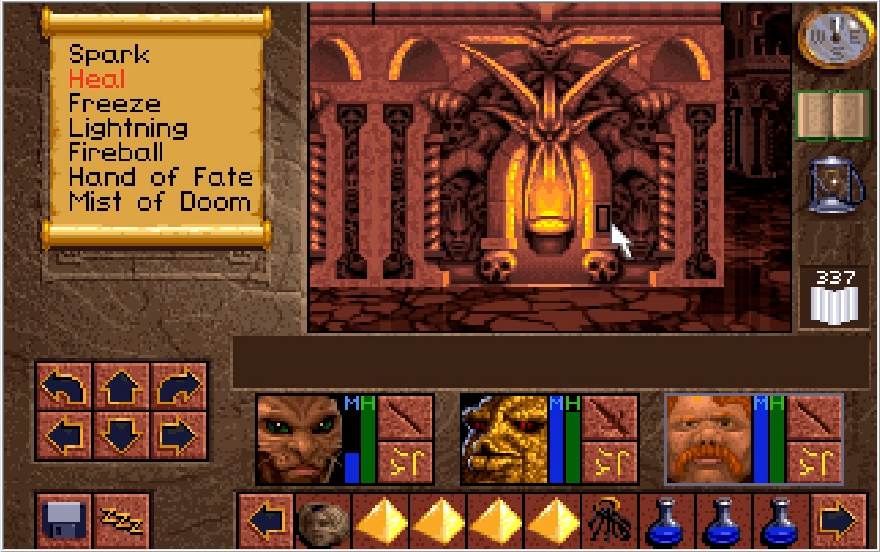
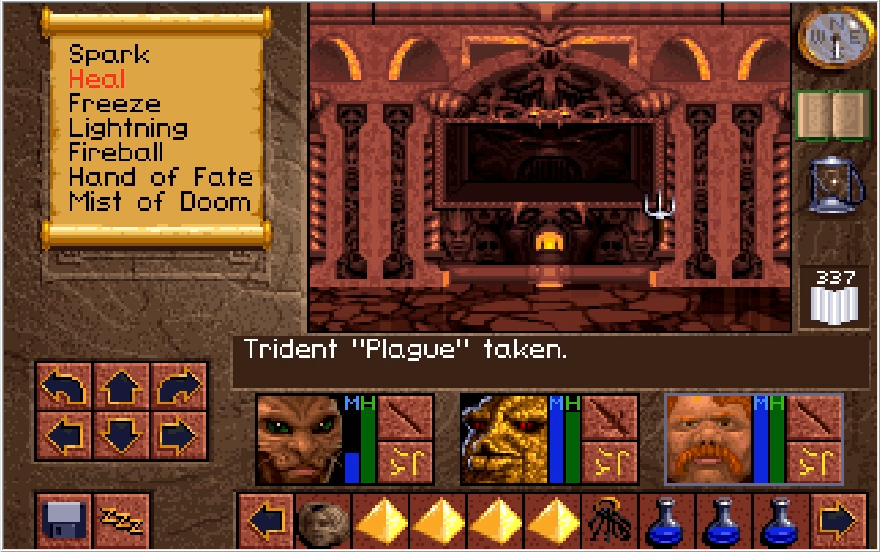
For a switch that actually does do something, hitting this one opens up an alcove behind us with a Trident Plague in it. Sounds cool! What does it do?
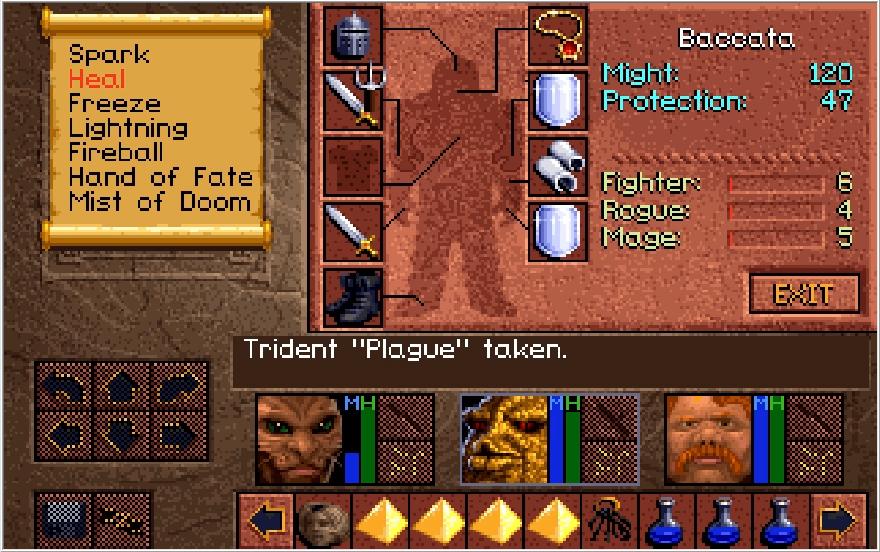
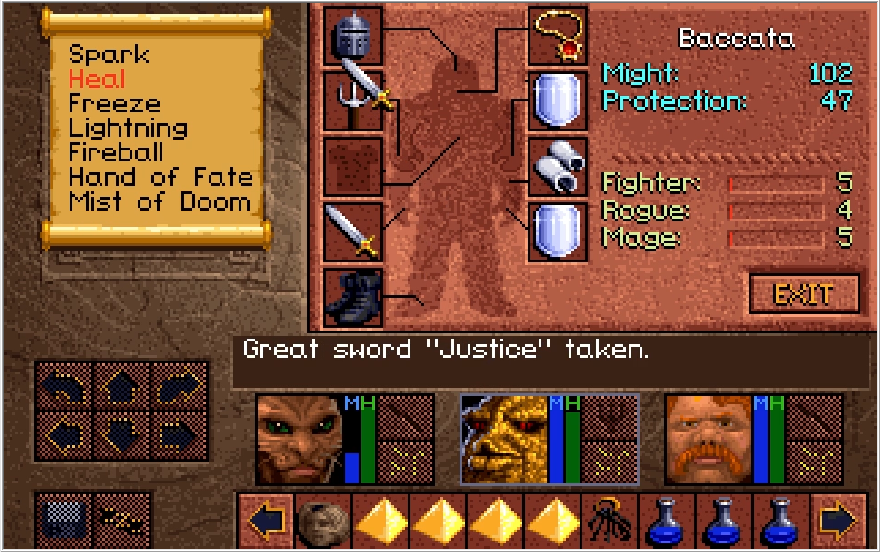
It is substantially weaker than Justice and lowers your Fighter level by 1. Thanks game. I get the feeling this weapon is probably intended to be cursed also and was meant to be a trap you couldn't unequip, but since no Curse mechanic actually exists in this game you can just re-equip your better weapons with no issue.
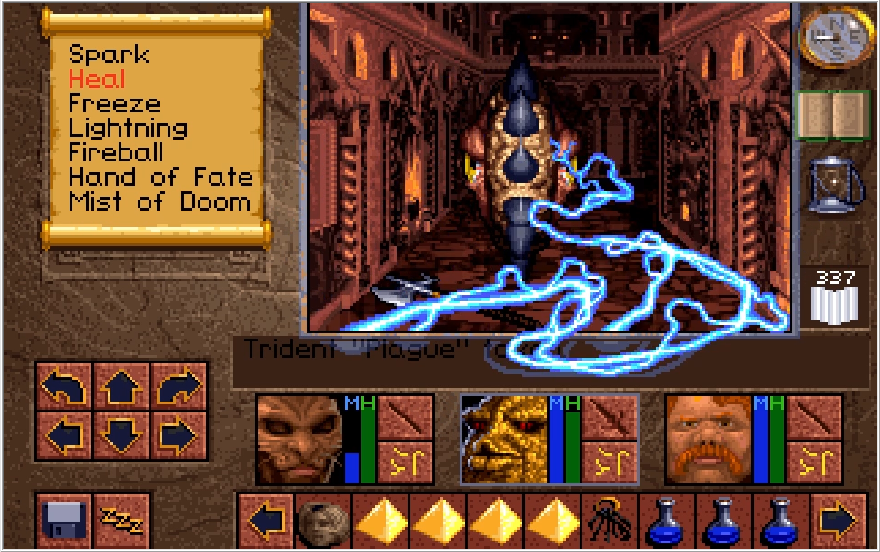
I take my frustrations out on this guy.
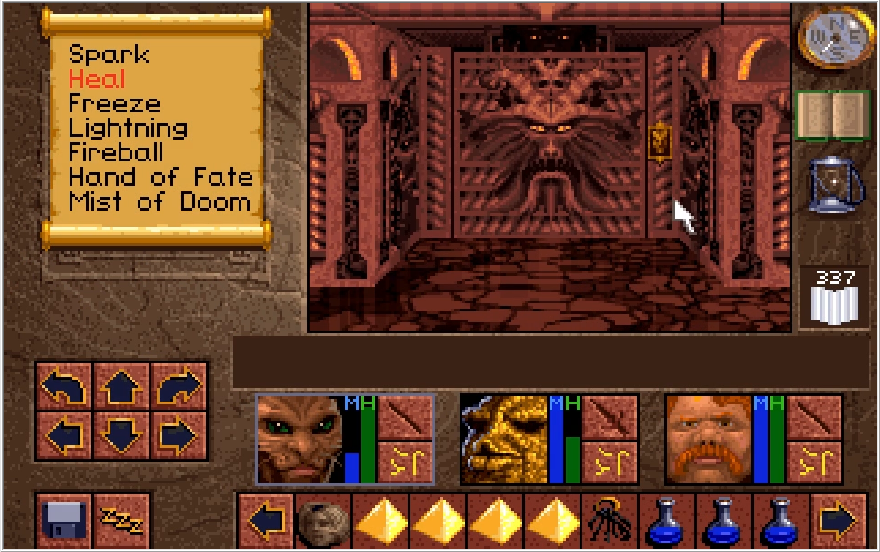

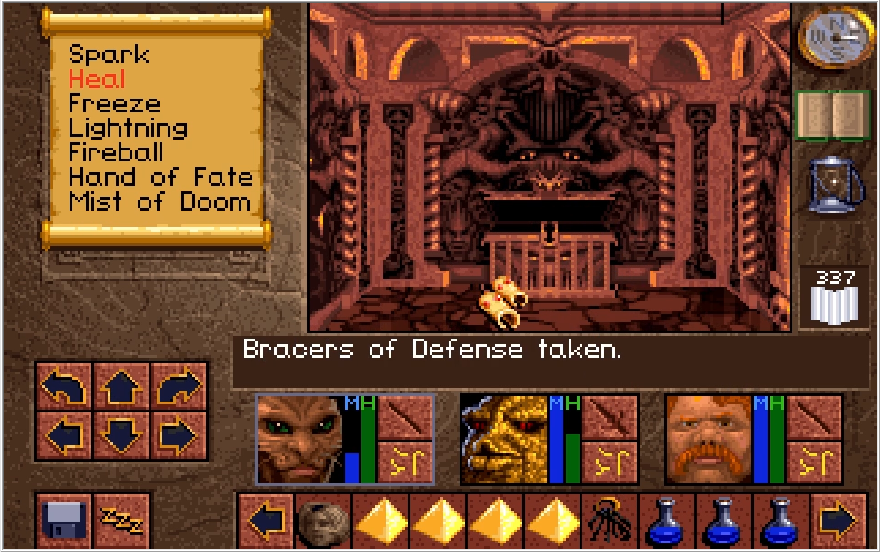
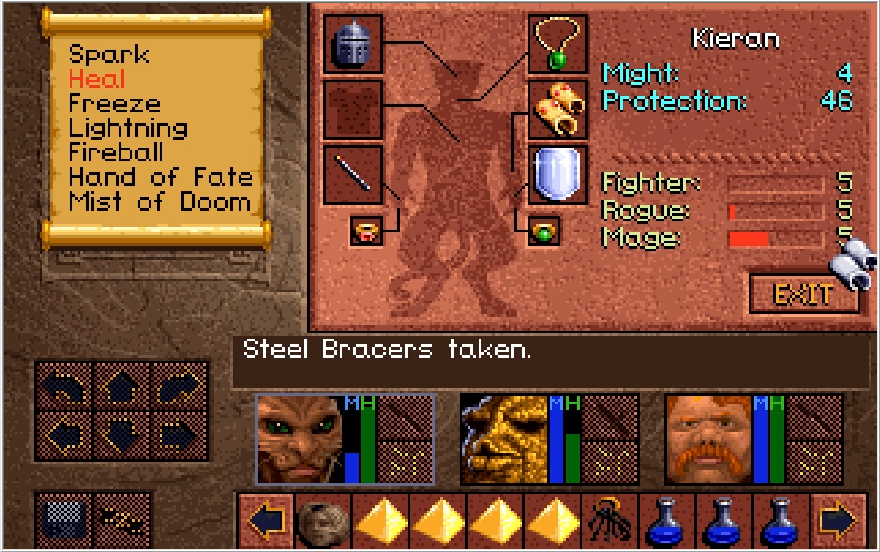
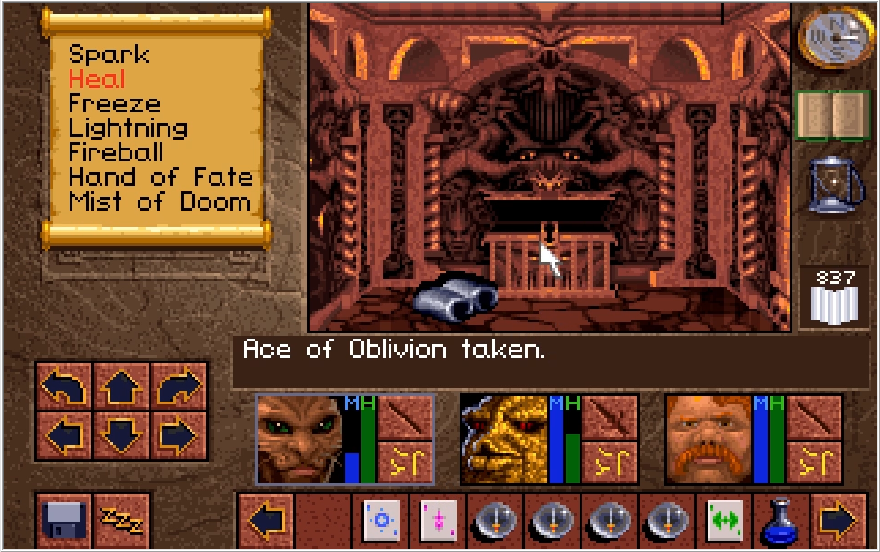
The next chest we come across actually has a pretty sweet haul. We get the ultimate Bracers in the Bracers of Defense. A small but appreciated defense increase. We also get a couple Aces and some useless Crowns. Rather stupidly I left my Steel Bracers behind. That would have been an upgrade for Paulson, albeit a small one. I'll admit I was a little checked out at this point in the recording.
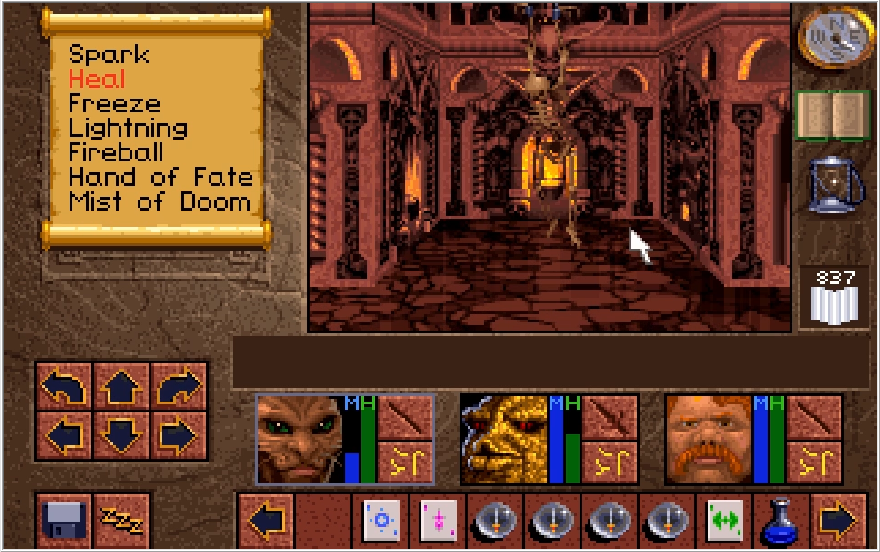
In some of these cells you'll find these bony fellows just hanging around. There's quite a few rooms on this floor that are just prison cells. I guess Scotia moonlights as a warden.
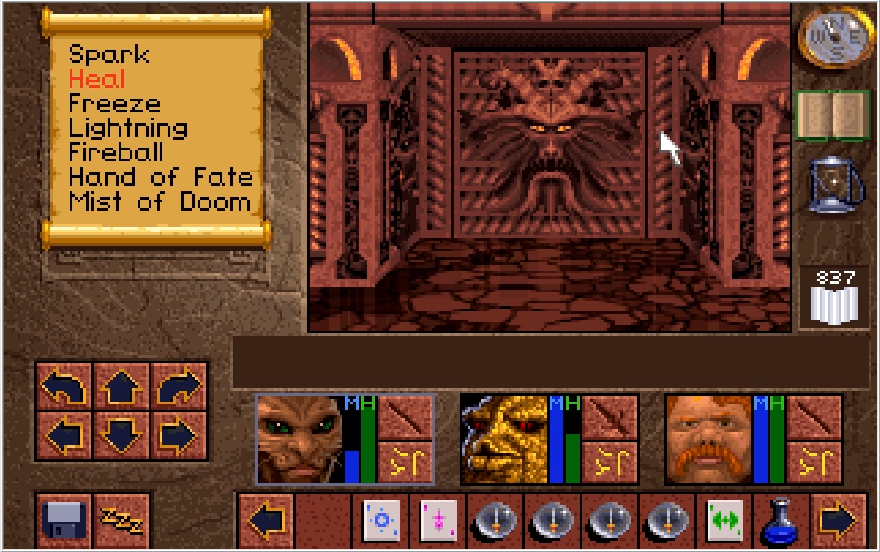
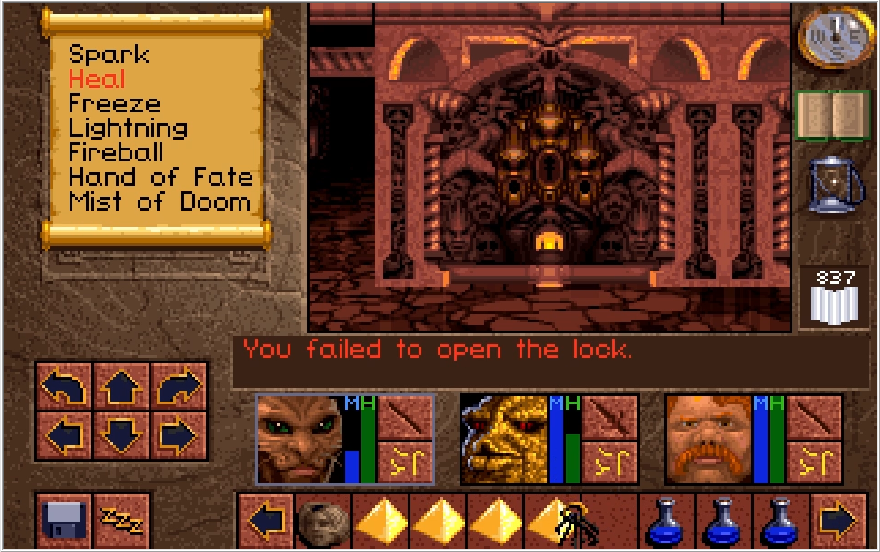
They wanted to shake things up a little and have a few doors with locks instead. This one has nothing in it, though I believe if you forked Dawn's shroud key over to Scotia when she masqueraded as Dawn, this is where you would find it. We didn't do that though, so it's one less thing to worry about.
One nice thing about the various cells dotted along this floor is that you can shut the door and rest in safety. Neither of the enemy types on this floor are capable of opening doors.
Now the next locked room we come across actually has something regardless of anything. Bopping the switch in the room opens up an alcove with a Unicorn figurine. That's the third figure so far, if you haven't been keeping track. Wanna hazard a guess at how many of these figures there are?
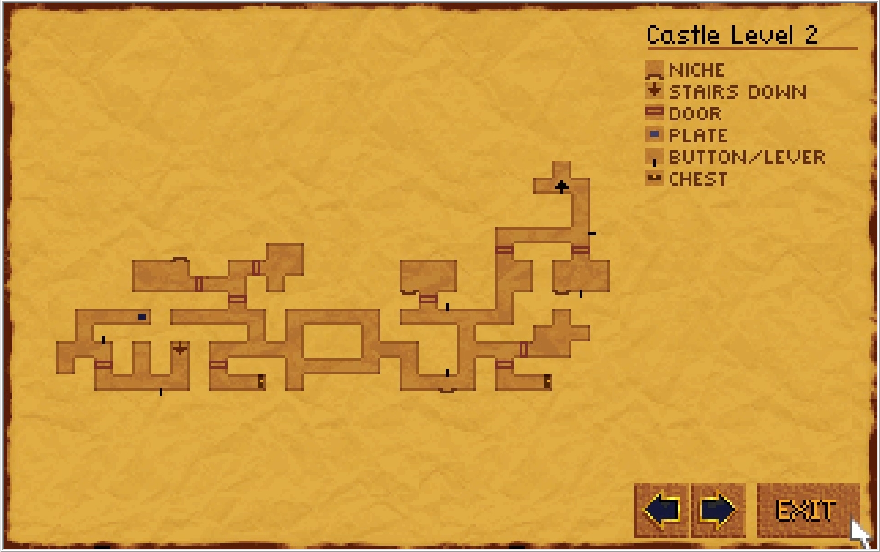
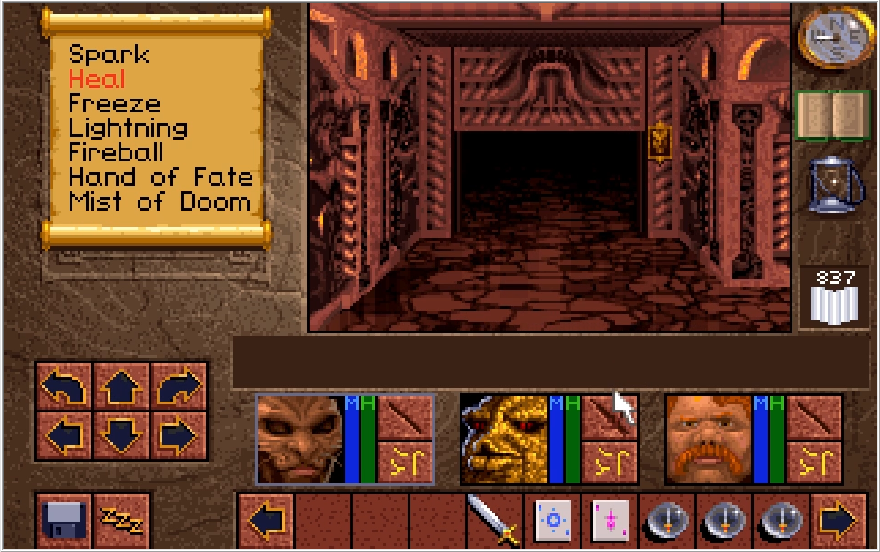
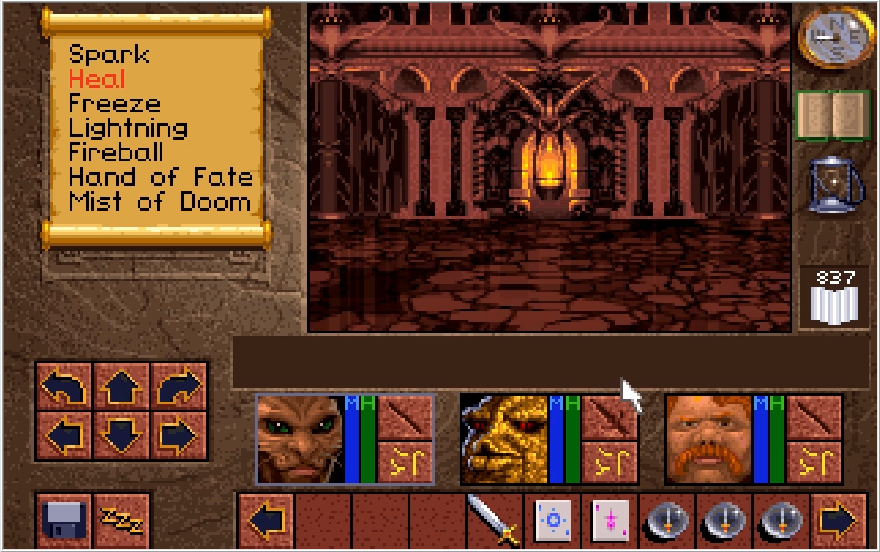
The next room we come across is just one big dead end. Immaculate décor though.
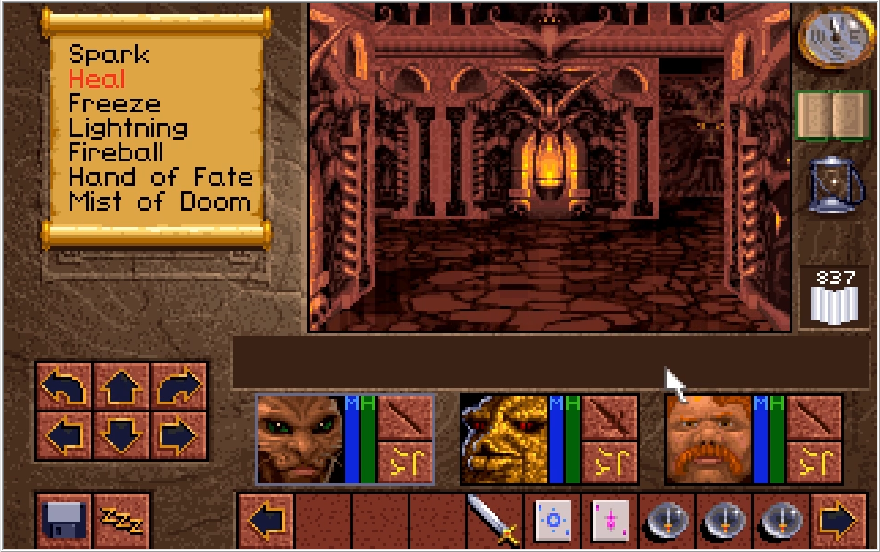
Moving along from that, in the north we come across a hallway lined with several doors that all connect to the same place. I usually just take the rightmost one since we need to head that way anyways.
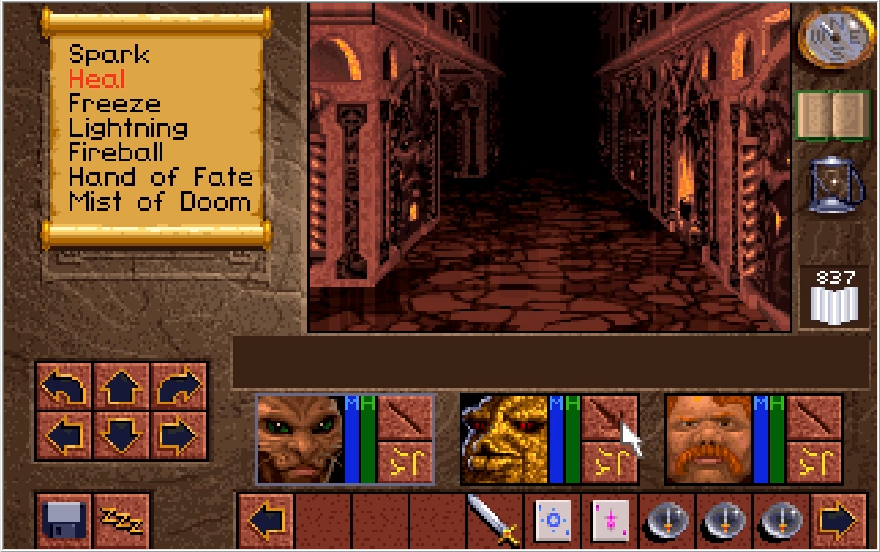
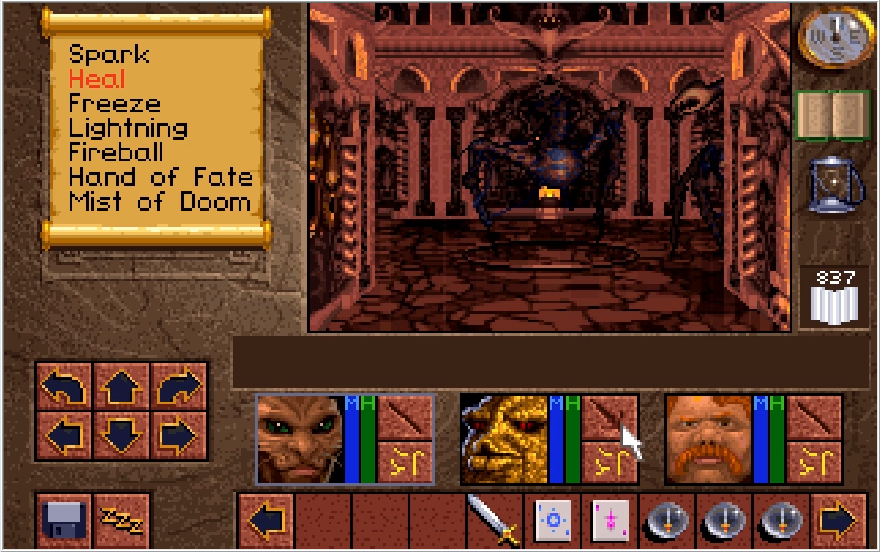
We haven't had to deal with too much combat thus far, and that's about to change. There are a TON of bugs in the upcoming area, and they can really rough you up.
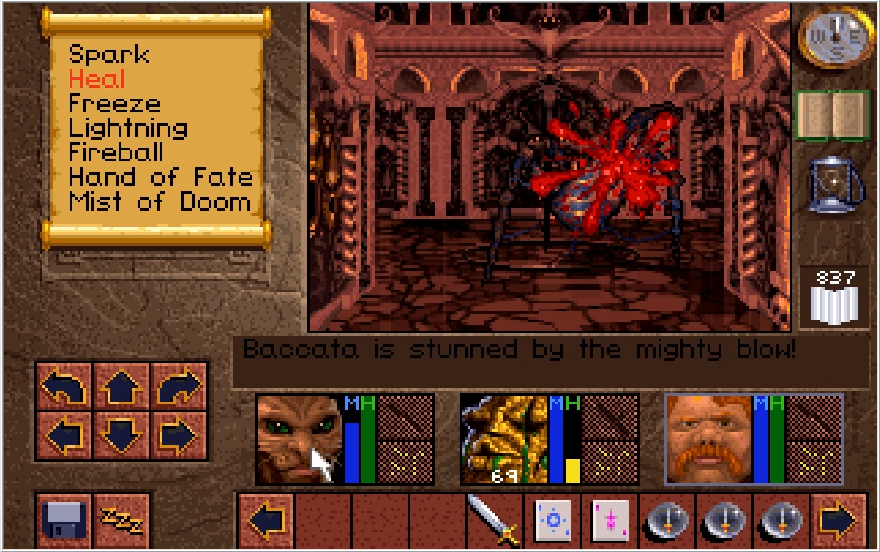
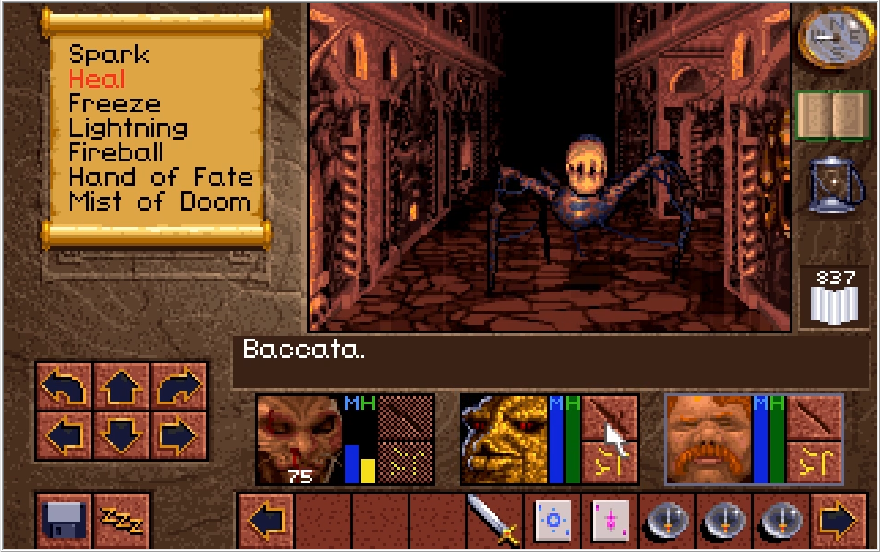
Case in point.
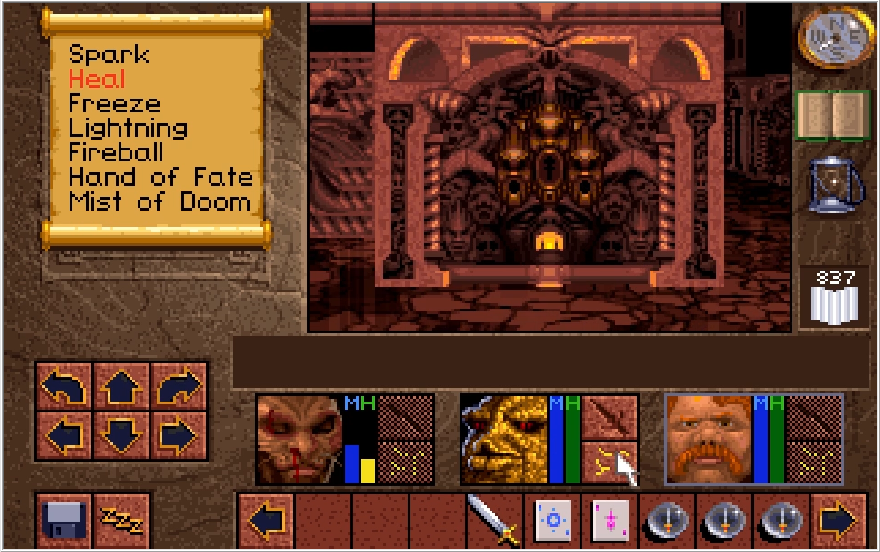
This lock right here is weird. You can try to pick it, and the game won't inform you it's an unpickable lock. I THINK you can pick it, though the odds are incredibly low if so. Fortunately there is a key for it. Unfortunately, there's effectively nothing past the door it opens for us. We'll get there though.
You probably noticed the plate those bugs were standing on, it triggers a spike ball projectile when you step onto it. You could weigh it down to avoid this, but the damage from these types of traps is comedically low so I never bother.
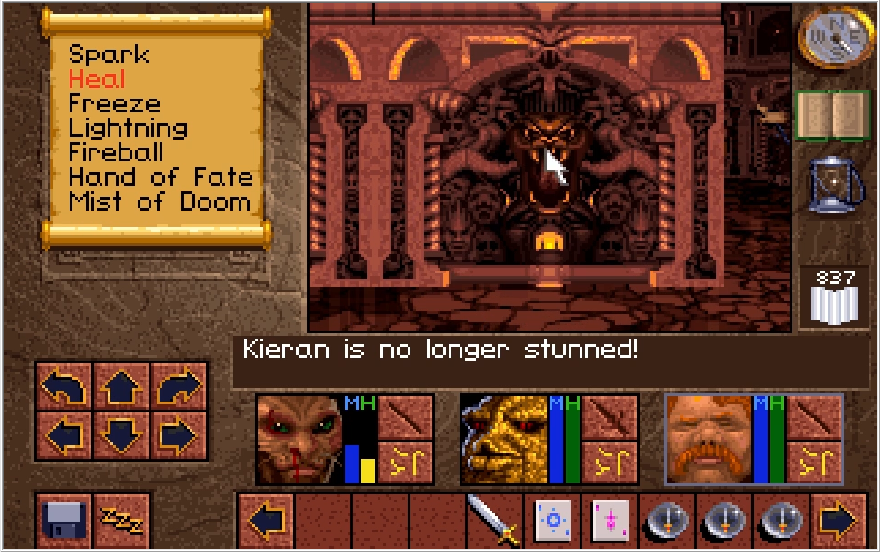
Hitting the tongue lever at the end of the hall opens a path forward. Do you think those levers feel like actual tongues? That pressure plate is tied to ANOTHER projectile trap at the end of the newly opened hall.
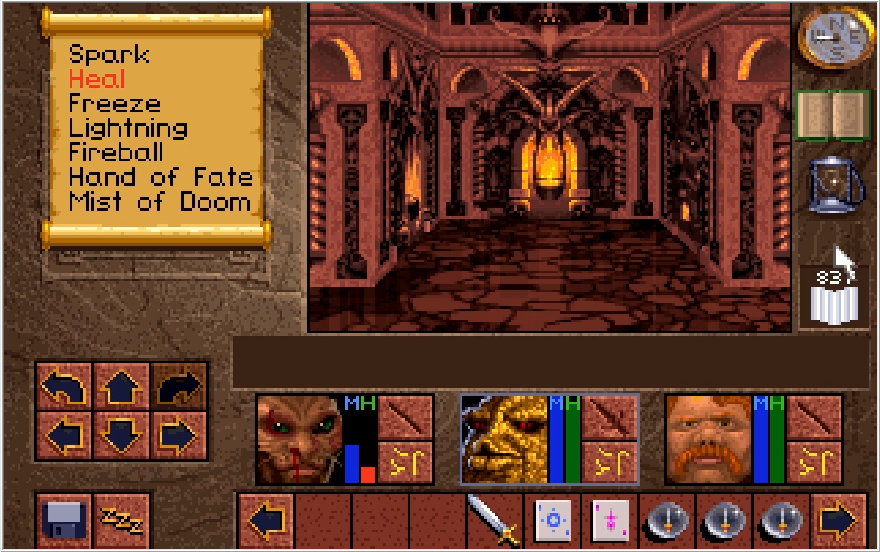
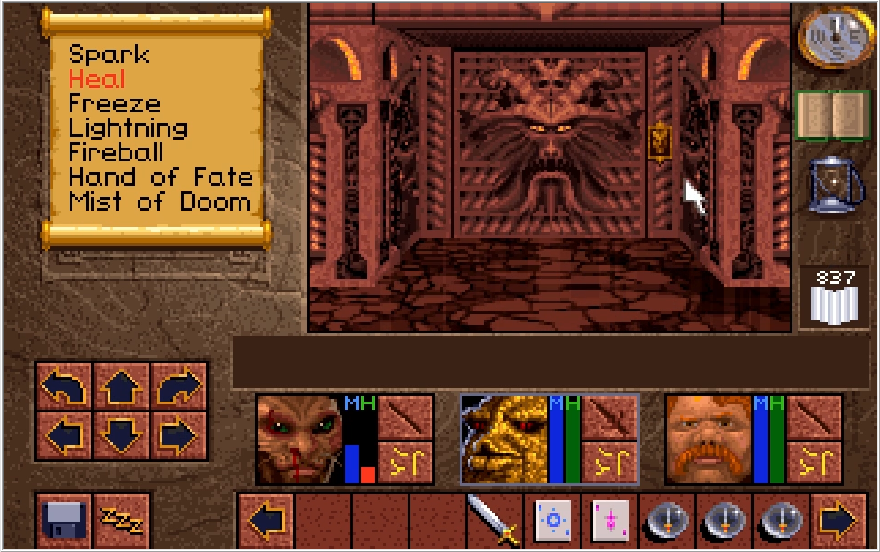
Speaking of the end of the hall, we come across a couple doors that function oddly. Hitting the switch next to either of these doors opens up the door on the opposite side. Not exactly much of a puzzle, I think they were running out of steam after the Woah! Field.
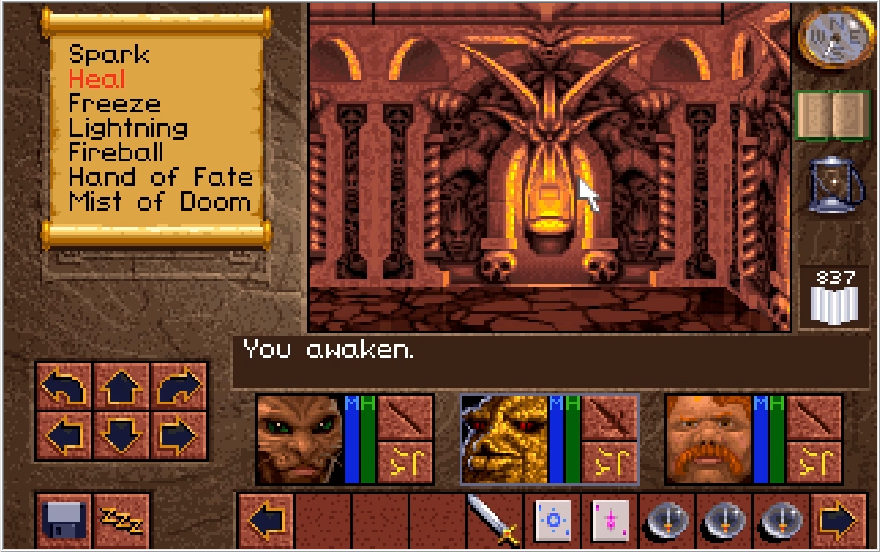
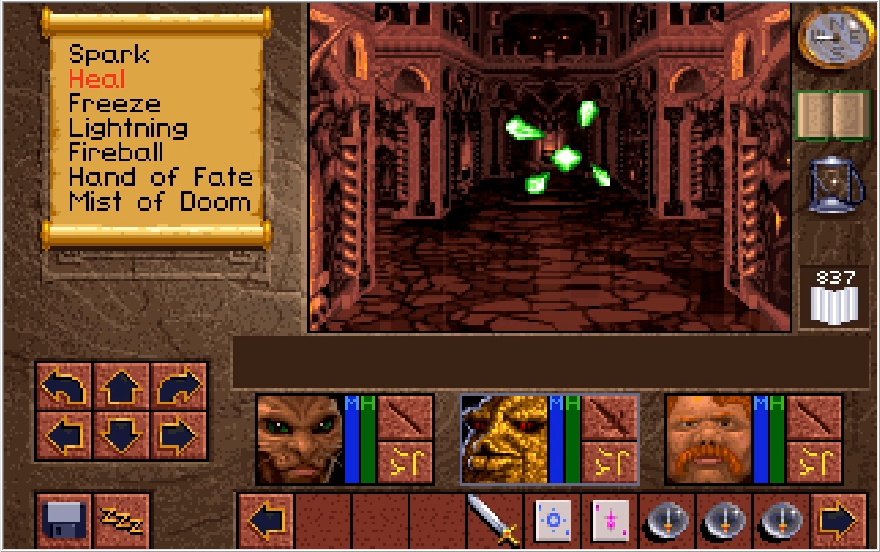
Taking the north door leads us to a secret switch that opens up a path to the west. You have no choice but to eat a face full of gem shards as you step into it.
Hitting a switch in the northern part of this cross section opens up an alcove in the south with the Adder Key. This goes to that lock from earlier, and I'm only really collecting it for completion's sake. Let's double back and head through that south door now.
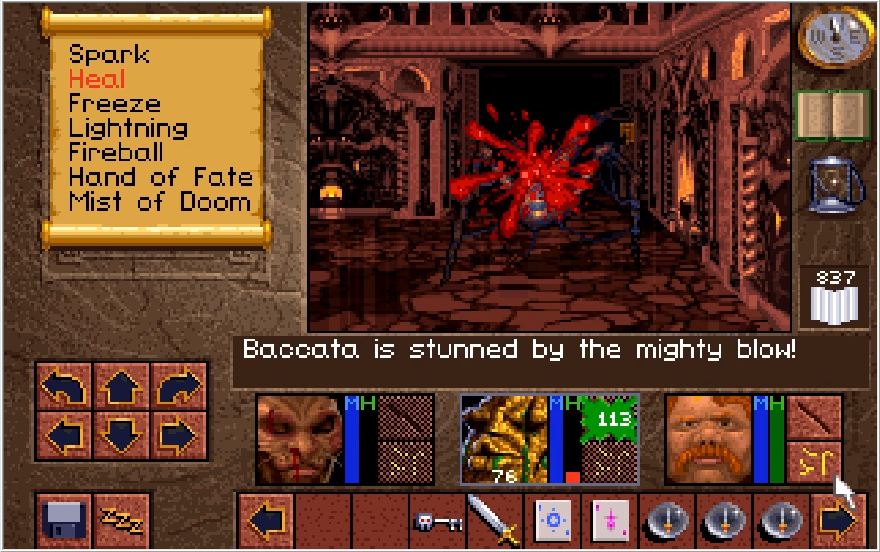
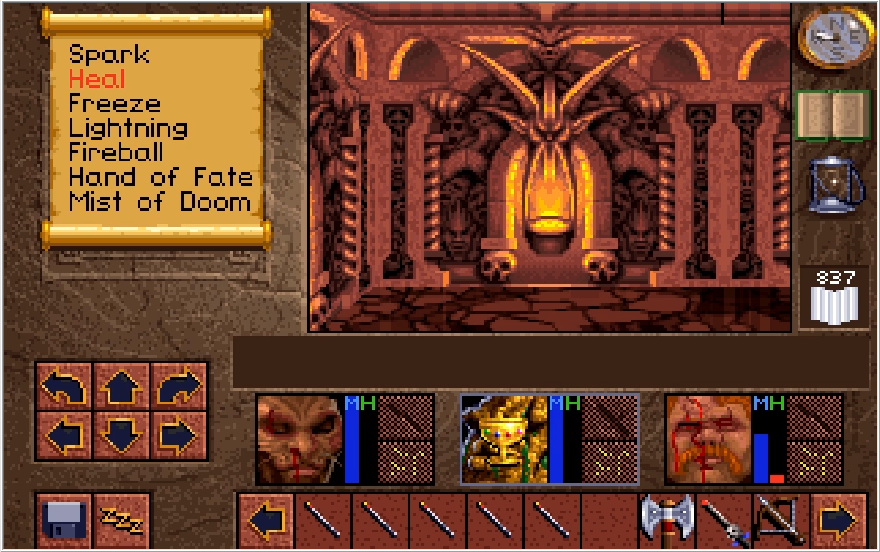
I get really careless and get completely thrashed by a stun bug. These guys are no joke! Luckily I have some emergency Bezel cups to use.
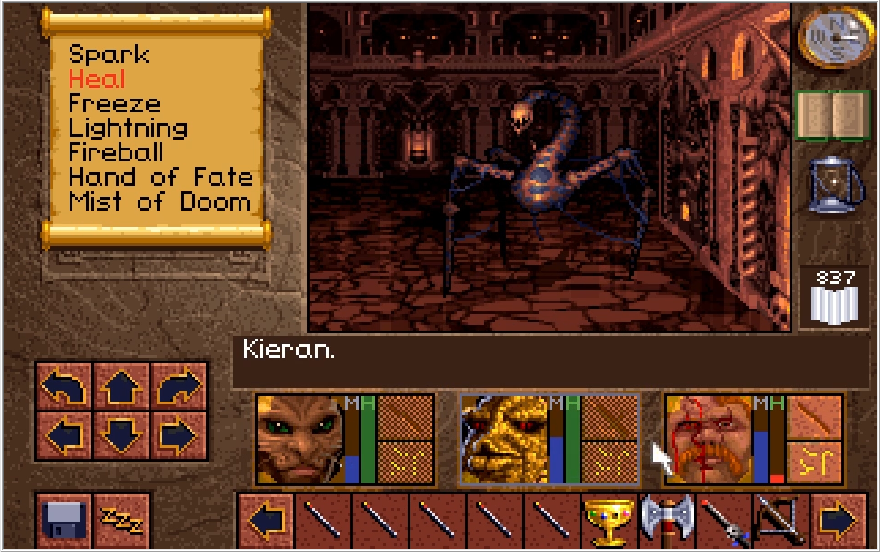
FUCK. There's a very strange glitch that can happen to your party at this specific stage of the game. For some reason, once you hit Level 2 of Castle Cimmeria one of your party members can randomly have it happen that when you revive them with Heal 4, it only heals a small portion of their HP. This is seemingly a permanent issue they will have for the rest of the playthrough, although thankfully there's very little of the game left so it's not a huge deal. I have no idea what causes this, and it seemingly affects random party members. The last time I got this glitch, it was Baccata who had it instead of Paulson.
Whatever, we're in the homestretch and nothing can stop me now!
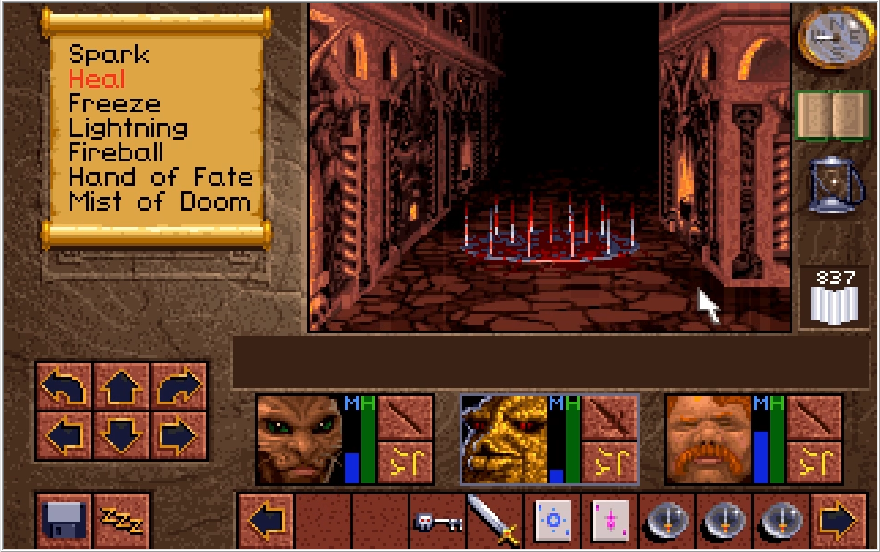
In this section of Level 2, you occasionally spot these spike plates in the floor which bar the way forward. It'd probably be a bigger deal if there was some kind of puzzle revolving around moving these out of your way, but the scant few you see are placed in functional dead ends anyway.
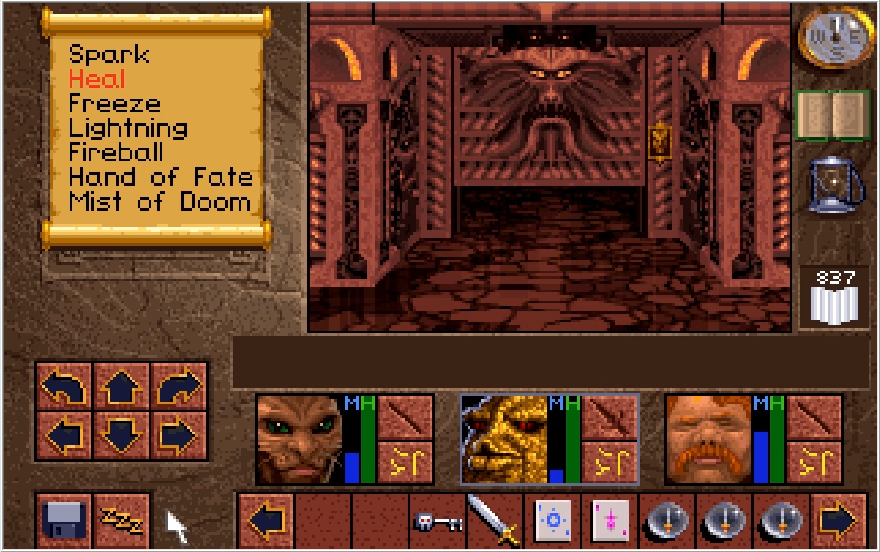
Luckily, they also function as walls, so closing this door and nodding off to the sweet rusty scent of blood gives us a chance to rest in safety.
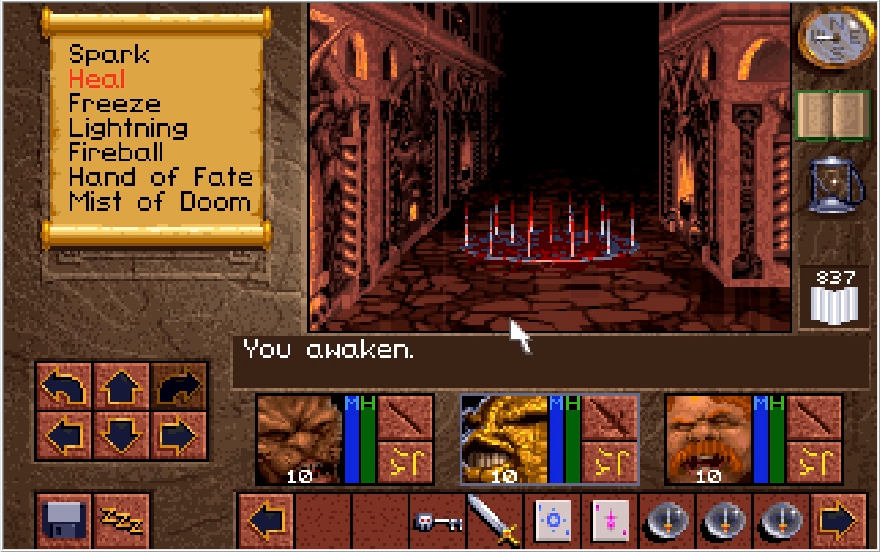
Also you can attempt to walk over them for 10 damage to the entire party.
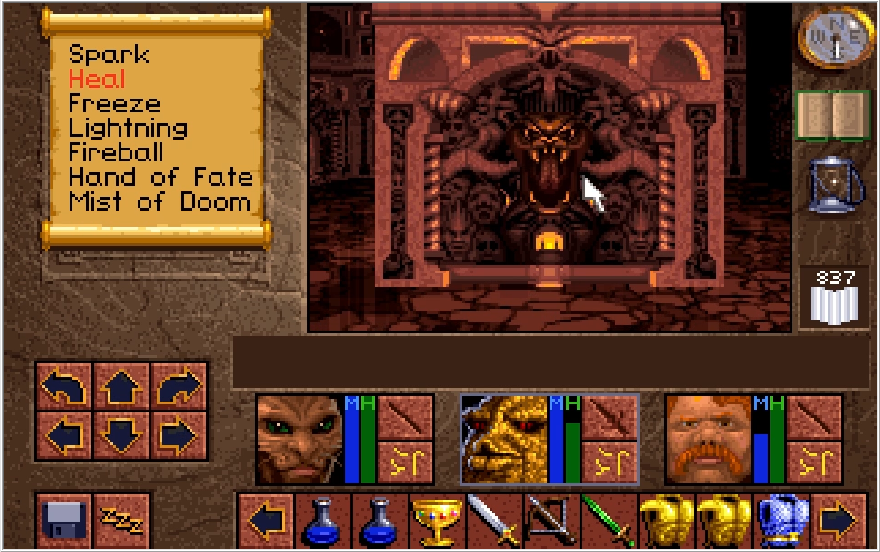
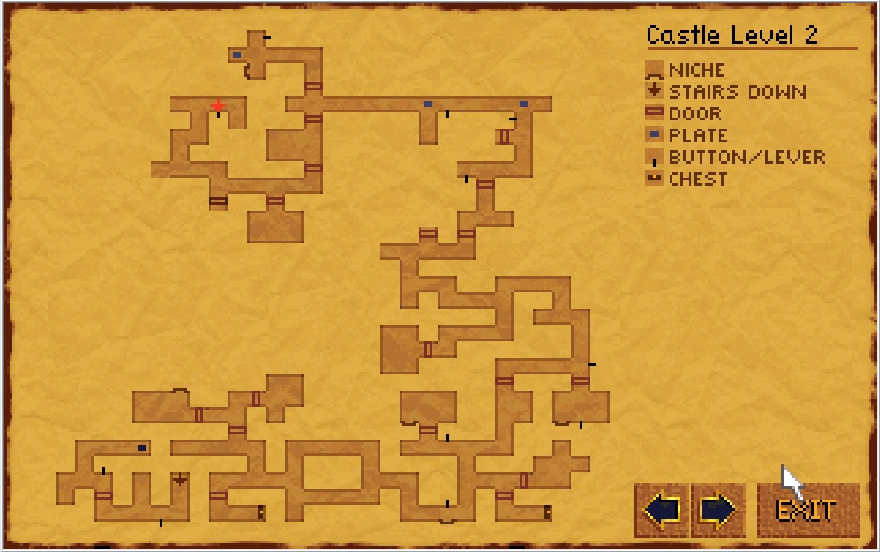
Hey another bit of tongue action! What does this one do?
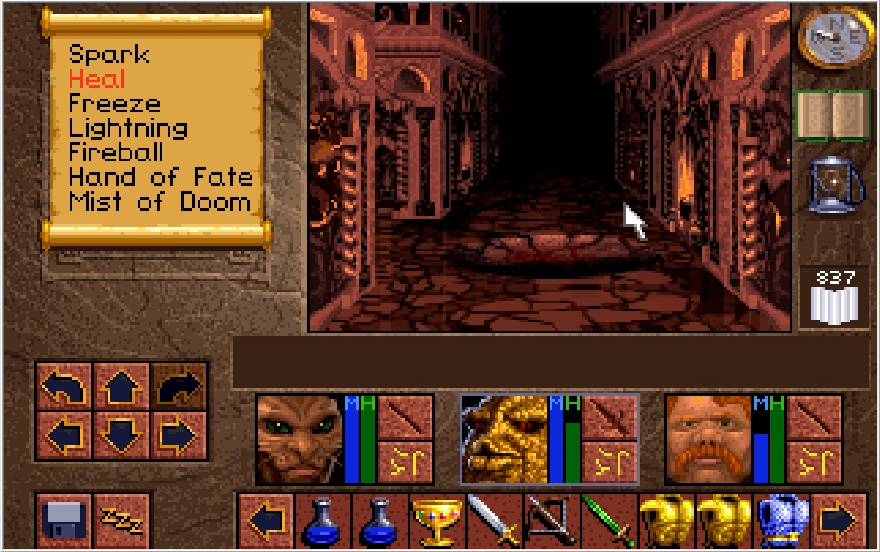
It opens up a pit. Throwing the lever again does not close this pit, and there's no way to get out of this hall now without diving into it. Always save before pulling on any levers or switches in this place.
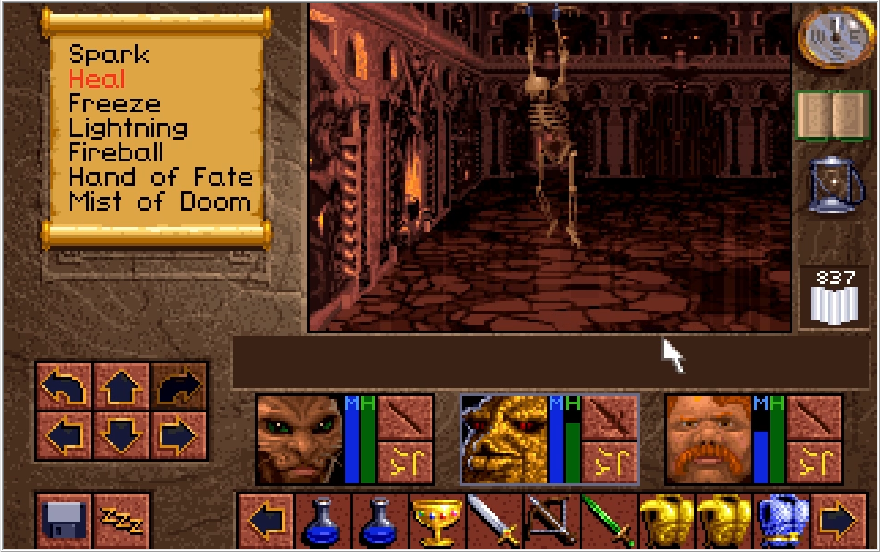
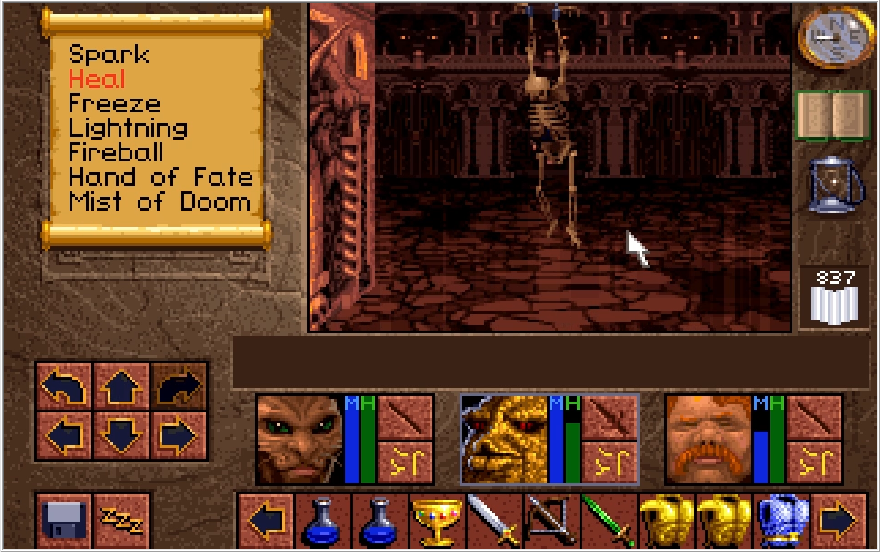
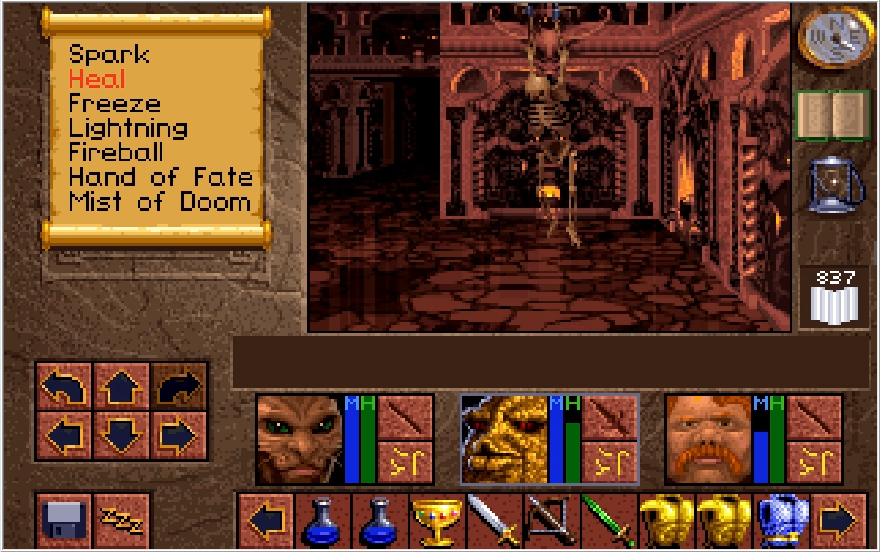
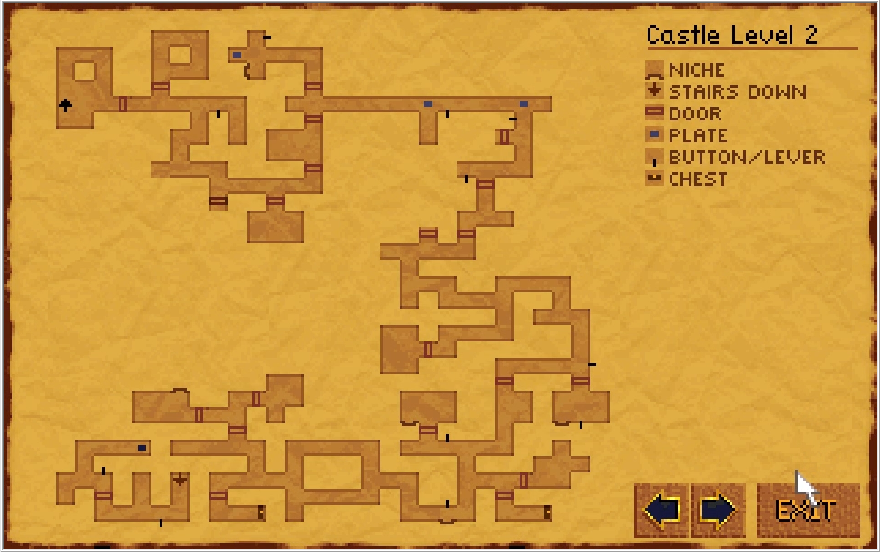
This whole northwestern corner is just one big dead end filled with skeletons who are functionally identical to walls. That rattles my bones.
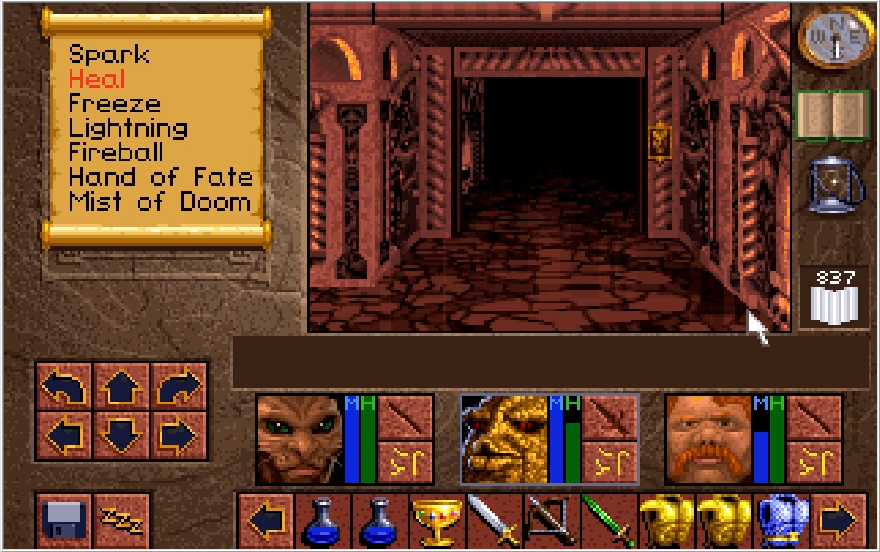
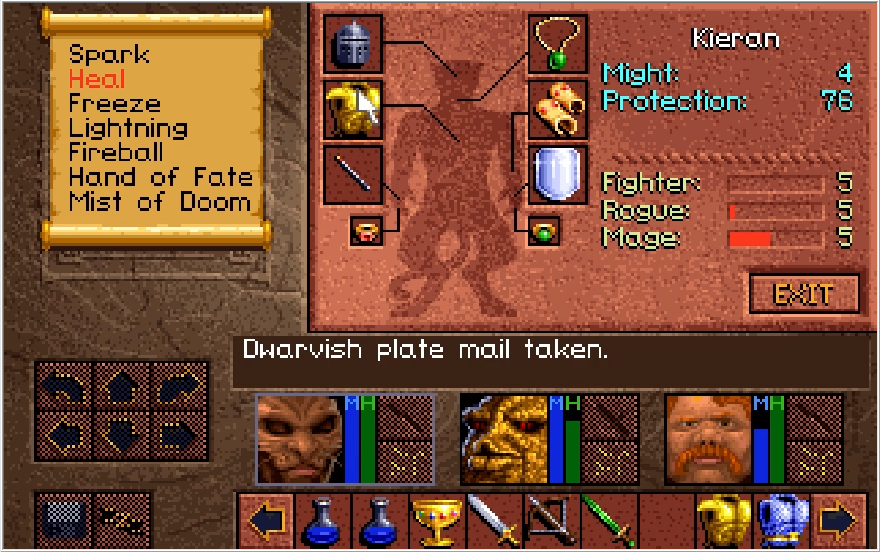
I'm reasonably confident we won't see anymore wheels at this point, so I re-equip my armor now to help against the numerous stun bugs we'll be fighting.
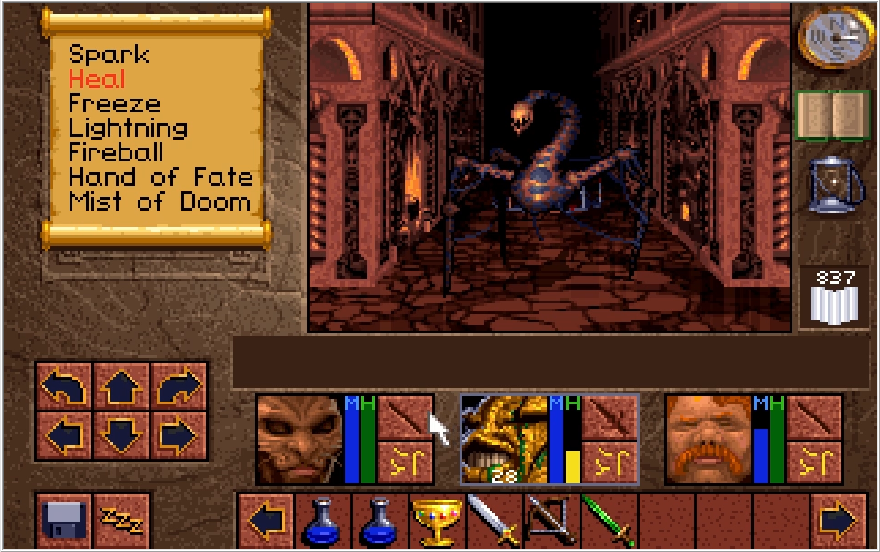
It pays off, that's like a third of the damage!
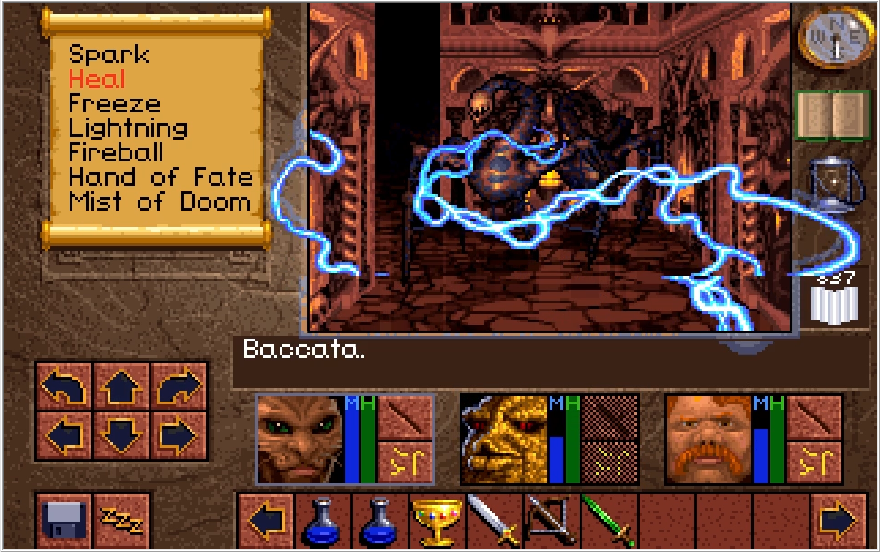
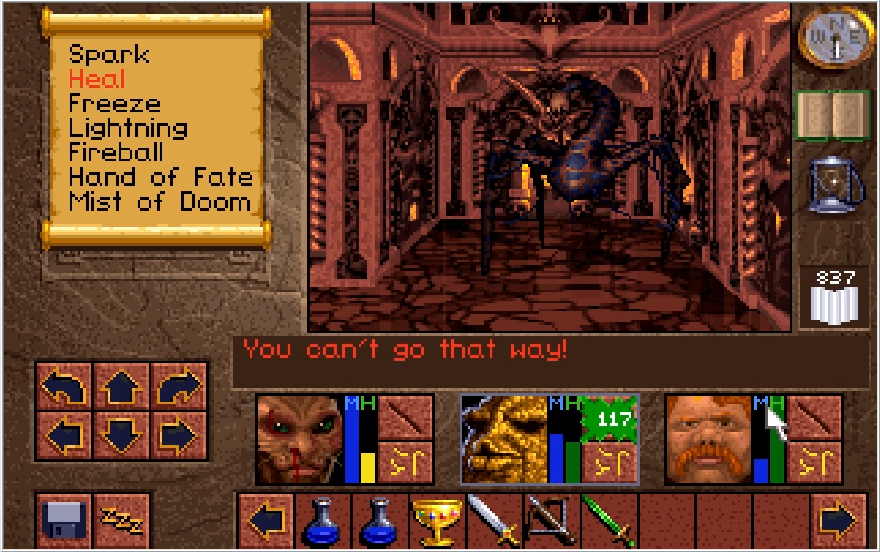
Now we're much more even with these guys, which allows the team to easily dice up and stir fry them.
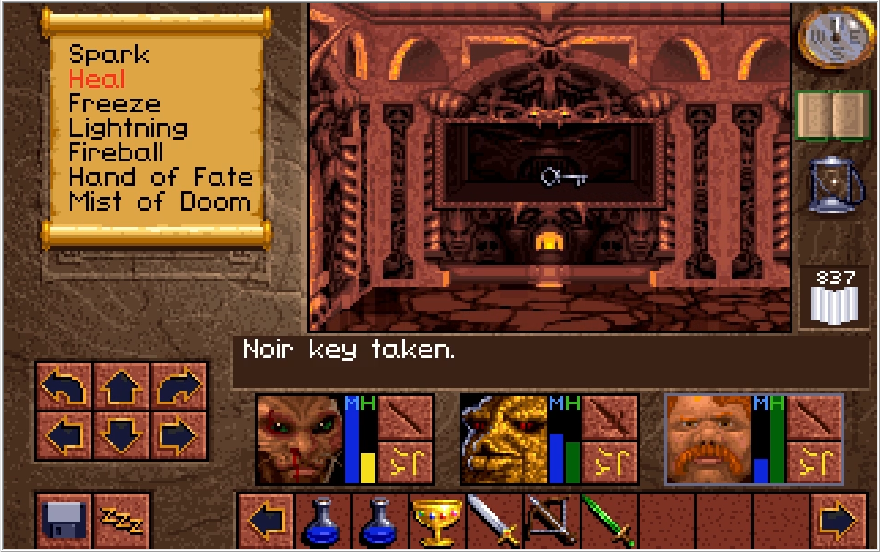
Making our way southwest, we find a room which contains the Noir key. Unlike the Adder key, we actually need this one to progress.
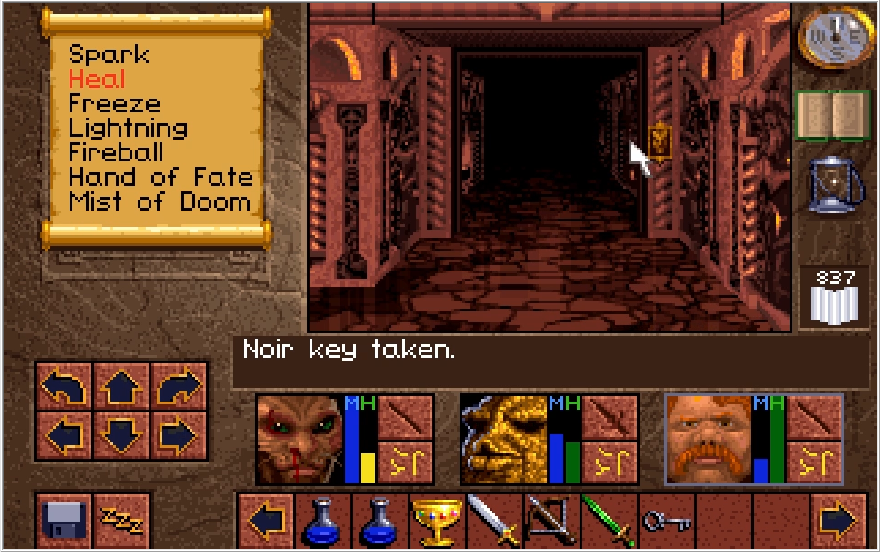
For some odd reason, the door to this room cannot be closed from the inside. Kind of annoying since I planned to rest here. So it goes.
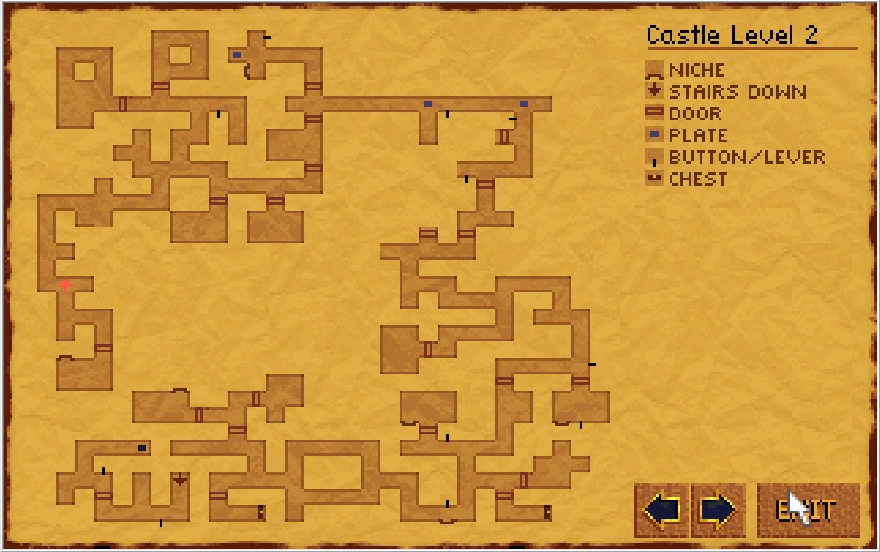
We're just about done with this floor. Once we head back north a little bit and take that path going southeast, we'll be able to scoop up the last thing we need for the time being and return to that area with the Adder key lock. That little hallway heading west in that area has the lock for the Noir key as well.
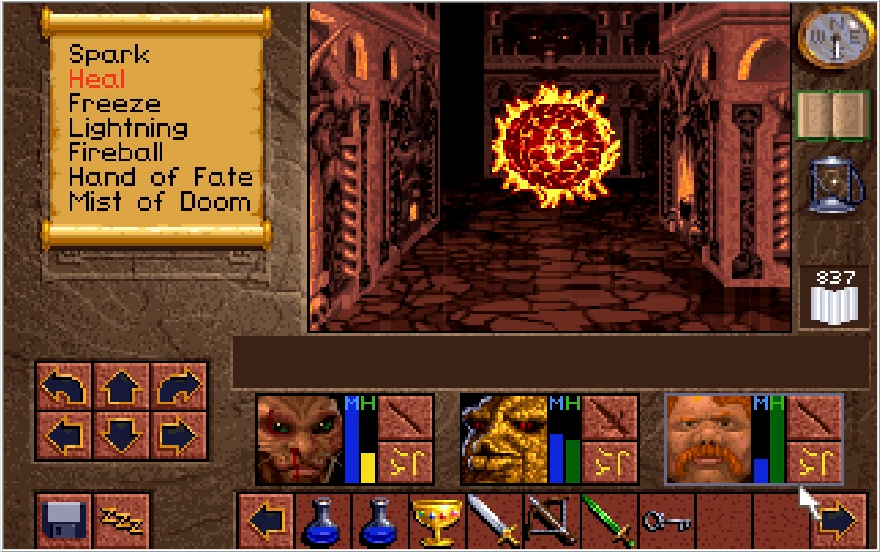
I'm getting pretty dinged up here, but Kieran has enough MP in reserve for a Heal 4 so we should be fine.
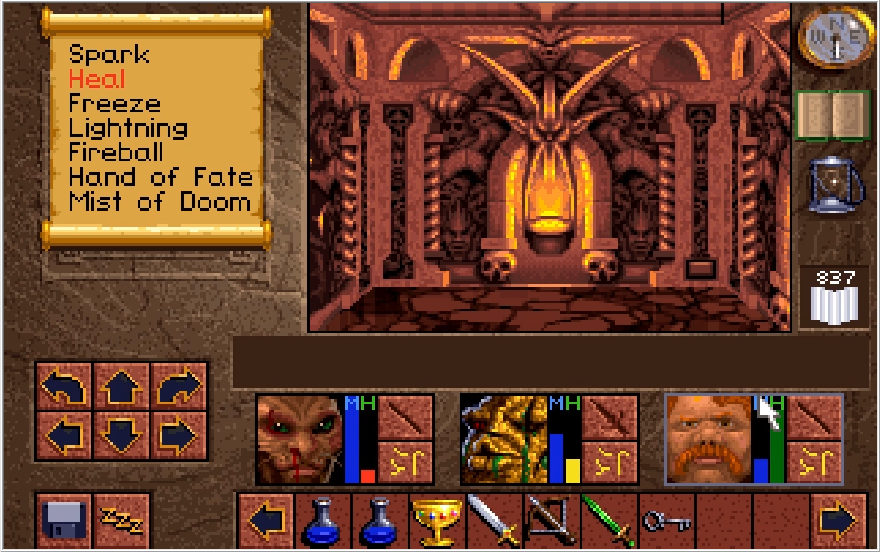
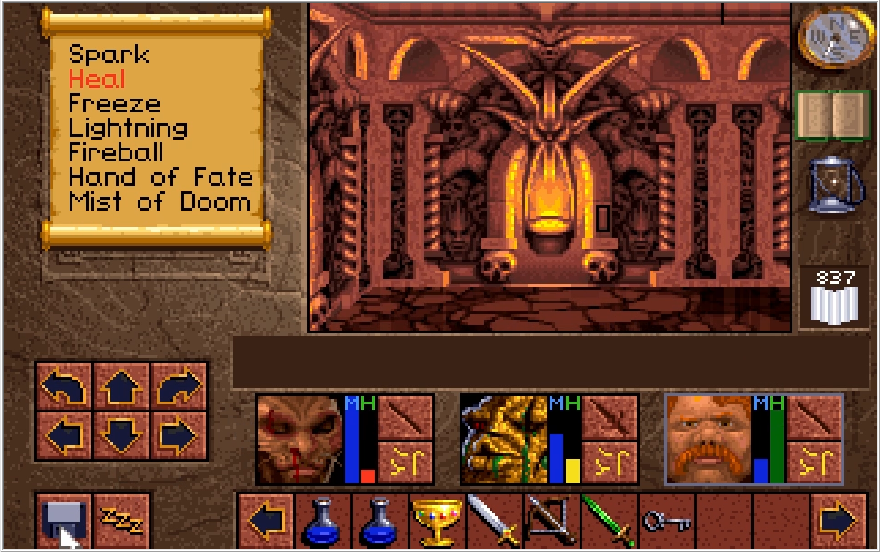
Following the southeast path to its end, we find two switches. One to the south, and one to the west. We only need to hit one of these switches and I forgot which one it was. Let's try the south one first.
FUCK. OFF.

Reloading my save and hitting the west switch this time...
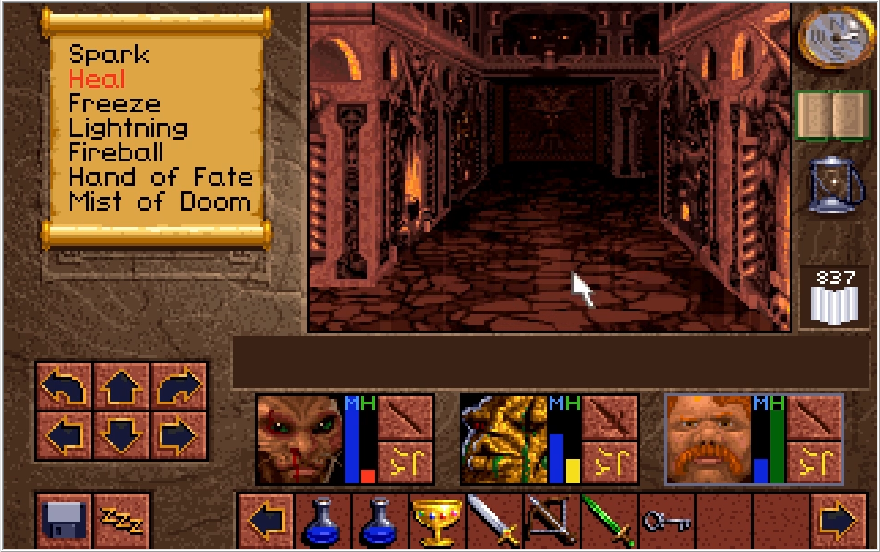
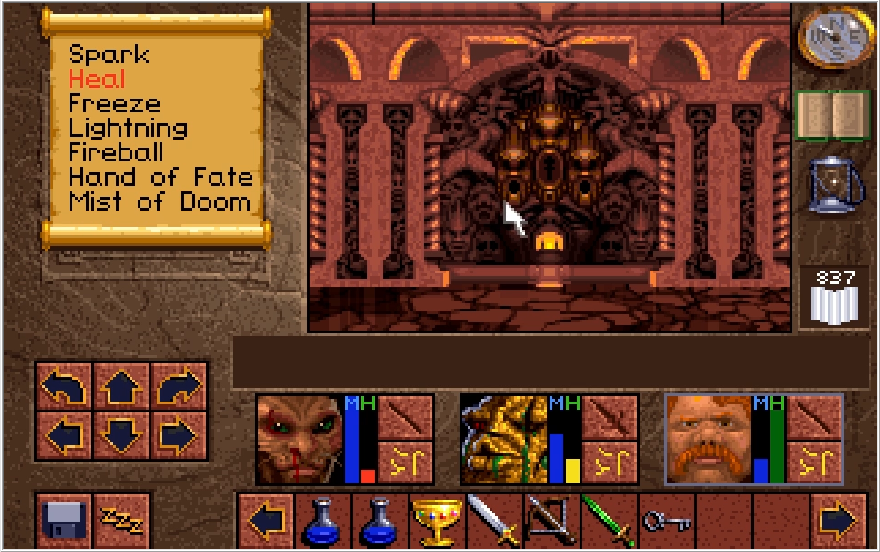
Opens up a path the east, with a door and an unpickable lock. This door is important, but we lack a literal key for it plus a key item. We'll put a pin in it for now.
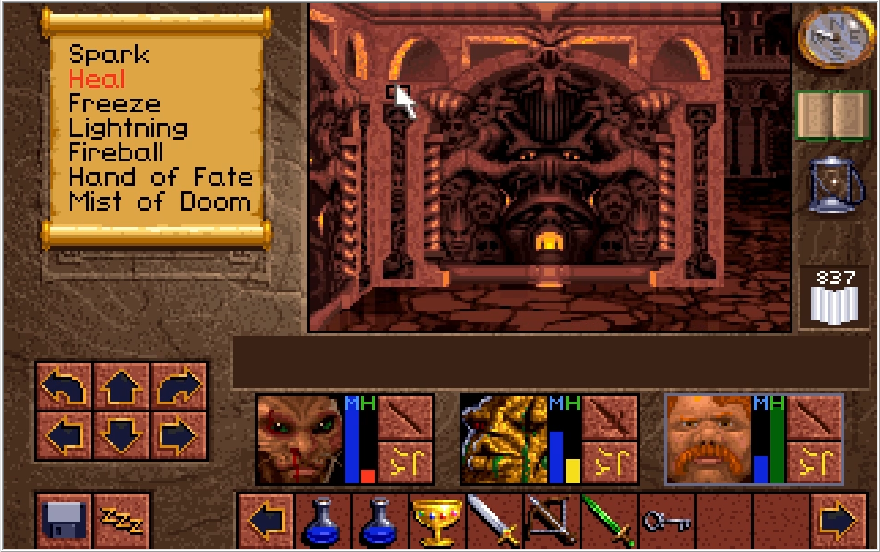
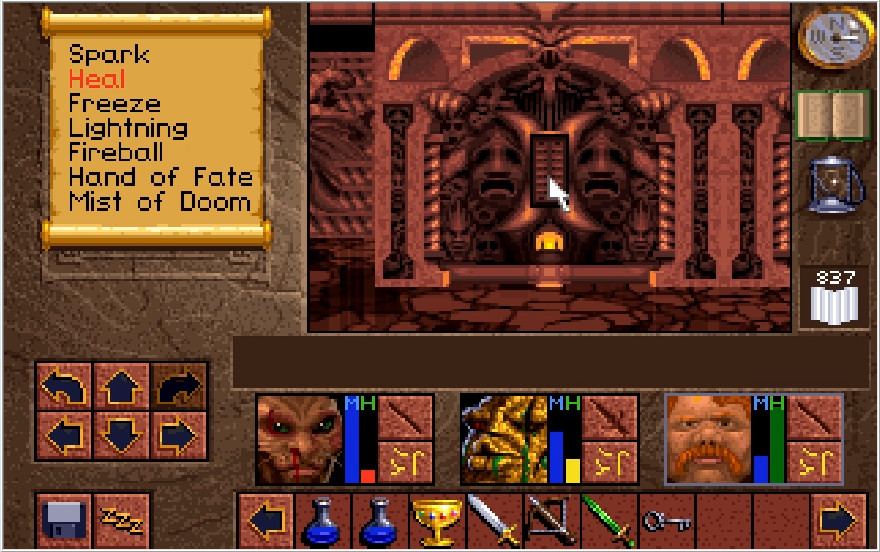
Two more switches to the south, though thankfully one is just non-functional rather than being an outright trap.
Hitting the correct switch opens a path to yet another door.
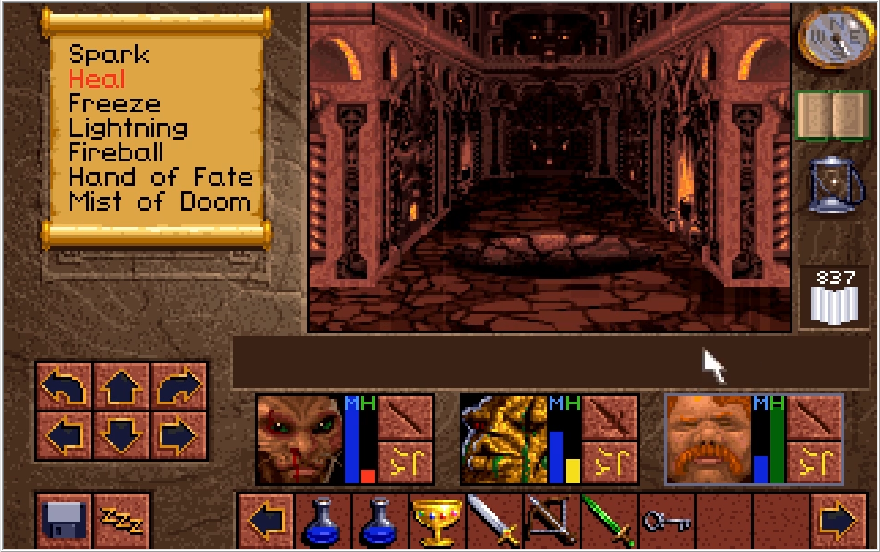
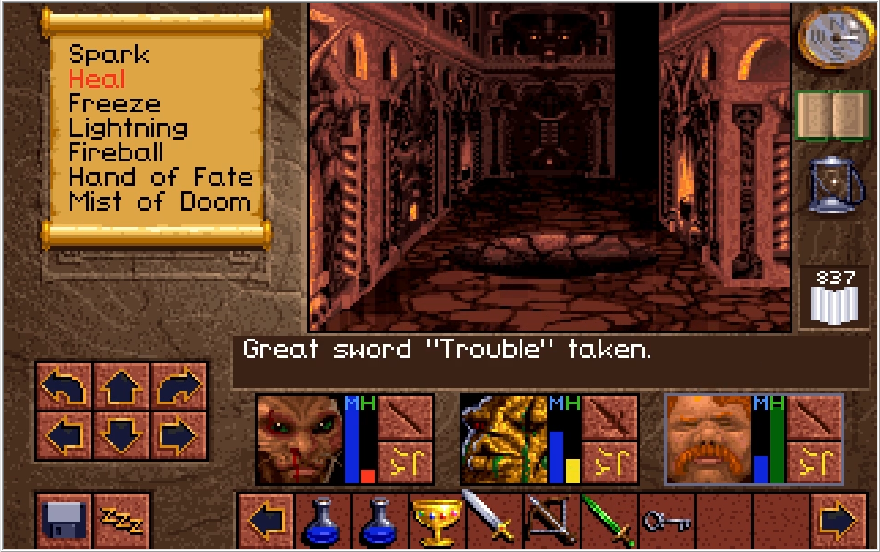

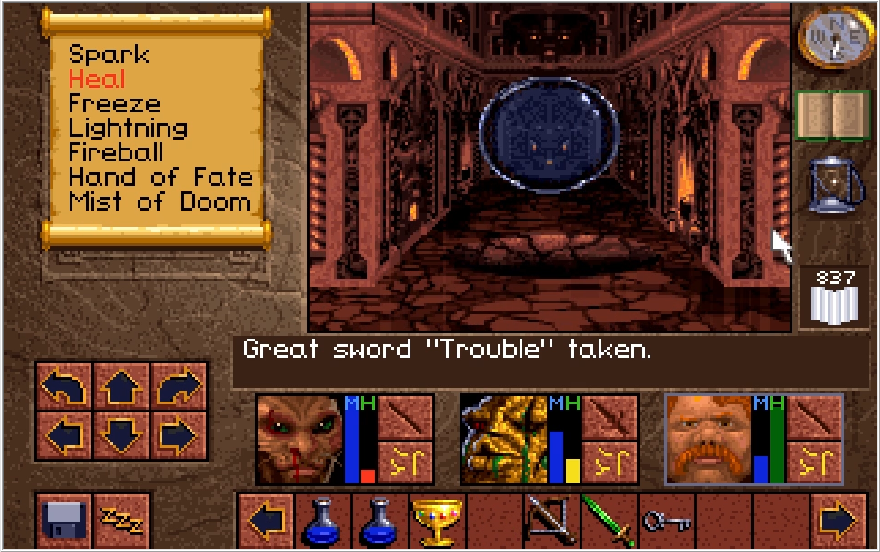
Going through, we come across two pits: one that seemingly has a dead end past it, and another that has a switch on the other side. Hurling something at the switch opens up a portal in the dead end, but how do we deal with the pits?
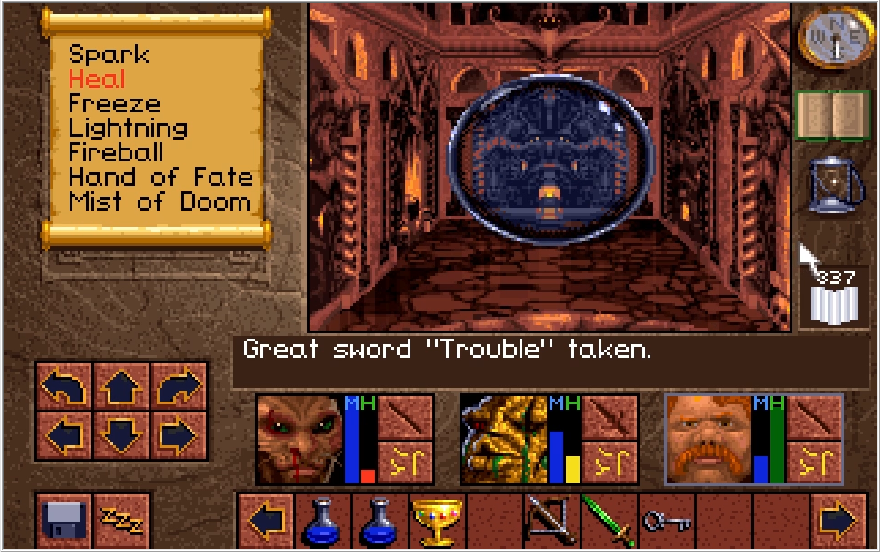
Well as it turns out, the one leading to the portal is just an illusion. This game barely ever uses illusory pits, so it is actually pretty easy to get lost here if you don't think to step onto it, though attempting to drop something in it can also uncover the ruse.
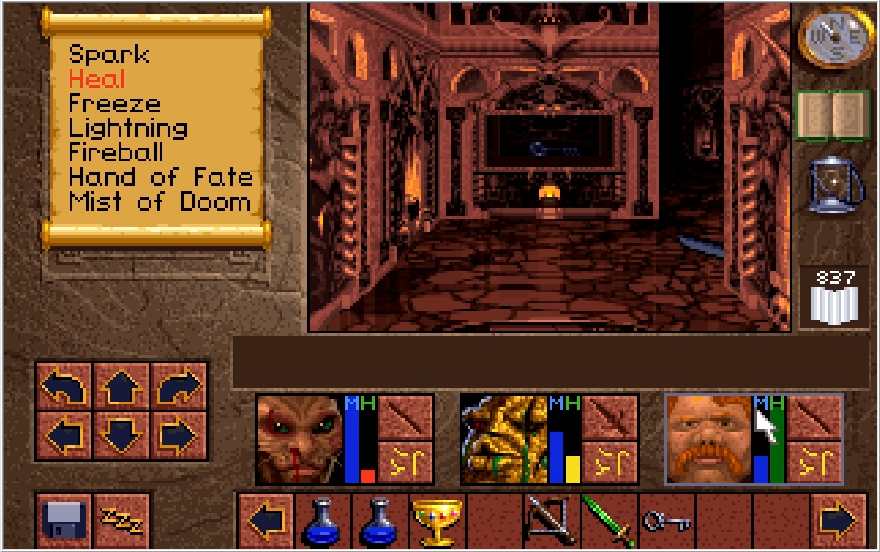
Stepping through the portal places us on the opposite side of the other pit and in front of the Carrion Key, which goes to that lock we passed a few images ago! I tuck it into Paulson's mustache for safe keeping, it'll be camouflaged there.
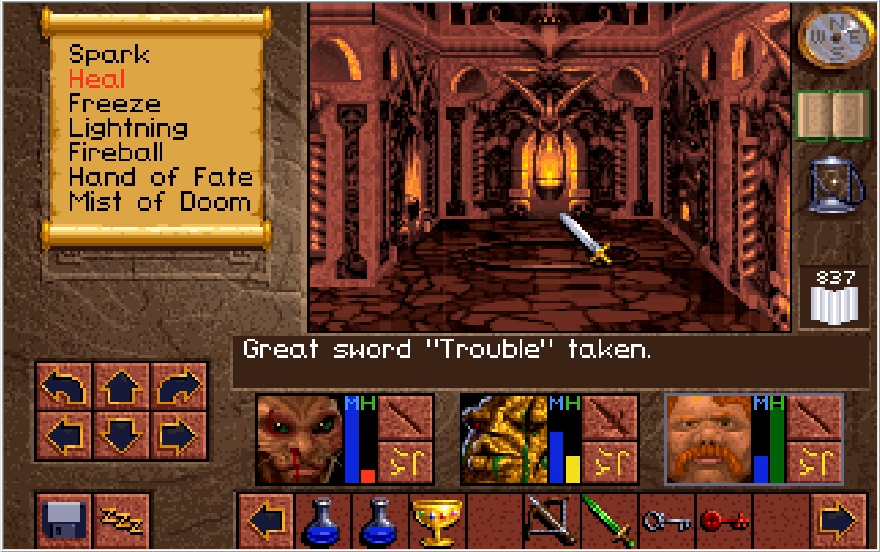
Now there is a pressure plate here, and I think it's supposed to close the pit by the switch we threw this sword at earlier. It doesn't accomplish this however.
So nothing to do but just drop in and deal with some backtracking.
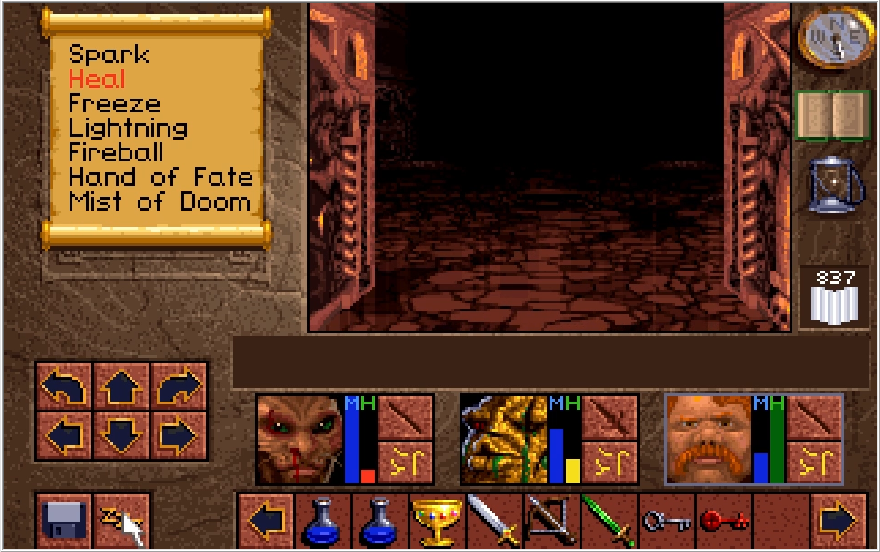
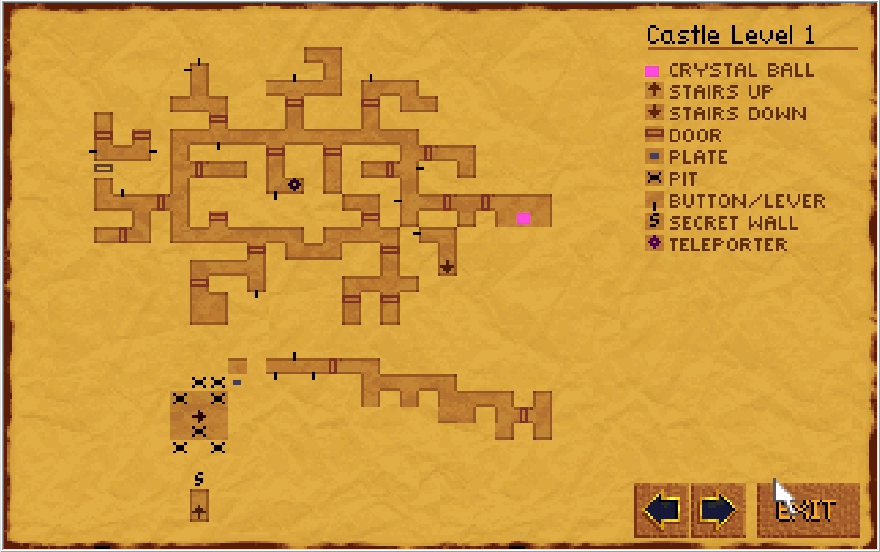
Stepping out from the crevice we were dropped into, we get teleported back into the center of the Woah! field. Mercifully, we get to keep our Atlas this time so it's much easier to navigate. We've also already solved the puzzle, so no extra effort is required on our part.
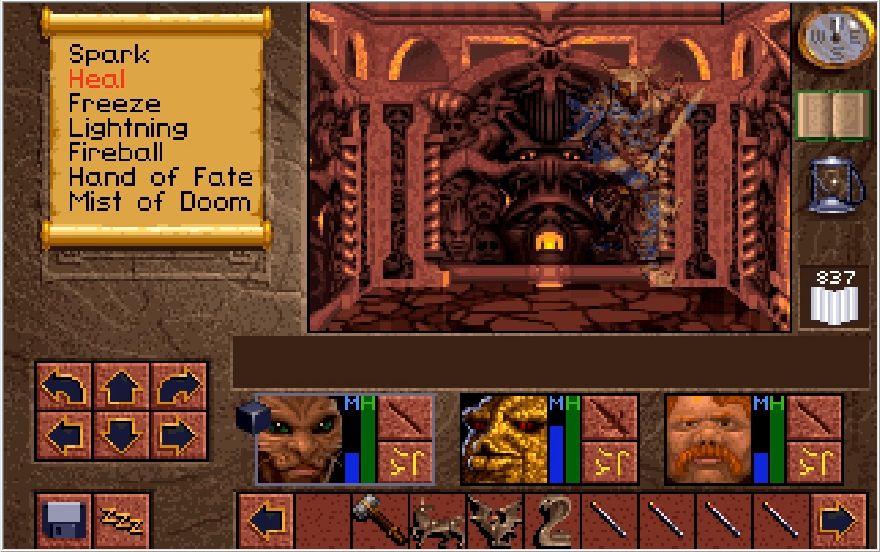
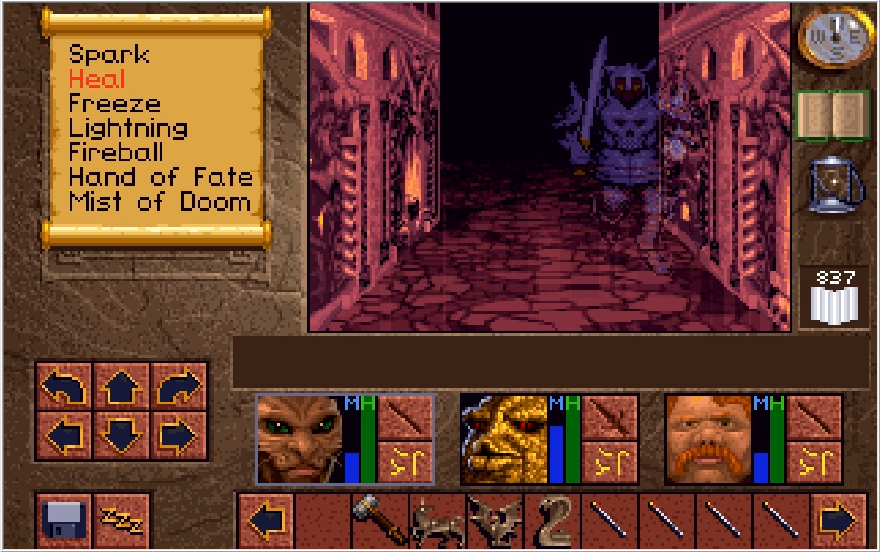
Making my way back to the stairs, I get accosted by a Ghost Cabal and unintentionally discover a third effect of the Vaelan's cube. Turns out the cube can dispel secret walls if you use it in front of them. Pretty useless and slow honestly, but it's there.
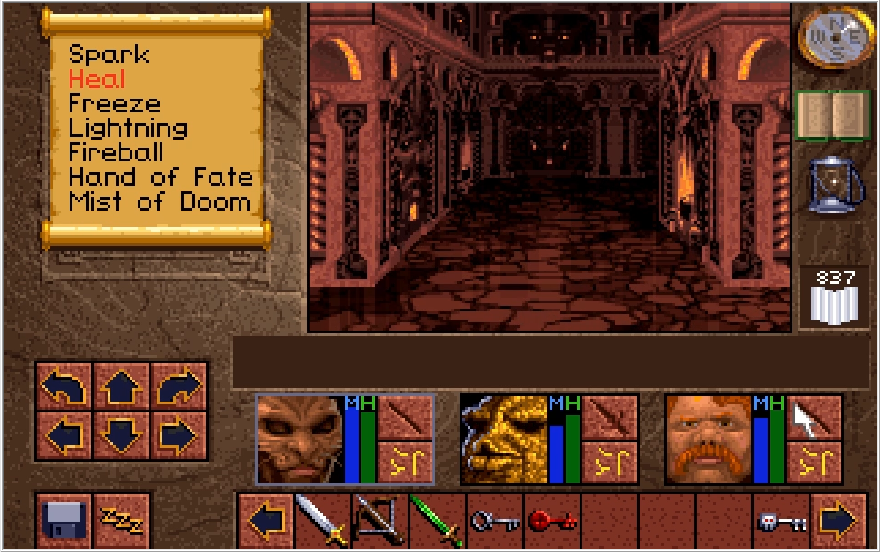
Back on Level 2! And something very unusual happened here. Usually the floor is absolutely flooded with stun bugs on this return trip. Like, a couple dozen of them will impede your backtracking. That didn't happen this time though, and this is the only playthrough I've had where I didn't have to deal with them. Regardless, this is what I was talking about at the start of the update with closing the first door. It can keep bugs from populating the stairwell area and give you a little room to breathe starting out. Whatever, I appreciate not having deal with my team getting knocked senseless constantly.
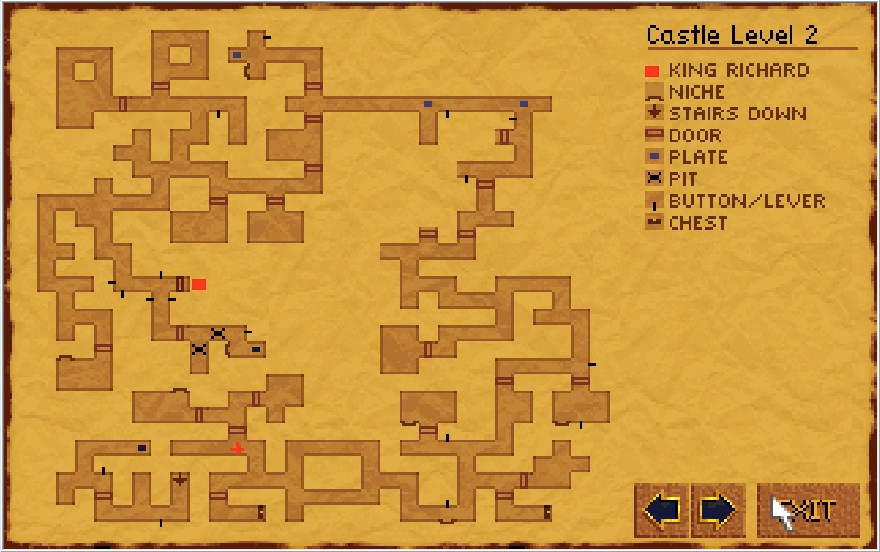
We've got a long and boring trek back to make. First up is the Adder key door. We can return to where we got the Carrion Key and open the lock there now if we wanted to, but as stated previously we're still lacking another key item necessary for that room. May as well save it for when we have everything we need.
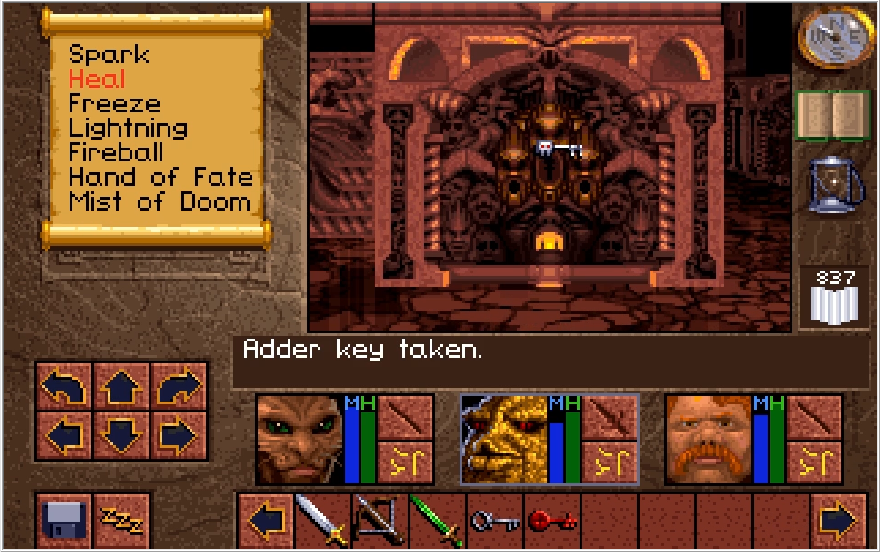
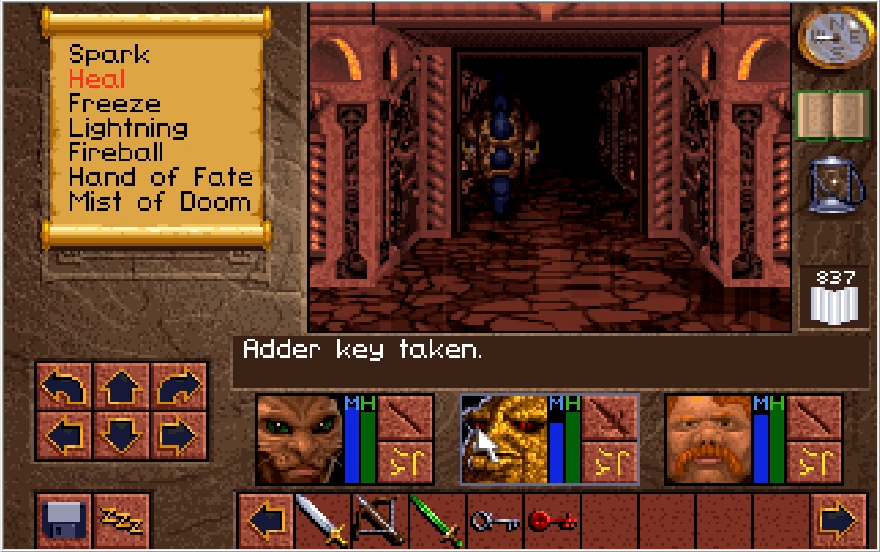
Do you think these things ever get their spike treads stuck between the cobblestones in the floor?
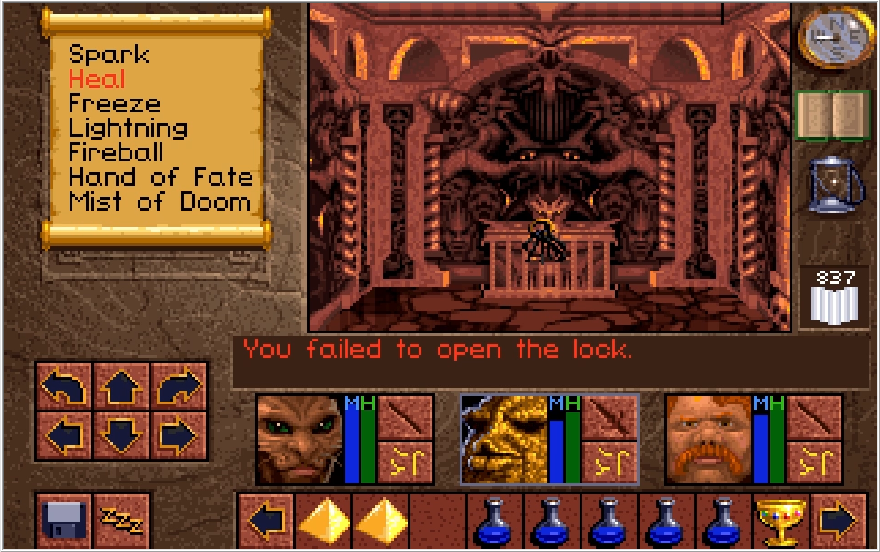
Disregarding that, the Adder key door leads to a chest that no matter how hard I've tried, I've never been able to pick it. With a Jade Necklace and the Great Axe Master boosting my Rogue level to 6, I've still never been able to pick it. You must need a ridiculously high Rogue level to open this, or need to be ridiculously lucky. There are no keys to this chest either. Before you ask, no the Small Key from the previous update is not for this chest. I tried. These chests are also indestructible, so you can't smash it open either. According to the clue book, this chest contains a Westwood staff, an aloe, and the ultimate helmet in the game, the Great Helm Aegis. The book also states that the Westwood Staff can insta-kill an enemy once, which then destroys the staff. I'll take their word for it.
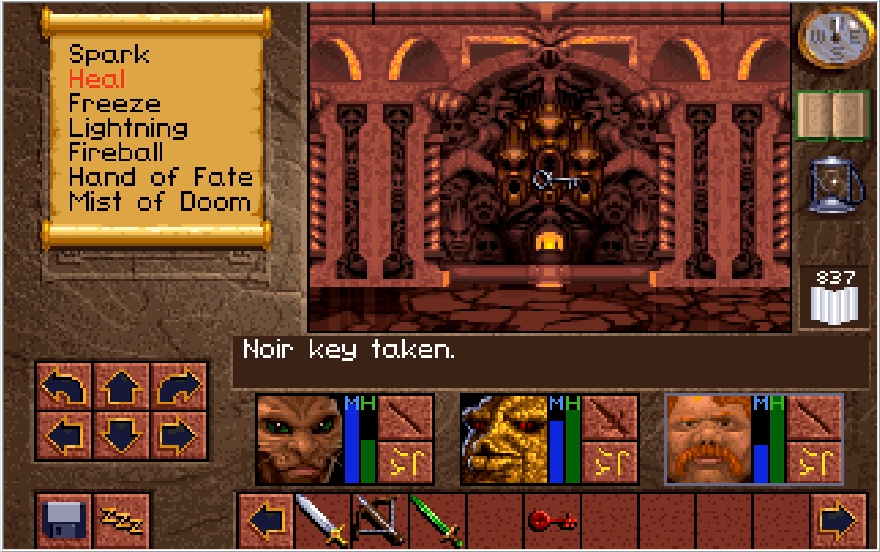
Heading into the hall south of the Adder key room, we find another lock. This one takes our Noir key, though it seemingly doesn't do anything at a glance.
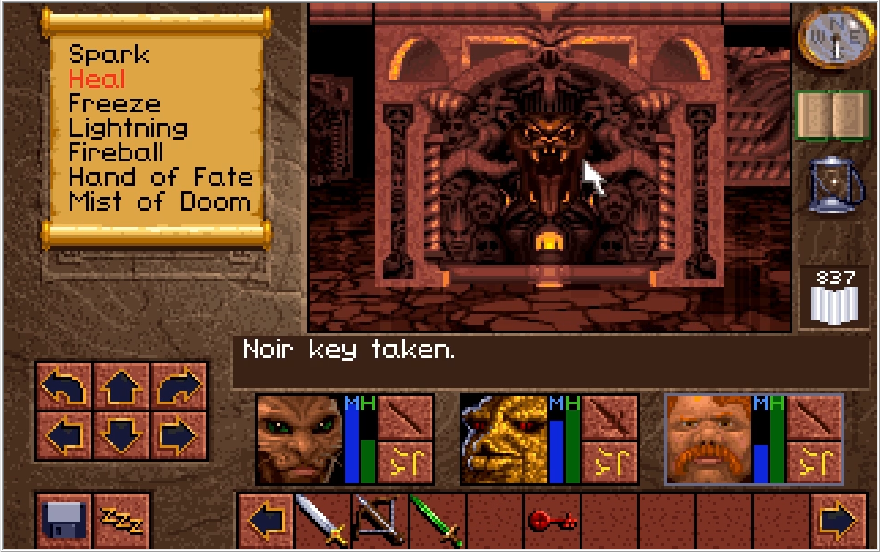
However, flipping this lever to the east of the lock after popping it with the Noir key causes the door to the south of the lock to open.
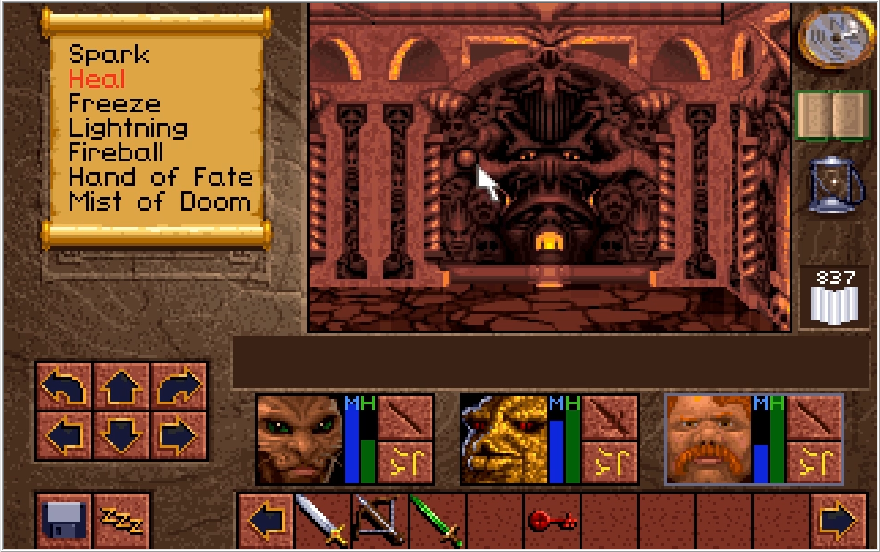
Step on in, hit the switch, and we'll be teleported to the final section of Level 2. Don't worry, this is quick.
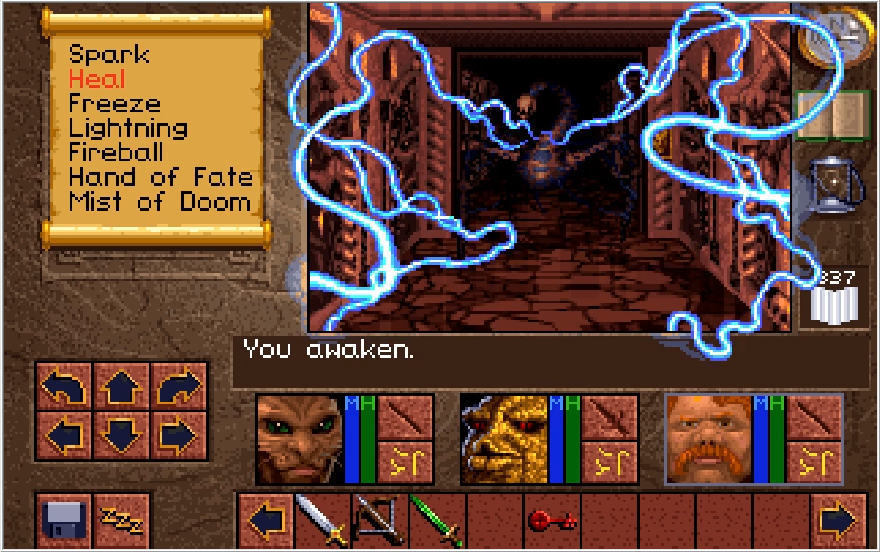
We slaughter everything in the immediate vicinity and open up a door in the east. This door has the stairs to the third floor, the final floor of the dungeon! Let's not waste any time.
Seems normal enough so far...
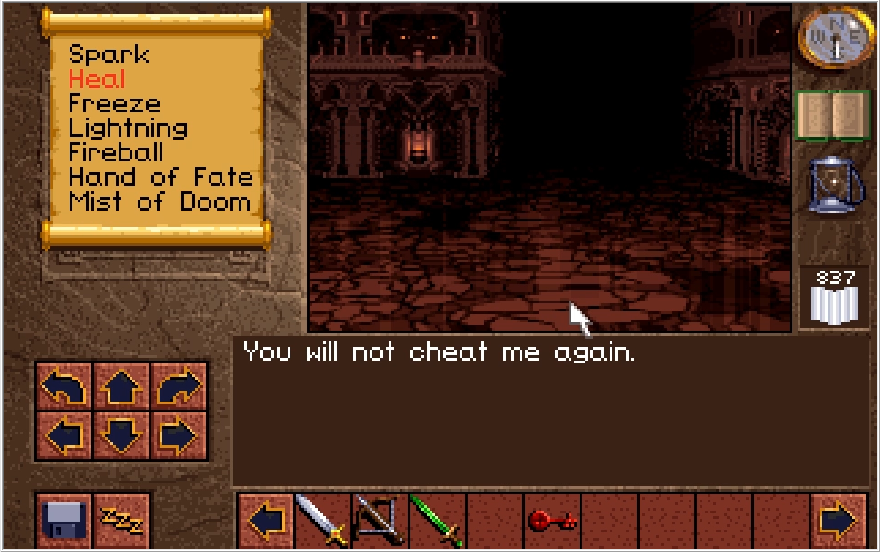
but take a single step and Scotia's voice rings out!
The stairwell is sealed behind us and our compass is once again rendered non-functional, an effect that persists throughout this entire floor. It hardly matters since unlike the Woah! Field, we do not lose our Atlas. They really should have reversed that honestly, but since the Compass is mandatory for some reason I guess they had to account for a player potentially not having the Atlas here.
Regardless, we've hit the final section of Castle Cimmeria and Lands of Lore as a whole! Granted, we do need to take a brief trap back to Level 2 once we grab a key item here, but otherwise everything on that floor is completely cleared. We could actually take on Scotia right now if we wanted to, but she's not currently beatable. There will only be one more recording to be made for this LP and we'll be seeing the ending of the game within no time at all! Currently debating if I want to do one big final update, or two more modestly sized updates. It'll all depend on the number of screenshots I get from the next recording. Stay tuned folks, our journey is at its end.

Floor 2, large wheels, stunning bugs and projectile traps! I'm pleased to say that Castle Cimmeria Level 2 isn't quite as annoying or unfinished as Level 1. It does have its own share of hardships for us, but it is all within the realm of the kind of trials we've dealt with up until this point in the game.

Right out of the gate, we come across the first of the two types of enemies found on this floor.

It is with great displeasure that I have to inform you these standing Beyblades are the final enemy type in the game that can burn our armor, and like the Xeobs/Knowles they attack at a fever pitch with high odds of the burn proccing. UNLIKE the Xeobs, at least, these things deal scratch damage. The other enemy type in this floor is also doublewide, so if you keep combat to your frontside, you don't necessarily need to stay naked all the time. That said, these guys love to slide in after you successfully kill another enemy, so I'd recommend keeping your armor off if you're not sure if the area is clear of these guys.

I also slap a Lightning Wand into Paulson's hands. It's just vastly superior to the Redemption, AND it has the 100% accuracy of magic like the CBV. There isn't anything left in the game immune to Lightning, so may as well just stick to this.

Like I said, scratch damage. A couple lightning blasts send this thing packing.

Just in time for a fireball trap to whomp us! This one works weirdly, the tile in front of us functions as a trigger for it. As long as you're standing on it, the trap just keeps firing.

The astute among you probably noticed the tongue lever off to the left.

This pops open the first door of many on this floor.


Just past it is a switch hidden in a flame basin that shuts the door behind us. Believe it or not, it's actually a pretty good idea to shut this door once you step beyond it. We'll discuss why later.


Taking the right just past the switch and continuing east, we reach a pressure plate that opens the wall in front of us to reveal a new path. Thankfully, we don't need to weigh down the plate to step through. I'm pretty light on junk items to use as ballast at this point.


The path closes behind us, but we have no reason to return to the first floor so no skin off my nose. This first alcove we come across has nada in it. If you place an item in it, the item will disappear and be whisked to a different section of the floor. Not worth the time, obviously.

There's a lot of details on the walls that feel like they're supposed to have function, but alas they are purely form.


Apparently Scotia keeps her prisoners in ball and chain, like she runs a Loony Tunes prison or something.


The first chest we come across on this floor does not impress, with a Staff Gustav and a Dagger Riposte. Naturally, both much weaker than the weaponry we already have. The Dagger Riposte gives a sizable boost to your Protection stat, but not enough for me to want to dedicate my weapon slot to it.

Oh hey it's our second enemy! And boy do they hit hard when your armor is off!


That's not all though, they have a random chance of stunning you when they connect with their strikes! Stun is a bit of an inaccurate name for this status, since really the afflicted character is just completely knocked the fuck out. The key difference between this and the seldom seen Sleep status though is that being hit while stunned does not cause the afflicted character to awaken. Stun will purge either after enough time passes (Like 12 or so seconds) or if the affected character dies. This is the only enemy in the game that can stun you. Saving the best for last!

While I was dealing with that nuisance, this guy snuck up from behind. This is exactly the dilemma you face when it comes to whether or not you should keep your armor on for this floor. It helps a lot against the stun bugs, but there's always a chance one of the wheels will roll on in a melt an armor piece before you could even realize they were there. That said, save scumming is much less of an ordeal here than it was in The Dungeons, so keep that in mind.


Here's a weird little moment. I notice I passed a switch on the map, so I doubled back to hit it. I did not get the wrong screenshot for the wall we're looking at, when you hit the switch it just does nothing and outright disappears. Now as far as I can tell, this isn't a trick but rather cut content. You can actually no-clip through this wall (unlike the Ornate Lock where you can train the required key into your inventory, no-clip is mandatory here) and find a hall with a chest at the end. This chest contains a handful of items, most notably another jewelry piece in the Clouded Ring. Not sure what this ring actually does but it has a blue gem embedded in it so I'm going to guess it's magic related.


For a switch that actually does do something, hitting this one opens up an alcove behind us with a Trident Plague in it. Sounds cool! What does it do?


It is substantially weaker than Justice and lowers your Fighter level by 1. Thanks game. I get the feeling this weapon is probably intended to be cursed also and was meant to be a trap you couldn't unequip, but since no Curse mechanic actually exists in this game you can just re-equip your better weapons with no issue.

I take my frustrations out on this guy.


The next chest we come across actually has a pretty sweet haul. We get the ultimate Bracers in the Bracers of Defense. A small but appreciated defense increase. We also get a couple Aces and some useless Crowns. Rather stupidly I left my Steel Bracers behind. That would have been an upgrade for Paulson, albeit a small one. I'll admit I was a little checked out at this point in the recording.


In some of these cells you'll find these bony fellows just hanging around. There's quite a few rooms on this floor that are just prison cells. I guess Scotia moonlights as a warden.


They wanted to shake things up a little and have a few doors with locks instead. This one has nothing in it, though I believe if you forked Dawn's shroud key over to Scotia when she masqueraded as Dawn, this is where you would find it. We didn't do that though, so it's one less thing to worry about.

One nice thing about the various cells dotted along this floor is that you can shut the door and rest in safety. Neither of the enemy types on this floor are capable of opening doors.


Now the next locked room we come across actually has something regardless of anything. Bopping the switch in the room opens up an alcove with a Unicorn figurine. That's the third figure so far, if you haven't been keeping track. Wanna hazard a guess at how many of these figures there are?


The next room we come across is just one big dead end. Immaculate décor though.

Moving along from that, in the north we come across a hallway lined with several doors that all connect to the same place. I usually just take the rightmost one since we need to head that way anyways.


We haven't had to deal with too much combat thus far, and that's about to change. There are a TON of bugs in the upcoming area, and they can really rough you up.


Case in point.

This lock right here is weird. You can try to pick it, and the game won't inform you it's an unpickable lock. I THINK you can pick it, though the odds are incredibly low if so. Fortunately there is a key for it. Unfortunately, there's effectively nothing past the door it opens for us. We'll get there though.

You probably noticed the plate those bugs were standing on, it triggers a spike ball projectile when you step onto it. You could weigh it down to avoid this, but the damage from these types of traps is comedically low so I never bother.


Hitting the tongue lever at the end of the hall opens a path forward. Do you think those levers feel like actual tongues? That pressure plate is tied to ANOTHER projectile trap at the end of the newly opened hall.


Speaking of the end of the hall, we come across a couple doors that function oddly. Hitting the switch next to either of these doors opens up the door on the opposite side. Not exactly much of a puzzle, I think they were running out of steam after the Woah! Field.


Taking the north door leads us to a secret switch that opens up a path to the west. You have no choice but to eat a face full of gem shards as you step into it.


Hitting a switch in the northern part of this cross section opens up an alcove in the south with the Adder Key. This goes to that lock from earlier, and I'm only really collecting it for completion's sake. Let's double back and head through that south door now.


I get really careless and get completely thrashed by a stun bug. These guys are no joke! Luckily I have some emergency Bezel cups to use.

FUCK. There's a very strange glitch that can happen to your party at this specific stage of the game. For some reason, once you hit Level 2 of Castle Cimmeria one of your party members can randomly have it happen that when you revive them with Heal 4, it only heals a small portion of their HP. This is seemingly a permanent issue they will have for the rest of the playthrough, although thankfully there's very little of the game left so it's not a huge deal. I have no idea what causes this, and it seemingly affects random party members. The last time I got this glitch, it was Baccata who had it instead of Paulson.

Whatever, we're in the homestretch and nothing can stop me now!

In this section of Level 2, you occasionally spot these spike plates in the floor which bar the way forward. It'd probably be a bigger deal if there was some kind of puzzle revolving around moving these out of your way, but the scant few you see are placed in functional dead ends anyway.


Luckily, they also function as walls, so closing this door and nodding off to the sweet rusty scent of blood gives us a chance to rest in safety.

Also you can attempt to walk over them for 10 damage to the entire party.


Hey another bit of tongue action! What does this one do?

It opens up a pit. Throwing the lever again does not close this pit, and there's no way to get out of this hall now without diving into it. Always save before pulling on any levers or switches in this place.


This whole northwestern corner is just one big dead end filled with skeletons who are functionally identical to walls. That rattles my bones.


I'm reasonably confident we won't see anymore wheels at this point, so I re-equip my armor now to help against the numerous stun bugs we'll be fighting.

It pays off, that's like a third of the damage!


Now we're much more even with these guys, which allows the team to easily dice up and stir fry them.

Making our way southwest, we find a room which contains the Noir key. Unlike the Adder key, we actually need this one to progress.

For some odd reason, the door to this room cannot be closed from the inside. Kind of annoying since I planned to rest here. So it goes.

We're just about done with this floor. Once we head back north a little bit and take that path going southeast, we'll be able to scoop up the last thing we need for the time being and return to that area with the Adder key lock. That little hallway heading west in that area has the lock for the Noir key as well.

I'm getting pretty dinged up here, but Kieran has enough MP in reserve for a Heal 4 so we should be fine.


Following the southeast path to its end, we find two switches. One to the south, and one to the west. We only need to hit one of these switches and I forgot which one it was. Let's try the south one first.


FUCK. OFF.

Reloading my save and hitting the west switch this time...


Opens up a path the east, with a door and an unpickable lock. This door is important, but we lack a literal key for it plus a key item. We'll put a pin in it for now.


Two more switches to the south, though thankfully one is just non-functional rather than being an outright trap.

Hitting the correct switch opens a path to yet another door.


Going through, we come across two pits: one that seemingly has a dead end past it, and another that has a switch on the other side. Hurling something at the switch opens up a portal in the dead end, but how do we deal with the pits?

Well as it turns out, the one leading to the portal is just an illusion. This game barely ever uses illusory pits, so it is actually pretty easy to get lost here if you don't think to step onto it, though attempting to drop something in it can also uncover the ruse.


Stepping through the portal places us on the opposite side of the other pit and in front of the Carrion Key, which goes to that lock we passed a few images ago! I tuck it into Paulson's mustache for safe keeping, it'll be camouflaged there.

Now there is a pressure plate here, and I think it's supposed to close the pit by the switch we threw this sword at earlier. It doesn't accomplish this however.

So nothing to do but just drop in and deal with some backtracking.


Stepping out from the crevice we were dropped into, we get teleported back into the center of the Woah! field. Mercifully, we get to keep our Atlas this time so it's much easier to navigate. We've also already solved the puzzle, so no extra effort is required on our part.


Making my way back to the stairs, I get accosted by a Ghost Cabal and unintentionally discover a third effect of the Vaelan's cube. Turns out the cube can dispel secret walls if you use it in front of them. Pretty useless and slow honestly, but it's there.

Back on Level 2! And something very unusual happened here. Usually the floor is absolutely flooded with stun bugs on this return trip. Like, a couple dozen of them will impede your backtracking. That didn't happen this time though, and this is the only playthrough I've had where I didn't have to deal with them. Regardless, this is what I was talking about at the start of the update with closing the first door. It can keep bugs from populating the stairwell area and give you a little room to breathe starting out. Whatever, I appreciate not having deal with my team getting knocked senseless constantly.

We've got a long and boring trek back to make. First up is the Adder key door. We can return to where we got the Carrion Key and open the lock there now if we wanted to, but as stated previously we're still lacking another key item necessary for that room. May as well save it for when we have everything we need.


Do you think these things ever get their spike treads stuck between the cobblestones in the floor?

Disregarding that, the Adder key door leads to a chest that no matter how hard I've tried, I've never been able to pick it. With a Jade Necklace and the Great Axe Master boosting my Rogue level to 6, I've still never been able to pick it. You must need a ridiculously high Rogue level to open this, or need to be ridiculously lucky. There are no keys to this chest either. Before you ask, no the Small Key from the previous update is not for this chest. I tried. These chests are also indestructible, so you can't smash it open either. According to the clue book, this chest contains a Westwood staff, an aloe, and the ultimate helmet in the game, the Great Helm Aegis. The book also states that the Westwood Staff can insta-kill an enemy once, which then destroys the staff. I'll take their word for it.


Heading into the hall south of the Adder key room, we find another lock. This one takes our Noir key, though it seemingly doesn't do anything at a glance.

However, flipping this lever to the east of the lock after popping it with the Noir key causes the door to the south of the lock to open.


Step on in, hit the switch, and we'll be teleported to the final section of Level 2. Don't worry, this is quick.


We slaughter everything in the immediate vicinity and open up a door in the east. This door has the stairs to the third floor, the final floor of the dungeon! Let's not waste any time.

Seems normal enough so far...

but take a single step and Scotia's voice rings out!


The stairwell is sealed behind us and our compass is once again rendered non-functional, an effect that persists throughout this entire floor. It hardly matters since unlike the Woah! Field, we do not lose our Atlas. They really should have reversed that honestly, but since the Compass is mandatory for some reason I guess they had to account for a player potentially not having the Atlas here.

Regardless, we've hit the final section of Castle Cimmeria and Lands of Lore as a whole! Granted, we do need to take a brief trap back to Level 2 once we grab a key item here, but otherwise everything on that floor is completely cleared. We could actually take on Scotia right now if we wanted to, but she's not currently beatable. There will only be one more recording to be made for this LP and we'll be seeing the ending of the game within no time at all! Currently debating if I want to do one big final update, or two more modestly sized updates. It'll all depend on the number of screenshots I get from the next recording. Stay tuned folks, our journey is at its end.
Wow, that was a surprisingly...boring floor, aside from the big pit. I guess they blew all their creativity on the dickishness of Floor 1, and couldn't be arsed to come up with anything new. That they make you redo an entire floor is really aggravating and dull.
This is one of the drawbacks of viewing the game through the lens of someone who knows full well what to do. There's a lot of words I'd use to describe a first time playthrough of Cimmeria, and while they're not positive, boring is definitely not among them. Since I do know what to do, my demonstration of the area will inevitably focus on the weird shortcomings since they're the most interesting thing to talk about at this point.
Well, it's been a fun ride and an interesting learning experience working on this LP, but all things must come to an end eventually. Tonight I recorded the final segment of Lands of Lore: The Throne of Chaos and grabbed all the relevant screenshots. The final count comes to 172 images, so I think I'll just do one big final update covering Cimmeria Floor 3, curing Richard and defeating Scotia, plus the ending of the game of course. If all goes according to plan, I'll have the update written and posted tomorrow. I just wanted to give a big pre-emptive thanks to everyone who has read the LP and posted in the thread so far. The more direct community interaction with screenshot LPs is always a joy to partake in, and it means a ton people can bear to read my dogshit prose lol.
Since there wasn't really anywhere else to mention it, I figured I'd also include a fun bit of trivia that's mostly just amusing to me. Did you know this game actually had a Japanese release? It was ported to the FM Towns operating system and this version was exclusively released in Japan as far as I can tell.


If anybody happens to know anything about this version of the game, I'd be dying to know if it actually got a dub or not. I don't know why the thought of that is so amusing to me, it just is. I guess it's just weird to think a game I thought only my dad actually owned made it outside the borders of the US and beyond even the anglosphere.
Since there wasn't really anywhere else to mention it, I figured I'd also include a fun bit of trivia that's mostly just amusing to me. Did you know this game actually had a Japanese release? It was ported to the FM Towns operating system and this version was exclusively released in Japan as far as I can tell.


If anybody happens to know anything about this version of the game, I'd be dying to know if it actually got a dub or not. I don't know why the thought of that is so amusing to me, it just is. I guess it's just weird to think a game I thought only my dad actually owned made it outside the borders of the US and beyond even the anglosphere.
Cool, will be nice to see this game to its end.
Interesting that it got a Japanese localization, they did get quite a few Western games back then, but I never expected this of all games to make its way there lol.
Interesting that it got a Japanese localization, they did get quite a few Western games back then, but I never expected this of all games to make its way there lol.
Final Update, Cat Got Your Tongue?
Hard to believe we're already at the end of the game, huh? Granted, the game rushes pretty hard to its conclusion so I suppose that feeling is natural. All that said, let's get this show on the road. Level 3 of Castle Cimmeria is quite large, but there really is not that much to it. I'll mostly just be addressing the main points of interest as large chunks of this floor are completely pointless and mostly just serve to get you lost. The entire northeastern section of the map for this floor has literally nothing important in it. Speaking of the map, expect a lot of map screens so I can easily (and lazily) show you where I am currently.
One thing I'd like to reiterate is that Scotia is available to battle right now. Her chamber is in the center of the floor, and the two keys we need to access it are both found on this level as well. That said, Scotia is impossible to beat currently as we lack a critical item for thwarting her. God help you if you enter her chamber by mistake and save your progress if you've only been keeping one file. Once you enter Scotia's chamber, the path seals behind you and you're stuck there until either you kill her or she kills you.
Starting things properly, one thing to note about the entire southern section of this map is that there are projectile traps that are firing endlessly. They're not much of a threat as there's only one in particular you need to cross paths with for more than half a second. Calling back to something I said a couple updates ago where I speculated about an object limit error screwing with the switch-behind-gate puzzle on Level 1, that is actually something you need to keep in mind here. The traps in this section of the level max out the object limit, so if you happen to throw an item in their vicinity, there's a not-insignificant chance that it will disappear into the ether. Not like you'd be yeeting something like a Key or the Crucible of Faith for fun, but it is worth commenting on.
Our only means of escape from this floor are the handful of pits dotted around the southern section. Keep these in mind for when our business has been completed.
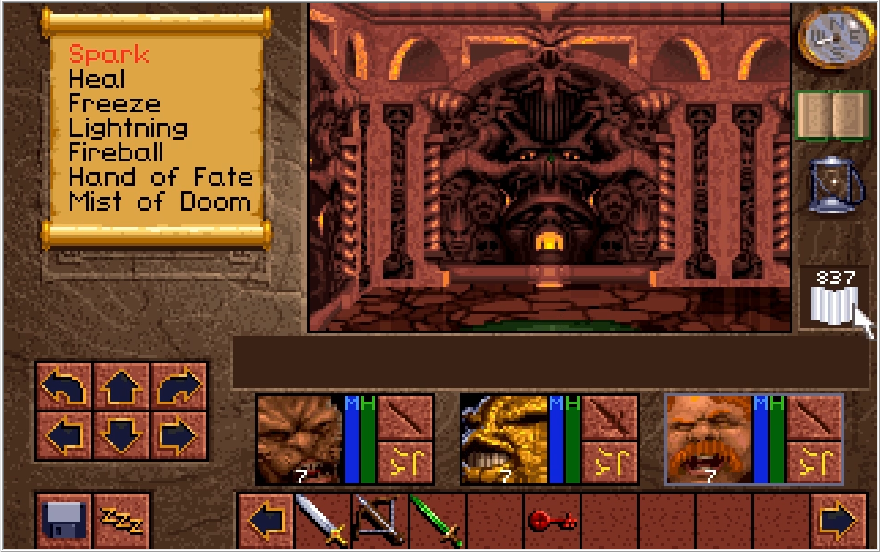
One weird little detail about this floor is that in various spots there are these green puddles with a constant drip from the ceiling. Stand under the drip, and you'll take a little damage. Methinks Scotia needs to get her plumbing fixed.
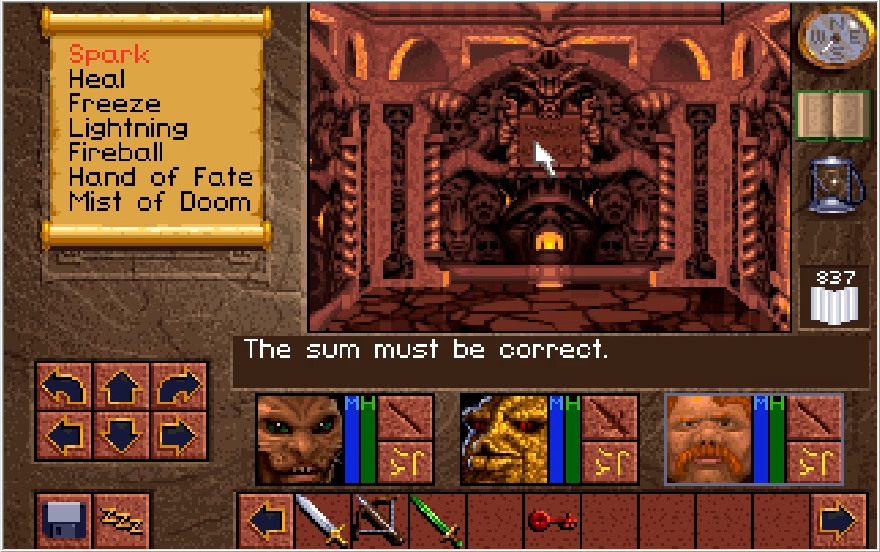
Located in the southeast corner of the map is this little sign. A somewhat vague message to be certain, and it has to be some kind of puzzle. What's the solution they're looking for though?
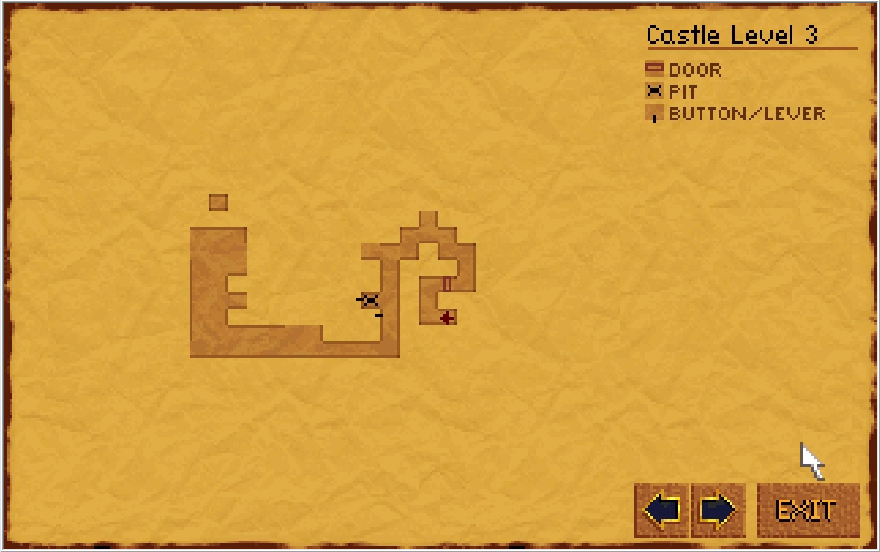
Well to the left of that pit from before, there was another switch on the adjacent wall. Let's go check that out.
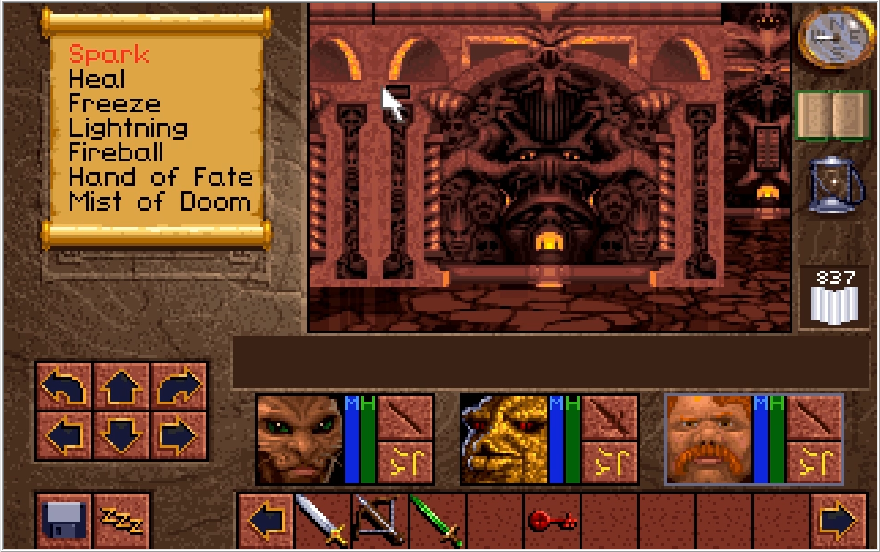
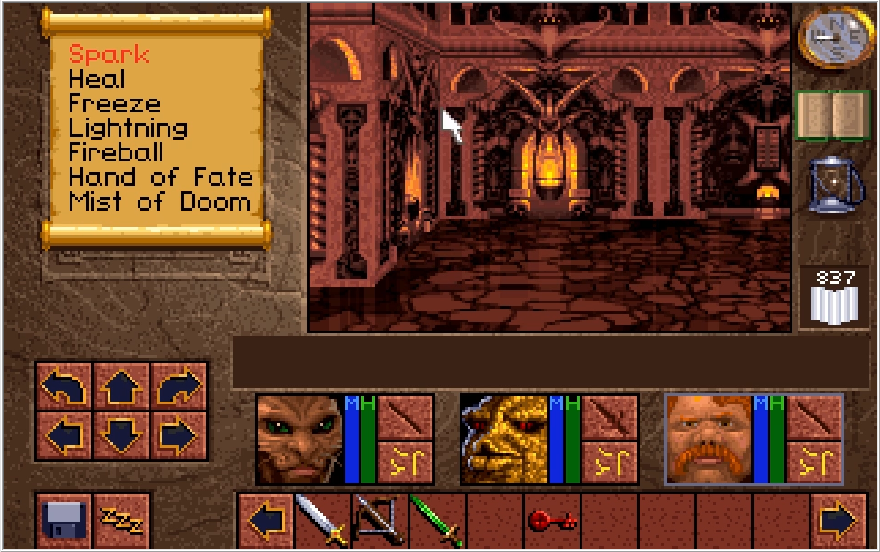
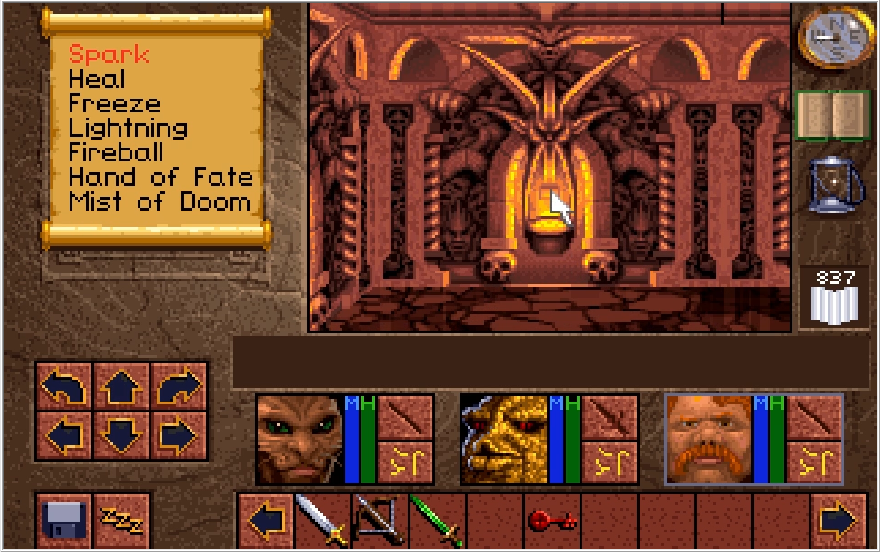
Pressing that switch removes the wall, and beyond it is yet another wall switch.
Pressing that one removes the wall yet again, and a sound is heard in the distance. The puzzle has been solved because 1+1=2. What, don't get it? Don't worry, I'll show you how this is supposed to be figured out later.
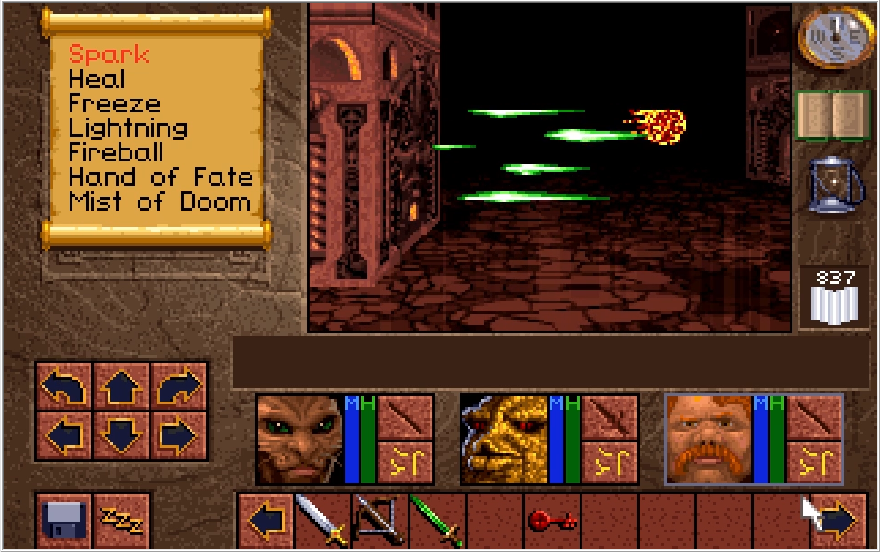
I get a little turned around trying to make my way back to the room with the sign. I do spot something important though, keep that fireball trap in mind for later.
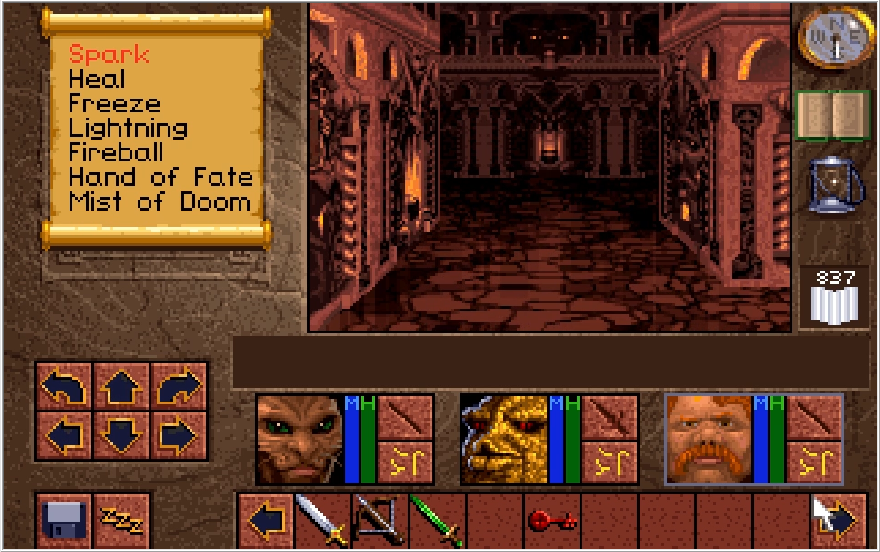
Returning to the sign, a path has been opened to another hall.
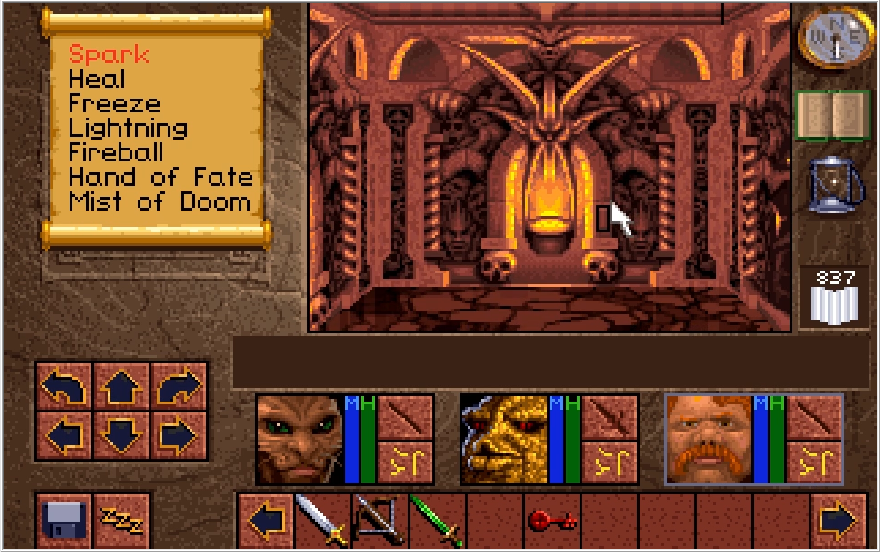
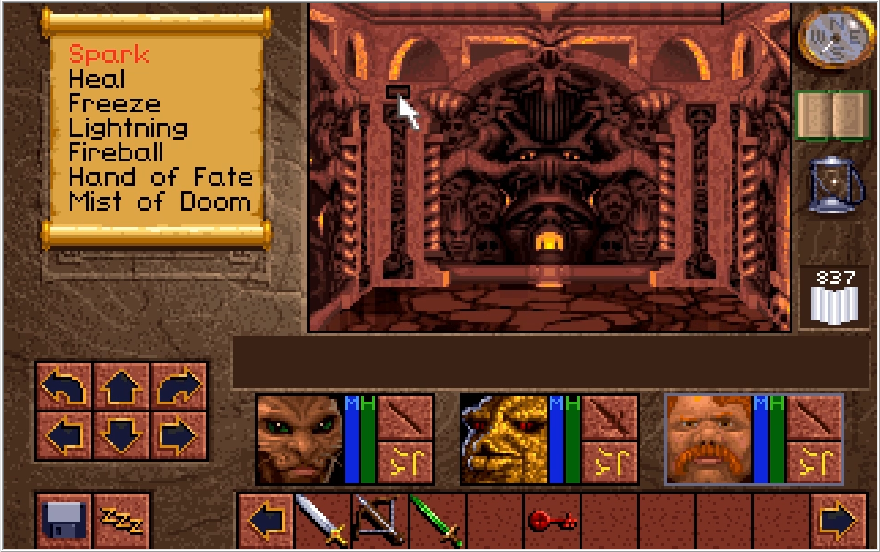
There are secret switches at each end, naturally.
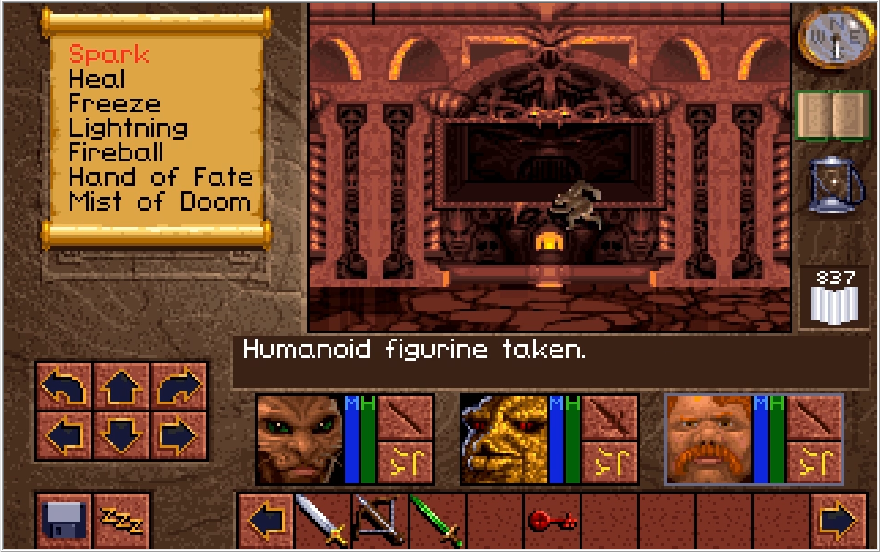
Pressing them both unveils the fourth and final figure, the Humanoid figurine. That's either a minotaur or a guy who has a serious chad strut.
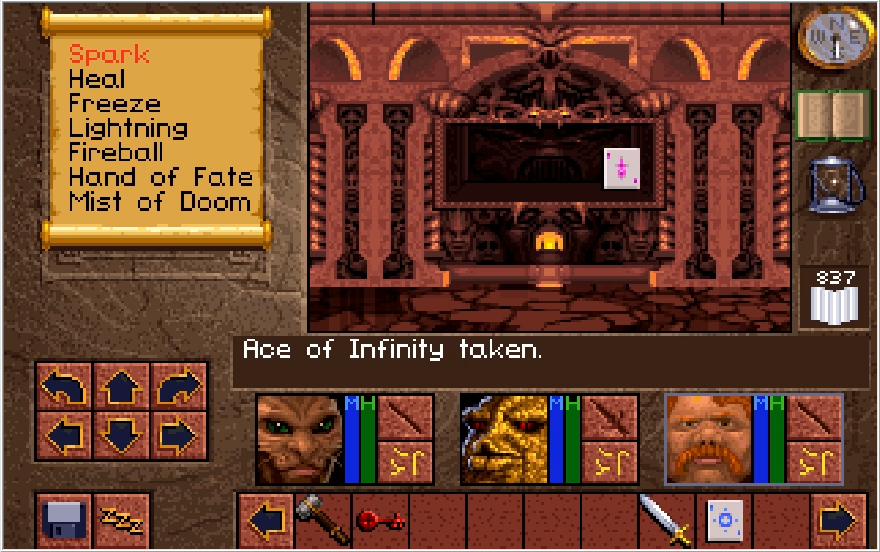
To get out of here, you need to place an item back in the alcove and then reflip one of the switches. Aces of Infinity are fairly useless, so I just give up the one I had kicking around.
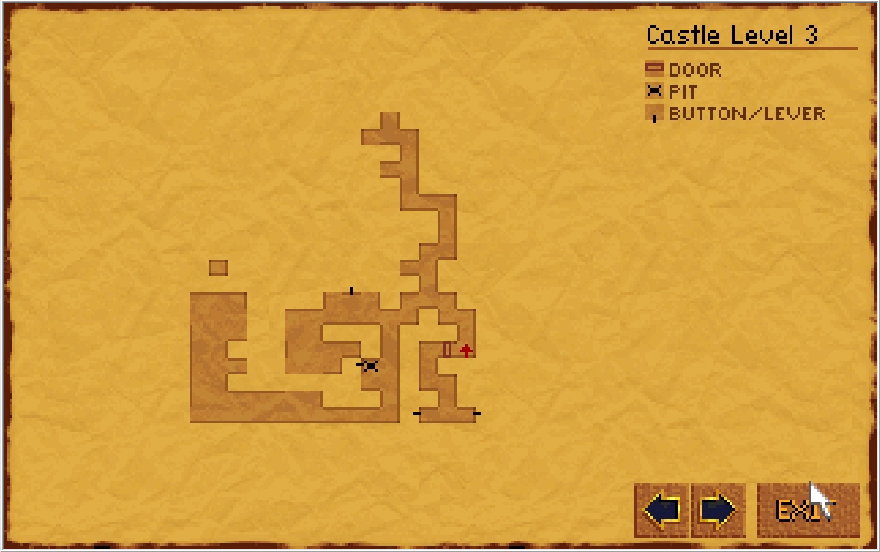
I elect to go northeast just to see if I find anything interesting, but both items we need to grab right now are actually situated in the southwest. I played this section hoping to find something new or interesting I had just simply neglected in my practice playthroughs, and instead ended up wasting about 10 minutes. How it be sometimes.
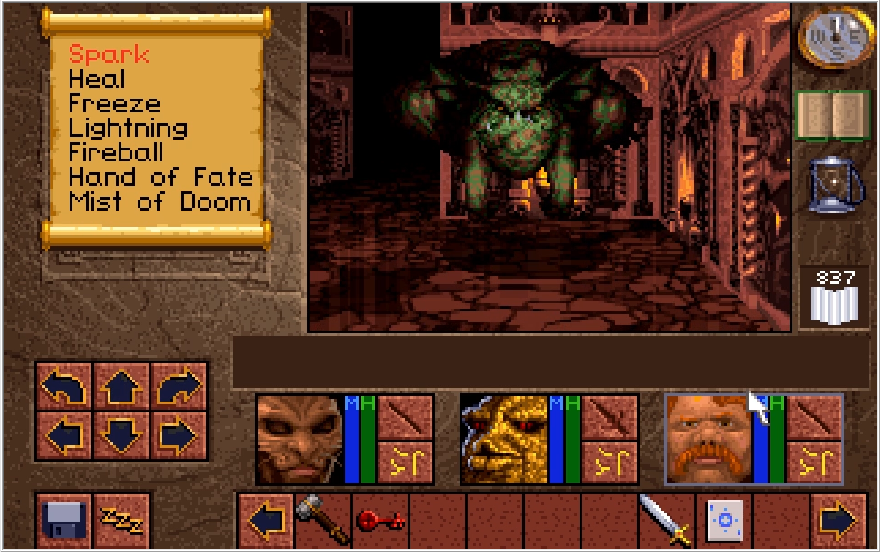
While this might seem interesting, we'd have run into one of these guys sooner or later. Say hello to the last new non-boss enemy, Toadulus!
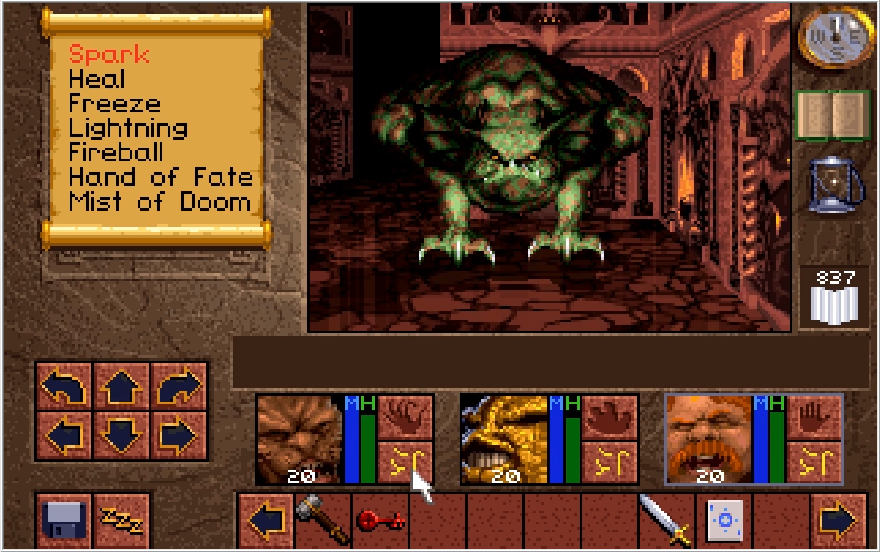
Toadulus is another enemy that can quake us, and it will do so without fail as soon as you reach melee range with it. Sounds bad, but it's melee strikes are pathetic and it seldom quakes a second time. Defeating it is simple.
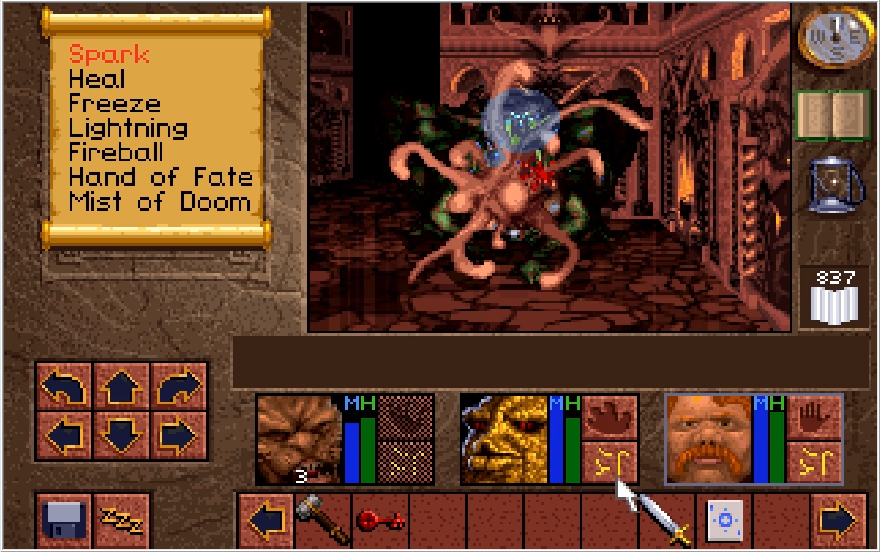
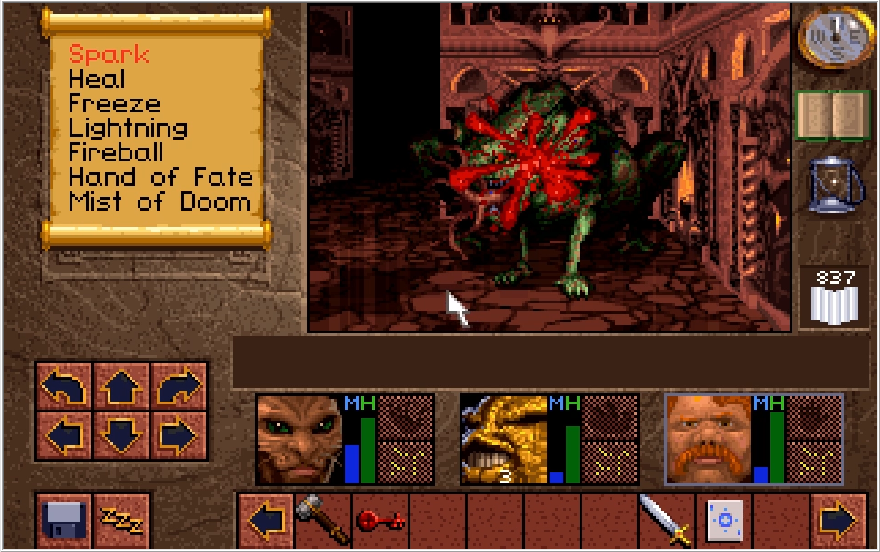
Just blast it with Spark 4 6 times and it'll keel over. The Spark spell stays winning! There's about 6 of these guys kicking around this floor, and they're all pretty spread out so it's safe to just rest where you stand after killing one to fully recover.
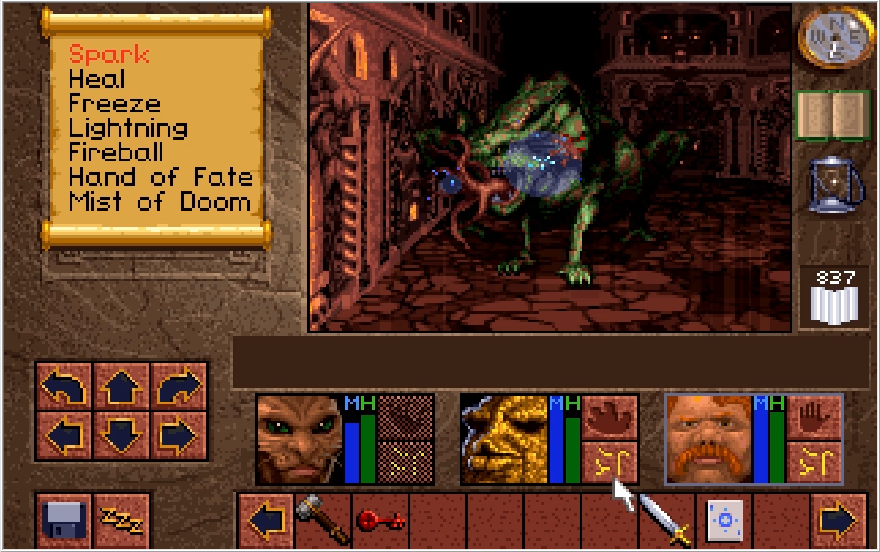
I quickly encounter a second one after resuming exploration and deal with it much the same.
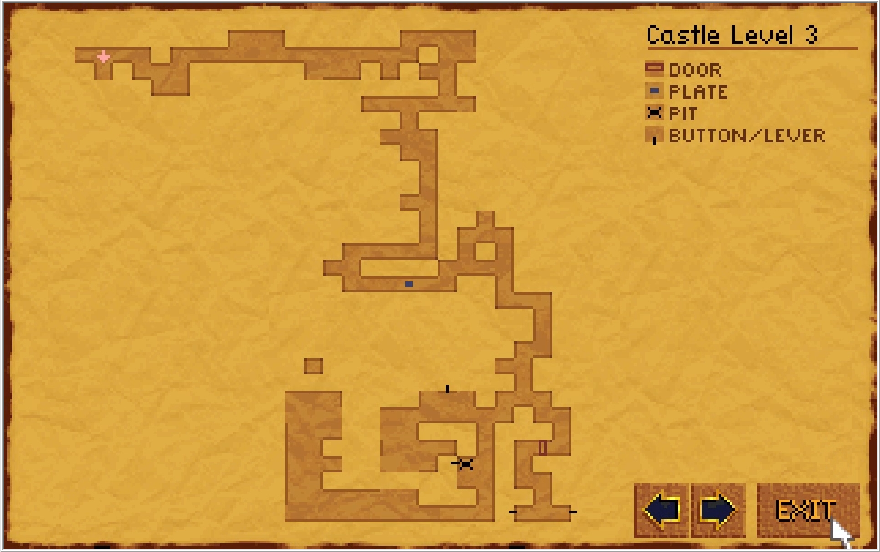
Beyond that, I saw a whole lot of nothing. Do take note of that path leading south in the north-center section though. That actually does lead to something, though we lack the necessary key for it at the moment.
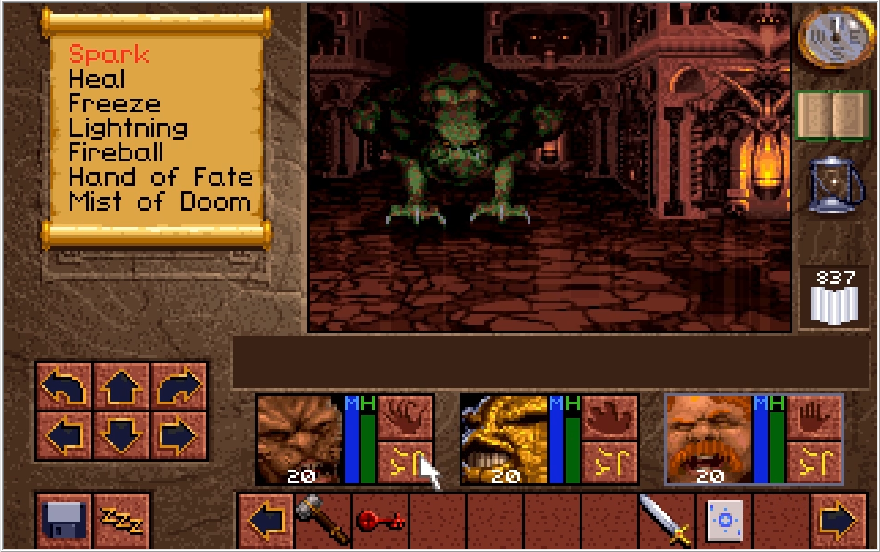
About the least fun thing this game has you do is re-equip yourself after you get quaked. I was pretty sick of that by the end of the Knowles Genocide, lemme tell ya.
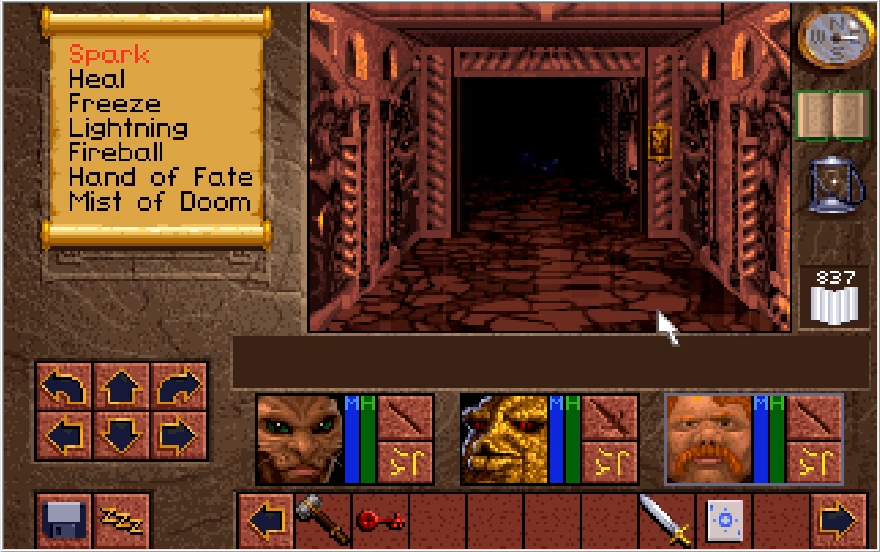
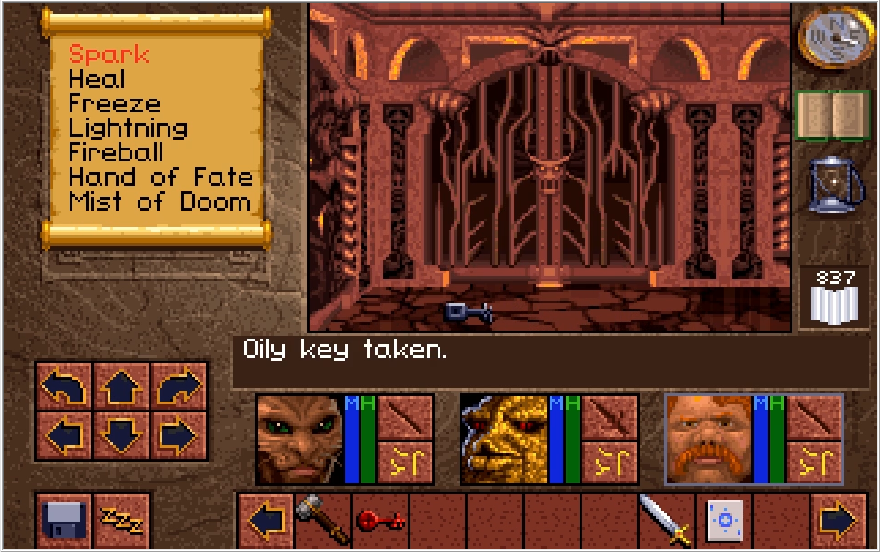
In an interesting shake up, we find a room that actually has something in it. And it's something functional too! The Oily Key pops open a chest on this floor, though it's not one that's critical to our progression. It can potentially be useful though depending on the items you have at this point.
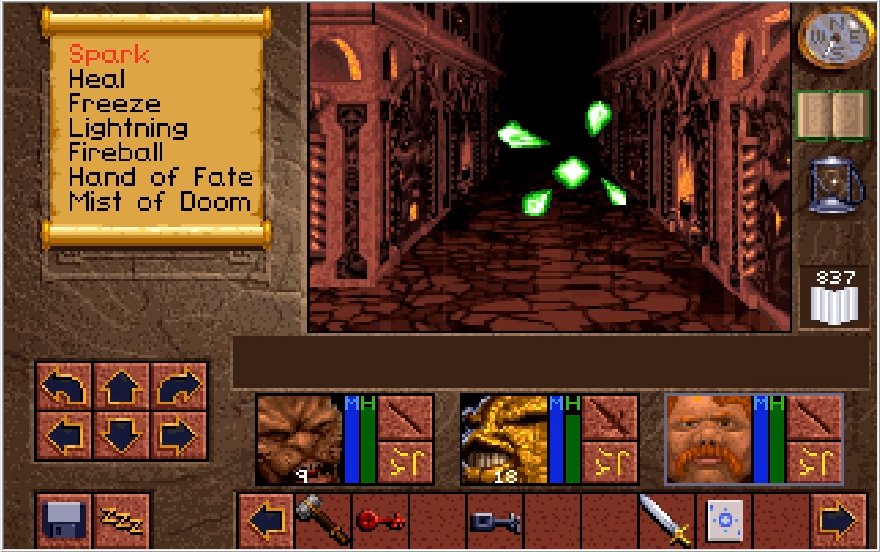
Wrapping around to the southwest, there's a handful of tiles that trigger projectile traps in the winding halls. Nothing too threatening to us at this point.
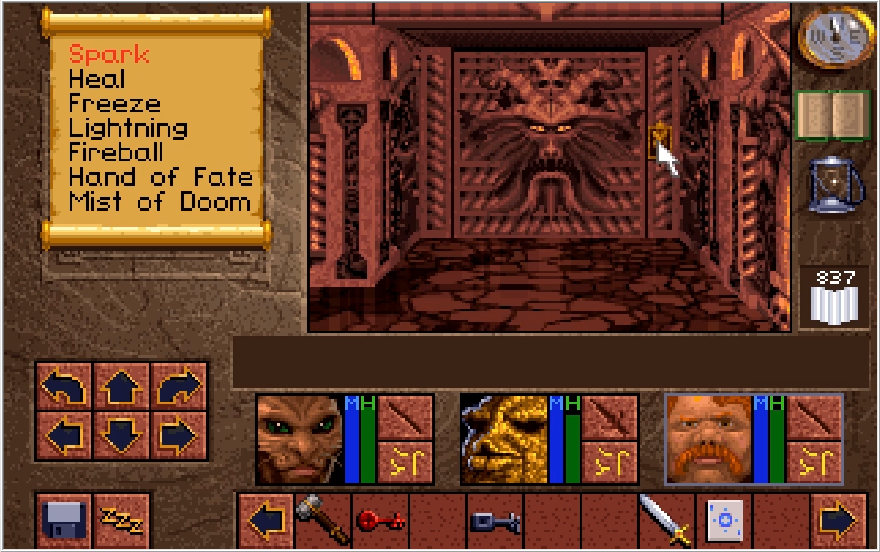
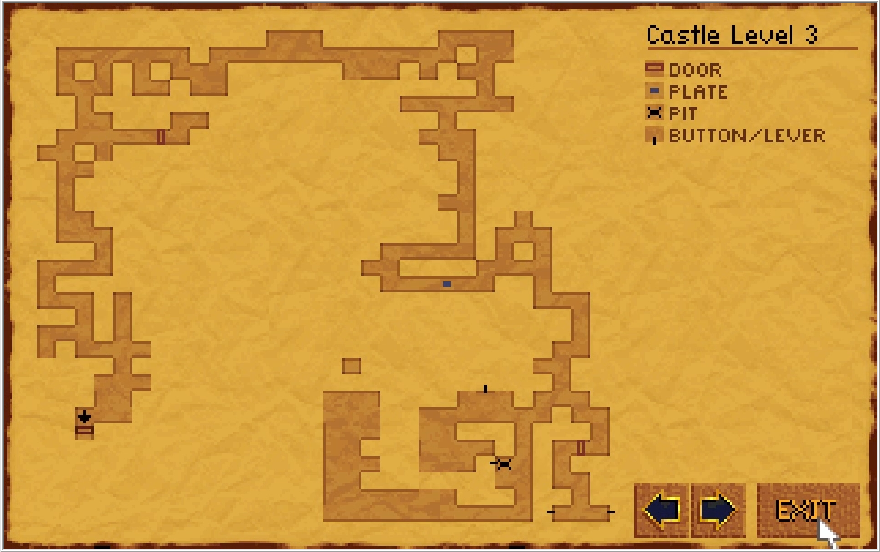
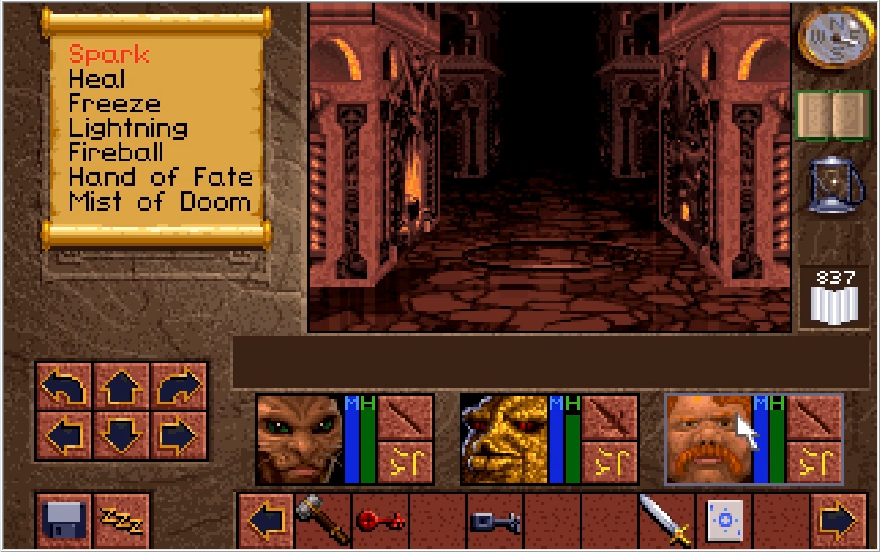
After a whole load of meandering, I've reached the second critical point of interest! This is a puzzle room of sorts. Disregard that pressure plate in the center of the room, it just closes the door when you step over it.
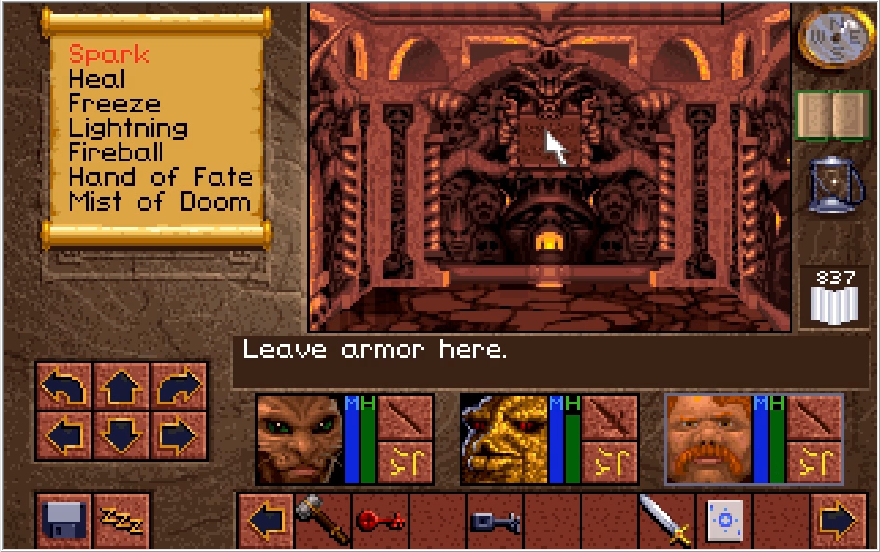
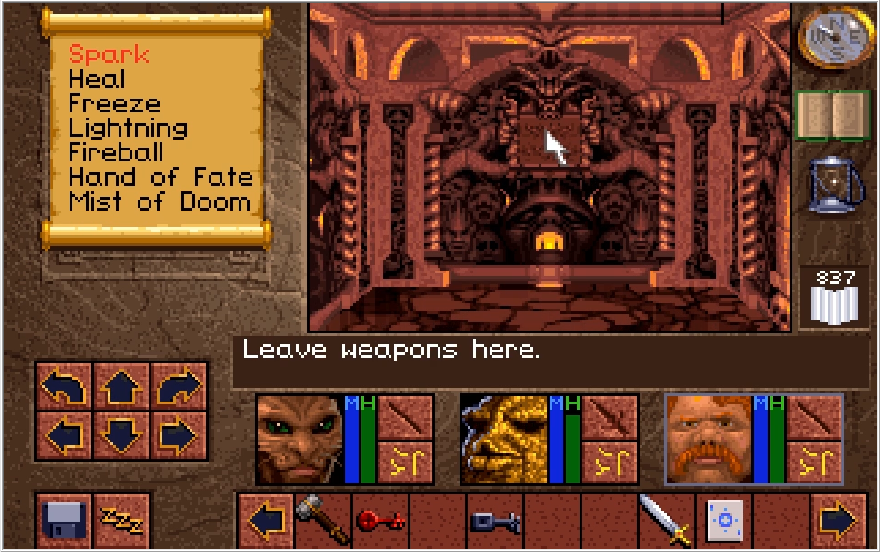
The east and west walls each have two indents containing signs, while the southern end of the hall seemingly has nothing. Each sign requests a different type of item.
This one is pretty misleading, even moreso than the rest of the signs for reasons I'll talk about shortly.
Now depending on how you read these signs, you might think the solution to this puzzle is to drop every single item you currently have that fits the listed criteria under the corresponding sign. While weapons and jewelry would be straight forward enough, the armor sign does raise questions of whether or not they mean just body armor. And does it have to be every item we hold currently, or just the stuff we're equipped with? Do Bezel cups count as medicine for the medicine sign?
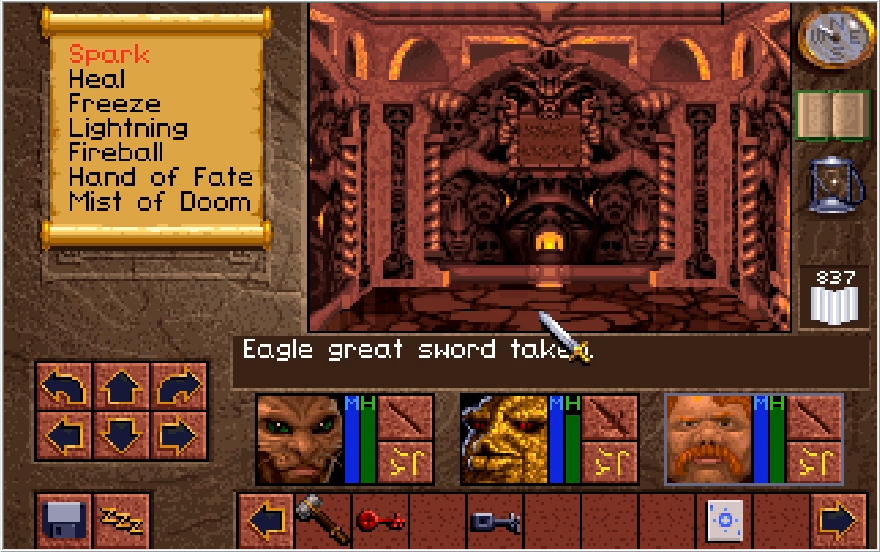
Mercifully, the actual solution is much simpler. You just have to leave one relevant item under each sign in order to solve the puzzle. Whether the signs were poorly written or deliberately misleading is up for your interpretation.
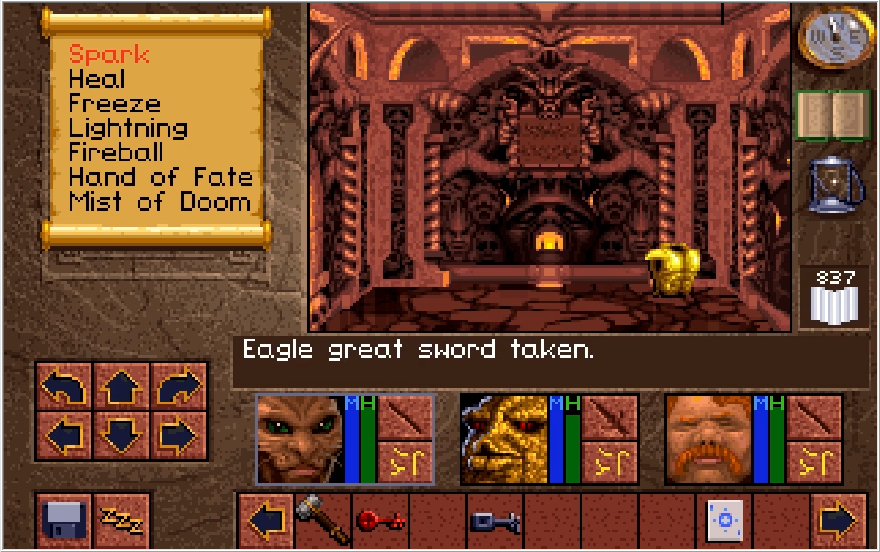
Where things get a little tricky even if you know you only need to leave one item is the medicine sign. You'd think Bannon's Reserve would count for this, but what the sign actually wants is an item that heals HP specifically.
Bezel cups do actually fit this criteria, even if they don't really evoke the idea of medicine in the traditional sense. I know what you're thinking, what if you reach this point without any HP restoratives? Thankfully, they did actually account for this so you wouldn't have to drag your ass all the way back to Sadie to buy a Salve. We'll see how later.
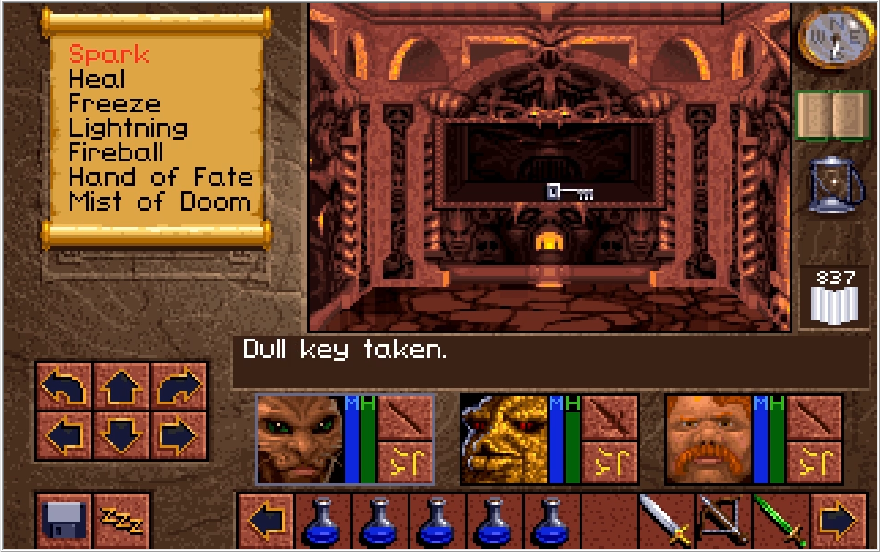
One we fulfill the requests of the signs (kinda), an alcove opens up in the southern indent and we receive a boring key. I'm sorry, a Dull key.
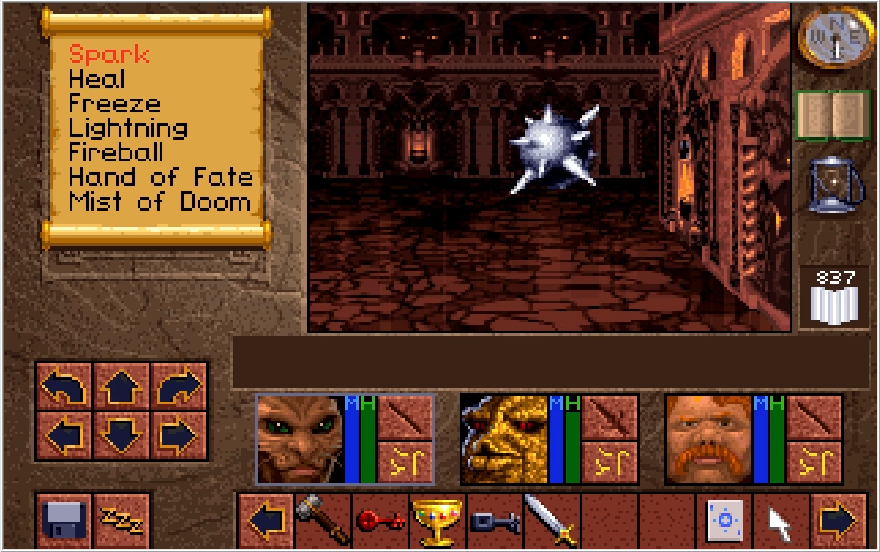
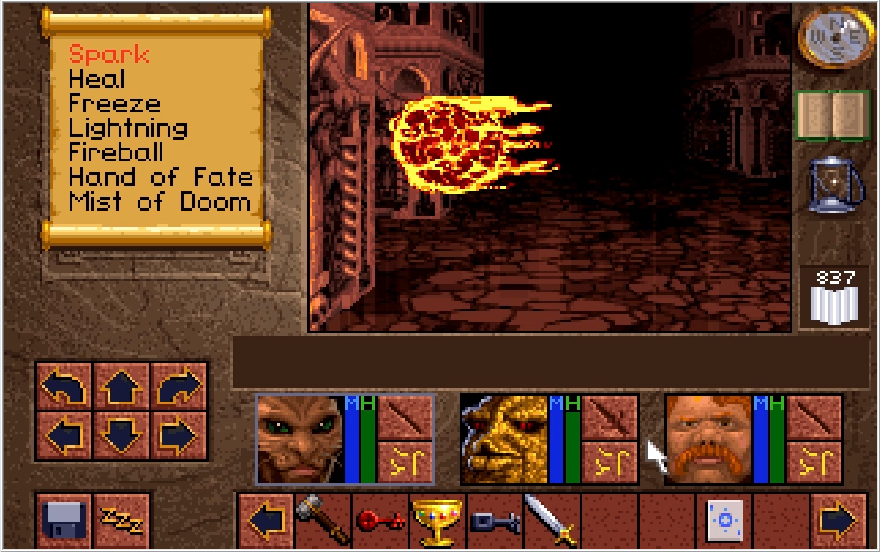
Making our way back to the endless projectile vomit, we stop by the fireball trap. This one trap is guarding the third critical location of this level. Now we could just tank all the fireball damage while grabbing the item we need, but there is actually a way to do this without suffering any damage.
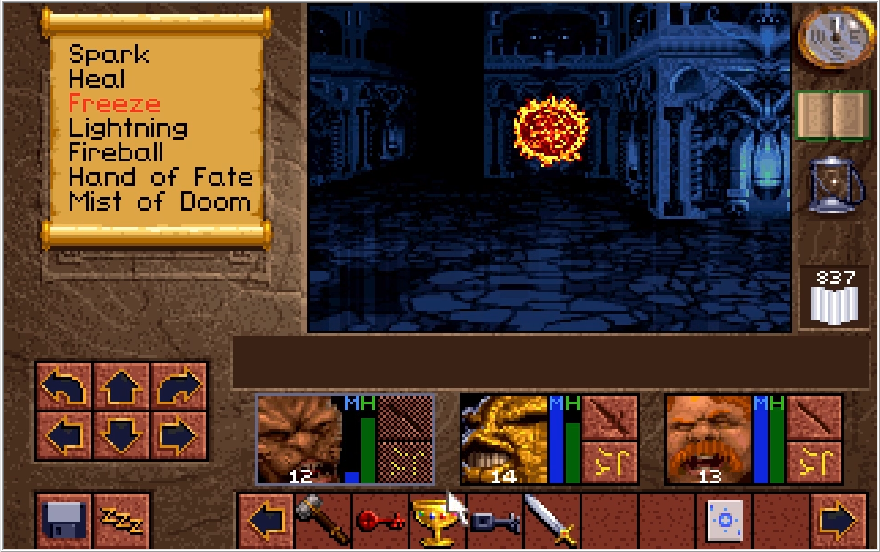
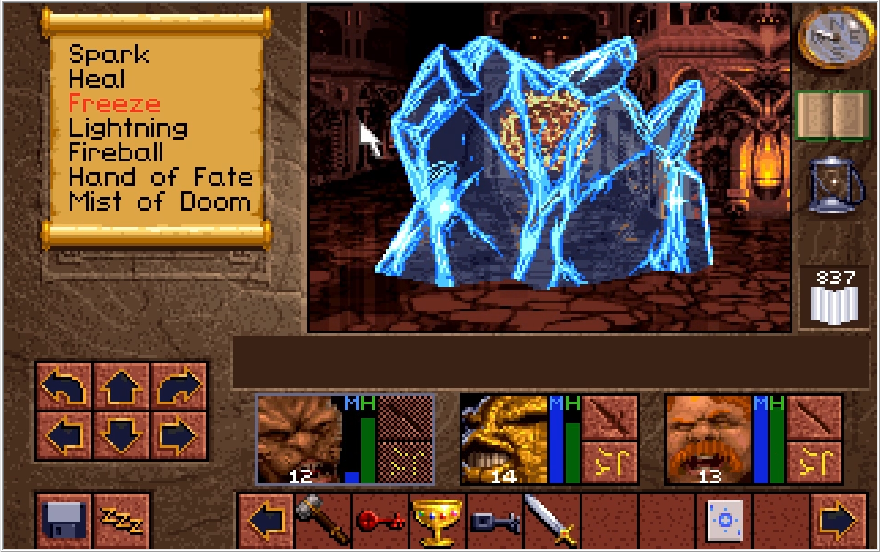
This is the one time the Ice Wall from Freeze 4 can actually be put to a practical use. Though you'd think it wouldn't, it can actually block the fireballs for us while we grab the key. It won't be breaking anytime soon. Yeesh, that's a level of durability that would make it more appropriate for sinking the Titanic than for icing amazons.
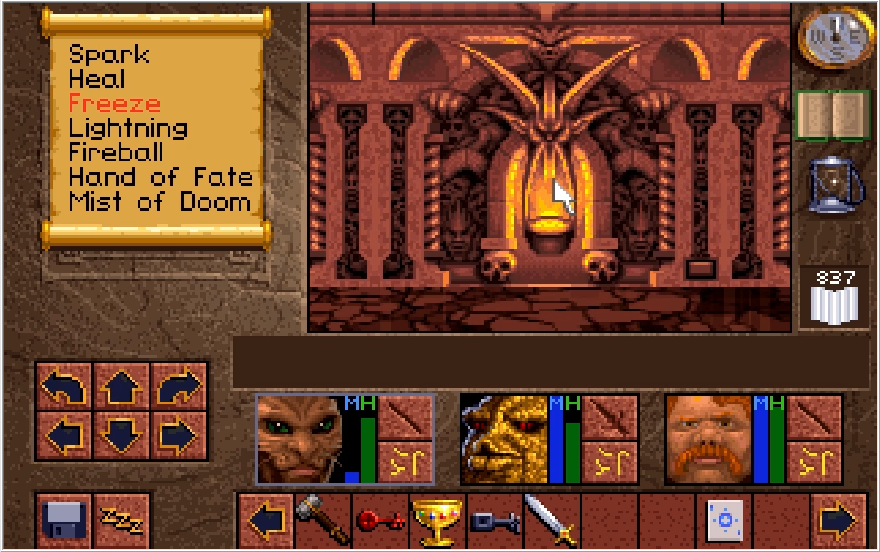
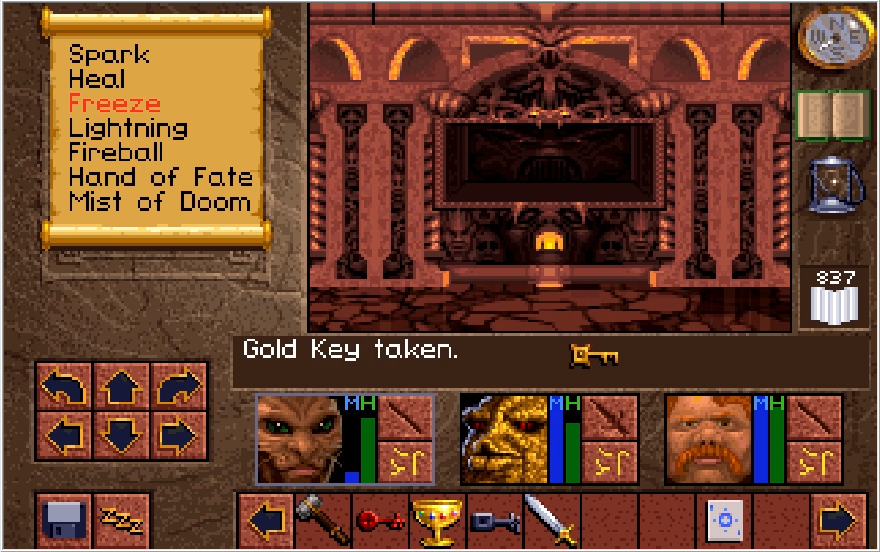
Heading into the hall that the trap guarded, we get a Gold Key. I'm just now noticing how inconsistent the game is about whether or not it'll capitalize both words in two-word key items. Disregarding that, this is one of the keys we need to reach Scotia. Not something we need immediately, but we may as well just get all the keys we need now so we can wrap up the game ASAP when we return to this floor.
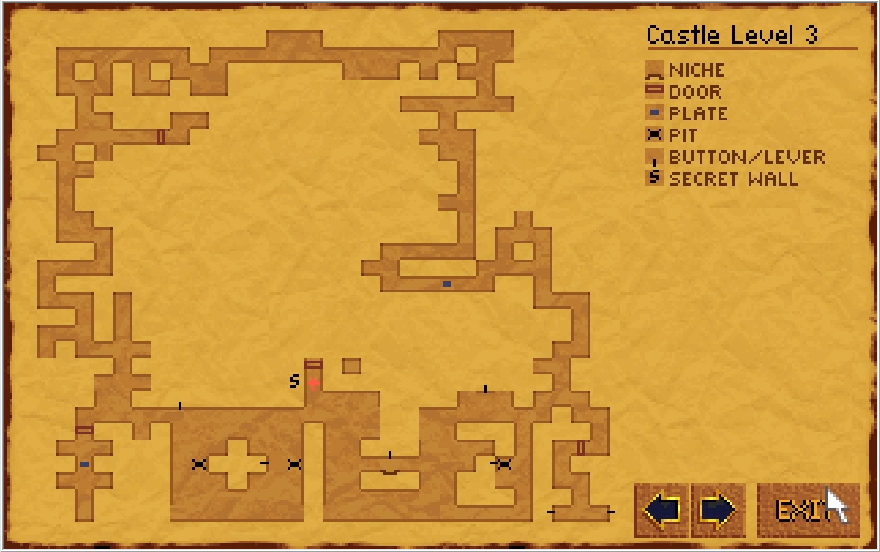
Speaking of Scotia's chamber, I'm right under it now. There's also a secret wall here, containing goodies for us should we want them.
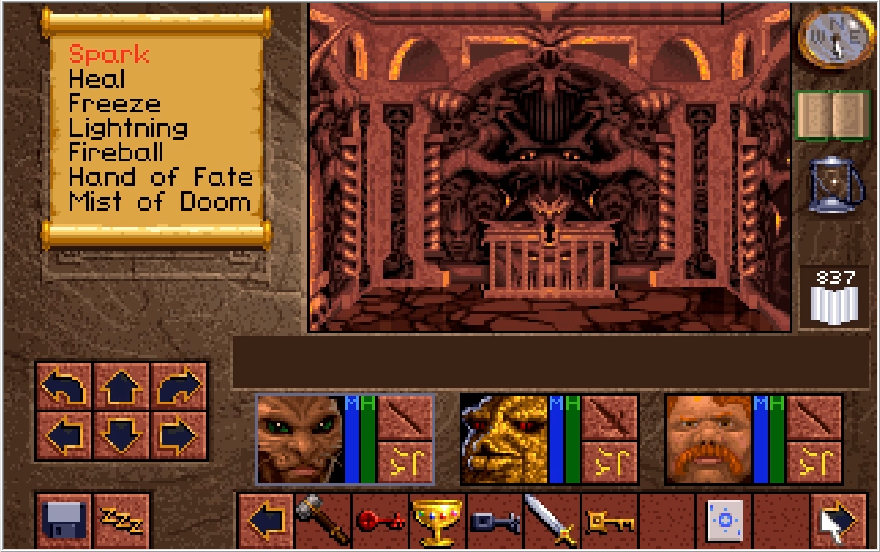
I'll never pass up goodies when they are offered to me!

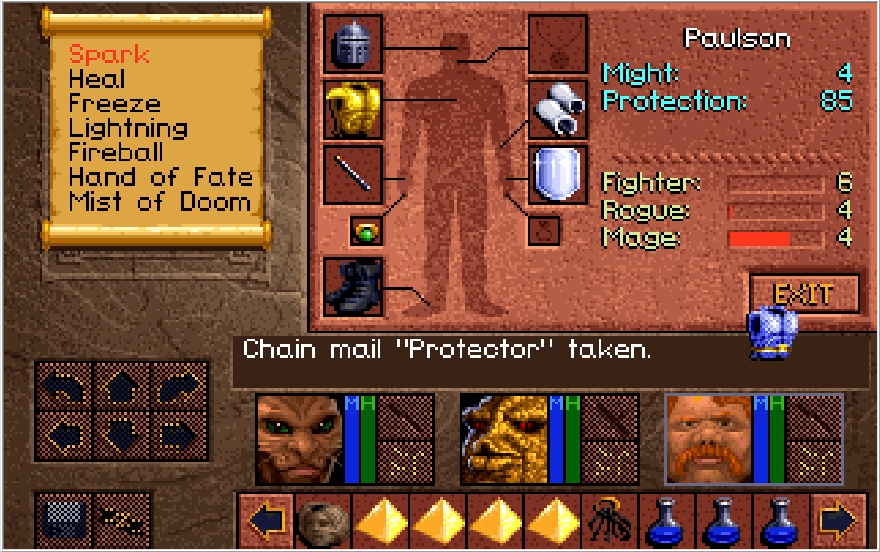
The chest contains the strongest bow in the game, the Arbalest Eternity. Cool, but being the strongest bow at this point in the game is about as useful as being the tastiest Nintendo Switch cartridge. Slightly more helpful is the Bastion Plate Mail. It's identical to the armor Kieran and Baccata have, but it's a small upgrade for Paulson.
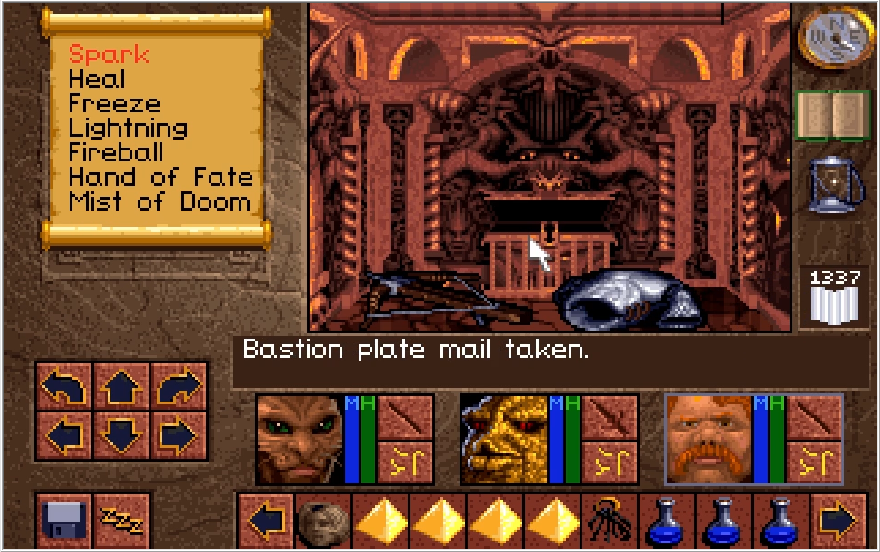
The chest also contains 500 useless crowns. The Gorkha Witch Doctor should look into franchising, I'd have totally bought more Fireball Wands if he had a kiosk here.
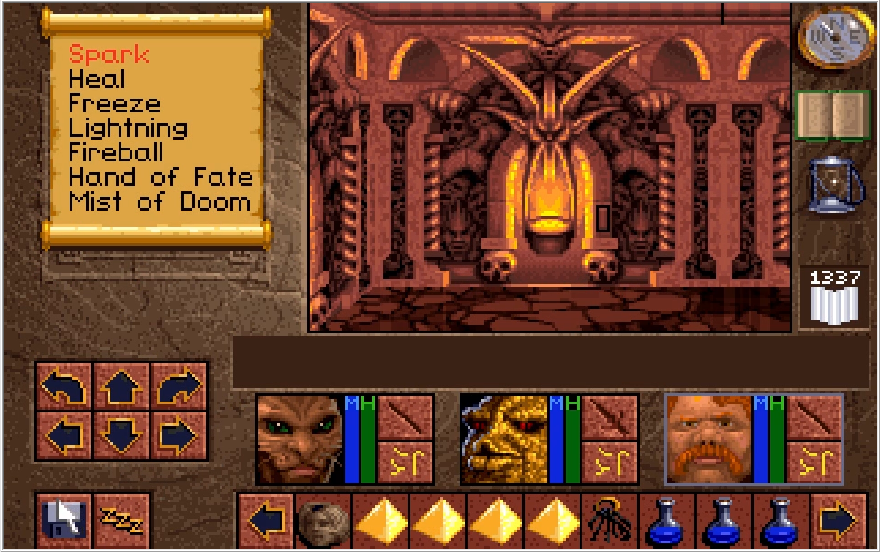
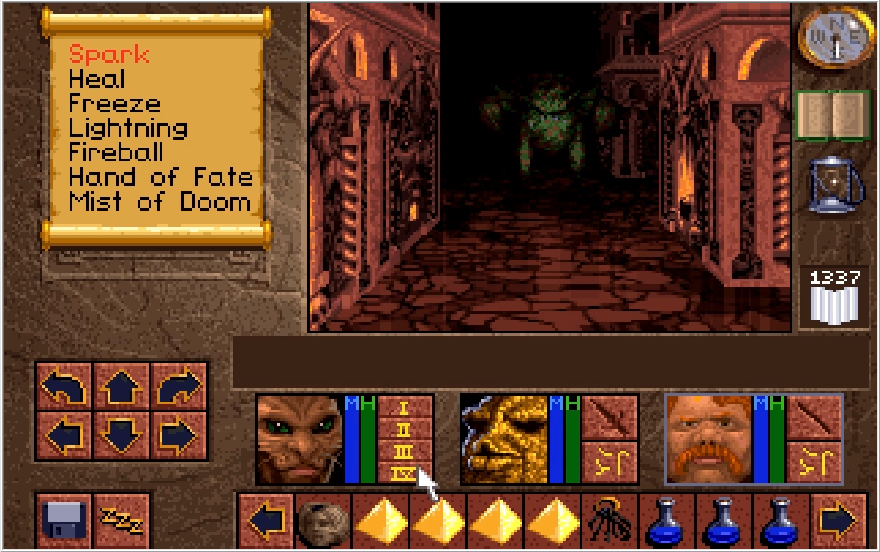
There was also a switch nearby that opened up the wall to reveal a Toadulus. This one started moonhopping away from me, but it was not able to dance away from my wrath.
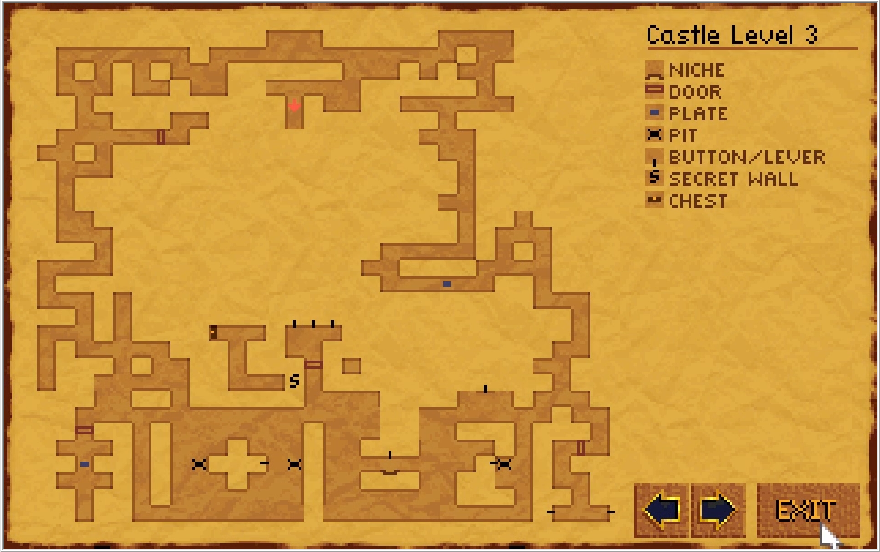
Now that we have the Dull key, we can go down that path in the north-center I mentioned earlier.
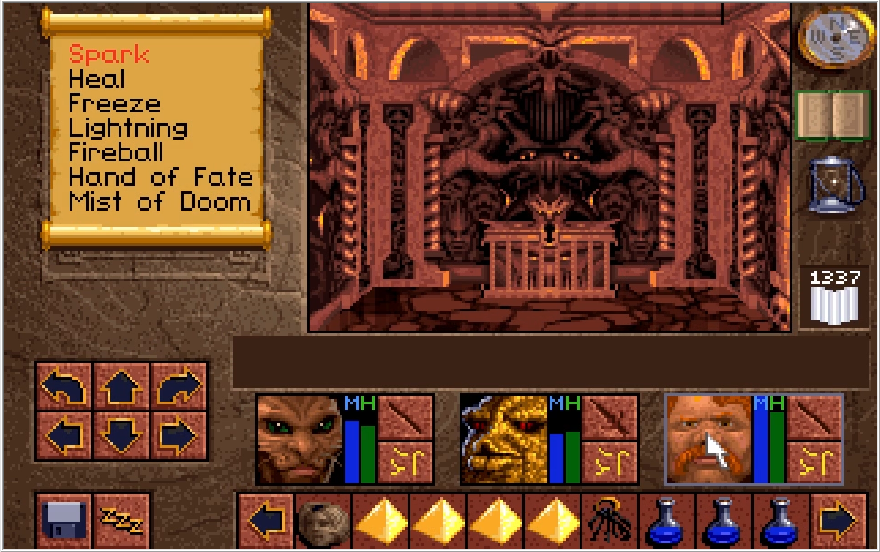
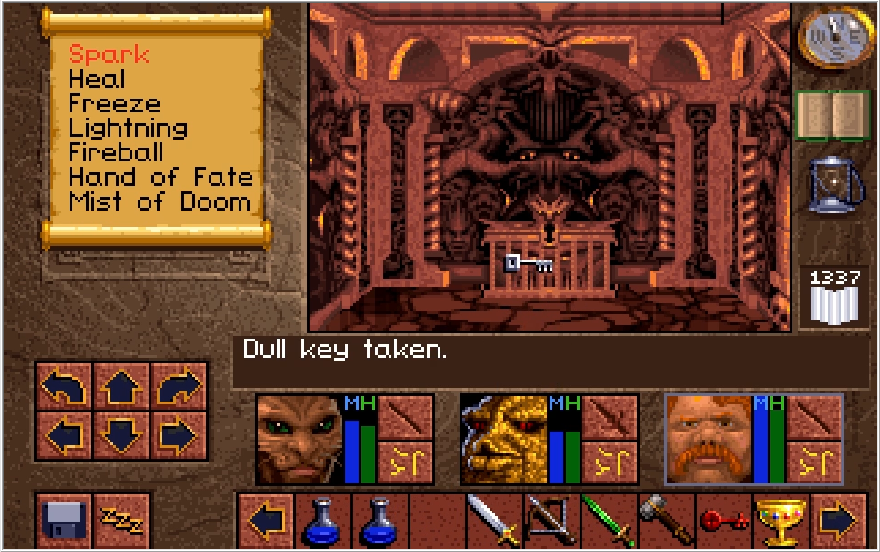
This chest cannot be picked nor smashed, it must be opened with the Dull key. All chests in Scotia's lair cannot be smashed, for that matter, and most of them require at least Rogue 4 to be picked if they can be. Not that it really matters, we haven't gotten anything too world shattering up to this point.
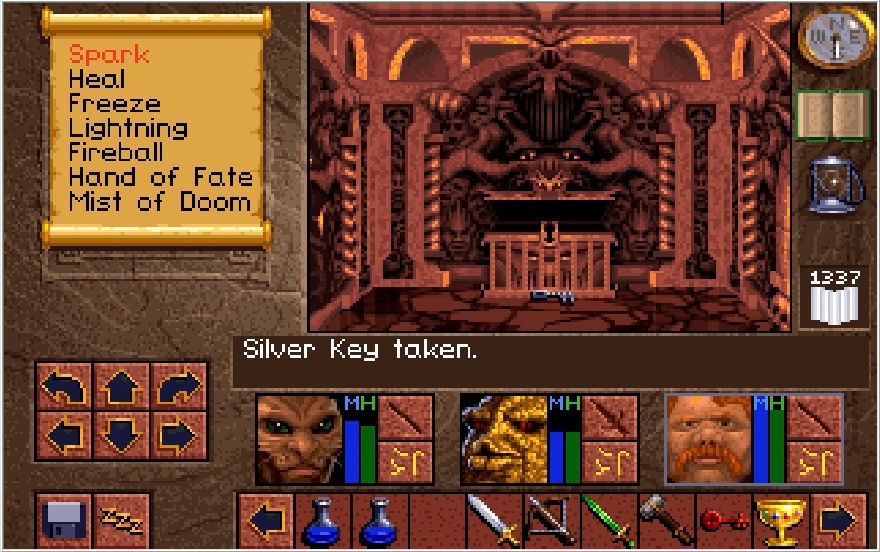
We trade our Dull key for a Silver Key, the other key we need to reach Scotia! Let's just tuck that away for later. There's also a Salve and a small pittance of crowns in this chest, but that's not important.
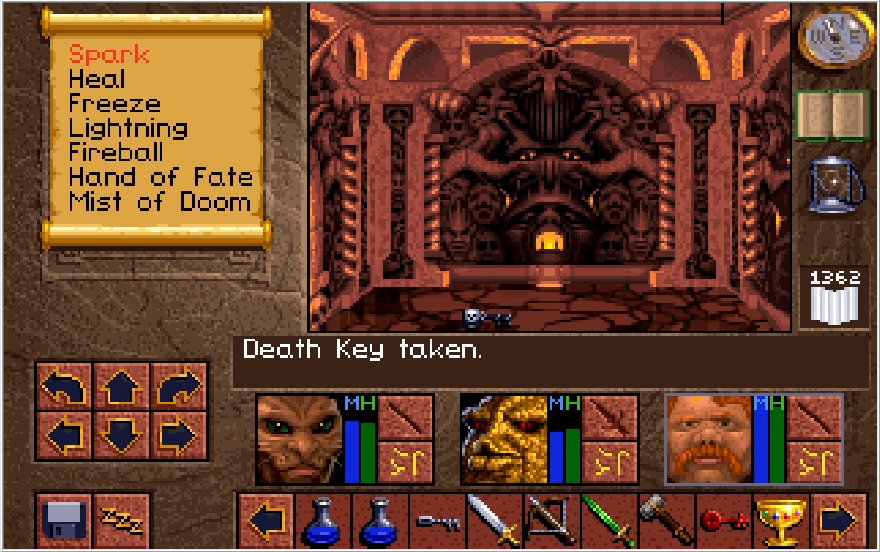
We can leave the floor with no issue at this point but I decide to explore some more. If this Death Key unlocks anything, I have no idea where to actually use it.
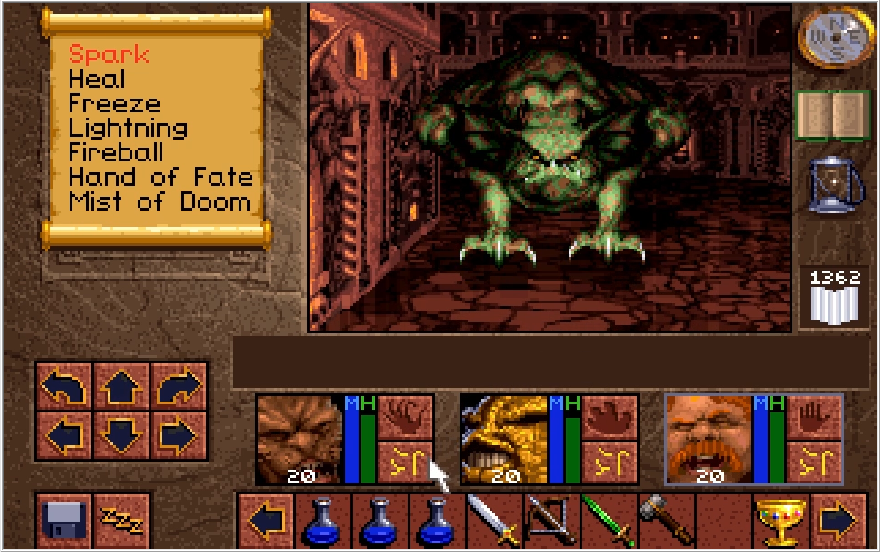
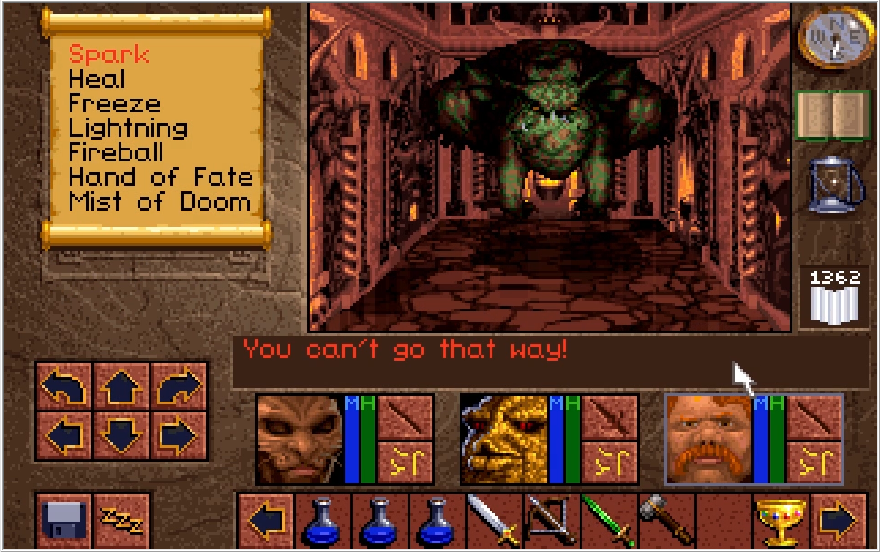
My spelunking rewards me with little more than giant toads forcing me to drop my shit. It would be kind of cool if these guys gave out ridiculous amounts of EXP so you could polish off another level or two, but sadly you won't ever see an attribute break past Level 6 without a serious concentrated effort.
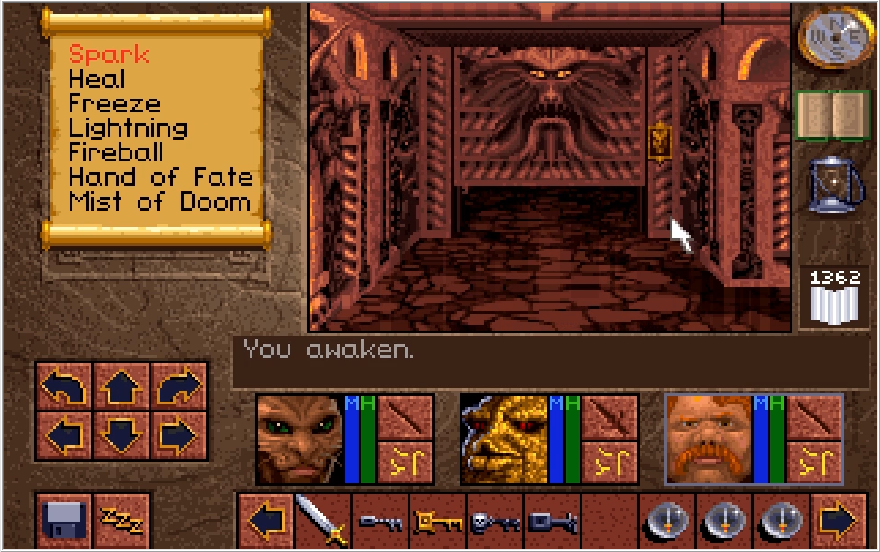
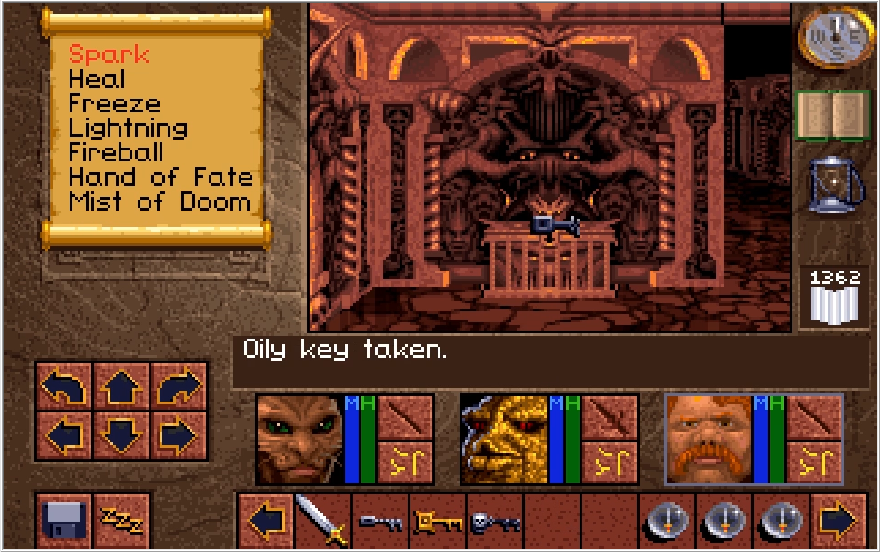
I do eventually find the correct chest for the Oily key, at least. I like to imagine Kieran really fumbling with this grease soaked key to try and get it in the lock.
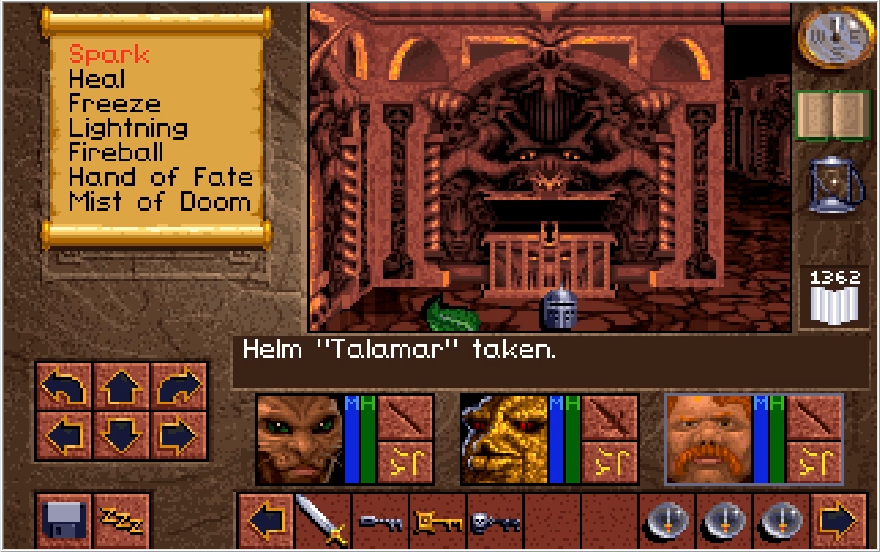
Among its contents are a Helm Talamar and a Ginseng. The Ginseng can be used for the medicine sign if you don't have any HP restoratives, which is a nice consideration. The Helm on the other hand?

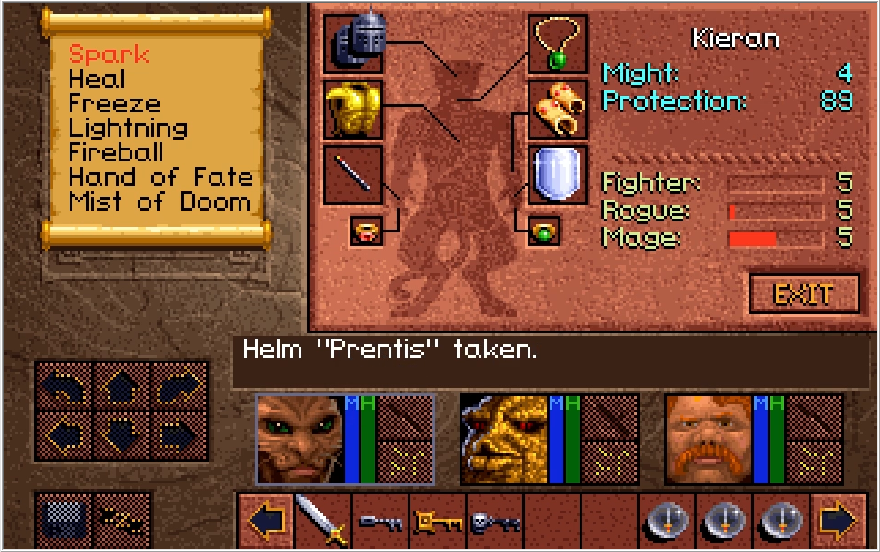
Vastly inferior to every other helm we already have. I think that's protection on par with the vanilla Helms we got at the start of the game! Now I'm mad, let's get out of here.
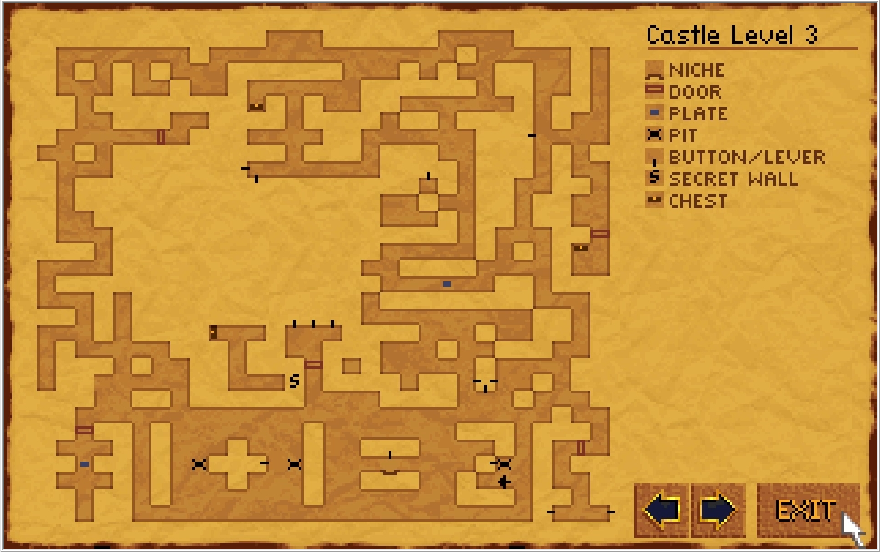
Before we plunge down a pit to return to level 2, take a close look at the fully filled southern section on the Atlas. That's almost cute, too bad you're not liable to see this before you actually solve the puzzle. It wasn't until I was recording for this segment that I even became aware of this detail.
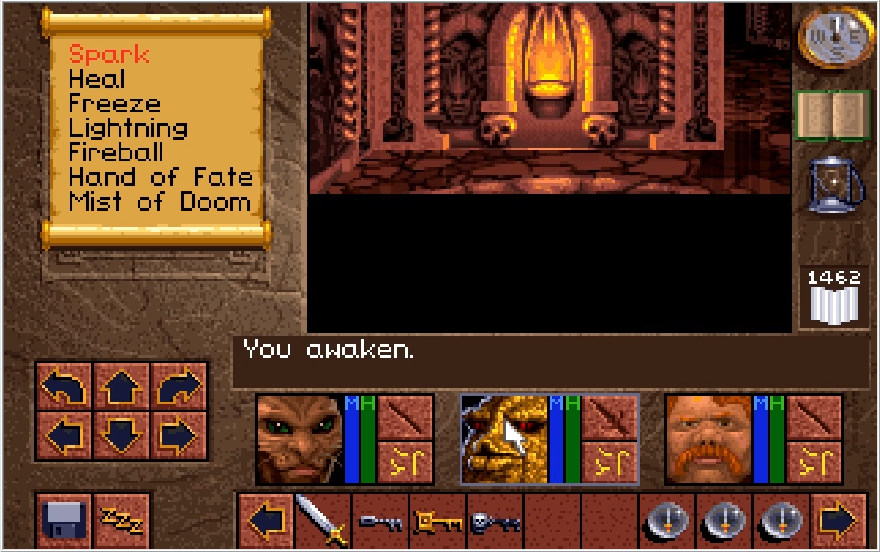
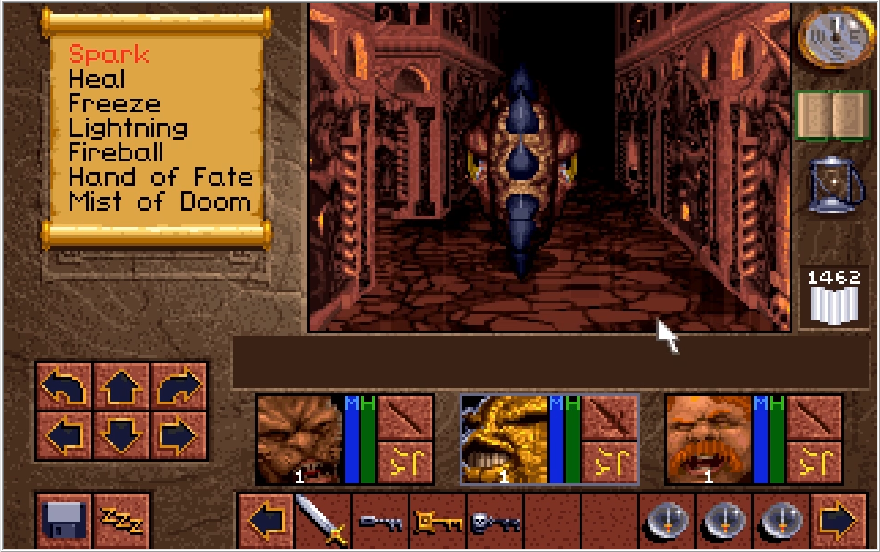
The game decides to throw me into a panic when I drop down to Level 2 as it places me right in front of a fucking wheel that's mid-swing trying to burn my armor. Thankfully, I was able to unequip my stuff and fry it before anything got burned. Now that we have the final figurine, let's return to that lock from the previous update and use our Carrion Key on it.
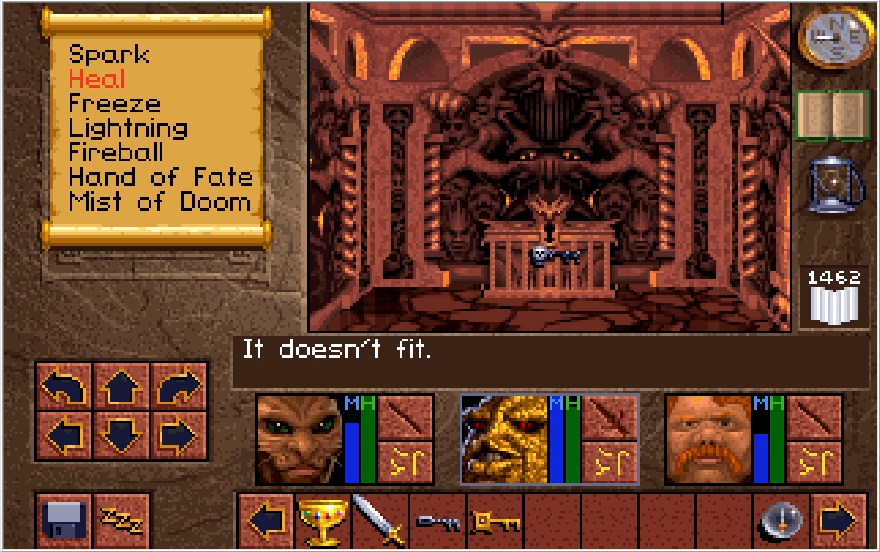
I also tried the Death Key on the Westwood Staff chest and was left disappointed.
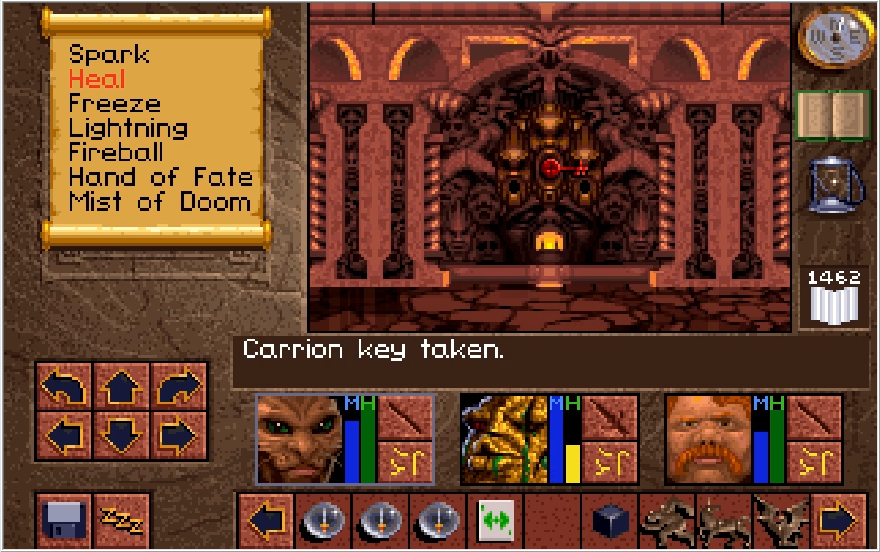
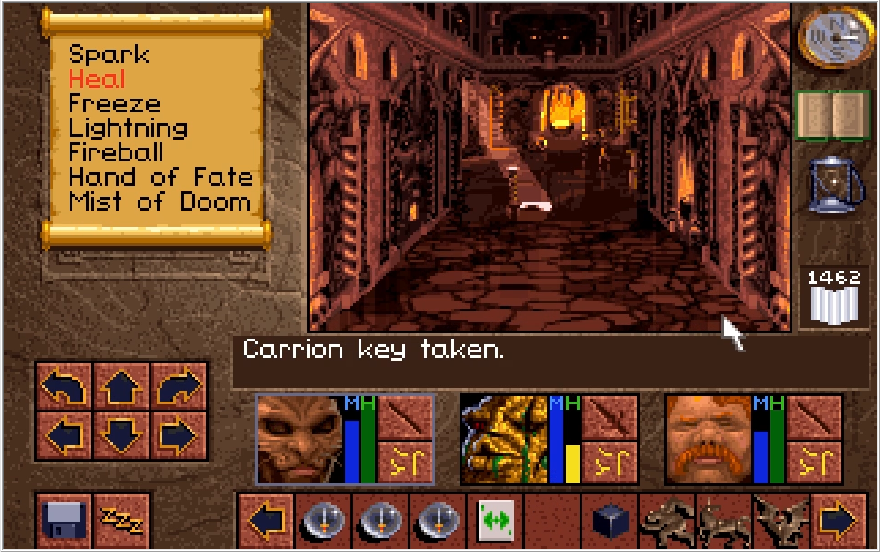
With a turn of the Carrion Key, a new chamber is opened to us!
Music: The King's Room (why is this song 6 minutes long jesus)
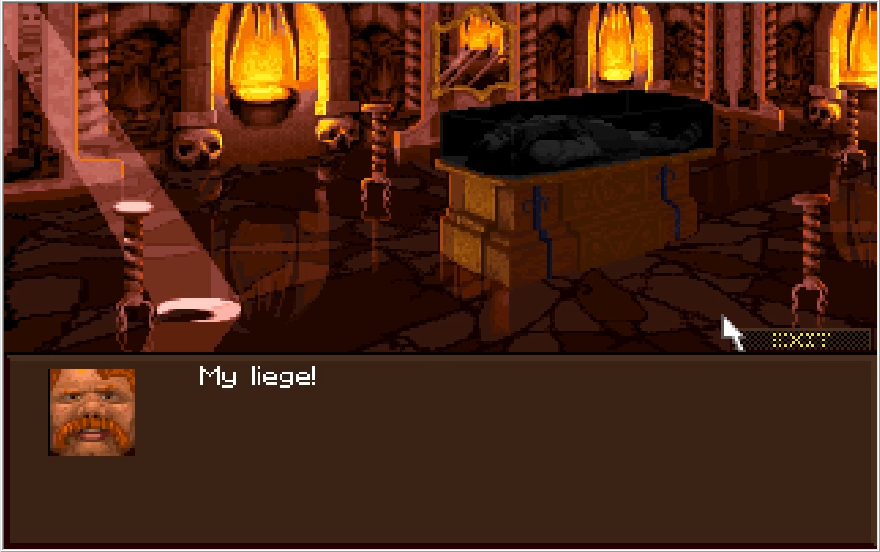
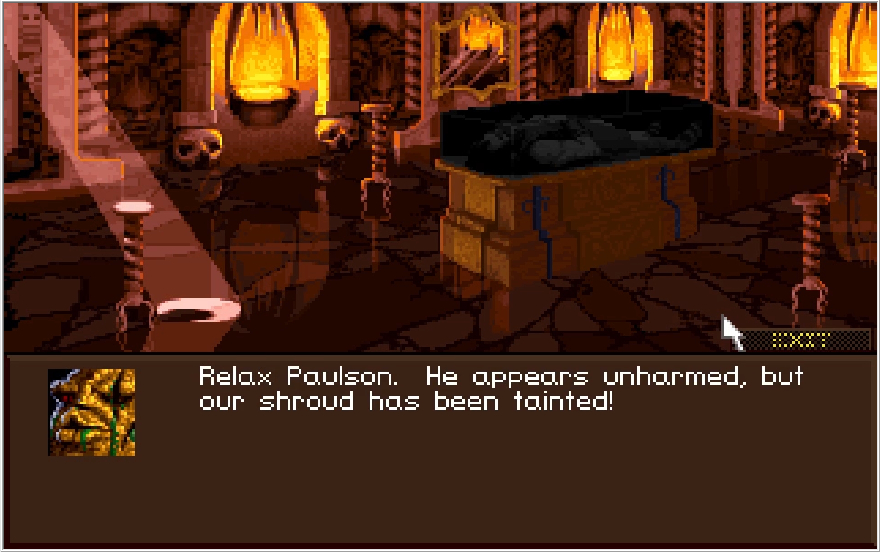
Paulson suddenly remembers that he exists with a loud proclamation, and Baccata has to tell him to chill the fuck out.
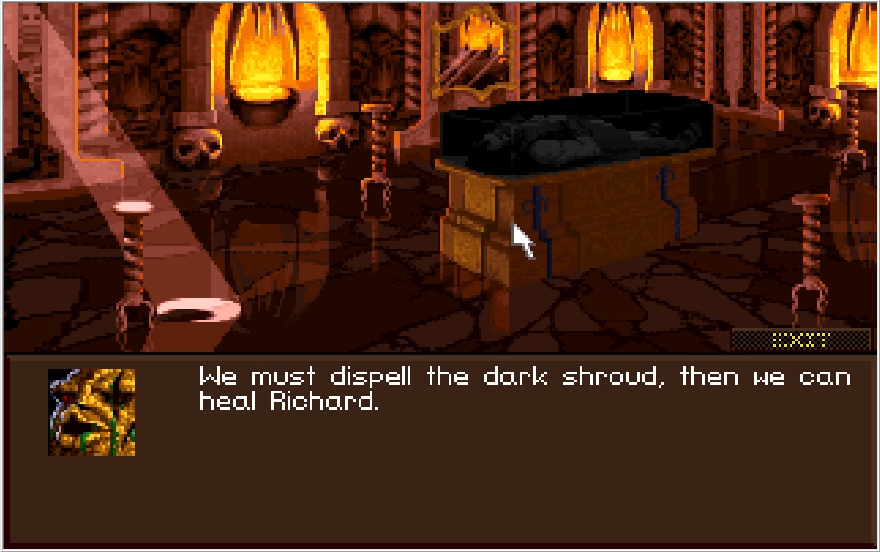
But how do we do that? Well past King Richard, you've probably also noticed the pedestal with the conspicuous light pouring onto it.
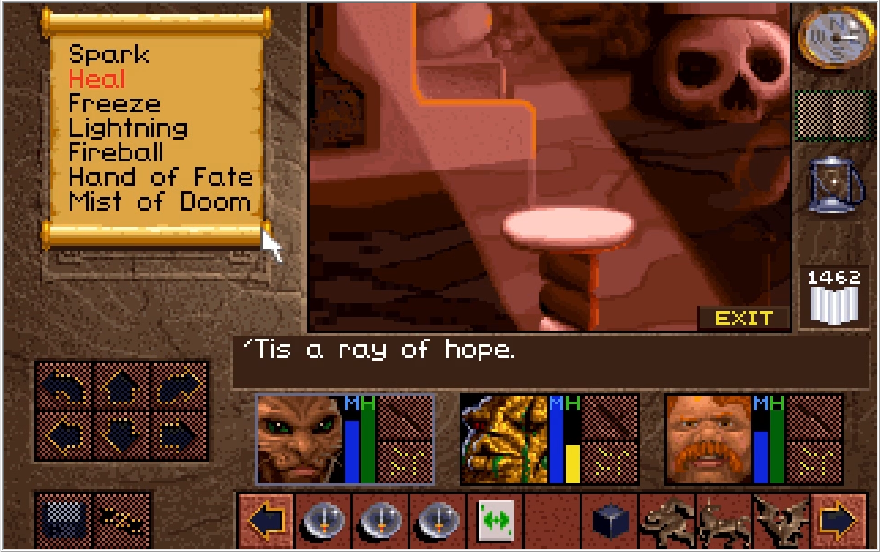
Certainly an unusual sight for this place, Paulson.
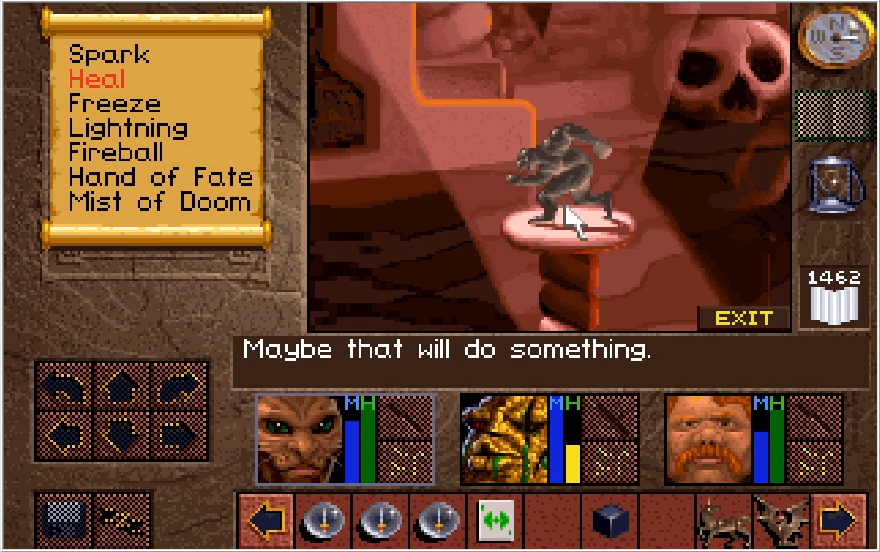
Now we can place our figurines on the pedestals, but each one requires a specific figure to properly direct the light.
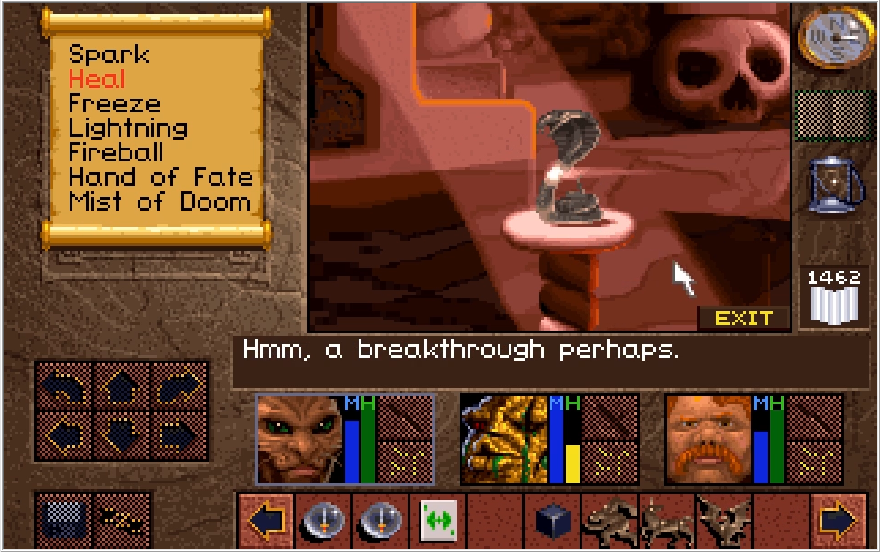
For this first one, the Cobra figure does the trick.
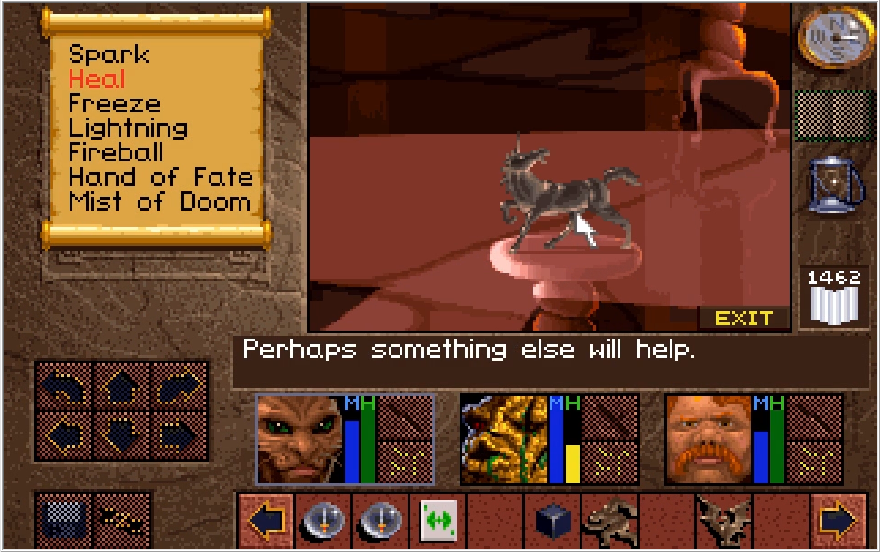
Each time you place the correct figure, the light beam connects to another pedestal in the room.
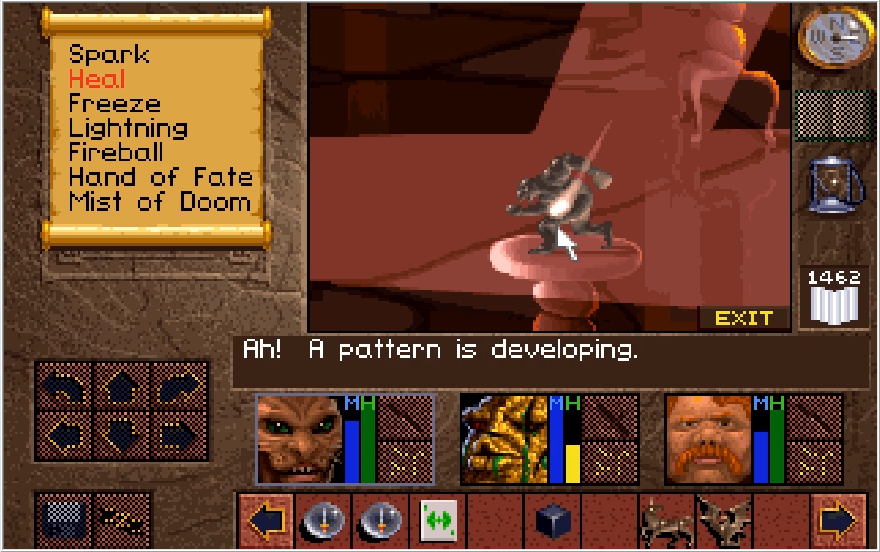
I assume he just means with the path of the lighting, because I have no idea how the order you place these figures in is supposed to make any sense.
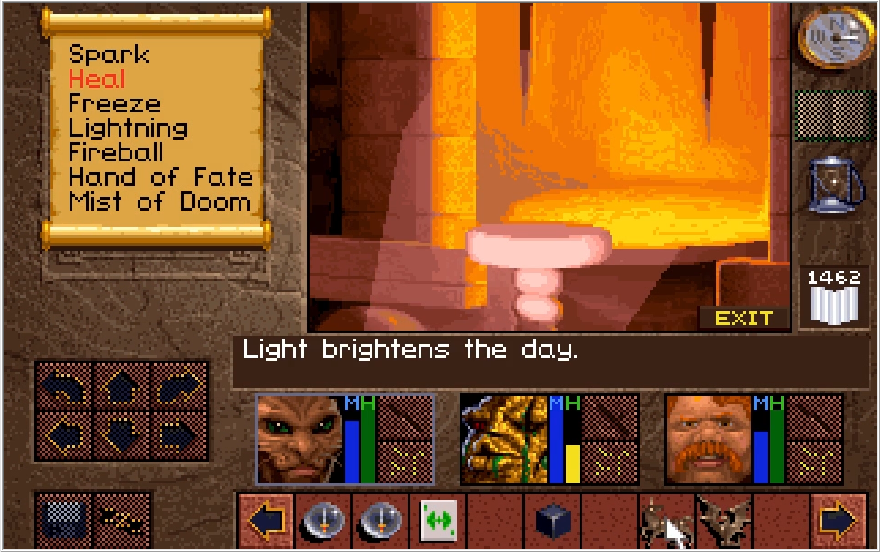
I think Paulson speaks about as many lines in this room as he has spoken since joining the party. Good to see he's got some life left in him.
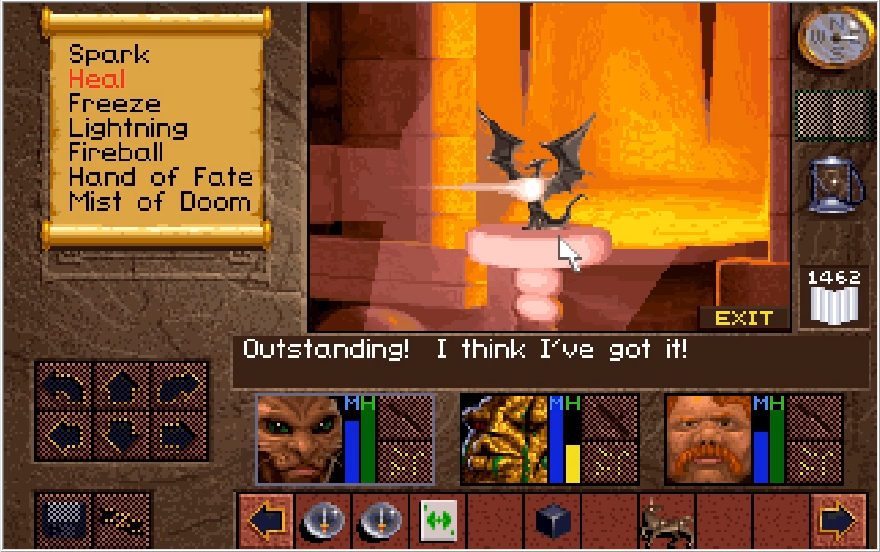
Like I guess I can kind of see the connection between a Cobra figure and a humanoid figure, not quite the snake I imagine when I think of temptation but I suppose there is something resembling a theme there.
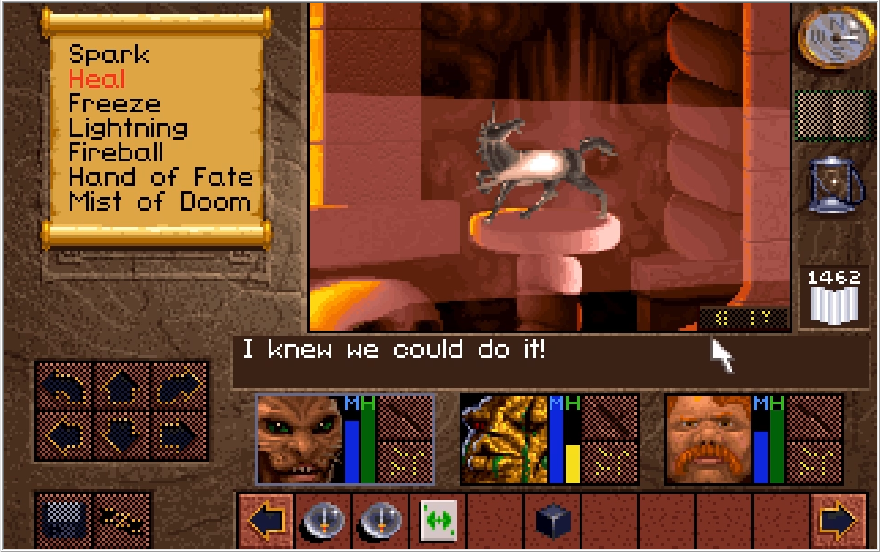
How humanoid connects to dragon which then connects to unicorn is a mystery for the ages. Post your theories!
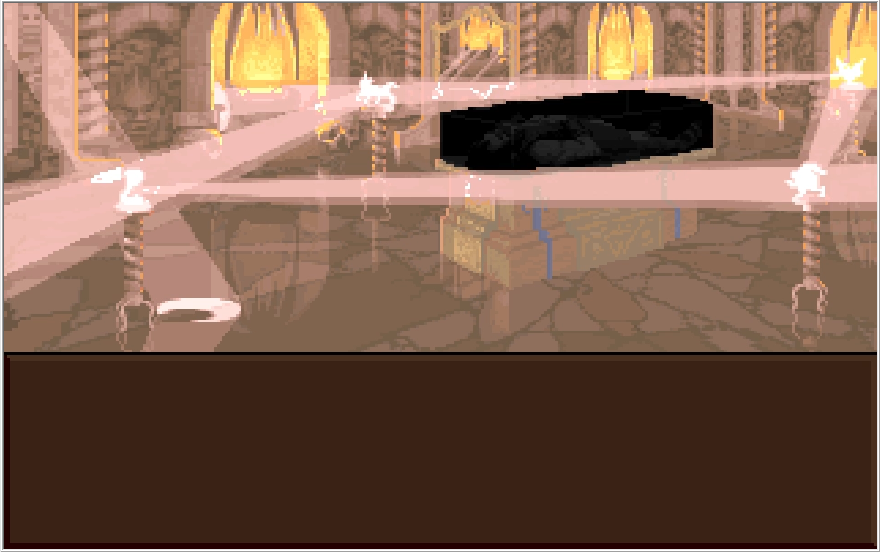
Oh yeah and once you place all the figures the room lights up like a Bandai-Namco splash screen and the corrupting shadow is banished from Richard's shroud.

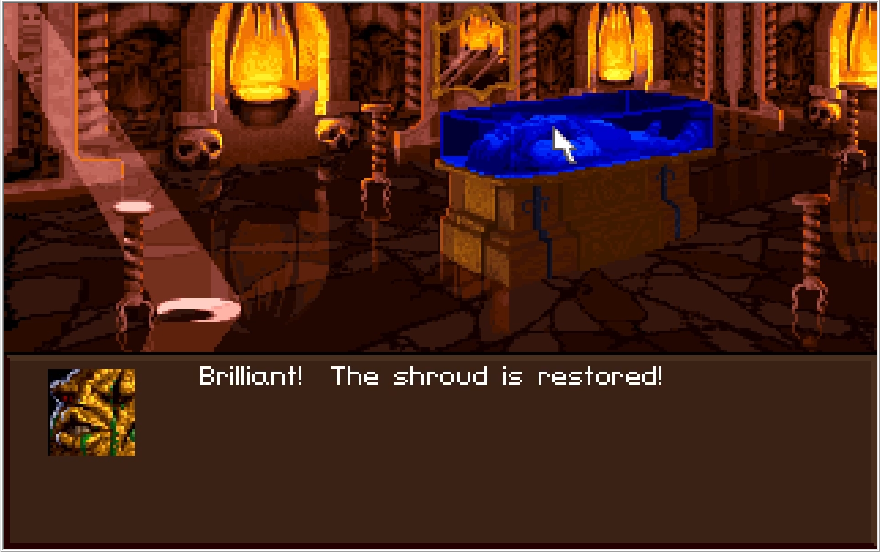
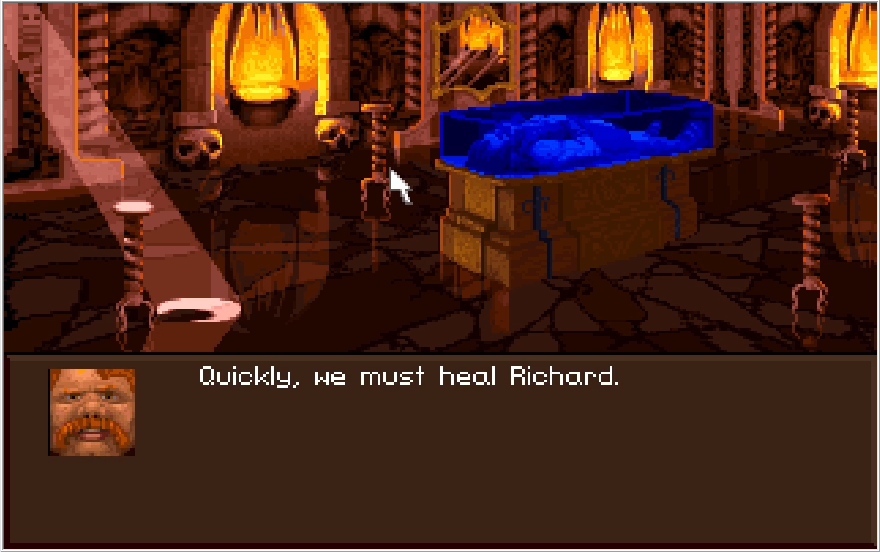
The resolution of one fetch quest immediately feeds into the conclusion of two others!
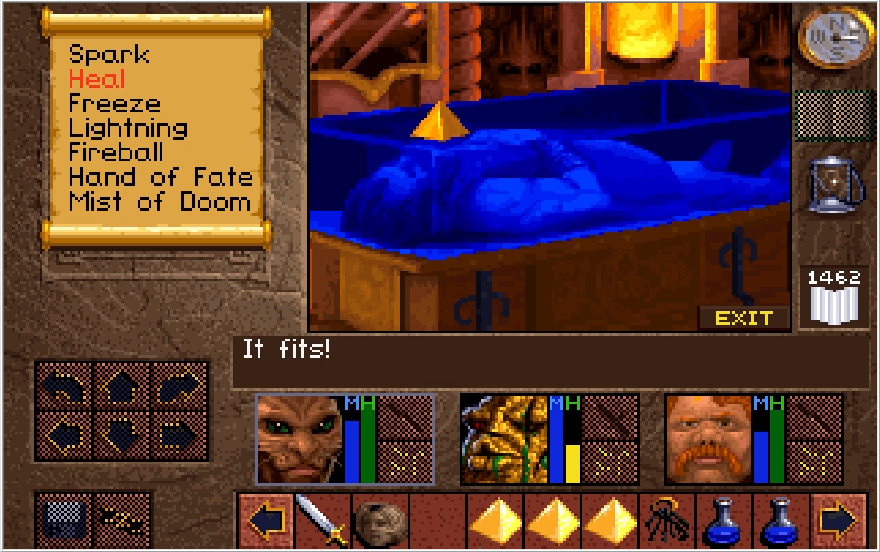
We must now place the keys we've been collecting onto the corners of the shroud.
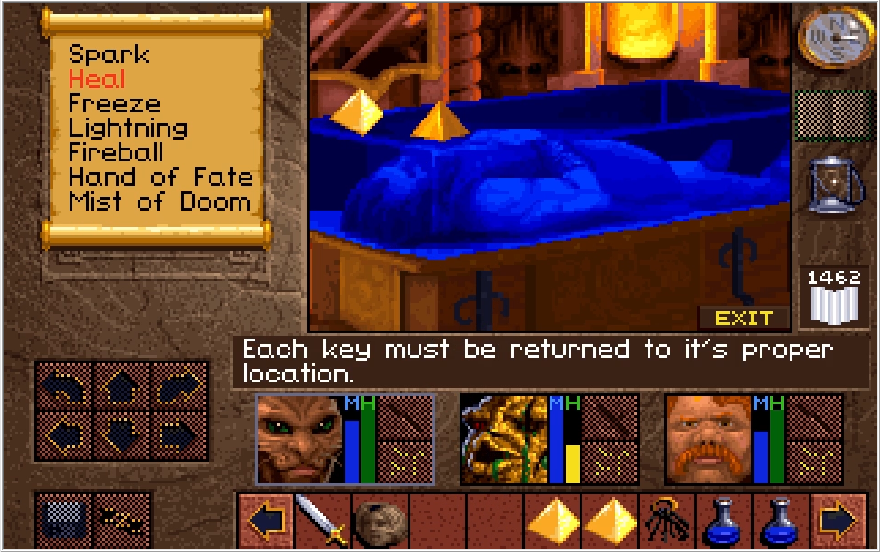
It's a bit hard to tell where each key is supposed to go. I guess the positions kind of correspond to where each council member was standing when the shroud was created, though since they were all one one side of the room it doesn't work super cleanly. You'll likely have to fumble with this for a bit to find the right spot for each key since that was like 6 hours of game time ago and two months worth of updates.
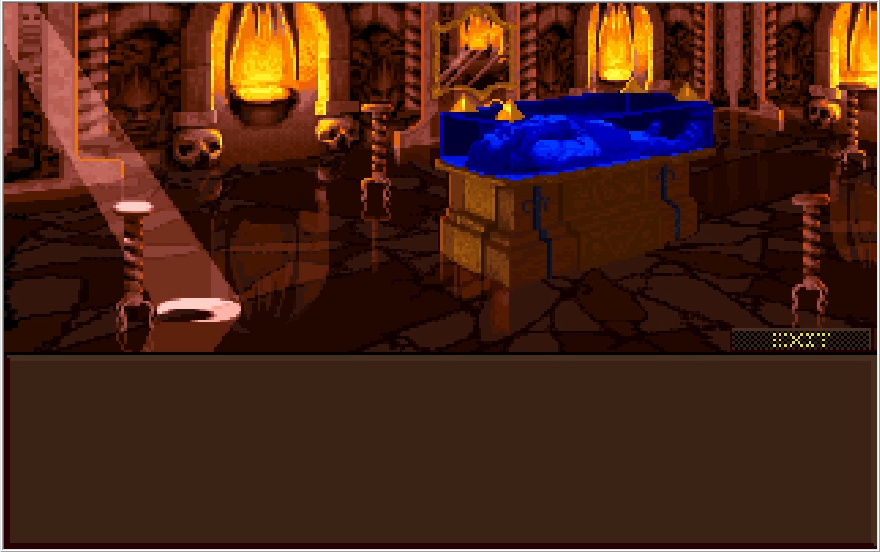

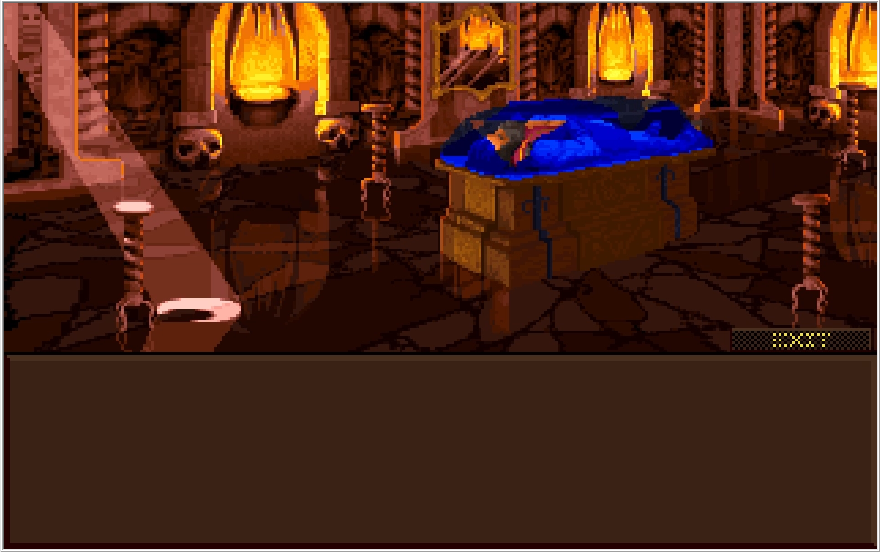
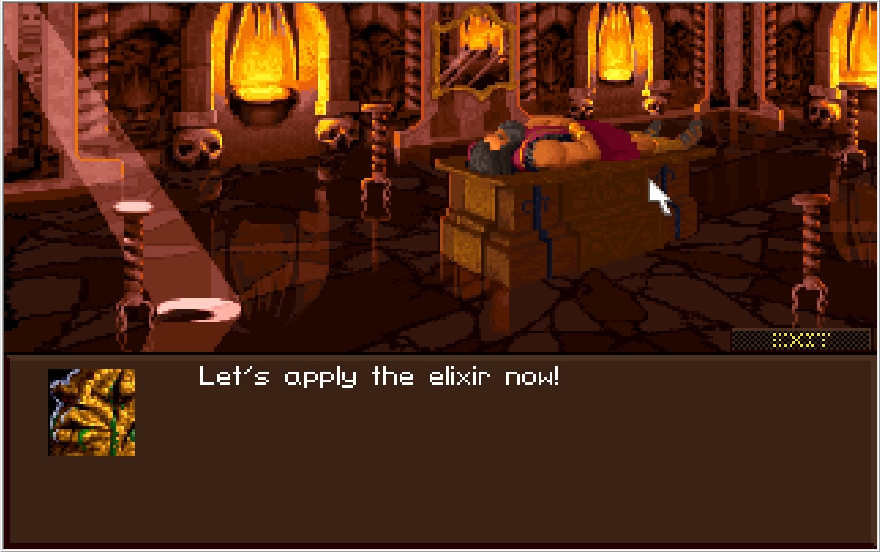
Once the keys are placed, they flash brilliantly and the shroud is cleared, allowing us to give Richard the Elixir! Man, was that a protective shroud or a tanning bed? Richard looks like he's been bathing in tanning oil.
Music: Healing Richard
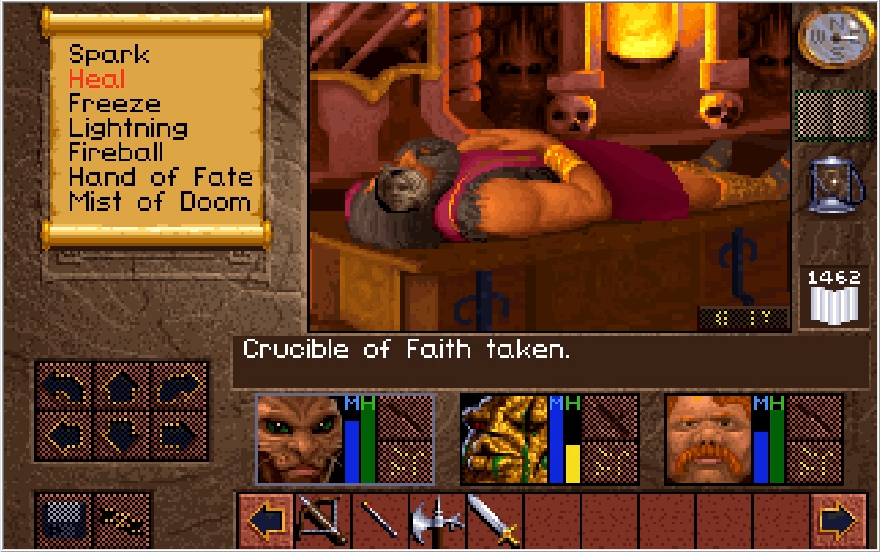
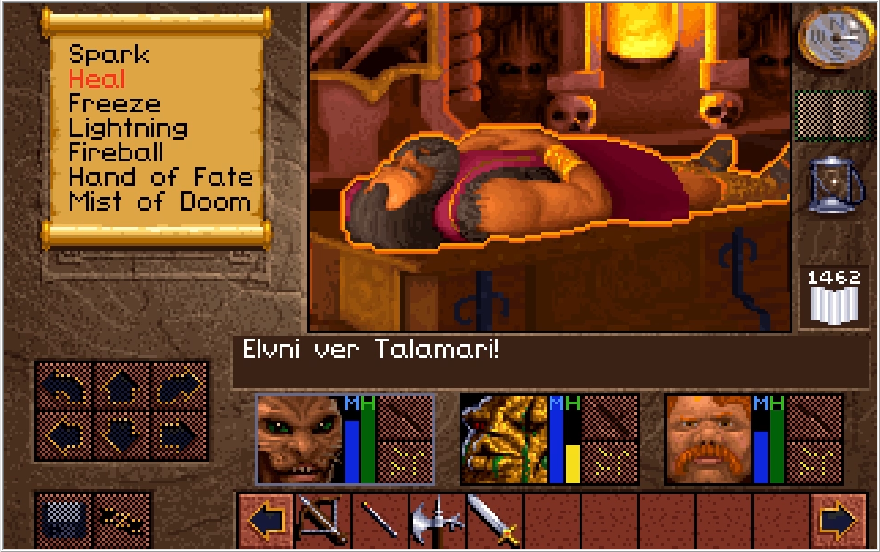
If you watch the video, Kieran's incantation has way more words than they actually bother to subtitle.
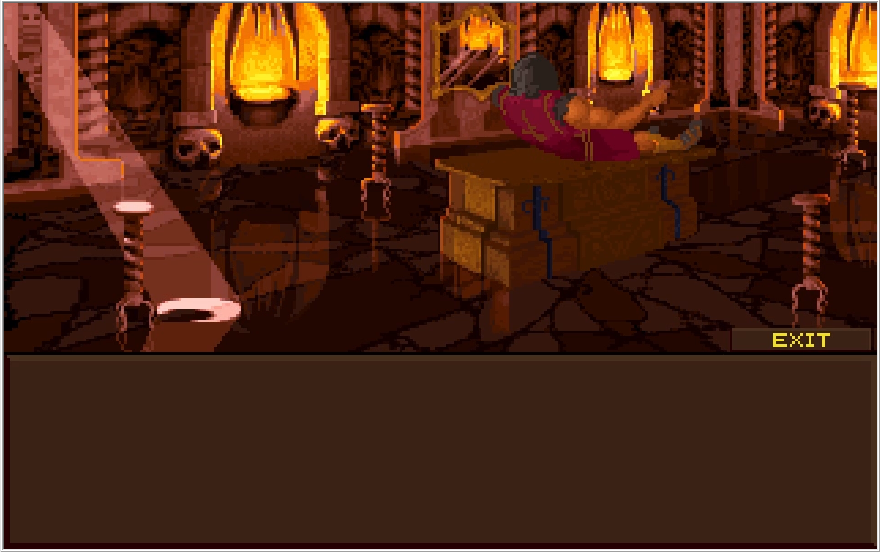
With a gasp, Richard awakens! I hope the Elixir eases the stiffness in his muscles, I can't imagine that bronze bed he's on is too comfortable.
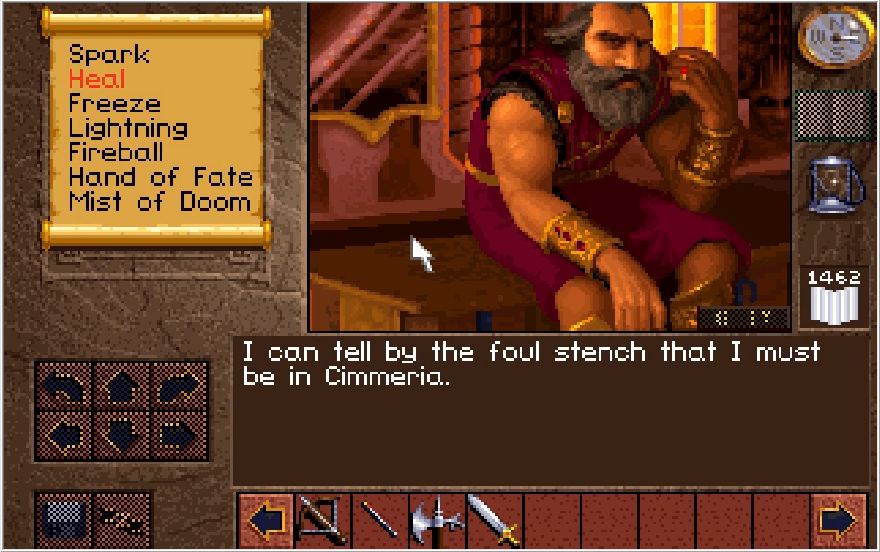
Apparently Cimmeria has some serious stank in the air. It's been so long since we've heard Patrick Stewart's voice that it's kind of weird to remember he's in this game.
Dude has been out cold for days under the effects of lethal poisoning, and the only thing he can think upon waking up is "have you killed that old bitch yet?" Are we sure Richard isn't an iron-fisted and blood thirsty tyrant?
This is one of those lines that makes me think the game was meant to be longer. Baccata had only two encounters with Scotia, only one of them did she transform in an effort to fight us and we beat her ass in that instance.
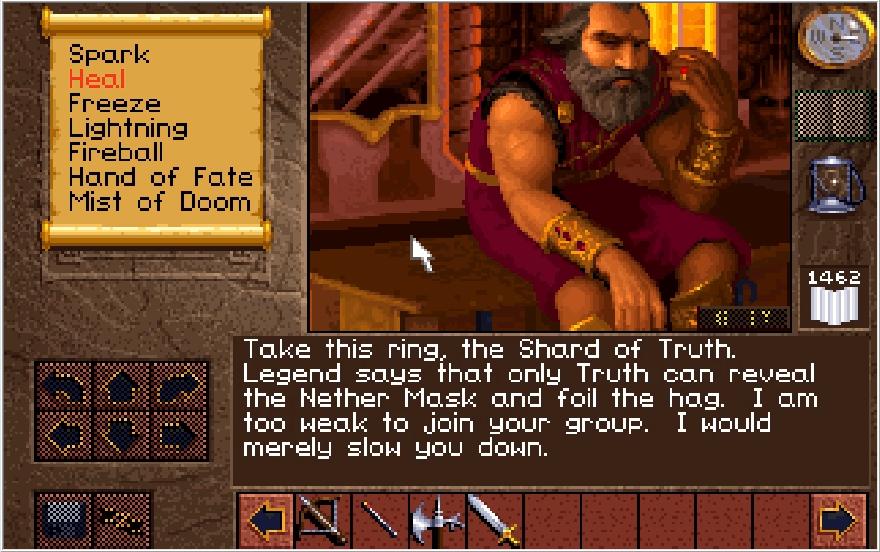
Finally that bit of lore from the mini-update comes back into relevancy as Richard bestows upon us the Shard of Truth!
The game gives you the option of giving Richard a weapon in turn. Like saving Dawn, this affects precisely nothing. We have a bunch of spares though, so why the hell not?
I remember that the Eagle is Richard's mascot, so this Eagle great sword should suit him perfectly!
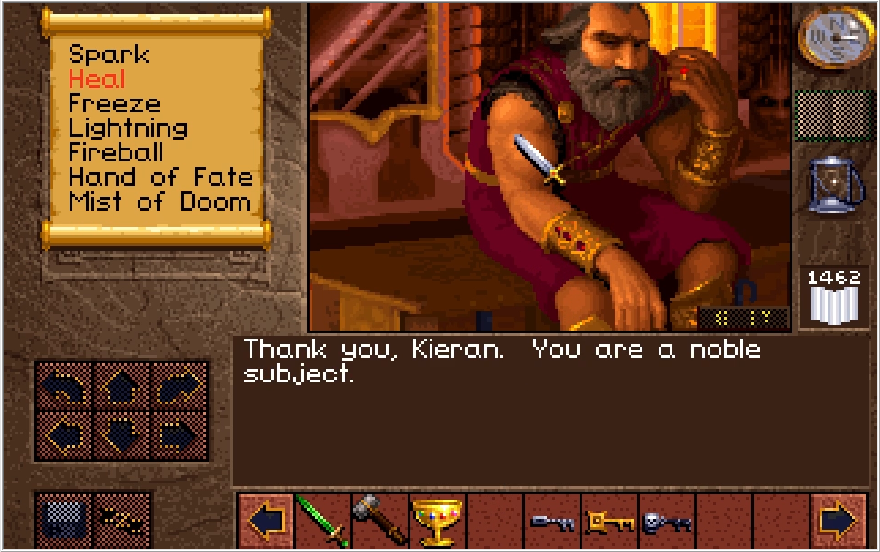
"Thank you sir, please don't turn and execute me once this is all said and done."
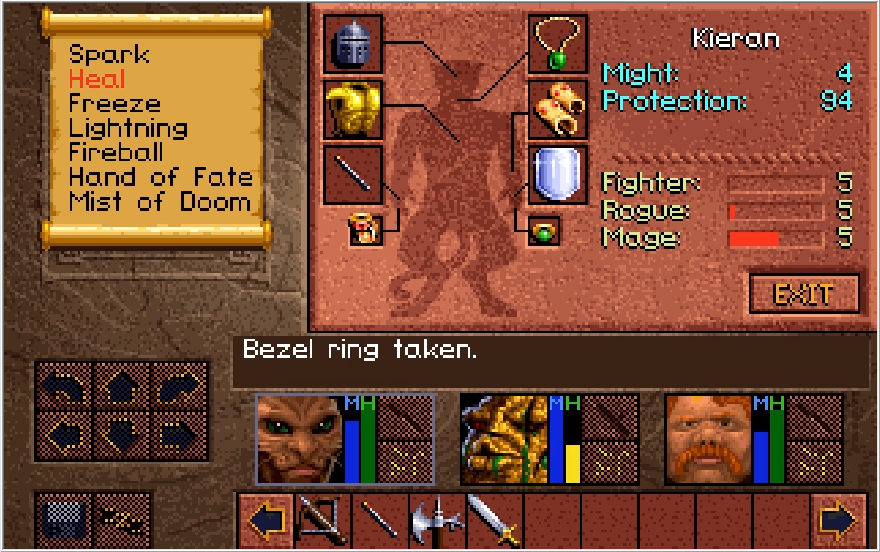
So, the Shard of Truth. On it's own, this does not do anything. No use as an item and equipping it yields no results. It does have a unique function though.
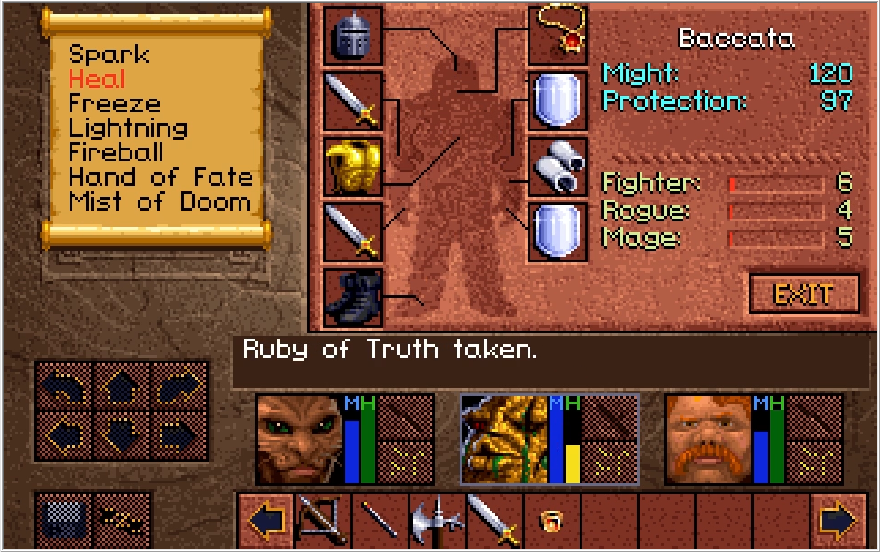
I wouldn't be surprised if you forgot Baccata was wearing the Ruby of Truth. This thing has not been relevant in 12 updates, but you better have it now because we'll need to use it in tandem with the Shard. By clicking on the Shard with the Ruby in hand or vice versa...

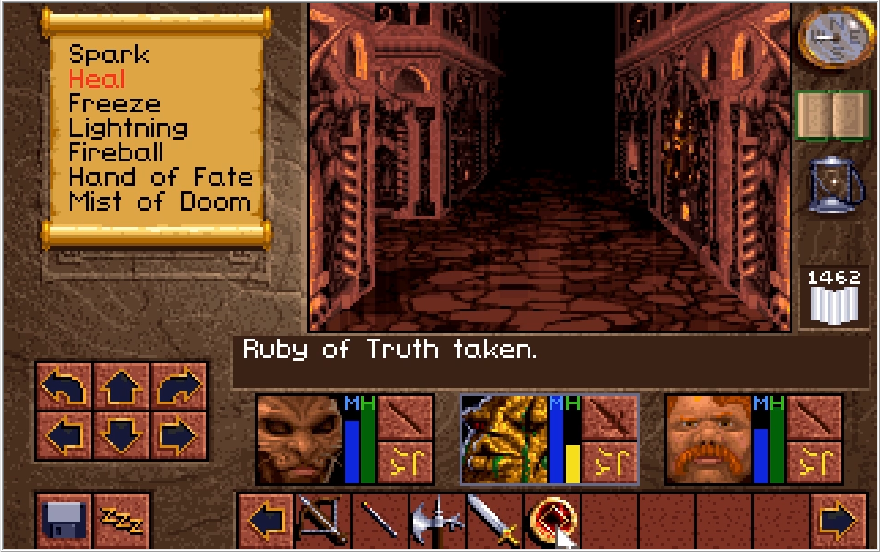
The two combine to form the Whole Truth! There is not a single other moment in this game where you can combine items in this fashion, and I don't know if there's anything that tells you to do this in exact terms. I wonder if anyone got stuck here without a guide, because you do need the Whole Truth to defeat Scotia. Speaking of,
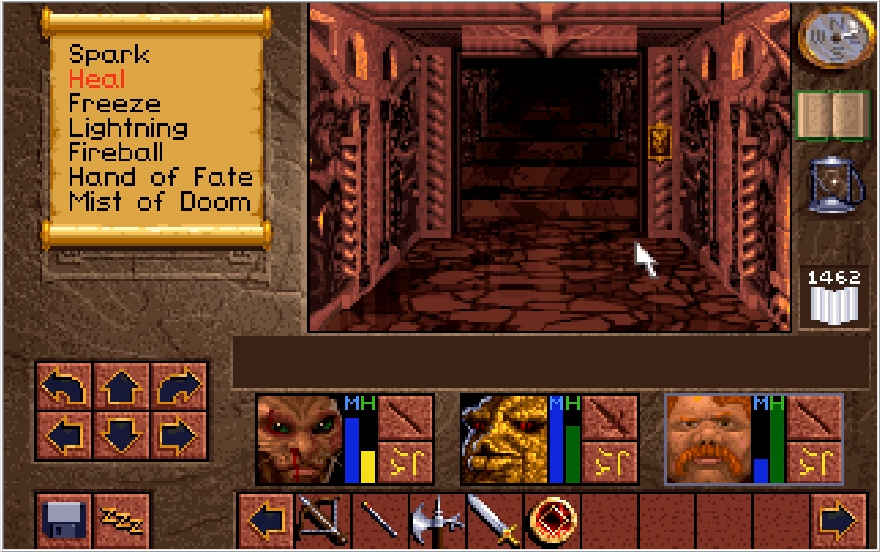
We can now return to the third floor and fulfill our destiny!
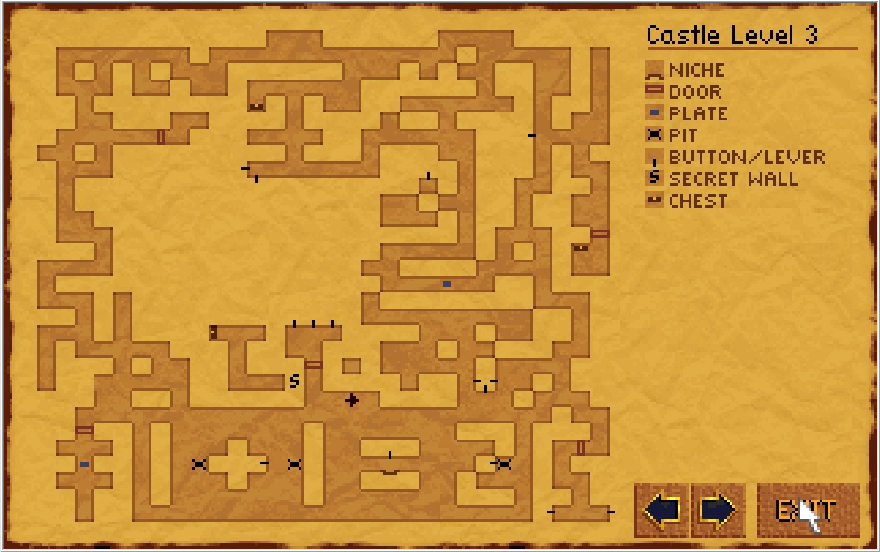
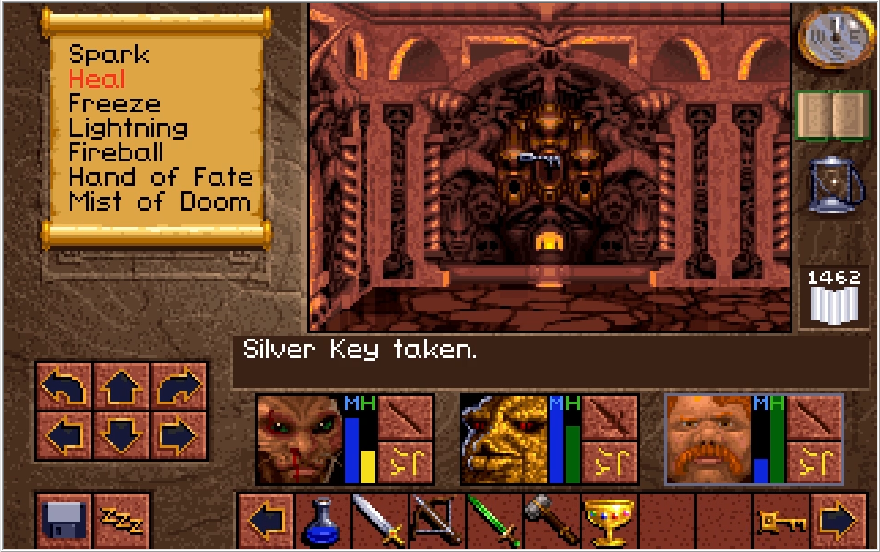
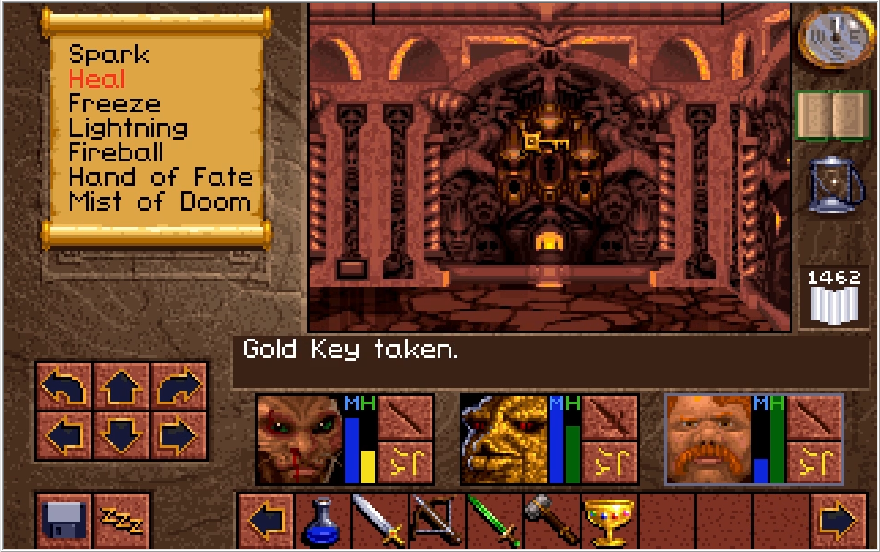
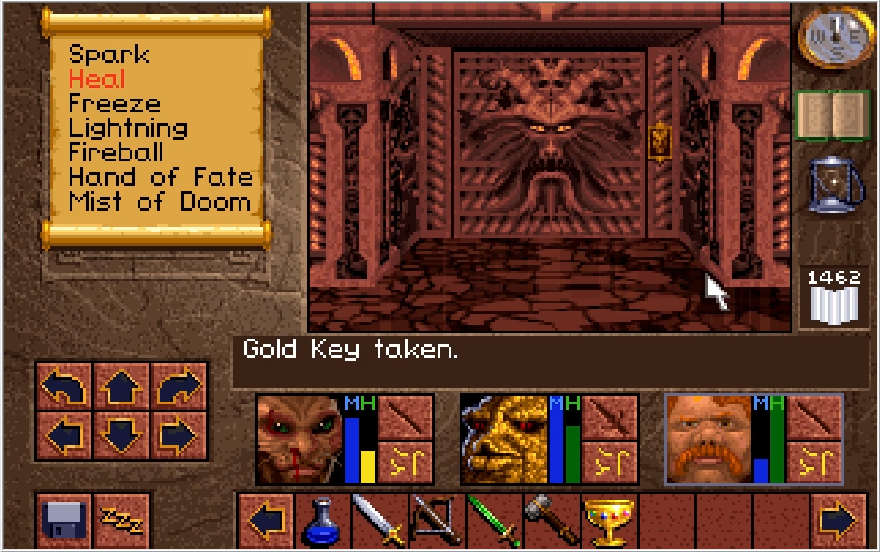
Heading into the central chamber, we can pop the locks and throw the central switch to unveil the door to Scotia's lair. First things first...
I make my final save of the game, and then....
I set the difficulty to wimpy? I have something I want to demonstrate before killing Scotia properly, so I just lower the difficulty so I can take care of that first. We will kill her on Ferocious, don't worry.
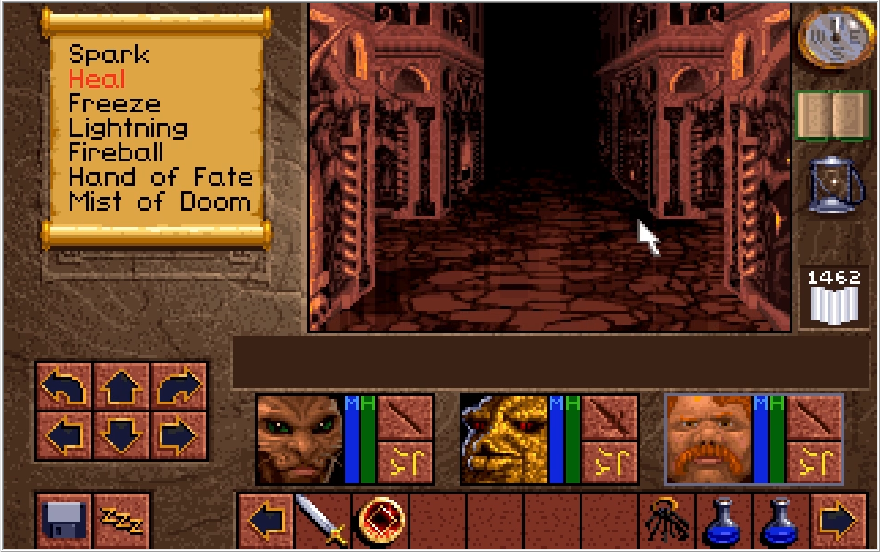
As mentioned previously, upon entering Scotia's lair the wall will seal behind us. If you lack the Whole Truth at this point, you've just wandered into an unwinnable situation. The lair itself is laid out like a series of halls divided by pillars, though sadly they don't do anything interesting with this layout when fight time comes.
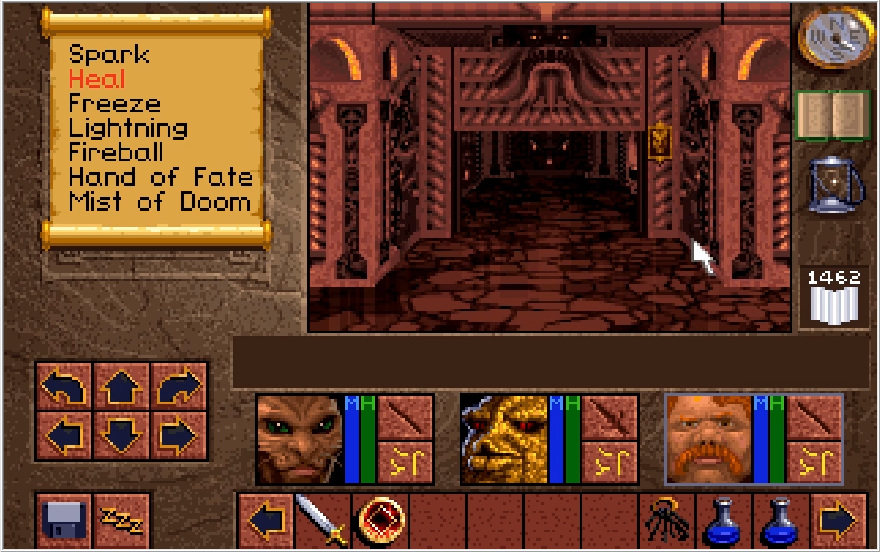
Towards the back of the lair is a door, which opens to a room containing our final foe!
Music:Scotia Last Encounter
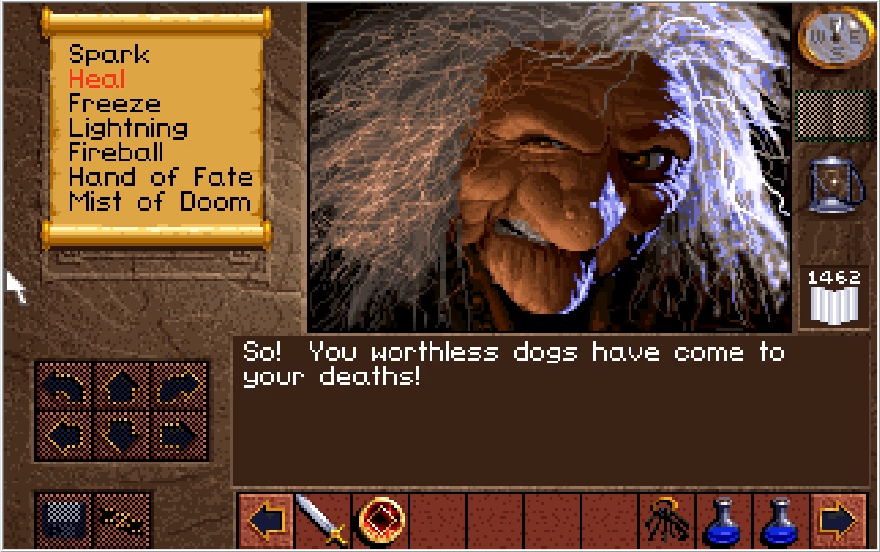
I can only imagine Scotia is leaning in like the close-talker from Seinfeld to give us this image.
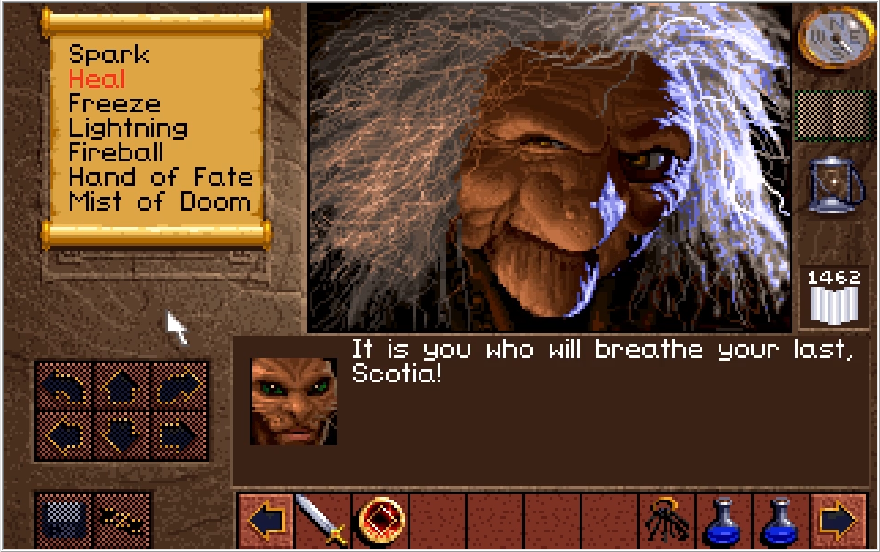
Kieran comes in swinging with the classic "NO U" response. Sadly, this is Wimpy Universe Kieran who's about to die horribly.
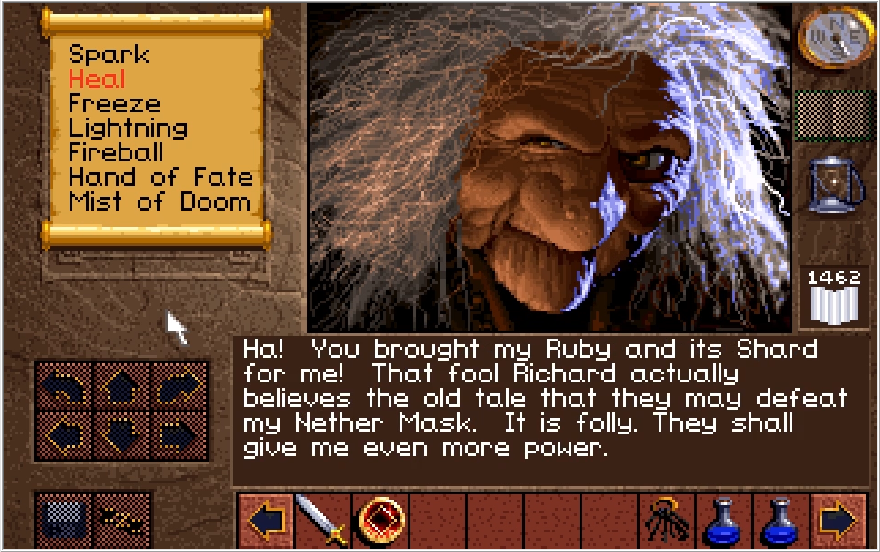
What exactly Scotia would do with the Whole Truth is something we sadly never get to learn.
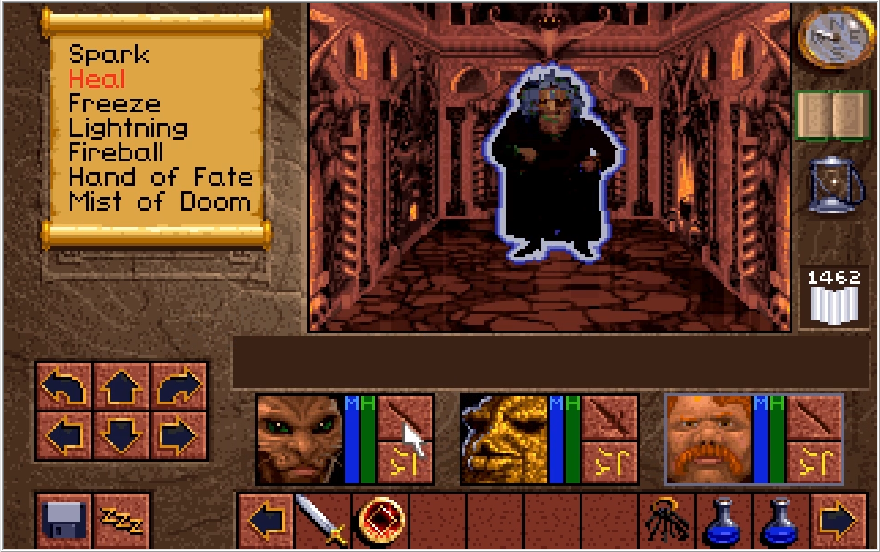
Now if you want to defeat Scotia, you need to use the Whole Truth like you would a Wand as she is transforming. Let's see what she brings to the table this time though!
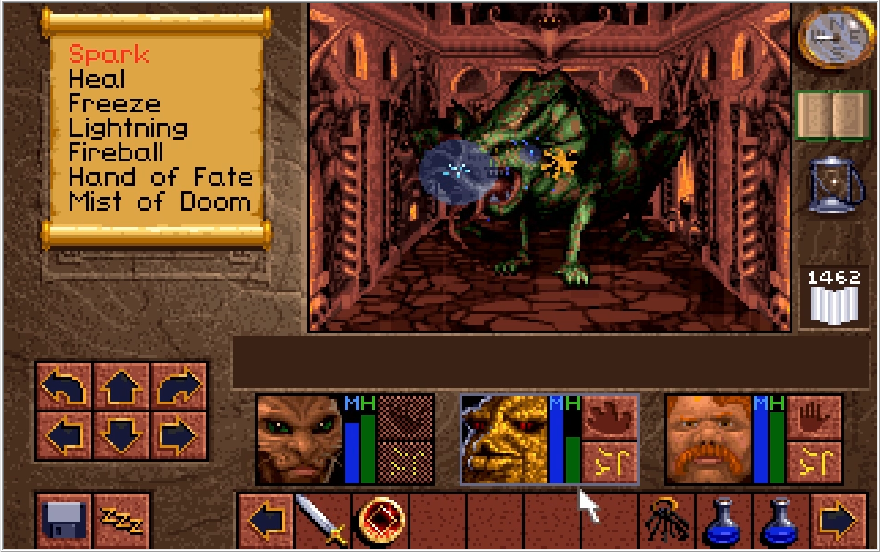
Toadulus? Seriously? I killed 6 of those on the way here.
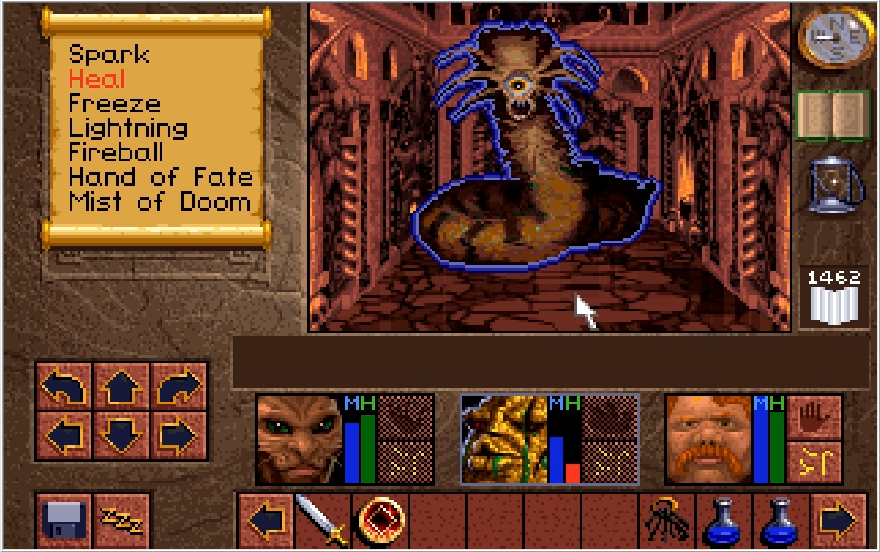
Using standard toad busting tactics makes Scotia realize she needs to step up her game, and she becomes a much cooler looking worm monster.
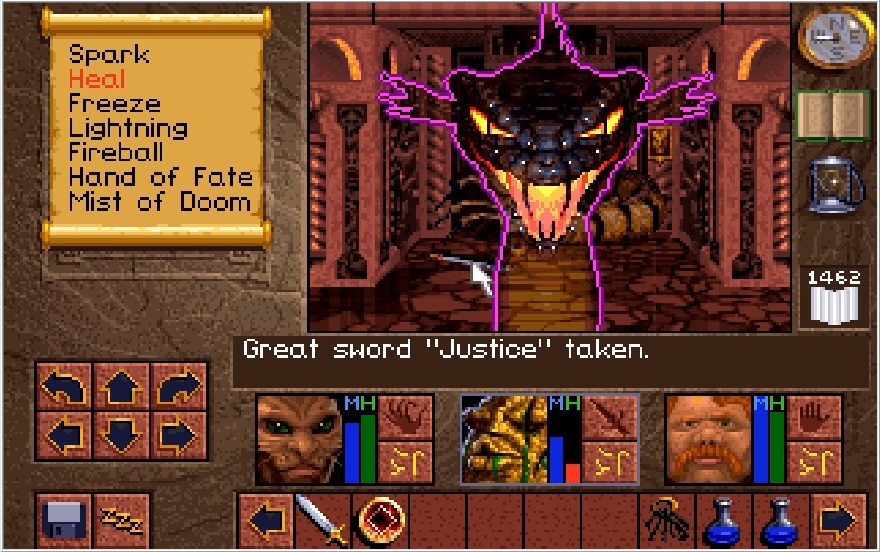
She also gains the ability to blast us with the Wraith Wizard's spectral snake. Cool party trick, but I don't think she's prepared for Baccata.
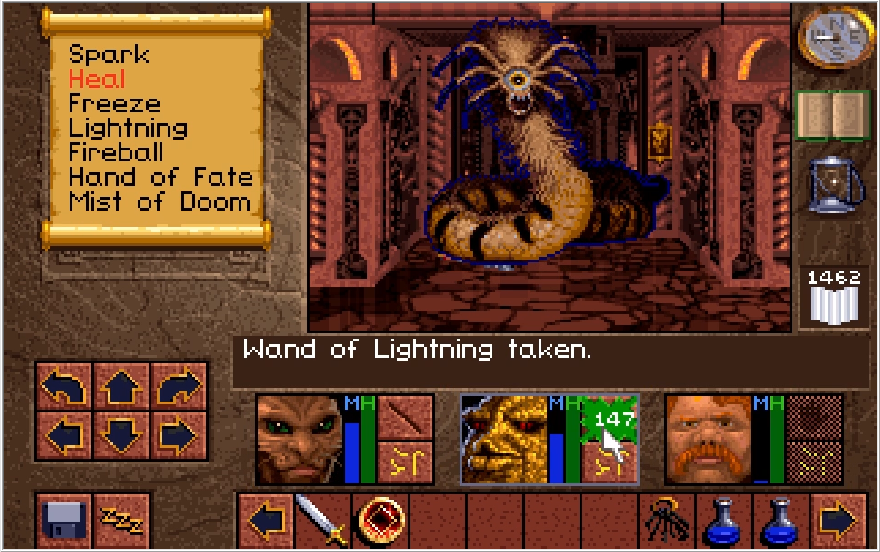
Because this is Wimpy mode and she has like no HP on this difficulty, a single crushing blow from Baccata prompts another transformation.
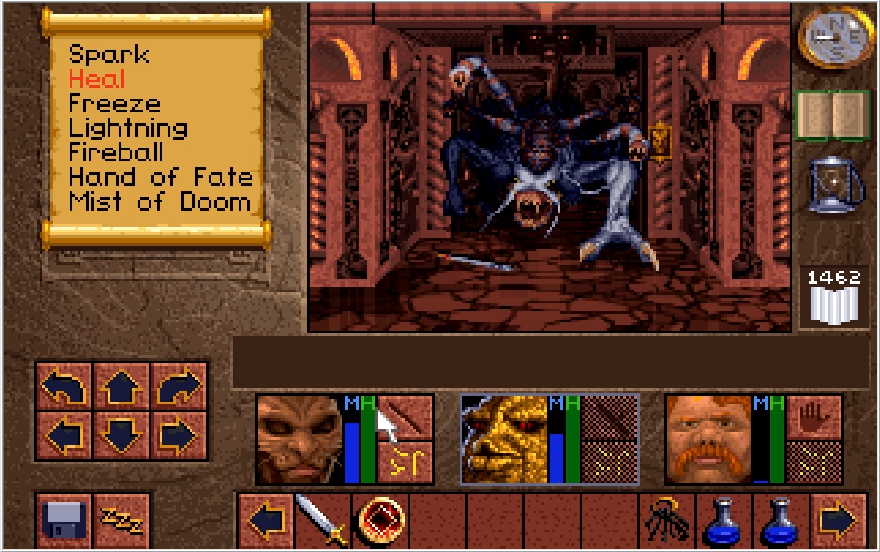
Ooo, scary. You know what's scarier than that though?
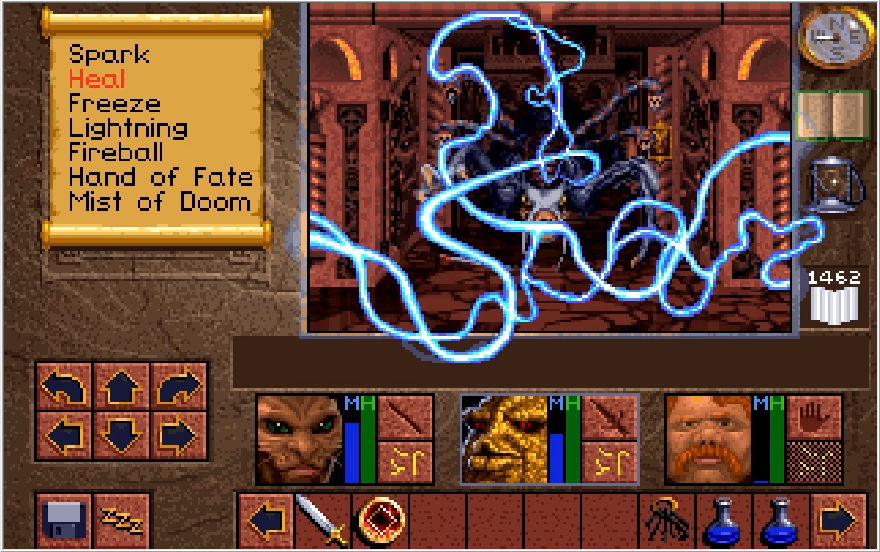
Unlimited power!
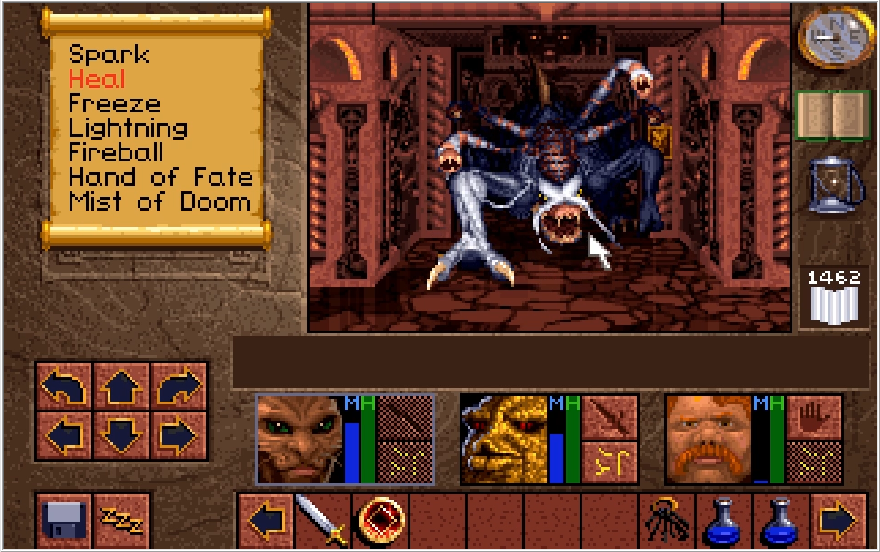
Uhhh. That did not seem to work.
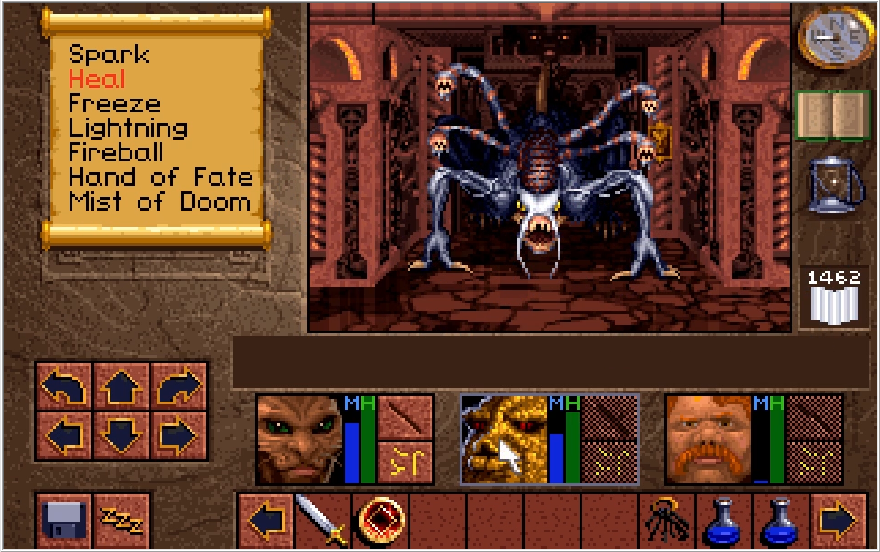
As a matter of fact, nothing I'm trying here seems to work. Maybe now it's time for the Whole Truth?
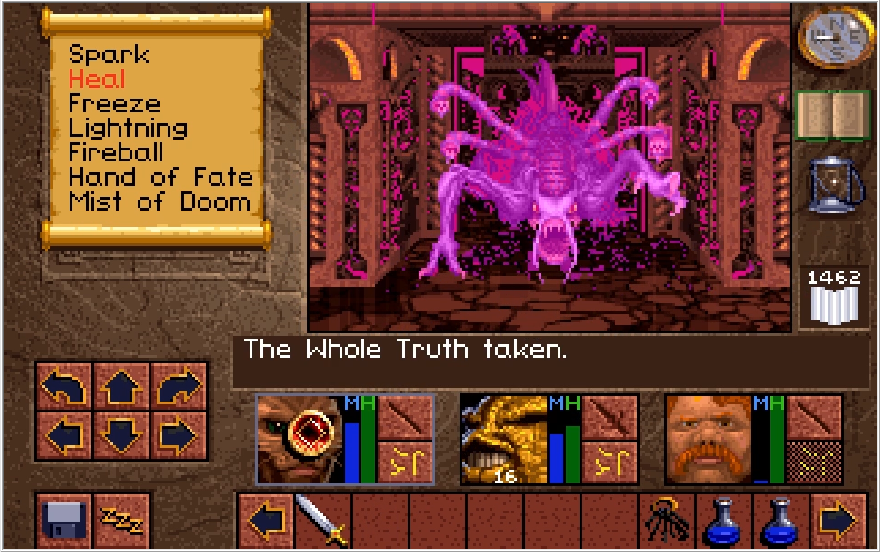
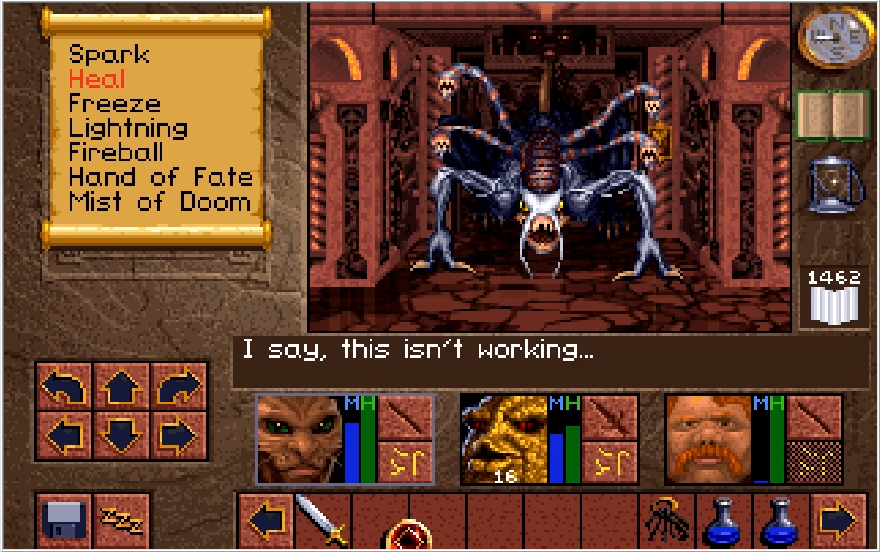
Well, fuck. Say hello to the Executioner, as well as the end of your game. The Nether Mask allows Scotia to take any form she can imagine, and it finally clicked for her that she could just become something invincible to destroy us. The Whole Truth can only interrupt the Mask, it cannot break a transformation that has already been made. Nothing you do can damage Scotia in this form, and you have no recourse but to let her kill you at this stage. It's kind of a shame the fight with Scotia's different forms go this way, because there's kind of a cool set up for a final boss here. Imagine if Scotia in her second form weaved through the pillars and blasted you with projectiles as you tried to close the distance between you and her. Then, once she took the form of the Executioner, you need to evade her as best you could and land glancing blows until she falls and you could break her transformation with The Whole Truth, giving an opportunity to go in for the killing blow. As it actually is though?
Music: Fighting Scotia
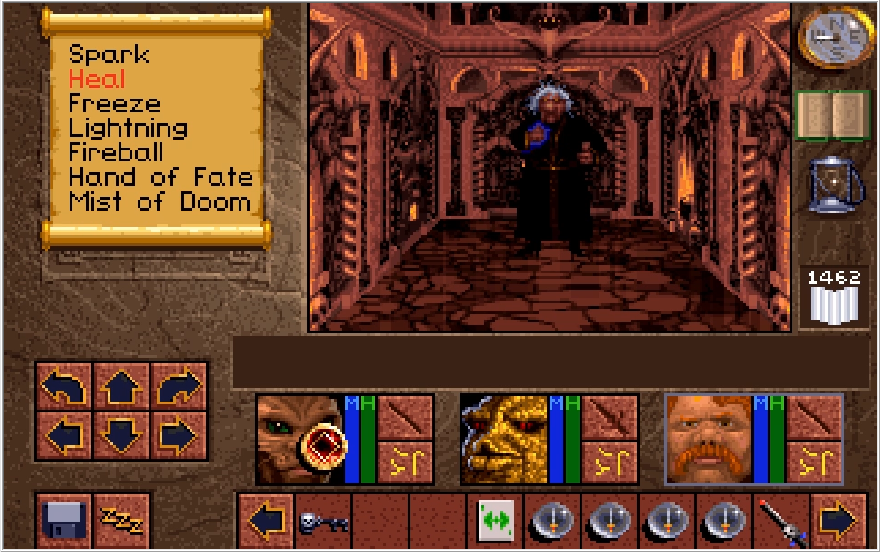
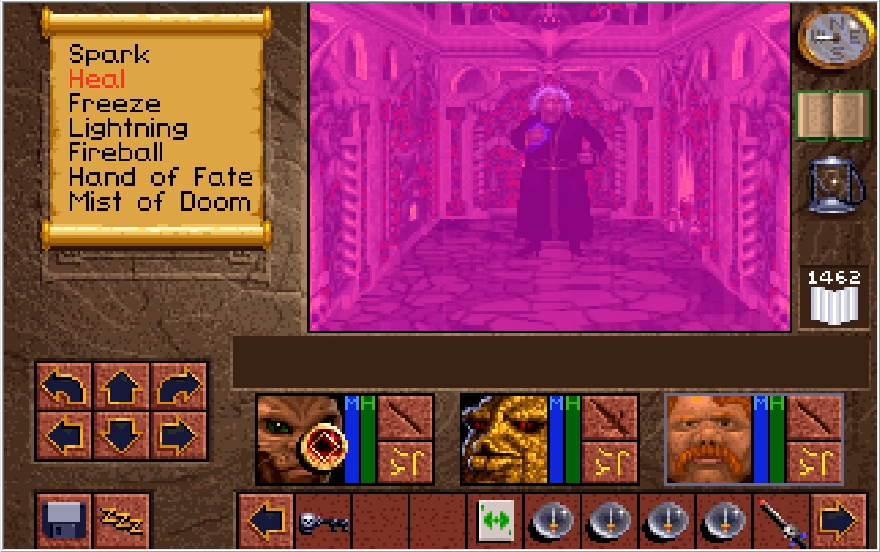
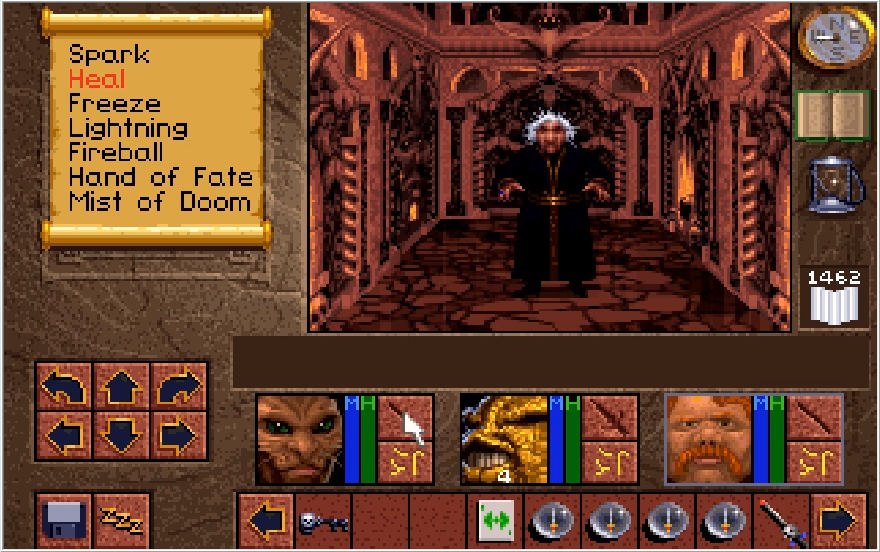
We instead just fire off the Whole Truth to thwart the Mask before the fight even begins. Scotia for her part says "fuck it anyway" and this nonagenarian decides to throw hands with us.
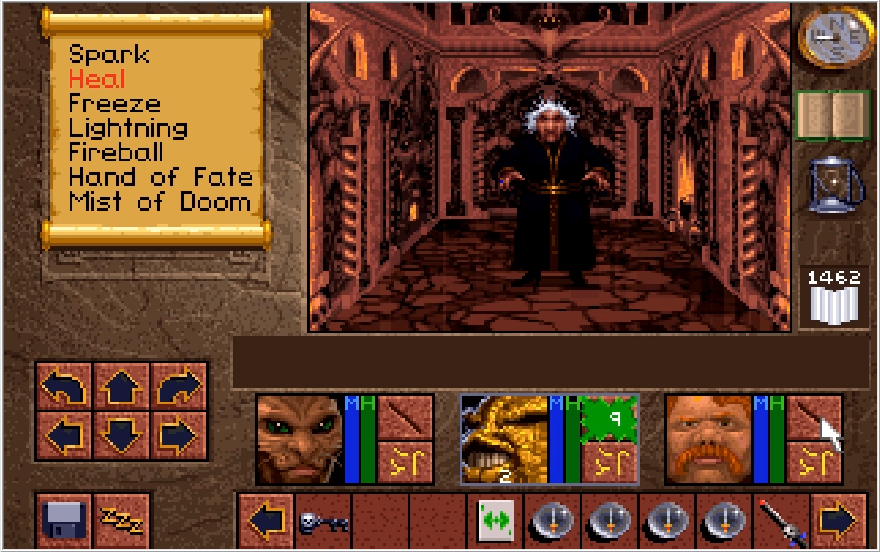
She's quite resistant to the cold steel for an old crone though. She can also quake you, making this a poor approach in any case. Luckily, we have a tremendous stockpile of attack items.
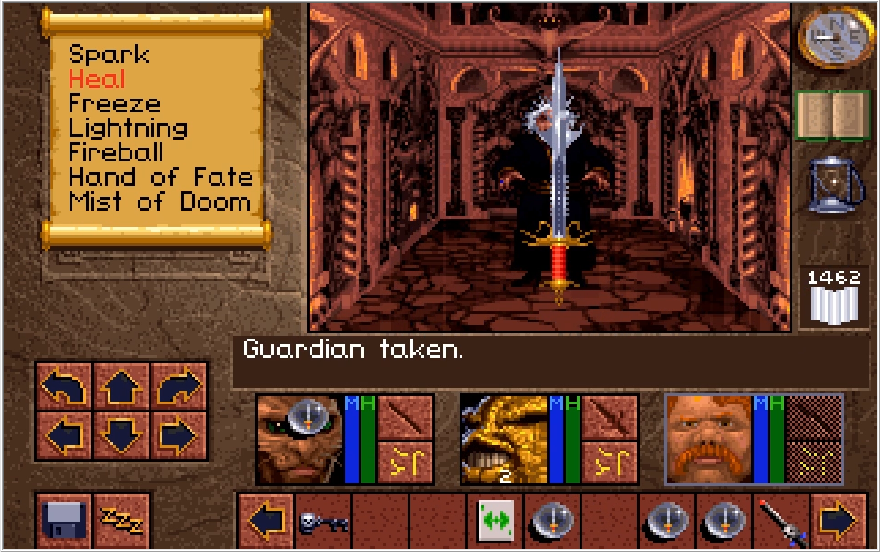
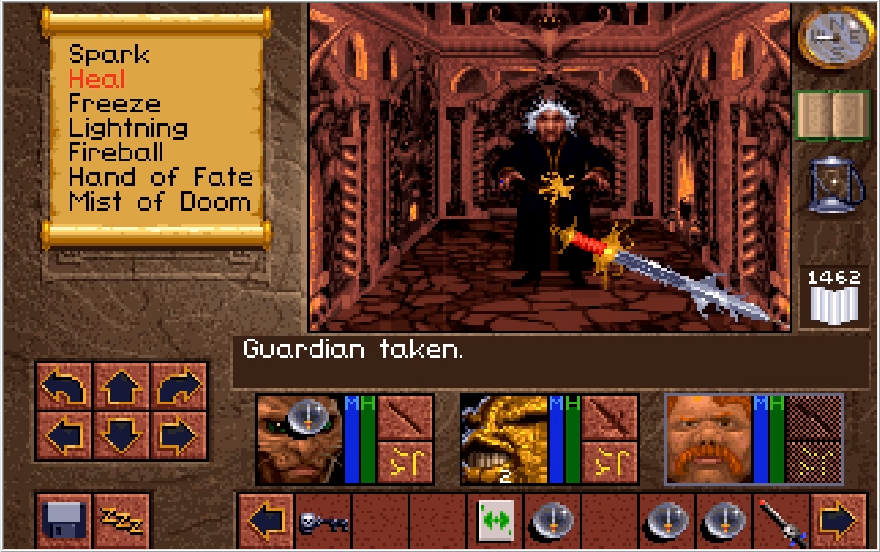
The Guardian is the strongest attacking spell in the game, and on lower difficulties 2 or 3 of these will just kill her outright. Despite her bloodcurdling scream every time she gets hit, Scotia is a bit more resilient than that on Ferocious.
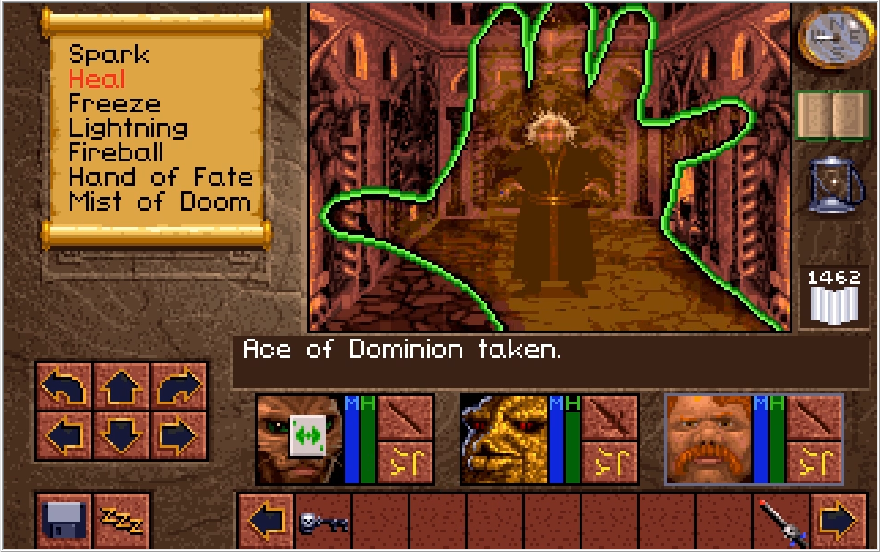
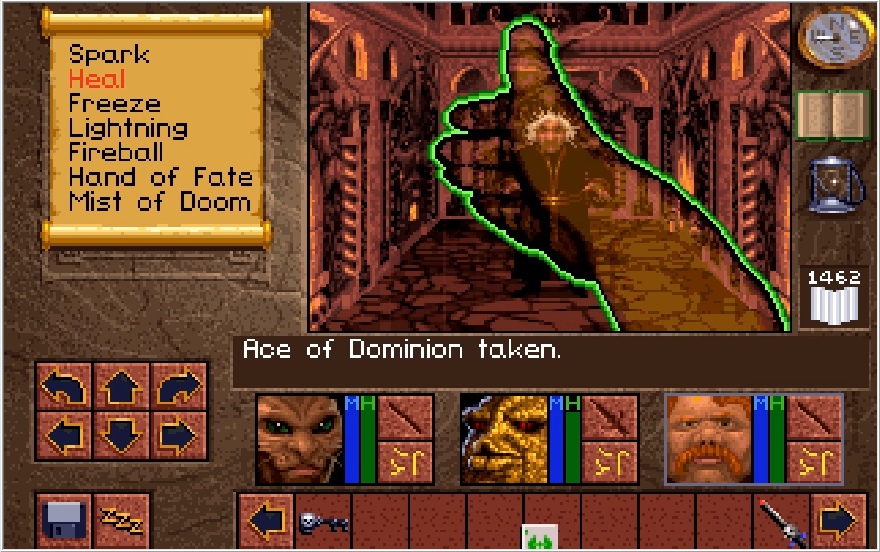
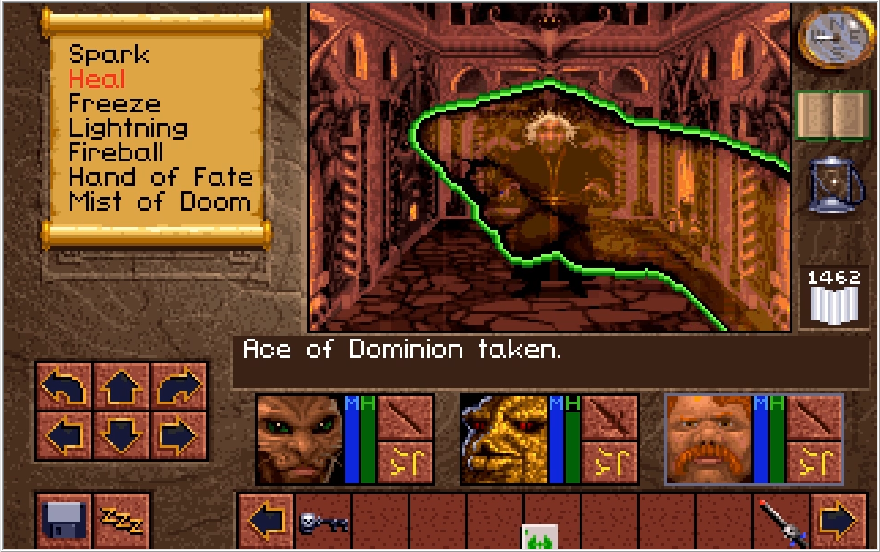
Fortunately, I also have an Ace of Dominion to fire off a spectral pimp hand with...
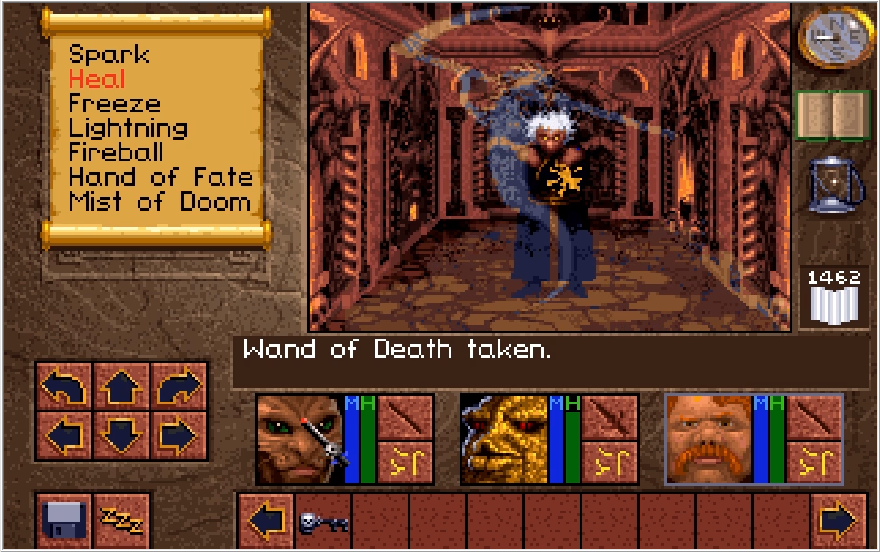
And the Wand of Doom to sic the legions of dead unto her!
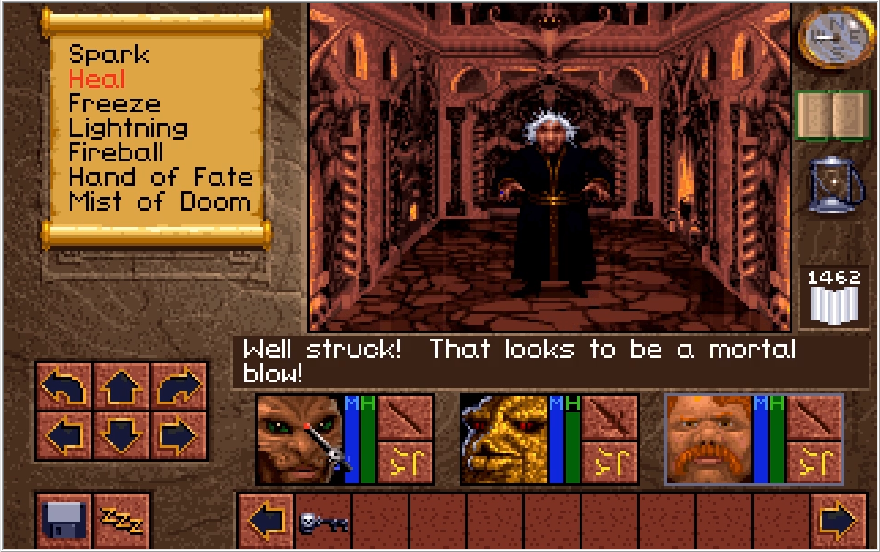
After the previous onslaught, a couple blasts from the Wand was all it took.
Music: Scotia's Death
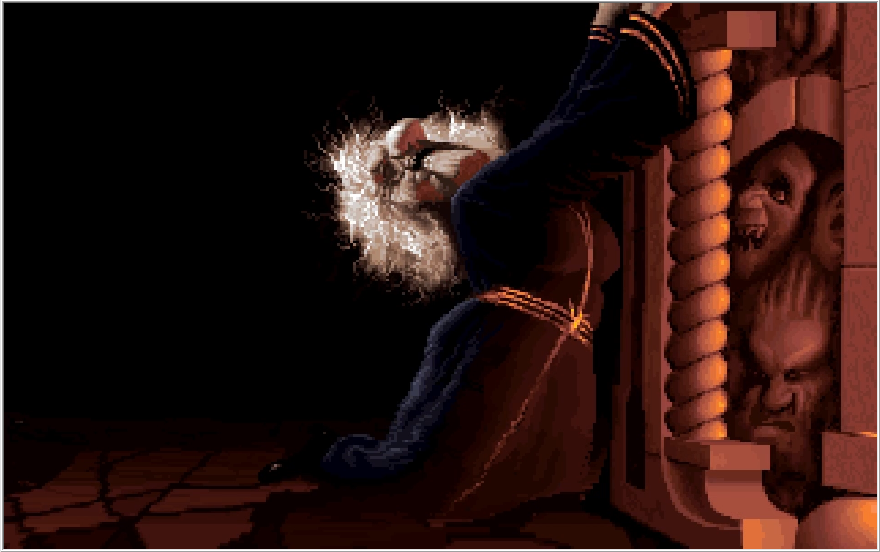
 : "Fool, my death will not save you from our wrath!"
With a nebulous threat, Scotia crumples down and dies. Not sure what she means by "Our", I kind of assumed Scotia was the defacto head honcho of the Dark Army. She might have just been referring to them in general, but I'm not sure. Possible sequel hook they never followed up on? Lands of Lore 2 goes in a wildly different direction from this game.
Music: Hero of The Realm
We smash cut to Richard returning to Gladstone, which I guess was repaired after it had been sacked by the Dark Army and its residents scattered to the wind? Best to not think about it too hard.
 "Congratulations, Kieran! You have served me well! We will remember you as our greatest champion."
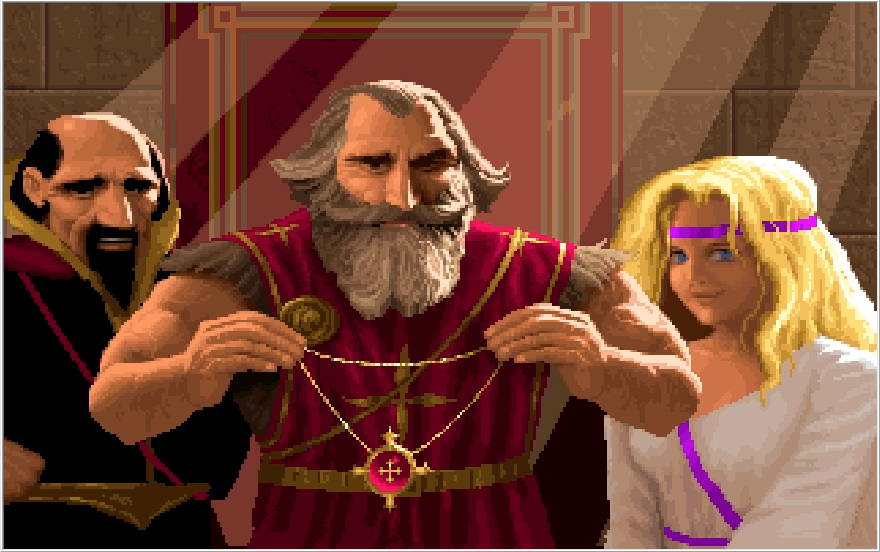
 : "A luckier adventurer, Gladstone never saw!"
Glad to see after we saved the day and covered for several of his screw ups, Geron is still a condescending prick to us.
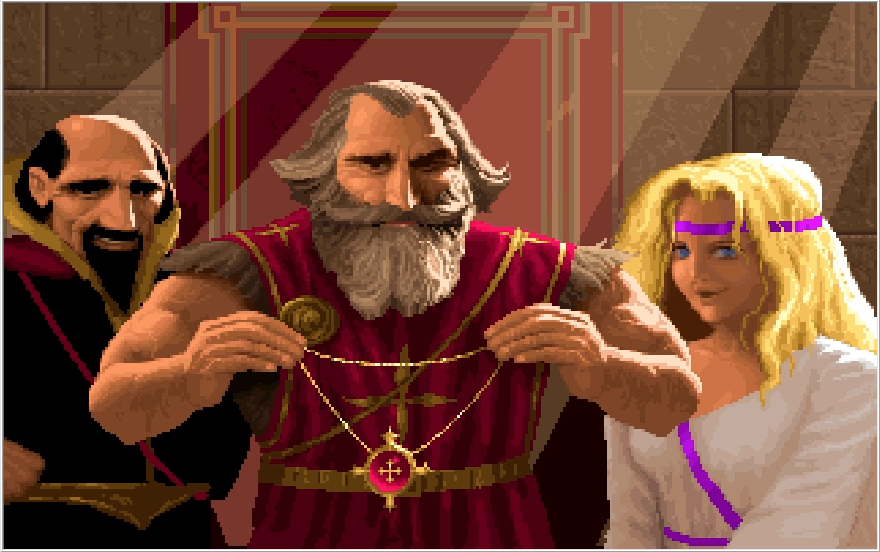
 : "It has been a pleasure serving with you!"

Dawn is here regardless of whether or not you save her. I mean I guess there's nothing stopping us from freeing her after Scotia was dead, she seemed pretty secure in there. It's just kind of funny how she acts like she was a key ally when all she did for us was decipher a riddle and give us some glass jars we didn't need. You can even get the riddle deciphered without her, meaning a "Dawn does nothing" playthrough is fully possible!
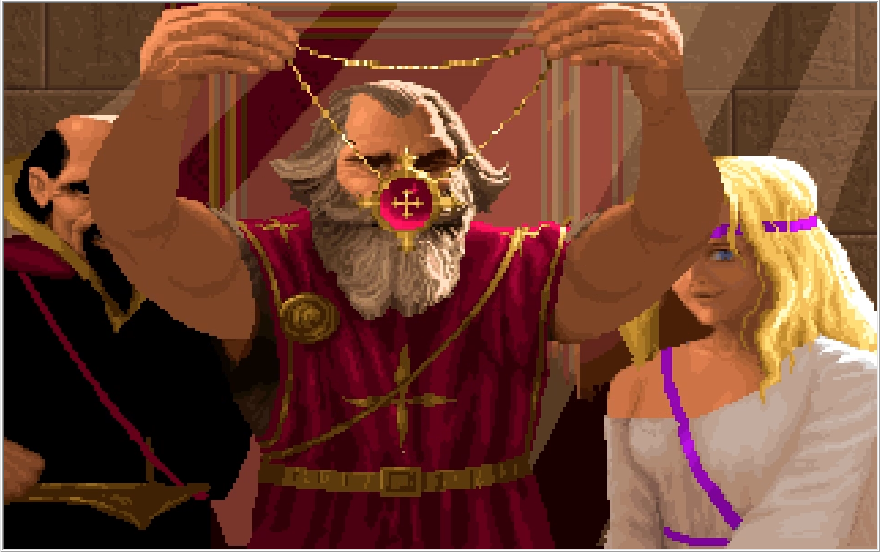
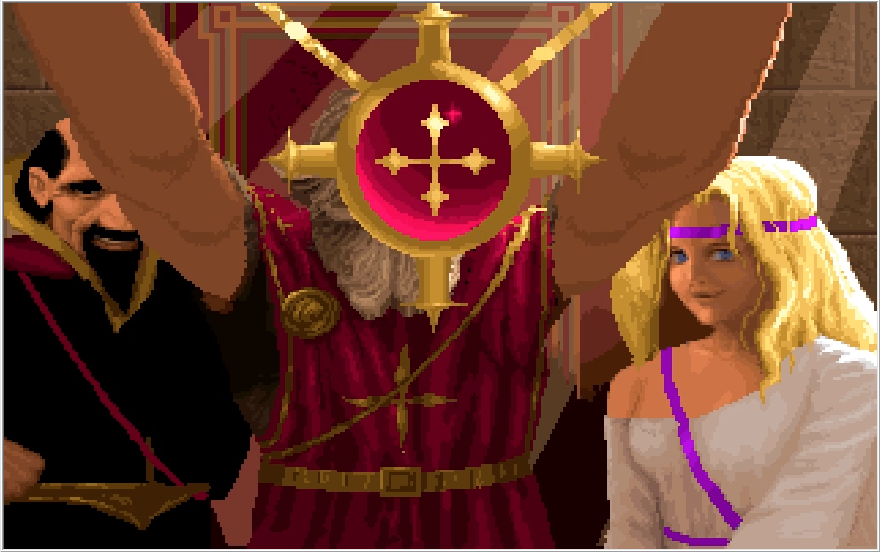
And then kind of creepily, Richard reaches towards the screen and puts a necklace on us. I think that's the Whole Truth? Not sure really.
Speaking of creeps, the Draracle is spying on us from his abode in what feels like the center of the Earth. I guess Lora wasn't the company he was hoping she'd be.
This image is somewhere between kind of depressing and reminding me of Peter Griffin saying "aww sweet a schizo thread!"
Music: Staff Roll
And with that, Lands of Lore: The Throne of Chaos has come to an end! We get a cute little staff roll where various enemies from the game pour out of the doors of Castle Cimmeria to pose at us, while the makers of the game get their credit.
Remember those bandits we fought in the Draracle's cave and then never saw anything like them again? Well if you forgot, they're here too!
This one's kind of interesting, this is an enemy we never actually see in the game. It's very obviously the base sprite for the Pentrog, but we never actually see one that looks like this guy right here. Even in the end credits there's unused content. That's some next level stuff there!
This LP was actually the first time I ever bothered to fight Scotia the "Wrong" way, so I had also thought this worm was a dummied out enemy as well.
Here we get the voice credits for the various characters of this game, plus the official titles for each character! I like how Ak'shel and Kieran are singled out by their race, while Conrad and Michael are just.... themselves.
If Talamari is supposed to mean anything, I don't know what it is. I'm not sure what a "Miring Engineer" is, I think they might have just made a typo on "Mining" since we encountered Paulson in the mines.
Remember the guy who rowed the boat to get us to Opinwood? Turns out he has a name, Dom. The Beggar also has a name we see nowhere else, apparently he's Frank. "Orin, The Skeleton Ghost" is a very funny credit if you happened to have forgotten who that is by this point.
And that's a wrap! Phew, what a journey! I know this LP got a little negative in the final updates as the game just dumped ass for its final levels, but I had a lot of fun making the LP and playing the game. There were many things I learned both in the process of practicing for this LP and actually doing it, and it gave me an appreciation for the more obscure elements at play in this game. It was also just fun to check out all the alternative options I never really had any reason to, there are some hilarious instances of your characters being dicks in this game if you take the "evil" options. I think very fondly on this game, since it was one my dad played a lot when I was little and it triggers a lot of nostalgia for me. I used to be scared of the Great Orcs, and now I slaughter them by the dozens! It was gratifying to finally revisit it and finish it properly. I've probably put more effort into this game than the overwhelming majority of people who have played it, which is one of those not-at-all worthwhile badges I can wear with pride.
Of course huge shout outs to everyone who followed along and posted in the thread! I was worried this wouldn't go over very well because this was my first attempt at a screenshot LP and it's a fairly obscure game. It was cool to have people discuss the contents of the game and the updates, and even cooler to see people trying the game out for themselves. I also learned a lot as I went about the process of creating an LP like this, and like to think I steadily improved the quality of the updates as I went along. Screenshot LPs are a lot of work, so I suspect it'll be awhile before I take another stab at it, but I imagine when I try again I'll be able to use what I learned to make an even better thread! I already have several ideas kicking around because I'm always looking for the next thing I can do. Again, thank you so much to everyone who followed along with the LP, knowing that the words you put out there about something as silly as a barely finished CRPG from the 90's actually click with people is one of the greatest feelings in the world. There's still one last thing to comment on though!
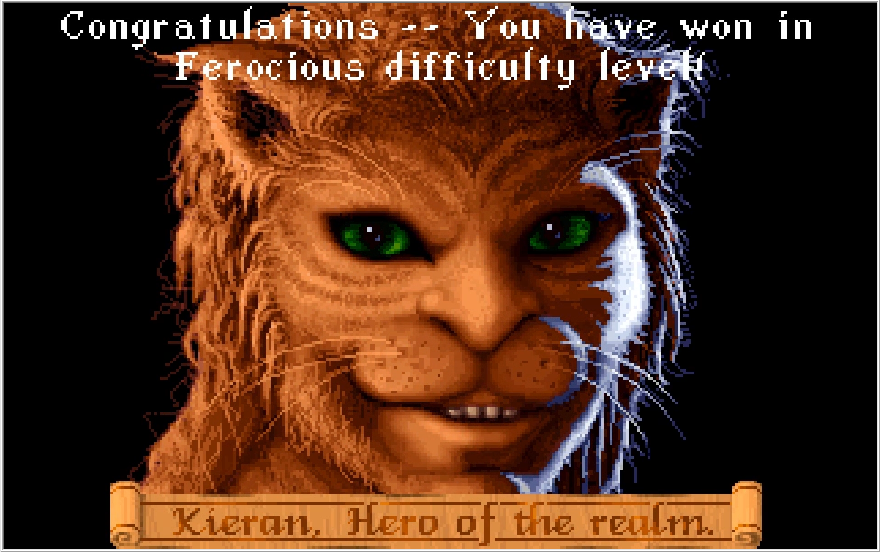
Upon clearing the game, you get an extra detailed portrait of your main character and a banner that declares them the Hero of The Realm! If you cleared the game on Ferocious mode, you also get really gaudy and out of place text along the top of the screen. I'm not sure if the game checks for if you did anything other than kill Scotia in Ferocious mode when it decides to display this text. Regardless, I earned it fairly across all my playthroughs so Kieran can wear that text with pride. He could also use a brush, he's getting a little mangy around the edges. Kieran is actually the canonical hero of Lands of Lore 1, and this very portrait celebrating his accomplishment appears a couple times throughout the sequel. Minus the Ferocious mode text. I know what you're thinking though, what does everyone else's portrait look like? Luckily, I grabbed screenshots as I cleared my practice runs for that! Apologies that these are a little out of proportion with the rest of the screenshots, I just grabbed these with snipping tool when I first got them.
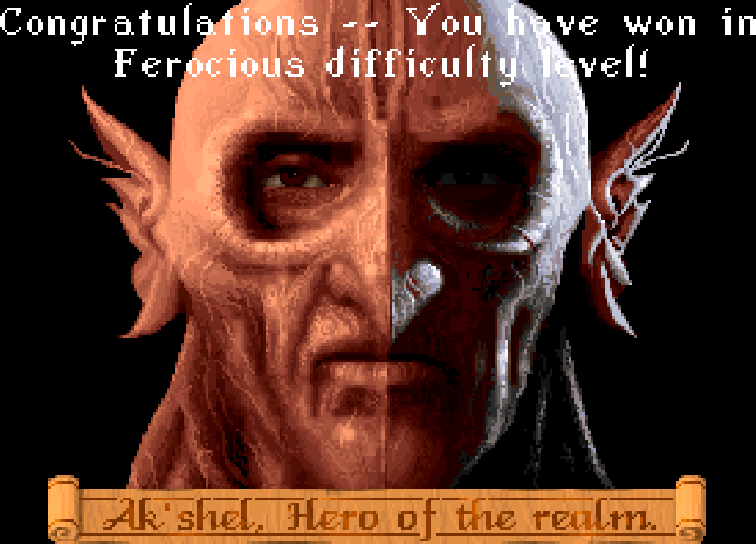
Ak'shel, looking even more stone faced than he usually does in his in-game portrait.

Michael, looking like Fabio if he had a court order that forbade him from living within 100 yards of a school zone.

And of course, the man who brought us to the rodeo: Conrad! Looks like he just got back from his botox injection. Guess we know what he decided to use his silver crowns on!
And with that, I bid adieu. Until next time everyone!

Hard to believe we're already at the end of the game, huh? Granted, the game rushes pretty hard to its conclusion so I suppose that feeling is natural. All that said, let's get this show on the road. Level 3 of Castle Cimmeria is quite large, but there really is not that much to it. I'll mostly just be addressing the main points of interest as large chunks of this floor are completely pointless and mostly just serve to get you lost. The entire northeastern section of the map for this floor has literally nothing important in it. Speaking of the map, expect a lot of map screens so I can easily (and lazily) show you where I am currently.
One thing I'd like to reiterate is that Scotia is available to battle right now. Her chamber is in the center of the floor, and the two keys we need to access it are both found on this level as well. That said, Scotia is impossible to beat currently as we lack a critical item for thwarting her. God help you if you enter her chamber by mistake and save your progress if you've only been keeping one file. Once you enter Scotia's chamber, the path seals behind you and you're stuck there until either you kill her or she kills you.

Starting things properly, one thing to note about the entire southern section of this map is that there are projectile traps that are firing endlessly. They're not much of a threat as there's only one in particular you need to cross paths with for more than half a second. Calling back to something I said a couple updates ago where I speculated about an object limit error screwing with the switch-behind-gate puzzle on Level 1, that is actually something you need to keep in mind here. The traps in this section of the level max out the object limit, so if you happen to throw an item in their vicinity, there's a not-insignificant chance that it will disappear into the ether. Not like you'd be yeeting something like a Key or the Crucible of Faith for fun, but it is worth commenting on.

Our only means of escape from this floor are the handful of pits dotted around the southern section. Keep these in mind for when our business has been completed.


One weird little detail about this floor is that in various spots there are these green puddles with a constant drip from the ceiling. Stand under the drip, and you'll take a little damage. Methinks Scotia needs to get her plumbing fixed.

Located in the southeast corner of the map is this little sign. A somewhat vague message to be certain, and it has to be some kind of puzzle. What's the solution they're looking for though?

Well to the left of that pit from before, there was another switch on the adjacent wall. Let's go check that out.


Pressing that switch removes the wall, and beyond it is yet another wall switch.

Pressing that one removes the wall yet again, and a sound is heard in the distance. The puzzle has been solved because 1+1=2. What, don't get it? Don't worry, I'll show you how this is supposed to be figured out later.

I get a little turned around trying to make my way back to the room with the sign. I do spot something important though, keep that fireball trap in mind for later.

Returning to the sign, a path has been opened to another hall.


There are secret switches at each end, naturally.

Pressing them both unveils the fourth and final figure, the Humanoid figurine. That's either a minotaur or a guy who has a serious chad strut.

To get out of here, you need to place an item back in the alcove and then reflip one of the switches. Aces of Infinity are fairly useless, so I just give up the one I had kicking around.

I elect to go northeast just to see if I find anything interesting, but both items we need to grab right now are actually situated in the southwest. I played this section hoping to find something new or interesting I had just simply neglected in my practice playthroughs, and instead ended up wasting about 10 minutes. How it be sometimes.

While this might seem interesting, we'd have run into one of these guys sooner or later. Say hello to the last new non-boss enemy, Toadulus!

Toadulus is another enemy that can quake us, and it will do so without fail as soon as you reach melee range with it. Sounds bad, but it's melee strikes are pathetic and it seldom quakes a second time. Defeating it is simple.


Just blast it with Spark 4 6 times and it'll keel over. The Spark spell stays winning! There's about 6 of these guys kicking around this floor, and they're all pretty spread out so it's safe to just rest where you stand after killing one to fully recover.

I quickly encounter a second one after resuming exploration and deal with it much the same.

Beyond that, I saw a whole lot of nothing. Do take note of that path leading south in the north-center section though. That actually does lead to something, though we lack the necessary key for it at the moment.

About the least fun thing this game has you do is re-equip yourself after you get quaked. I was pretty sick of that by the end of the Knowles Genocide, lemme tell ya.


In an interesting shake up, we find a room that actually has something in it. And it's something functional too! The Oily Key pops open a chest on this floor, though it's not one that's critical to our progression. It can potentially be useful though depending on the items you have at this point.

Wrapping around to the southwest, there's a handful of tiles that trigger projectile traps in the winding halls. Nothing too threatening to us at this point.


After a whole load of meandering, I've reached the second critical point of interest! This is a puzzle room of sorts. Disregard that pressure plate in the center of the room, it just closes the door when you step over it.


The east and west walls each have two indents containing signs, while the southern end of the hall seemingly has nothing. Each sign requests a different type of item.

This one is pretty misleading, even moreso than the rest of the signs for reasons I'll talk about shortly.

Now depending on how you read these signs, you might think the solution to this puzzle is to drop every single item you currently have that fits the listed criteria under the corresponding sign. While weapons and jewelry would be straight forward enough, the armor sign does raise questions of whether or not they mean just body armor. And does it have to be every item we hold currently, or just the stuff we're equipped with? Do Bezel cups count as medicine for the medicine sign?

Mercifully, the actual solution is much simpler. You just have to leave one relevant item under each sign in order to solve the puzzle. Whether the signs were poorly written or deliberately misleading is up for your interpretation.


Where things get a little tricky even if you know you only need to leave one item is the medicine sign. You'd think Bannon's Reserve would count for this, but what the sign actually wants is an item that heals HP specifically.

Bezel cups do actually fit this criteria, even if they don't really evoke the idea of medicine in the traditional sense. I know what you're thinking, what if you reach this point without any HP restoratives? Thankfully, they did actually account for this so you wouldn't have to drag your ass all the way back to Sadie to buy a Salve. We'll see how later.


One we fulfill the requests of the signs (kinda), an alcove opens up in the southern indent and we receive a boring key. I'm sorry, a Dull key.


Making our way back to the endless projectile vomit, we stop by the fireball trap. This one trap is guarding the third critical location of this level. Now we could just tank all the fireball damage while grabbing the item we need, but there is actually a way to do this without suffering any damage.


This is the one time the Ice Wall from Freeze 4 can actually be put to a practical use. Though you'd think it wouldn't, it can actually block the fireballs for us while we grab the key. It won't be breaking anytime soon. Yeesh, that's a level of durability that would make it more appropriate for sinking the Titanic than for icing amazons.


Heading into the hall that the trap guarded, we get a Gold Key. I'm just now noticing how inconsistent the game is about whether or not it'll capitalize both words in two-word key items. Disregarding that, this is one of the keys we need to reach Scotia. Not something we need immediately, but we may as well just get all the keys we need now so we can wrap up the game ASAP when we return to this floor.

Speaking of Scotia's chamber, I'm right under it now. There's also a secret wall here, containing goodies for us should we want them.

I'll never pass up goodies when they are offered to me!


The chest contains the strongest bow in the game, the Arbalest Eternity. Cool, but being the strongest bow at this point in the game is about as useful as being the tastiest Nintendo Switch cartridge. Slightly more helpful is the Bastion Plate Mail. It's identical to the armor Kieran and Baccata have, but it's a small upgrade for Paulson.

The chest also contains 500 useless crowns. The Gorkha Witch Doctor should look into franchising, I'd have totally bought more Fireball Wands if he had a kiosk here.


There was also a switch nearby that opened up the wall to reveal a Toadulus. This one started moonhopping away from me, but it was not able to dance away from my wrath.

Now that we have the Dull key, we can go down that path in the north-center I mentioned earlier.


This chest cannot be picked nor smashed, it must be opened with the Dull key. All chests in Scotia's lair cannot be smashed, for that matter, and most of them require at least Rogue 4 to be picked if they can be. Not that it really matters, we haven't gotten anything too world shattering up to this point.

We trade our Dull key for a Silver Key, the other key we need to reach Scotia! Let's just tuck that away for later. There's also a Salve and a small pittance of crowns in this chest, but that's not important.

We can leave the floor with no issue at this point but I decide to explore some more. If this Death Key unlocks anything, I have no idea where to actually use it.


My spelunking rewards me with little more than giant toads forcing me to drop my shit. It would be kind of cool if these guys gave out ridiculous amounts of EXP so you could polish off another level or two, but sadly you won't ever see an attribute break past Level 6 without a serious concentrated effort.


I do eventually find the correct chest for the Oily key, at least. I like to imagine Kieran really fumbling with this grease soaked key to try and get it in the lock.

Among its contents are a Helm Talamar and a Ginseng. The Ginseng can be used for the medicine sign if you don't have any HP restoratives, which is a nice consideration. The Helm on the other hand?


Vastly inferior to every other helm we already have. I think that's protection on par with the vanilla Helms we got at the start of the game! Now I'm mad, let's get out of here.

Before we plunge down a pit to return to level 2, take a close look at the fully filled southern section on the Atlas. That's almost cute, too bad you're not liable to see this before you actually solve the puzzle. It wasn't until I was recording for this segment that I even became aware of this detail.


The game decides to throw me into a panic when I drop down to Level 2 as it places me right in front of a fucking wheel that's mid-swing trying to burn my armor. Thankfully, I was able to unequip my stuff and fry it before anything got burned. Now that we have the final figurine, let's return to that lock from the previous update and use our Carrion Key on it.

I also tried the Death Key on the Westwood Staff chest and was left disappointed.


With a turn of the Carrion Key, a new chamber is opened to us!
Music: The King's Room (why is this song 6 minutes long jesus)


Paulson suddenly remembers that he exists with a loud proclamation, and Baccata has to tell him to chill the fuck out.


But how do we do that? Well past King Richard, you've probably also noticed the pedestal with the conspicuous light pouring onto it.

Certainly an unusual sight for this place, Paulson.

Now we can place our figurines on the pedestals, but each one requires a specific figure to properly direct the light.

For this first one, the Cobra figure does the trick.

Each time you place the correct figure, the light beam connects to another pedestal in the room.

I assume he just means with the path of the lighting, because I have no idea how the order you place these figures in is supposed to make any sense.

I think Paulson speaks about as many lines in this room as he has spoken since joining the party. Good to see he's got some life left in him.

Like I guess I can kind of see the connection between a Cobra figure and a humanoid figure, not quite the snake I imagine when I think of temptation but I suppose there is something resembling a theme there.

How humanoid connects to dragon which then connects to unicorn is a mystery for the ages. Post your theories!


Oh yeah and once you place all the figures the room lights up like a Bandai-Namco splash screen and the corrupting shadow is banished from Richard's shroud.


The resolution of one fetch quest immediately feeds into the conclusion of two others!

We must now place the keys we've been collecting onto the corners of the shroud.

It's a bit hard to tell where each key is supposed to go. I guess the positions kind of correspond to where each council member was standing when the shroud was created, though since they were all one one side of the room it doesn't work super cleanly. You'll likely have to fumble with this for a bit to find the right spot for each key since that was like 6 hours of game time ago and two months worth of updates.


Once the keys are placed, they flash brilliantly and the shroud is cleared, allowing us to give Richard the Elixir! Man, was that a protective shroud or a tanning bed? Richard looks like he's been bathing in tanning oil.
Music: Healing Richard


If you watch the video, Kieran's incantation has way more words than they actually bother to subtitle.


With a gasp, Richard awakens! I hope the Elixir eases the stiffness in his muscles, I can't imagine that bronze bed he's on is too comfortable.

Apparently Cimmeria has some serious stank in the air. It's been so long since we've heard Patrick Stewart's voice that it's kind of weird to remember he's in this game.


Dude has been out cold for days under the effects of lethal poisoning, and the only thing he can think upon waking up is "have you killed that old bitch yet?" Are we sure Richard isn't an iron-fisted and blood thirsty tyrant?

This is one of those lines that makes me think the game was meant to be longer. Baccata had only two encounters with Scotia, only one of them did she transform in an effort to fight us and we beat her ass in that instance.

Finally that bit of lore from the mini-update comes back into relevancy as Richard bestows upon us the Shard of Truth!


The game gives you the option of giving Richard a weapon in turn. Like saving Dawn, this affects precisely nothing. We have a bunch of spares though, so why the hell not?

I remember that the Eagle is Richard's mascot, so this Eagle great sword should suit him perfectly!

"Thank you sir, please don't turn and execute me once this is all said and done."

So, the Shard of Truth. On it's own, this does not do anything. No use as an item and equipping it yields no results. It does have a unique function though.

I wouldn't be surprised if you forgot Baccata was wearing the Ruby of Truth. This thing has not been relevant in 12 updates, but you better have it now because we'll need to use it in tandem with the Shard. By clicking on the Shard with the Ruby in hand or vice versa...


The two combine to form the Whole Truth! There is not a single other moment in this game where you can combine items in this fashion, and I don't know if there's anything that tells you to do this in exact terms. I wonder if anyone got stuck here without a guide, because you do need the Whole Truth to defeat Scotia. Speaking of,

We can now return to the third floor and fulfill our destiny!


Heading into the central chamber, we can pop the locks and throw the central switch to unveil the door to Scotia's lair. First things first...

I make my final save of the game, and then....

I set the difficulty to wimpy? I have something I want to demonstrate before killing Scotia properly, so I just lower the difficulty so I can take care of that first. We will kill her on Ferocious, don't worry.

As mentioned previously, upon entering Scotia's lair the wall will seal behind us. If you lack the Whole Truth at this point, you've just wandered into an unwinnable situation. The lair itself is laid out like a series of halls divided by pillars, though sadly they don't do anything interesting with this layout when fight time comes.

Towards the back of the lair is a door, which opens to a room containing our final foe!
Music:Scotia Last Encounter

I can only imagine Scotia is leaning in like the close-talker from Seinfeld to give us this image.

Kieran comes in swinging with the classic "NO U" response. Sadly, this is Wimpy Universe Kieran who's about to die horribly.

What exactly Scotia would do with the Whole Truth is something we sadly never get to learn.

Now if you want to defeat Scotia, you need to use the Whole Truth like you would a Wand as she is transforming. Let's see what she brings to the table this time though!

Toadulus? Seriously? I killed 6 of those on the way here.

Using standard toad busting tactics makes Scotia realize she needs to step up her game, and she becomes a much cooler looking worm monster.

She also gains the ability to blast us with the Wraith Wizard's spectral snake. Cool party trick, but I don't think she's prepared for Baccata.

Because this is Wimpy mode and she has like no HP on this difficulty, a single crushing blow from Baccata prompts another transformation.

Ooo, scary. You know what's scarier than that though?

Unlimited power!

Uhhh. That did not seem to work.

As a matter of fact, nothing I'm trying here seems to work. Maybe now it's time for the Whole Truth?


Well, fuck. Say hello to the Executioner, as well as the end of your game. The Nether Mask allows Scotia to take any form she can imagine, and it finally clicked for her that she could just become something invincible to destroy us. The Whole Truth can only interrupt the Mask, it cannot break a transformation that has already been made. Nothing you do can damage Scotia in this form, and you have no recourse but to let her kill you at this stage. It's kind of a shame the fight with Scotia's different forms go this way, because there's kind of a cool set up for a final boss here. Imagine if Scotia in her second form weaved through the pillars and blasted you with projectiles as you tried to close the distance between you and her. Then, once she took the form of the Executioner, you need to evade her as best you could and land glancing blows until she falls and you could break her transformation with The Whole Truth, giving an opportunity to go in for the killing blow. As it actually is though?
Music: Fighting Scotia


We instead just fire off the Whole Truth to thwart the Mask before the fight even begins. Scotia for her part says "fuck it anyway" and this nonagenarian decides to throw hands with us.

She's quite resistant to the cold steel for an old crone though. She can also quake you, making this a poor approach in any case. Luckily, we have a tremendous stockpile of attack items.


The Guardian is the strongest attacking spell in the game, and on lower difficulties 2 or 3 of these will just kill her outright. Despite her bloodcurdling scream every time she gets hit, Scotia is a bit more resilient than that on Ferocious.


Fortunately, I also have an Ace of Dominion to fire off a spectral pimp hand with...

And the Wand of Doom to sic the legions of dead unto her!

After the previous onslaught, a couple blasts from the Wand was all it took.
Music: Scotia's Death

 : "Fool, my death will not save you from our wrath!"

With a nebulous threat, Scotia crumples down and dies. Not sure what she means by "Our", I kind of assumed Scotia was the defacto head honcho of the Dark Army. She might have just been referring to them in general, but I'm not sure. Possible sequel hook they never followed up on? Lands of Lore 2 goes in a wildly different direction from this game.
Music: Hero of The Realm

We smash cut to Richard returning to Gladstone, which I guess was repaired after it had been sacked by the Dark Army and its residents scattered to the wind? Best to not think about it too hard.

 "Congratulations, Kieran! You have served me well! We will remember you as our greatest champion."
 : "A luckier adventurer, Gladstone never saw!"
Glad to see after we saved the day and covered for several of his screw ups, Geron is still a condescending prick to us.

 : "It has been a pleasure serving with you!"
Dawn is here regardless of whether or not you save her. I mean I guess there's nothing stopping us from freeing her after Scotia was dead, she seemed pretty secure in there. It's just kind of funny how she acts like she was a key ally when all she did for us was decipher a riddle and give us some glass jars we didn't need. You can even get the riddle deciphered without her, meaning a "Dawn does nothing" playthrough is fully possible!


And then kind of creepily, Richard reaches towards the screen and puts a necklace on us. I think that's the Whole Truth? Not sure really.


Speaking of creeps, the Draracle is spying on us from his abode in what feels like the center of the Earth. I guess Lora wasn't the company he was hoping she'd be.

This image is somewhere between kind of depressing and reminding me of Peter Griffin saying "aww sweet a schizo thread!"
Music: Staff Roll

And with that, Lands of Lore: The Throne of Chaos has come to an end! We get a cute little staff roll where various enemies from the game pour out of the doors of Castle Cimmeria to pose at us, while the makers of the game get their credit.

Remember those bandits we fought in the Draracle's cave and then never saw anything like them again? Well if you forgot, they're here too!

This one's kind of interesting, this is an enemy we never actually see in the game. It's very obviously the base sprite for the Pentrog, but we never actually see one that looks like this guy right here. Even in the end credits there's unused content. That's some next level stuff there!

This LP was actually the first time I ever bothered to fight Scotia the "Wrong" way, so I had also thought this worm was a dummied out enemy as well.

Here we get the voice credits for the various characters of this game, plus the official titles for each character! I like how Ak'shel and Kieran are singled out by their race, while Conrad and Michael are just.... themselves.

If Talamari is supposed to mean anything, I don't know what it is. I'm not sure what a "Miring Engineer" is, I think they might have just made a typo on "Mining" since we encountered Paulson in the mines.

Remember the guy who rowed the boat to get us to Opinwood? Turns out he has a name, Dom. The Beggar also has a name we see nowhere else, apparently he's Frank. "Orin, The Skeleton Ghost" is a very funny credit if you happened to have forgotten who that is by this point.

And that's a wrap! Phew, what a journey! I know this LP got a little negative in the final updates as the game just dumped ass for its final levels, but I had a lot of fun making the LP and playing the game. There were many things I learned both in the process of practicing for this LP and actually doing it, and it gave me an appreciation for the more obscure elements at play in this game. It was also just fun to check out all the alternative options I never really had any reason to, there are some hilarious instances of your characters being dicks in this game if you take the "evil" options. I think very fondly on this game, since it was one my dad played a lot when I was little and it triggers a lot of nostalgia for me. I used to be scared of the Great Orcs, and now I slaughter them by the dozens! It was gratifying to finally revisit it and finish it properly. I've probably put more effort into this game than the overwhelming majority of people who have played it, which is one of those not-at-all worthwhile badges I can wear with pride.
Of course huge shout outs to everyone who followed along and posted in the thread! I was worried this wouldn't go over very well because this was my first attempt at a screenshot LP and it's a fairly obscure game. It was cool to have people discuss the contents of the game and the updates, and even cooler to see people trying the game out for themselves. I also learned a lot as I went about the process of creating an LP like this, and like to think I steadily improved the quality of the updates as I went along. Screenshot LPs are a lot of work, so I suspect it'll be awhile before I take another stab at it, but I imagine when I try again I'll be able to use what I learned to make an even better thread! I already have several ideas kicking around because I'm always looking for the next thing I can do. Again, thank you so much to everyone who followed along with the LP, knowing that the words you put out there about something as silly as a barely finished CRPG from the 90's actually click with people is one of the greatest feelings in the world. There's still one last thing to comment on though!

Upon clearing the game, you get an extra detailed portrait of your main character and a banner that declares them the Hero of The Realm! If you cleared the game on Ferocious mode, you also get really gaudy and out of place text along the top of the screen. I'm not sure if the game checks for if you did anything other than kill Scotia in Ferocious mode when it decides to display this text. Regardless, I earned it fairly across all my playthroughs so Kieran can wear that text with pride. He could also use a brush, he's getting a little mangy around the edges. Kieran is actually the canonical hero of Lands of Lore 1, and this very portrait celebrating his accomplishment appears a couple times throughout the sequel. Minus the Ferocious mode text. I know what you're thinking though, what does everyone else's portrait look like? Luckily, I grabbed screenshots as I cleared my practice runs for that! Apologies that these are a little out of proportion with the rest of the screenshots, I just grabbed these with snipping tool when I first got them.

Ak'shel, looking even more stone faced than he usually does in his in-game portrait.

Michael, looking like Fabio if he had a court order that forbade him from living within 100 yards of a school zone.

And of course, the man who brought us to the rodeo: Conrad! Looks like he just got back from his botox injection. Guess we know what he decided to use his silver crowns on!
And with that, I bid adieu. Until next time everyone!
Naturally the toadulus is the one enemy in the game that has no description of any kind in the hint book. Guess they must've forgot about it. Anyways young me was weirded out as heck over Scotia getting the yellow blood spatters reserved for insects and the like, almost as much as I found it funny that she's as resiliant to normal attacks as she is. No squishy hag here!
also jesus christ i forgot that geron couldn't let up with his useless douchebag act for one second, seriously fuck geron
It sure has been a ride and I'm glad I got the chance to witness it and its ups and downs.
also jesus christ i forgot that geron couldn't let up with his useless douchebag act for one second, seriously fuck geron
It sure has been a ride and I'm glad I got the chance to witness it and its ups and downs.