~SquareSoft!~
The Game
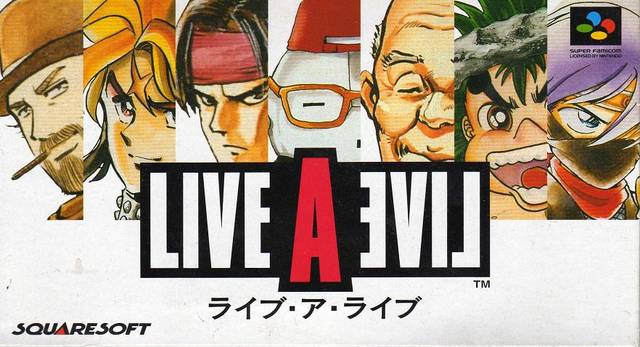
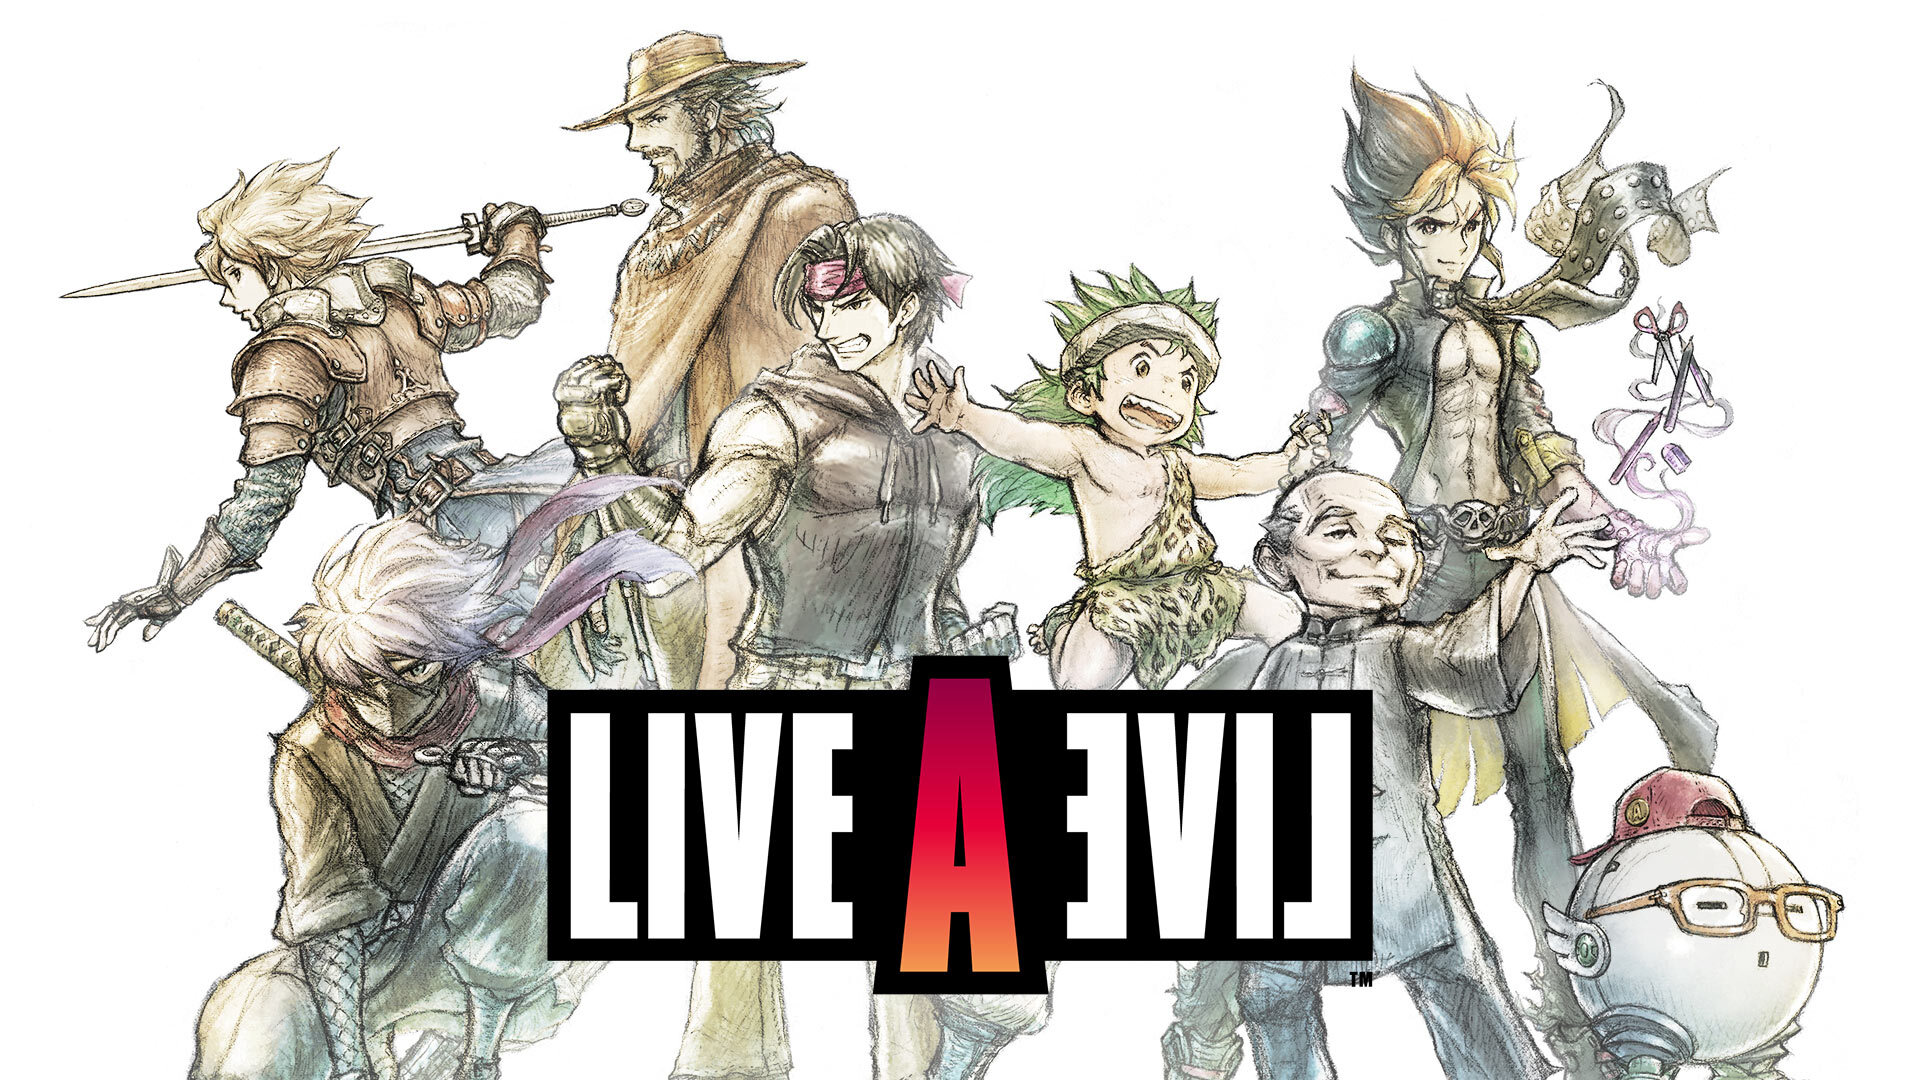
Released for the Super Famicom in 1994, LIVE A LIVE is one of many in the deluge of classic RPGs for the SFC/SNES that never made it out of Japan but was blessed with an excellent fan translation by a dedicated group of fans when emulation was beginning to take off. If you were an avid watcher of Youtube LP videos in the late 00's early 10's, you might have come across this game and were intrigued enough by it to check it out for yourself. LIVE A LIVE is a chapter based RPG with each chapter focusing on a different protagonist in a different time period. In addition to giving the game a wide variety of set pieces and uniquely toned story beats, each chapter takes the opportunity to shake up the core game formula, resulting in a constantly morphing experience that I've yet to really see in any other RPG quite the same way. While LIVE A LIVE is not the most mechanically engaging RPG in terms of its combat, the quirky plot threads, variable mix of game styles and the way these things all come together in the end has resulted in one of the premier cult classics for the SFC/SNES. It's perhaps due to its unique nature and fond recollection by the classic RPG crowd that SquareEnix opted to give it the HD2D treatment popularized by Octopath Traveler in 2022.
The Let's Play
This LP will be primarily focused on the 2022 Remaster of the game, with occasional cuts to the SFC to comment on or demonstrate differences between the two versions that I feel are notable enough. The HD version is a very faithful remake in most regards (which is why I usually call it a Remaster instead), so much we flip between the two versions will depend on which chapter we are doing. For the SFC version, I will be playing using the 2.0 version of the Aeon Genesis Translation Project patch, an extremely high quality fan effort that I actually feel does a better job of translating the game in several areas compared to the official English release. I'll be playing that version on ZSNES for that crunchy mid 2000's emulation feel. For the games as a whole, I'll be going over every notable sidequest and secret as best I can, so you can consider this LP as a completionist effort as well. With all that established,
The Videos
Prehistory Chapter
Part 1, Before Comedy
Part 2, Boy Meets Girl
Part 3, Lost and Found
Part 4, Kings and Monsters
Imperial China Chapter
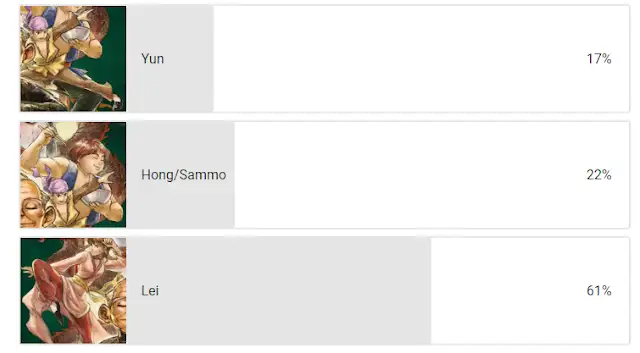
Part 5, Old Master
Part 6, New Master
Twilight of Edo Japan Chapter
Part 7, Ninja Gaiden
Part 8, Castle Crashers
Part 9, Rising Sun
Wild West Chapter
Part 10, The Town With A Name
Present Day Chapter
Part 11, World Warrior
Near Future Chapter
Part 12, Head Games
Part 13, Praise Steel Titan
Part 14, Corporate Crusaders
Part 15, Go, Steel Titan!
Full LP Playlist
If you're a fan of quirky RPGS with non-standard gameplay elements, you may like my LP's of Omori or the decidedly less wholesome Fear & Hunger.